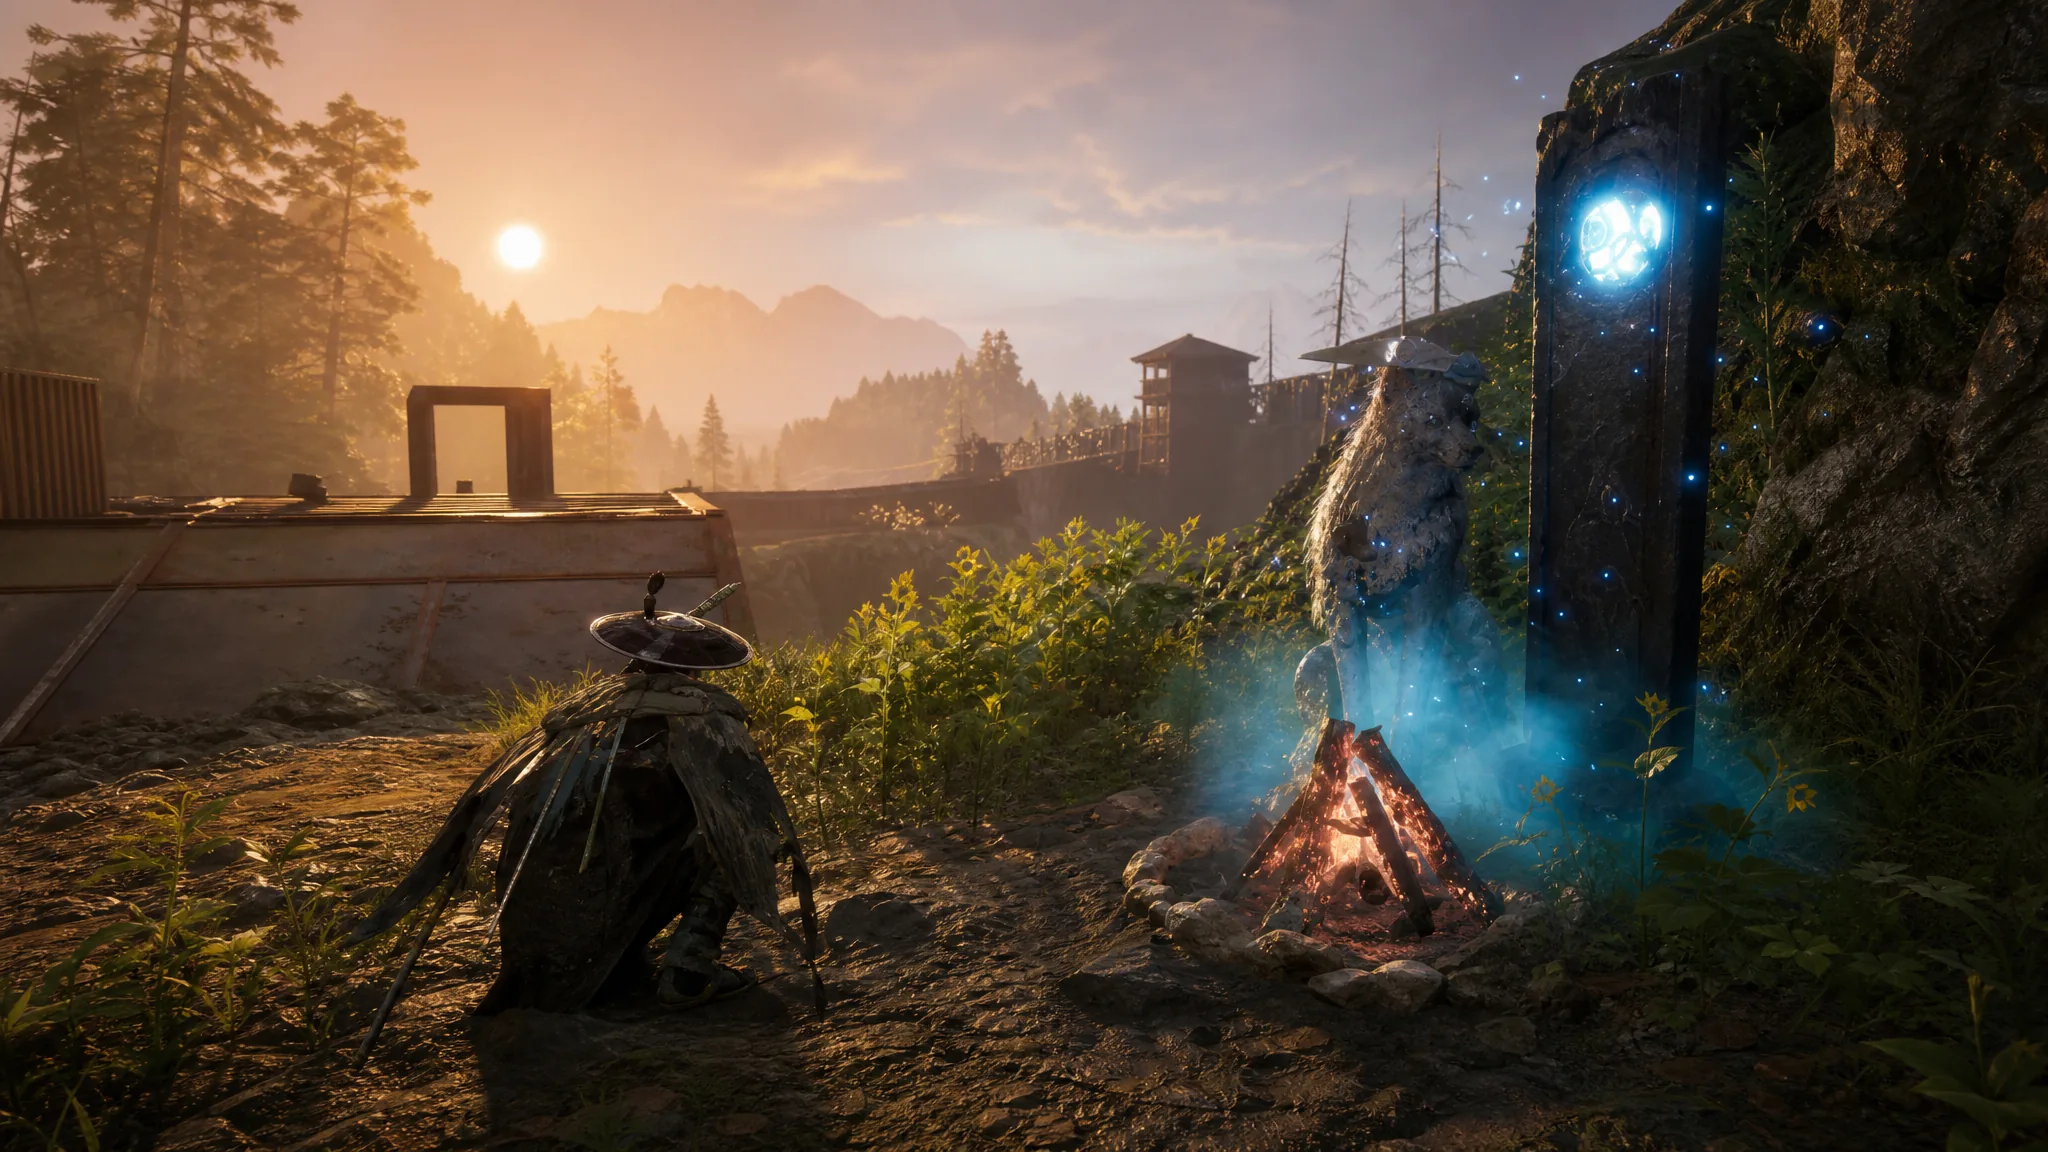
Charms are Koo’s main equipment in Beast of Reincarnation, and the fastest way to stockpile them in Chapter 3 sits at the Flower Field Tower in the Mountainous Region of The Great Wall Terraces. The tower doubles as a rest point and a farming anchor, since resting there respawns a cluster of nearby enemies that drop decayed charm pieces and full charms on repeat.
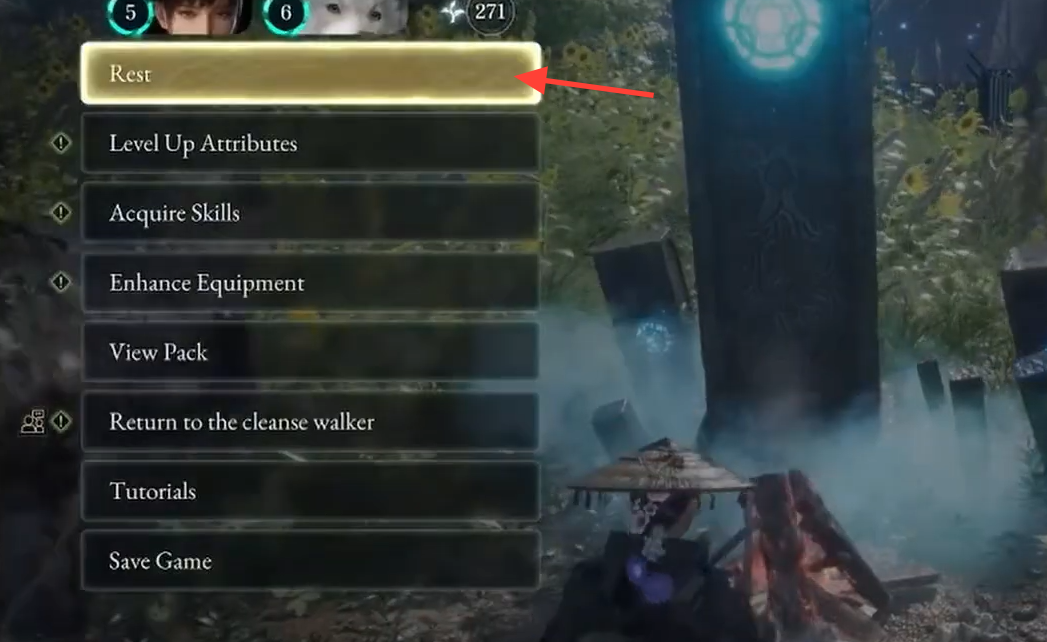
Quick answer: Fast travel to the Flower Field Tower, interact with it and pick Rest to respawn the enemies on the platform ahead, clear them for charm drops, then return and rest again to reset the loop.
Where to find the Flower Field Tower
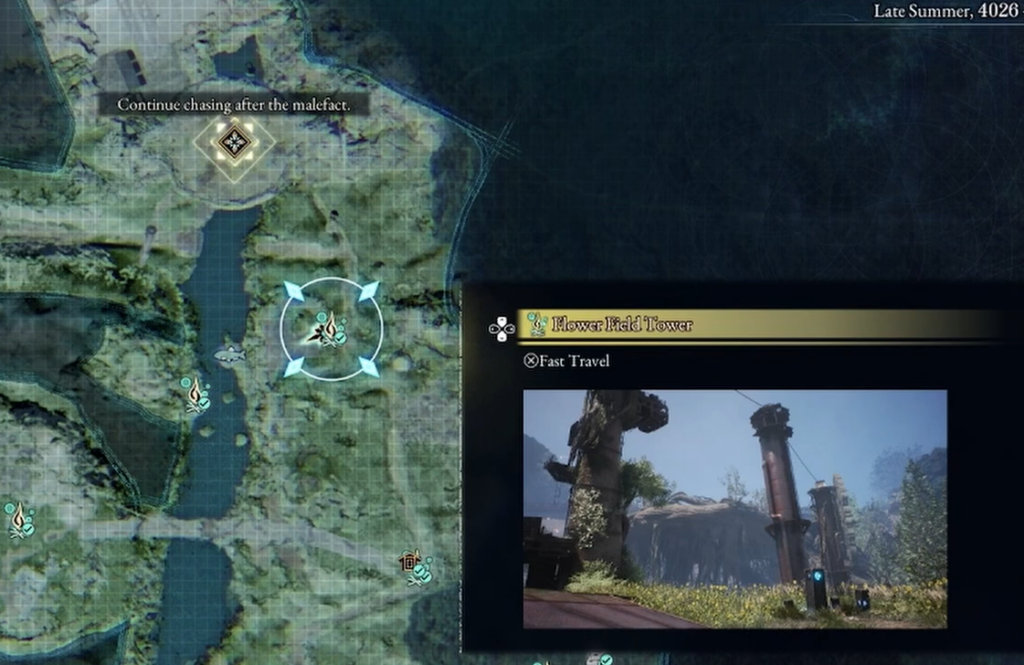
The Flower Field Tower is a glowing blue stone monolith surrounded by sunflowers, set on a metal platform inside The Great Wall Terraces. On the map it sits between two objectives, with the path north leading to “Continue chasing after the malefact” and the path south heading toward “Obtain a crop seedling.”
Once you have discovered it, open the map, hover over Flower Field Tower and use the Fast Travel prompt to drop in directly. That saves you the climb back up through the mountainous terrain every time you want to reset a run.
How the charm farming loop works

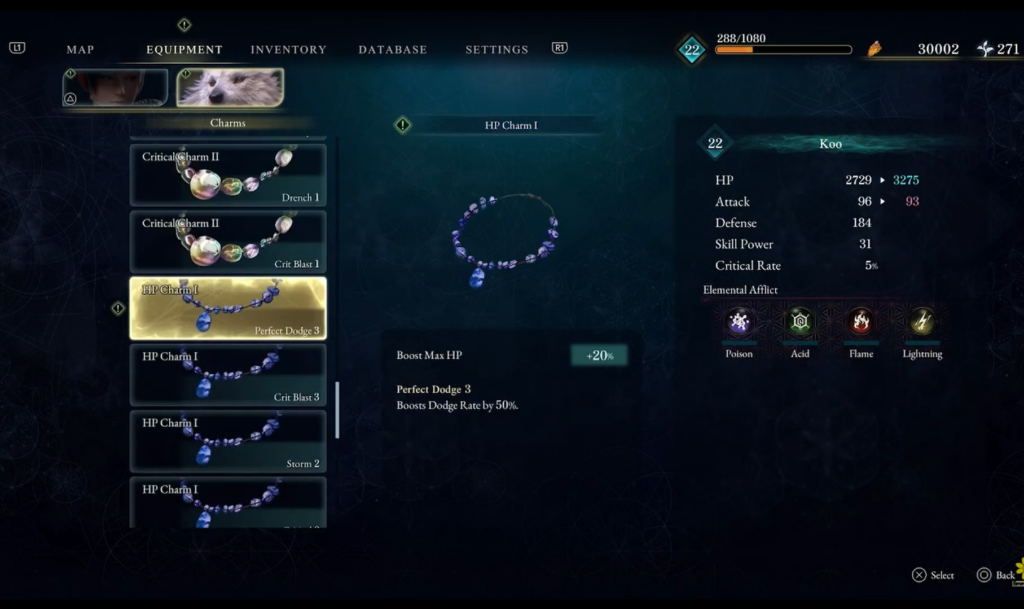
You will know a run paid off when a pickup notification for something like Decayed Charm I appears on the right side of the screen. To confirm what you collected, open the EQUIPMENT menu, select Koo, and scroll the Charms slot to see the newest items sitting at the bottom of the list.
What charms do and how tiers work
Charms are Koo’s primary set of equipment, and each one modifies his stats based on its type. HP Charms raise his max HP, Skill Charms raise his Skill Power, and the rest follow the same pattern for attack, defense, and critical rate. The numeral at the end of a charm’s name marks its tier, and a higher number means a stronger boost.
| Charm type | Stat it modifies |
|---|---|
| HP Charm | Max HP (HP Charm II grants +40%, HP Charm III grants +70%) |
| ATK Charm | Attack |
| DEF Charm | Defense |
| Skill Charm | Skill Power |
| Critical Charm | Critical Rate |
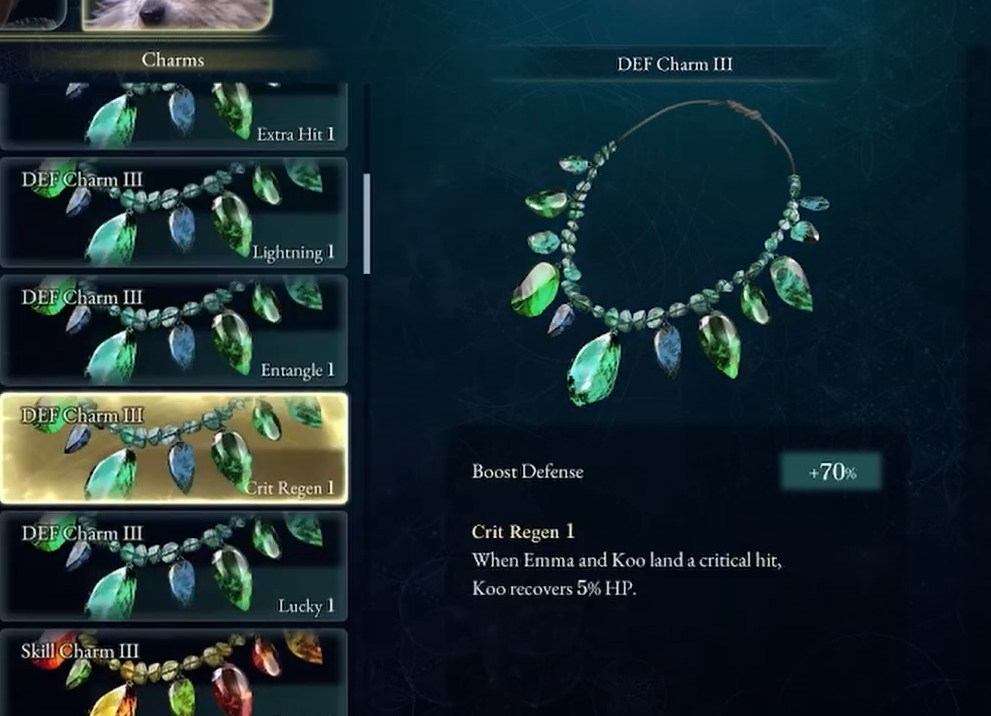
Why the secondary effect makes farming worth it
Two charms of the same type and tier can carry different secondary effects, which is the real reason to keep resetting the Flower Field Tower. The primary stat stays tied to the charm type, but the bonus attached to it varies from drop to drop.
For example, when you want to speed up leveling, you can equip a charm rolled with the Experience 3 secondary effect, which increases XP gain by 10%. Farming this spot lets you build a collection and swap in whichever secondary buff fits your current goal.
You cannot sell or drop leftover charms
There is currently no way to sell, scrap, or drop unwanted charms, so anything you farm stays in your inventory. Rather than treating duplicates as clutter, keep them. Because secondary effects differ between copies, holding onto extras gives you more buff options to rotate in as your build changes.
That makes the Flower Field Tower loop a low-risk way to chase a charm with the exact secondary buff you need. Rest, clear the platform, check Koo’s charm list, and run it again until the roll you want shows up.