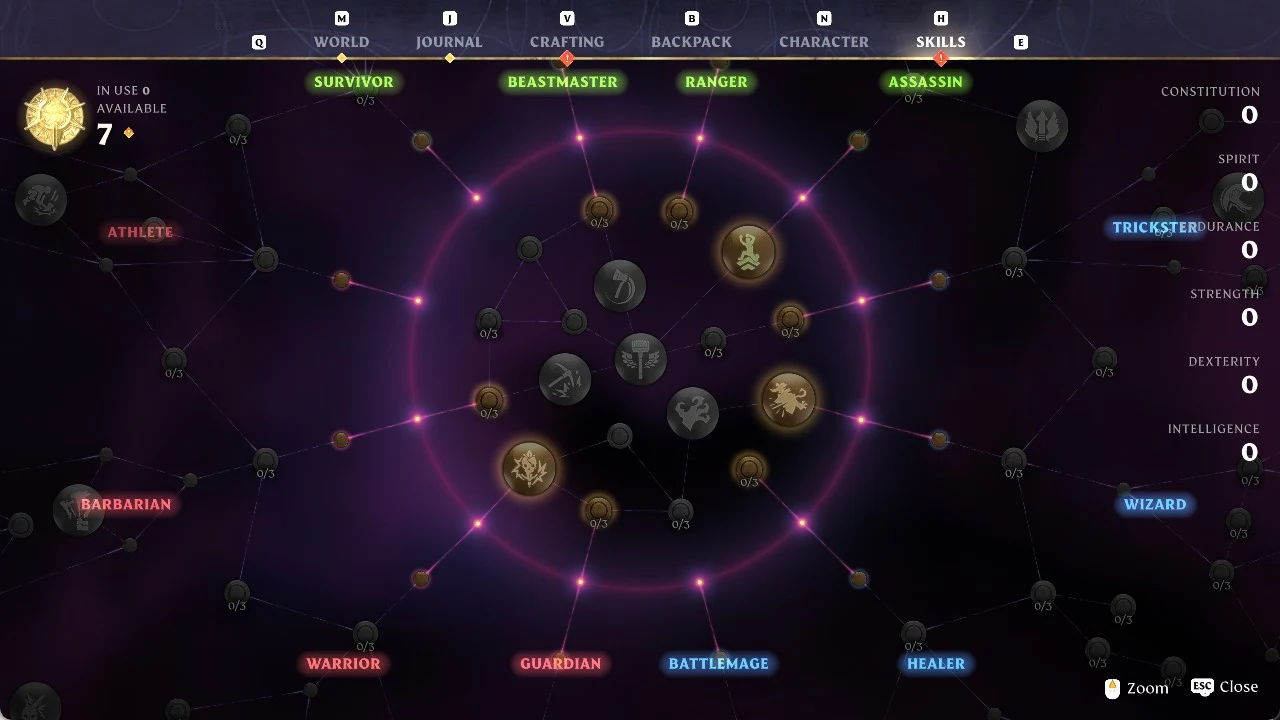
Enshrouded doesn’t make you pick a class. The 1.0 skill tree is one connected web of 243 nodes, and your “class” is simply wherever you spend your points. You can mix melee, magic, and ranged nodes freely as long as the path connects. The 1.0 launch on October 15th, 2026 wiped every character’s tree. Your characters and worlds carried over and no points were lost, but they are all unspent again. Custom keybindings were reset too. So everyone is choosing a direction from scratch.
Quick answer: Prioritize Guardian in the Red area, Battlemage in Blue, and Ranger in Green. Battlemage branches into Guardian defense and Healer recovery nodes, so it is the most flexible place to start.
Best class to spec into for each skill tree color
| Color | Attributes | Archetypes | Pick |
|---|---|---|---|
| Red | Strength, Constitution | Athlete, Barbarian, Warrior, Guardian | Guardian |
| Blue | Intelligence, Spirit | Battlemage, Healer, Wizard, Trickster | Battlemage |
| Green | Dexterity, Endurance | Assassin, Ranger, Beastmaster, Survivor | Ranger |
Guardian gives you defense against both physical and magic attacks, and that defense holds up solo and in co-op. One-Handed Specialization sits nearby, so you don’t have to give up damage to play a tank. If you want melee and survival in one package, Guardian is the Red archetype to put points into first.
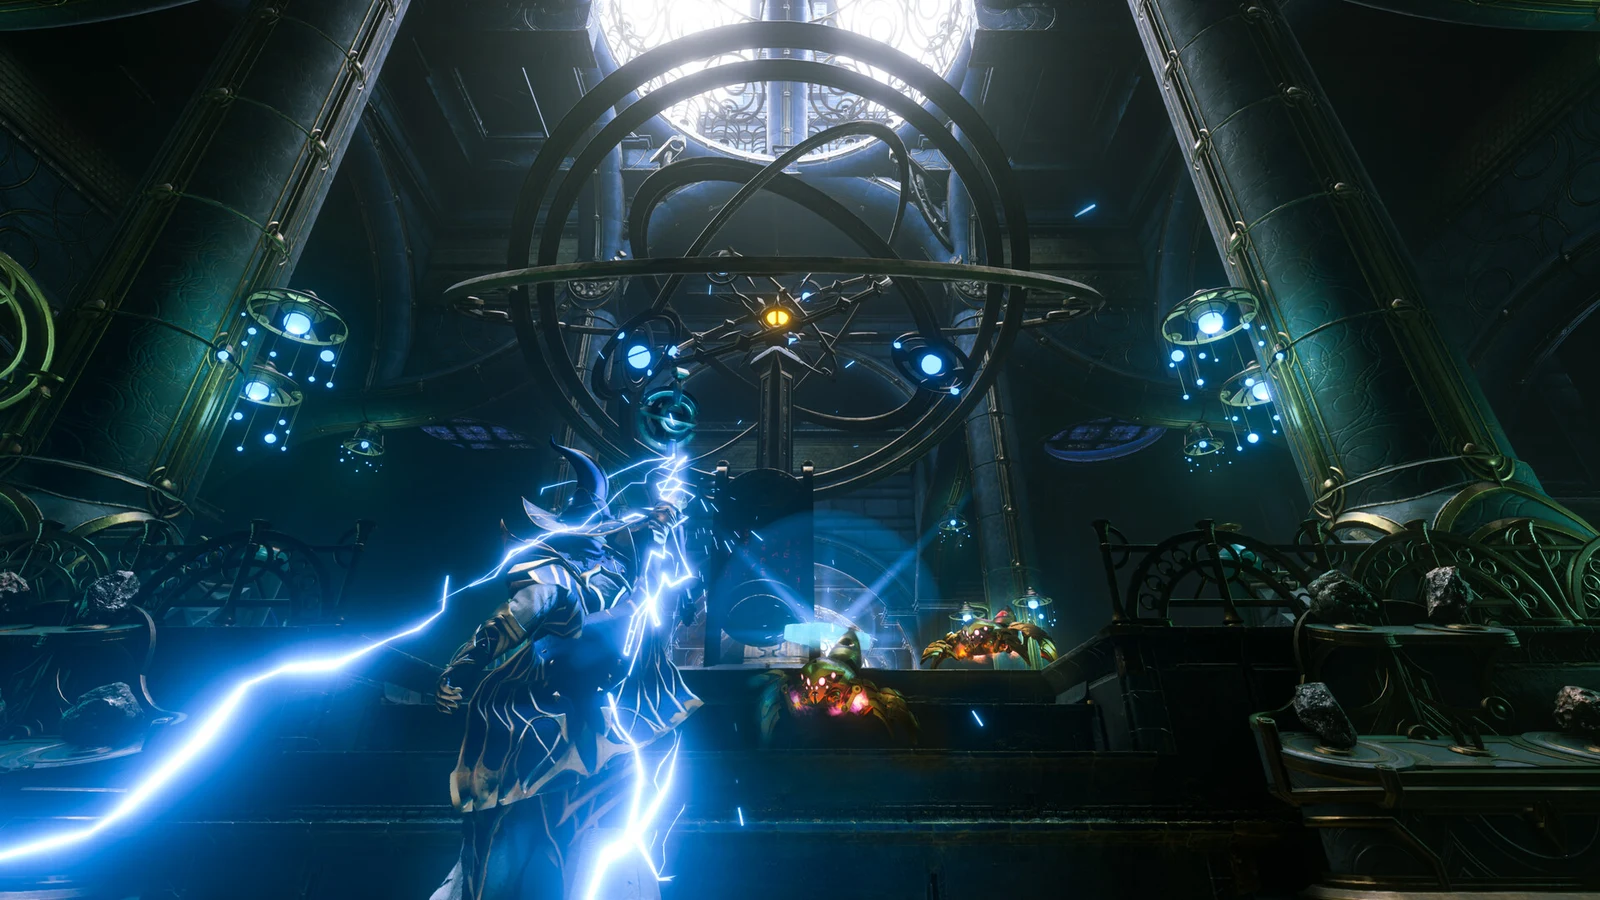
Battlemage offers the widest range of benefits on the skill tree. Its wand damage nodes are strong, Blink provides mobility, and the branch borders Guardian’s armor and resistance nodes as well as Healer’s recovery nodes. Taking all three branches lets you deal damage, endure attacks, and heal yourself without rebuilding your character. The 1.0 additions expand its options further: Aerial Wand Attack and Wand Evasion Attack give you more ways to move, while Blast and Cast rewards alternating between a wand and a staff.
Ranger is the pick if you want to kill things before they reach you. Bee Sting slows your fall when you shoot in mid-air. Multi Shot and its follow-up nodes turn regular arrows into volleys. Critical strike nodes are close at hand, and you will need them, because Ranger has little built-in defense or healing and needs to finish fights fast. 1.0 also added Puncture, Barrage, and Survival Instinct to this corner of the tree.
Outside those three, Barbarian delivers the most up-close damage if you pair it with Battle Heal for sustain. Healer is worth it when you have a group to keep alive.
How the Enshrouded 1.0 skill tree is laid out
The tree has 166 skills: 43 active abilities and 123 passives. They sit among 243 nodes in total, with attribute nodes and starting points making up the rest. Skills hang off three colored areas around a shared Core hub that every character can reach. The 12 archetype names describe clusters inside those areas, not locked classes.
| Area | Skills | Attribute nodes | Weapon specializations |
|---|---|---|---|
| Red (Warrior) | 40 | 11 Strength, 11 Constitution | One-Handed, Two-Handed |
| Green (Ranger) | 57 | 7 Dexterity, 8 Endurance | Bow, Dagger |
| Blue (Mage) | 50 | 11 Intelligence, 11 Spirit | 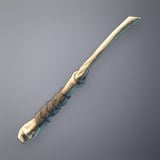 Wand |
| Core | 19 | None | Pickaxe, Felling Axe |
Each attribute node takes 1 point to raise its attribute by 1. Every color has two nodes that cost 5 points each and continue to provide value as you progress: they award 1 attribute point per two Flame levels.
| Attribute | Per point | Flame-scaling node |
|---|---|---|
| Strength | +5% Melee damage | Barbarian |
| Constitution | +50 Health | Thick Skin |
| Intelligence | +5% Magic damage | Exalted |
| Spirit | +20 Mana | Arcane Concentration |
| Dexterity | +5% Bow and Dagger damage | Graceful Stride |
| Endurance | +10 Stamina | Endurance of the Flame |
How many skill points you get in 1.0
The level cap is now 50, and gear goes up to level 55. A fully explored character has 212 skill points. That is enough for one main archetype plus a handful of cheap picks from others, but not enough for everything.
| Source | Count | Points |
|---|---|---|
| Level-ups (2 per level, levels 2–50) | 49 levels | 98 |
| Shroud Roots (1 each) | 60 | 60 |
| Elixir Wells (3 each) | 18 | 54 |
| Total | — | 212 |
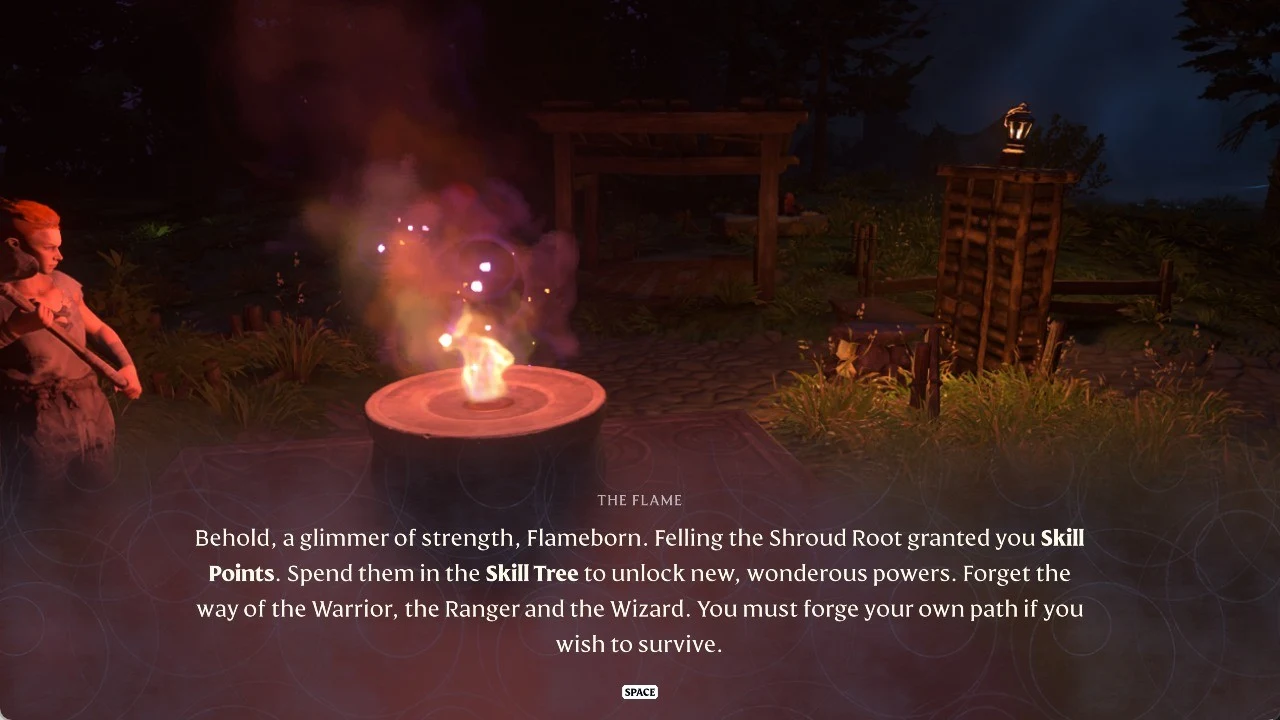
The 1.0 update introduced 18 additional Shroud Roots, with 12 located in Cinder’s Cradle, the new biome in northern Embervale. If you’re aiming to complete the tree, many of the points still available are there.
Refunding costs 1 rune per spent skill point, and you do it at the Flame Altar. Plan your path before you spend so you aren’t paying to back out of connector nodes.
Red archetypes: Athlete, Barbarian, Warrior, and Guardian
Red is melee and defense. Most of its passives have three ranks, and the values below are what you get at the final rank. Costs are listed per rank.
| Node | Effect at max rank | Cost |
|---|---|---|
 Crash Down Attack | Jump attack: +50% weapon damage, affecting a small area | 3 |
| Vigorous Deflection | Parry restores 45 Stamina | 1 ×3 |
 Athlete | Max Health +9× Strength | 1 ×3 |
| Barbarian’s Path | Two-Handed Axe, Club, Hammer damage +15% | 1 ×3 |
| Titan Edge | Greatsword damage +15% | 1 ×3 |
| Blood Rage | Nearby melee kill: +15% melee damage for 10 s | 2 ×3 |
| Relentless | Two-Handed crit: +8% crit chance next hit | 5 |
 Heavy Hitter | Two-Handed attack speed +10% | 4 |
| Warrior’s Path | One-Handed Axe, Club, Sword damage +15% | 1 ×3 |
 Swift Blades | One-Handed attack speed +15% | 4 |
| Veteran | Melee and Dagger crit chance +6% | 2 ×3 |
| Battle Heal | Melee crits heal 3% max Health | 2 ×3 |
| Breach | For 3 s, melee physical hits deal 100% more damage to Overpowered enemies | 3 |
| Heavy Plates / Shiny Plates | Physical / Magical Armor from gear +12% | 1 ×3 each |
| Tower / Warden | +10% Physical / Magical Resistance with 3+ enemies within 20 m | 3 each |
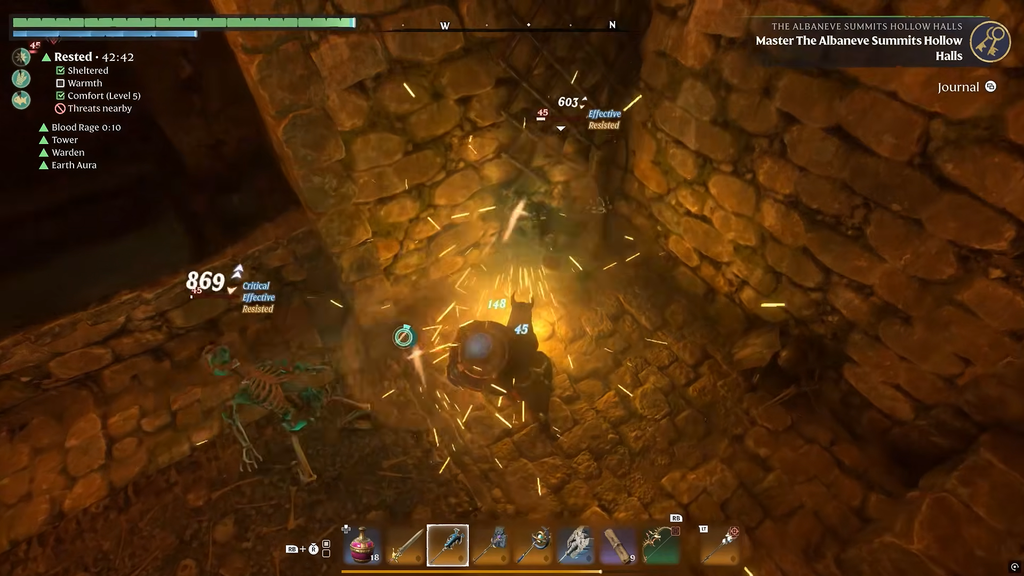
 Earth Aura | +10% resistances for you and allies within 12 m | 2 ×3 |
 Martyr | On death, allies within 30 m heal 50% of max Health | 3 |
Athlete is the mobile corner of Red. It is built around jump attacks: Crash Down Attack, Crash Down: Force for double-jump slams, and Upwards Slash Attack for closing on flying enemies. Vigorous Deflection makes it a natural add-on for any parry-heavy build.
Barbarian is the two-handed damage cluster. Two-Handed Specialization unlocks Focus-powered Special Abilities, and Whirlwind Crescendo adds a spin at the end of a combo for a heavy stamina cost. Blood Rage, Relentless, and Heavy Hitter keep the pressure on. Barbarian depends on critical hits, so it leans on Veteran and Battle Heal from the Warrior side to stay alive.
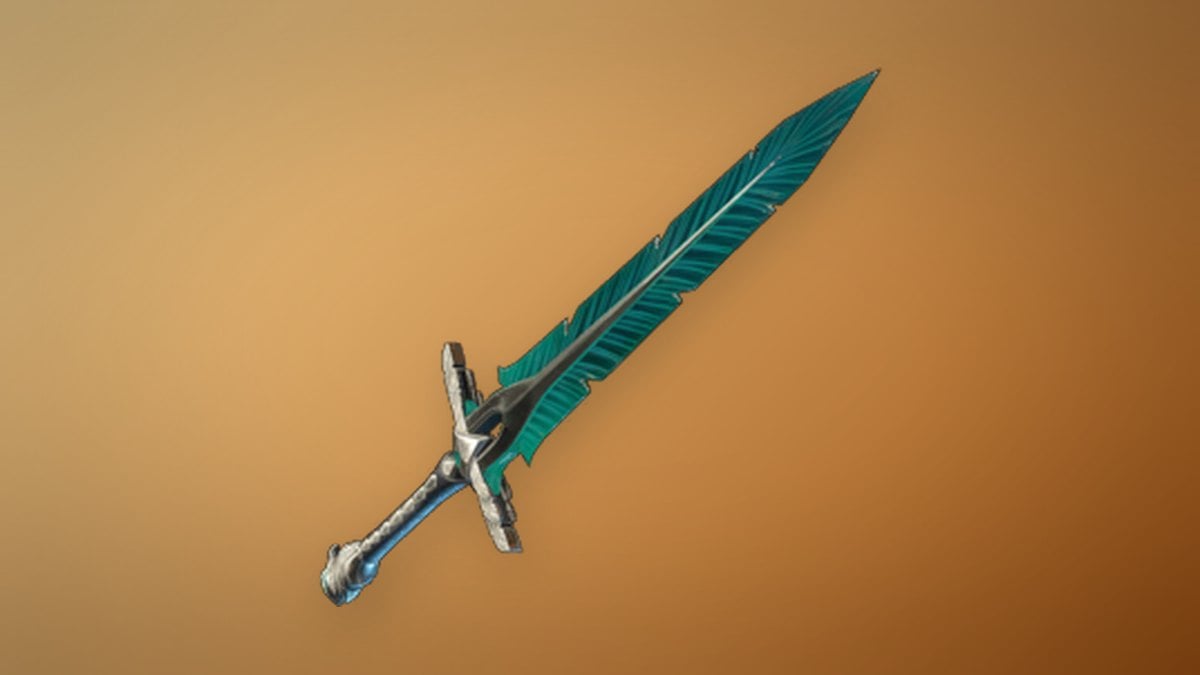
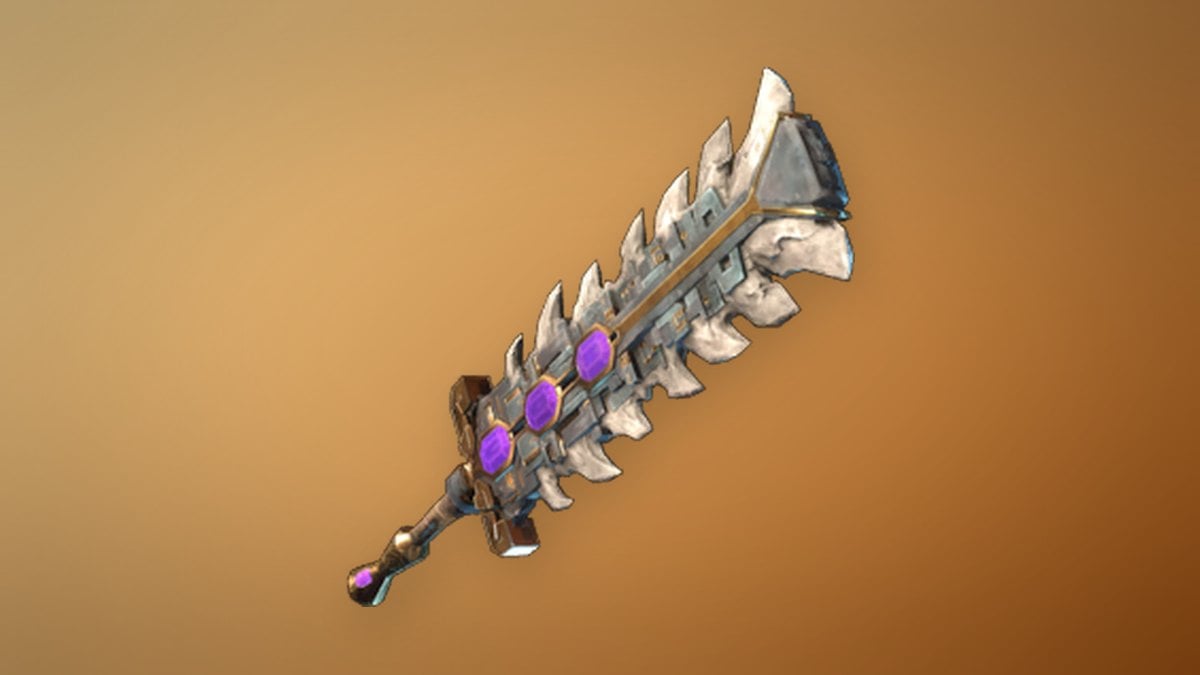
Greatsword Barbarians have two Legendary Warrior options that scale from item level 1 to 55. Guard Of The North Sword deals pure Cutting damage, rising from 16 at level 1 to 138 at level 55, and carries 6% Critical Strike Chance and 22% Critical Strike Damage. It belongs to the Veilwater Basin unique equipment set. Its recipe is learned when you pick one up and is crafted at the Blacksmith under a roof once your Flame is high enough. Megalodon Greatsword has the same damage curve, split evenly between Ice and Cutting, with 10% damage against Drak, 22% Critical Strike Damage, and 22% Merciless Attack Damage. Both swing at 0.774 s.
Warrior is for one-handed weapons. Warrior’s Path, Slasher, Swift Blades, and One-Handed Specialization drive damage. Bash, Breach, and Shockwave turn parries and overpowers into openings. Battle Heal and Veteran live here, which is why so many melee builds of every type route through this cluster.
Guardian stacks damage reduction and aggro control. It combines the Plates nodes, Tower and Warden, Earth Aura for the whole party, and Nemesis to pull enemy attention away from teammates. Martyr turns your death into a group heal, and Thick Skin adds Constitution as the Flame levels up.
Blue archetypes: Battlemage, Healer, Wizard, and Trickster
Blue covers spell damage, wand play, healing, and summons. The values below are each node’s first rank.
| Node | Effect at first rank | Cost |
|---|---|---|
 Blink | Turns Dodge Roll into a teleport with limited range | 4 |
| Emergency Blink | Blink while stunned to break the stun | 2 |
| Arcane Deflection | Parry restores 10 Mana | 1 ×3 |
| Wand Mastery | Wand damage +5% | 1 ×3 |
| Arcane Proliferation | 30% chance for double Wand projectiles (extras deal 50% less) | 3 |
 Life Essences | Max Health +3× Intelligence | 1 ×3 |
| Blast and Cast | Wand crit: next Staff attack +50% base damage within 10 s | 3 |
 Water Aura | Heals you and injured allies within 5.1 m | 1 ×3 |
| Healer | Healing magic and Water Aura restore 15% more health | 1 ×3 |
| Divine Surge | Healing spells can critically strike | 4 |
| Arsonist / Iceman / Thunder | Fire / Ice / Shock damage +10% | 2 ×3 each |
| Chain Hit | Magic crits arc Shock damage to another target | 3 |
| Quick Charge | Spell charge time −10% | 1 ×3 |
| Advanced Necromancy / Totem Mastery | +1 summoned Hollow ally / +1 totem | 2 ×3 each |
 Begone! | A punch fueled by mana sends enemies backward and stuns them. | 3 |
| Counterstrike | 8% chance to reflect 20% of damage taken as Fire | 1 ×3 |
Battlemage is the all-round magic cluster. Wand damage nodes handle offense, and Blink, Emergency Blink, and Arcane Deflection keep you alive and topped up on Mana. Life Essences scales Health off Intelligence. Its position lets you reach Guardian’s defensive nodes and Healer’s recovery nodes without long detours.
Healer is packed with recovery. It includes Water Aura and Waters Of Life, Healing Revive for faster pickups, and Divine Surge, which lets heals critically strike for more than their usual amount. Righteous Fire and Life Burst add some damage on the side, and the Shroud nodes help groups that spend a long time in the Shroud.
Wizard is the elemental-damage cluster. It covers Arsonist, Iceman, and Thunder, crit chance for Wands and Staves, and Chain Hit and Mass Destruction for crowds. The summoning nodes are new in 1.0. Necromancer, Advanced Necromancy, and Totem Mastery make a dedicated Summoner playstyle possible for the first time.
Trickster mixes melee with magic. It has Begone! for stuns on demand, Sleight of Hand for unarmed damage, Counterstrike for passive retaliation, and Blood Magic for converting Health into Mana in a pinch.
Green archetypes: Assassin, Ranger, Beastmaster, and Survivor
Green is about damage and mobility rather than defense. It covers stealth, bows, daggers, and stamina. The values below are each node’s first rank.
| Node | Effect at first rank | Cost |
|---|---|---|
 Sneak Attack | +900% damage on unaware enemies (no Wands, Staves, Bows) | 3 |
| Cutthroat | Sneak Attack damage +100% | 1 ×3 |
| Expose Weakness | Dagger crits: +25% physical damage taken for 5 s | 4 |
| Marksman | Bow damage +5% | 1 ×3 |
| Skill Shot | Weak-point Arrow damage +20% | 1 ×3 |
 Multi Shot | 20% chance for a Flurry of Arrows | 4 |
 Bee Sting | Aiming or firing in mid-air slows your fall | 3 |
| Puncture | Ranged Piercing damage +10% | 2 ×3 |
| Ranger | +1 Dexterity, +1 Endurance, +5 base Stamina Regeneration | 2 ×3 |
| Vukah Culture | Vukah within 50 m attack whoever targets you | 4 |
| Beast Master | Wild Animals up to 50 m away attack anyone who targets you | 4 |
| Good Metabolism | Orbs restore 30% rather than 10%; potions restore +20% | 3 |
 Dessert Stomach | One extra Food slot | 4 |
| Last Meal | Food buffs remain after death, with their duration cut in half | 5 |
Assassin is built for stealth and burst damage. Sneak Attack, Cutthroat, Backstab Mastery, and Silent Stride let you open fights with one massive hit. Expose Weakness and Dagger Specialization keep daggers relevant once the fight starts. Airborne and Updraft improve gliding.
Ranger is the bow cluster. Marksman, Sniper, and Skill Shot reward accuracy. Multi Shot, Multi Shot Spread, and Multi Shot Trigger fill the air with arrows, while Shrapnel Blast and Echoing Explosives upgrade Explosive Arrows. Bee Sting and Eagle Eye round out the kit, along with the three new 1.0 nodes.
Beastmaster doesn’t give you pets. Instead, Calm Spirit and Vukah Language stop wildlife and Vukah from attacking you unprovoked, and Beast Master and Vukah Culture make them fight on your side when something targets you. Kick, Mithridatist, and Snake Eater also sit in this area.
Survivor is a utility cluster for stamina, travel, and food. Runner, Arachnoid, Wanderlust, and Rebound make getting around cheaper. Good Metabolism and Dessert Stomach make your consumables go further, and Strategic Maneuver swaps the Dodge Roll for a sideways roll while you are locked onto a target.
Core skills every build can reach
The Core hub doesn’t belong to any color, and almost every build takes something from it before committing elsewhere.
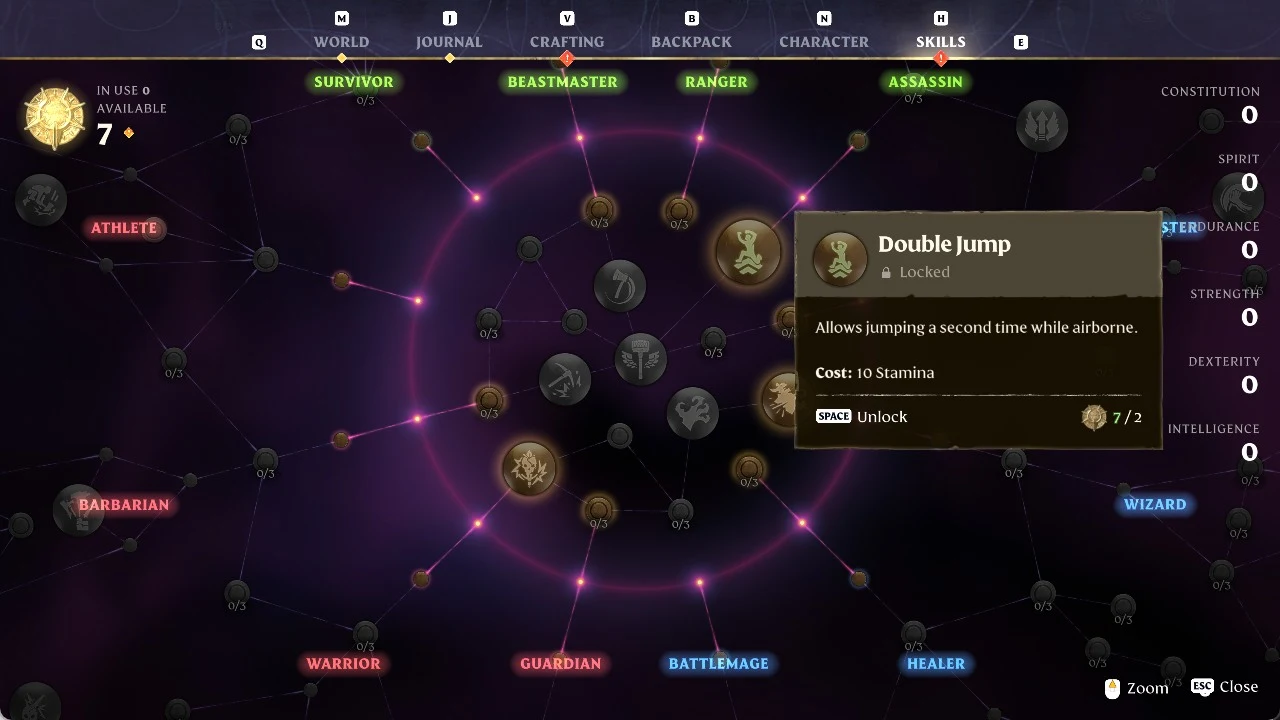
- Double Jump (2 points): the traversal and positioning upgrade nearly every character wants first.
- Merciless Attack (2 points): a heavy finisher on overpowered enemies.
- Power Parry and Opportunity: parry and stun-window passives with three ranks each.
- Grounding Hook (4) and Giant Slayer Hook (3): pull flying enemies down or launch yourself at large ones.
- Gathering nodes: Mason, Lumberjack, Miner, Prospector, Quality Gear, plus Pickaxe and Felling Axe Specialization.
- Airborne Architect (3 points), new in 1.0.
Gear with skill-tree perks
Your points aren’t the only way to pick up skill effects. Several Warrior and Ranger armor pieces carry perks named after tree nodes, each at level 1. That makes them useful for covering a node your build can’t afford.
| Item (slot) | Skill perks | How to get |
|---|---|---|
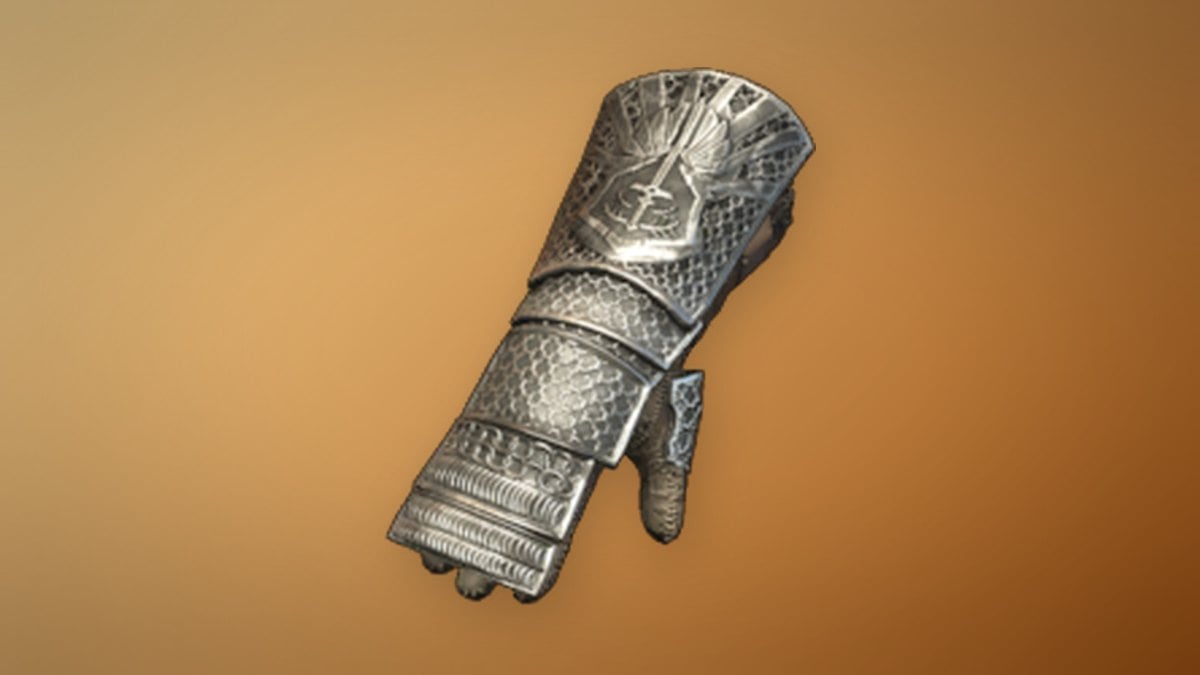
 Greatsword Gauntlets (Hands) | Athlete, Titan Edge, Vigorous Deflection | Found in Goldrock Saddle, Veilwater Basin |
 Sunpiercer Helmet (Head) | Brute, Barbarian’s Path | Blacksmith, Flame level 8+ |
 Radiant Paladin Helmet (Head) | Brute, Barbarian’s Path | Item level 30–55 |
 Sunpiercer Chestplate (Chest) | Veteran, Blood Rage | Blacksmith, Flame level 8+ |
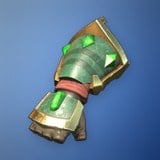 Golden Bulwark Gloves (Hands) | Soul Leech | Blacksmith, Flame level 8+ |
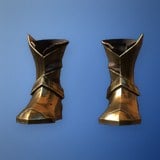 Brazen Bull Boots (Feet) | Earth Aura, Purification | Blacksmith, Flame level 6+ |
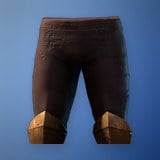 Guardian Trousers (Legs) | Absorb, Shiny Plates | Blacksmith, Flame level 4+ |
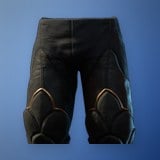 Deerstalker Trousers (Legs) | Blessed Arrows, Swiftshot Sustenance | Hunter, Flame level 5+ |
All the crafted pieces need to be made under a roof. Greatsword Gauntlets are a Legendary piece built for greatsword Barbarians. On top of their three skill perks, they add 21% Greatsword Damage, 12 Stamina Regeneration, and 18% damage against flying enemies.
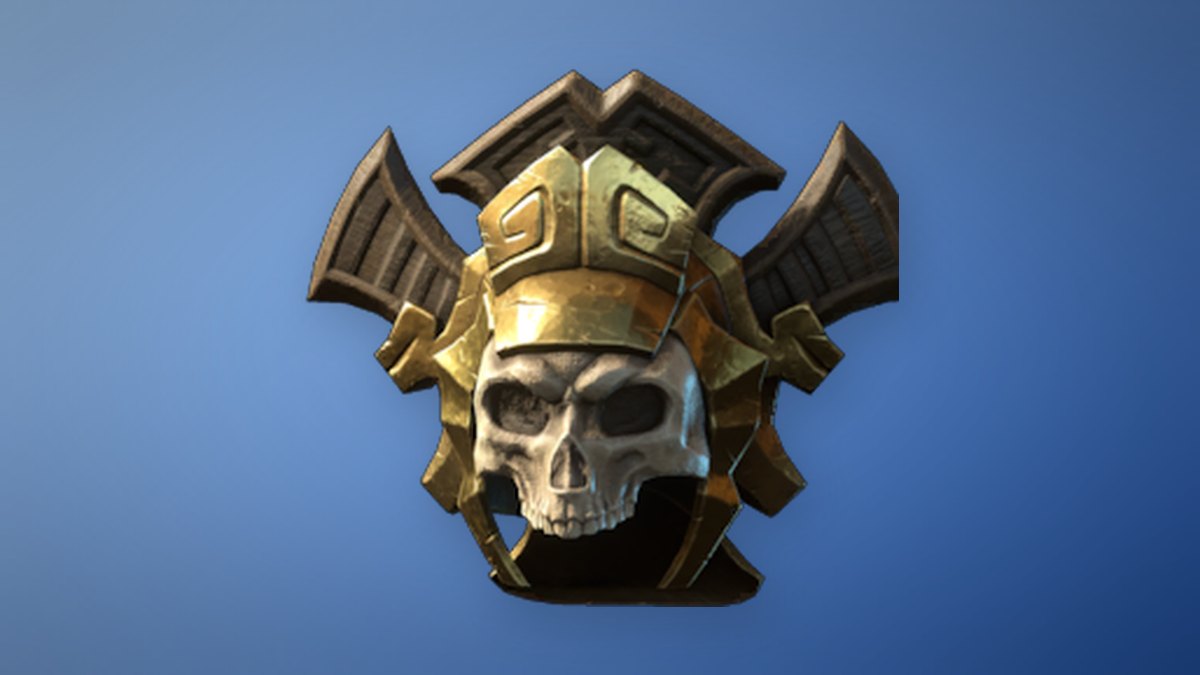
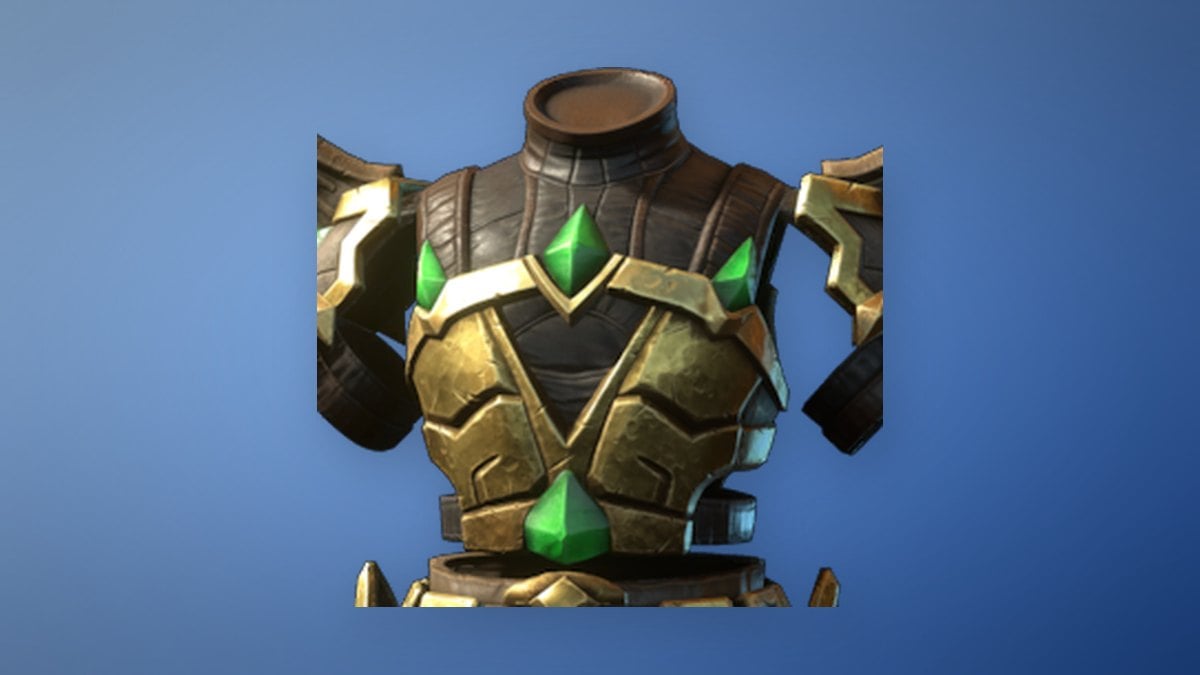
The Sunpiercer pieces suit two-handed and crit-focused melee. The item level 40 helmet has 50 Physical and 25 Magical Armor, 13% Melee Critical Strike Chance, and 15% Critical Strike Damage. The chestplate adds 100 Physical and 50 Magical Armor, 360 Health, and 36 Stamina.
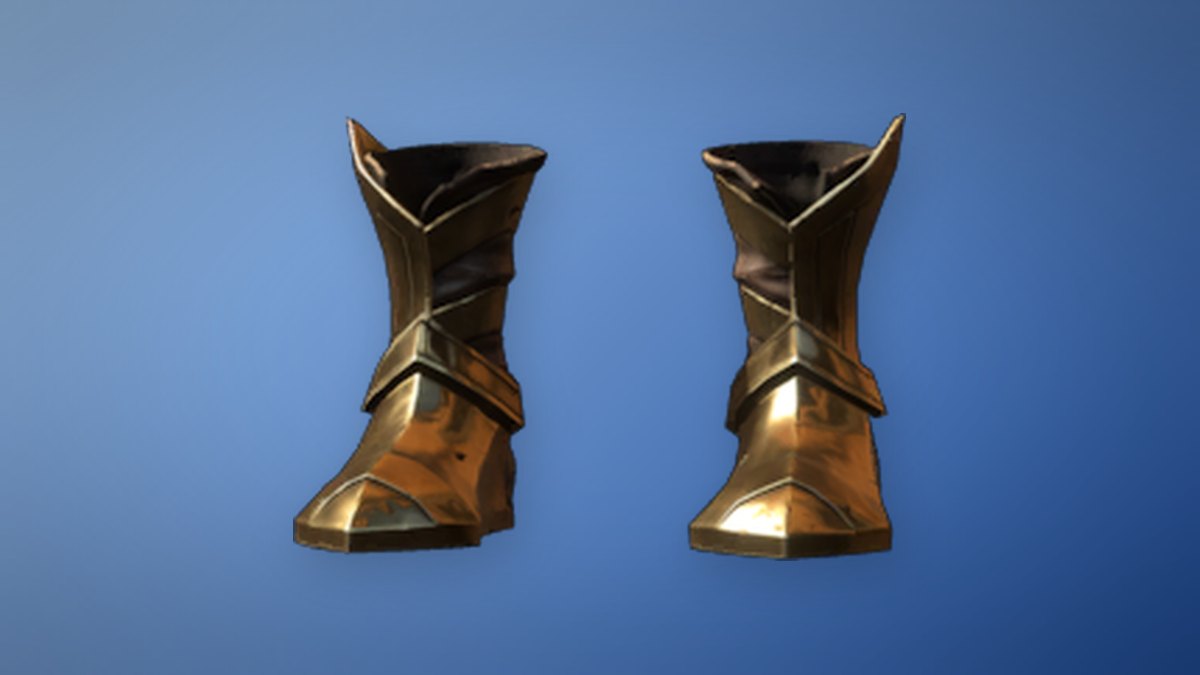
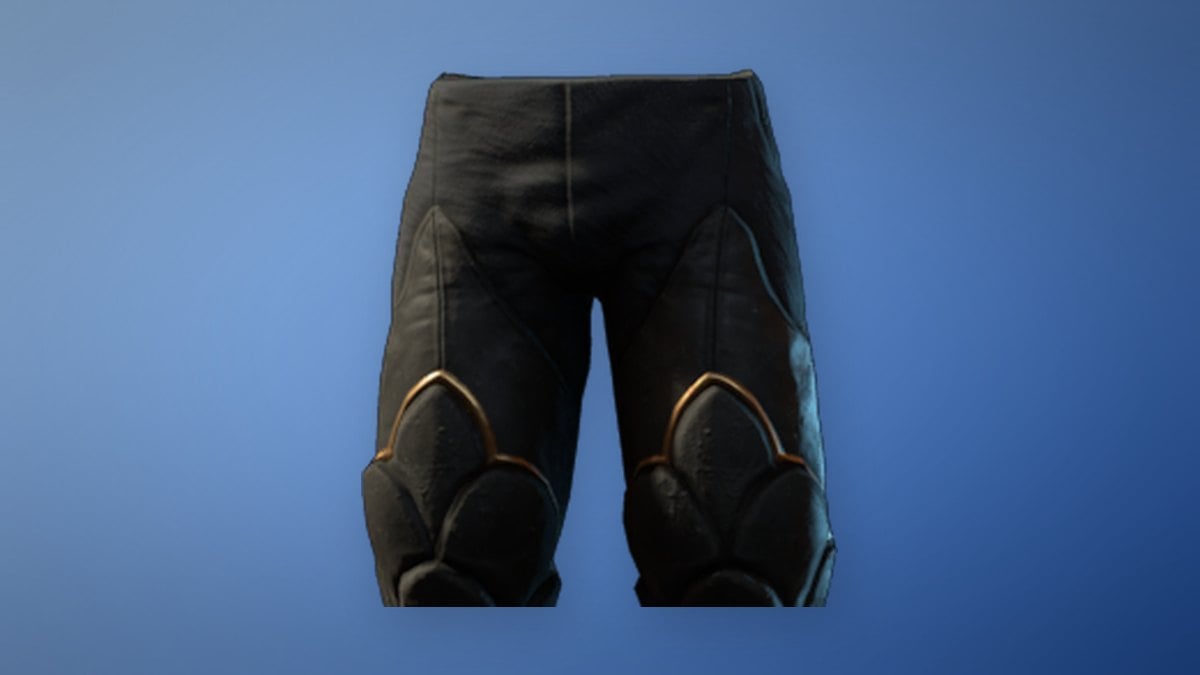
Guardian players can get two of their nodes from the feet and legs. Brazen Bull Boots bring Earth Aura and Purification along with 15 Health Regeneration and 8 Stamina Regeneration. Guardian Trousers are an early craft, available from Flame level 4, that adds Absorb and Shiny Plates.
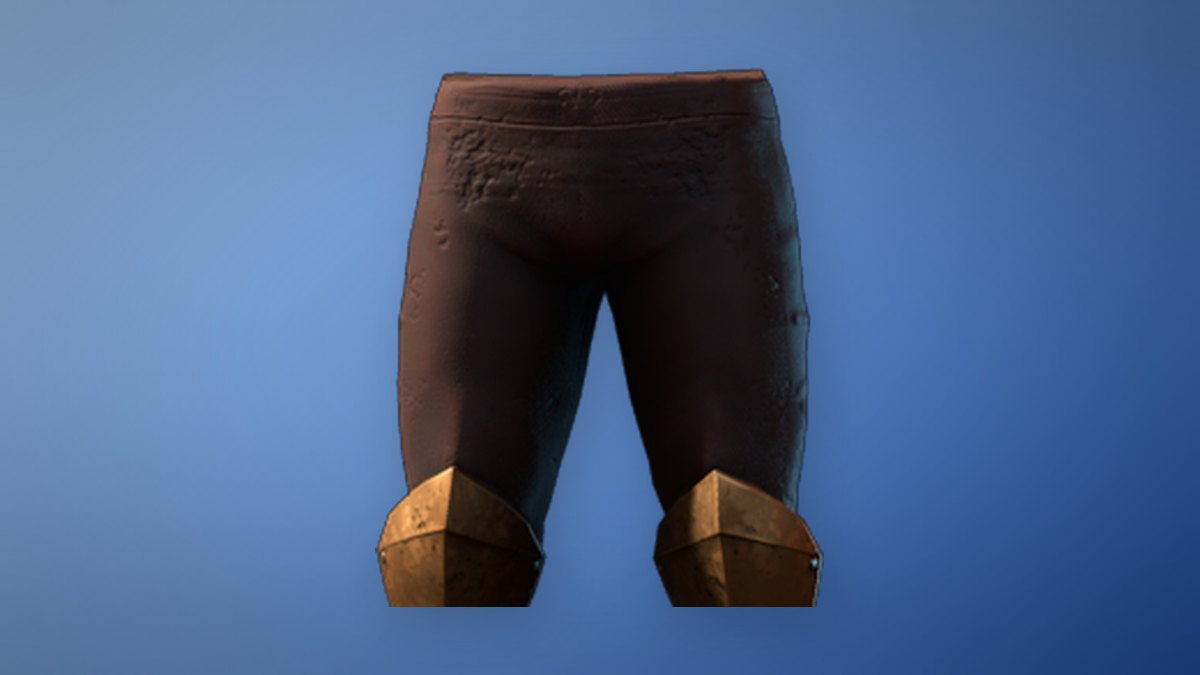
Rangers get Deerstalker Trousers from the Hunter. Alongside their two Ranger perks, they add 12% Sprint Speed, which suits a build that wins by staying out of reach.
Since 1.0 handed everyone a blank tree, the cheapest mistake to avoid is spreading thin. Pick one of Guardian, Battlemage, or Ranger as your anchor. Grab Double Jump from the Core, then spend the leftover points on the neighboring nodes that cover that archetype’s weak spot.