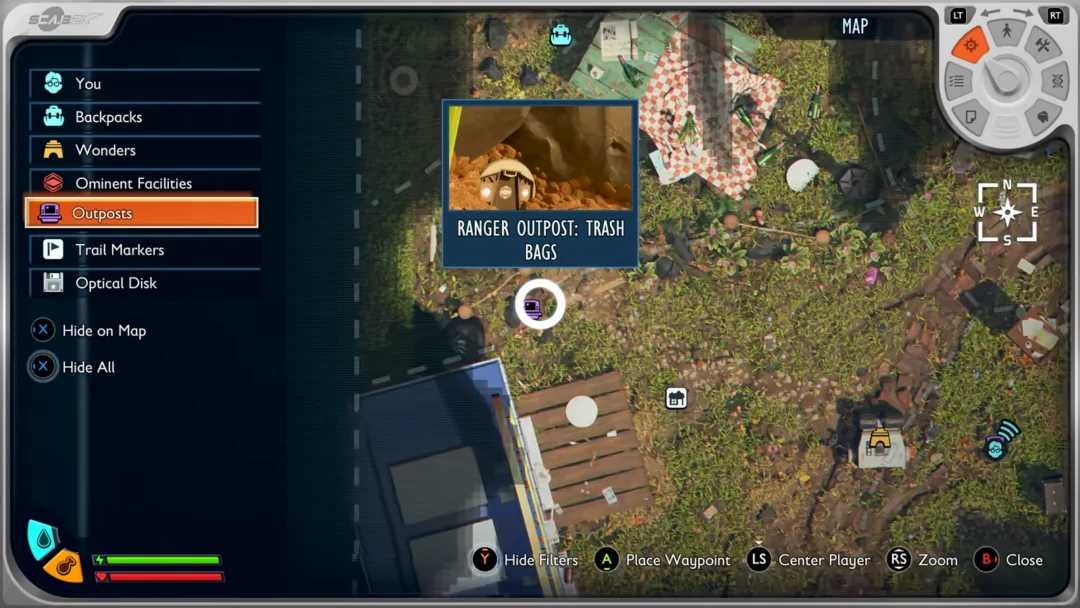
Astra Malorum has the longest of the six Super Easter Egg objectives, and it bolts a second quest chain onto a map that already asks a lot of you. You need the LGM-1, a floating toy box that starts out of bounds, a turret welded to Ol’ Tessie, a lantern Wisp sequence, and a UFO that speaks Morse code. The payoff is the Toy Caltheris, one of six toys that eventually unlock the boss rush in Rex Infernus.
Quick answer: Open the floating toy box with Ol’ Tessie’s DG-2 turret, feed the UFO all four Mars objects using Wisps, then swap the green alien toy at the box and Exfil with the Toy Caltheris.
Requirements before you start the Astra Malorum Super Easter Egg
Two conditions gate the whole thing, and missing either one means the objectives simply will not fire.
- Every map’s main quest must already be finished on Standard, Cursed, or Directed.
- The entire run has to happen in one continuous session — no saving and quitting partway through.
- Restore the map’s power and unlock Pack-a-Punch before starting the extra steps.
- Solo or co-op both work.
You will also collect several tools along the way. Knowing what each one is for makes the round order much easier to plan.
| Tool | Where it comes from | What it does |
|---|---|---|
| LGM-1 | Third trap kill on O.S.C.A.R. | Activates the Mars pillars |
| DG-2 Turret Barrel | Abyssal Rim asteroid jump | Opens the toy box |
| LT53 Kazimir | Crafting table (salvage) | Pulls the box to the ground |
| Shock Charges | Crafting table (tactical) | Summons the UFO on Mars |
| Wisps | Lantern side quest | Pulls the four Mars objects |
Move the floating toy box to the Crash Site
The box sits outside the playable space and has to be knocked across the map with explosives before anything else matters. Start this early, while you are gathering salvage for a Kazimir.

Build the DG-2 turret and open the box
Nothing else opens the box. It has to be O.S.C.A.R., killed by the turret mounted on the back of Ol’ Tessie, right next to the crate.
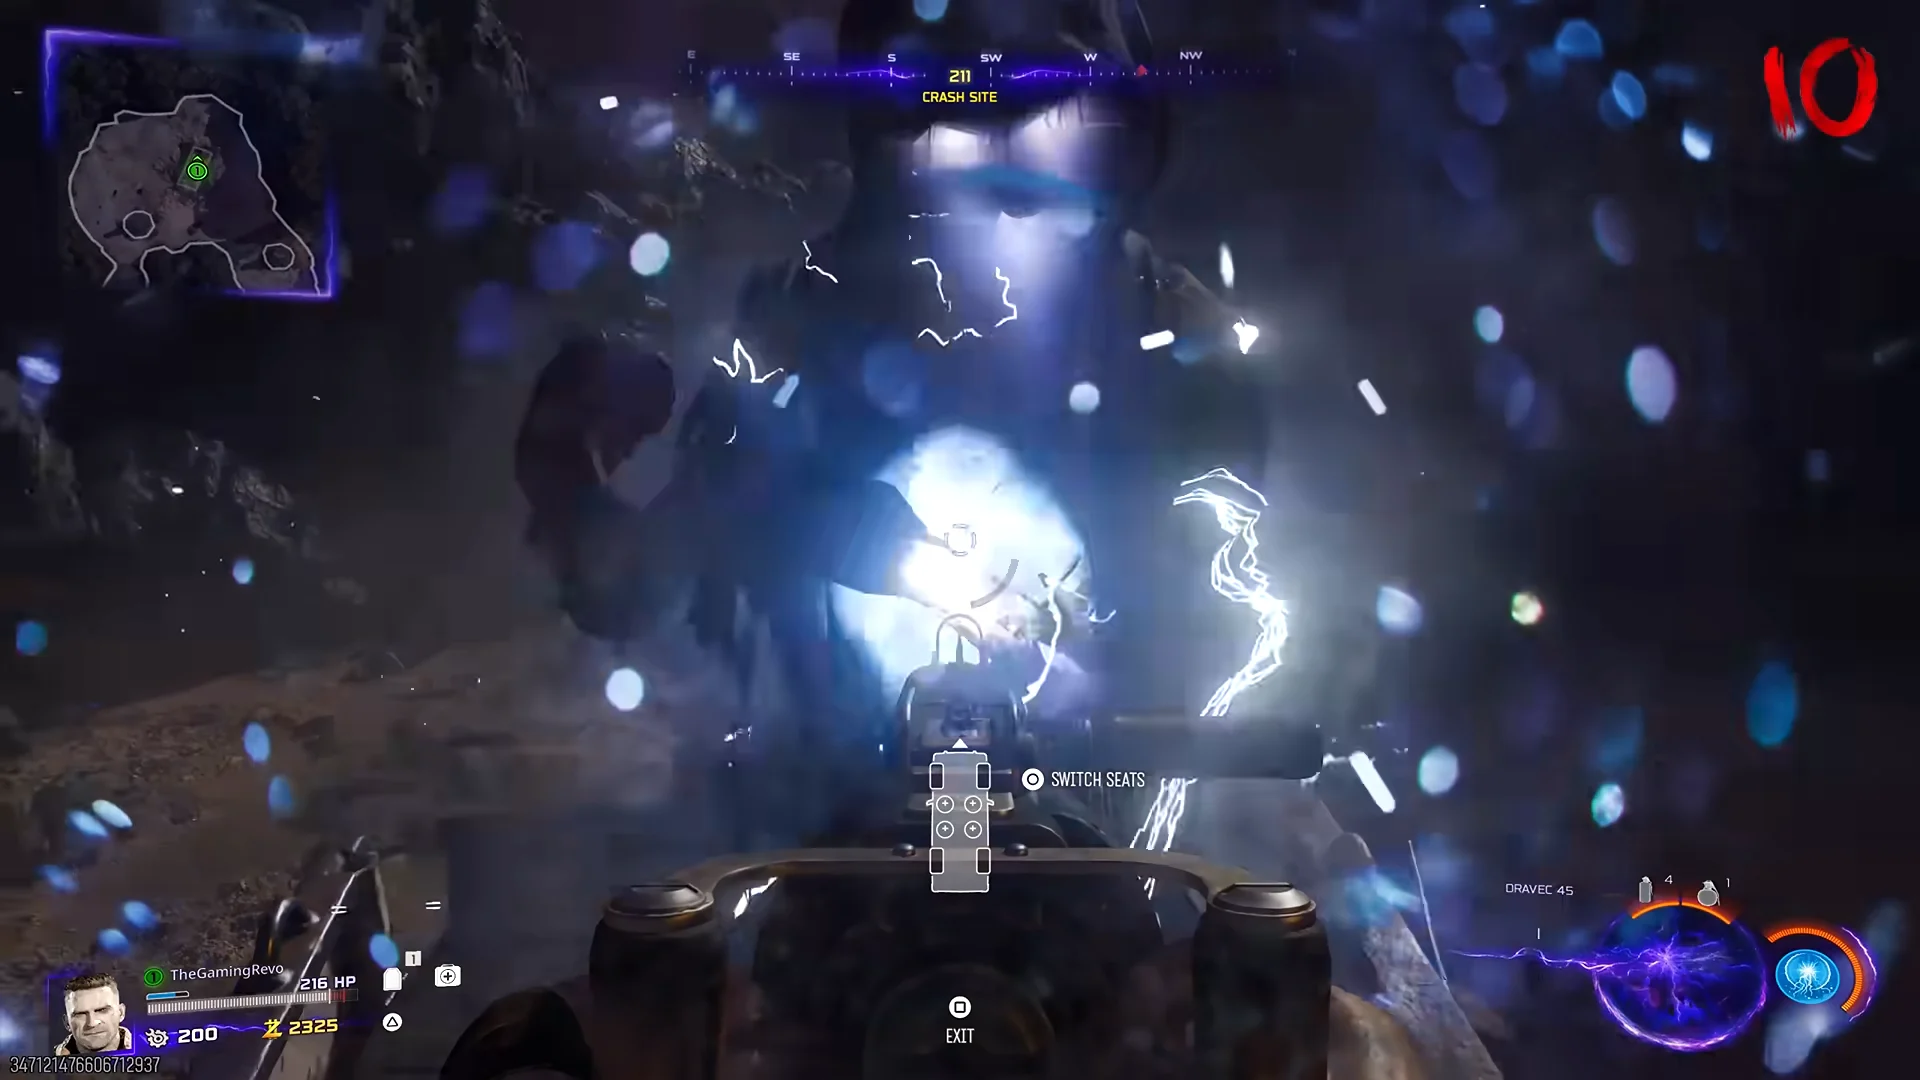
Killing O.S.C.A.R. before the turret is ready means you must wait until the next round for his respawn.
Get the LGM-1 Wonder Weapon
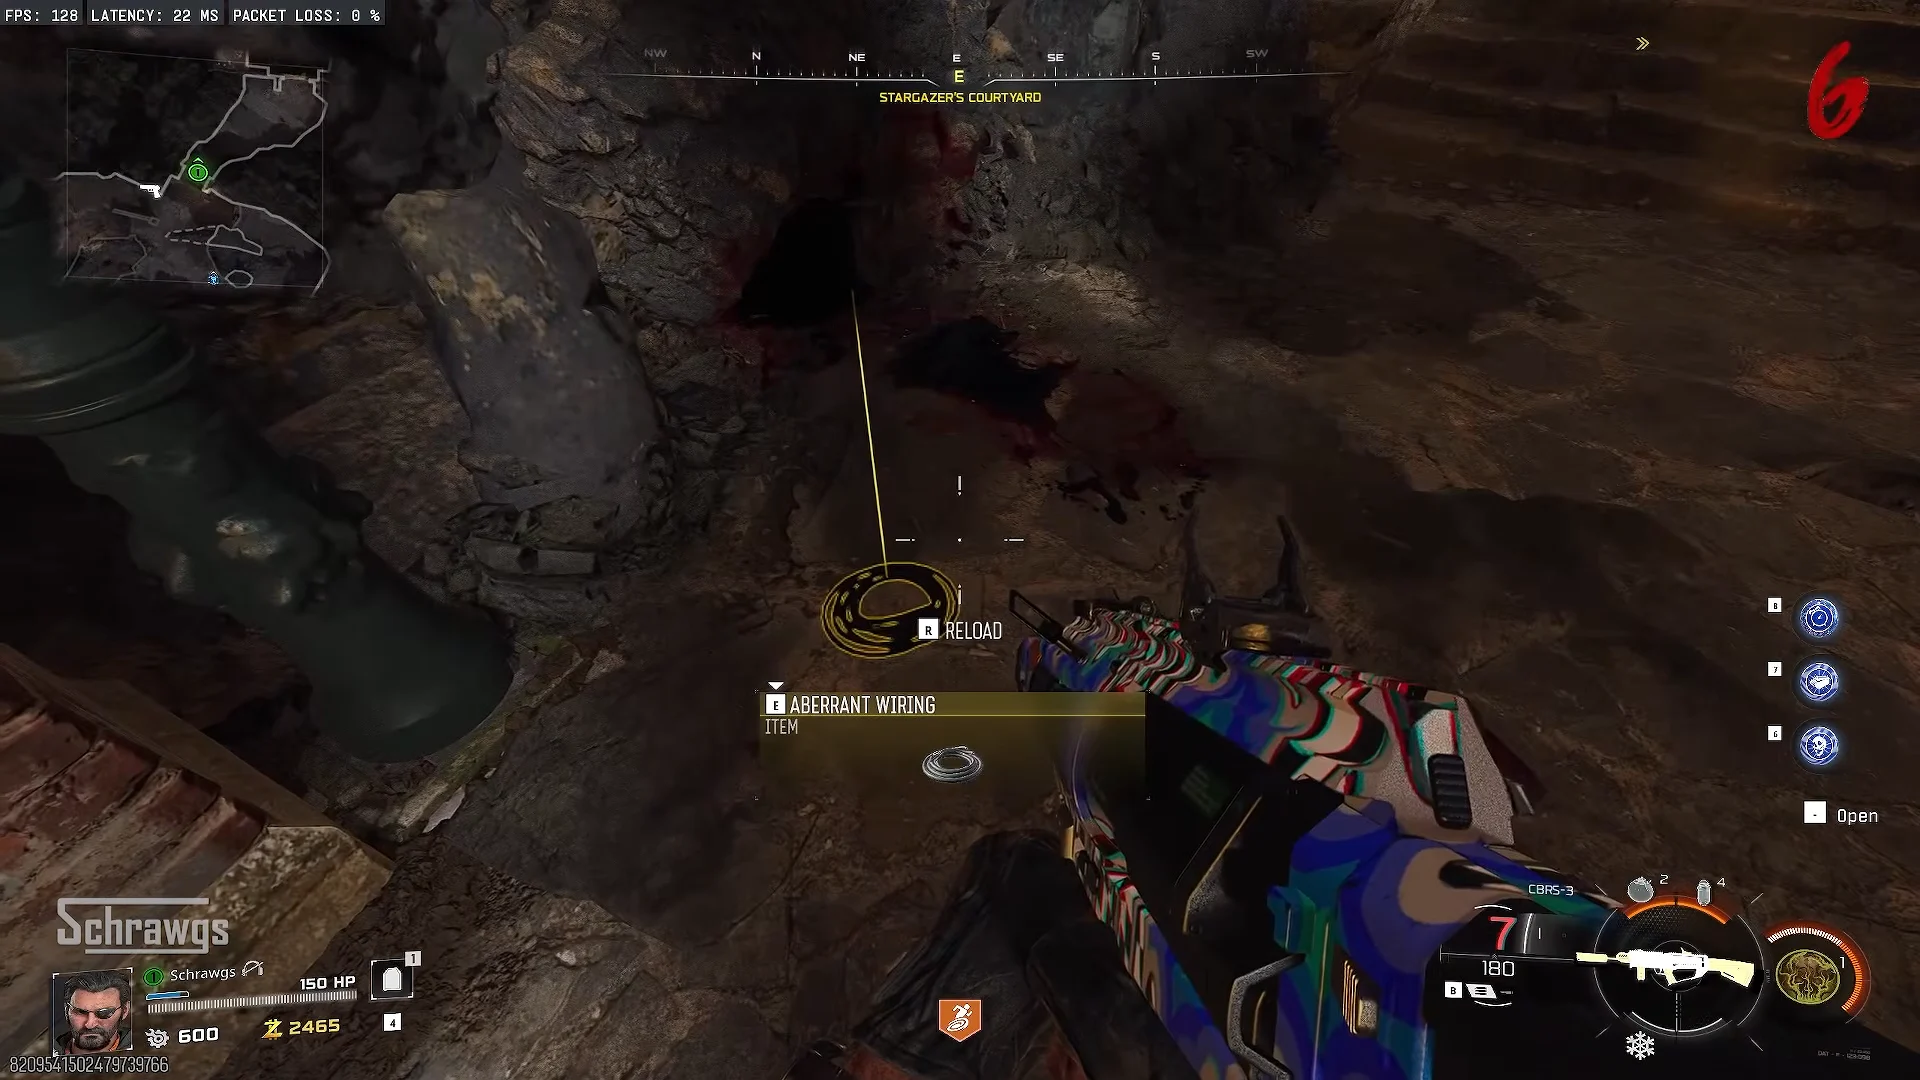
The LGM-1 is the only thing that activates the Mars pillars later, so it is not optional. It comes from killing O.S.C.A.R. three times with three different traps.
Light the lanterns and collect the Wisps
The Wisps are the ammunition for the final Mars puzzle, and they take a full round to mature, so start them well before you travel. Unlit lanterns are spread across the Crash Site, The Luminarium, the Abyssal Rim and Scholar’s Way, two per area, and one lantern on the map already contains a glowing Wisp.
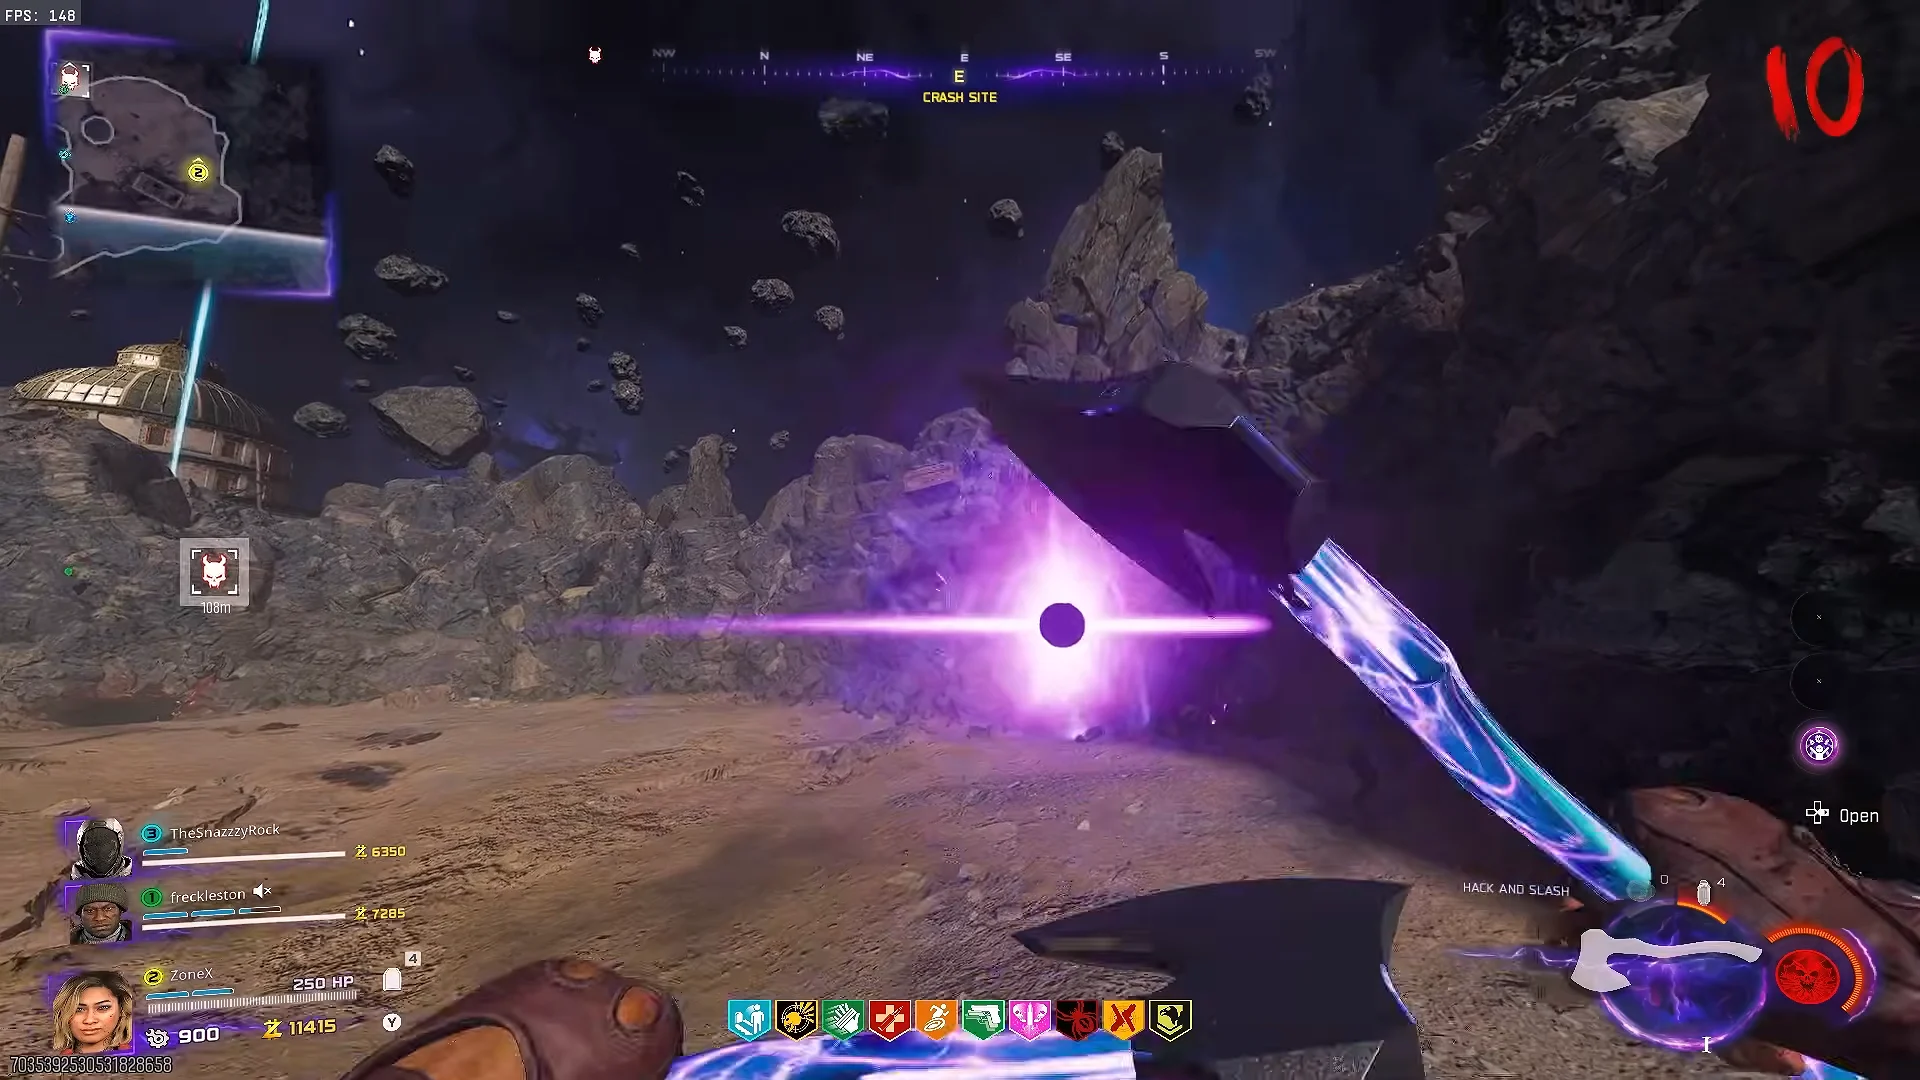
Swap your tactical equipment to Shock Charges at the crafting table while you are here. You need two of them on Mars.
Slow time with the grandfather clocks and scan the UFO
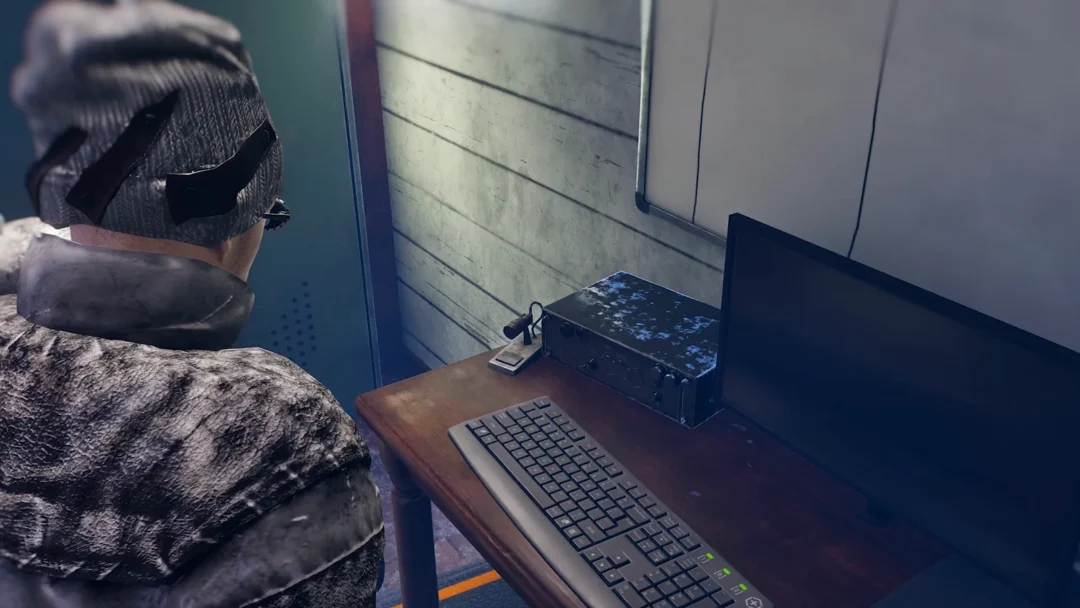
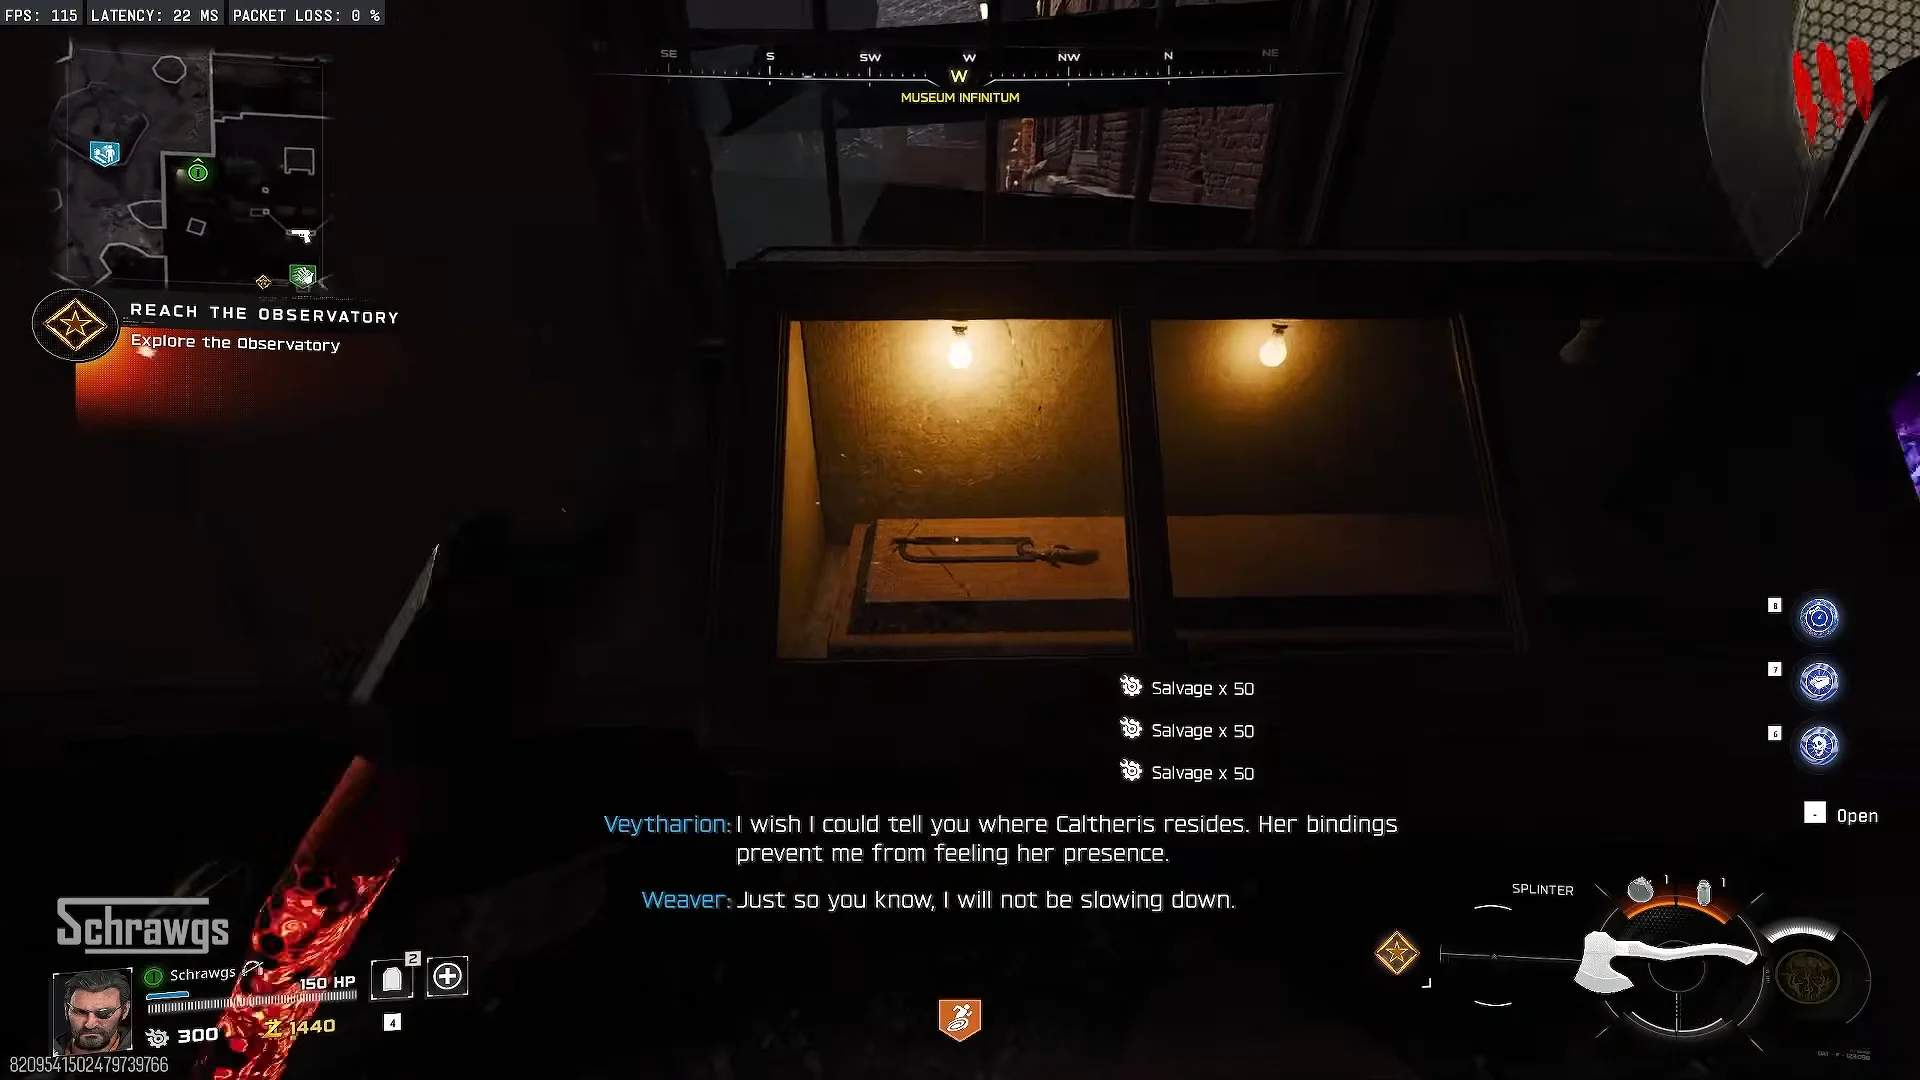
Look through the Observatory telescope with the box open and you will catch something streaking past in the bottom left. It looks like a comet at normal speed. To get a proper look you have to slow time down first, which means meleeing five grandfather clocks in quick succession.
- Museum Infinitum’s north pillar, beside Speed Cola
- Southeast corner of The Luminarium
- The north wall beside the door in Archive of Orbis, across from Stamin-Up
- West wall on the ground floor of Machina Astralis
- Northeast corner of the Machina Astralis first floor
Once the last clock is struck, the slowdown lasts 60 seconds. Sprint to the Observatory, jump on the telescope, and set your coordinates to roughly DEC 50, 58 to bring the object into frame. Hold your crosshair on it and it freezes in place — the comet is a UFO, it scans you, and then it leaves.
Reach Mars and activate the five pillars
This section takes time. Follow the main quest normally through the hacksaw, brain, perfusion machine, planet alignment, and portal defense steps, then travel to Mars and obtain the Ascendant Eye.
Place the Ascendant Eye in its pillar. Two glowing blue dials sit behind it — leave those alone for the moment. Instead, fire the LGM-1 at the five antennas on the Mars pillars to bring them online. If you want the intended sequence rather than brute-forcing it, the order shows up on the oscilloscope back in the Observatory once you have fired.
Summon the UFO and solve the Morse code puzzle
| Letter | Object |
|---|---|
| L | Lava Lamp |
| F | Flamingo |
| S | Spacesuit |
| T | Toilet |
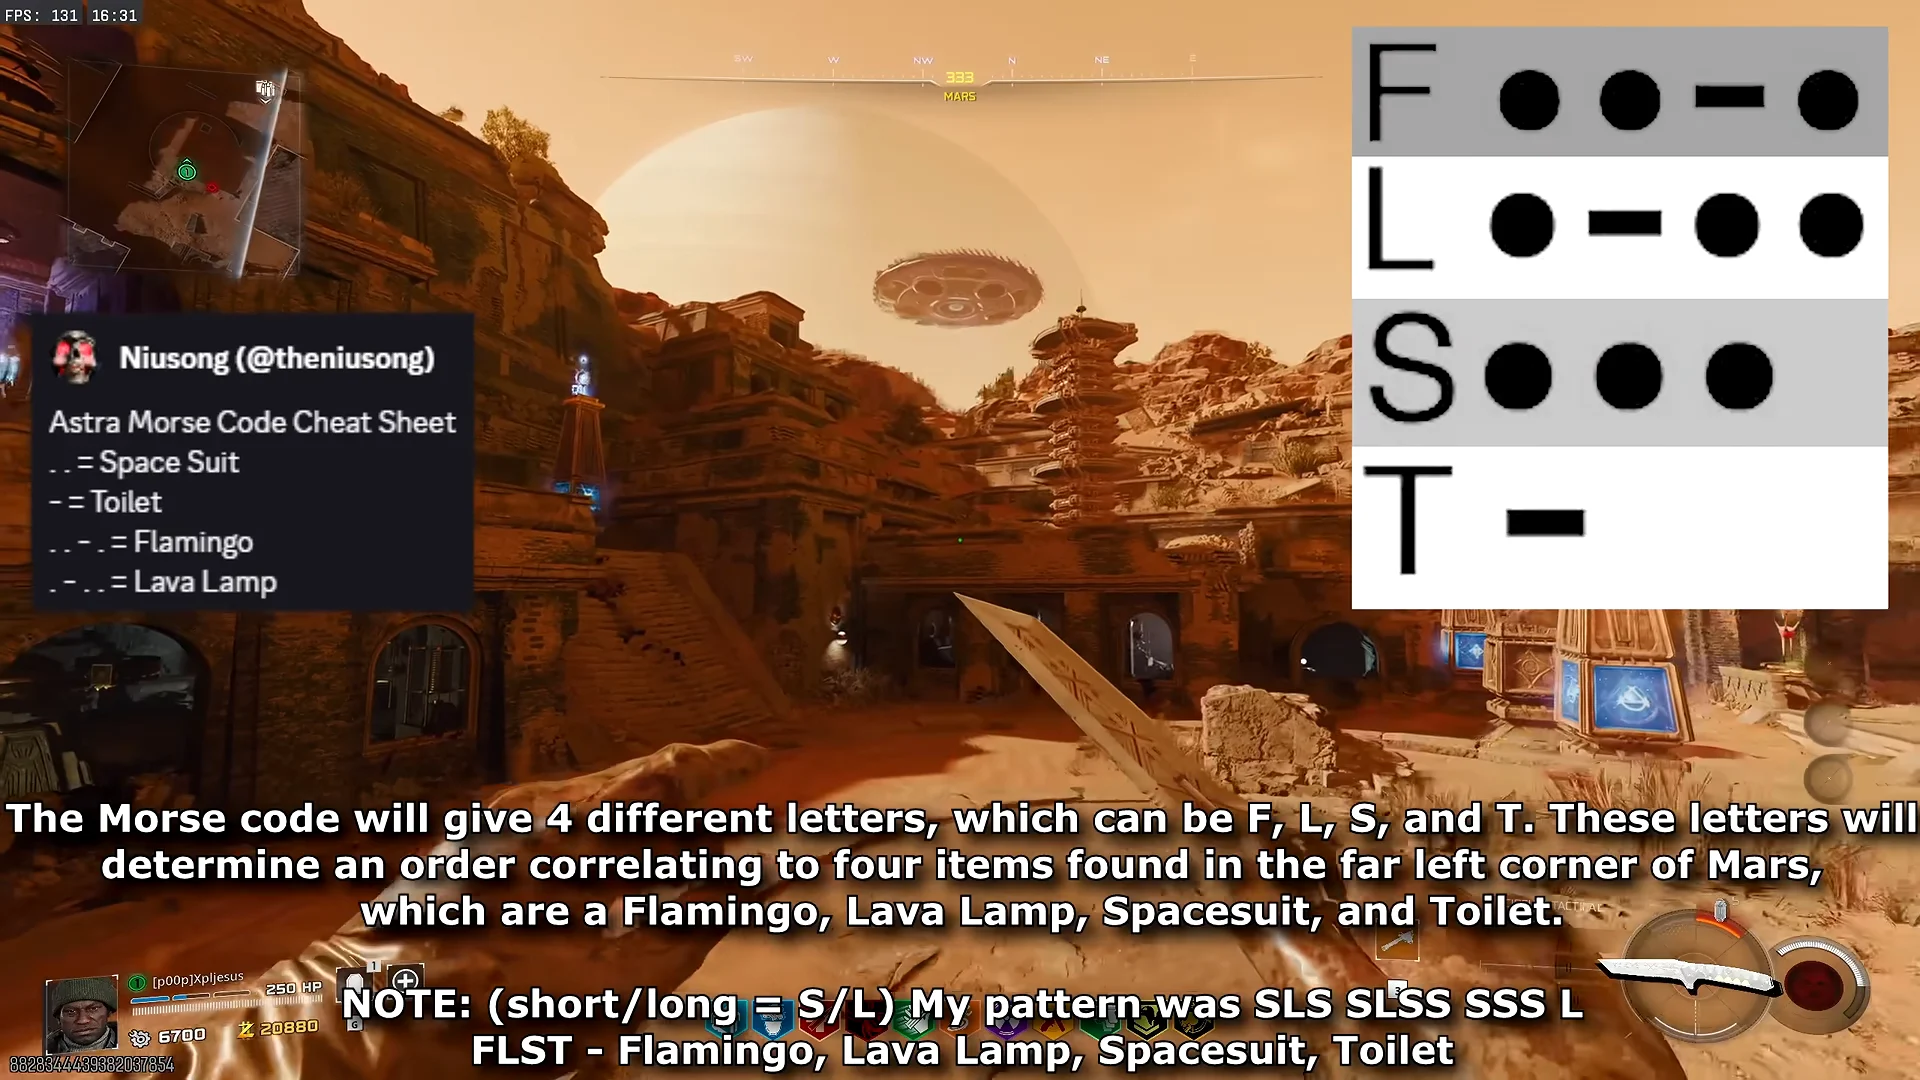
Following the decoded order gives better rewards, but you can brute-force the pedestals and still get the toy. If you run out of Wisps, skip a round and restock from the lanterns.
Swap the alien toy for the Toy Caltheris and Exfil
After the fourth object is taken, a small green alien toy drops onto Mars. That is the item you trade.
Caltheris is one of six toys in the chain, with the others coming from Ashes of the Damned, Paradox Junction, Totenreich, Kowakujō and Rex Infernus. Once all six are on that shelf, the five-stage boss rush opens up.