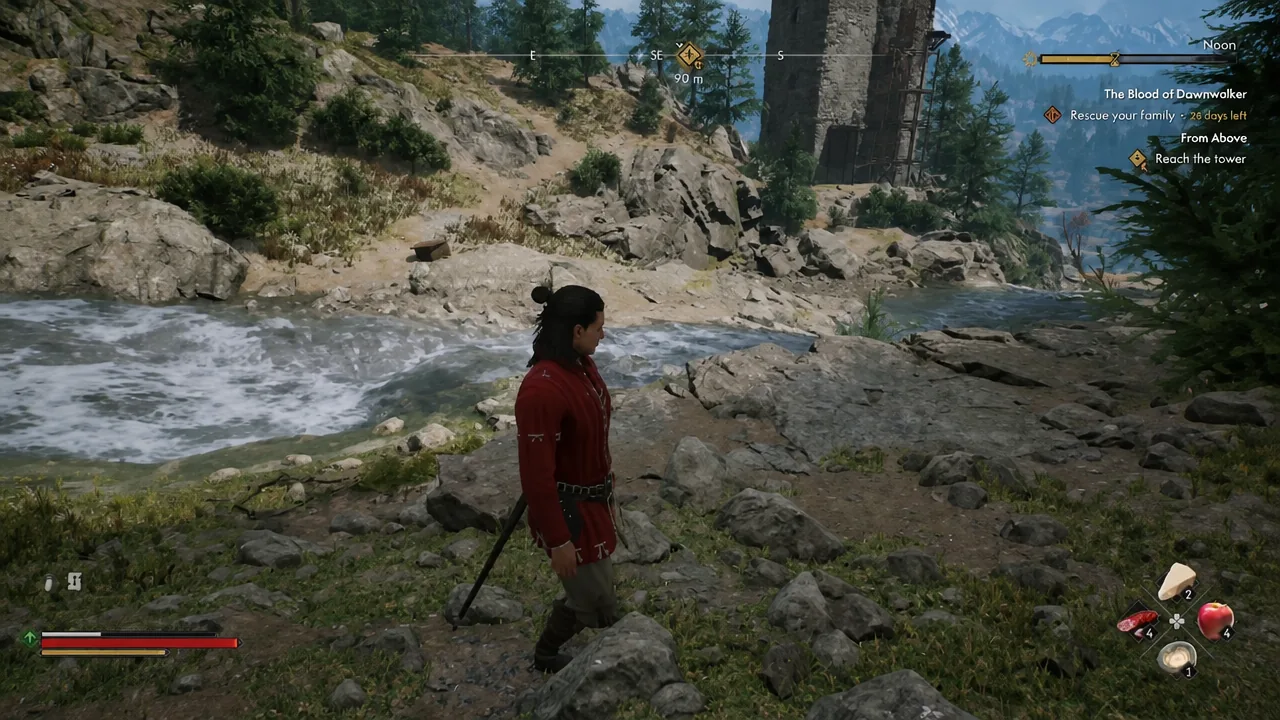
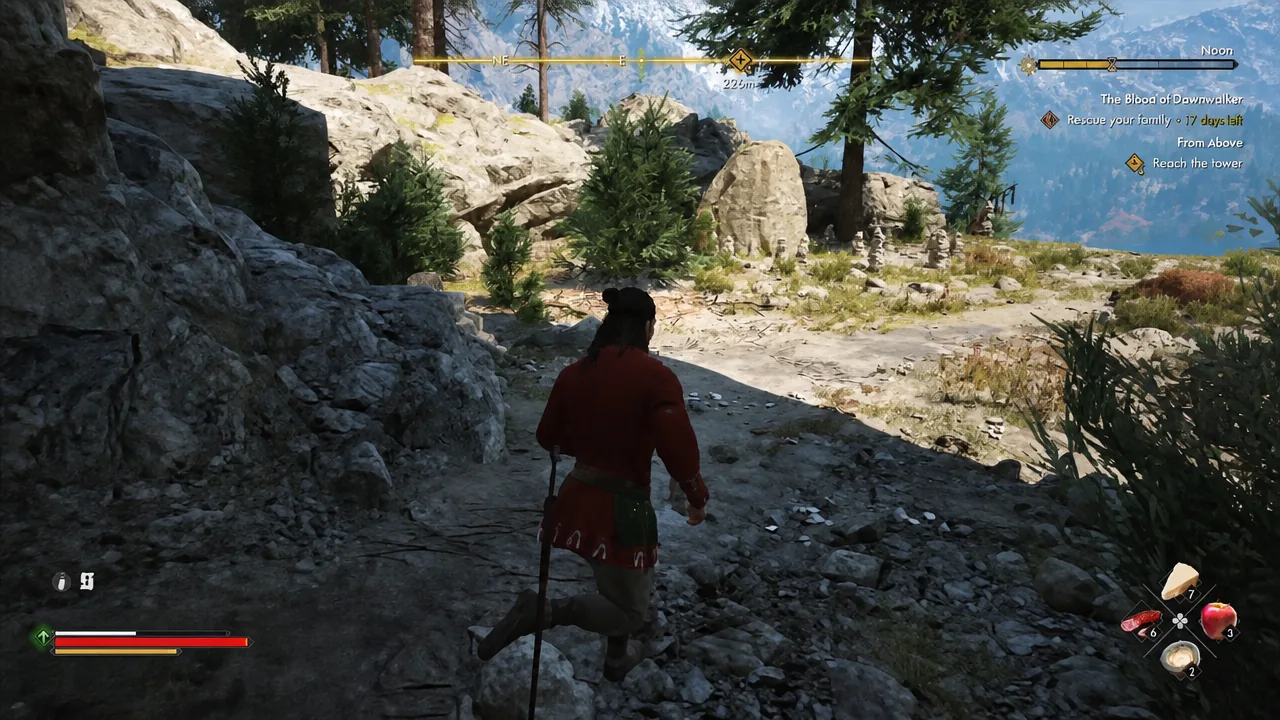
A Pilgrimage for Power: Bear Trouble is the first of four uriashi sacred stone sites in The Blood of Dawnwalker, and it is the earliest reliable way to put the Ravenous Flock ability into Coen’s Witchcraft tree. There is no map marker chain to follow, only sound. The quest opens once you are within earshot of the windchimes strung along a mountain path in the hills between Briar Sloughs and Laslea Glen.
Quick answer: Follow the windchimes and cairns up the mountain above Briar Sloughs, kill the Ravenous Bear at the top, then inspect the uriashi glyph carved into the central stone. That costs two time segments and hands you the Ravenous Flock Manual, which you read from your inventory to make the ability purchasable with skill points.
Bear Trouble quest requirements and rewards
The quest becomes available after you finish Smoke and Ashes, and it usually appears on your radar right after you climb the Briar Sloughs Tower. There is no fail state, so it cannot be lost by taking too long, but the glyph inspection does spend time from the in-game clock.
| Detail | Value |
|---|---|
| Area | Briar Sloughs, on the mountain path north of the tower and south of Laslea Glen |
| Quest giver | Wind chimes (no NPC) |
| Requirement | Complete Smoke and Ashes |
| Time cost | 2 time segments (spent on the glyph) |
| Fail state | None |
| Reward | 250 XP and the Ravenous Flock Manual |
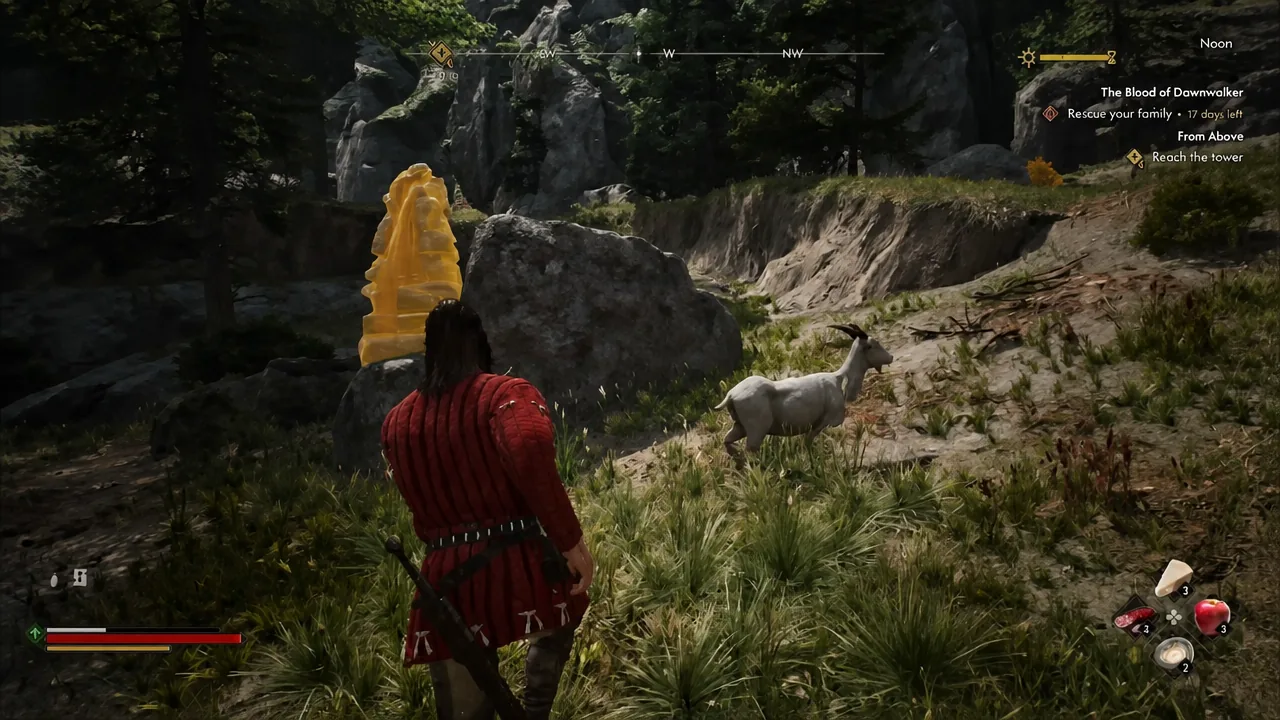
Follow the windchimes up the mountain path
How to beat the Ravenous Bear
This is the same Ravenous Bear you may have already fought at Outlaw’s Gorge, with an identical moveset. It has two unblockable attacks, so trying to hold block through them will just get you flattened.
| Attack | Tell | Answer |
|---|---|---|
| Charge | Bear lowers its head and rushes forward, knocking you down on contact | Dodge sideways, then counterattack on a perfect dodge |
| Ground slam | Bear rears onto its hind legs before slamming straight ahead | Dodge to either side, out of the frontal cone, then punish |
Loot the carcass once it drops. The bear yields Bear Meat, Bear Liver, Animal Bones, and a Vial of Animal Blood, all of which feed straight into crafting and Witchcraft costs.
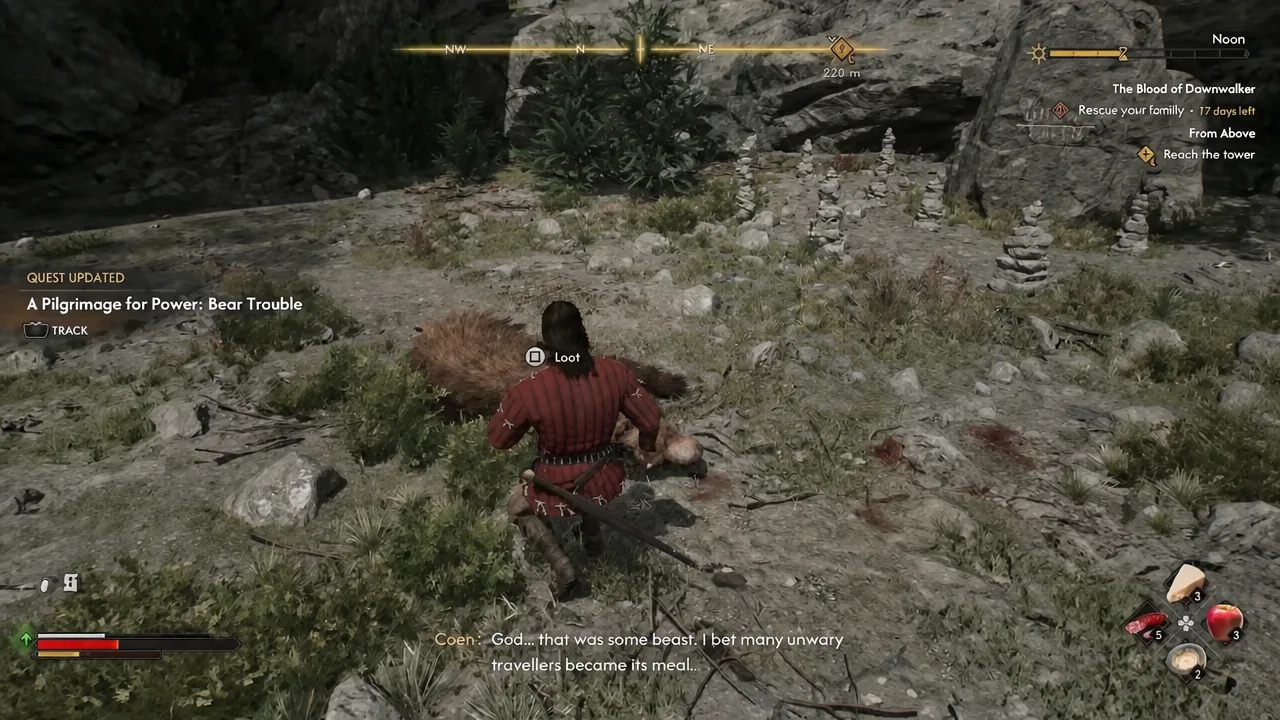
Search the hilltop for the Uriash body and the Quickcast Amulet
With the bear dead, the next objective asks you to explore the top of the hill. Head to the west side of the clearing, where an Uriash corpse is lying near the stones.
Examine the wound on his forearm and a symbol shows up in the cut. The glass and bone beads on the body are worth inspecting too, since that examination rewards a Quickcast Amulet. A bloody knife sits on the ground close to the stone circle, and once Coen puts the knife and the wound together, he concludes the Uriash was attempting witchcraft of his own.
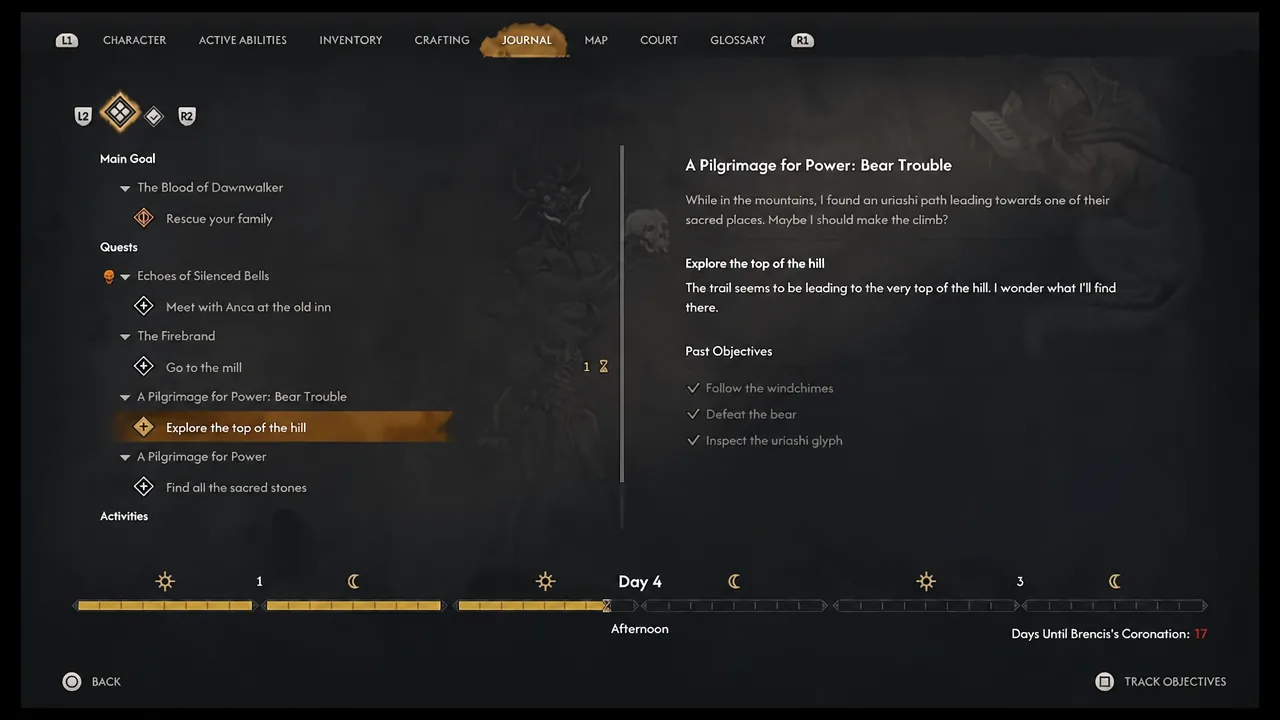
If an objective ever looks stuck, open the journal and select A Pilgrimage for Power: Bear Trouble to see which step is still outstanding. The objectives run in a fixed order, so anything unticked usually means one interaction on the hilltop was skipped.
Inspect the uriashi glyph to get the Ravenous Flock Manual
You know it worked when Ravenous Flock appears as a selectable active ability in the Witchcraft skill tree rather than a greyed-out entry, and the manual disappears from your inventory after being read. If the ability is still locked, the two usual causes are that the manual has not been read yet or that you have no skill points left to spend.
The other three sacred stones that upgrade Ravenous Flock
Bear Trouble only unlocks the first tier. Each of the four uriashi sacred stones hands over another Ravenous Flock Manual, and the ability is only fully unlocked once you have collected all of them. The order does not matter, and every site is signposted the same way, by windchimes leading up a mountain.
| Part | Where to look | What blocks the glyph |
|---|---|---|
| Bear Trouble | Briar Sloughs, west of Laslea Gate Shrine | Ravenous Bear |
| Dark-Thing | Rockfalls, north of the Westridge Outpost Shrine, east of Svartrau | Essence of Grief |
| The Ritual | Tantari Woods, southeast of the Vedera Spring Shrine | Witch of Barren Peaks (drops the Loop of Vitality) |
| Fanatics | St. Tyna’s Grove, southwest of Tyna’s Grove | No fight; the glyph is destroyed, so copy the drawing instead |
At full rank, Ravenous Flock lands an Area Attack with Stun on a target, and each time you hit that target it triggers another Area Attack. It deals 470 area damage, lasts for four hits, and stays active for 20 seconds.
Because the sacred stones sit on peaks scattered across the valley and cost time segments to read, it is worth folding them into trips you are already making rather than dedicating a run to each one. Bear Trouble is the cheapest of the four to reach early, which makes it the natural starting point for a Witchcraft-leaning Coen.