

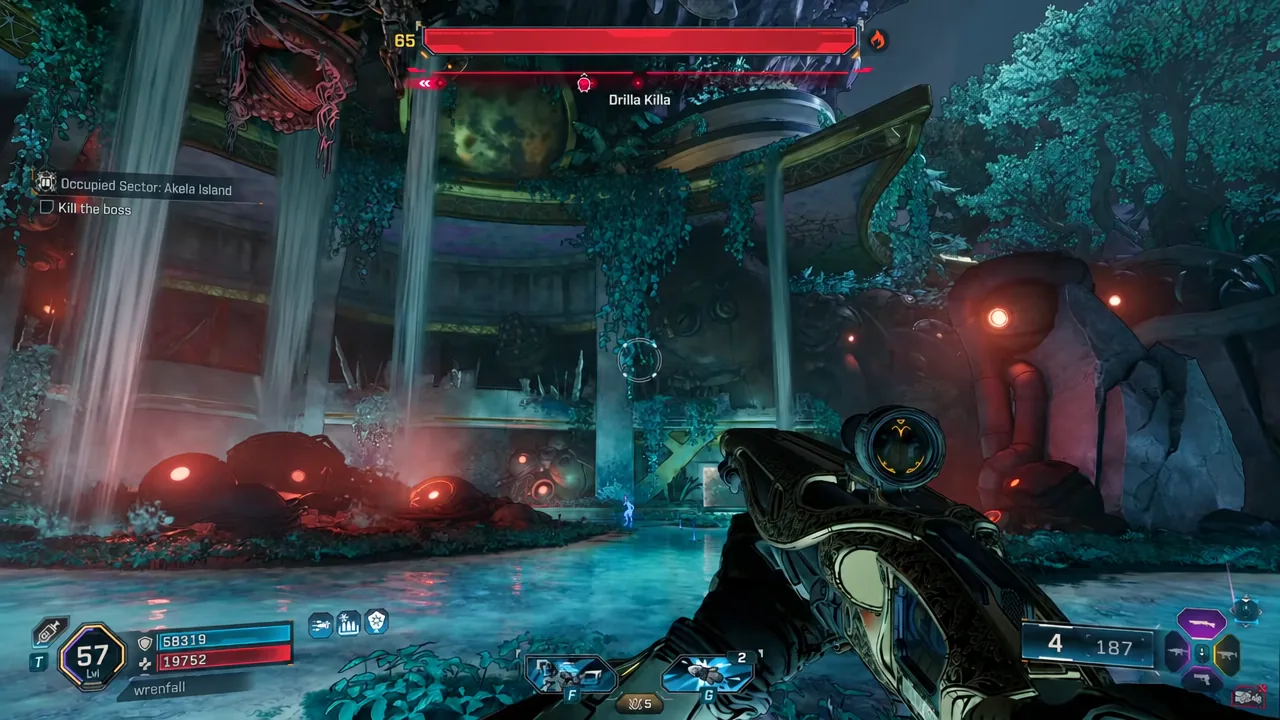
Drilla Killa is the boss sitting at the end of the Occupied Sector on Akela Island in Borderlands 4. The fight itself is short. What makes it messy is everything else in the arena — Rippers, Sparking Plinkers, and Recommissioned Splitcopters keep pouring in while the boss health bar sits at the top of your screen, and most players go down to the trash mobs rather than to Drilla Killa.
Quick answer: Drop into the Akela Island arena, empty Drilla Killa’s health bar while circling the outer edge, and use the constantly spawning adds as free Second Winds every time you get downed. The sector completes the instant the boss dies.
Where Drilla Killa is and why the fight matters
The encounter is tied to the Occupied Sector on Akela Island. You drop into the arena from above, and the objective banner switches to “Kill the boss” the moment Drilla Killa spawns. There’s no long approach and no lead-in wave — the fight starts within a couple of seconds of your feet hitting the ground, so have your weapon up before you land.
Clearing it isn’t just a side activity. Akela Island counts toward “I Hate These Guys,” the mission that asks you to clear out the Occupied Sectors. Finishing this one ticks the counter to 1/2, which means there’s a second sector still waiting after you’re done here.
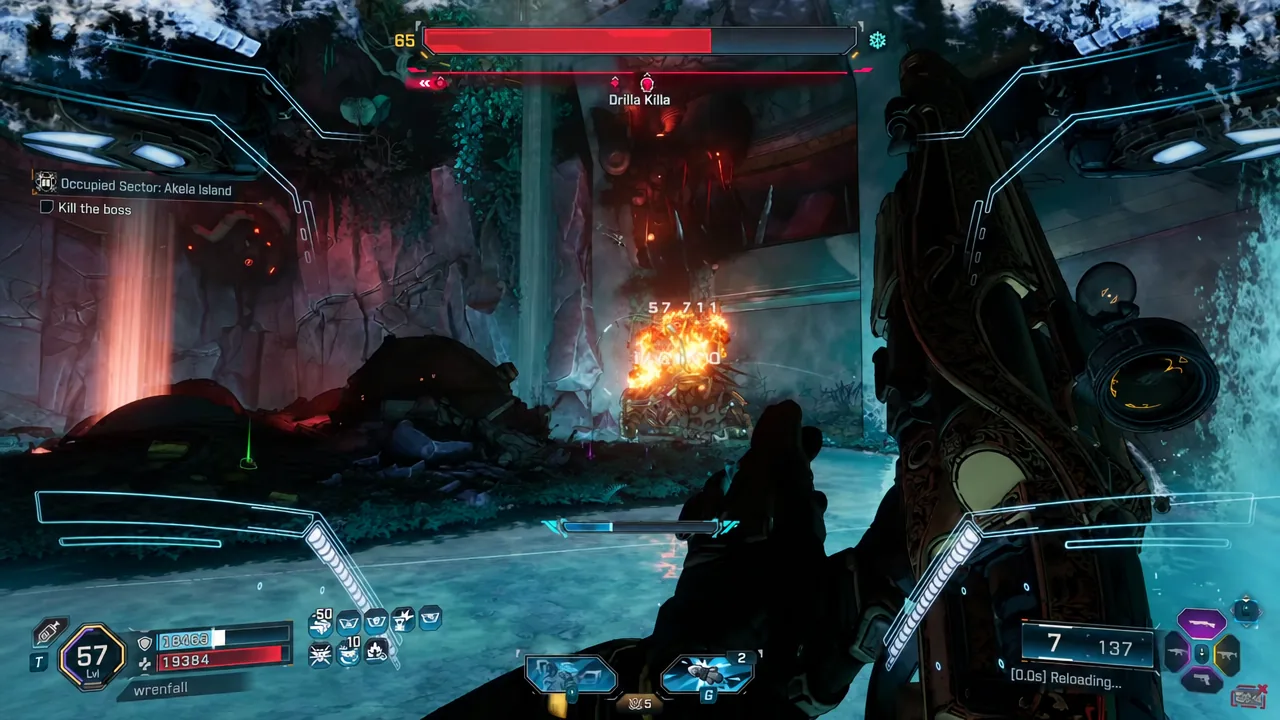
What spawns during the Drilla Killa fight
Three enemy types show up on a loop while the boss is alive, and each one threatens you differently. Treat them as the real difficulty of the encounter rather than as background noise.
| Enemy | Threat | How to handle it |
|---|---|---|
| Rippers | Ground pressure, close range | Easiest Second Wind target when you go down |
| Sparking Plinker | Chip damage from range | Clear before committing to the boss |
| Recommissioned Splitcopter | Airborne, drops you fast | Highest priority — deal with it first |
Splitcopters are the ones that end runs. They stay in the air, they hit hard, and they’re easy to lose track of while you’re tunneling on the boss health bar. If you get knocked down twice in a row, it’s almost always because a Splitcopter was behind you.
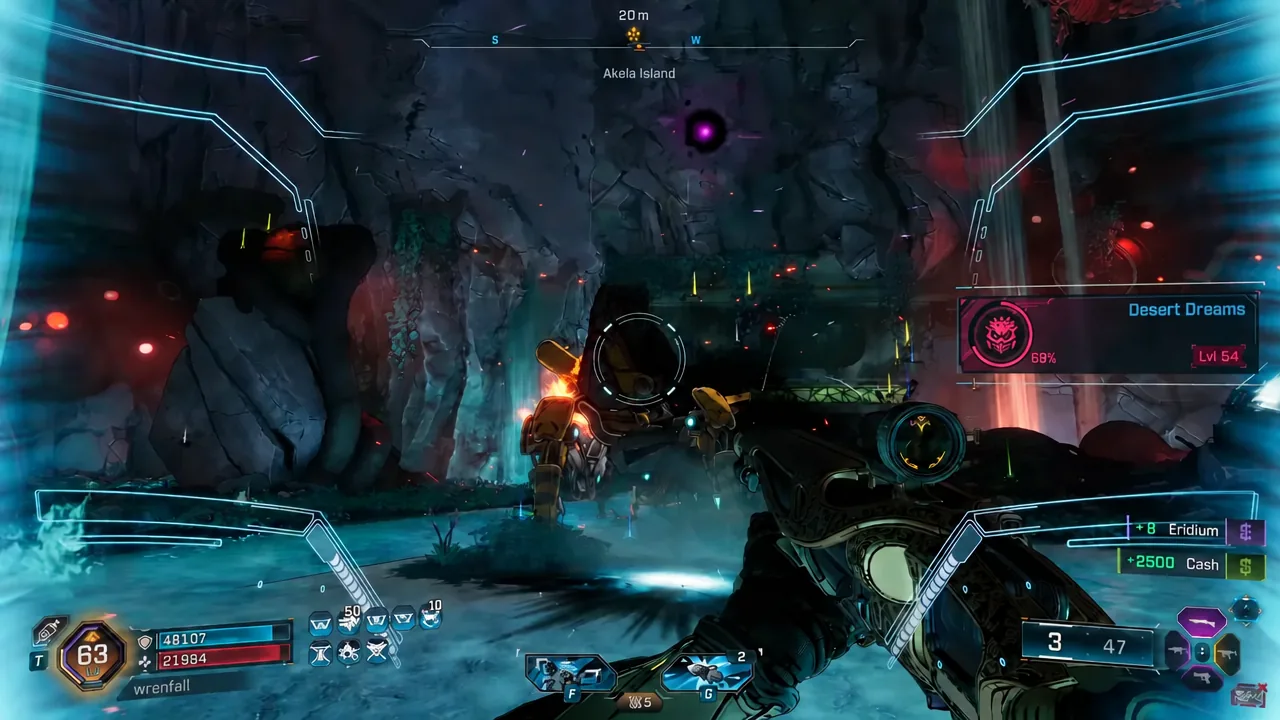
Use Second Wind instead of restarting
Going down here is not a failure state. When the “FIGHT FOR YOUR LIFE!” bar appears, you keep your weapon and you keep your aim — killing any nearby enemy grants a Second Wind and puts you straight back into the fight with no progress lost on the boss health bar.
That’s why the adds are useful. A Ripper or a Plinker standing near you is essentially a revive button, so never down yourself into an empty corner of the arena. Fight where the small enemies are, not where they aren’t. Ignore the “Hold to give up” prompt unless the timer is genuinely gone.
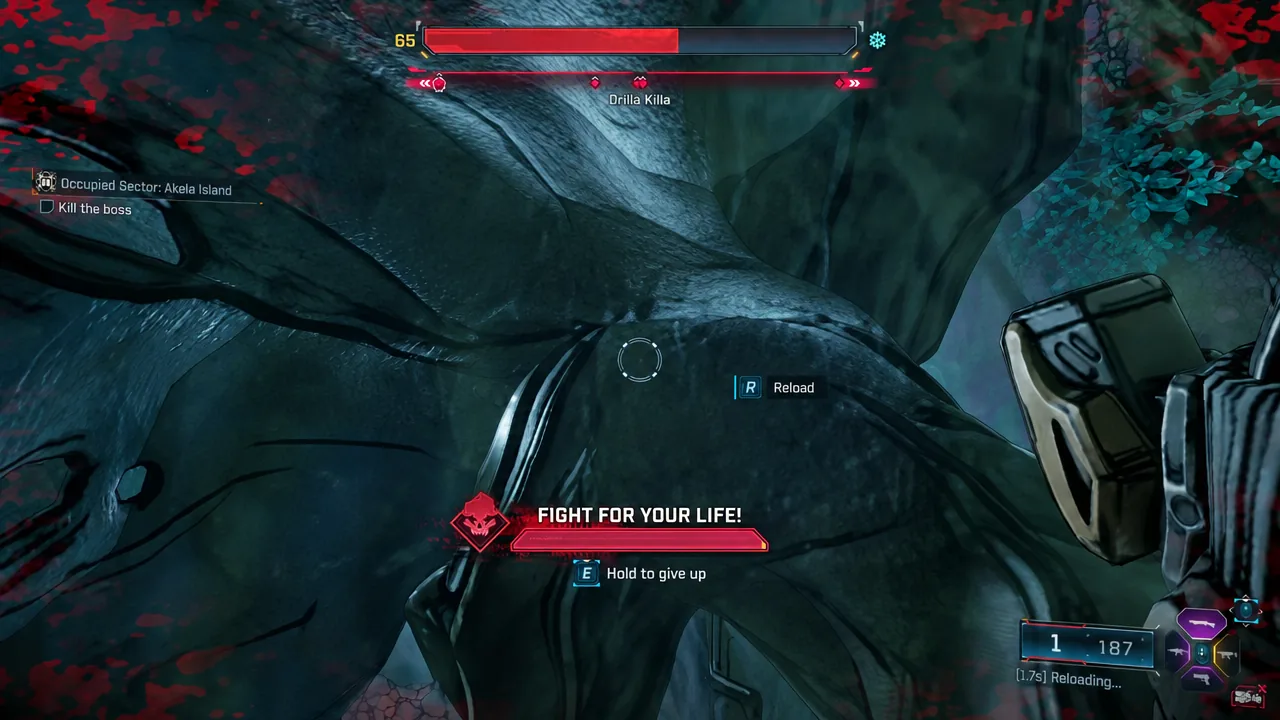
Note: getting downed four or five times across a single Drilla Killa run is completely normal. The fight is survivable through repeated Second Winds as long as the arena still has enemies in it.
Loadout and positioning for the boss
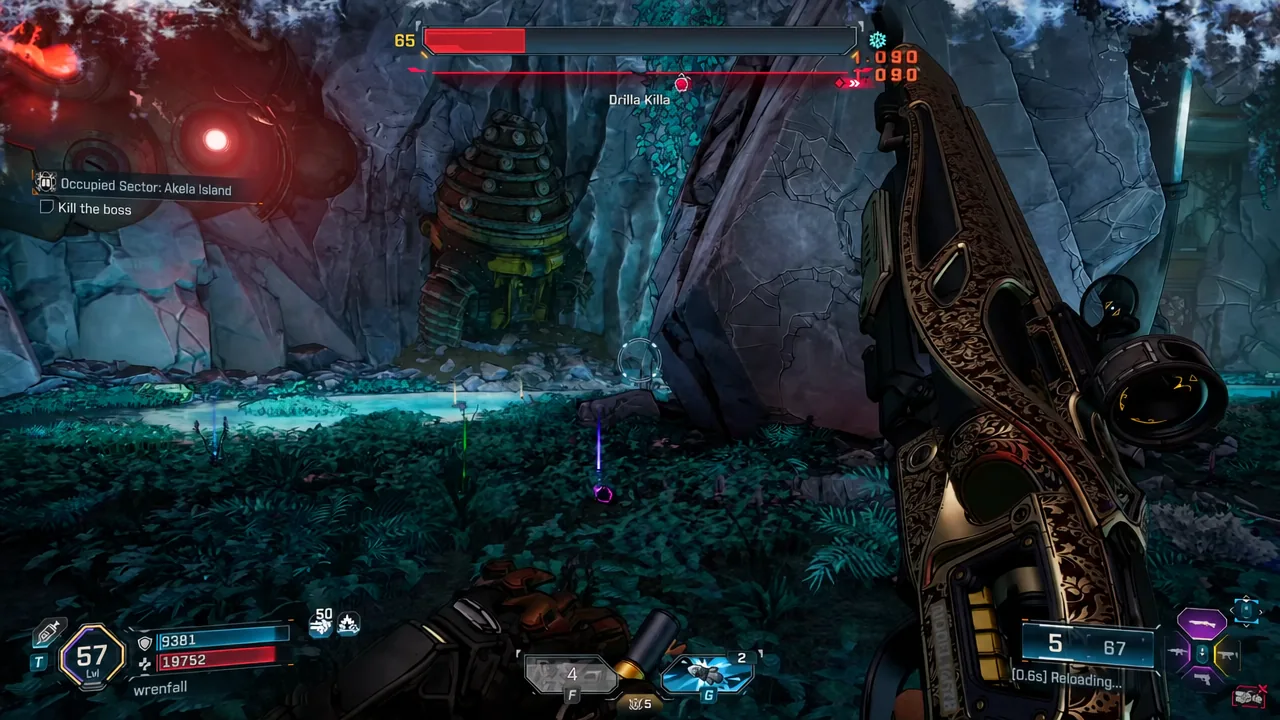
A high-damage shotgun does the heavy lifting on Drilla Killa at close range, while elemental weapons clean up the adds and chew through anything with a resistant health bar. Bring both. Swapping guns is faster than reloading mid-scrap, and a dry magazine during a Splitcopter pass is how most downs start.
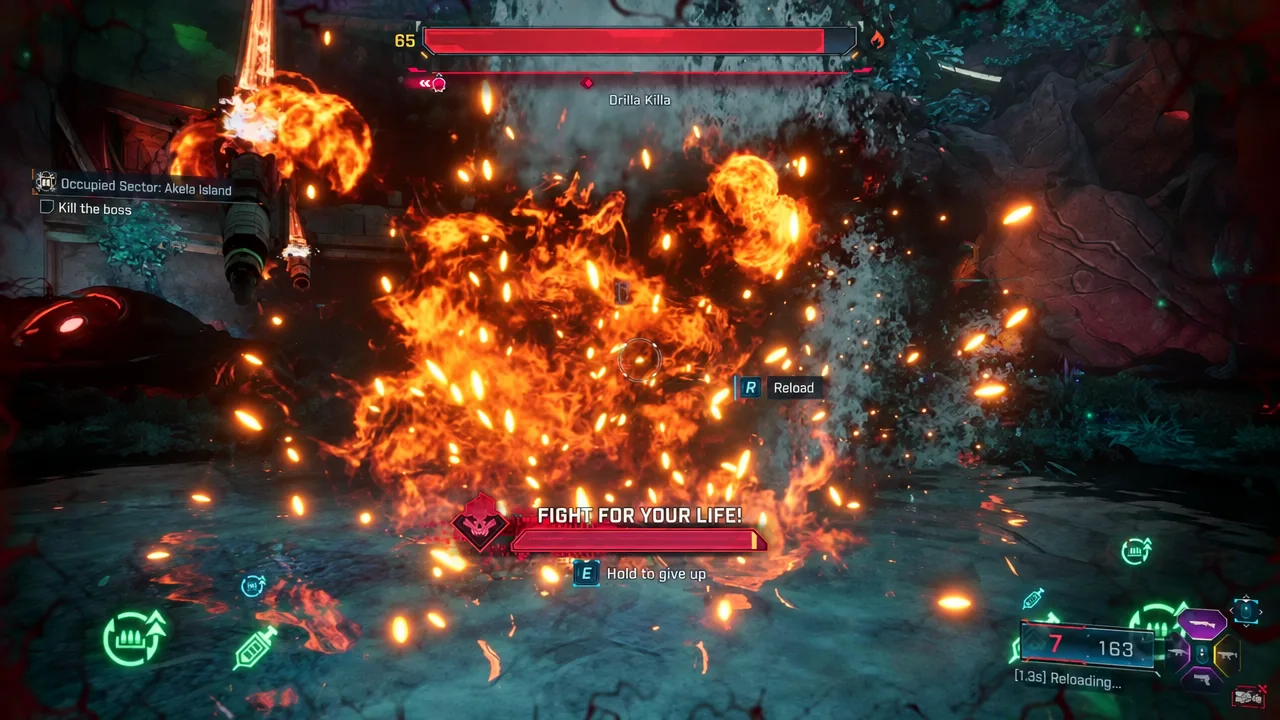
Keep moving around the outside of the arena rather than standing and trading. Circling lets you keep Drilla Killa in front of you, forces the airborne enemies to reposition, and gives you cover to reload behind. Stopping to pour a full magazine into the boss is what gets you flanked.
How to confirm the Occupied Sector is cleared
You’ll get three separate confirmations the moment Drilla Killa dies, and all of them appear without you needing to do anything else.
- An “Occupied Sector Complete” banner appears on screen.
- The “I Hate These Guys” mission counter moves to 1/2 for clearing out the Occupied Sectors.
- Your Vault Card gains a level from the completion.
If the banner doesn’t fire, the boss isn’t actually dead — the remaining adds don’t gate completion, only Drilla Killa does. Opening the map afterward will show Akela Island with the sector no longer flagged as occupied.
Running Drilla Killa again for loot
Occupied Sector bosses are part of Borderlands 4‘s repeatable loot pool, and Moxxi’s Big Encore machine lets you respawn any boss you’ve already killed at least once for a fee that scales with level. Once Drilla Killa is down for the first time, you don’t need to run the sector from scratch to fight it again.
The short version: is that Drilla Killa punishes tunnel vision, not bad builds. Keep a shotgun up close, an elemental weapon for the Splitcopters, and stay near enough to the trash mobs that a bad moment turns into a Second Wind instead of a reload — then move on to the second Occupied Sector.





