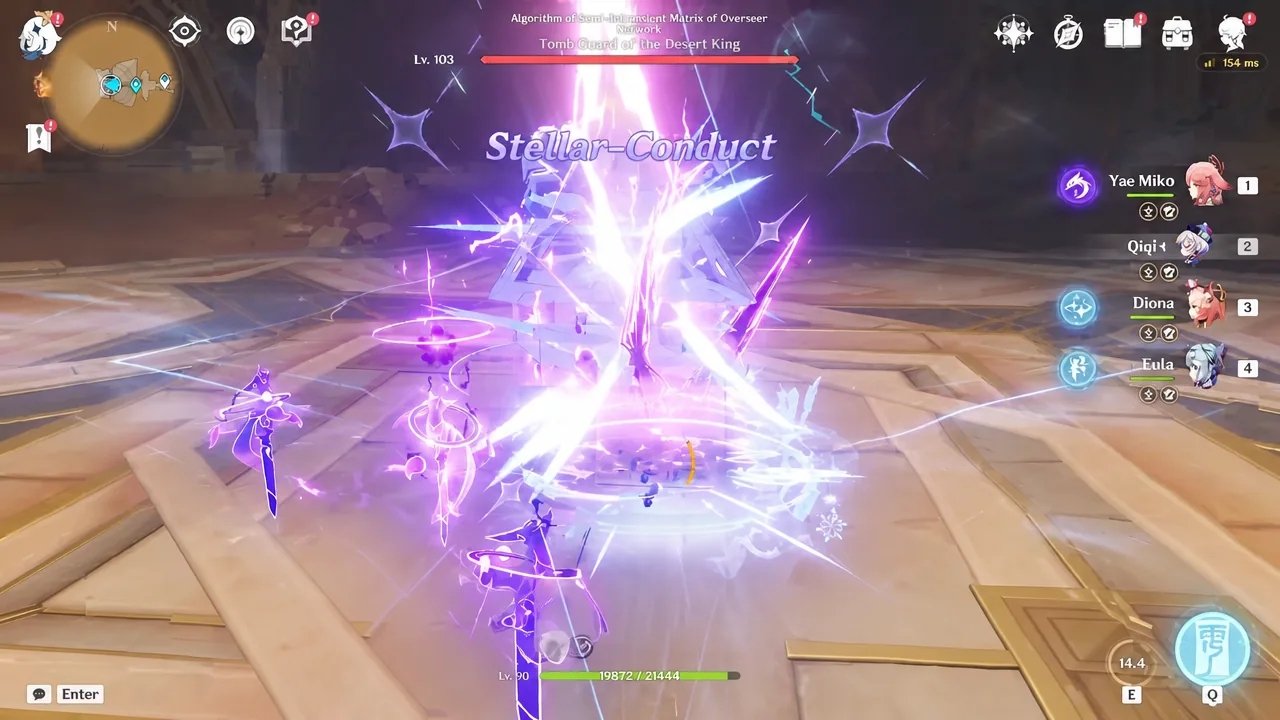
A C0 Odette can land a single Stellar reaction hit close to two million damage, but only after every buff in her kit and her team stacks in the right order. Odette is a 5-star Cryo Sword character who turns Superconduct and Cryo Swirl into the stronger Stellar-Conduct and Stellar Swirl reactions, and almost all of her damage comes from those Stellar hits rather than raw Cryo. The nuke ceiling comes from layering ATK buffs, Stellar reaction damage bonuses, and a downed boss.
Quick answer: Build Odette on Heart of the Furnace (or Disenchantment in Deep Shadow on a team where someone else holds a support set), stack her to 3,000 ATK, keep her signature Whitelake Frostfeather at three Lake-Hued Lament stacks, and fire the Stellar reaction into a downed boss while an Electro enabler, Qiqi, and an ATK buffer are active. That chain is what carries the hit from roughly 100,000 solo to nearly 2,000,000.
How Odette’s damage actually scales
Odette does not deal meaningful damage outside a Stellar team. Her hits count as Stellar-Conduct or Stellar Swirl reaction damage, and both require a Stellar Radiance state to exist, which means she needs a teammate constantly upgrading reactions. Her passive Pathetique of Pateticheskaya adds Stellar Glimmer damage based on ATK above 1,000, and a second passive raises the base damage of the Stellar reaction itself by up to 14%. That is why every buff on the list below is either ATK, CRIT, or a direct Stellar reaction damage bonus.
The two-million figure is a test-server nuke, not a rotation number. It is the peak of a single Stellar reaction hit against a boss that has been knocked down, with food buffs and a full team of buffers active at once. Reproducing it on live servers depends on getting every one of those layers up before the hit lands.
Odette’s base build and stat targets
The starting point is a level 90 Odette with maxed Elemental Skill, a Stellar reaction artifact set, and enough ATK to cross the 3,000 threshold where her ATK-scaling passives are fully paying out. Her Elemental Skill is the top talent priority because the Solo Dance Double and the Coda at Dawn’s Tolling duet finisher are her entire damage source.
Her stat priority puts ATK% on the Sands and Goblet and CRIT on the Circlet, with substats favoring CRIT, then ATK%, then Elemental Mastery. Once she hits 3,000 ATK, Elemental Mastery becomes almost as valuable as more ATK. Energy Recharge can usually be skipped, because Odette often does not cast her Burst during a fast rotation due to its long animation.
| Slot | Main stat | Target range |
|---|---|---|
| Sands | ATK% or Elemental Mastery | ATK 2,400–2,600 (before buffs) |
| Goblet | ATK% or Elemental Mastery | CRIT Rate 60–75% |
| Circlet | CRIT Rate / CRIT DMG | CRIT DMG 150–175% |
| Substats | CRIT > ATK% > EM > ER | Energy Recharge 100–130% only if you Burst |
Cryo Resonance adds roughly 15% CRIT Rate on top of the screen value, so the on-paper CRIT Rate can sit lower than the effective number in a double-Cryo team.
Weapons that push the nuke higher
The single biggest personal-damage jump comes from her signature sword. Whitelake Frostfeather gives high Base ATK, CRIT Rate, and a stacking ATK buff, and at three stacks it adds a 50% CRIT DMG bonus to her Stellar Glimmer reactions plus energy restoration. In the nuke test, moving Odette from Mistsplitter Reforged to Whitelake Frostfeather lifted her hit from around 953,000 to over 1,038,000.
| Weapon | Base ATK | Why it fits |
|---|---|---|
| Whitelake Frostfeather (signature) | 674 | ATK stacks, 50% Stellar Glimmer CRIT DMG, energy return |
| Mistsplitter Reforged | 674 | High Base ATK and CRIT DMG for personal damage |
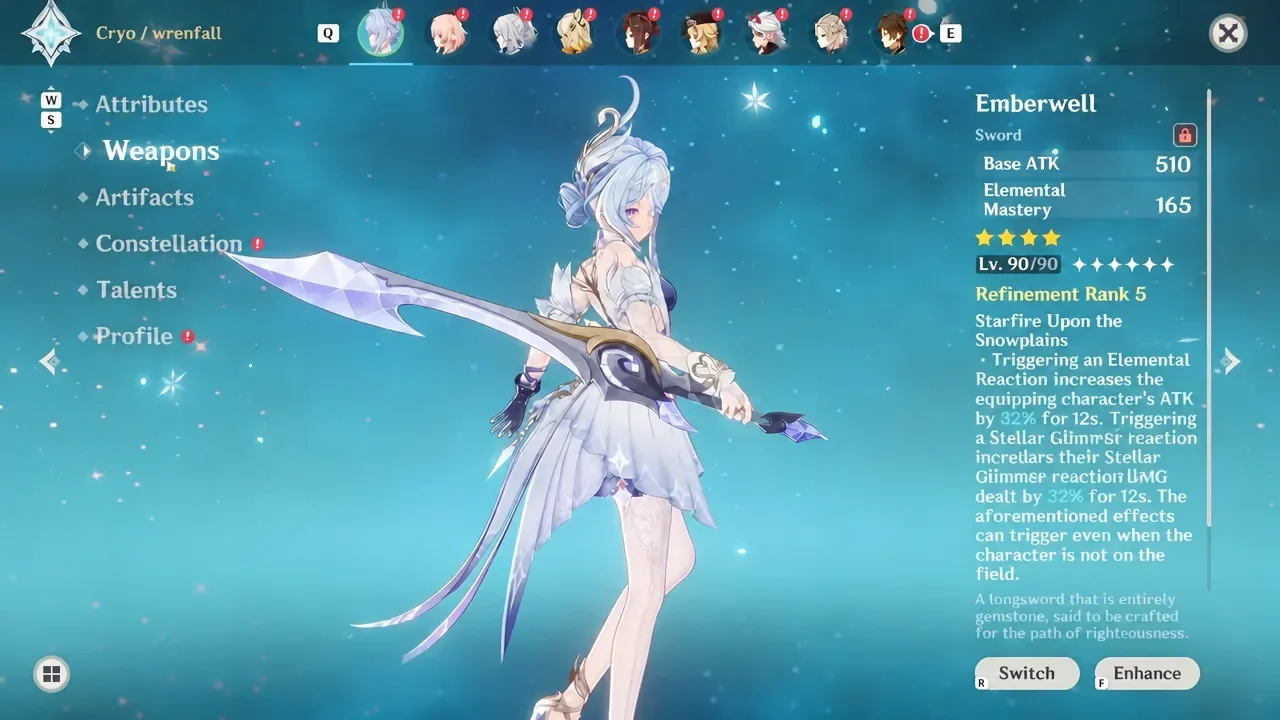
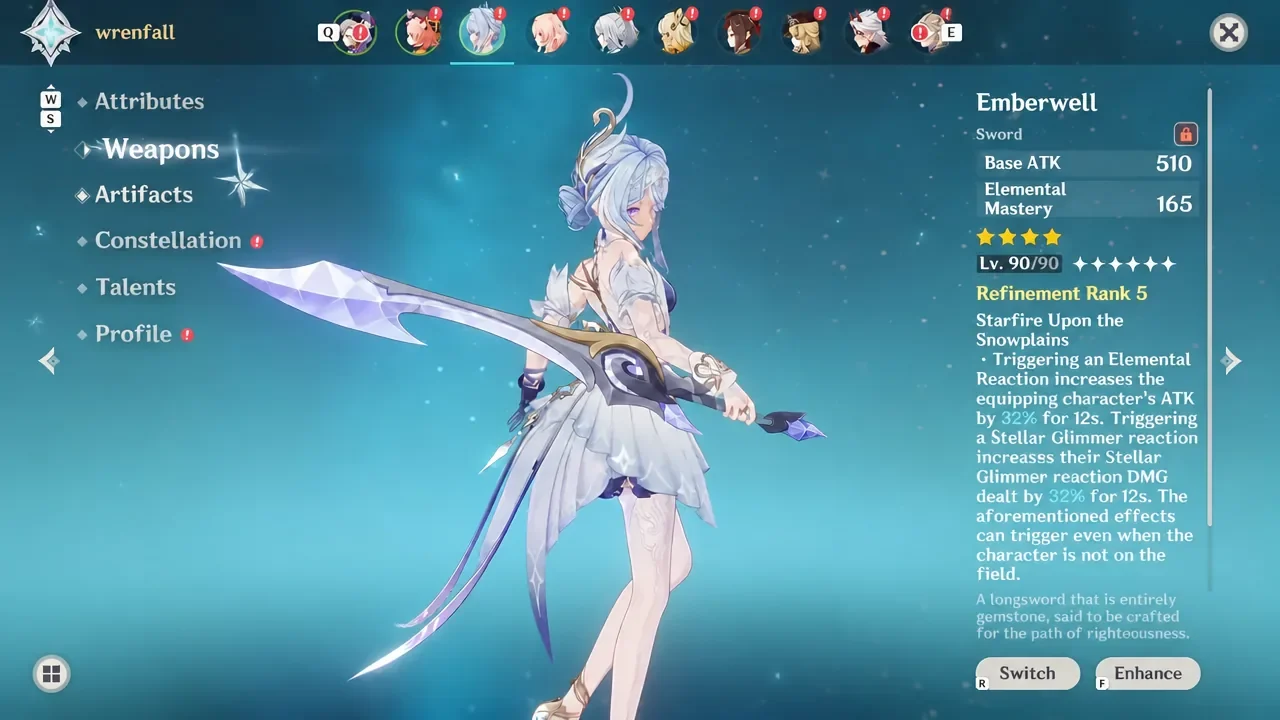
| Emberwell (craftable, F2P) | 510 | ATK%, EM, and Stellar Glimmer reaction DMG |
| Freedom-Sworn | 608 | Team ATK buff, though its DMG% skips Stellar reactions |
Emberwell is the free craftable weapon and Odette’s best 4-star option, giving her ATK, Elemental Mastery, and a Stellar Glimmer reaction bonus. It improves personal damage but does not provide the energy help of the signature.
Choosing between her two artifact sets
Two sets matter for the nuke. Heart of the Furnace gives Odette 30% ATK total and a teamwide 50% Stellar Glimmer reaction damage buff, so if nobody else on the team runs it, Odette should. Disenchantment in Deep Shadow gives higher personal damage in Stellar-Conduct teams, raising Stellar-Conduct reaction DMG by 40% and adding CRIT Rate against affected enemies.
The important trick in the nuke test is passing the team buff set to a teammate. When Odette swaps to a 4-piece Disenchantment in Deep Shadow and hands Heart of the Furnace to Qiqi, the team keeps the 50% Stellar buff while Odette gains personal damage, pushing the hit from about 642,000 to 776,000.
If the team runs mostly ATK-scaling damage dealers and nobody else uses it, Tenacity of the Millelith is also a strong Odette option because her 20-second Skill duration keeps its ATK buff up nearly all the time.
The buff stacking order, step by step

Team composition for the two-million hit
| Slot | Character | Job in the nuke |
|---|---|---|
| Cryo enabler / carry | Odette (C0) | Stellar reaction hit, signature weapon, personal-damage set |
| Sub-DPS / Electro | Yae Miko | Stellar-Conduct triggers, Heart of the Furnace team buff |
| Cryo support | Qiqi | Cryo Resonance, ATK and Stellar reaction buffs, sustain |
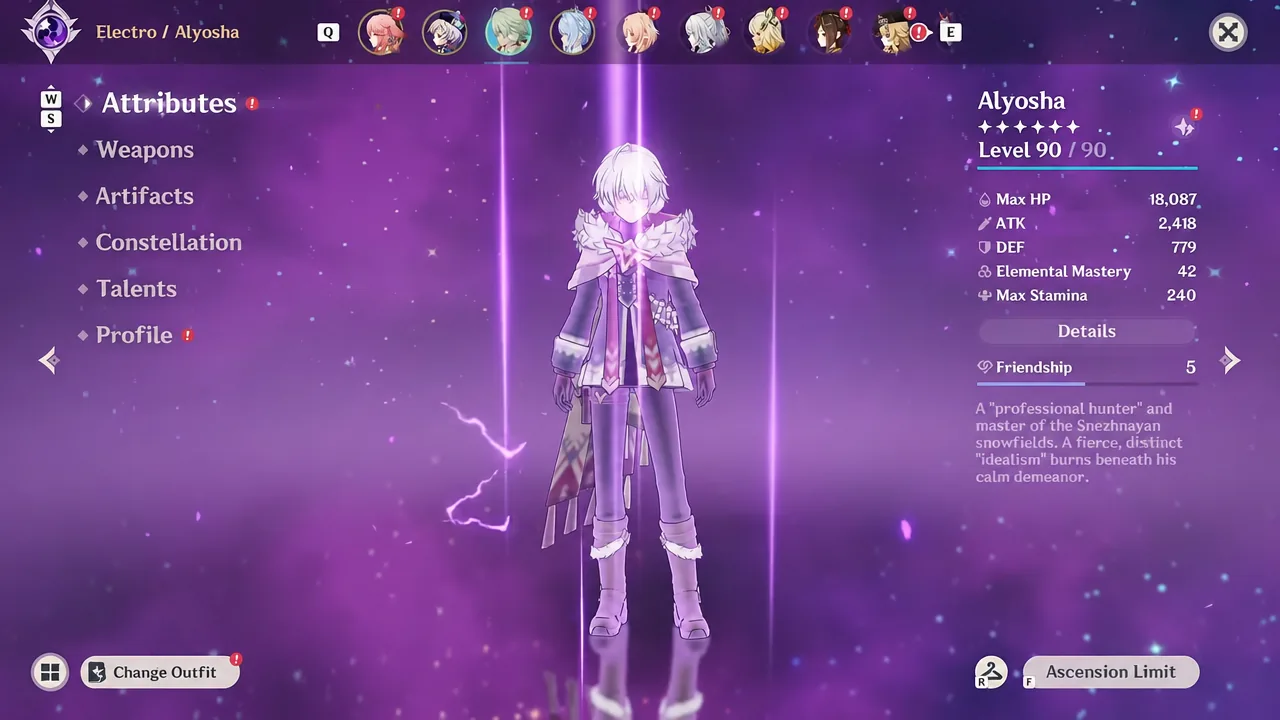
| ATK buffer | Alyosha | 50% ATK, EM, and Symphonist of Scents ATK on heal |
Odette pairs best with Electro or Anemo units because those elements feed the Stellar-Conduct and Stellar Swirl reactions she runs on. A second Cryo unit is worth it for the Resonance CRIT Rate and the extra ATK a support like Qiqi provides.
Why your hit might fall short
The peak number relies on conditions that are easy to miss. The most common reasons a live hit lands lower than expected come down to timing and stat thresholds.
- No active Stellar Radiance when the hit lands. Odette needs an Electro or Anemo teammate keeping a Stellar-Conduct or Stellar Swirl reaction live, or her damage collapses.
- ATK below 3,000. Her ATK-scaling passives are not fully paying out, so the base damage of the Stellar reaction stays low.
- Whitelake Frostfeather not at three stacks. The 50% Stellar Glimmer CRIT DMG only applies once all three Lake-Hued Lament stacks are up.
- Buff windows expiring before the hit. Alyosha’s ATK buff, Qiqi’s ATK, and food buffs all have to overlap on the same reaction.
- Duplicate team buff sets. Two copies of Heart of the Furnace do not stack, so only one character should hold it.
You will know the stacking is working when the same Coda at Dawn’s Tolling reaction jumps by hundreds of thousands each time you add a buffer, and when the final hit against a downed boss reads close to the near-two-million peak. The number is a controlled test result, so real-fight totals will vary with boss type, artifact quality, and how cleanly your buffs line up.