Belmont’s Curse drops most of its rules on you once and then moves on. Saving, healing, upgrading your stats, casting spells, and even fast travel all run on small systems that flash past in a tutorial prompt or sit quietly in a menu. Rose Belmont stays alive or dies based on how well you remember them, so here is how each one actually works.
Quick answer: Mirrors of Life save, fully heal and refill potions while respawning roaming enemies; Heart Fragments permanently raise HP and MP; and crouching at any mirror opens a hidden fast-travel room.
Castlevania: Belmont’s Curse interactive map
The Mirror of Life saves, heals and sets your checkpoint
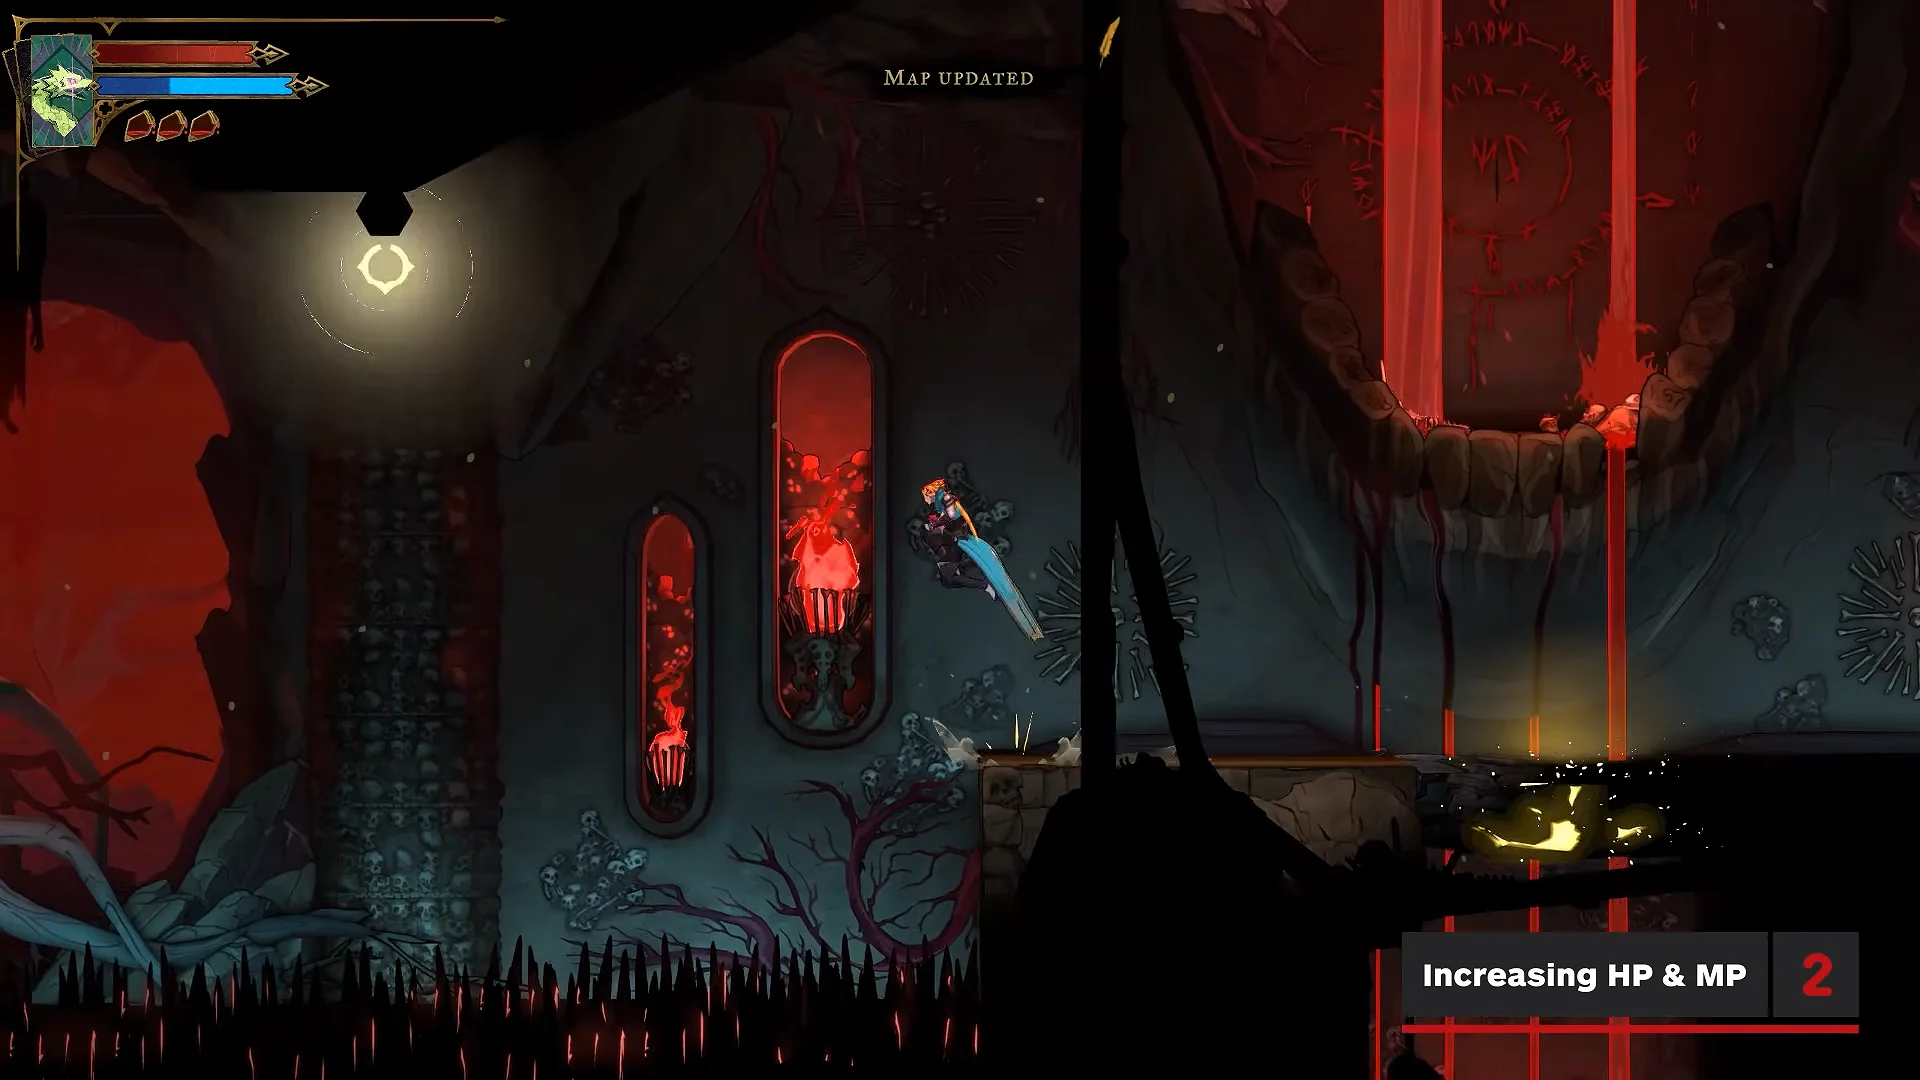
At a Mirror of Life, press R1 (E on PC) to activate it. One use saves your progress, restores Rose to full health, and replenishes her potions. The prompt also warns that every roaming enemy in the area respawns immediately.

The mirror is also your respawn point. Die after touching one, and Rose returns at the last mirror she used, with full health and potions. Die before you have reached any mirror and there is no checkpoint yet, so she restarts at the very beginning on the docks by the river, and every room you cleared has to be walked again. The first Mirror of Life sits in the Central Sewer Drain, so reaching it quickly is the fastest way to shorten any walk back.
The map marks the spot where Rose dies with a skull, one of the symbols shown on the map tutorial card. Sewer water works differently: it neither kills her nor sends her to a mirror. Instead, she appears again on the platform where she last stood.
Potions, whole meat and mana tea: how healing actually works
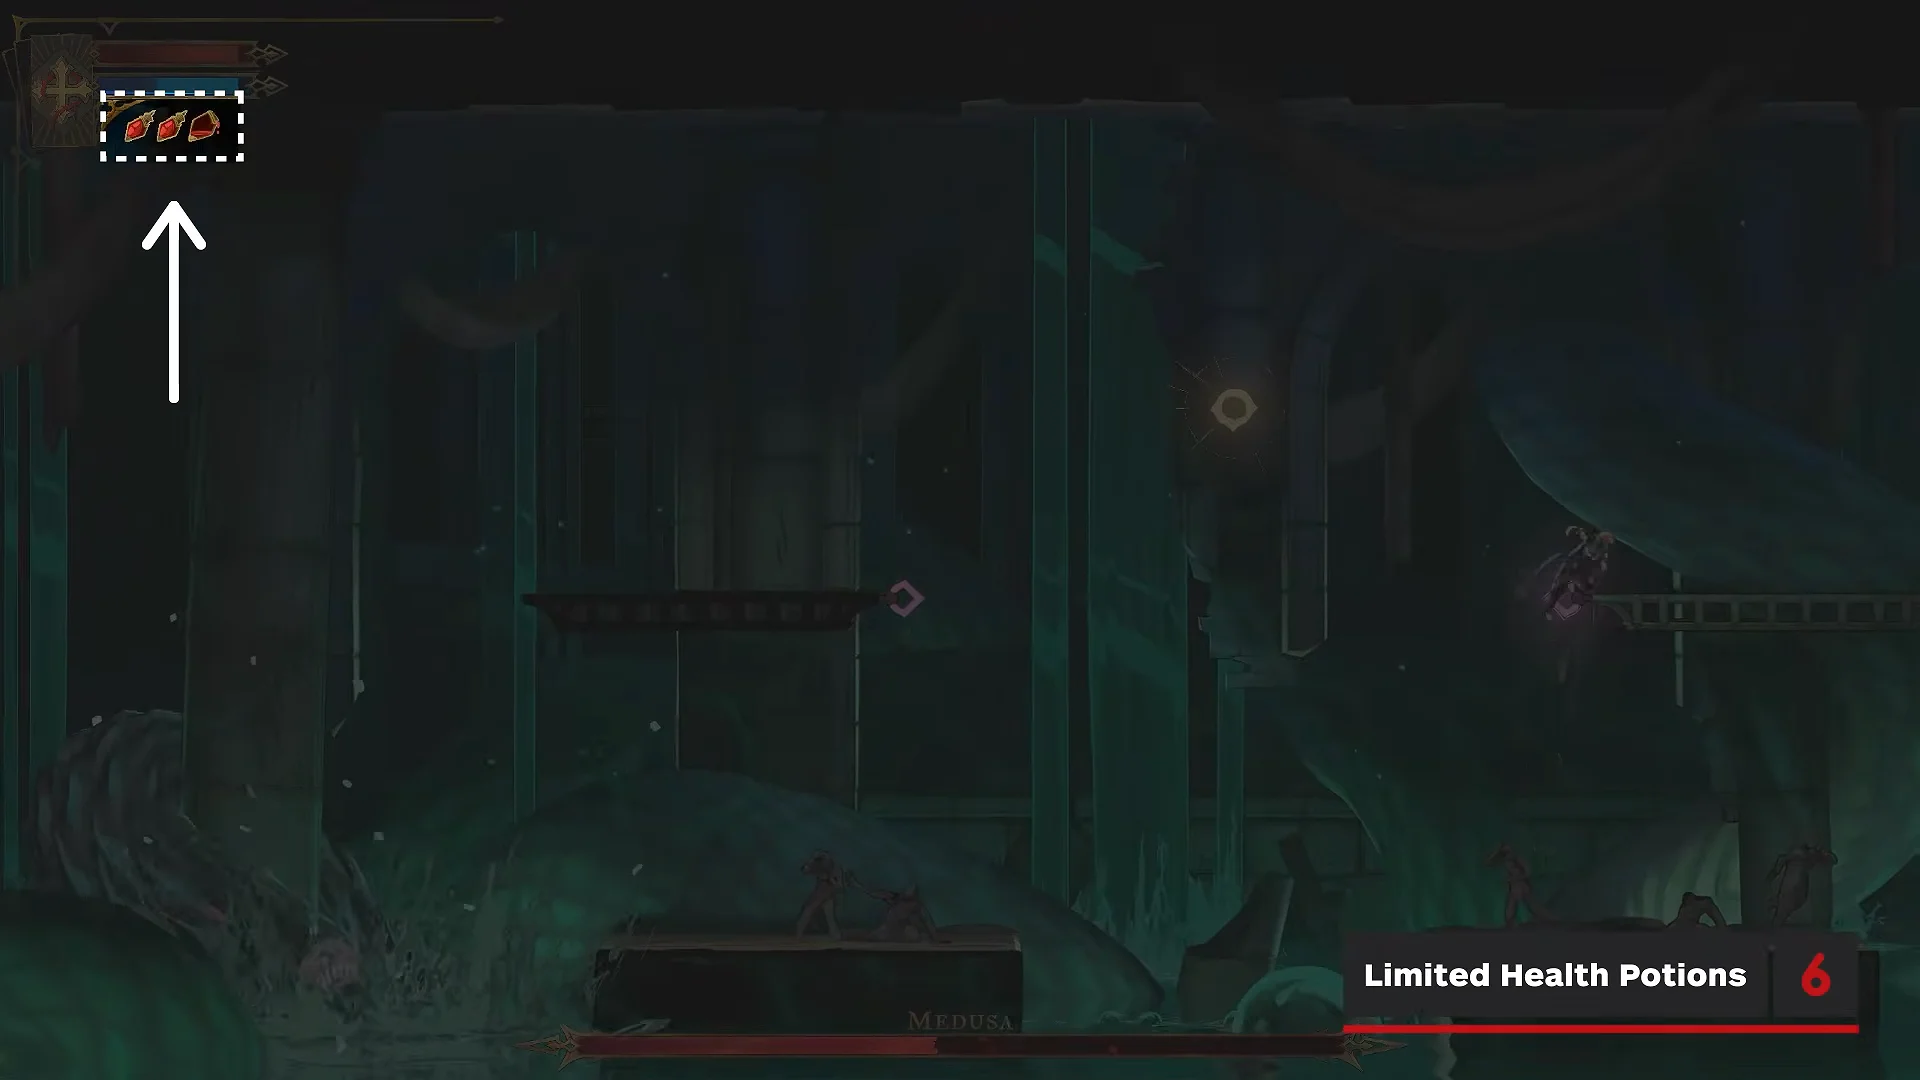
The mirror’s instant heal doesn’t consume a potion. Rose starts with three, and using HEAL [L1] (X on PC) spends one to restore 40% of her maximum health. The remaining count appears beside the mana bar; only a mirror replenishes it. Potions found in broken lanterns or dropped by defeated enemies provide a single heal, then disappear at the next rest, so they can’t be carried over.
Pickups scattered through the world provide additional healing. There are 38 pieces of whole meat across the map, each restoring 100% of missing health. Enemies can drop meat chunks and mana tea at about 4% apiece; breakable scenery props can also yield them, with meat chunks at 2 to 8% and mana tea at 2%. A meat chunk restores 29% of maximum health, while mana tea refills the mana bar. Defeating and absorbing a boss fully restores HP and MP.
Permanent stat growth: levels, books and Heart Fragments
Defeating enemies earns experience, and each level up grants Rose +1 ATK and +1 DEF. It does not touch her health or mana. You can read her current ATK, DEF, level and XP bar on the Equipment tab of the pause menu.
Everything else comes from pickups that apply the instant you walk into them. Stat books give a flat, permanent +1 to ATK or DEF, with 14 of each hidden in the world. Heart Fragments raise your core stats in sets of four.
| Pickup | Raises | Amount |
|---|---|---|
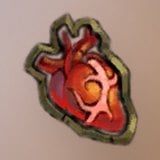 Brave Heart Fragment (×4) | Maximum HP | +20 per completed Heart |
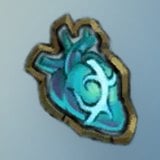 Wise Heart Fragment (×4) | Maximum MP | +20 per completed Heart |
| Stat book (14 each) | ATK or DEF | +1 each |
Collecting four Brave Heart Fragments fills a Brave Heart and adds 20 to maximum health; four Wise Heart Fragments do the same for mana. Filling all six Hearts of each type requires 24 Brave Heart Fragments and 24 Wise Heart Fragments. Before relic bonuses, that raises both HP and MP from 100 to 220. The fragments sit inside glowing nest-like contraptions, which is why they are easy to walk past.
Weapons scale by tier, not by name
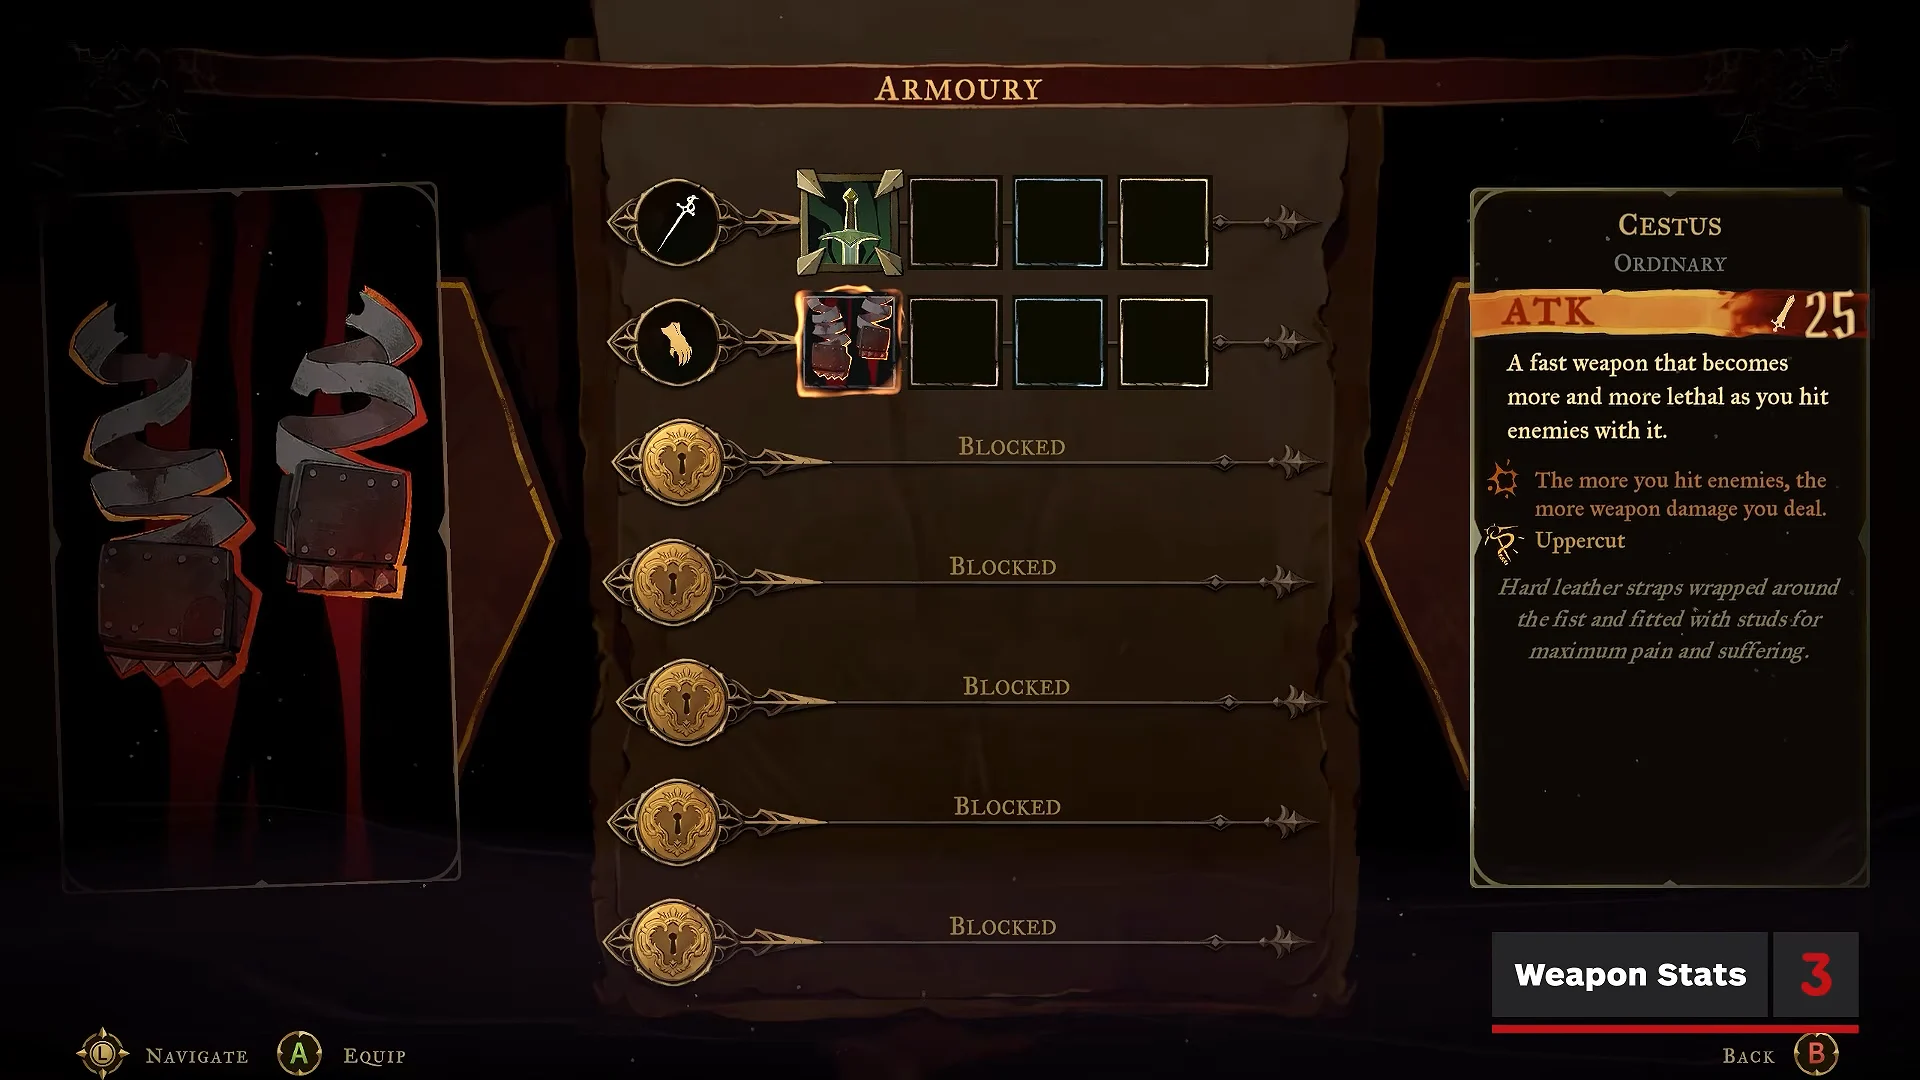
Weapons fall into categories such as swords, cestus (gloves), lances and sword-and-shield, but only the ATK number on the weapon card is fixed by tier (25, 50, 75, 100). Real damage uses each weapon’s own attack value, and it differs inside a tier, since Cestus 12 and Lance 22 are both Ordinary while Excalibur 44 and Bernhard’s Wrath 26 are both Legendary, so pick by moveset and by that attack value.
| Tier | Base ATK | Example |
|---|---|---|
| Ordinary | 25 | Cestus, Lance |
| Refined | 50 | Bastard sword |
Character level also increases your total damage beyond the base amount, keeping weapons useful as Rose grows stronger. Set up your gear in the Equipment menu: weapons are in the Armoury, and the Relics screen has three slots. Relics have individual effects; the Crypt Key, for example, completely restores Rose’s health and mana when she opens a chest.
Holy Light parries melee attacks and projectiles
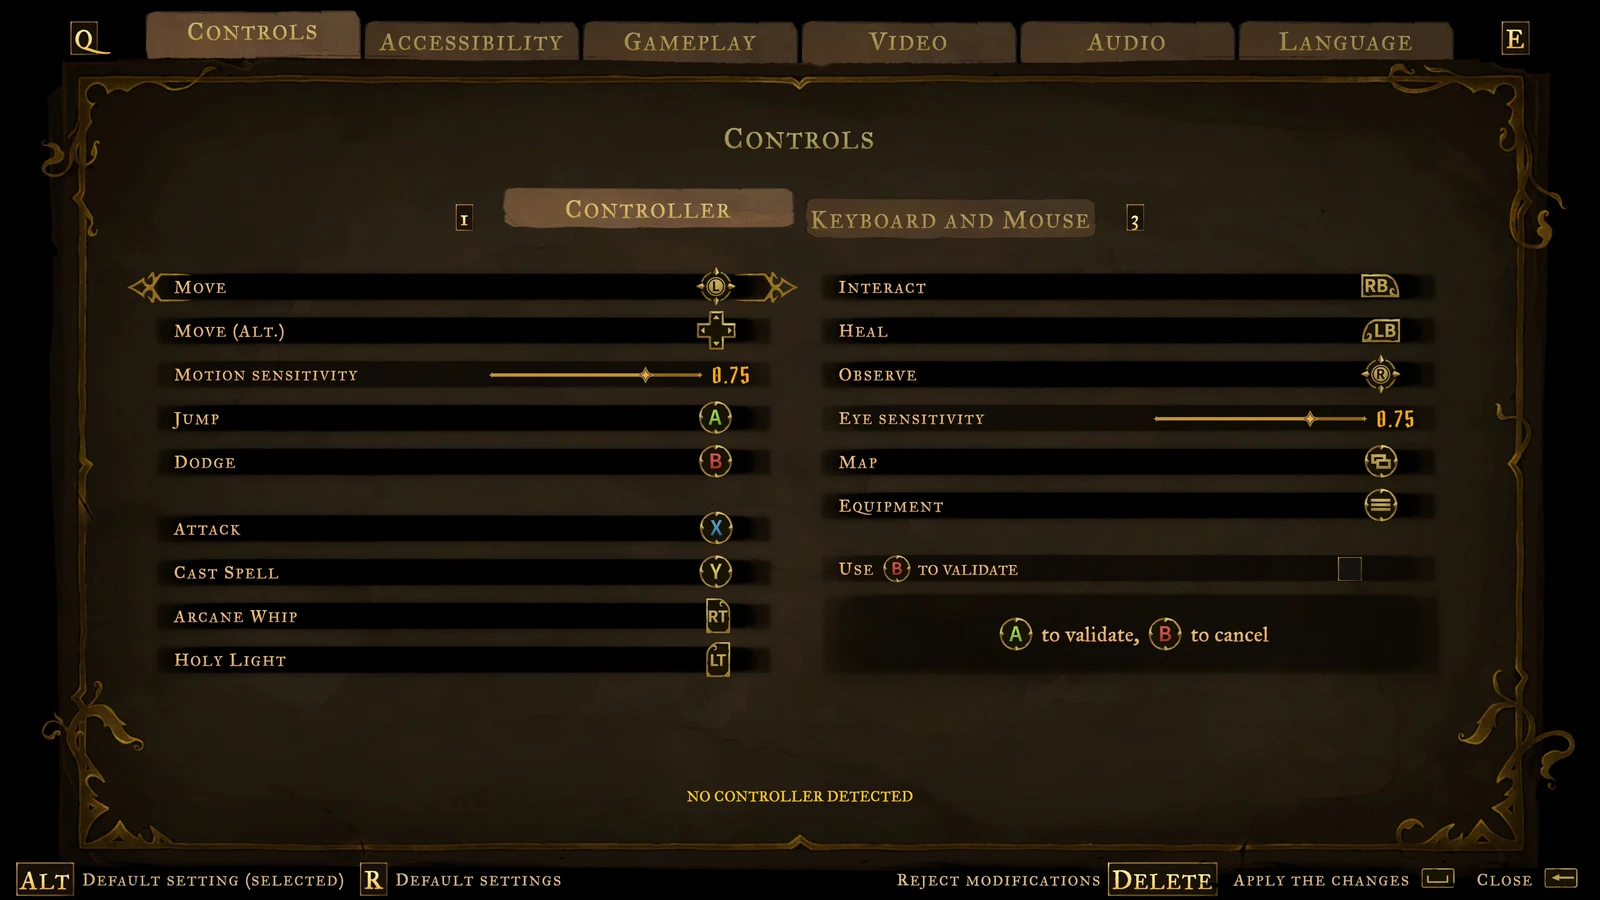
Holy Light is not available from the start. It unlocks later, and once it does, holding L2 (C on PC) manifests a halo of light. Tap the button just before a hit lands to perform a Light Parade, which blocks the damage outright. The timing is the whole point, and it works against both melee swings and incoming projectiles without needing a follow-up riposte.
Even before that, ordinary weapon swings can knock flying projectiles out of the air. Wide greatswords are especially good at swatting away arrows and fireballs mid-flight, which turns ranged enemies from a nuisance into something you can simply bat down.
Mana, dodges and the Arcane Whip in combat
Cast spells with Triangle (R on PC), spending mana each time. Hitting enemies with weapons restores the blue mana bar. The in-game tutorial also notes that breaking certain parts of the scenery can provide mana: breakable props may yield mana orbs or mana tea, and mana tea fills the bar all the way. A counter at the HUD’s top-right shows how many hits the equipped spell has landed.
Two defensive moves give Rose room to breathe. Pressing Circle while standing still performs a backward dodge, and tapping it again during that first dodge pushes her even further back. Holding a direction and pressing Circle slides her through narrow gaps, through enemies, and out of harm’s way. The slide has no invincibility frames, so it is for repositioning, not for tanking a hit.
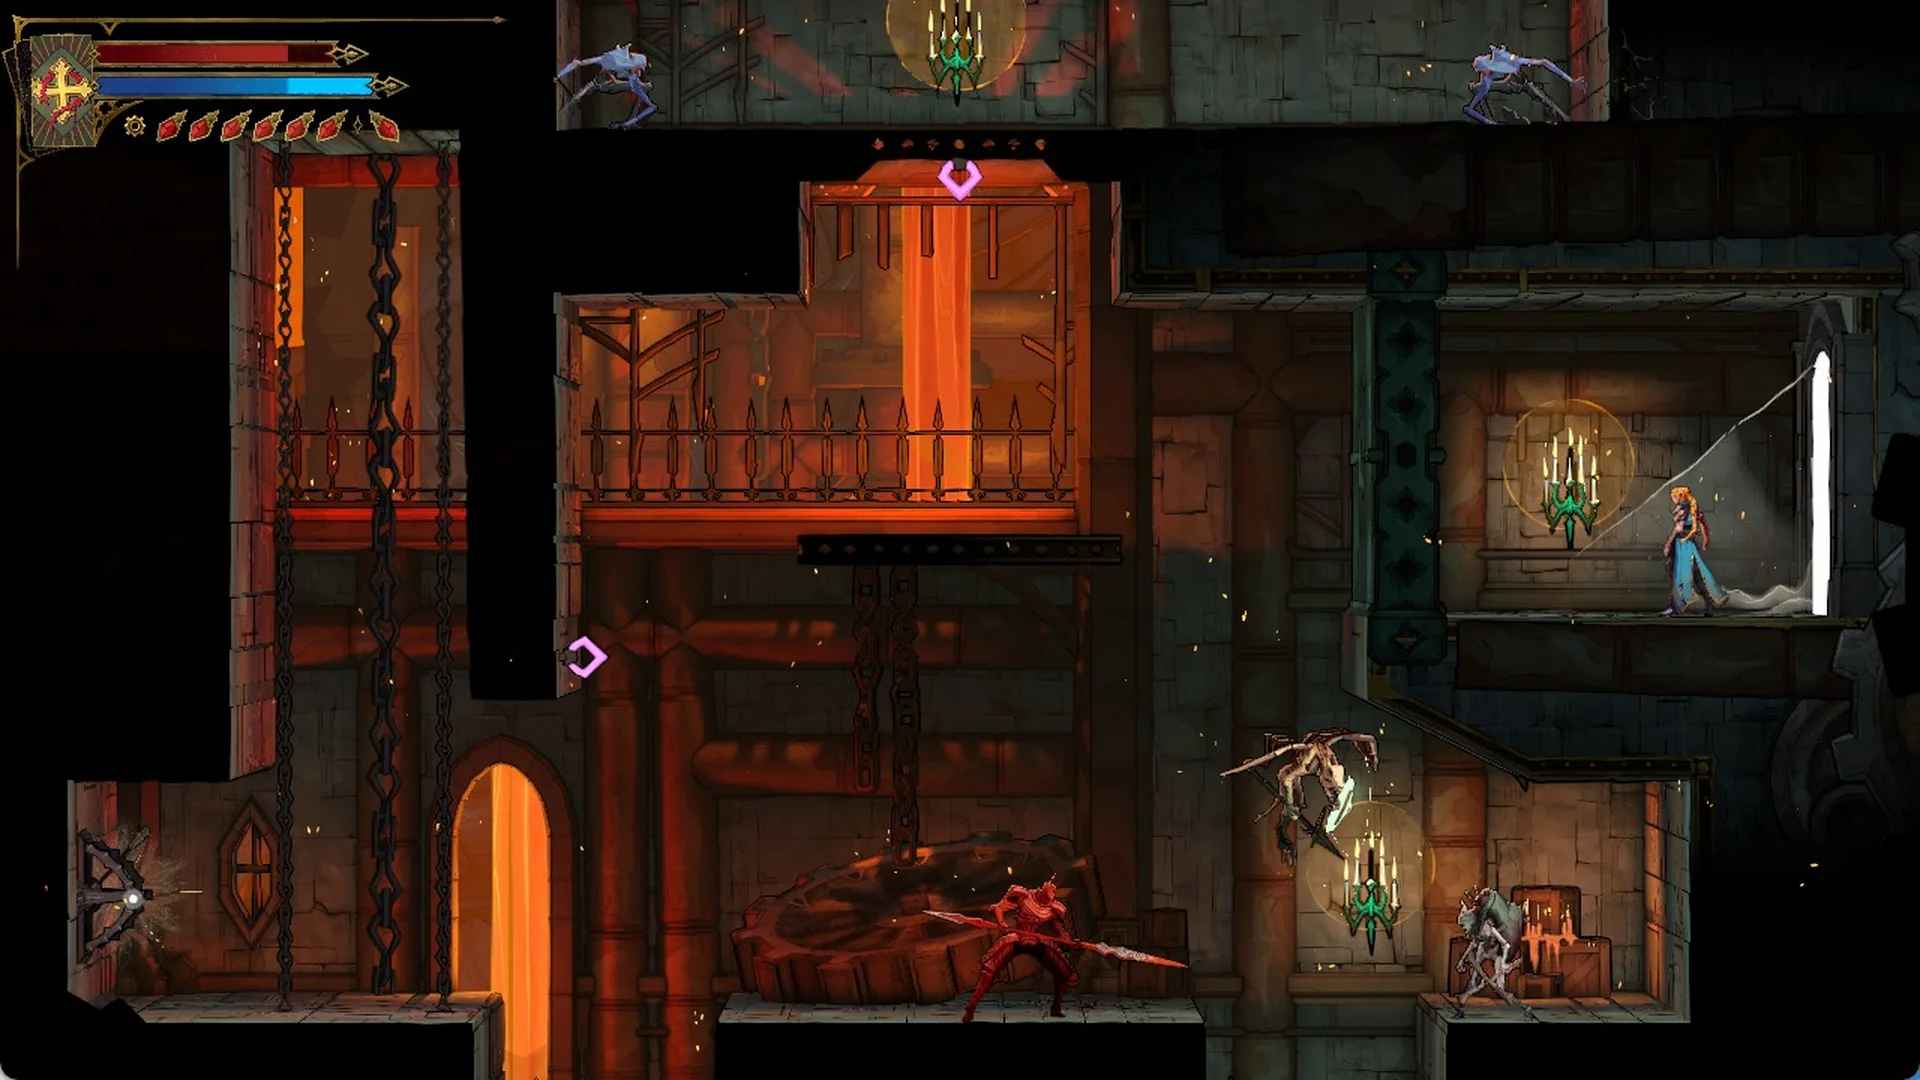
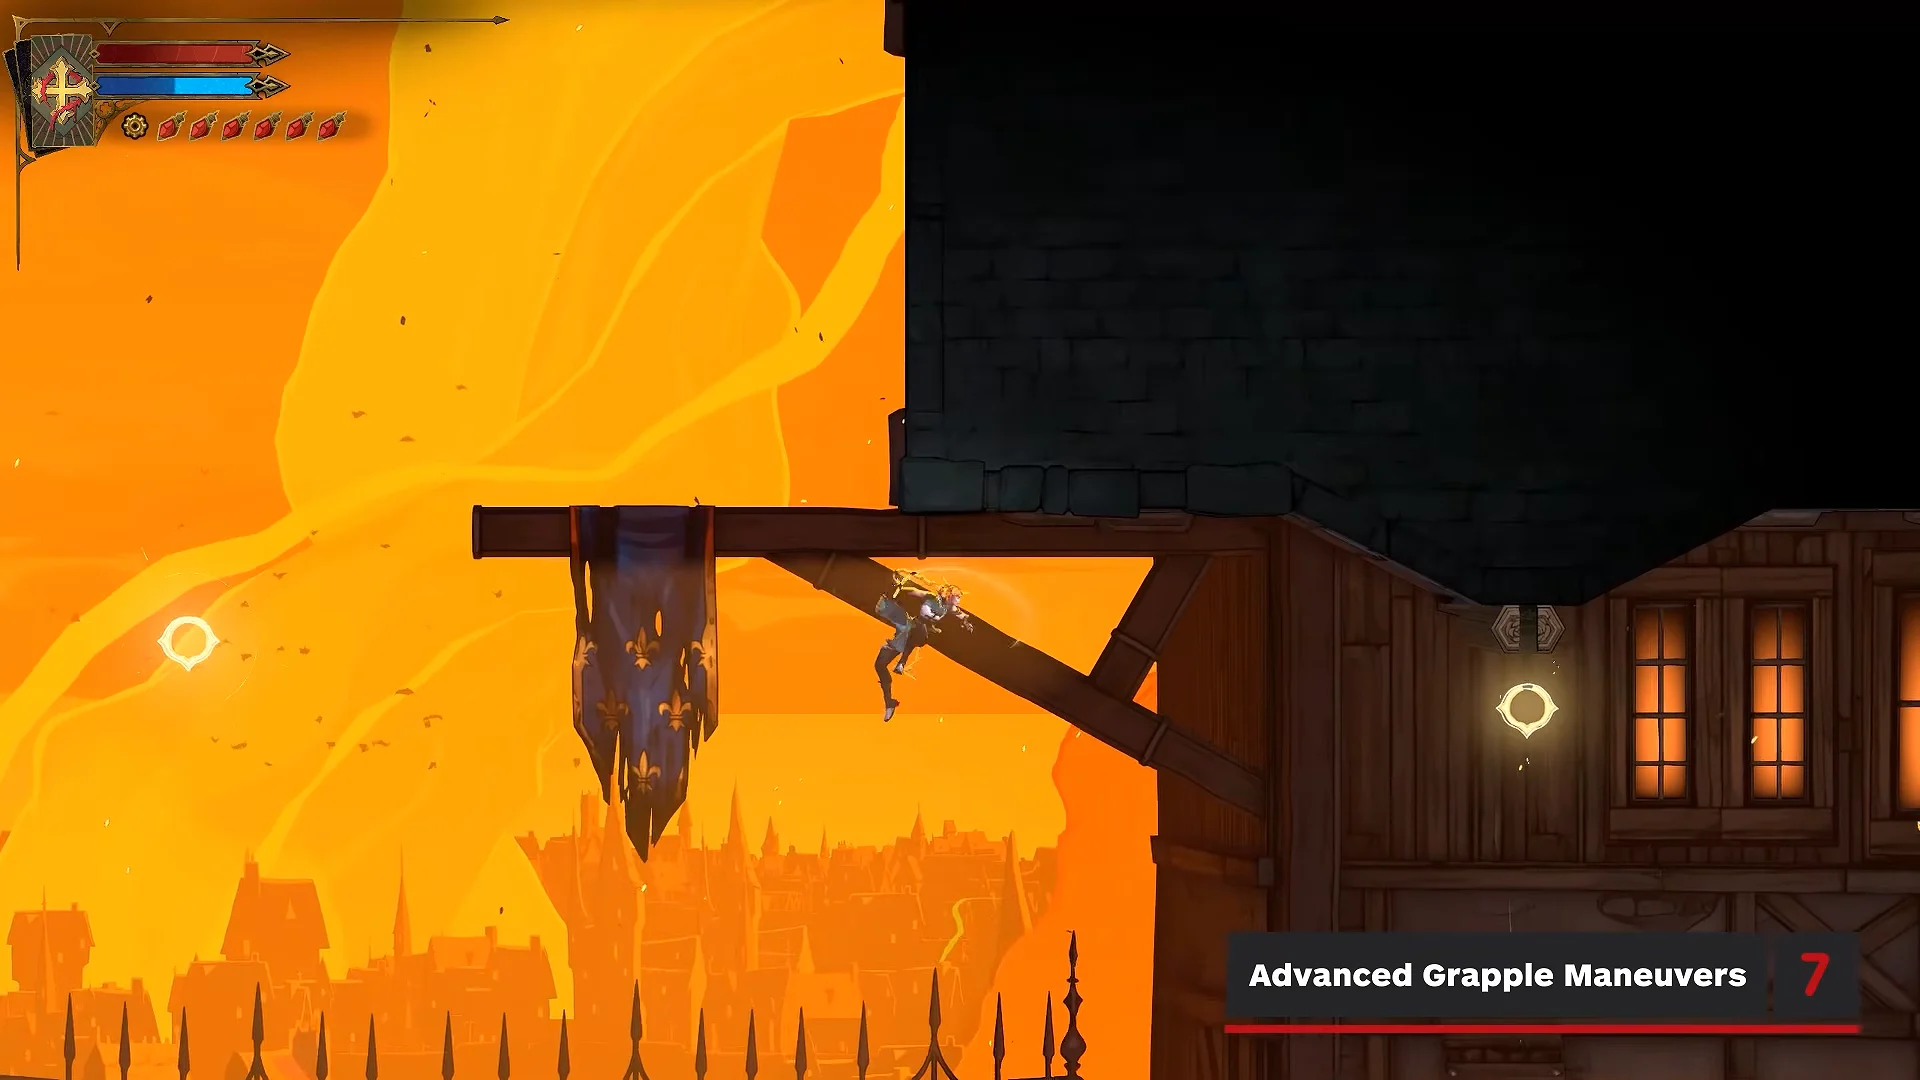
The Arcane Whip is where traversal opens up. Yellow anchor rings let Rose swing like a pendulum and redirect her arc in mid-air, while purple rings zip her straight toward them. Some grapple points act as levers that need repeated swinging to operate, and attacking during a grapple triggers a dedicated whip strike. Learning to chain these is what makes movement through Paris feel fast.
Which enemies respawn and which never stop
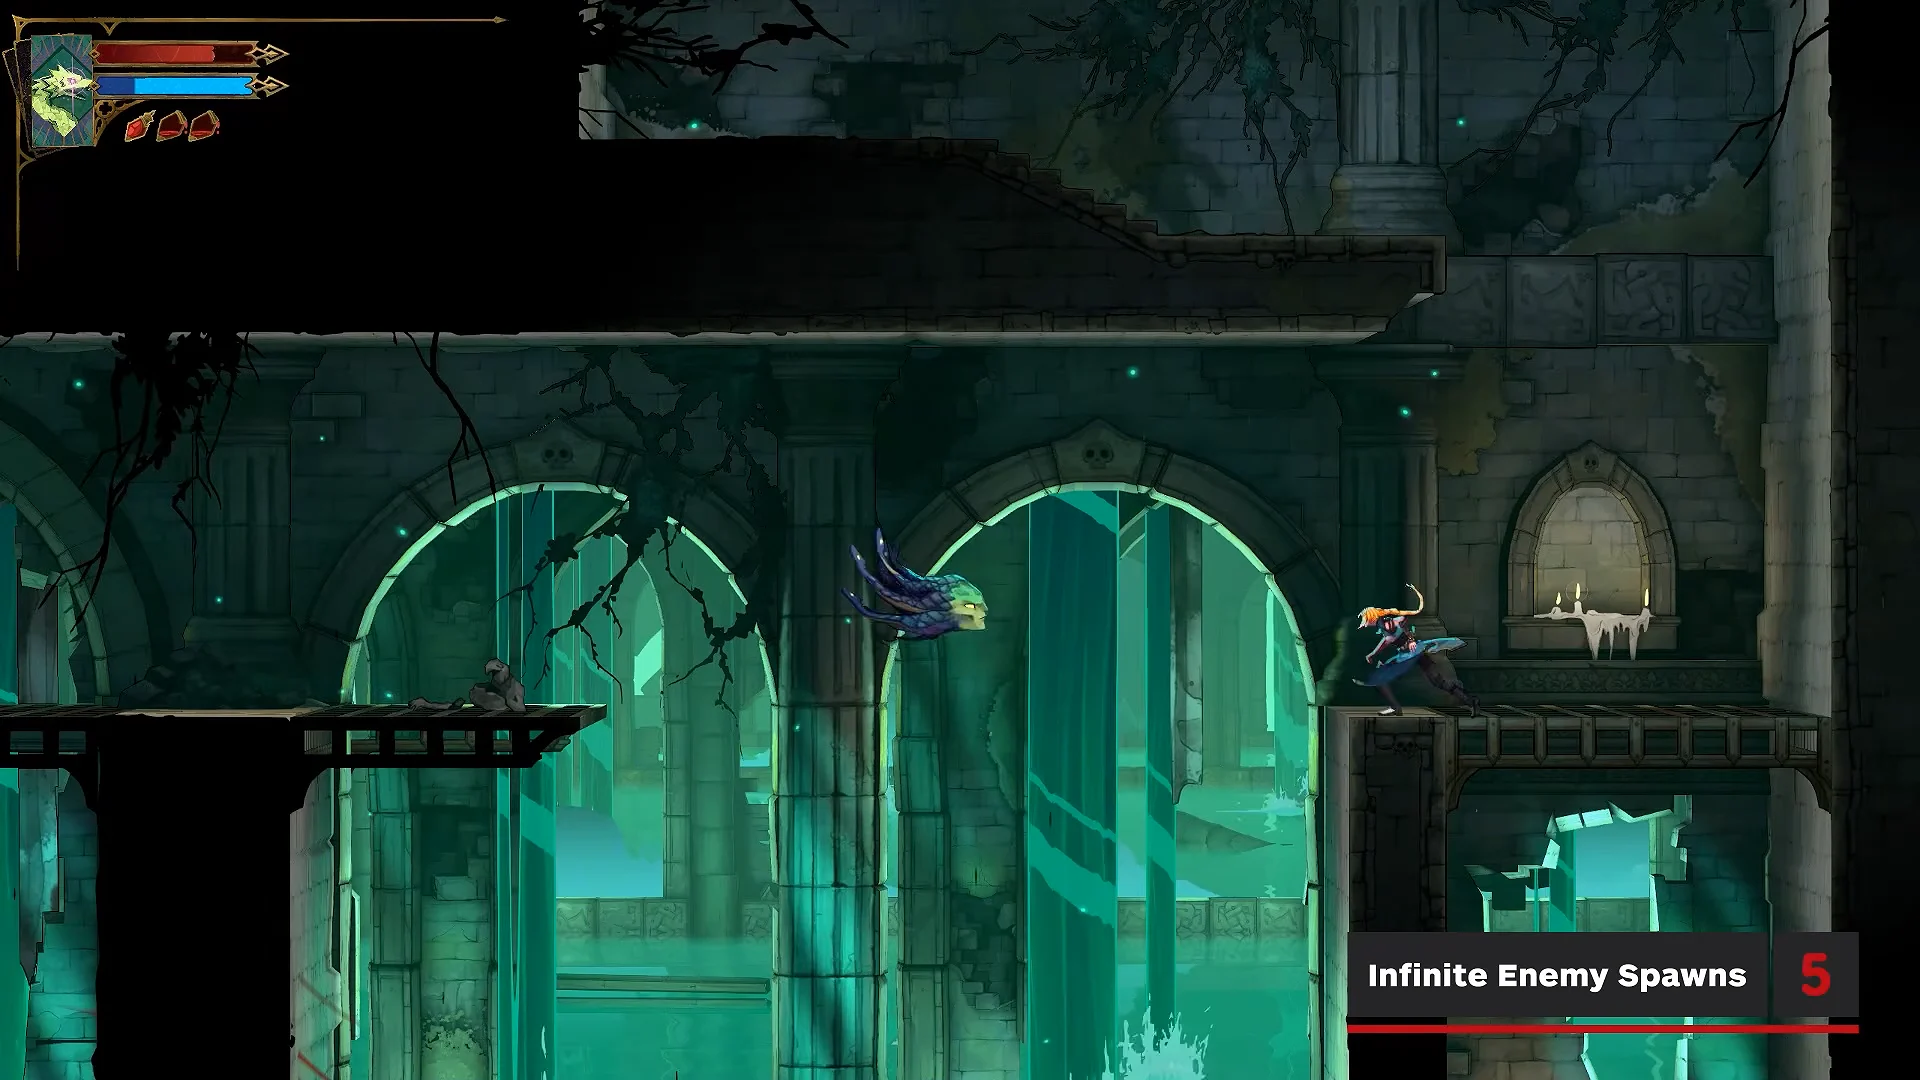
Standard enemies you kill stay dead until you rest at a Mirror of Life, which brings every one of them back in that area. That makes clearing a room a stable, if temporary, state rather than an endless grind.
The exception is the infinitely spawning platforming pests, such as floating Medusa heads and ghost skulls. These are environmental hazards, not combat encounters. Destroying them makes little difference: they continue to appear and provide little or no reward, so fighting them serves no purpose. Treat them as moving obstacles and keep going.
Arcana upgrades come from Works of Mercy
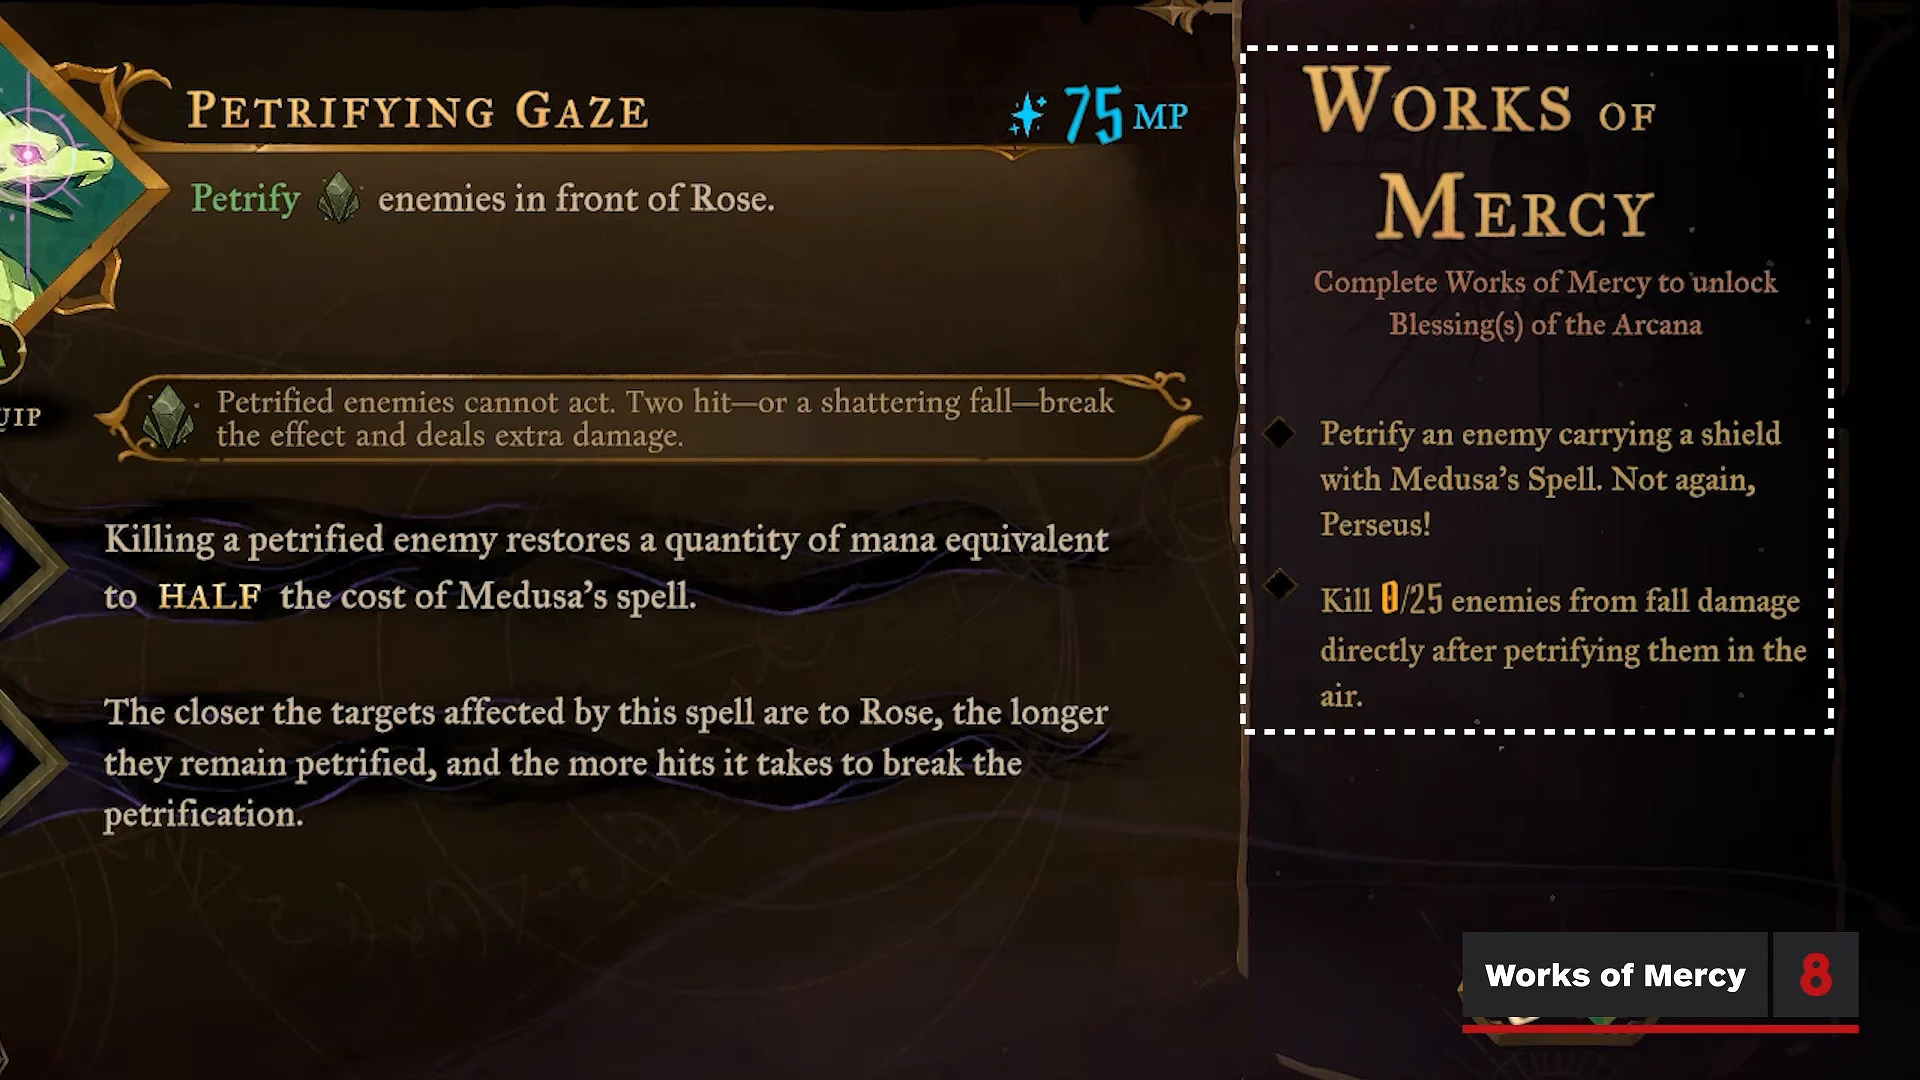
Each Arcana spell has its own challenges, called Works of Mercy, shown in the Arcana menu. Completing a challenge earns a Blessing, which unlocks Gifts for that spell alone. Upgrades aren’t shared between spells, so investing in one Arcana won’t improve another.
The challenges mix combat and exploration goals, and the spells themselves range widely in cost, from Cursed Flame at 30 MP up to Infernal Pyre at 80 MP, with Holy Cross (50 MP) and Petrifying Gaze (75 MP) in between.
Tarot clues point to bosses but aren’t required
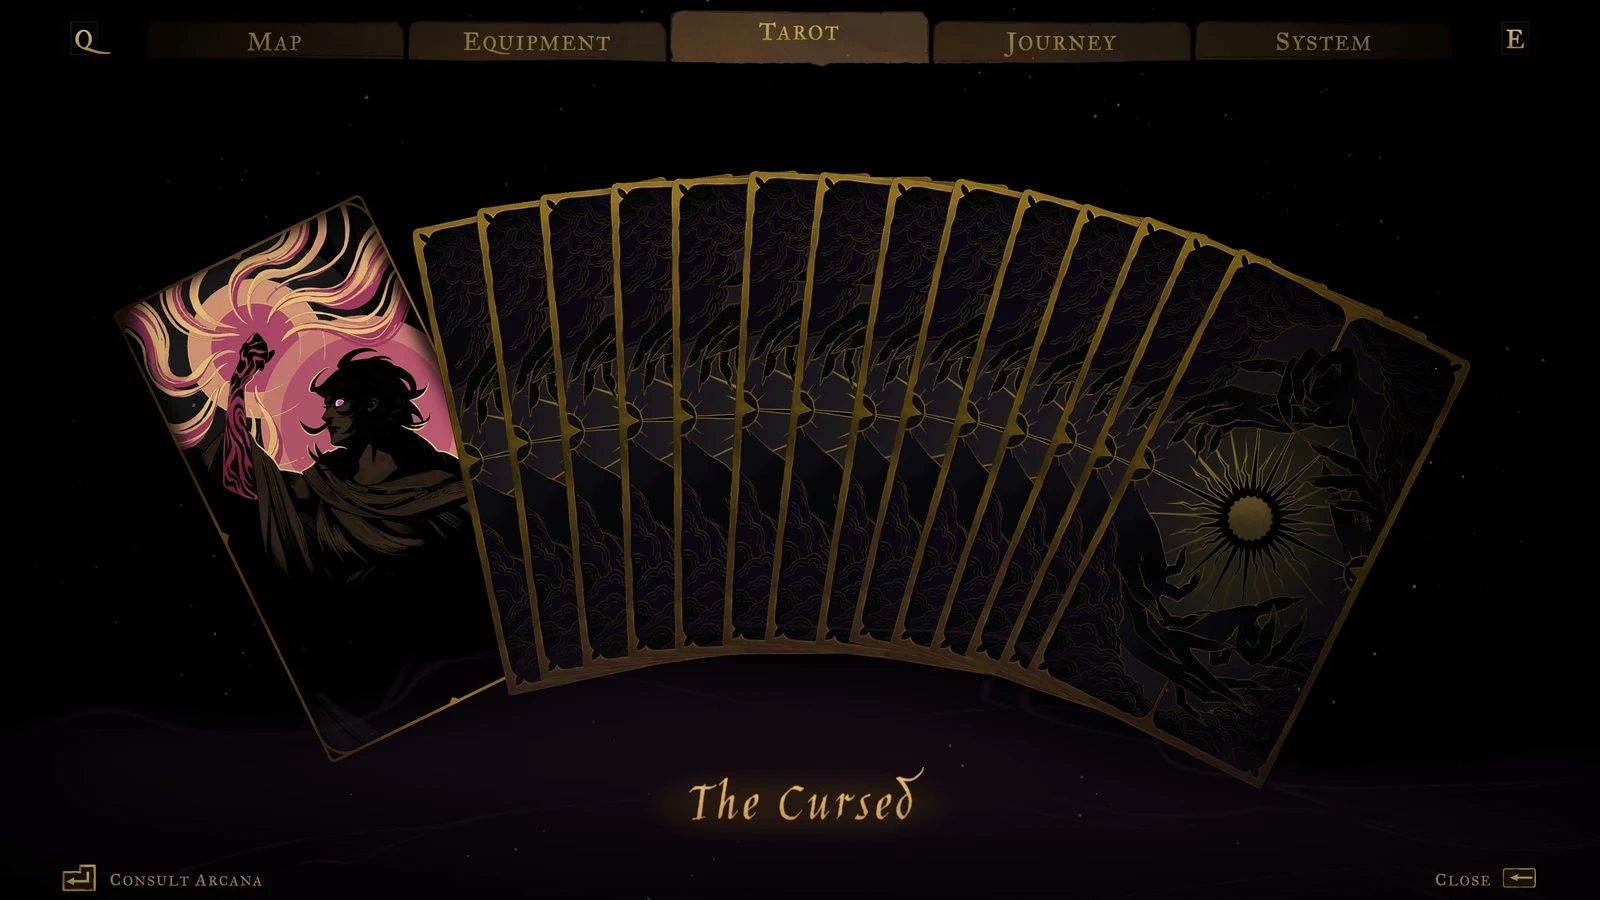
Wandering spirits hand over Tarot clues that collect in the Tarot menu and hint at where boss lairs are hidden. You do not need to track down every clue, though. Boss arenas can be found and entered through normal exploration, so the Tarot system is a helpful pointer rather than a gate you have to clear.
Fast travel: the Hall of Mirrors and the Ferryman
There are two layers of travel, and the game barely mentions either. For moving between different zones, use the boats at Ferryman’s Wharf, which connect destinations like Holy Innocents’ Cemetery, the Paris Streets and the Catacombs of Paris.
Travel within a single zone is hidden. Once you have activated at least two mirrors, stand in front of any active Mirror of Life and hold the crouch input for about five seconds. The mirror pulls Rose inside into the Hall of Mirrors, a hub that links every mirror you have unlocked in that territory. Step up to the glass for your target checkpoint to warp there.
Map markers for places you can’t reach yet
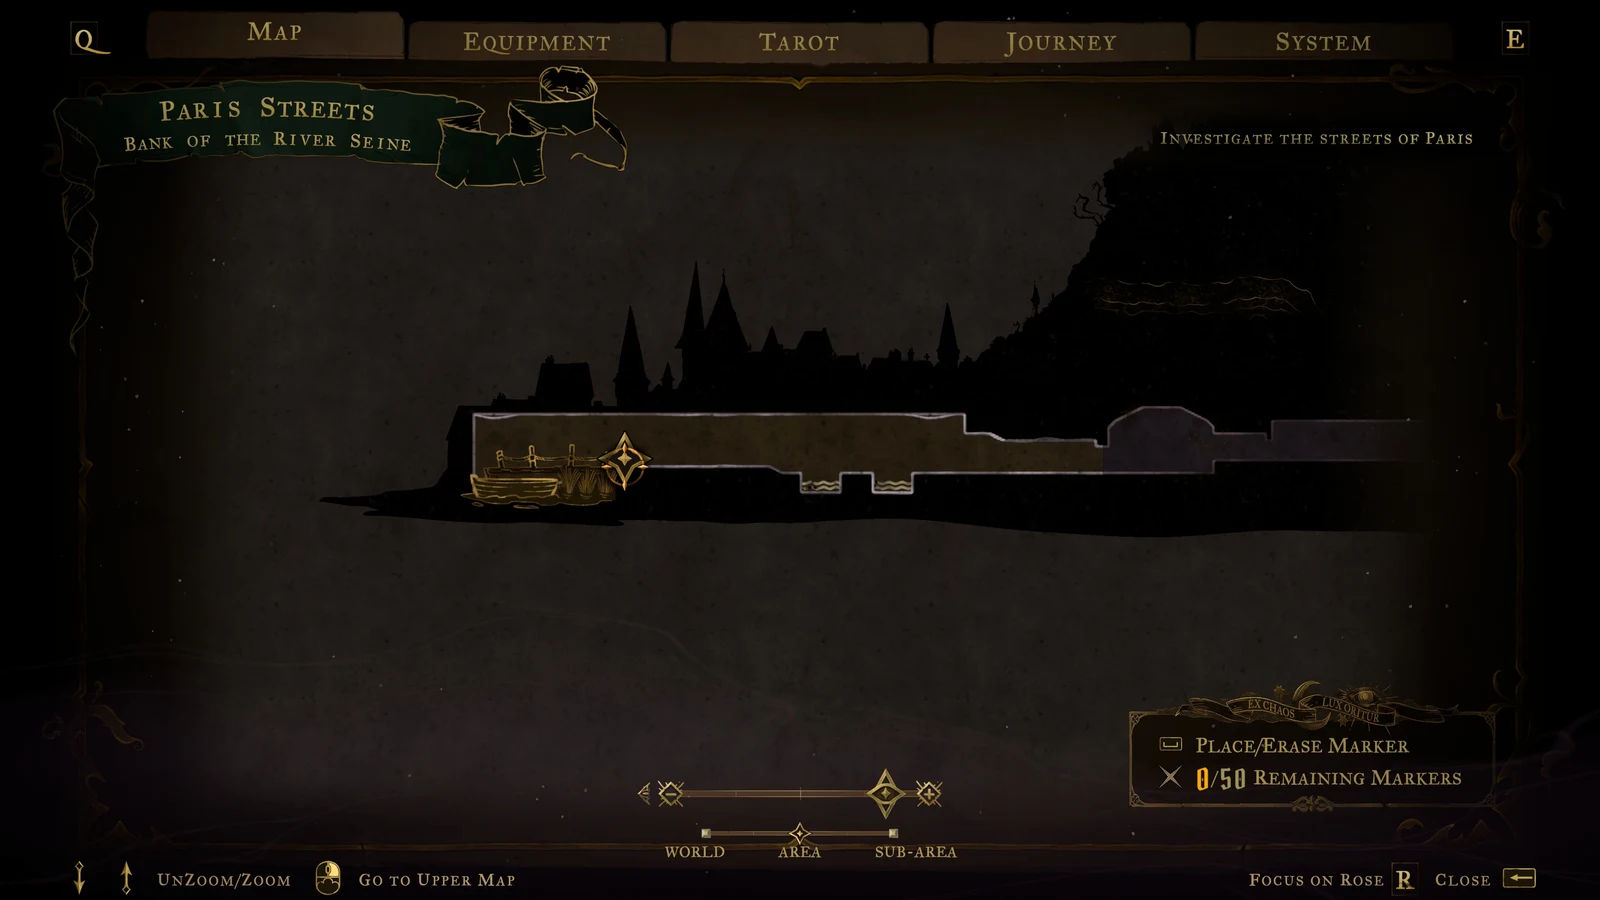
The Map tab lets you pin spots to come back to. Hover over a location and press Square (Space on PC) to drop a marker, and a running tally at the bottom of the map shows how many of your 50 markers remain. Because Belmont’s Curse constantly sends you back through old areas once you gain new abilities, pinning a sealed gate or an out-of-reach ledge the moment you spot it saves a lot of aimless backtracking later.
Custom Mode and readability options
The settings menu holds a Custom Mode with sliders that reshape the difficulty. You can raise the maximum potion capacity, cut enemy and trap damage down to zero, boost experience gained, allow respawning in front of boss doors, and even enable Prevent death to keep Rose alive: she will still take damage, but her health cannot fall below 1. It is a granular assist system rather than a single easy mode.
There is also a readability option that outlines character models. Putting a blue outline on Rose and a contrasting red one on enemies makes threats easy to pick out in dark rooms or crowded fights, and dropping the screen shake slider keeps busy encounters, like those in the Clock Tower, from turning into visual clutter. None of this is signposted during normal play, but it is all worth a look before you settle into a run.