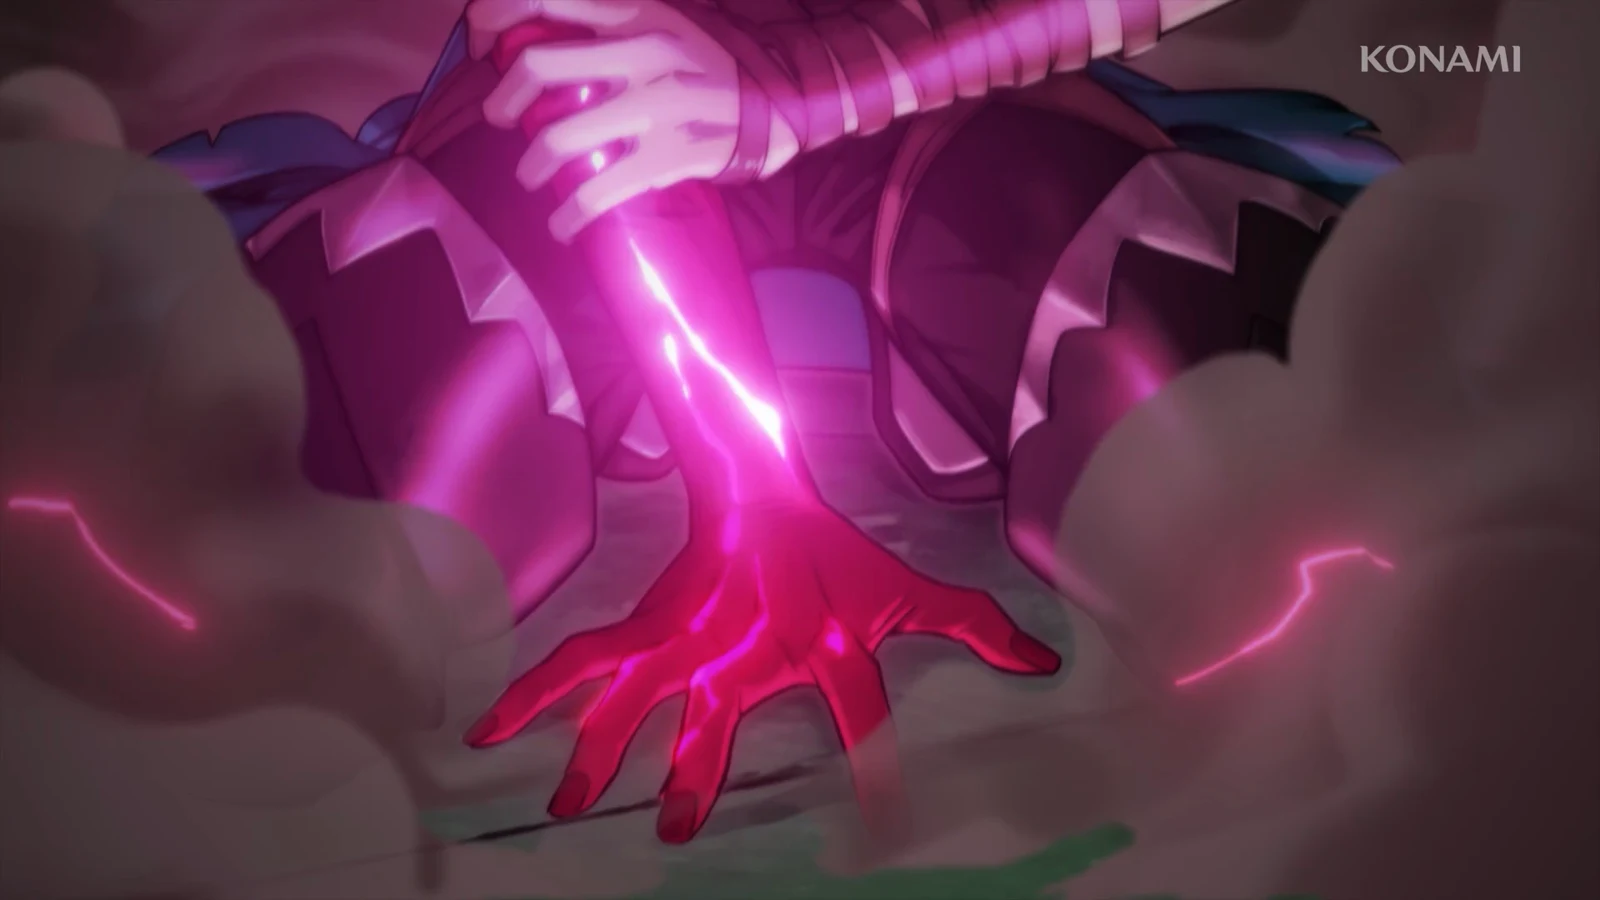
Mammon is a spiked wheel built around a single eye, and it hides behind a door of flesh in the Circle of Greed, deep in the Catacombs of Paris. You can’t fight it until you collect three black eye relics from three different regions. Once the door opens, the fight itself moves fast and hits hard. Learning Mammon’s tells and showing up with the right loadout matters more than raw level.
Quick answer: Equip Thrilling Eye, Oozing Eye, and Trembling Eye in the Relics tab, press R1 (PC: E) at the flesh door in the Circle of Greed, then defeat Mammon in Mammon’s Lair.
Mammon stats, location, and immunities
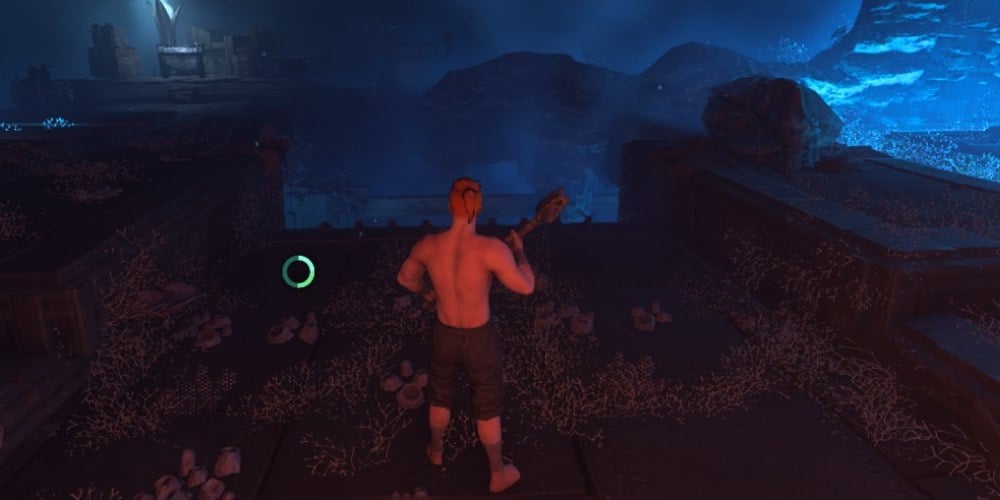
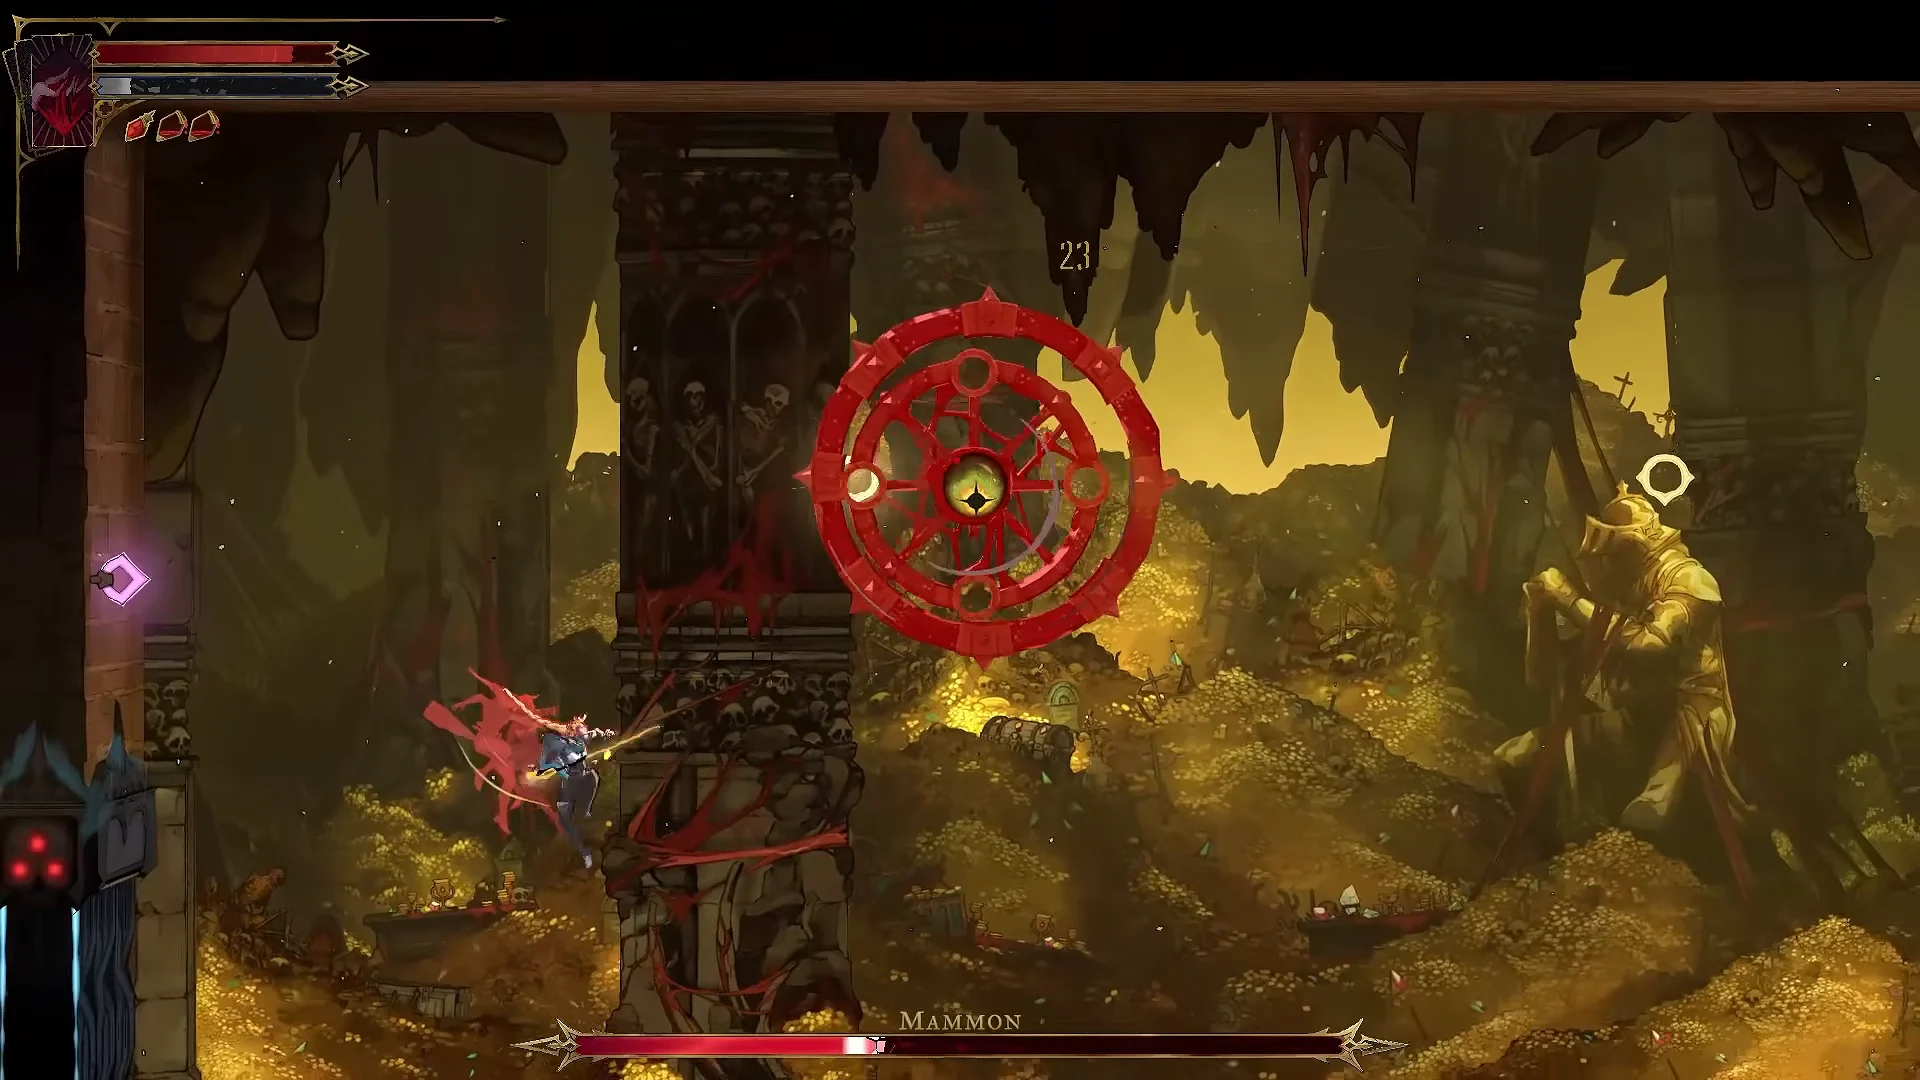
Mammon is fought in Mammon’s Lair, a gold-strewn cave with golden grapple rings suspended from the ceiling. A single health bar bears the label “Mammon,” and the boss switches attack patterns when that bar reaches 50 percent.
| Stat | Value |
|---|---|
| Health | 8,000 |
| Attack | 52 |
| Experience | 1,000 |
| Area | Catacombs of Paris |
| District | Mammon’s Lair |
| Arcana card |  The Miser |
| Reward |  Wheel of Chaos |
Mammon shrugs off most crowd-control effects. These have no effect on it:
- Freeze and petrify
- Chains of Justice root and stun
- Chronomantic Dive slow
- Freezing Path link
- Infernal Pyre launch
- Launch into the air and slam down
Bleed and burn aren’t on that list, so they work. That’s why a bleed build is a strong pick for this fight.
How to open the eye door in the Circle of Greed
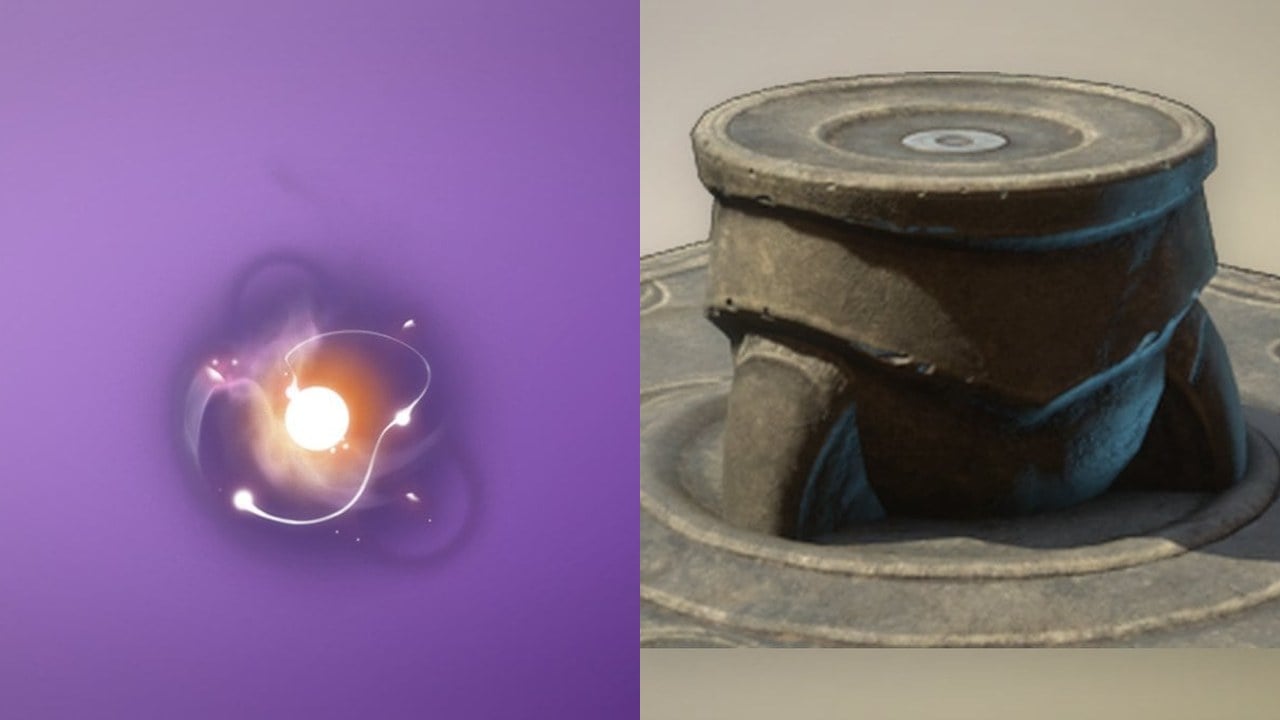
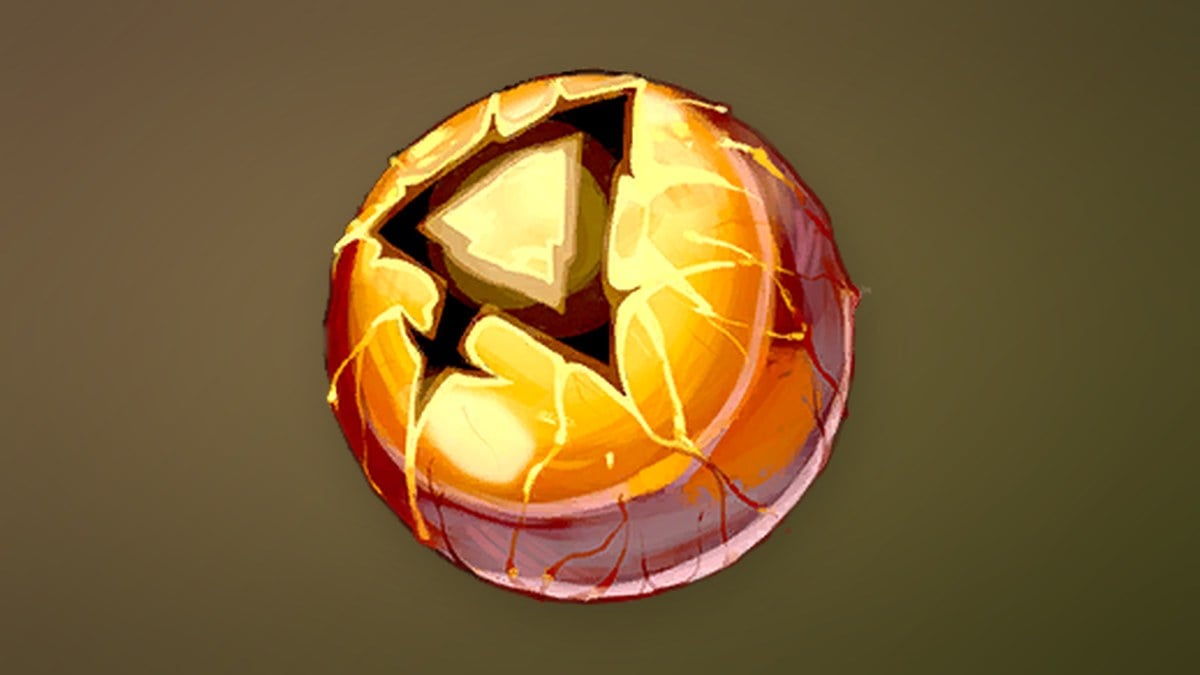
When you walk up to the sealed gate of red flesh and closed eyes, the game logs the clue “A DOOR MADE OF FLESH AND EYES” and shows a “NEW CLUE ABOUT THE MISER” banner. The door has three sockets. It only opens when the three black key relics are equipped at the same time.
| Key relic | Area | Exact spot |
|---|---|---|
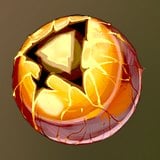 Thrilling Eye | Paris Streets | Hospital, lower floor altar |
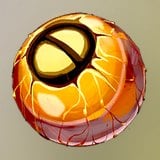 Trembling Eye | Holy Innocents’ Cemetery | Pillaged Tombs, upper alcove |
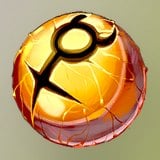 Oozing Eye | Catacombs of Paris | Circle of Greed, raised platform |
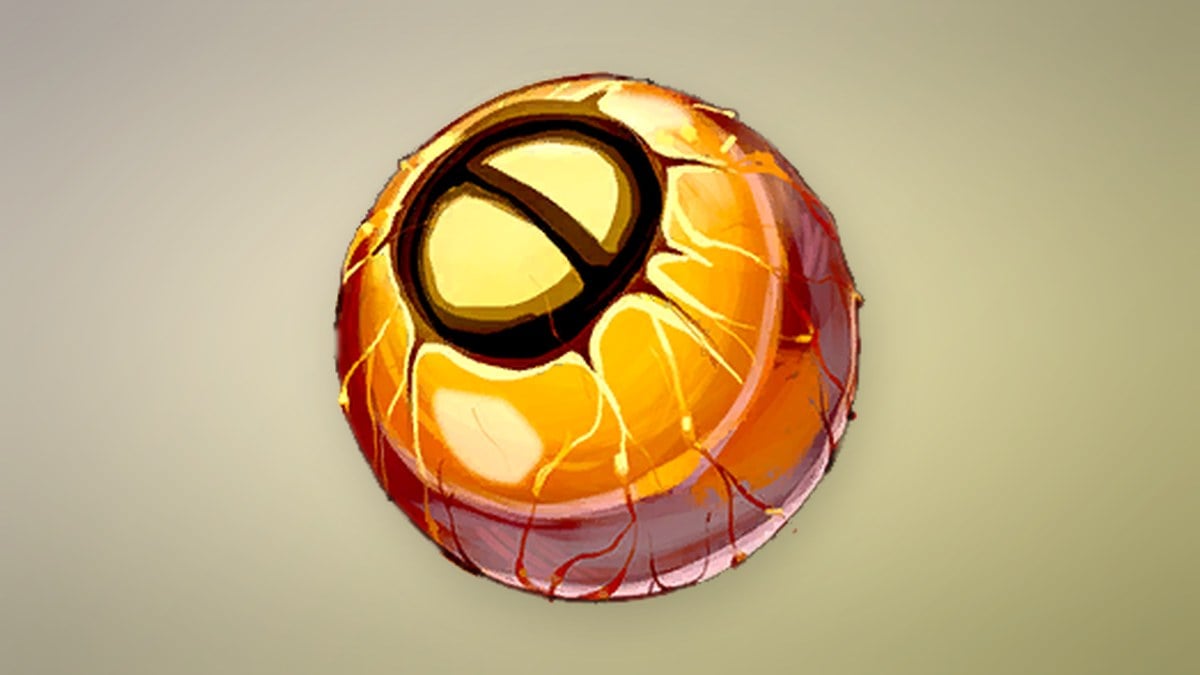
Thrilling Eye in the Hospital
Head to the Hospital in Paris Streets. Its entrance is a red door next to the Street of the Tomb Masons, reachable across the rooftops with grapple points. Inside, work your way down past spinning spike gears and armored enemies to the bottom chamber. Break the barrier there, then interact with the occult wheel altar to take the relic.
Trembling Eye in the Pillaged Tombs
In Holy Innocents’ Cemetery, drop into the Pillaged Tombs through the doorway beneath the ruins near the fountain. The tombs lock you into a fight, and “PILLAGED TOMBS CLEARED!” appears once you win. Then push through a passage of saw blades, spikes, and lasers up to a higher tier. The relic sits behind a fleshy mass in an alcove. Press R1 (PC: E) to break it open.
Oozing Eye in the Circle of Greed
The door’s room also holds the third relic. From the Circle of Greed, head left into a passage with saws moving across it, spike-lined walls, and walls you can break. Continue up through the caverns past synchronized blades and grapple nodes to reach an upper shrine. Winged demons, bats, and laser beams guard it. Make your way to the red device on the raised platform in the middle and press R1 (PC: E) to collect the Oozing Eye.
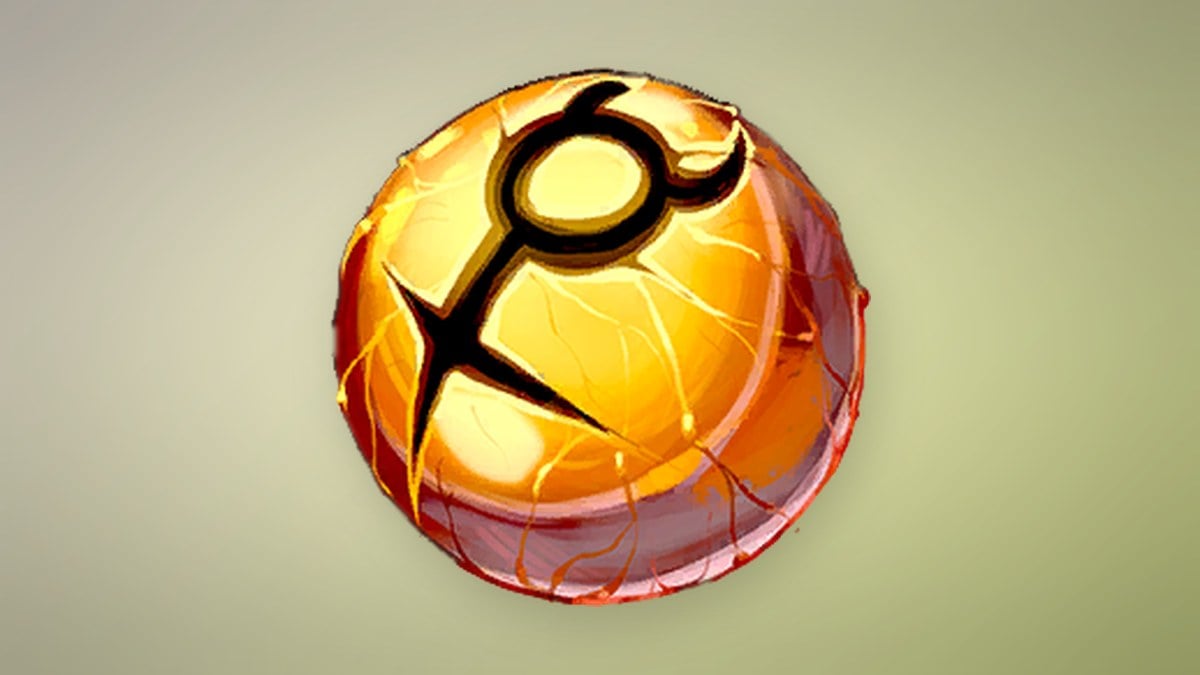
The Abyssal Eye from Holy Innocents’ Cemetery is a regular relic that gives Rose 35 percent more damage against controlled enemies. It doesn’t open the door.
Route to the door and how to open it
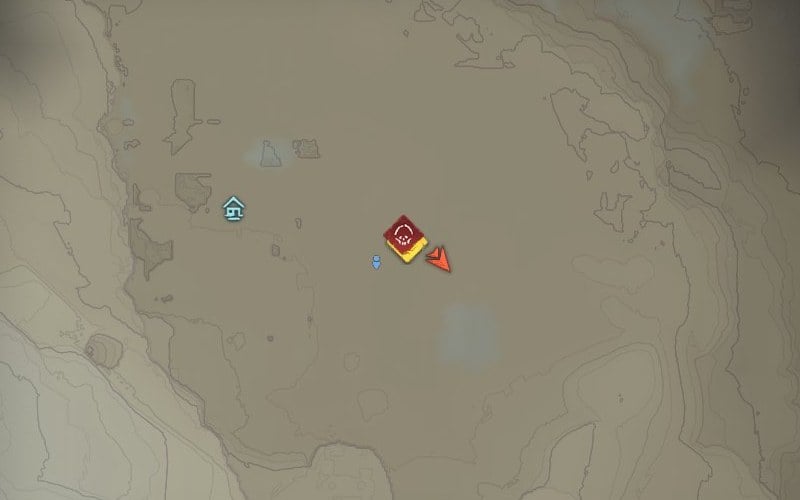
Begin at Ferryman’s Wharf and travel through the Collapsed Path of Orpheus. Next, pass the Realm of Old Night, where a mirror shrine is located, then the Antechamber of Sin. Continue west to enter the Circle of Greed.
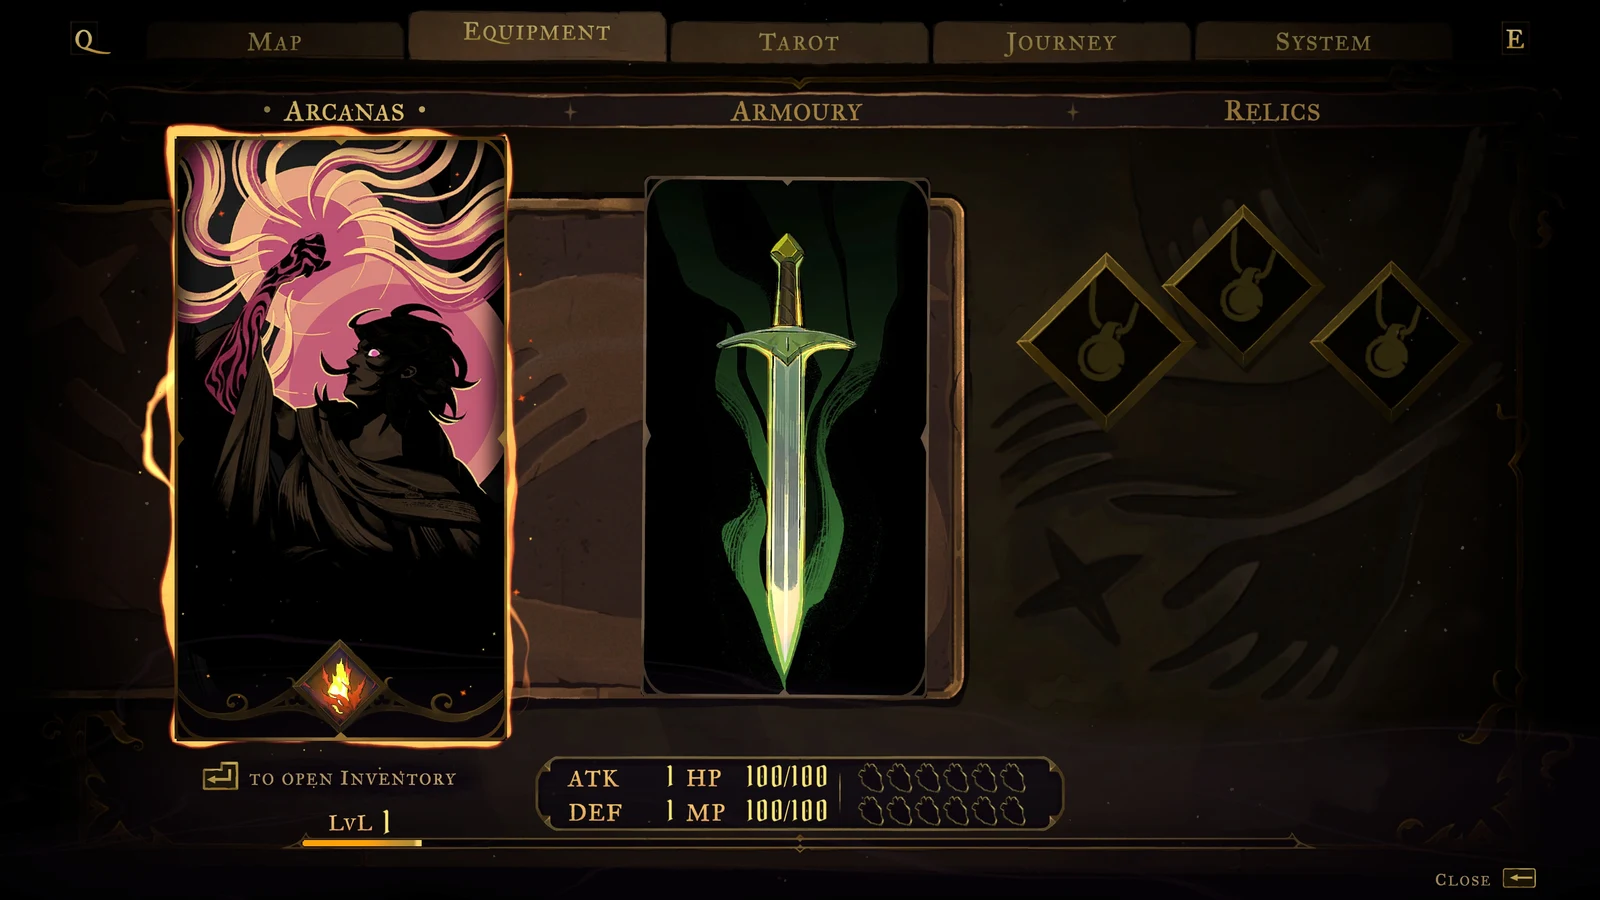
The door stays open, so swap your combat relics back in before you walk through.
Mammon loadout: weapon, Arcana, and relics
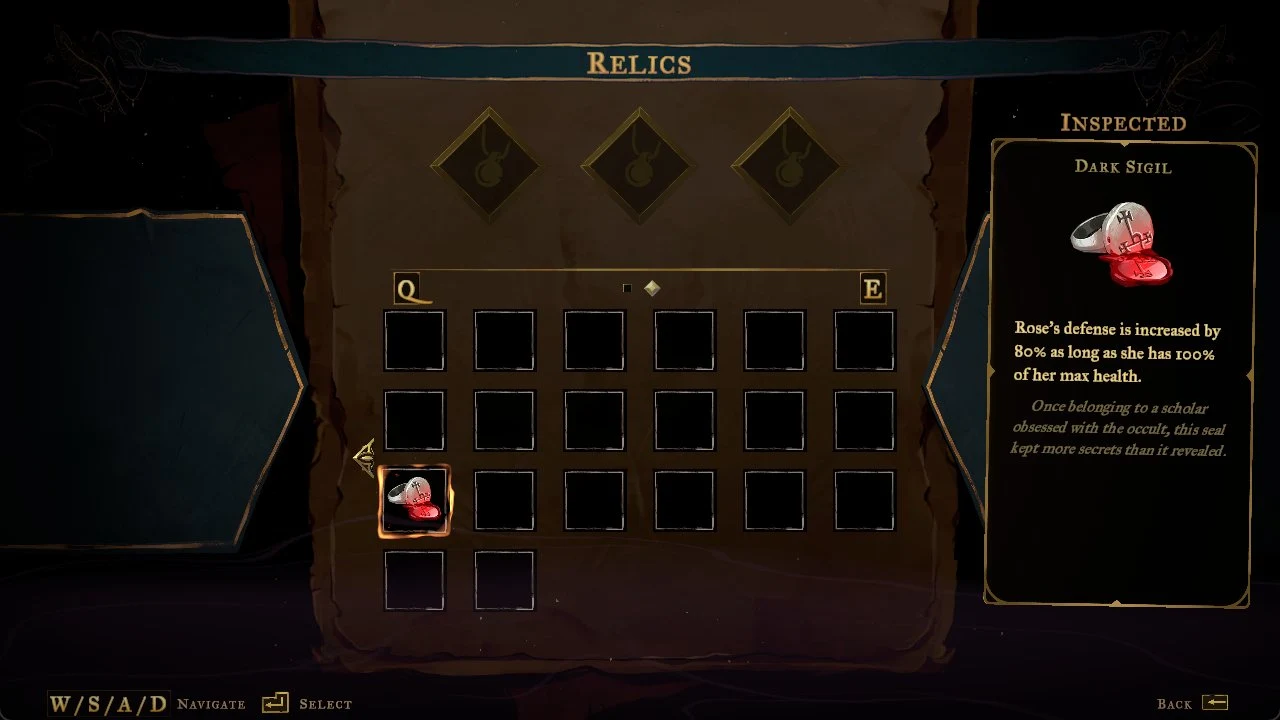
Mammon is fast, its hits are heavy, and its hitbox is large. This setup plays around all three: a weapon with invincibility frames, a bleed spell that keeps working while Mammon is out of reach, and relics that turn short openings into real damage.
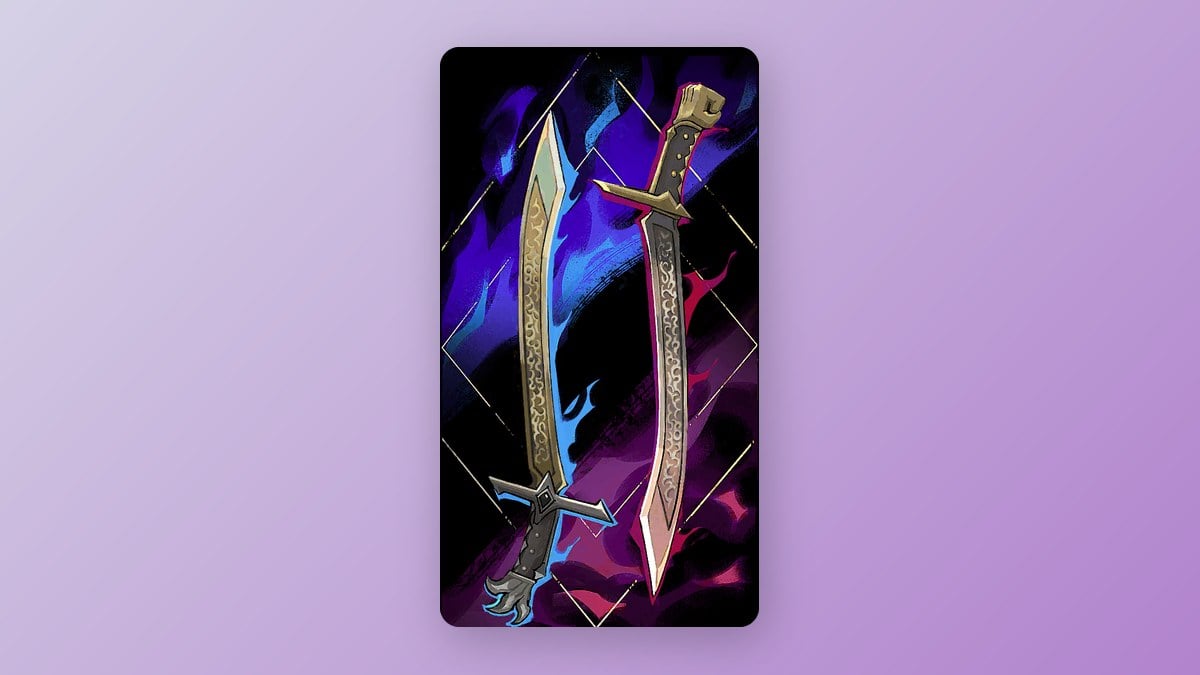
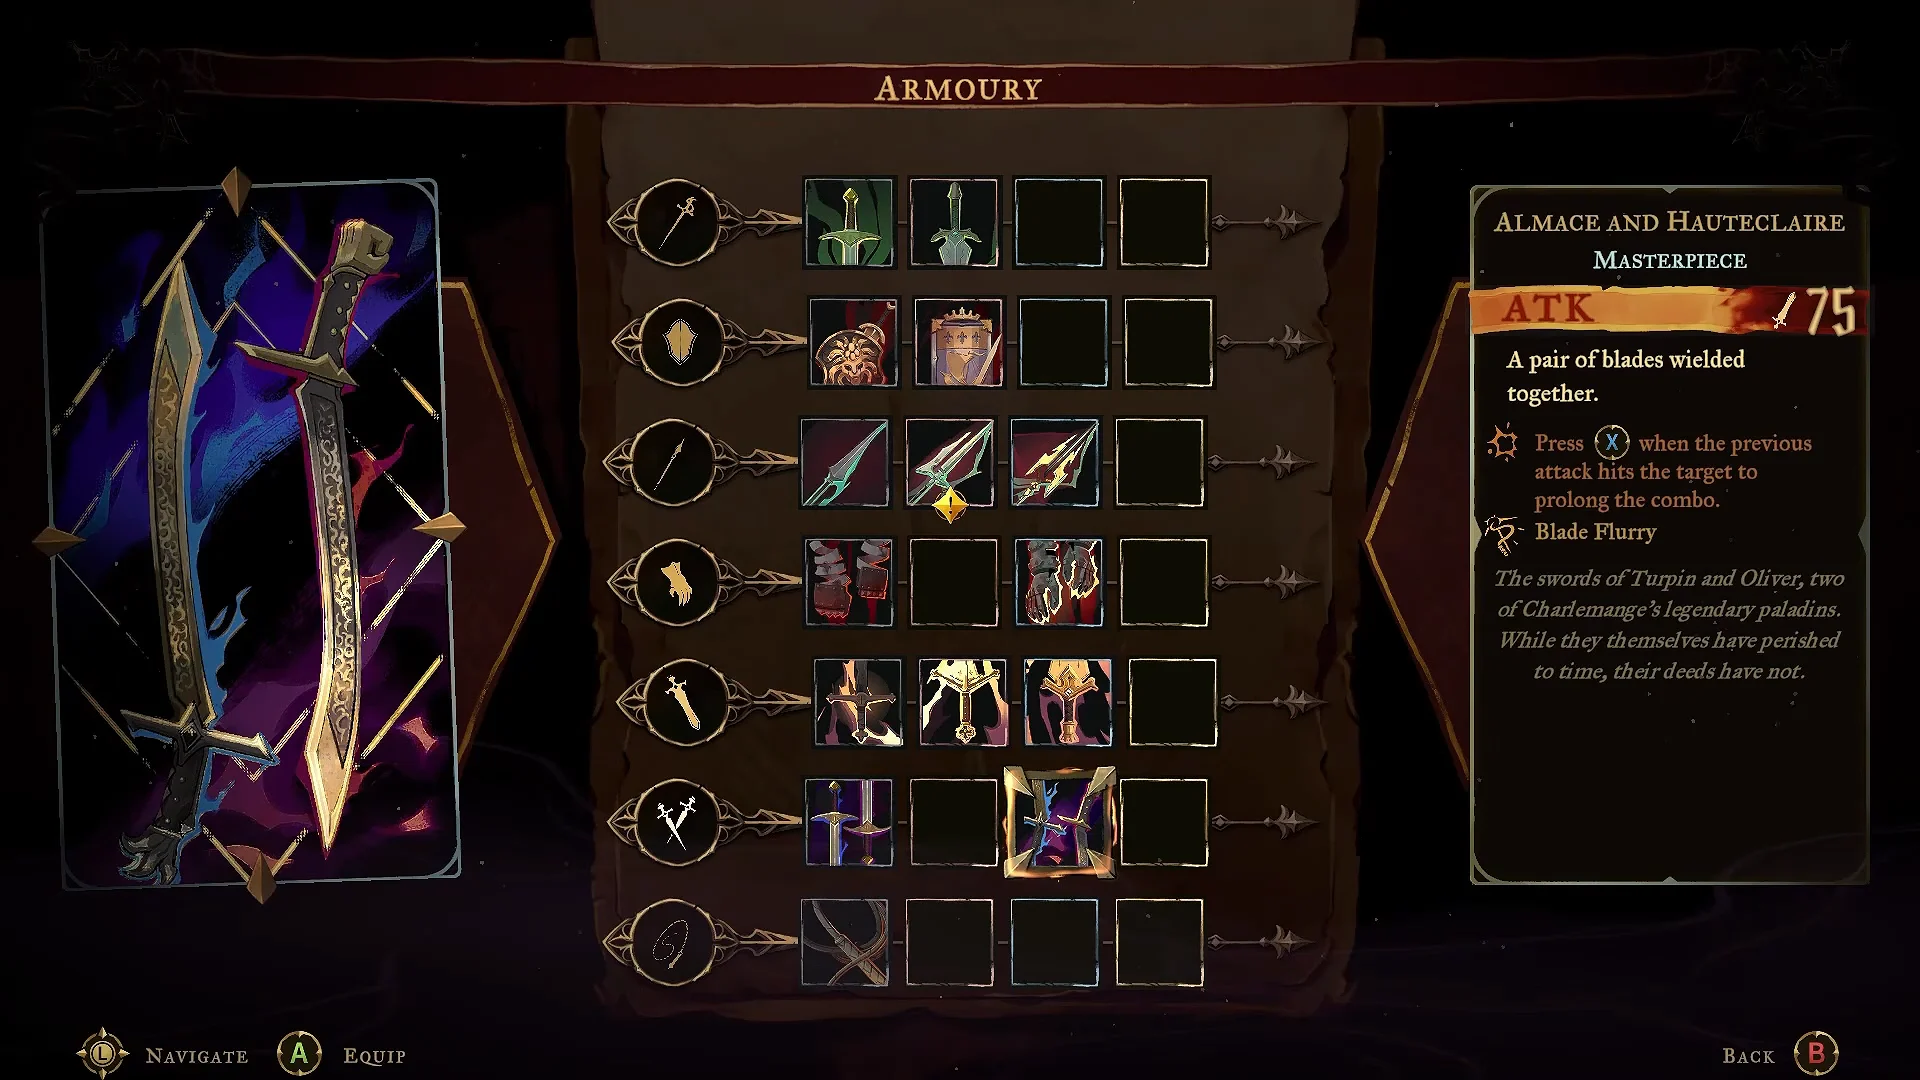
Almace and Hauteclaire
| Weapon | Value |
|---|---|
| Type / rarity | Dual swords, Masterpiece (tier 3) |
| ATK | 75 |
| Attack / stagger power | 30 / 30 |
| Mana per hit | 2 |
Almace and Hauteclaire is in Holy Innocents’ Cemetery, at the Cemetery Entrance. Smash down through the floor platform and clear the enemy gauntlet in the flooded crypt below. The combo keeps going as long as each attack lands, and it ends with Blade Flurry. Its multi-hit whip attack gives Rose invincibility frames, so she can push through Mammon’s lasers and still hit it in the air.
Blood Spikes Arcana
Blood Spikes comes from beating Carmilla. It makes enemies bleed, which deals damage over time, and if you reapply it to something already bleeding, it deals instant damage. Bleed keeps ticking while Mammon is in its gas form and you can’t touch it. Complete the Works of Mercy on the card to unlock its third Blessing, which makes bleeding enemies slower and cuts the damage they deal to Rose.
Witch’s Knot, Raven’s Feather, and Twilight Gem
| Relic | Effect | Area |
|---|---|---|
 Witch’s Knot | Potions heal 100% health | Main Hall |
 Raven’s Feather | +25% damage in the air | Holy Innocents’ Cemetery |
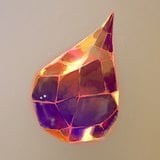 Twilight Gem | +30% damage for 3s after a spell | Paris Streets |
Witch’s Knot can be found in a platforming room on the West Hall’s left side. It turns one potion into a full heal, a useful boost against a boss that deals this much damage.

Raven’s Feather can be found in the Mass Grave area within Holy Innocents’ Cemetery. Mammon stays airborne for much of the fight, so you’ll be making most of your attacks in the air regardless.
Search the left side of the Central Sewer Drain for a hidden chamber containing the Twilight Gem. Cast Blood Spikes just before a punish window so its bonus applies to your next combo.
Preparing outside Mammon’s Lair
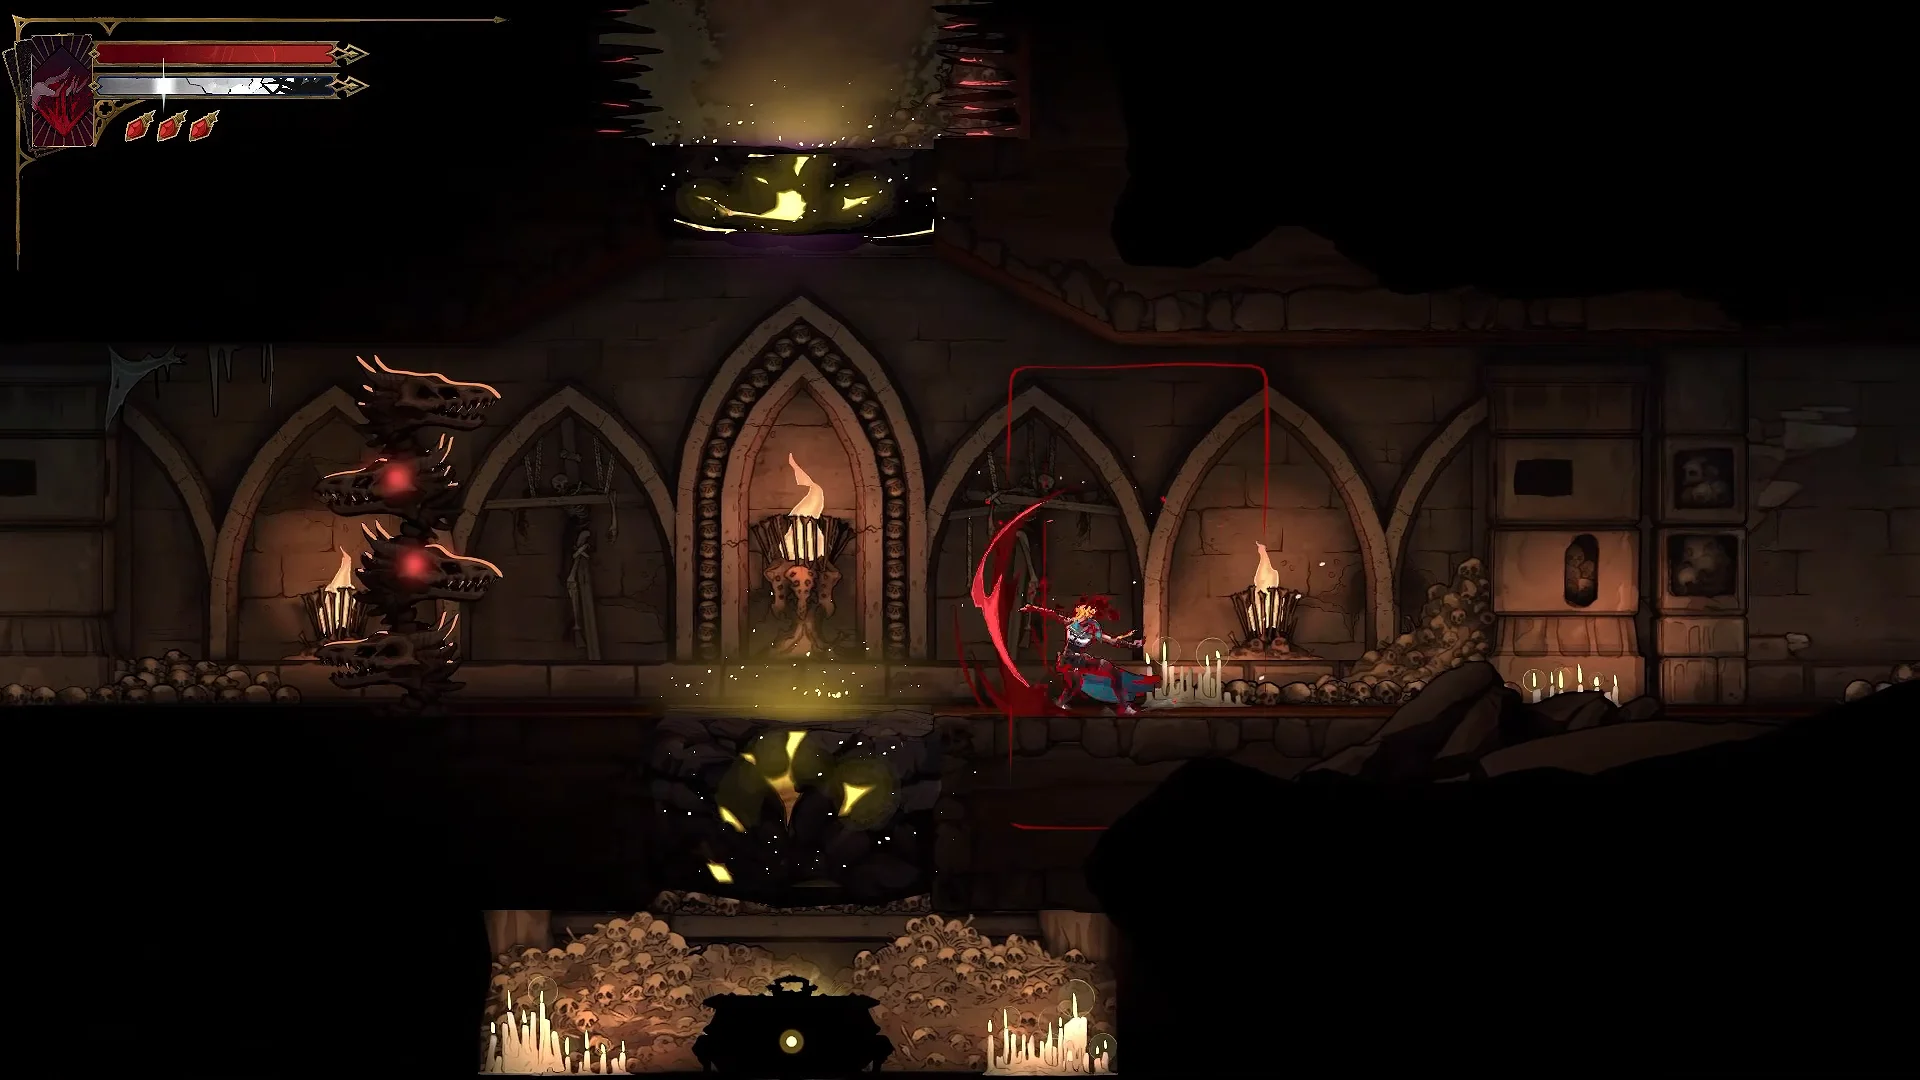
Before you open the door, clear the nearby rooms full of enemies. Their corpses can drop potions, and you pick up extra XP too. Break every candle you see on the way back to the arena, since they can restore missing health and mana. Go in with full bars.
How to beat Mammon: every attack and counter
Mammon moves in odd arcs, and chasing it is how you get hit by contact damage. Its stronger attacks take time to charge, and it holds still right before each beam. Treat that pause as your signal to move into a safe spot. Then hit it during the recovery. If you get cornered during a ground attack, grapple to a ceiling ring and wait for the next pattern.
| Attack | Phase | Safe response |
|---|---|---|
| Cross / X beams | Both | Diagonal gap, duck, or grapple |
| Floor slams | Both | Slide or air dash, punish after |
| Ricochet | Both | Keep clear until it stops |
| Gas cloud | Both | Figure-8 loop around the arena |
| Eight-way starburst | 2 | Corner or gap between beams |
| Slam into laser | 2 | Stay back, duck horizontals |
| Ricochet with falling rocks | 2 | Move sideways, parry with Holy Light |
Phase 1: full health to 50 percent
Laser beams. Mammon teleports to a spot and fires four beams in either a plus or an X shape, and it repeats this four times. For the plus-shaped cross, stand diagonally away from both lines. For the X, stand right under its center, between the two lower diagonals. You can duck under low beams or grapple up to dodge. Because Mammon stays in place while firing, you get to hit it both before and after each volley, and it can be struck while the wheel hovers and spins.
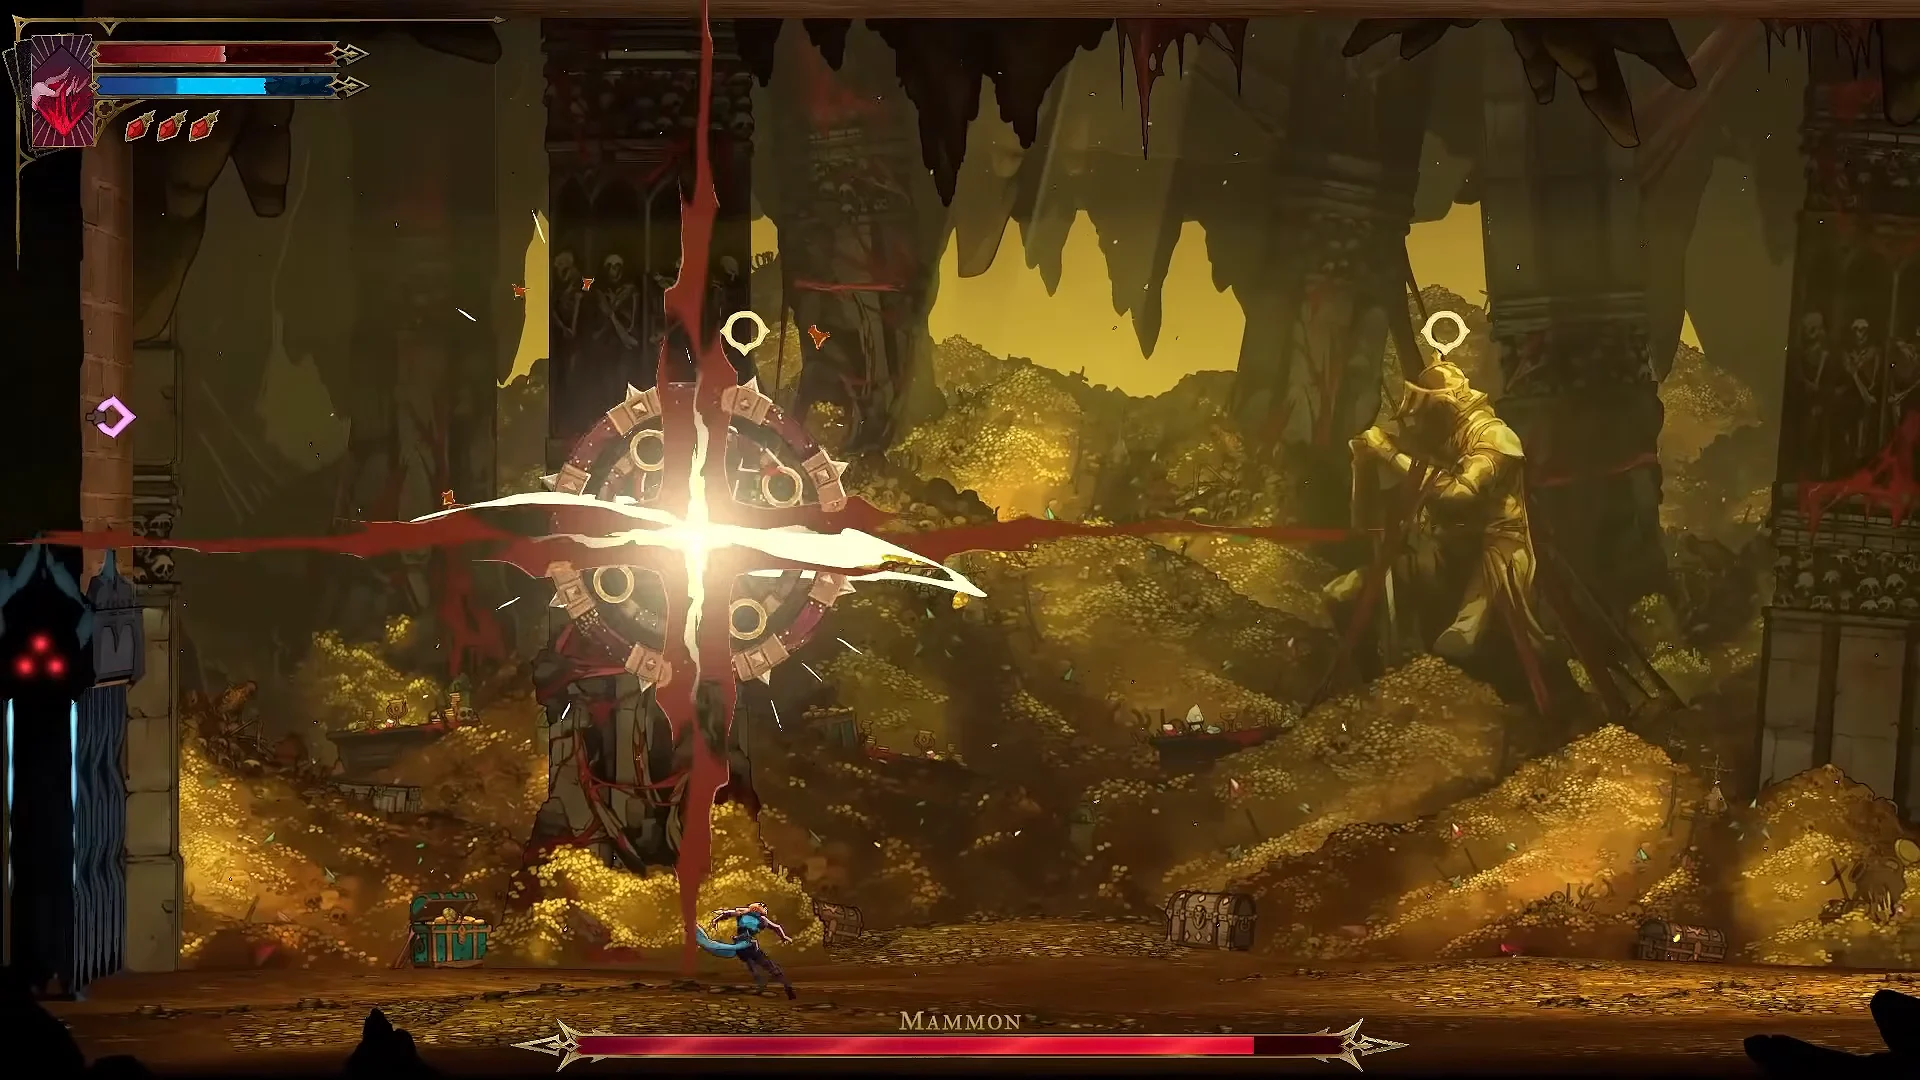
Floor slams. Mammon slams the floor four times in a row, charging straight up or down at Rose. Slide or air dash out of each one. After the fourth slam it pauses, which is a good time to cast Blood Spikes and go in with the blades.
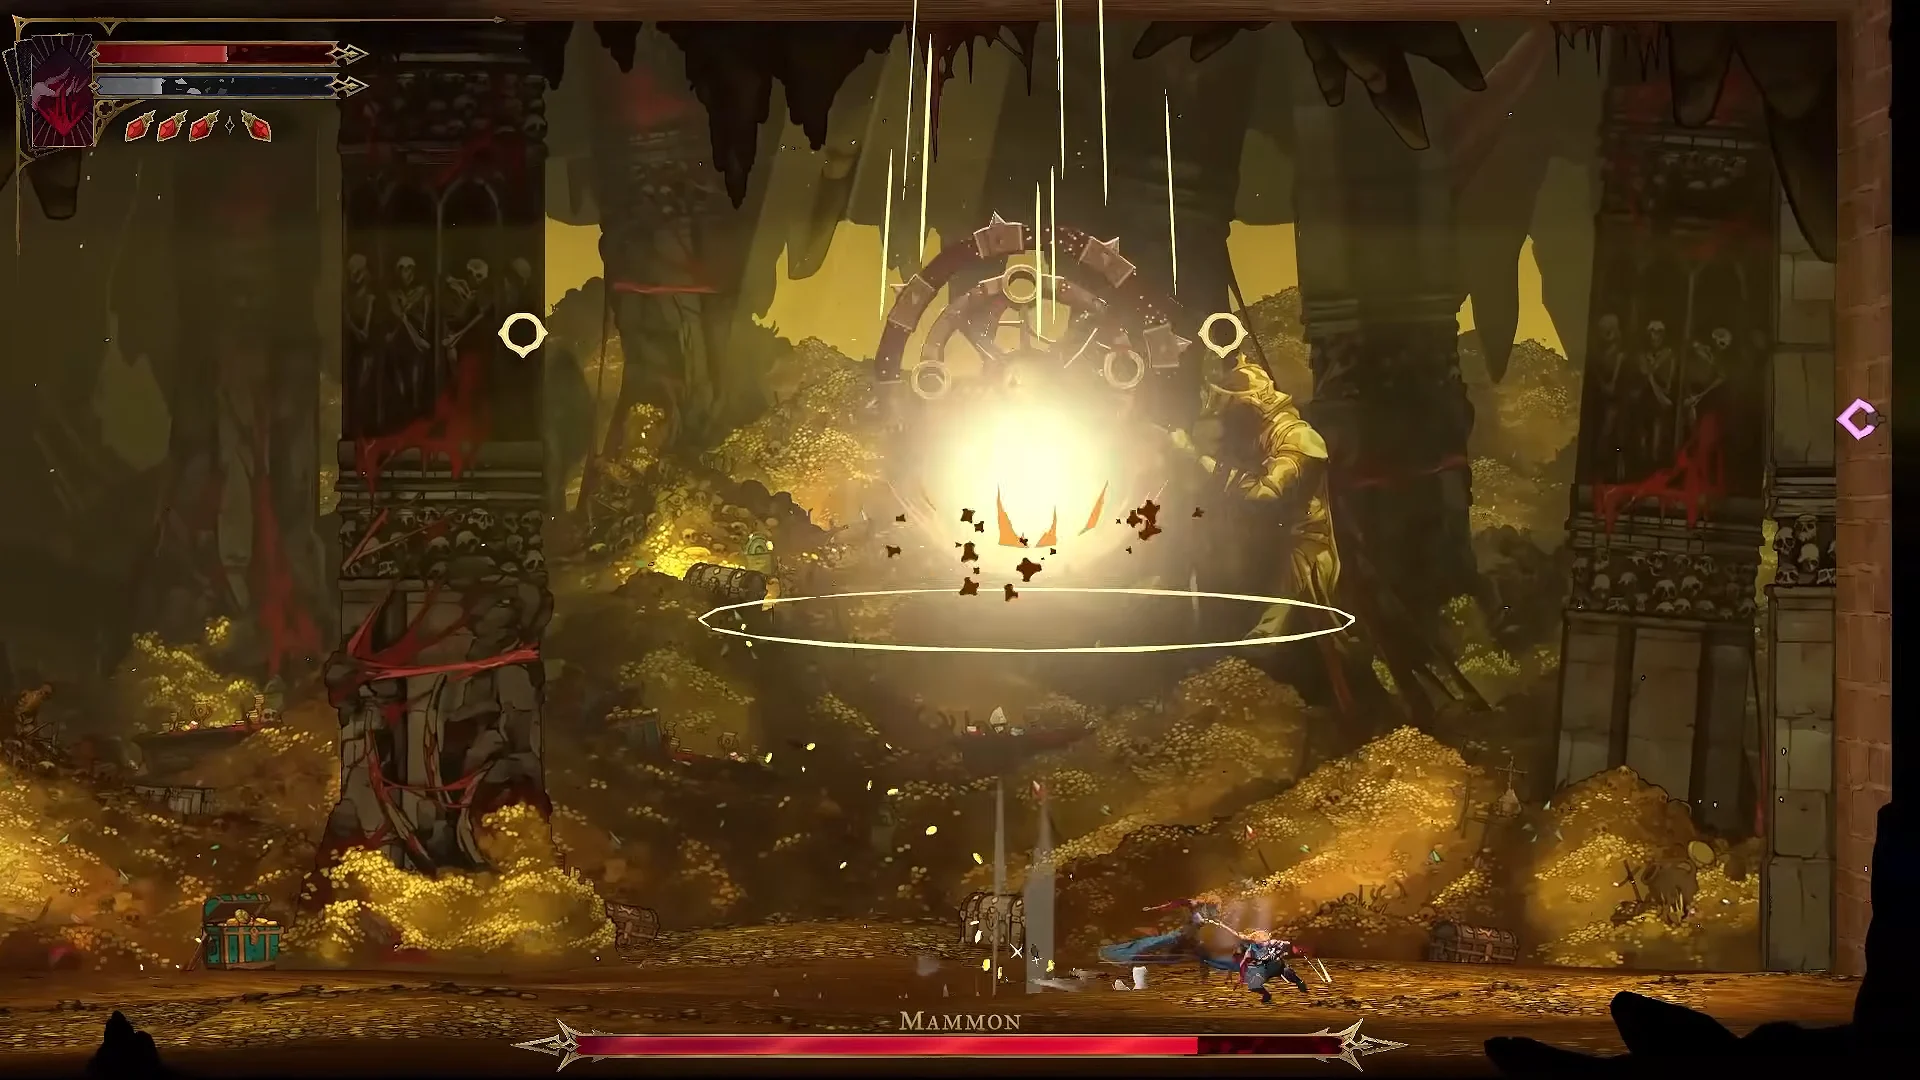
Ricochet. Mammon bounces off the walls around the arena and stops when it touches the floor for the second time. Stay out of its path until it lands. The stop leaves it open to attack.
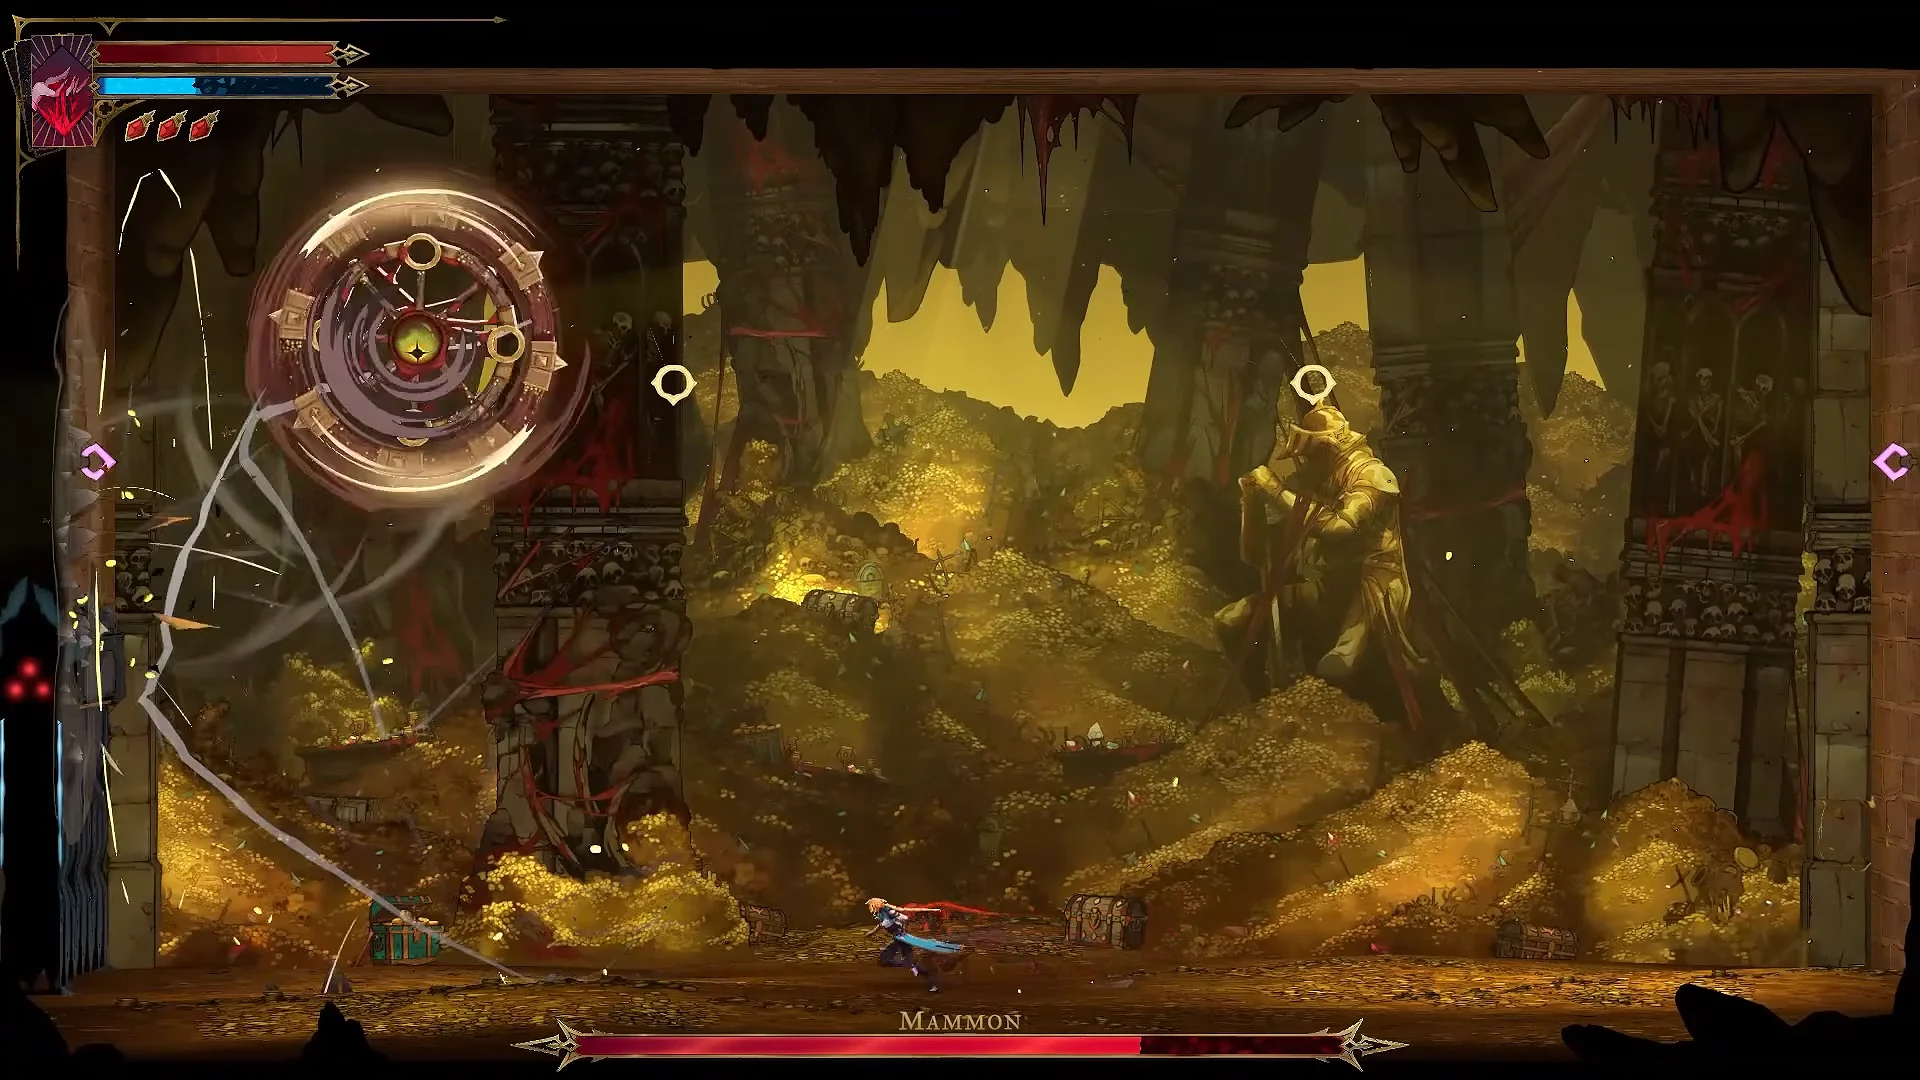
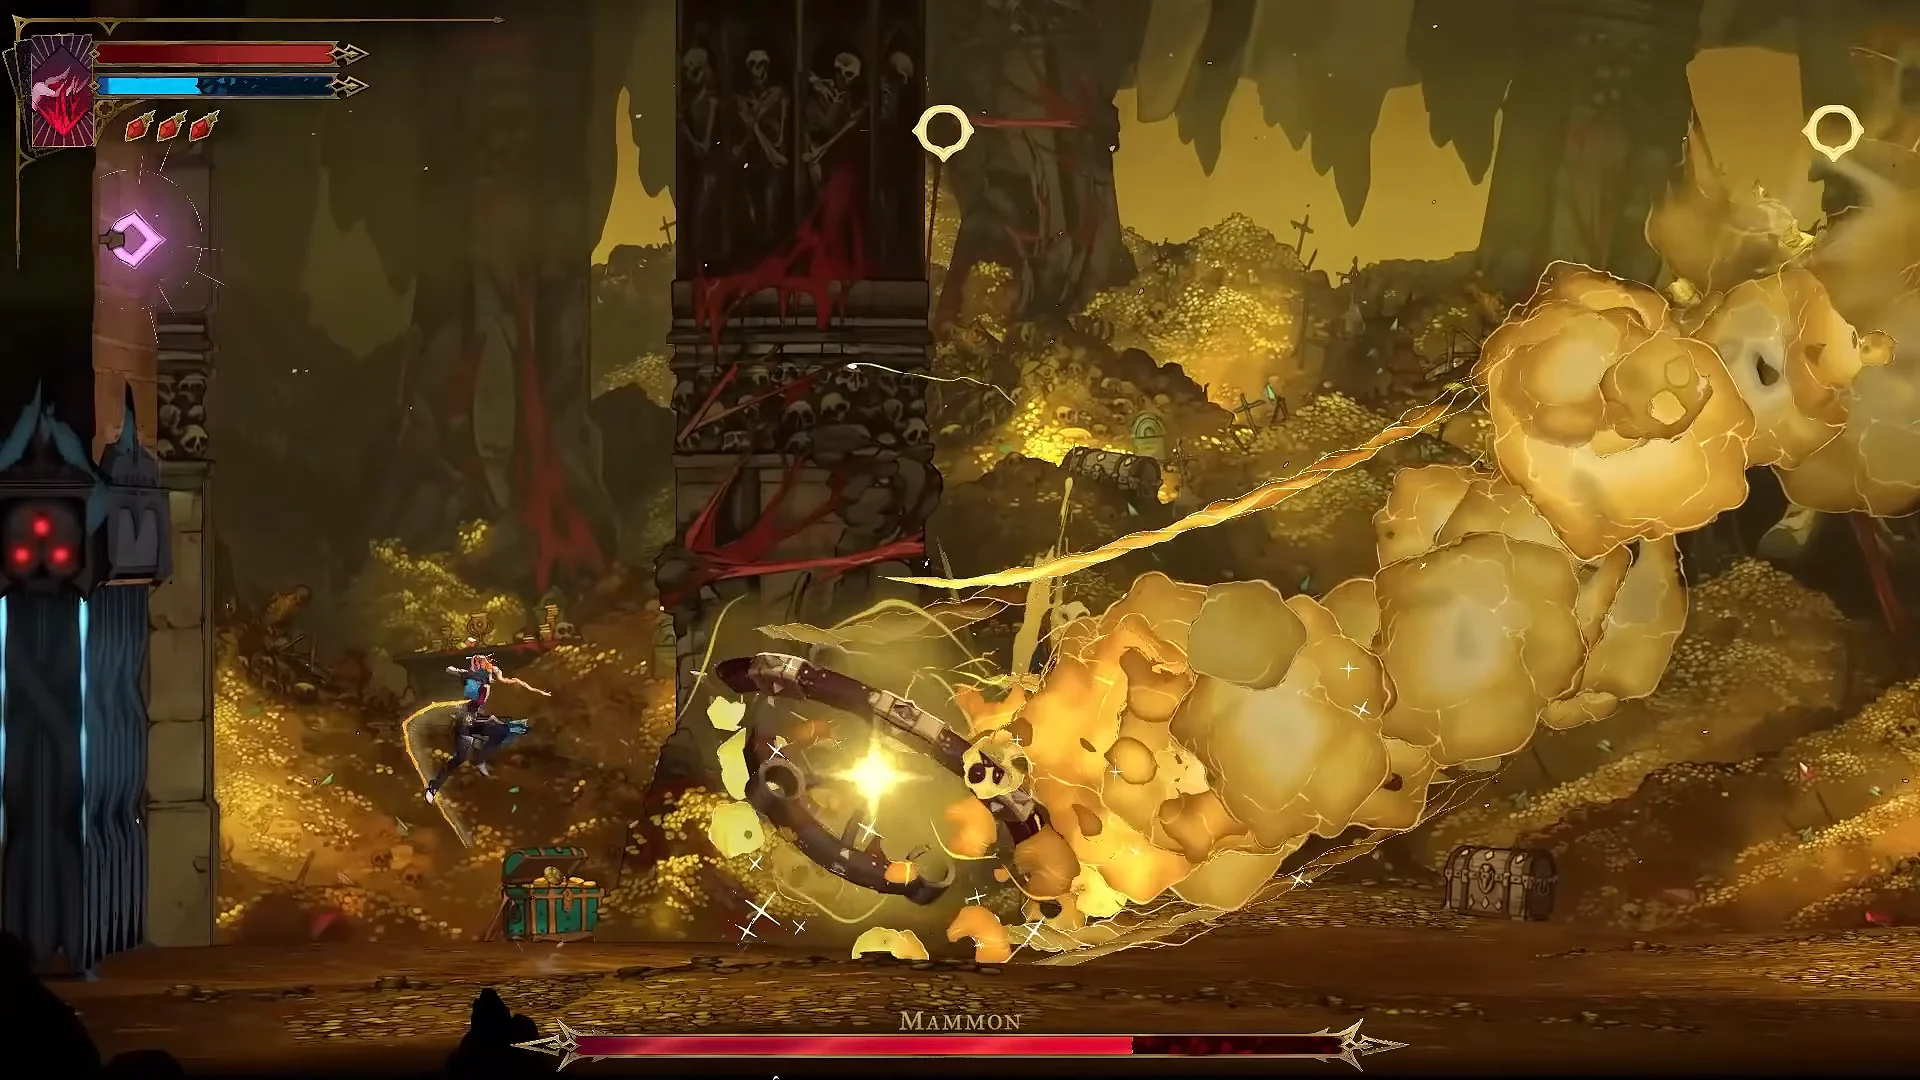
Gas form. Mammon becomes a rolling mass of yellow vapor. Contact turns Rose to gold and holds her still, and sliding cannot carry you through it. Keep it moving with a figure-8 route: wait on the ground, grapple to a wall, wall jump, then air dash over the cloud. Do this again until Mammon takes shape. Any bleed applied beforehand continues ticking throughout.
Phase 2: below 50 percent
Mammon becomes noticeably faster at half health. Beams now trace diagonal paths in addition to straight ones, and its charges leave a beam pattern behind. This phase opens with a starburst of eight beams. Move to a far corner of the arena or stand in the space between two adjacent beams.
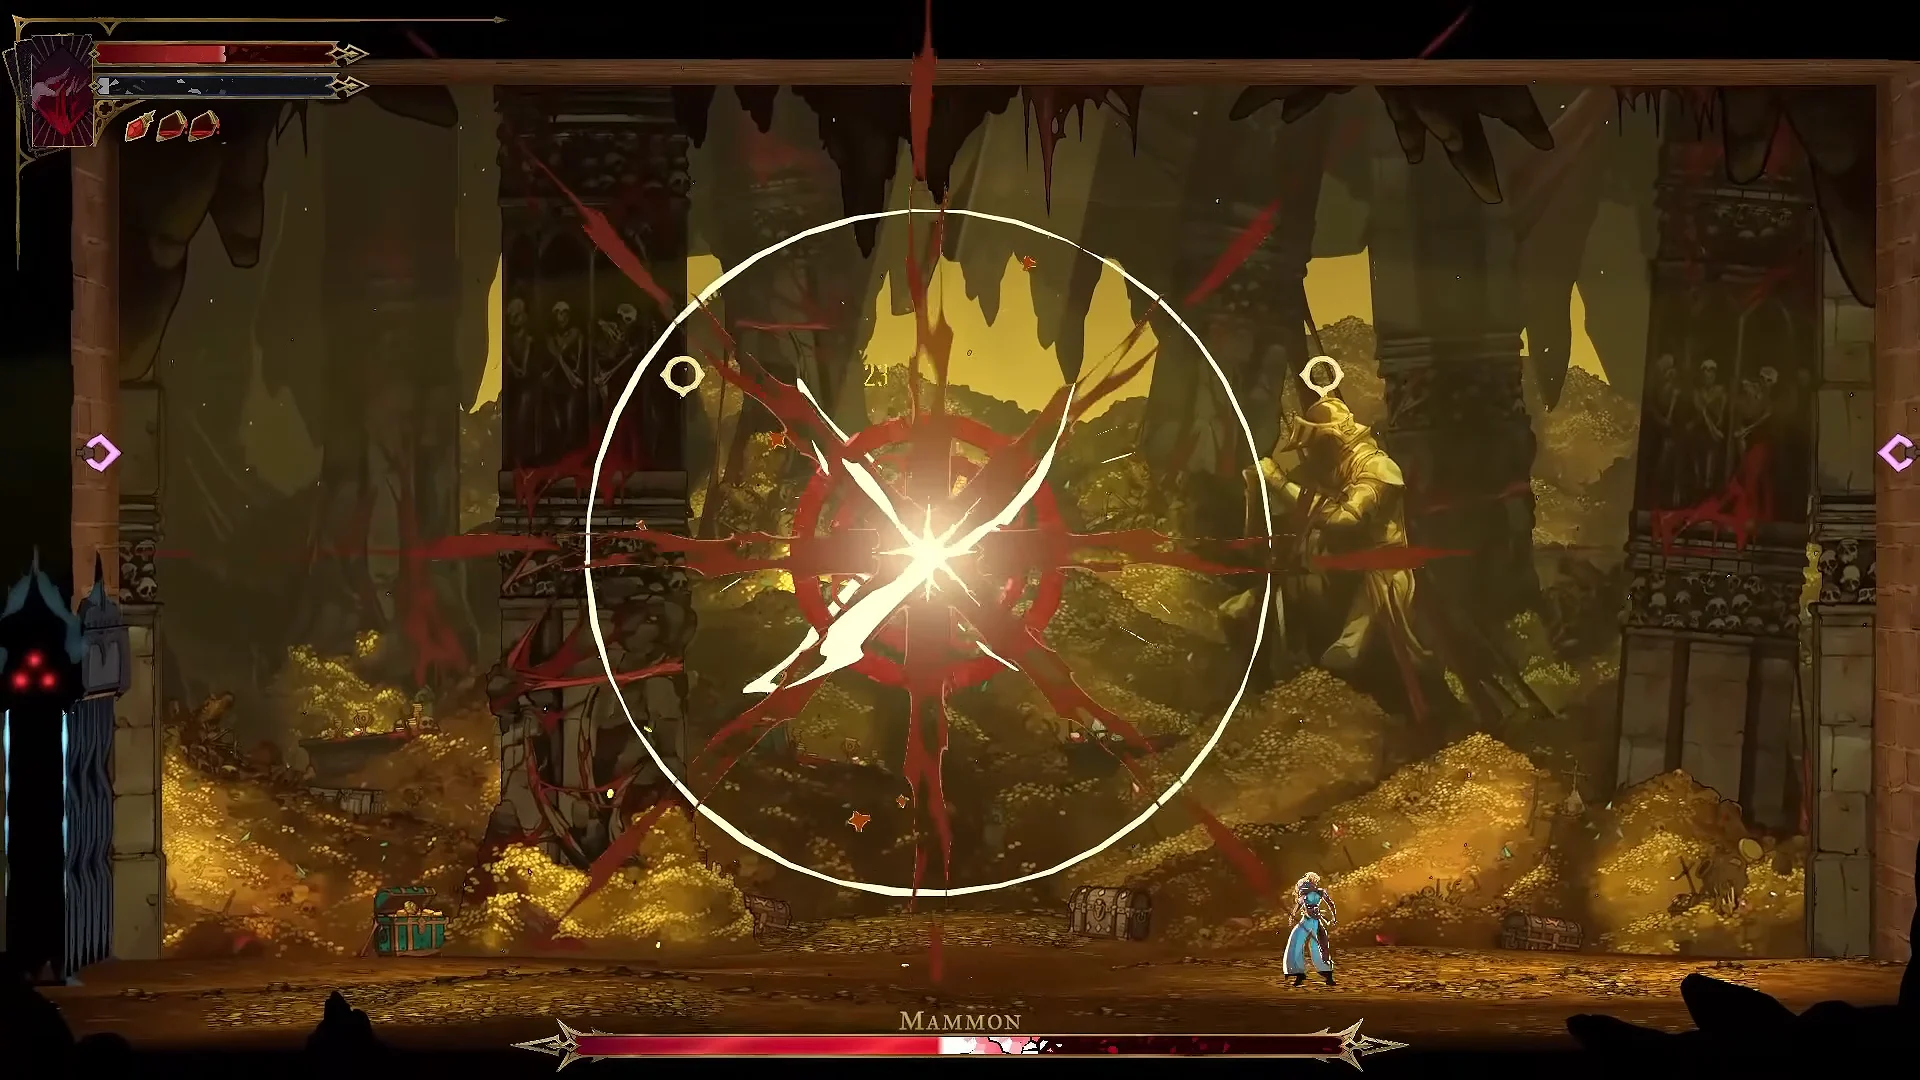
The laser volleys now come out much faster. You can either stay as far away as possible, or close the distance with the twin blades’ whip attack and use its invincibility frames to hit through the beams.
The floor slams get quicker, and each one is followed immediately by a laser shot. Don’t start long whip animations here. Keep your distance and duck under the horizontal shots. The gas form comes back too, but it lasts a shorter time. The same figure-8 route works.
The ricochet now goes for four bounces before Mammon stops, and it knocks boulders down from the ceiling. Watch the shadows on the floor to see where they’ll land and keep moving sideways. If one is about to hit you, parry it with Holy Light.
Mammon rewards: The Miser and Wheel of Chaos
Mammon shatters onto its pile of gold when the health bar runs out, and the trophy “All that glitters is not gold.” pops to confirm the kill. Absorb The Miser Arcana card to learn the Wheel of Chaos spell. Before you leave, pick up the Ferryman’s Obol in Mammon’s Lair. It’s a key item you use to pay the Ferryman.
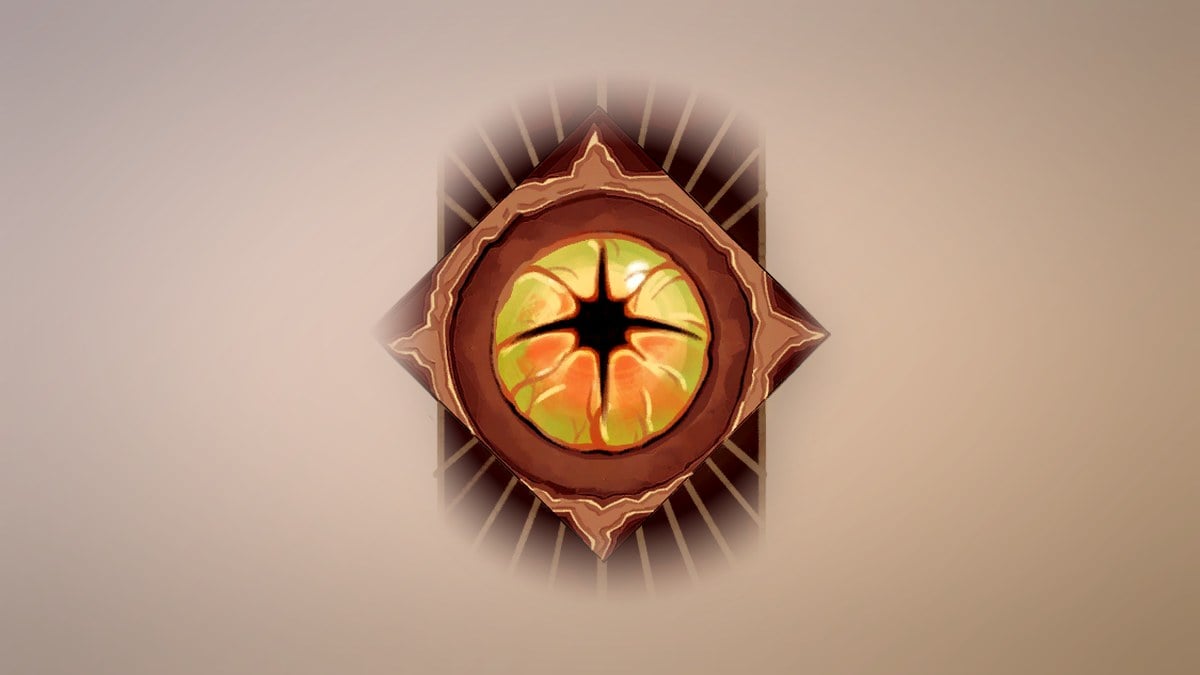
| Wheel of Chaos | Value |
|---|---|
| Arcana card | The Miser |
| Mana cost | 45 |
| Attack power | 15 |
The spell hurls a wheel marked with the Eye of Mammon at the closest enemy, no matter where it is. The wheel lingers in the air for a few seconds, during which another cast costs less mana. Its gifts provide three effects:
- It can be cast with health when Rose is out of mana, and it deals 50 percent more damage when cast that way.
- Each cast adds damage, but the bonus resets if you don’t recast while the wheel is still active.
- Each recast has a 1 in 8 chance to trigger a random effect.
Its Works of Mercy ask you to keep the wheel spinning for 15 seconds without interruption, kill 5 different enemies with one wheel, and spend 1,000 mana on recasts.