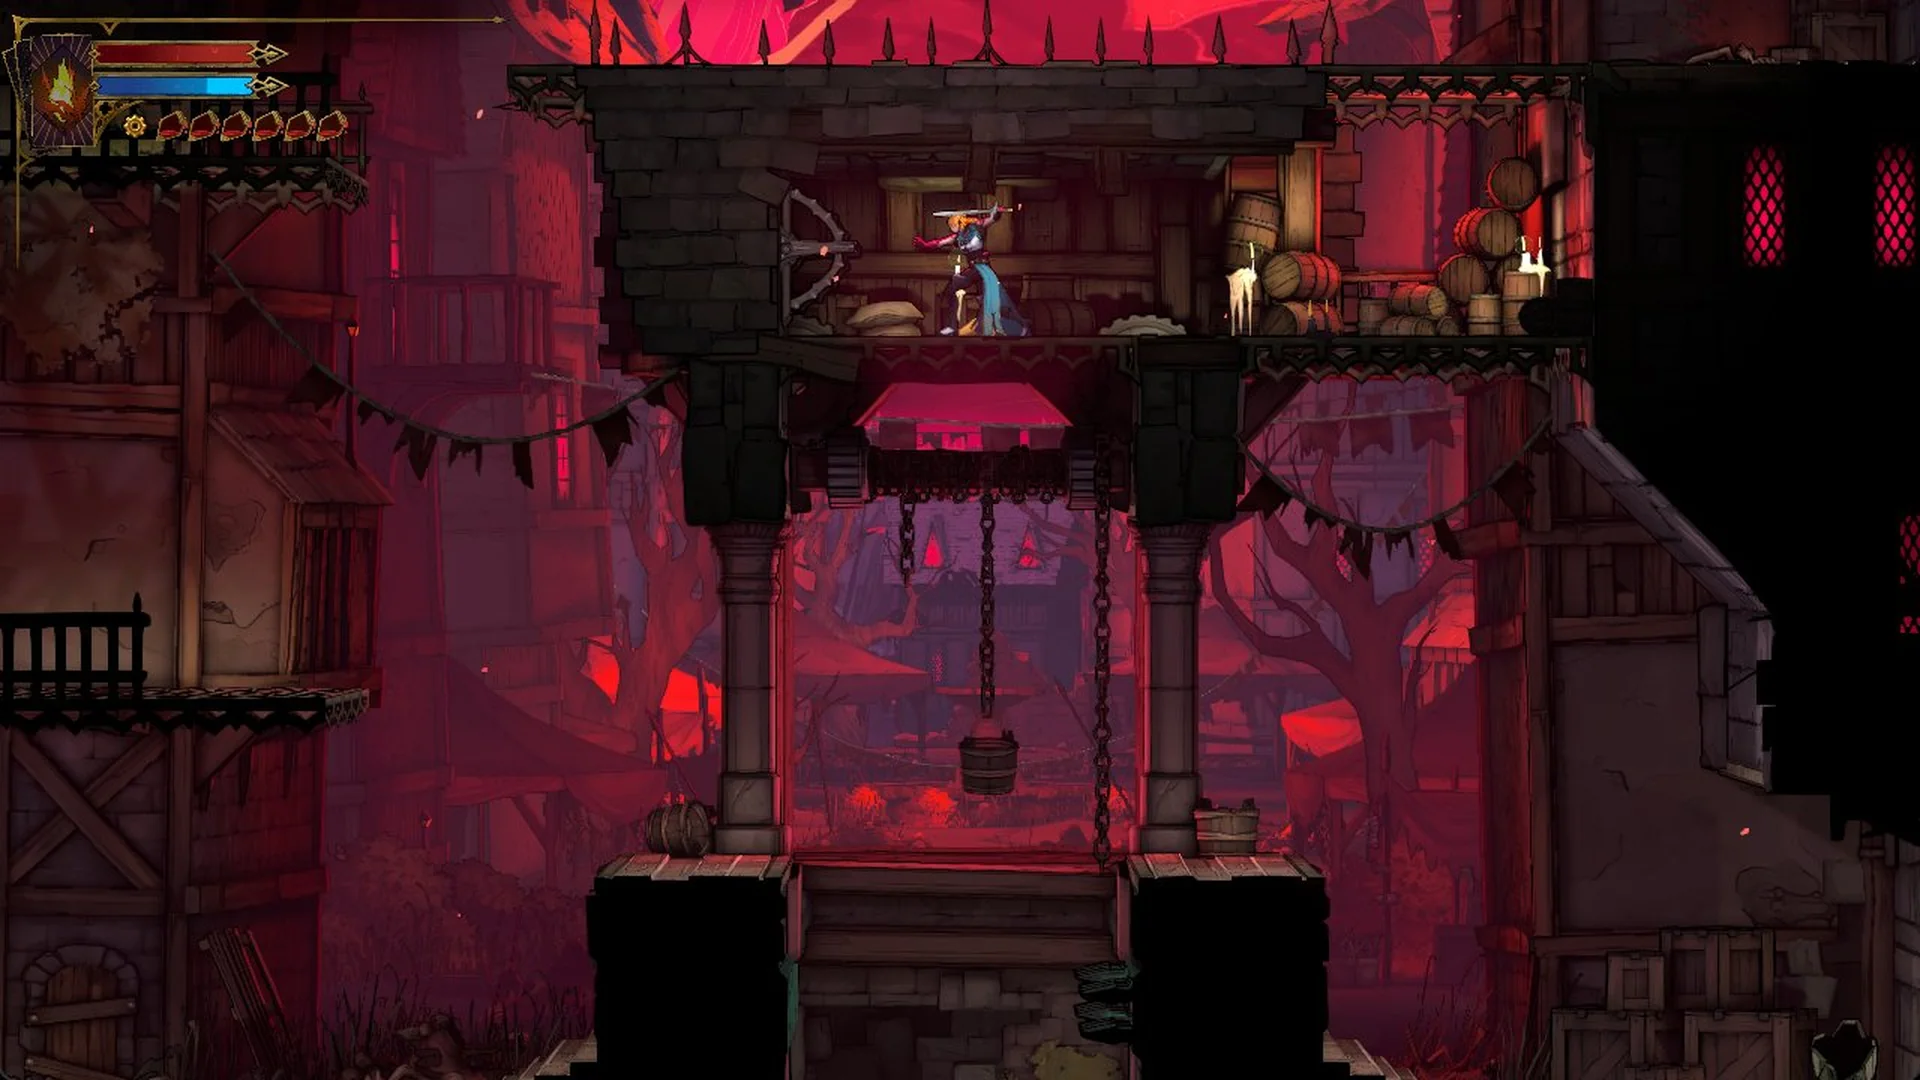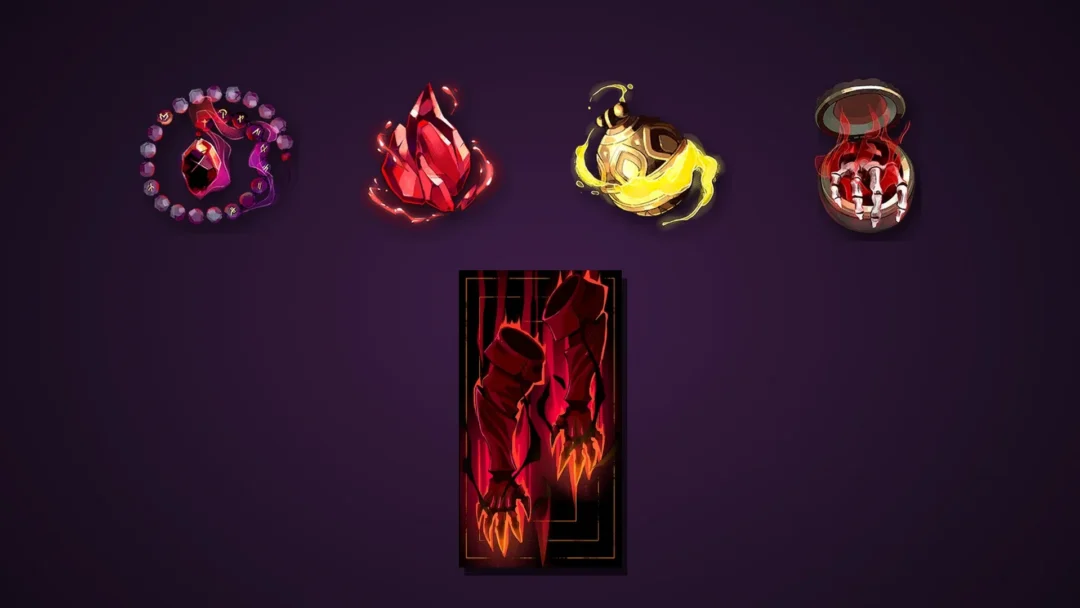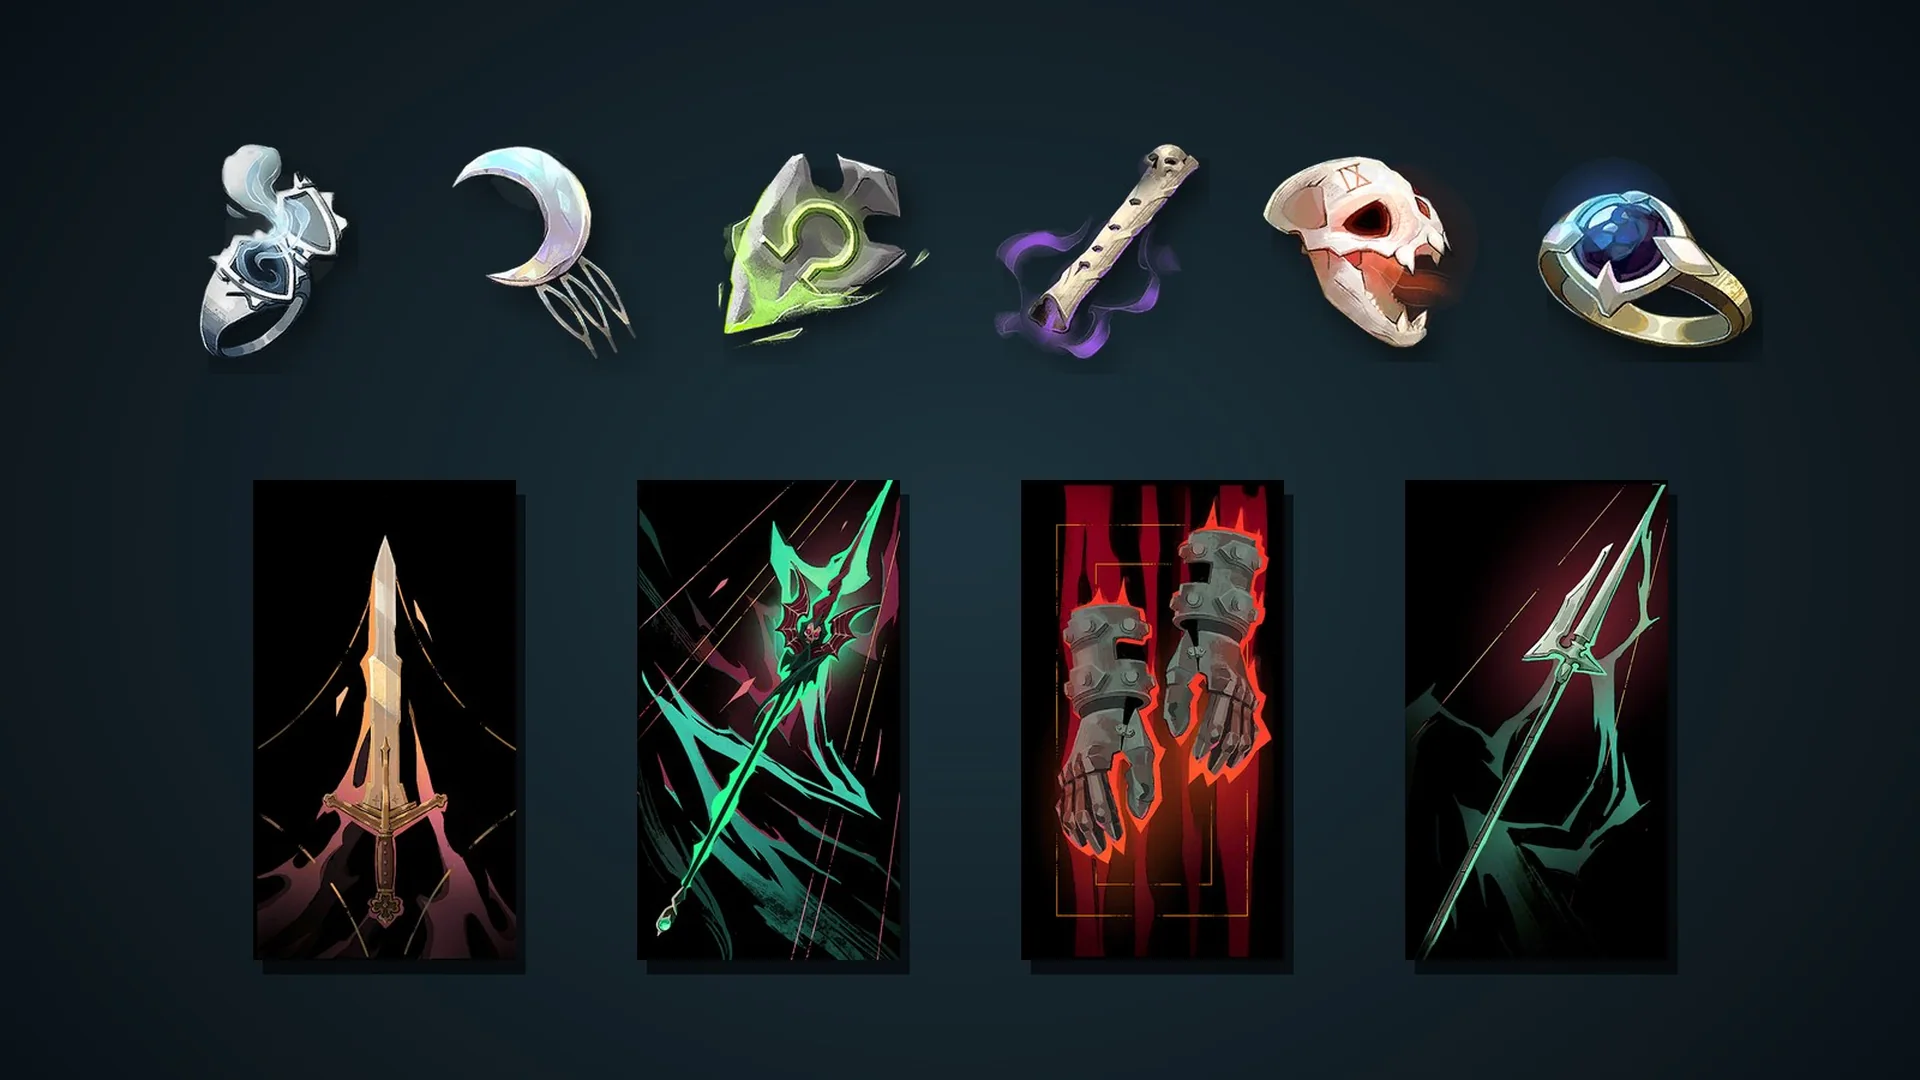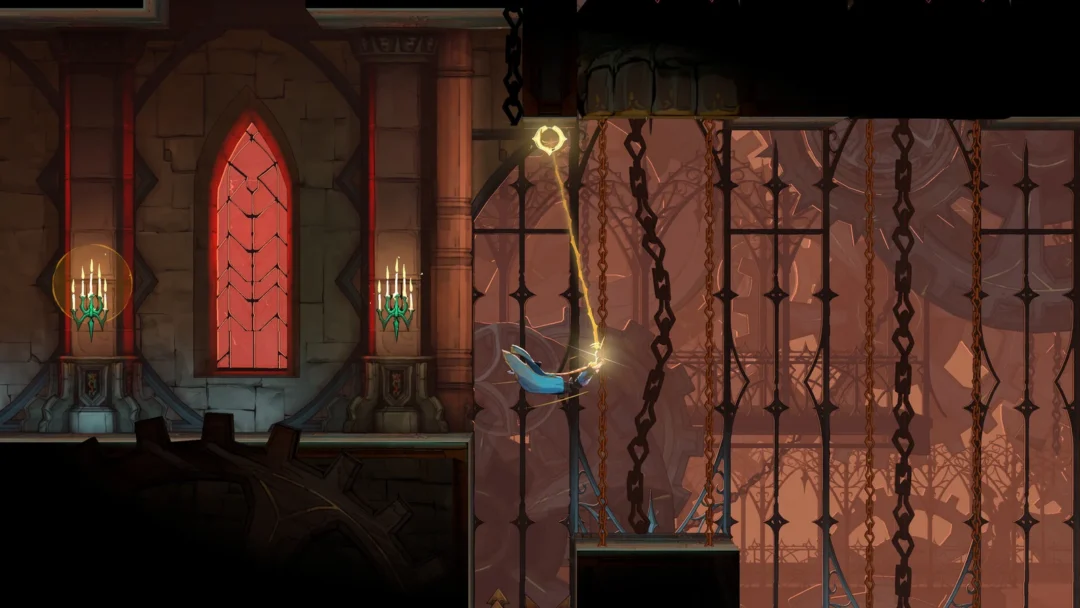
The Library in Castlevania: Belmont’s Curse is one of the densest areas for pickups, spread across two Mirror of Life rooms and a long list of sub-areas. Much of what you want is sealed inside Secret Areas, and a few of those will not open until you have a skill you do not start with. Here is everything to collect and how each piece is reached.
Quick answer: The Library has 26 Secret Areas: 16 are hidden passages, 7 are behind breakable walls, and 3 lie beneath thick Smash floors. The area also holds 4 relics, 3 weapons, 1 keepsake, 6 Heart Fragments (3 Brave, 3 Wise), 9 XP statues and 2 pieces of meat; 15 of the Secret Areas have something inside.
Every Secret Area, chest and collectible in this guide is marked on the Library interactive map.
How the Library’s Secret Areas open
Three kinds of Secret Area exist in the Library, and nothing else.
- Hidden passage: there is no lever, switch or wall to break; the way in is hidden in the wall itself. The game’s tutorial card reads: “Some secret areas are hidden behind walls. Look out for the visual and audio clues.”
- Breakable wall: A Secret Area lies beyond a cracked wall section. Strike the crack with your weapon until the wall gives way.
- Thick Smash floor: Smash can break this floor only with its more powerful impact, triggered by falling from a great height.
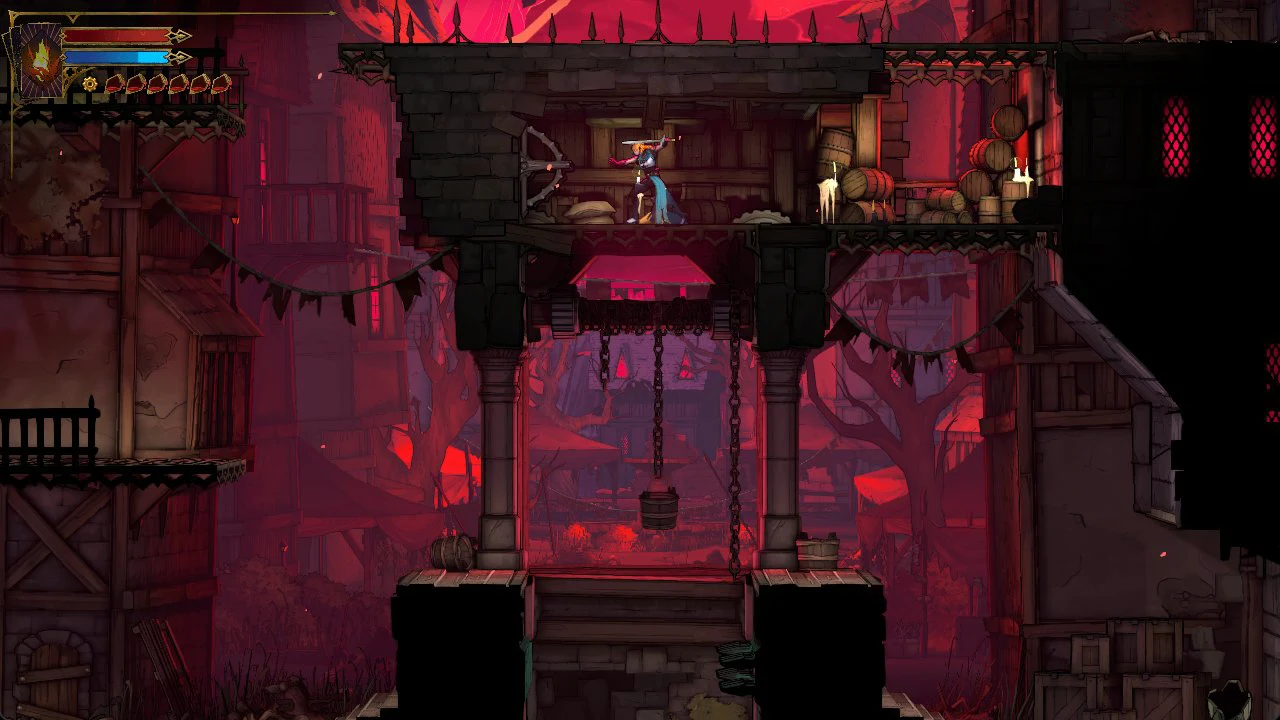
Every XP statue is made of gold, takes several hits to shatter, and awards 300 experience; meat restores health. The thick Smash floors appear at the end because opening them requires a skill from the Clock Tower.
Sub-areas closest to the Rhetoric Shelves Mirror of Life
Bridge of Knowledge
The Library’s Ferryman’s Wharf is here. There are no other pickups in this sub-area.
Fine Arts Shelves
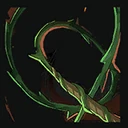 Thorn Whip (weapon), found in a chest within a Secret Area reached through a concealed passage. Location: inside an ornate chest on the balcony at the upper left.
- Wise Heart Fragment, tucked inside a Secret Area reached through a concealed passage. Location: at an ornate shrine built into the wall.
- Secret Areas: 2, both opened by hidden passages.
Library Foyer
- Brave Heart Fragment. Where: in an upper passage, behind a thorny growth you break with attacks.
- XP statues: 1 (inside a Secret Area).
- Secret Areas: 2 (1 breakable wall, 1 hidden passage); 1 holds no pickup.
Natural Philosophy Shelves
- “Blood Poem” (clue for The Occultist), found in a Secret Area reached through a concealed passage.
- XP statues: 2 (both inside Secret Areas).
- Meat: 1 (inside a Secret Area).
- Secret Areas: 3 (2 breakable wall, 1 hidden passage); 1 holds no pickup.
Observatory
- Brauner’s Paintbrush (keepsake). Location: on the desk atop the left platform; use INTERACT (R1, PC: E) to collect it.
Poetry Shelves
- Brave Heart Fragment, tucked inside a Secret Area reached through a concealed passage. Location: at the altar beyond the spike gauntlet.
- XP statues: 1.
- Secret Areas: 3, all opened by hidden passages; 2 hold no pickup.
Rhetoric Shelves
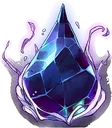 Midnight Tear (relic), inside a chest in a Secret Area reached through a concealed passage. Location: grapple across the whip rings to reach the balcony and its chest.
 Lich’s Mark (relic) is in a Secret Area you enter by striking a breakable wall with your weapon. Inside the chamber, look for it on a table.
- Wise Heart Fragment, concealed in a Secret Area beneath a thick Smash floor. Break through with a Smash powered by a high fall.
- Secret Areas: 4 (2 Smash floor from a high fall, 1 breakable wall, 1 hidden passage); 1 holds no pickup.
Study Room
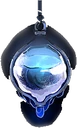 Wraith’s Tear (relic), inside a chest in a Secret Area reached through a concealed passage. Location: in a chest at the room’s bottom-left corner.
- XP statues: 2 (1 inside a Secret Area).
- Secret Areas: 3 (2 hidden passage, 1 breakable wall); 1 holds no pickup.
Sub-areas closest to the Exhibition Room Mirror of Life
Astronomer’s Office
- XP statues: 1.
Condemned Shelves
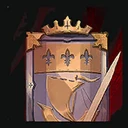 Fleuret and Tower Shield (weapon), inside a chest in a Secret Area reached through a concealed passage. Location: in an ornate chest in a high alcove above the astrological dial.
- Secret Areas: 2, both opened by hidden passages; 1 holds no pickup.
Curiosity Cabinet
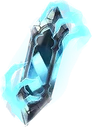 Revenant’s Shard (relic), in a chest inside a Secret Area opened by a thick Smash floor (needs a Smash from a high fall). Where: a chest in the lower corridor.
- Meat: 1 (inside a Secret Area).
- Secret Areas: 4 (3 hidden passage, 1 Smash floor from a high fall); 2 hold no pickup.
Exhibition Room
- XP statues: 1 (inside a Secret Area).
- Secret Areas: 1, opened by a hidden passage.
Lecture Room
- Secret Areas: 1, opened by a breakable wall; it holds no pickup.
Lisa’s Laboratory
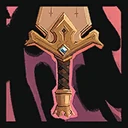 Durandal (weapon), inside a chest. Location: an ornate gold chest on the lower floor. This Masterpiece weapon has ATK 75 and the card text “A heavy and powerful blade.”
Planetarium
- Brave Heart Fragment.
- Wise Heart Fragment.
- Secret Areas: 1, opened by a breakable wall; it holds no pickup.
Trophy Room
- XP statues: 1.
Also in the Library
Mirrors of Life, the Ferryman, the elevator, the boss and the clues, by sub-area.
| What | Sub-area | Notes |
|---|---|---|
| Mirror of Life | Rhetoric Shelves | Save, heal and refill potions |
| Mirror of Life | Exhibition Room | Save, heal and refill potions |
| Ferryman’s Wharf | Bridge of Knowledge | Boat to other areas |
| Elevator | Observation Tower | One elevator with two stops |
| Carmilla (boss) | Observatory | Gives The Occultist Arcana and the Blood Spikes spell; closest Mirror of Life: Exhibition Room |
| Aerial Rush (skill) | Observation Tower | Movement skill |
| Clue “Blood Poem” (The Occultist) | Natural Philosophy Shelves | Inside a Secret Area (hidden passage) |
| Clue “Magical Brush” (The Occultist) | Observation Tower | — |
| Clue “Organic Astrology” (The Occultist) | Drawing Room | — |
| Clue “Star Chart” (The Occultist) | Astronomer’s Office | — |
Library checklist
| Pickup | Sub-area | How you reach it |
|---|---|---|
| Midnight Tear | Rhetoric Shelves | Chest in a Secret Area reached through a concealed passage; grapple over the whip rings to get to the balcony. |
| Lich’s Mark | Rhetoric Shelves | Breakable-wall Secret Area, on a table in the hidden chamber |
| Revenant’s Shard | Curiosity Cabinet | Chest in a thick Smash-floor Secret Area, in the lower corridor |
| Wraith’s Tear | Study Room | Chest in a hidden-passage Secret Area, bottom-left corner |
| Thorn Whip | Fine Arts Shelves | Ornate chest in a hidden-passage Secret Area, upper left balcony |
| Fleuret and Tower Shield | Condemned Shelves | Ornate chest in a hidden-passage Secret Area, high alcove above the astrological dial |
| Durandal | Lisa’s Laboratory | Ornate gold chest on the lower floor |
| Brauner’s Paintbrush | Observatory | Desk on the left platform; use INTERACT (R1, PC: E) to take the item. |
| Brave Heart Fragment | Library Foyer | Upper passage, behind a thorny growth you break with attacks |
| Brave Heart Fragment | Poetry Shelves | Hidden-passage Secret Area, altar past the spike gauntlet |
| Brave Heart Fragment | Planetarium | In the room |
| Wise Heart Fragment | Fine Arts Shelves | Hidden-passage Secret Area, at an ornate wall shrine |
| Wise Heart Fragment | Rhetoric Shelves | Thick Smash-floor Secret Area (Smash from a high fall) |
| Wise Heart Fragment | Planetarium | In the room |
| “Blood Poem” (clue) | Natural Philosophy Shelves | Hidden-passage Secret Area |
Smash floors: come back later
Three Library Secret Areas sit under a thick Smash floor, and each needs Smash. You break these floors with Smash, the skill picked up in the Clock Tower’s Final Trap alongside the Arcana of Talos. A thick floor needs the stronger version, so jump or drop from high up before you Smash. The Heavy Stomp tutorial reads: “The Stomp has several power levels that activate depending on the distance travelled during the fall. If Rose jumps high enough, she can break thicker destructible objects!” (Down + Jump = Down + Cross on PlayStation, S + Space on PC.)
- Curiosity Cabinet: Revenant’s Shard and a piece of meat.
- Rhetoric Shelves: a Wise Heart Fragment.
- Rhetoric Shelves: one with no pickup.
Related guides
- Where to find all 42 relics and what they do.
- Where to find each weapon and its special move.
- What Brave Heart and Wise Heart Fragments do.
- All 40 clue locations for the Greatest Detective.
- How to beat Carmilla.
- Library and Clock Tower walkthrough.
- All 34 Mirror of Life locations.
- All 257 Secret Areas and breakable walls, by area
- Every Clock Tower and Master’s Quarters collectible
- Every Hall of Mirrors Secret Area, chest and collectible