Castlevania Belmont’s Curse: Nightshade Relic Location for 40% Mana Recovery
Nightshade is in a chest in the Pillaged Tombs under Holy Innocents' Cemetery, behind a multi-wave combat trial.
Nightshade is in a chest in the Pillaged Tombs under Holy Innocents’ Cemetery, behind a multi-wave combat trial.
by AllThingsHow Staff
Nightshade turns every healing potion in Castlevania: Belmont’s Curse into a mana refill as well. Rose finds it in Holy Innocents’ Cemetery, but the chest is not out in the open. It sits under the cemetery in a crypt, behind a hidden wall passage and an arena fight.
Quick answer: Start at the Cloister Mirror of Life and go to the Fountain of the Innocents. Take the hidden lower-right passage down into the Pillaged Tombs, clear the combat trial, then open the chest in the right-side chamber.
Nightshade relic effect
While Nightshade is equipped, drinking a healing potion also gives back 40% of Rose’s maximum mana. If Rose has 100 maximum mana, each potion returns 40 mana on top of the health it restores. The relic only works while it sits in one of Rose’s three relic slots. Keeping it in the inventory does nothing.
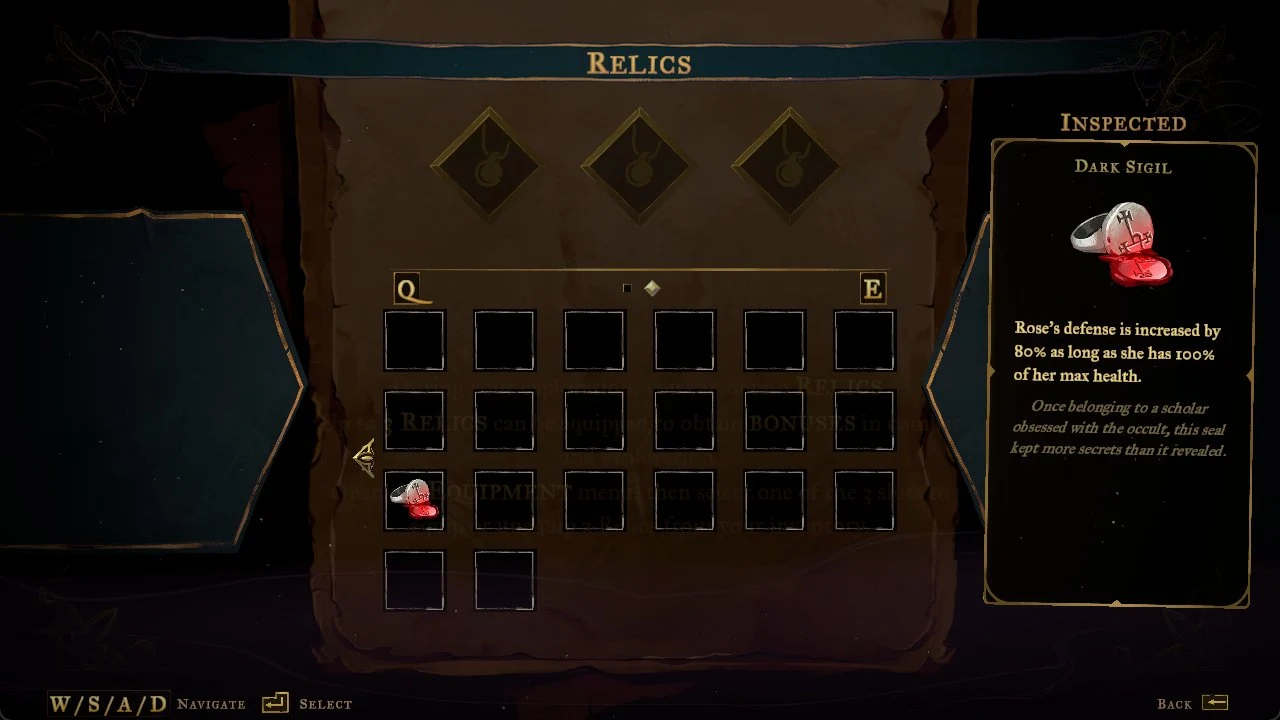
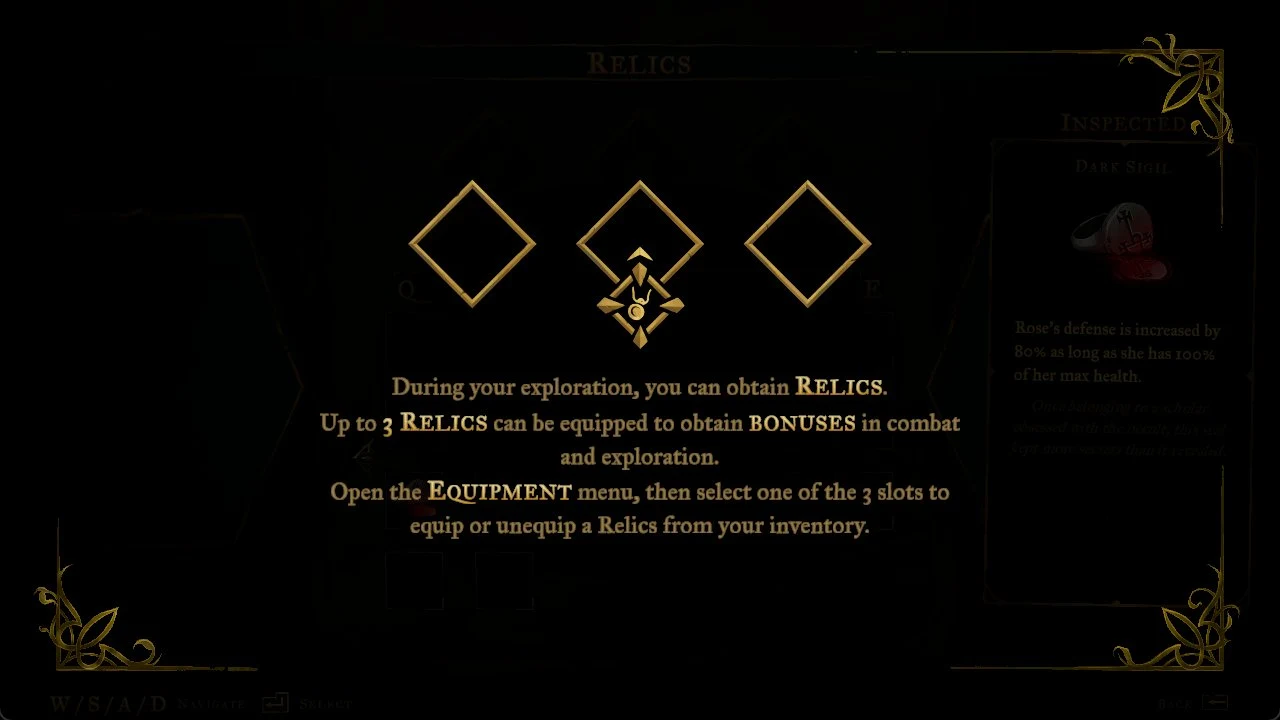
The Relics menu shows an empty set of three relic slots and an inventory grid holding the Dark Sigil, which raises Rose’s defense by 80% while she has 100% of her max health.
Blackened Heart stops Rose from using healing potions at all. If you equip both relics, Nightshade can never trigger.
Route from the Cloister Mirror of Life to the Pillaged Tombs
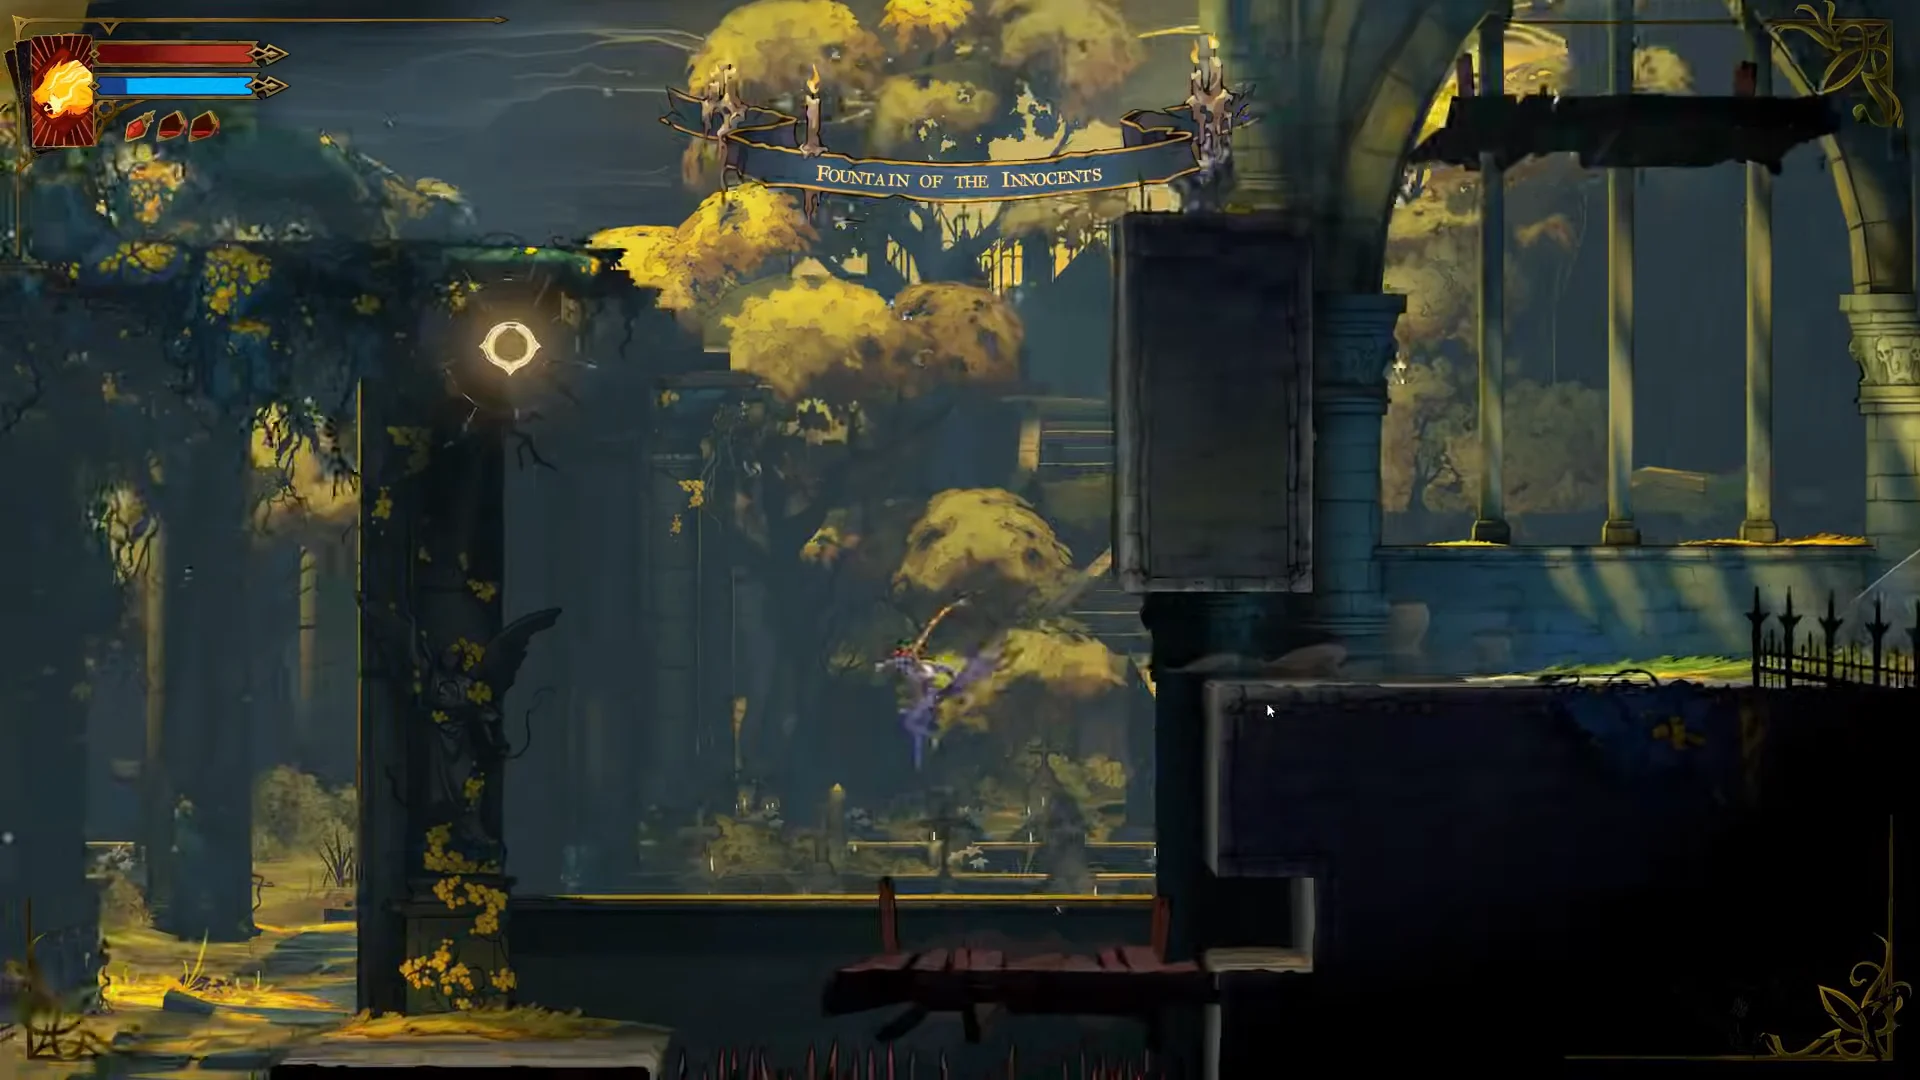
The Cloister’s Mirror of Life is the closest checkpoint, and every step below starts from it. The route climbs up through the Fountain of the Innocents first to open a shortcut. It then drops back down to the ground floor, where the hidden way into the tombs is.
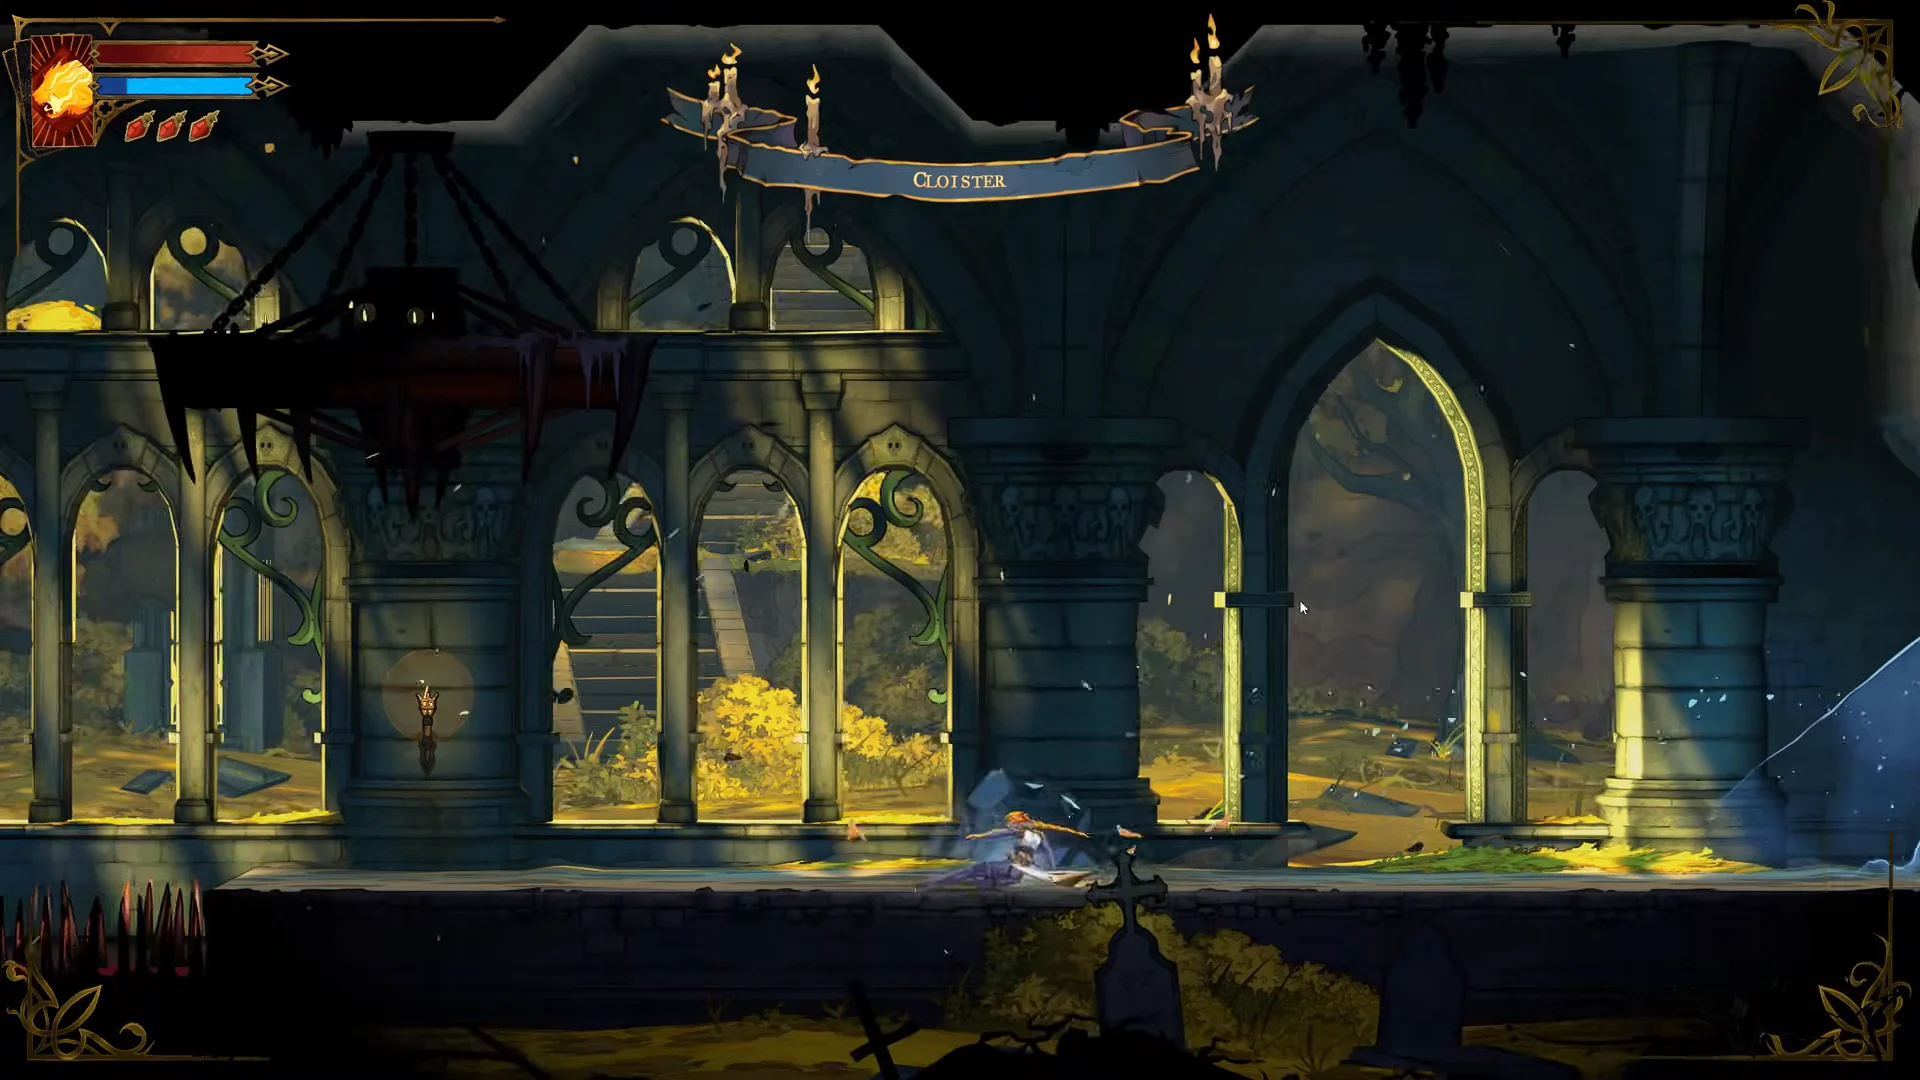
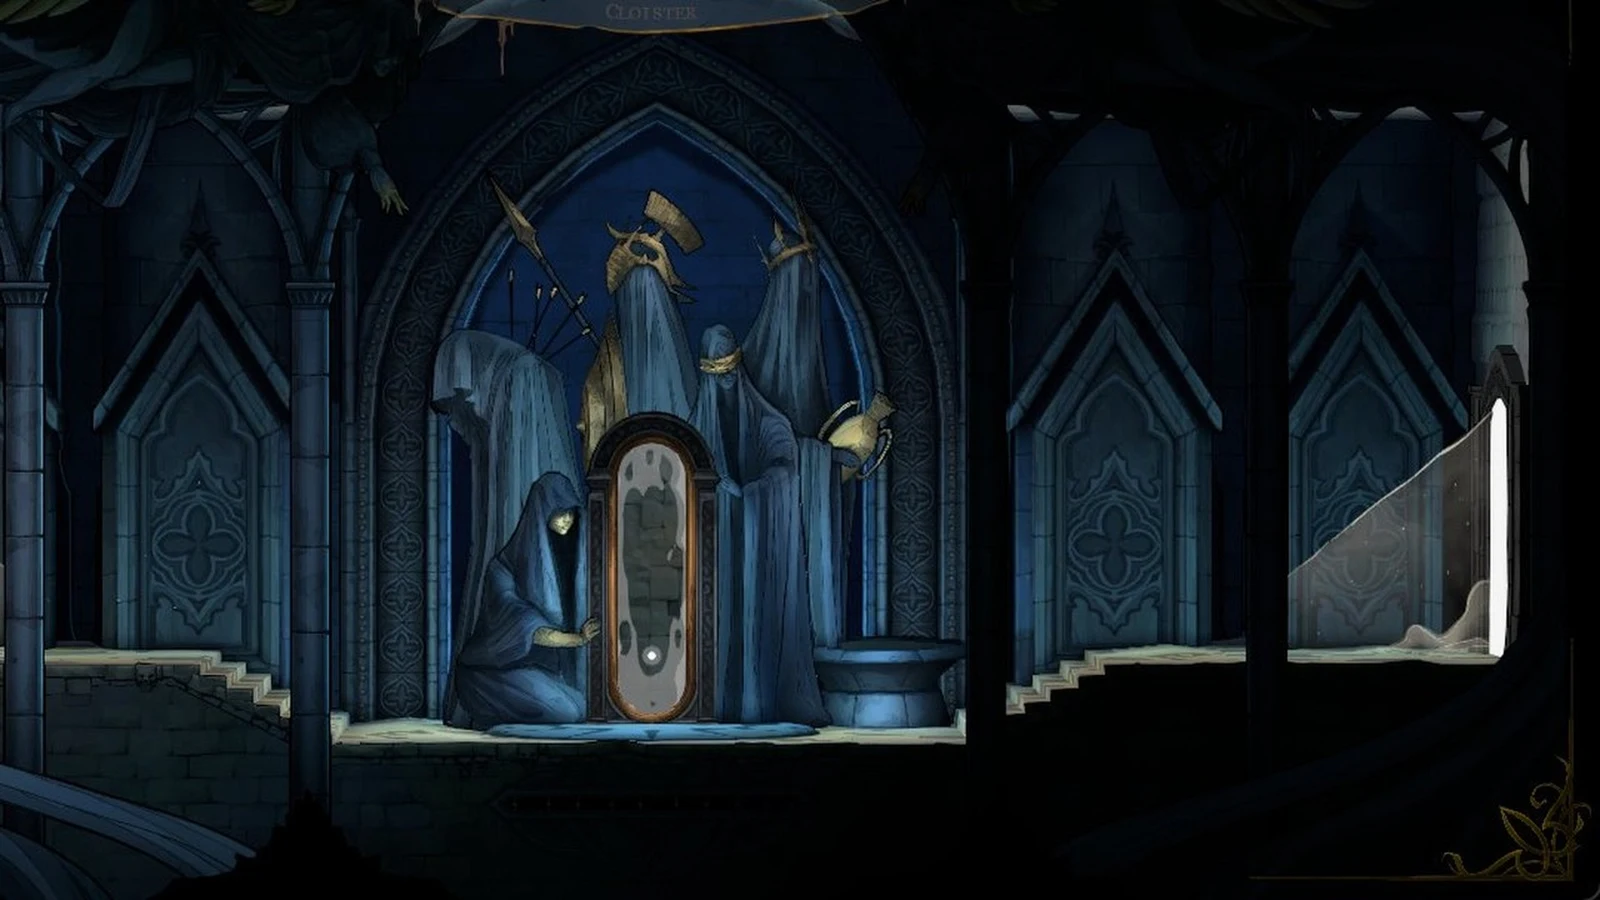
Fast travel to the Mirror of Life in the Cloister district of Holy Innocents’ Cemetery. Leave the mirror room through the exit into the Cloister corridor.
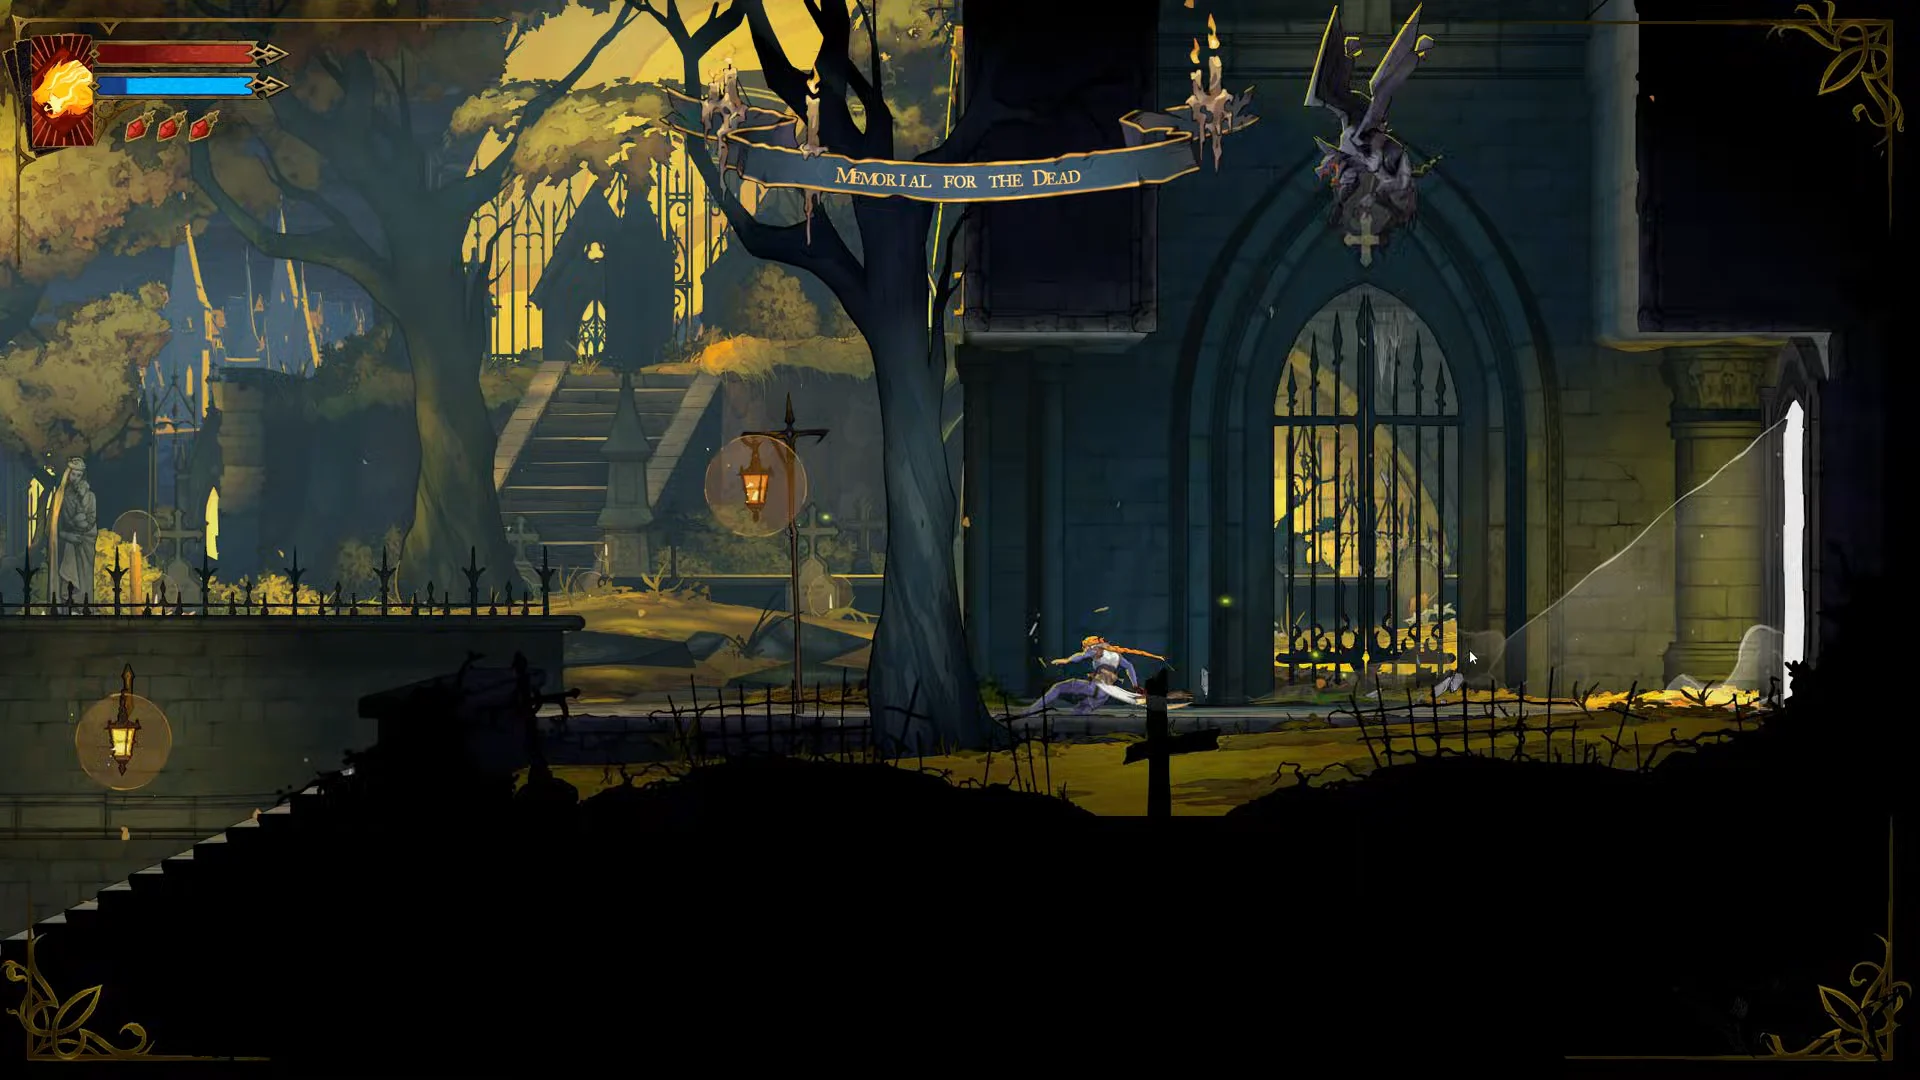
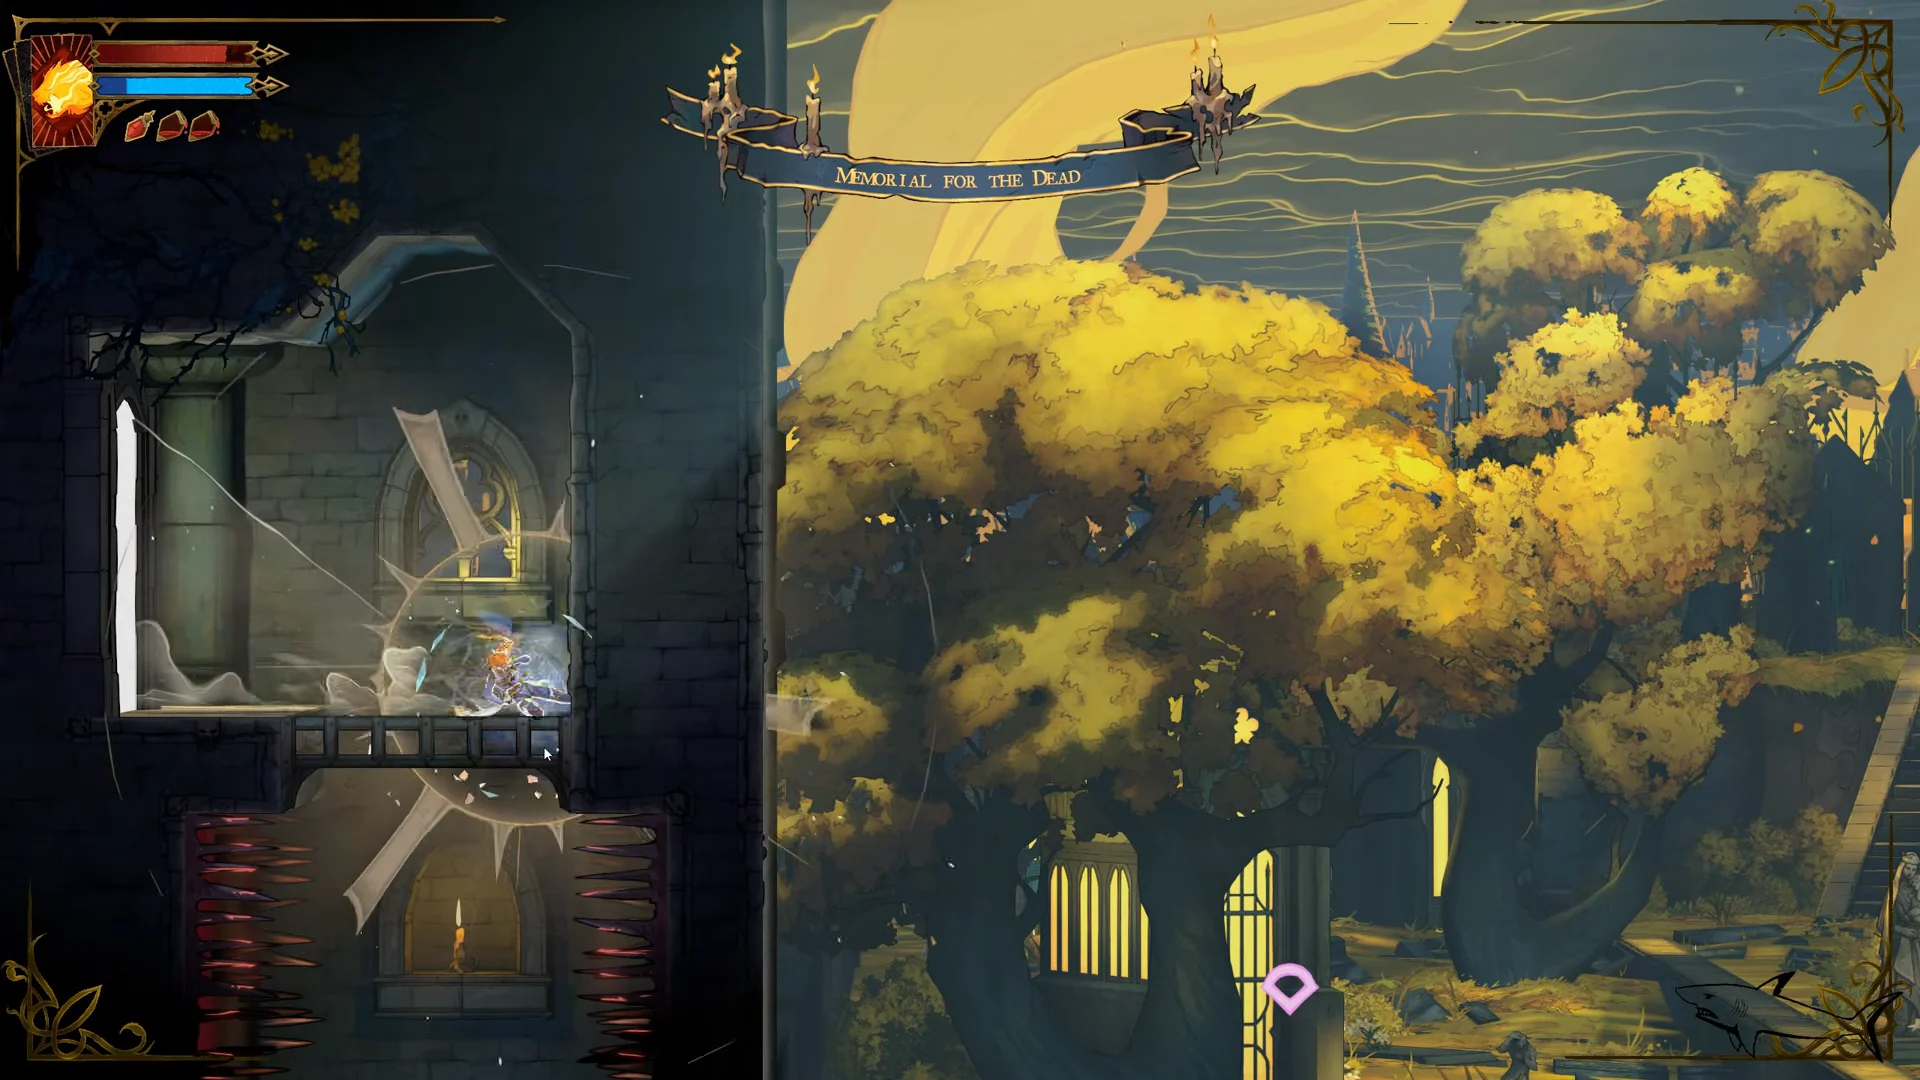
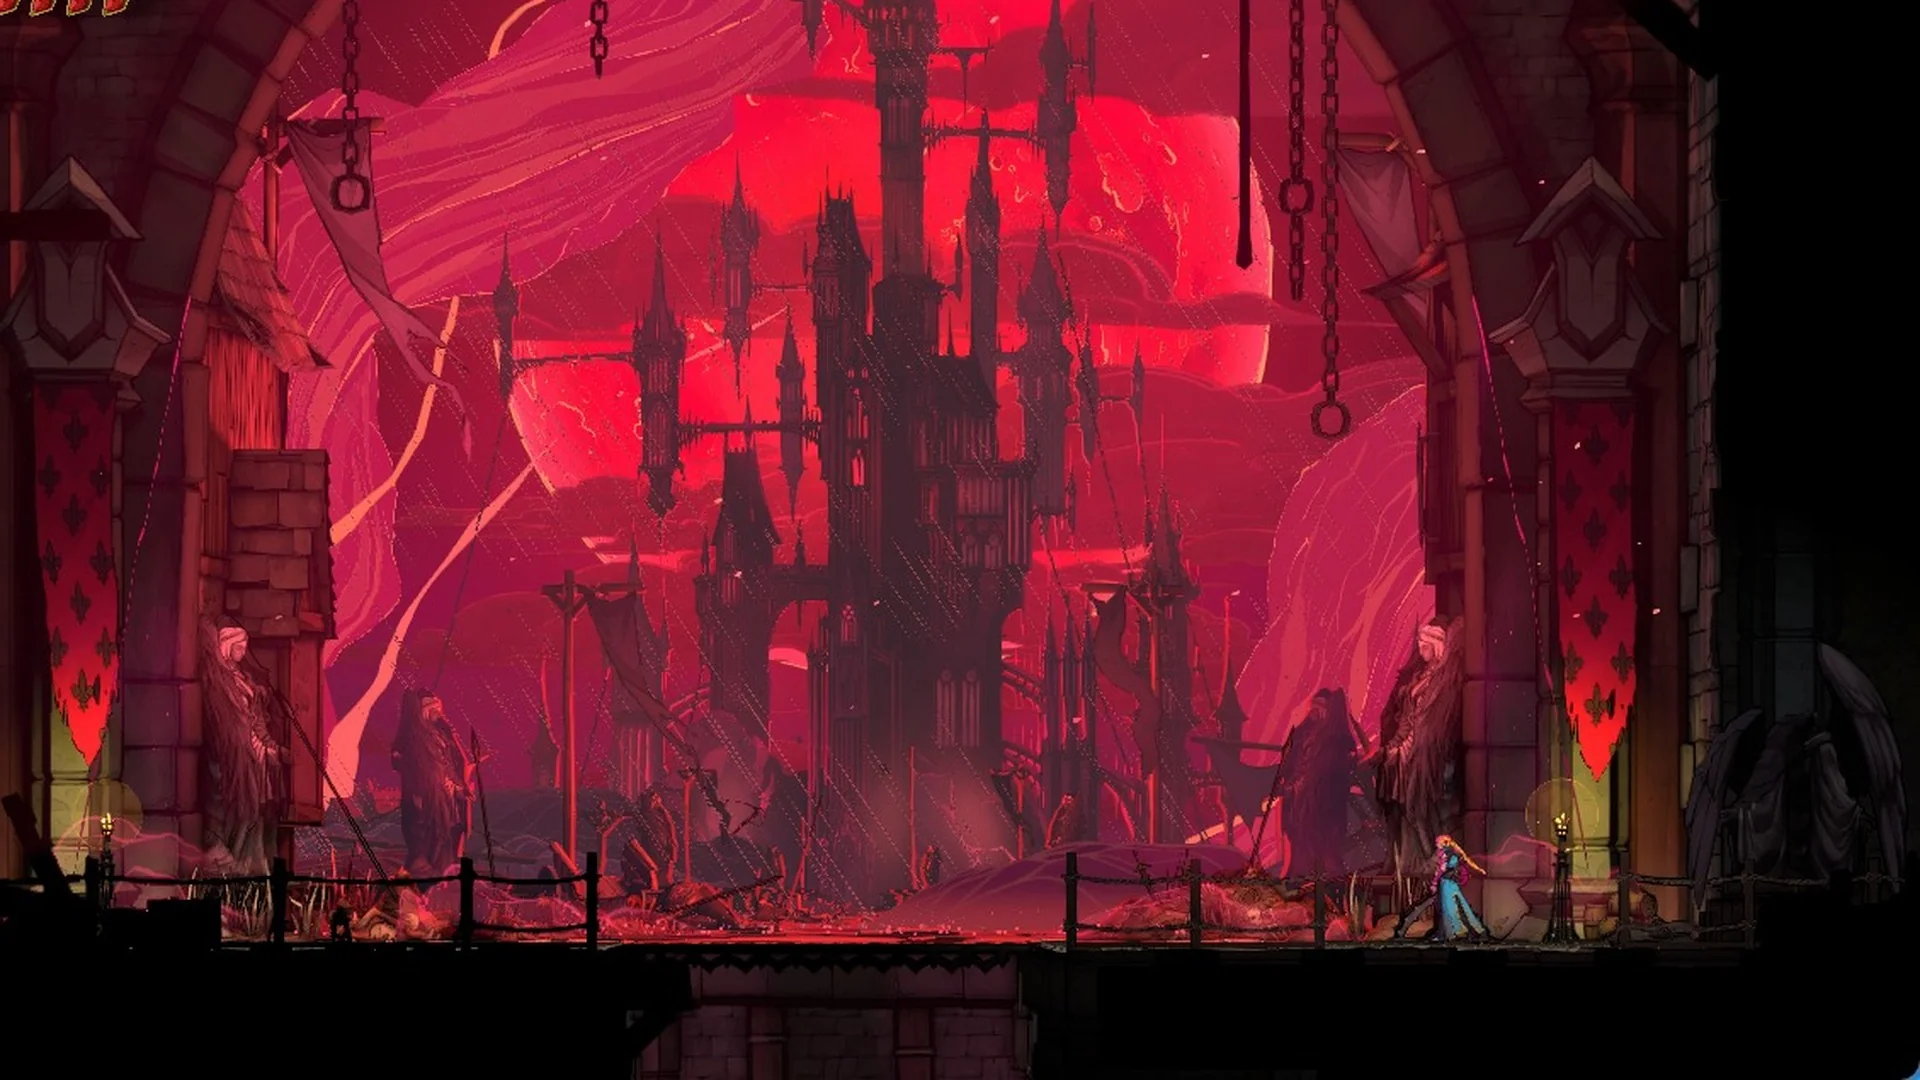
Take the upper tower passage on the right, which leads back into Memorial for the Dead. Drop down from there to open the shortcut between the two zones.
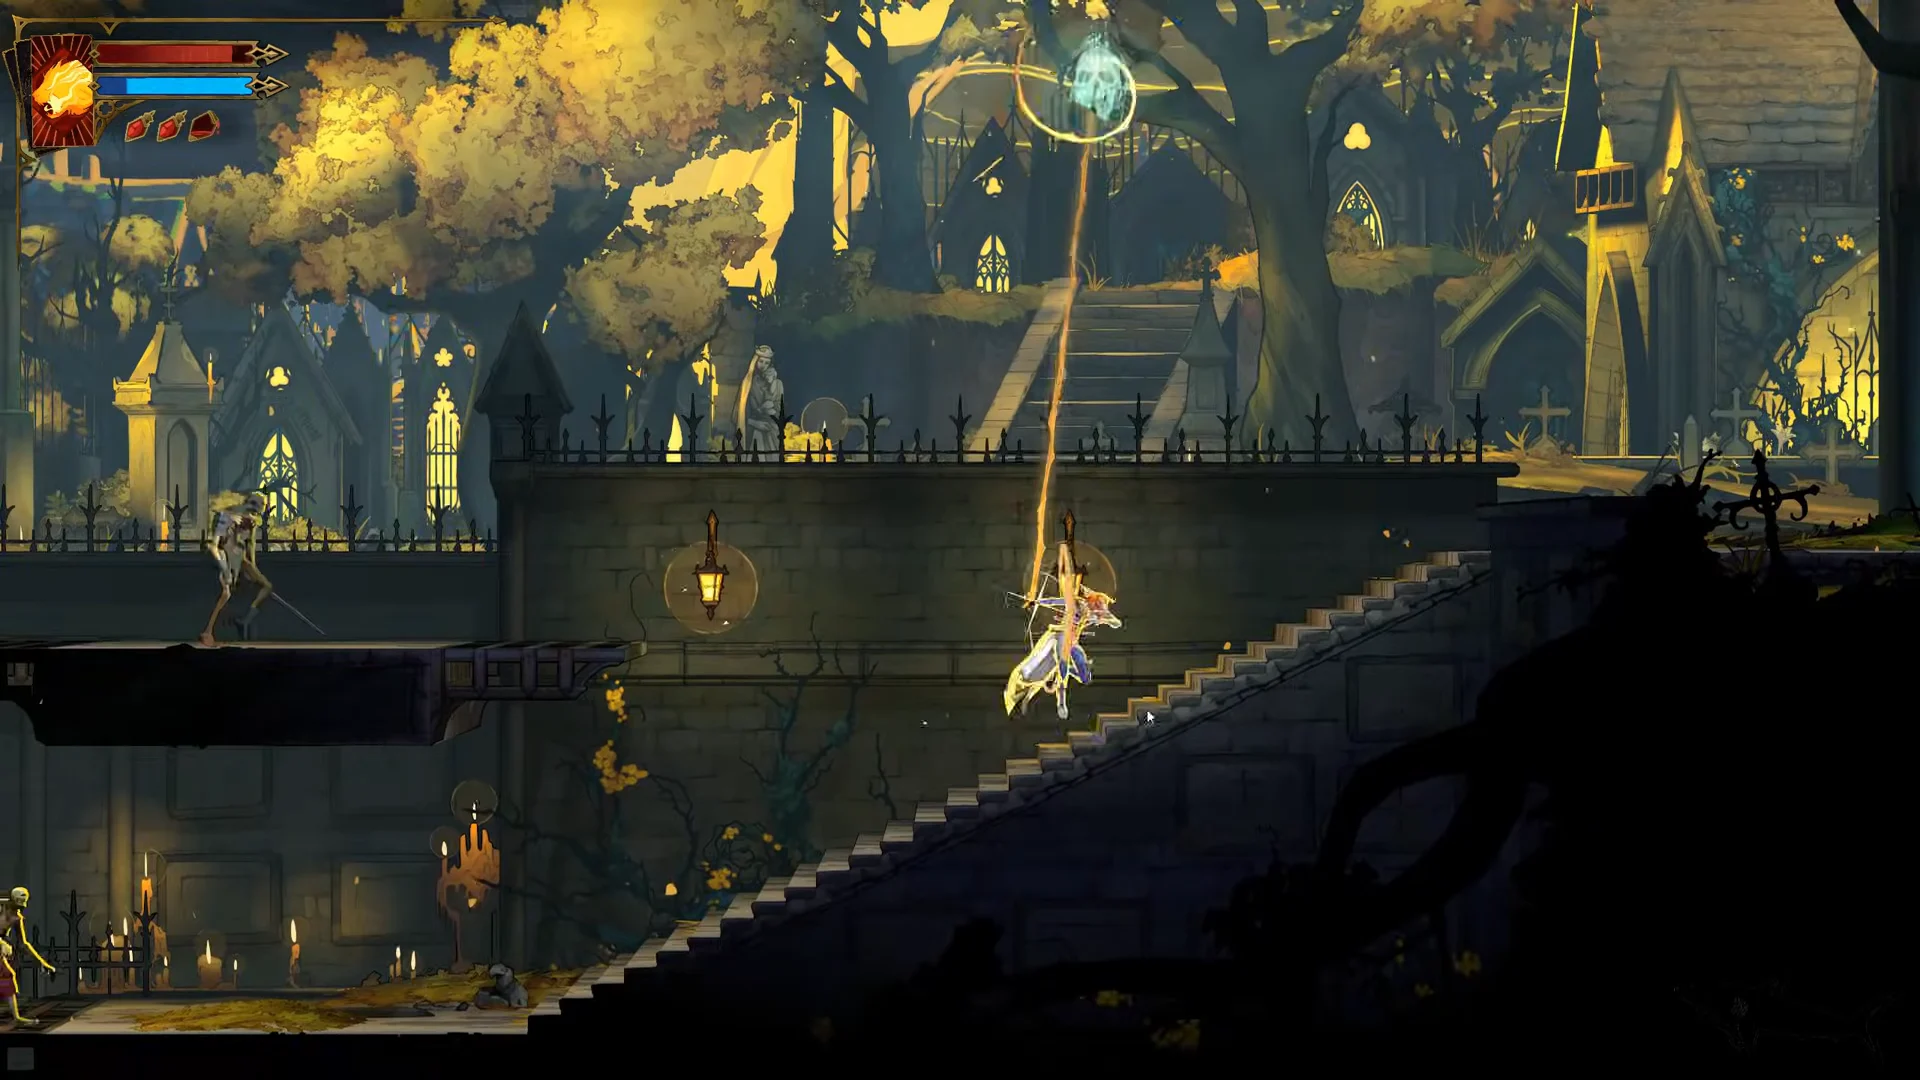
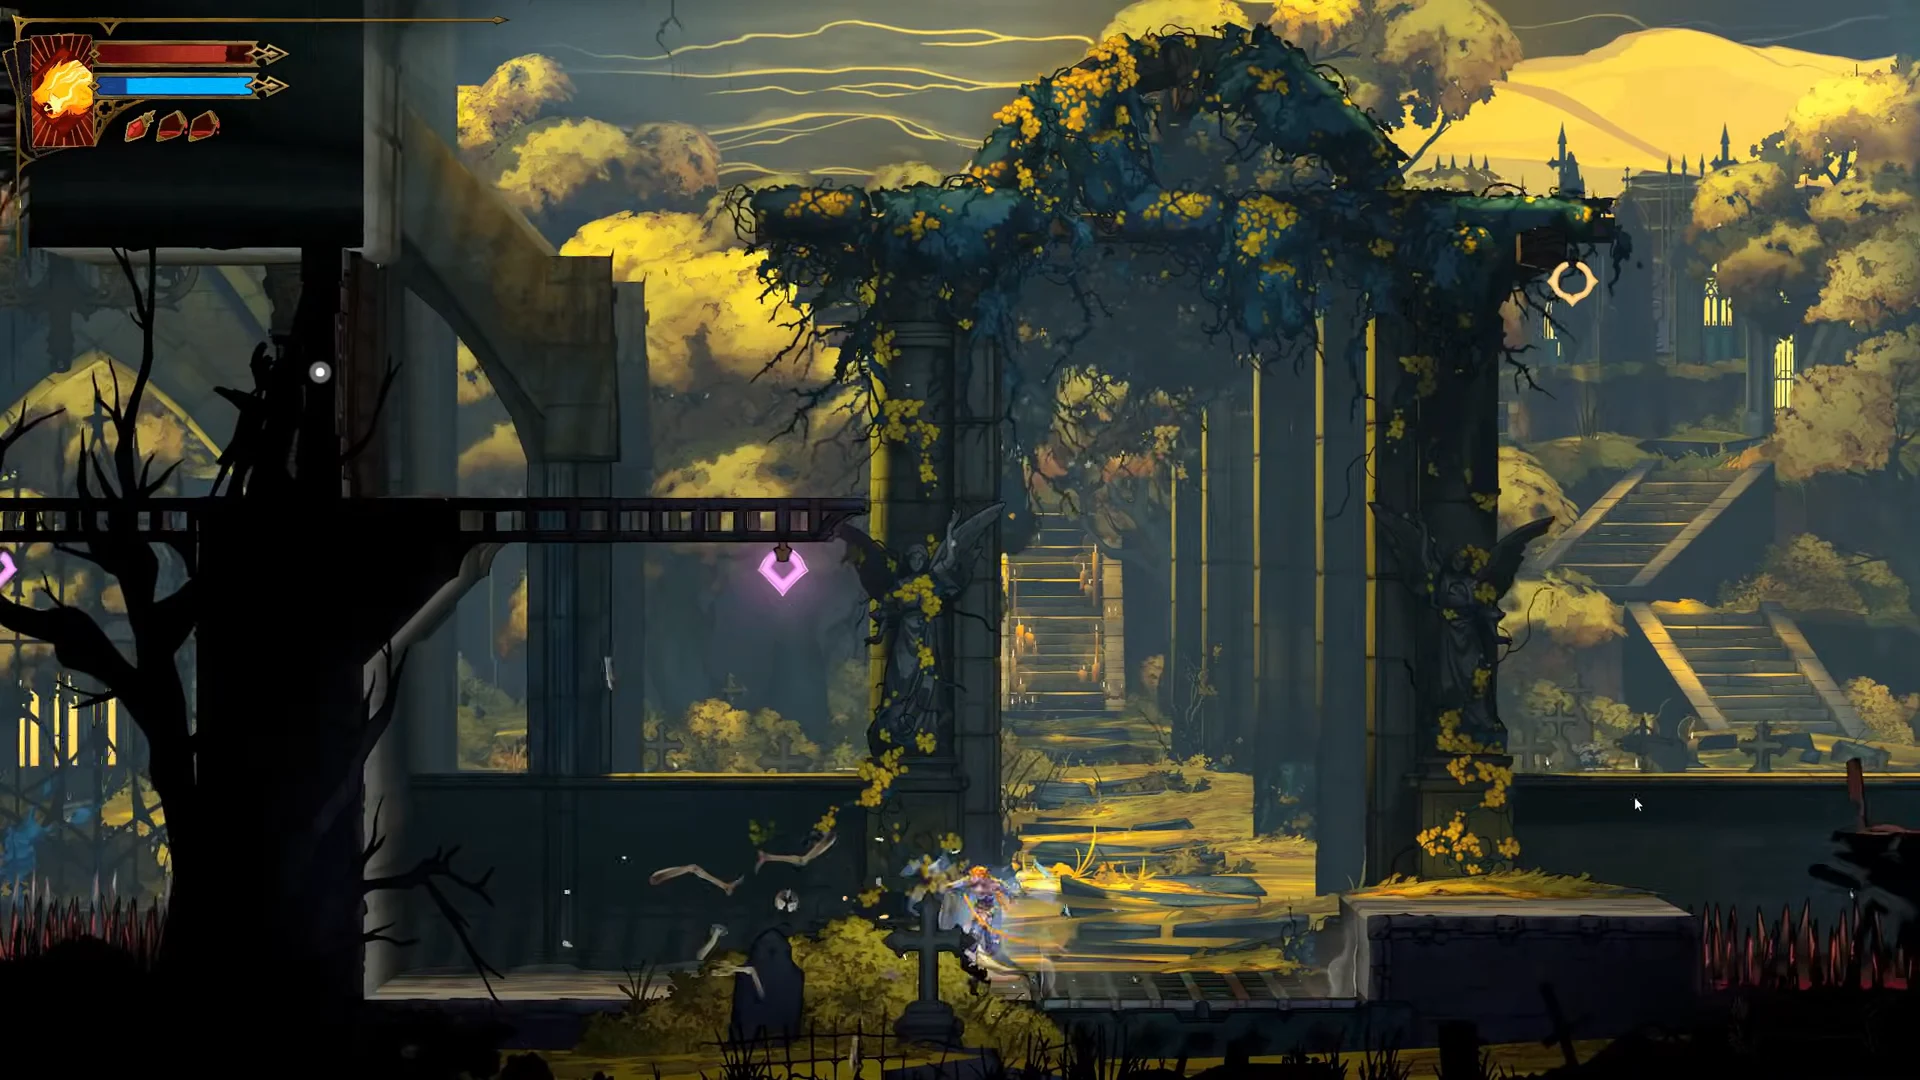
Fall through the opening in the floor of that passage. You land underground in the Pillaged Tombs.
Pillaged Tombs combat trial and the Nightshade chest
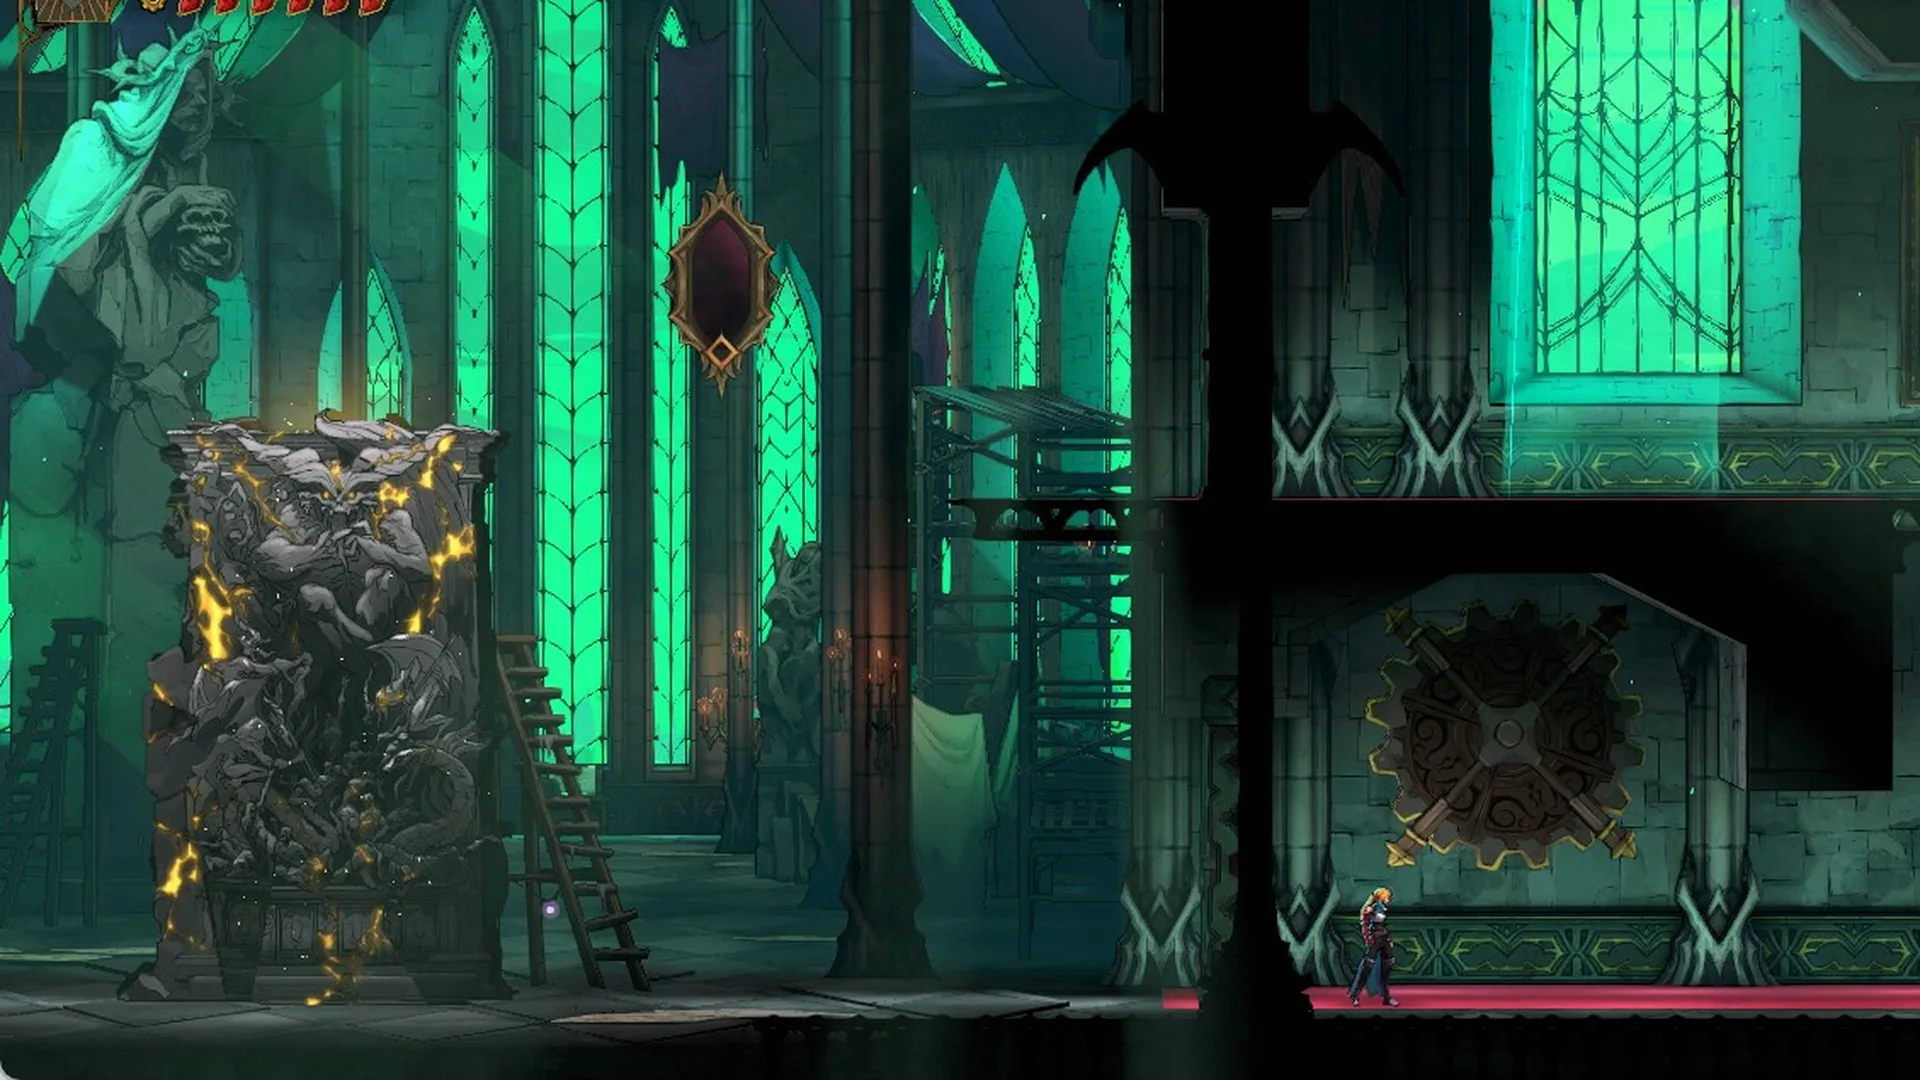
Walking into the Pillaged Tombs starts a combat trial around a glowing green sarcophagus. The chamber holding the chest stays sealed until every wave is gone.
Hold the equip button on that card, or open the relics menu later and put Nightshade into a free relic slot. Once it shows up in one of the three slots, the effect is active.
A Relics tutorial explains that up to 3 Relics can be equipped from the Equipment menu to gain bonuses in combat and exploration.
To check that it’s working, drink a healing potion with less than full mana. The MP bar should jump by 40% of its maximum along with the heal.
Cloister and Pillaged Tombs district records
The Cloister and the Pillaged Tombs are both districts of Holy Innocents’ Cemetery, which is part of the City of Paris half of the map. This is what each one contains, useful if you want to clear both while you’re there.
District
Items
Secret areas
Cloister
Wise Heart Fragment
2
Pillaged Tombs
Nightshade, Trembling Eye
1
The Cloister also has the district’s single Mirror of Life, which is why it’s the starting point for the route. The one secret area in the Pillaged Tombs is the reason the entrance is so easy to miss. The second item down there, Trembling Eye, is also a relic, and it’s in the same crypt network as Nightshade.
A hooded figure kneels before an ornate mirror among veiled statues in the Cloister.