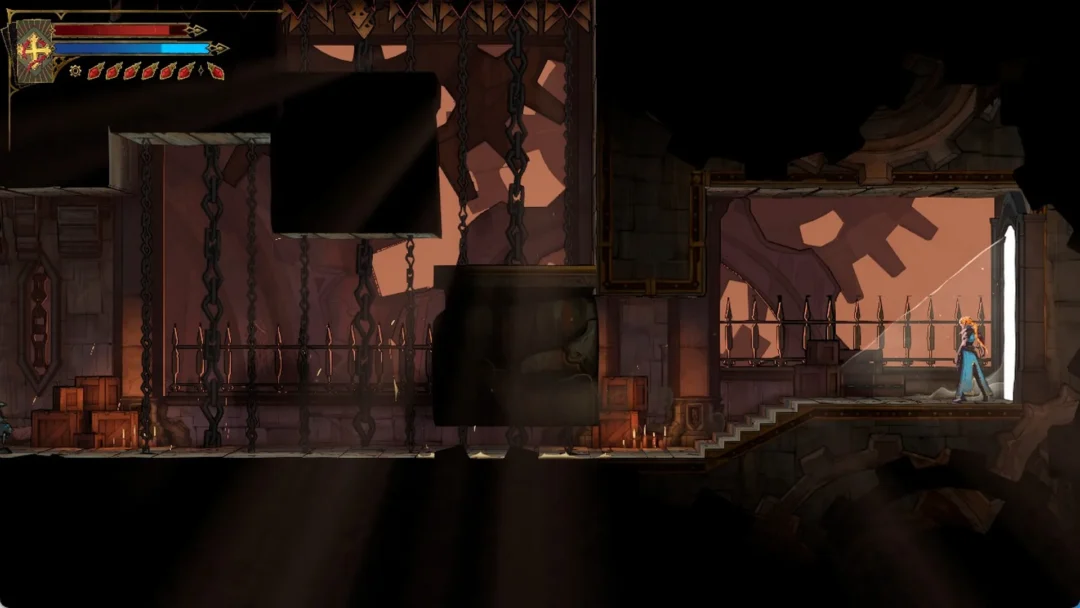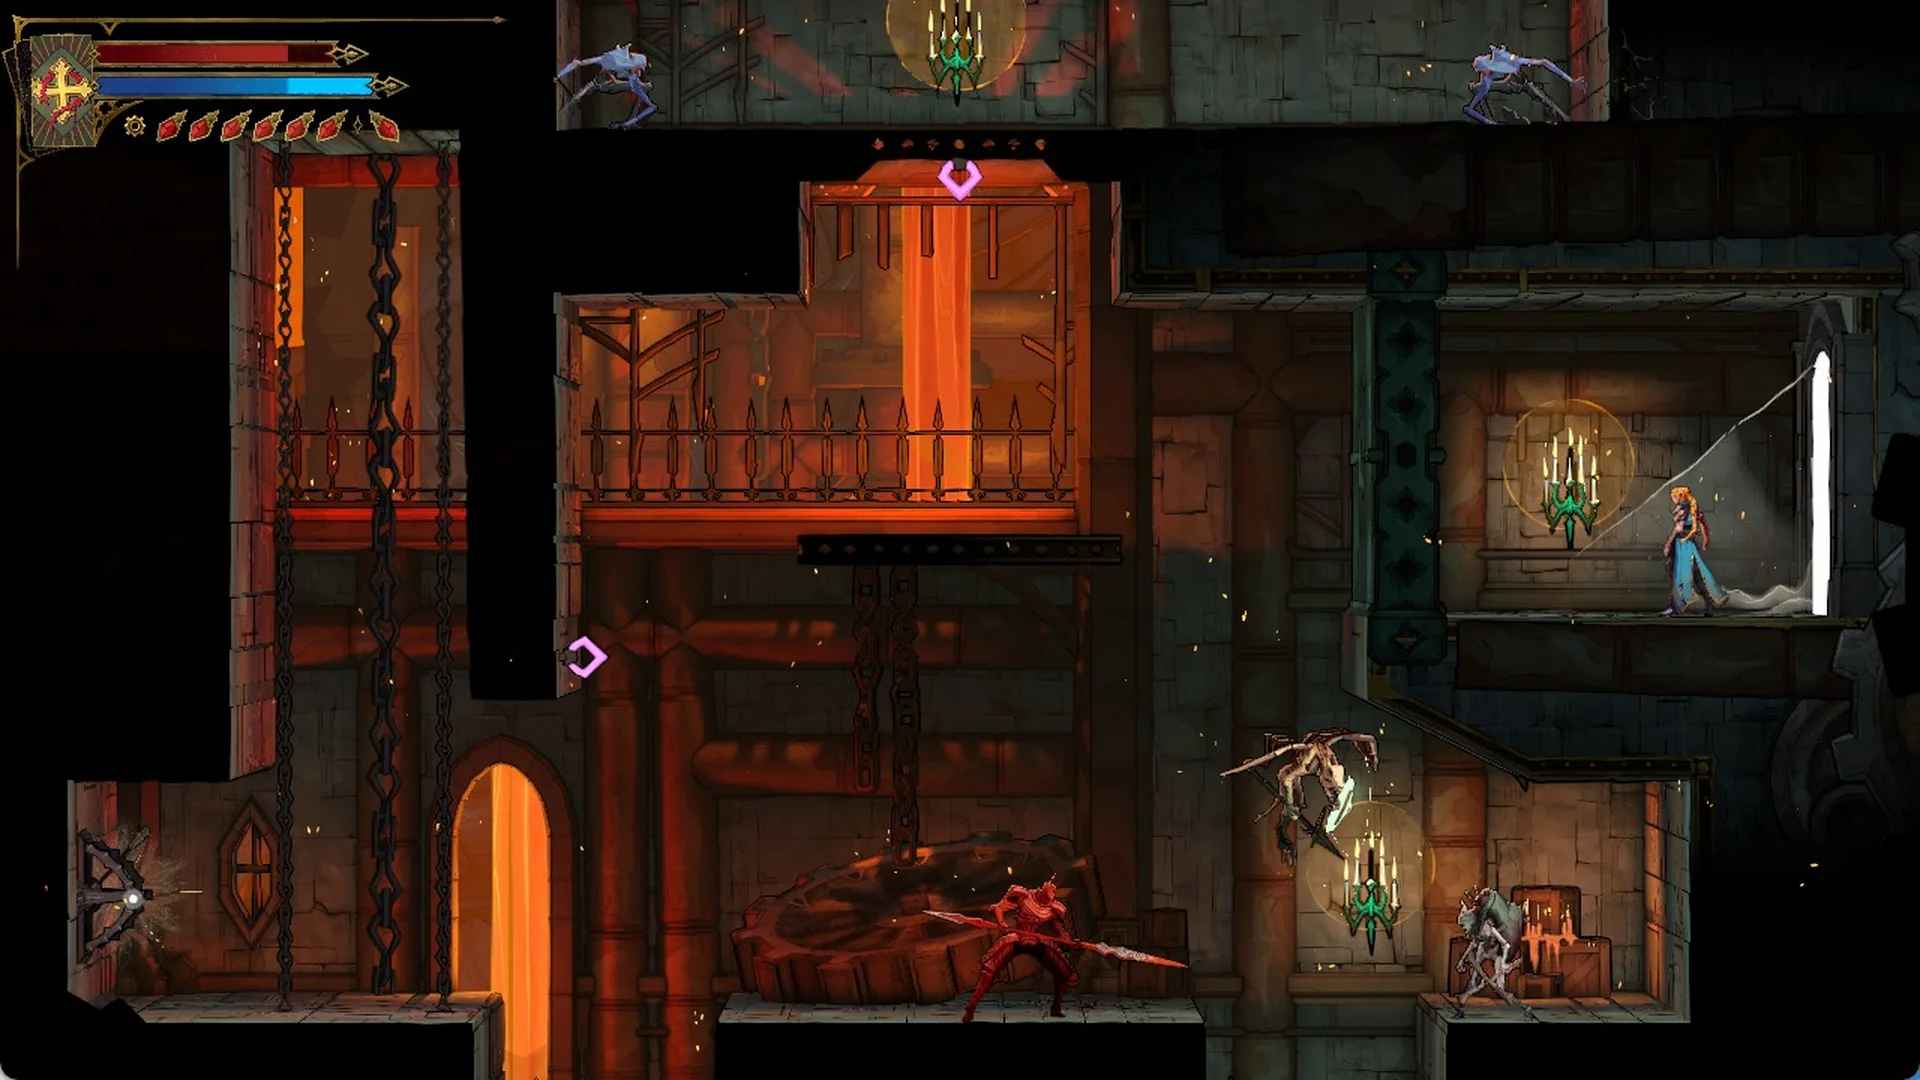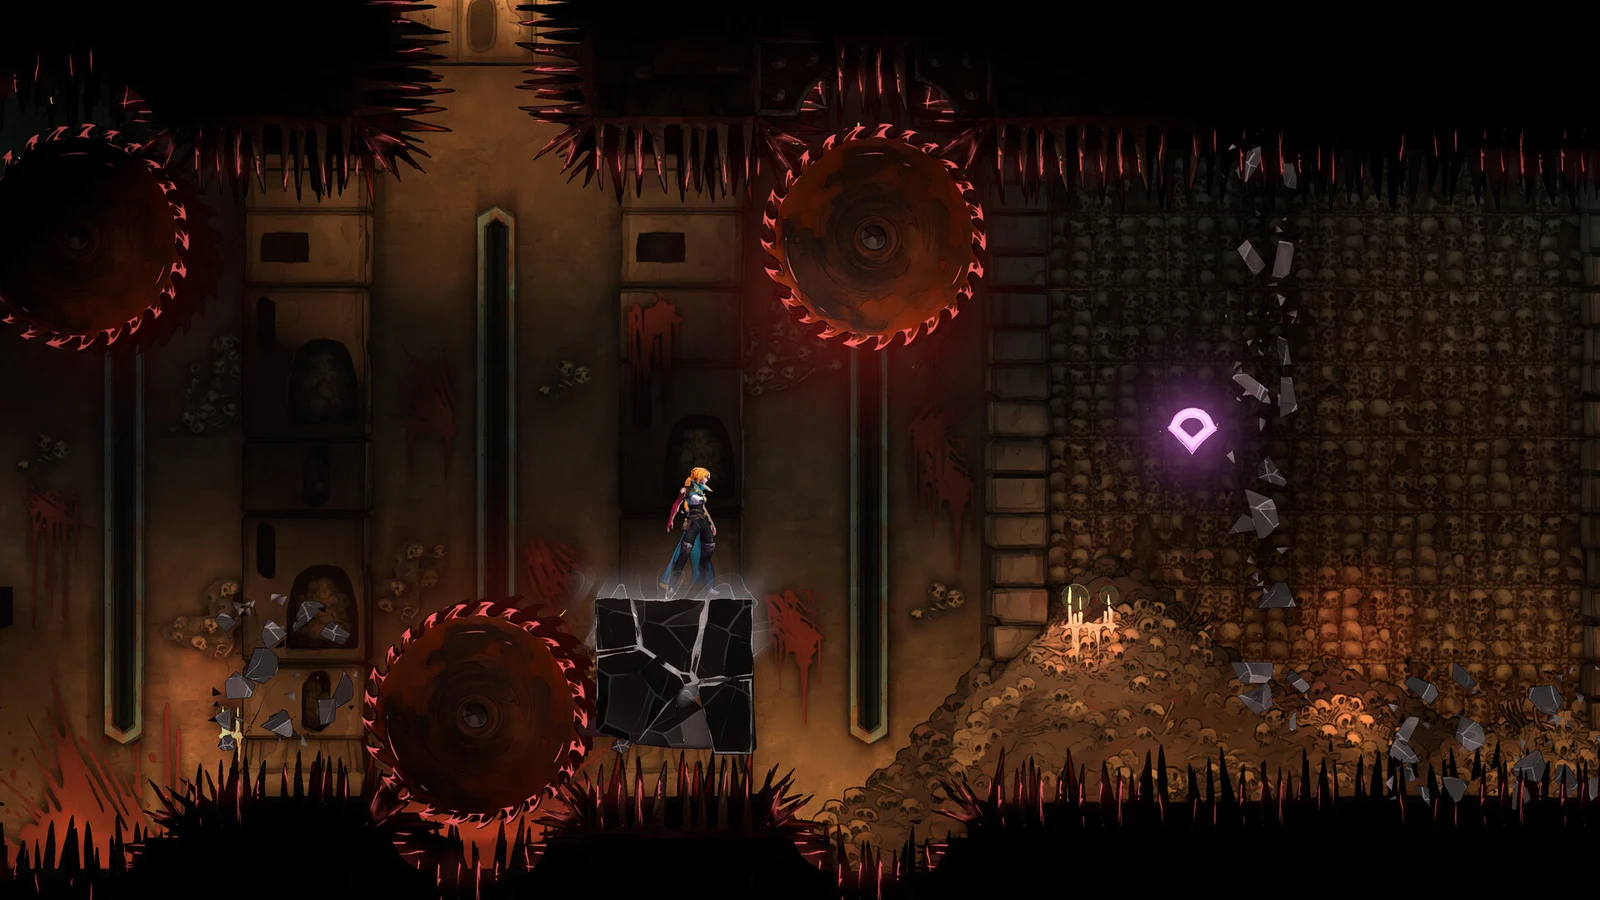
Rose’s health and mana bars in Castlevania: Belmont’s Curse grow only through Heart Fragments. There are 48 of them in total. Brave Heart Fragments extend health and Wise Heart Fragments extend mana. Every one of the game’s eight major areas holds exactly three of each type, so a full sweep is predictable once you know which rooms to check.
Quick answer: Collect all 24 Brave Heart and all 24 Wise Heart Fragments, three of each per area, to unlock Collector. Each set of four adds 20 to max health or mana.
Our all 48 Heart Fragment locations guide puts every Brave and Wise Heart Fragment on one page, area by area.
How Brave Heart and Wise Heart Fragments work
Every fragment sits at a shrine. Brave Heart shrines are stone nests shaped like hearts, glowing red and gold around a bright red center; Wise Heart shrines glow blue. Move within reach and use the interact control (R1 on PlayStation) to collect the fragment.
A pop-up counter shows how many pieces you have toward the next complete heart, starting with “1/4 Brave Heart’s Fragments!” or “1/4 Wise Heart’s Fragments!” Collecting piece four displays “Brave Heart Completed!” or “Wise Heart Completed!”, and permanently extends the corresponding bar. Pieces carry over between areas, so you can begin a heart in Paris Streets and complete it in the cemetery.
| Value | Brave Heart (health) | Wise Heart (mana) |
|---|---|---|
| Fragments placed | 24 | 24 |
| Fragments per upgrade | 4 | 4 |
| Total upgrades | 6 | 6 |
| Bonus per upgrade | +20 max health | +20 max mana |
| Maximum with all upgrades | 220 health | 220 mana |
| Fragments per area | 3 | 3 |
Abilities that gate Heart Fragment shrines
Some shrines are out of reach on your initial trip through an area. Reaching them requires specific traversal abilities; the four movement tools below are repeatedly needed along the routes that follow:
- Arcane Whip, for grappling onto glowing anchors and swinging across gaps
- An aerial dash, for saw-blade corridors and long gaps
- Mirror travel, for the teleport puzzles in the Main Hall, Hall of Mirrors, and parts of the cemetery
- A downward slam, for breaking fragile floors
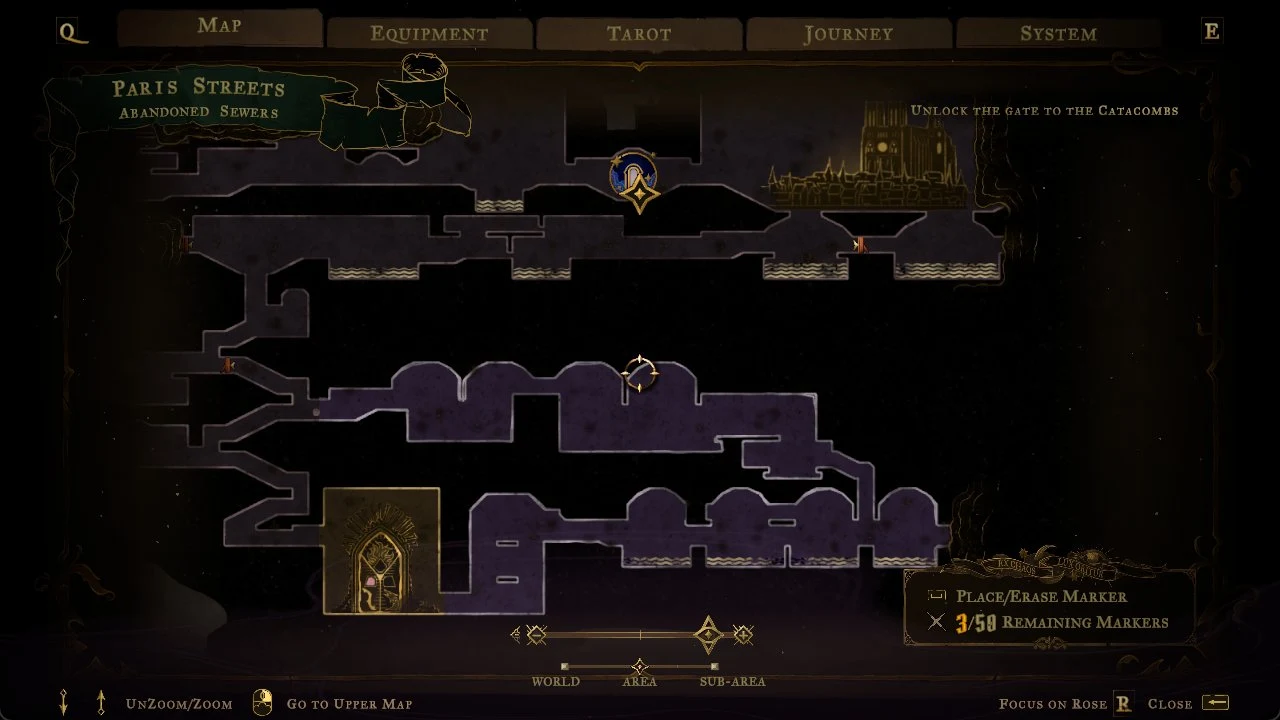
First, defeat The Fallen, the first boss, in the Abandoned Sewers beneath Paris Streets, then absorb its Arcana. That card grants the Arcane Whip ability and the Holy Cross spell. The Catacombs of Paris remain locked until you set all three keys into the gate in the Abandoned Sewers.
City of Paris Heart Fragment locations
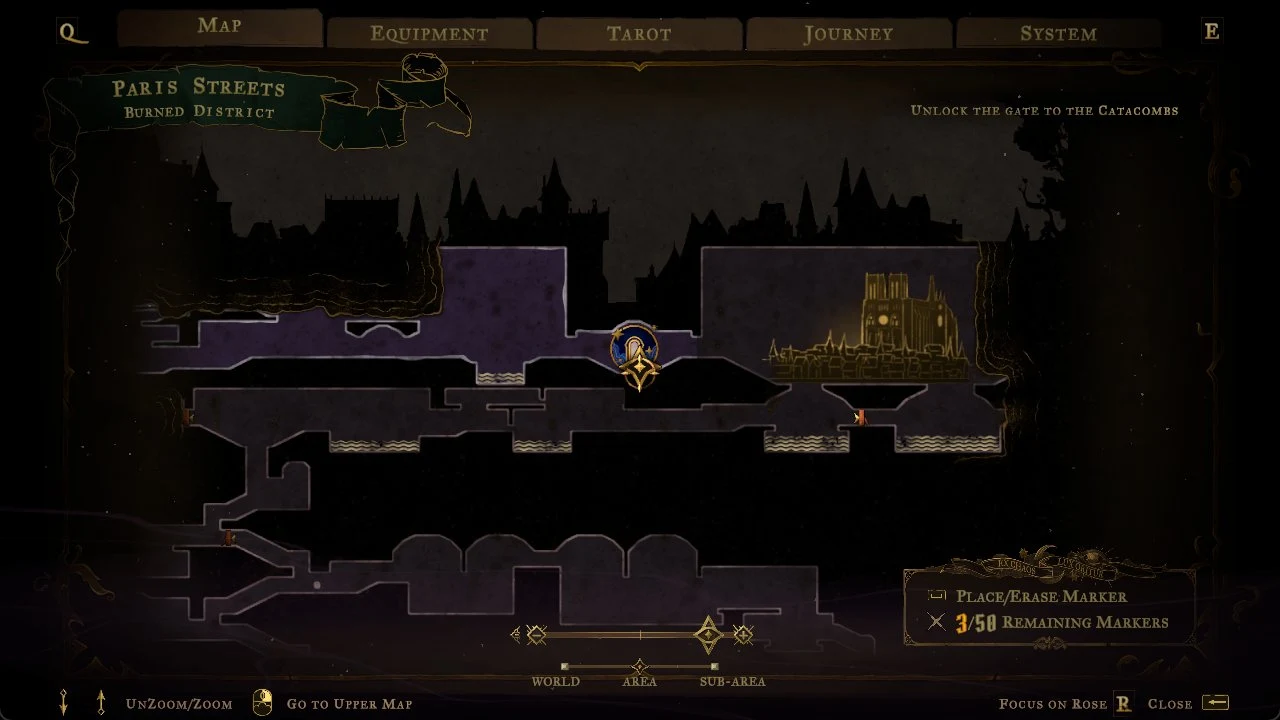
Paris Streets, Holy Innocents’ Cemetery, and the Catacombs of Paris make up the City of Paris and hold 18 of the 48 fragments. Room names below match the in-game map, from district down to the specific room.
Paris Streets
| Type | Map location | How to reach it |
|---|---|---|
| Brave | Court of Justice | Climb spiked shafts, break walls |
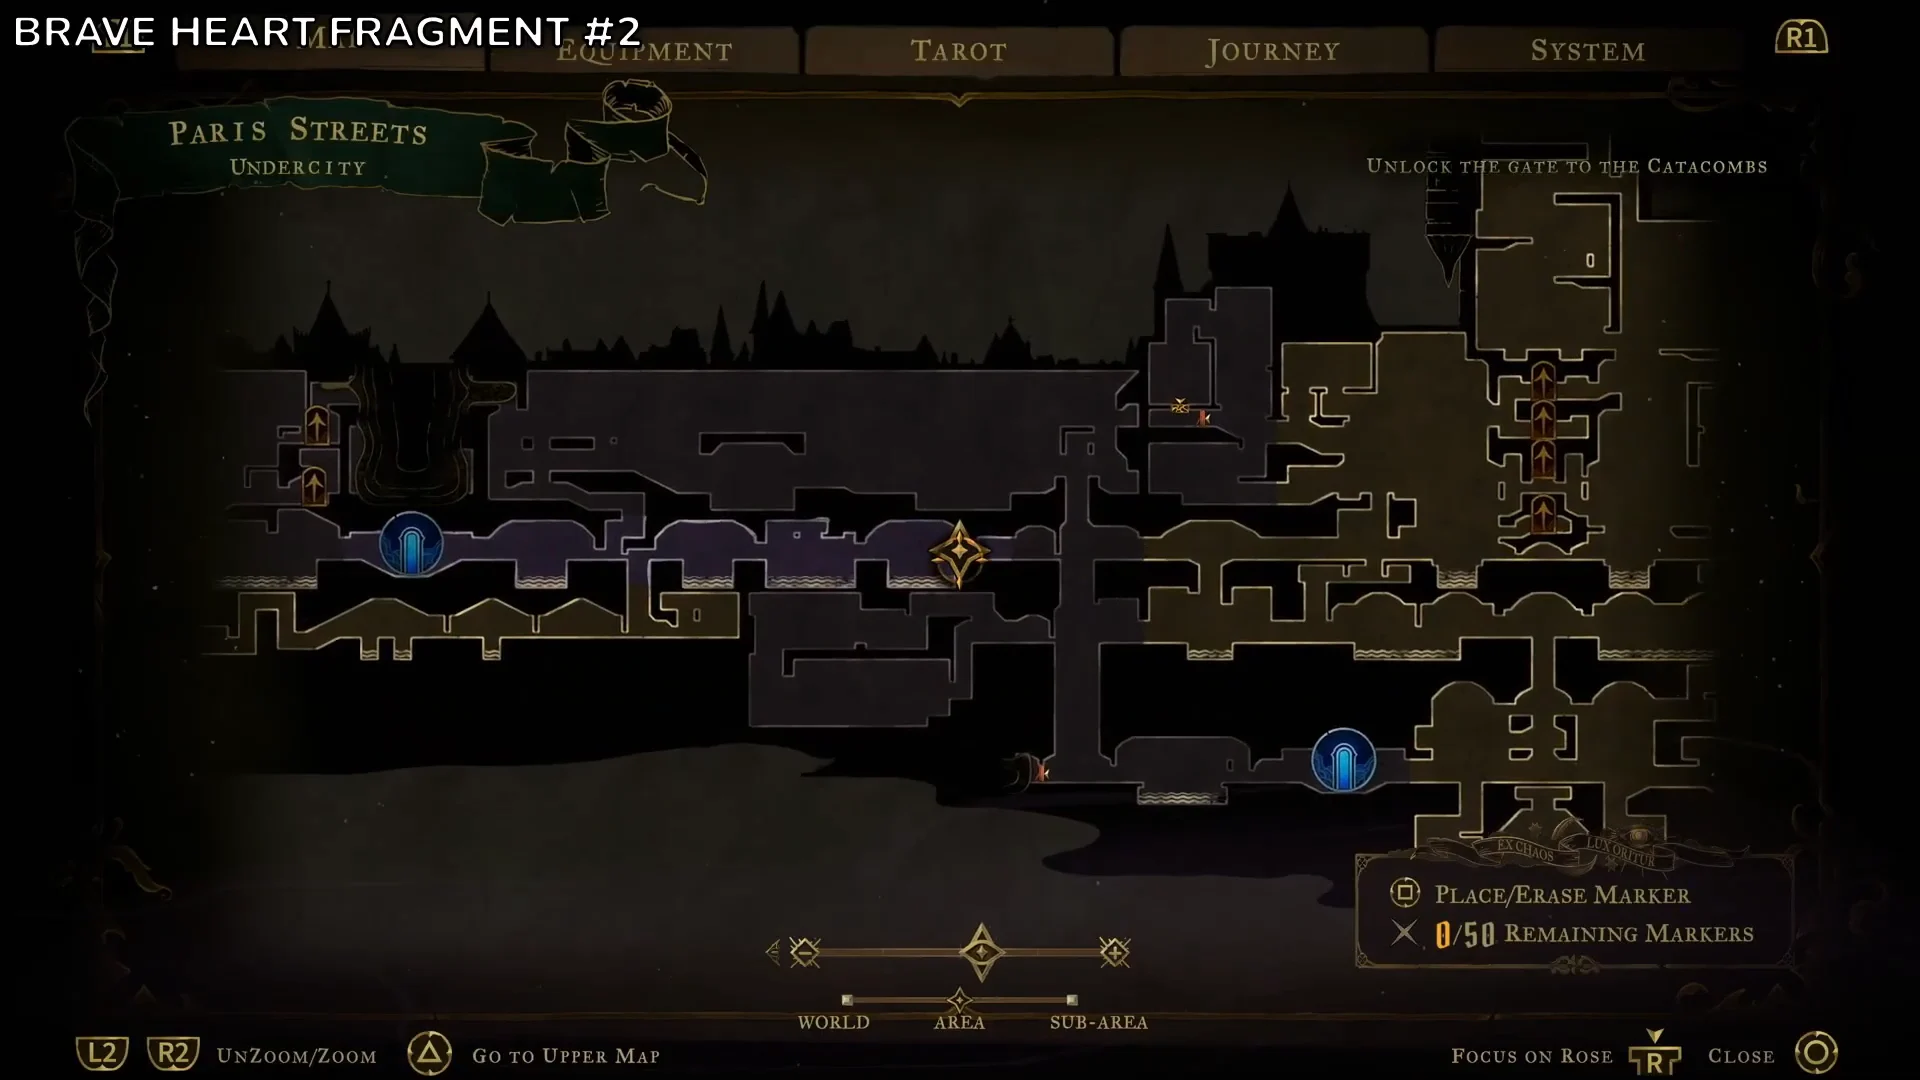
| Brave | Undercity | Grapple past swinging axes |
| Brave | Guard Level | Grapple over burning rooftops |
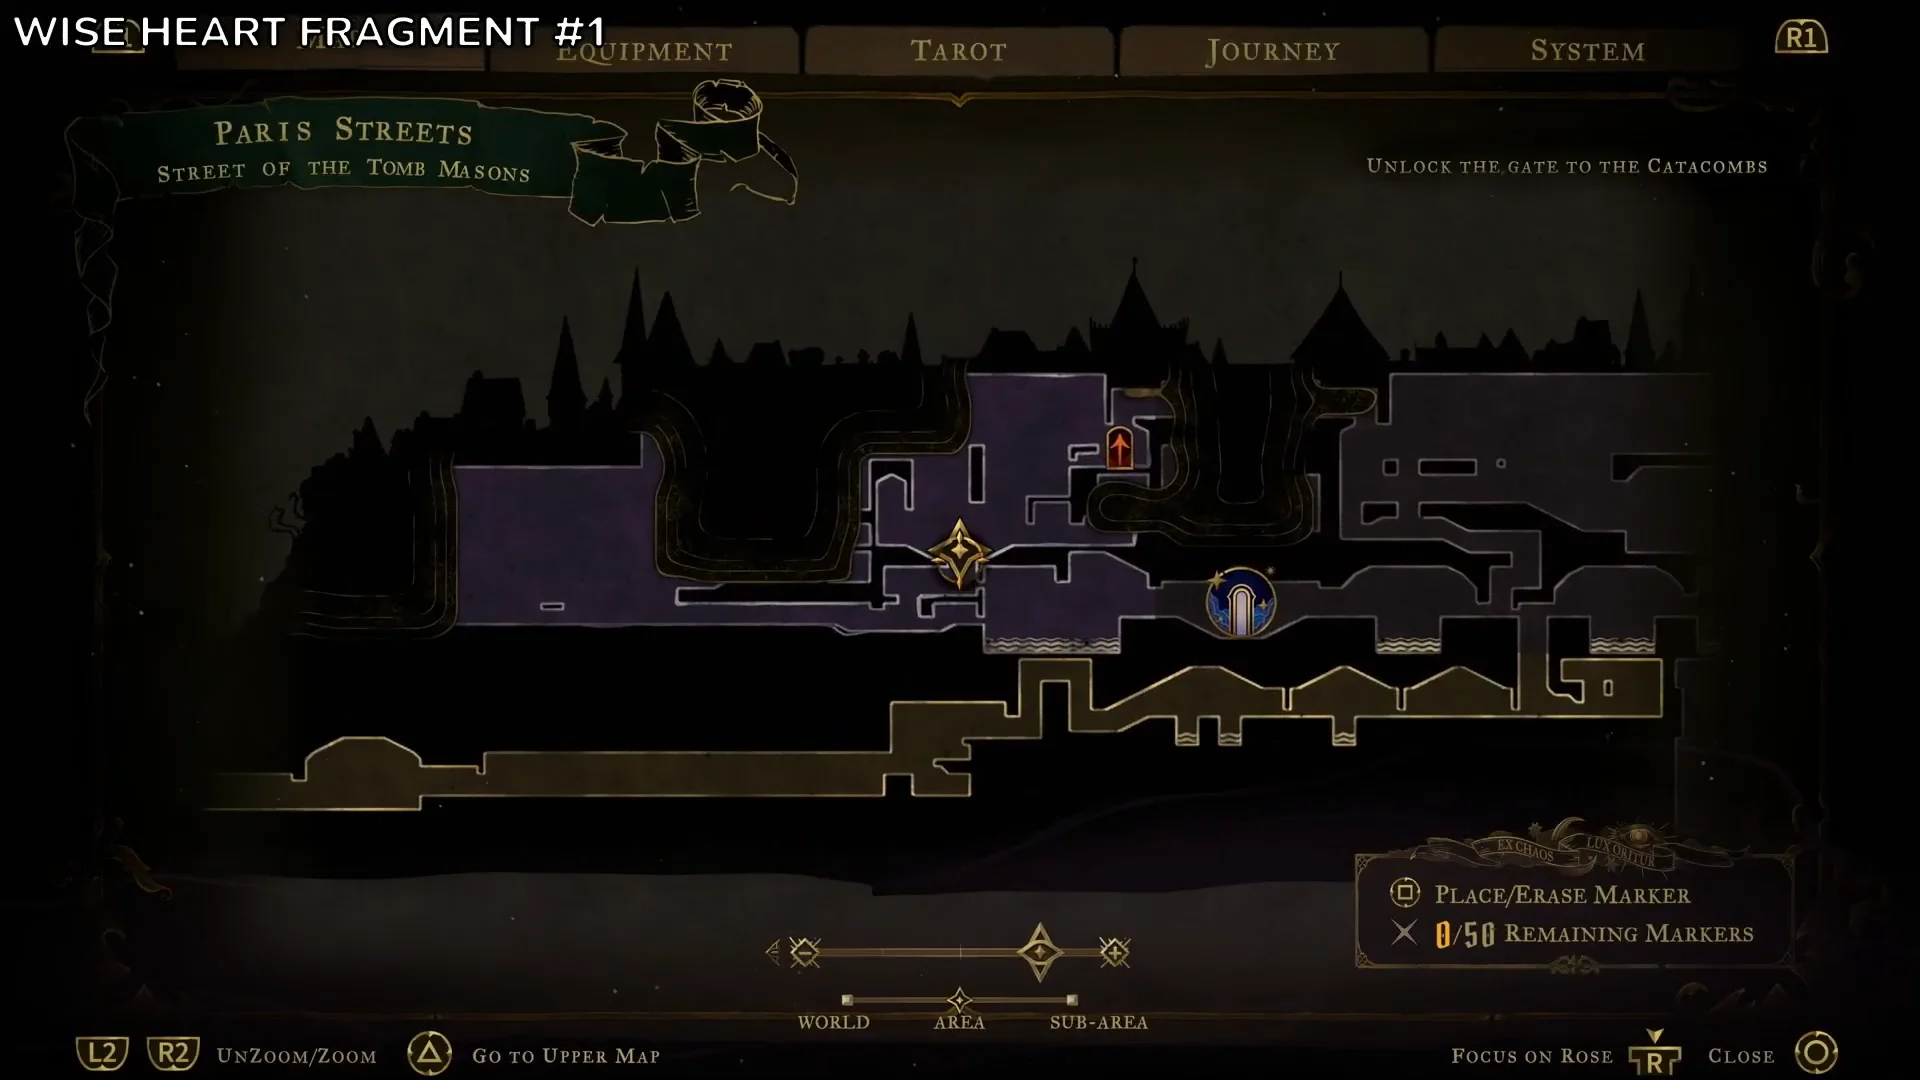
| Wise | Street of the Tomb Masons / Morgue | Climb up through the buildings |
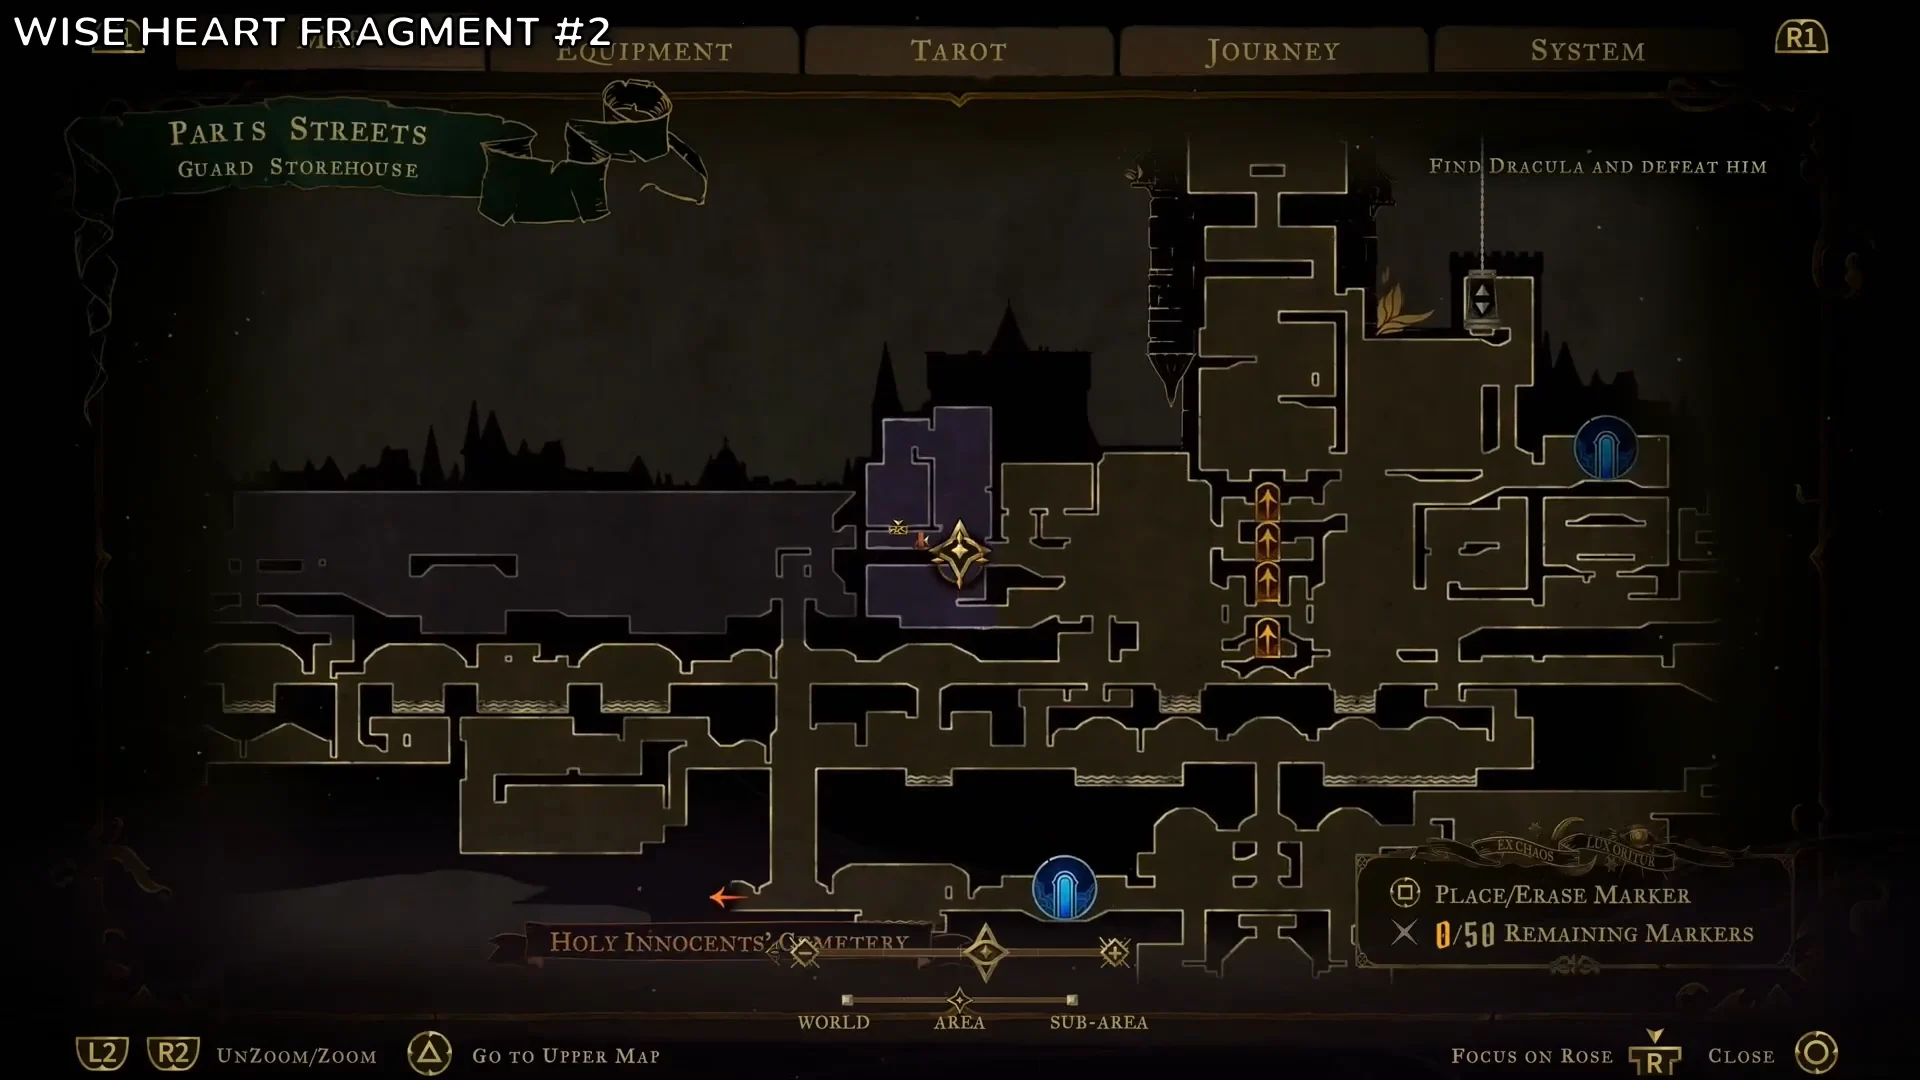
| Wise | Guard Storehouse | Time runs past spike wheels |
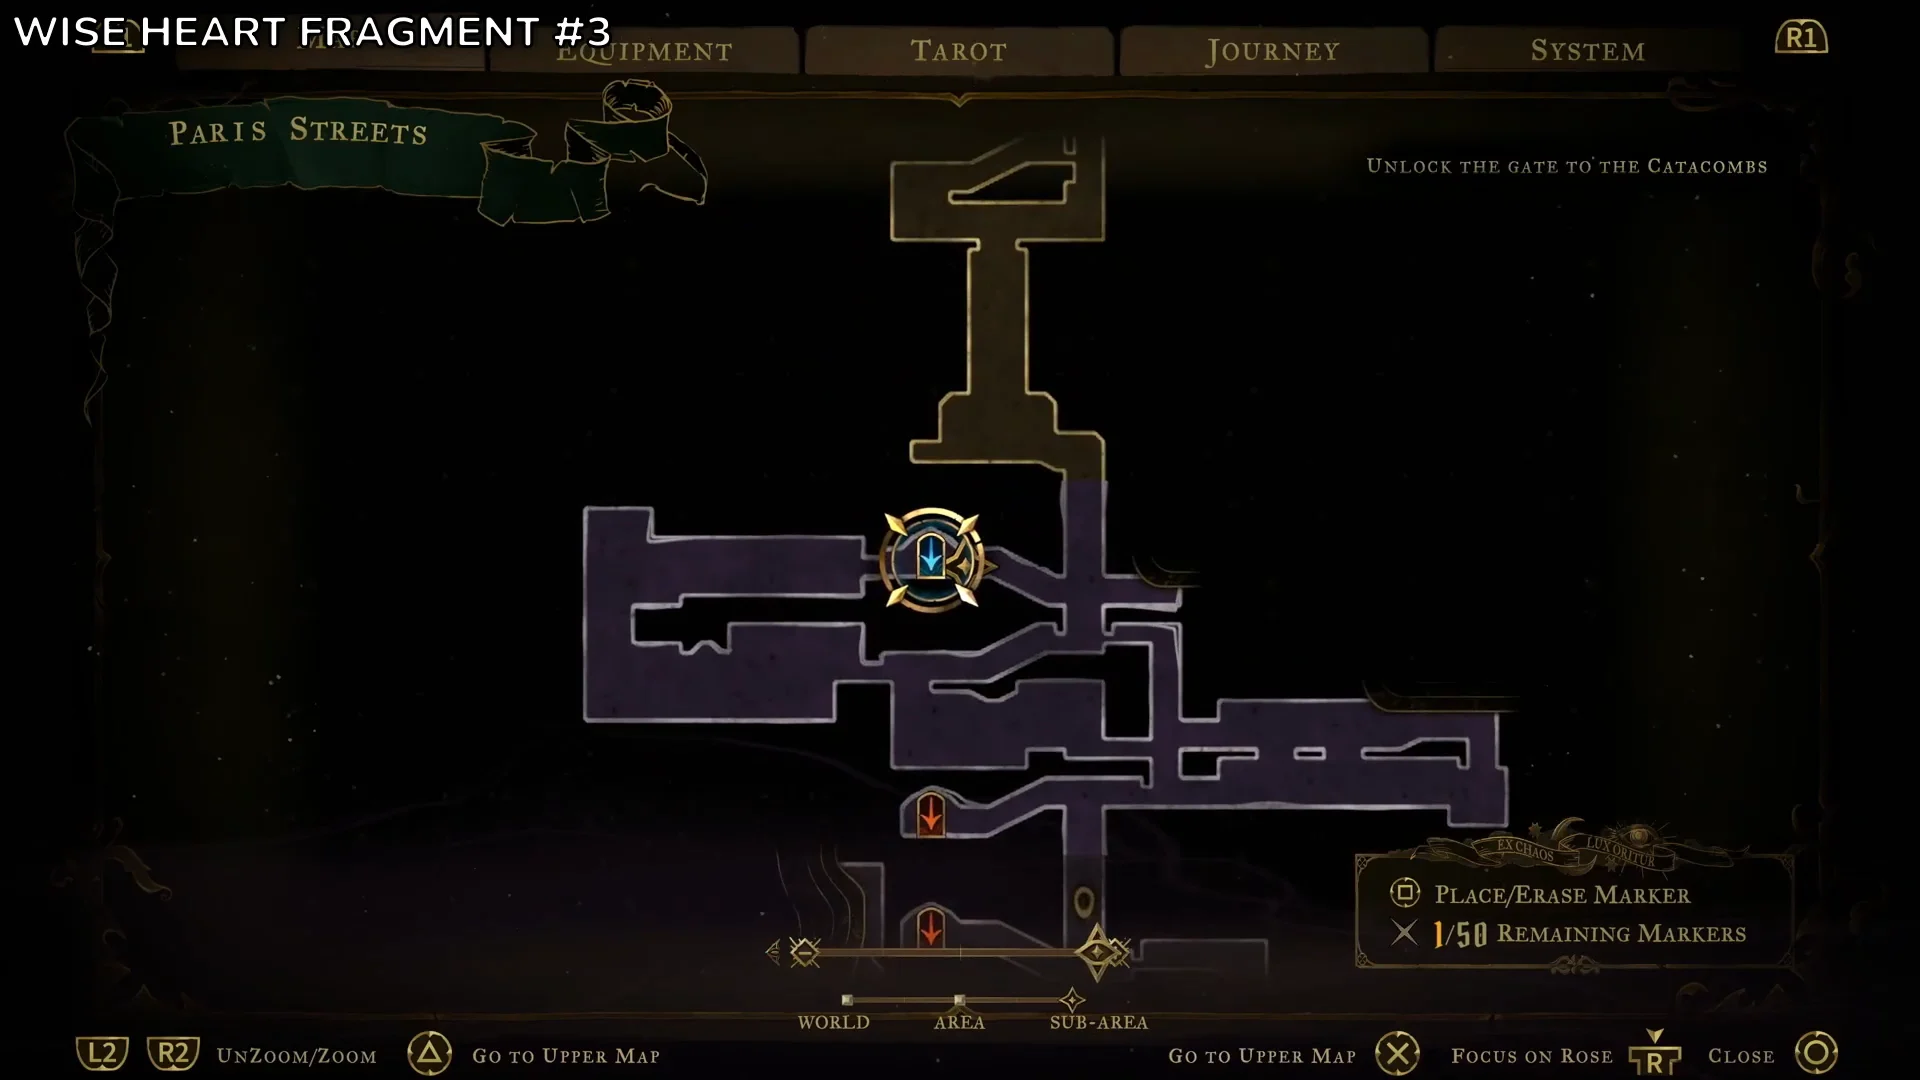
| Wise | Torture Level / Prison Tower | Break fragile stone, drop down |
The Undercity Brave Heart Fragment sits on an upper platform. You need the Arcane Whip to swing across a run of hanging grapple points while axes swing through the gaps.
The Wise Heart shrine on the Street of the Tomb Masons is the easiest of the 48 to spot. Platform up through the buildings into the Morgue, and the shrine is in plain view, with the interact prompt appearing as soon as you stand beside it. The district also holds one secret area.
Enormous spiked wheels move above and through the corridor in the Guard Storehouse. Let each wheel roll past before advancing, and wall-jump whenever the route requires it. The shrine waits at the passage’s far end.
The third Wise Heart Fragment in Paris Streets is in the Prison Tower, above the Torture Level. Break through the fragile stone in the tower and drop straight onto the shrine.
Holy Innocents’ Cemetery
| Type | Map location | How to reach it |
|---|---|---|
| Brave | Sepulcher of the Knight | Drop down a light shaft into a flooded room |
| Brave | Ossuary of the Innocents | Leap across falling chandeliers |
| Brave | Mausoleum of the Kings | Downward strikes on lanterns and spikes |
| Wise | Cloister | Grapple up the windows, around the roots |
| Wise | Mausoleum of the Kings / Overgrown Crypt | Mirror teleport, break walls over spikes |
| Wise | Roman Baths | Climb the pillars, break ceiling sections |
The Mausoleum of the Kings holds one fragment of each type. The Brave Heart route uses downward strikes to bounce off lanterns and over spikes. The Wise Heart route goes through a mirror teleport into the Overgrown Crypt, then through hidden breakable walls above a spiked pit.
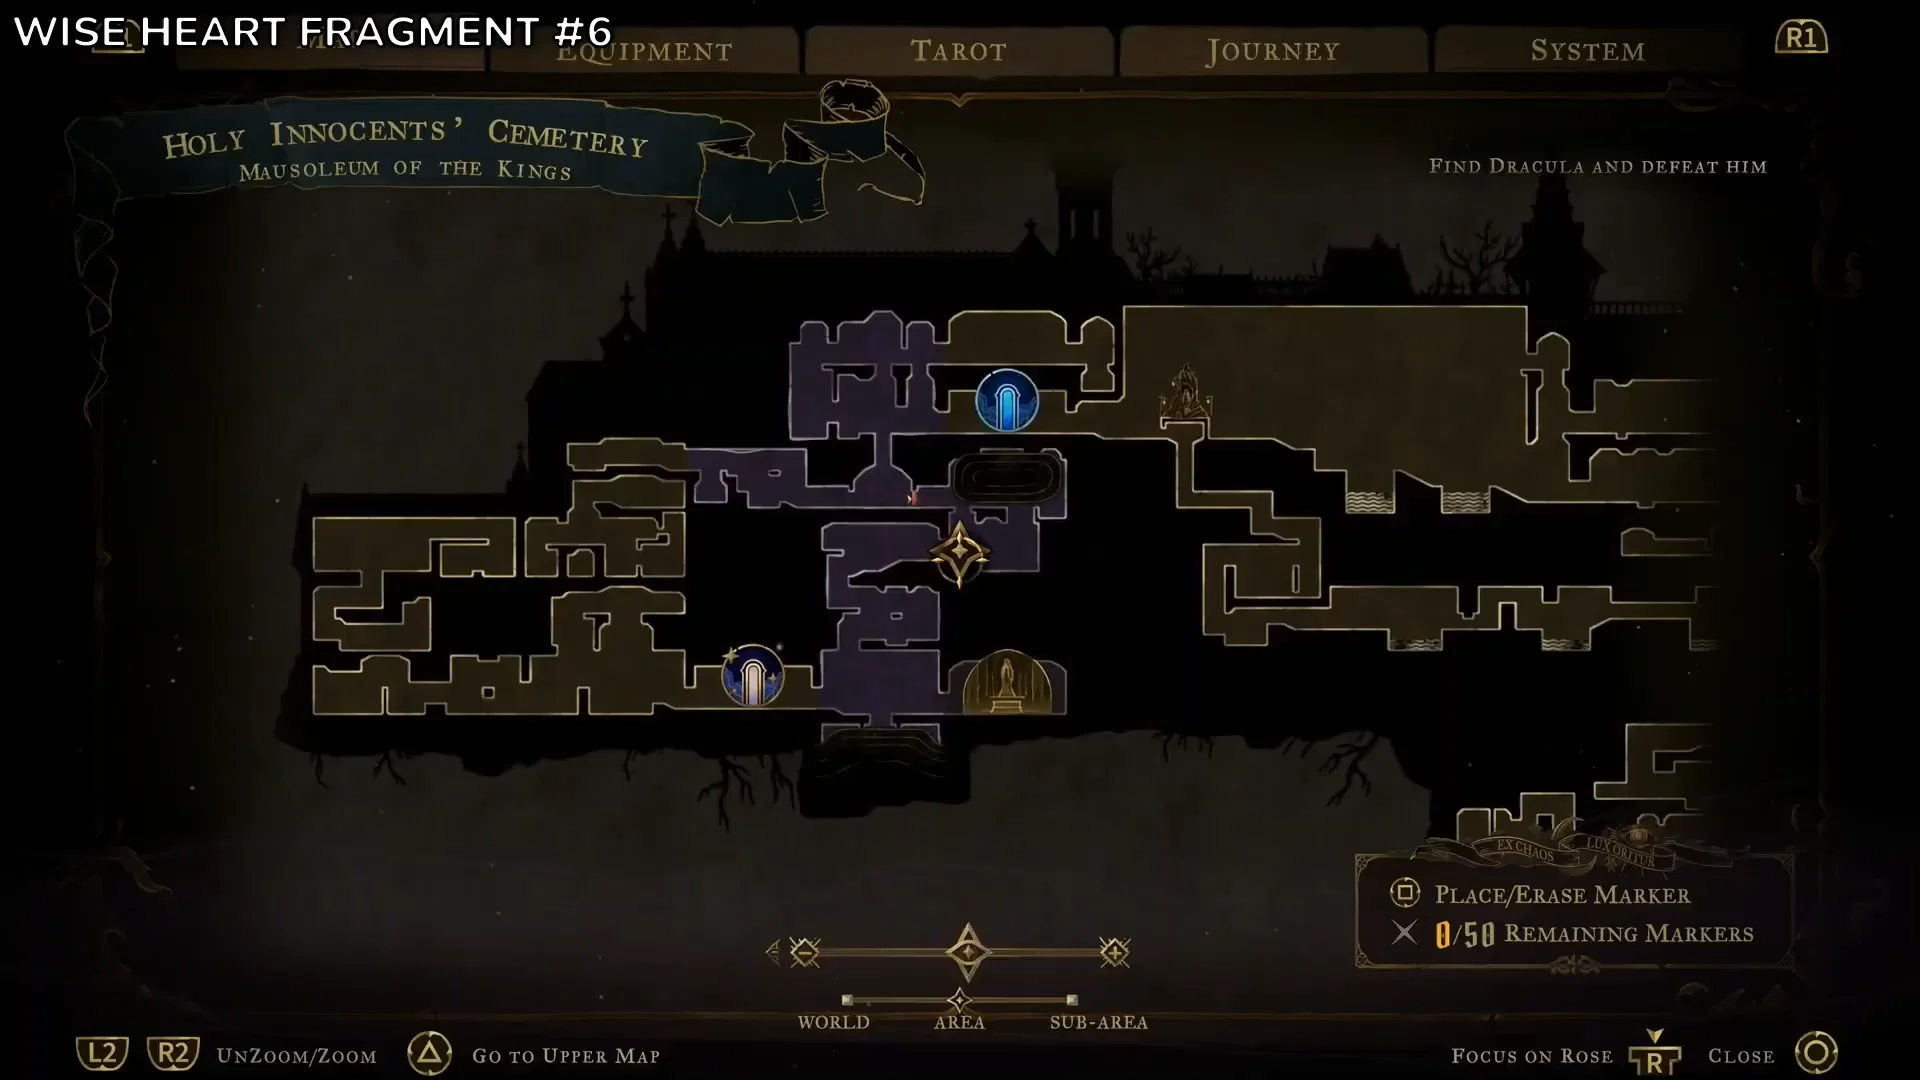
The Ossuary of the Innocents is the district where you fight Medusa, and its Brave Heart shrine sits on an elevated structure reached across falling chandeliers. If you follow the Paris Streets fragments in order, the Cloister pickup is your fourth Wise Heart Fragment and completes your first Wise Heart.
Catacombs of Paris
| Type | Map location | How to reach it |
|---|---|---|
| Brave | Catacomb Entrance | Saw blades and crumbling blocks |
| Brave | Circle of Greed | Slide and dash past thorns and spikes |
| Brave | Blood Pits | Grapple over the blood lake, break walls |
| Wise | Throat of Hell | Whip across a spike pit to a ledge |
| Wise | Hall of the Fallen Angels | Pass under saws, break a hidden wall |
| Wise | Crossroads of the Dead / Chamber of Whispers | Slide into a hidden room |
The Blood Pits Brave Heart Fragment sits past a blood lake. Grapple across it, then break the stone walls and squeeze through a narrow vertical gap to the shrine.
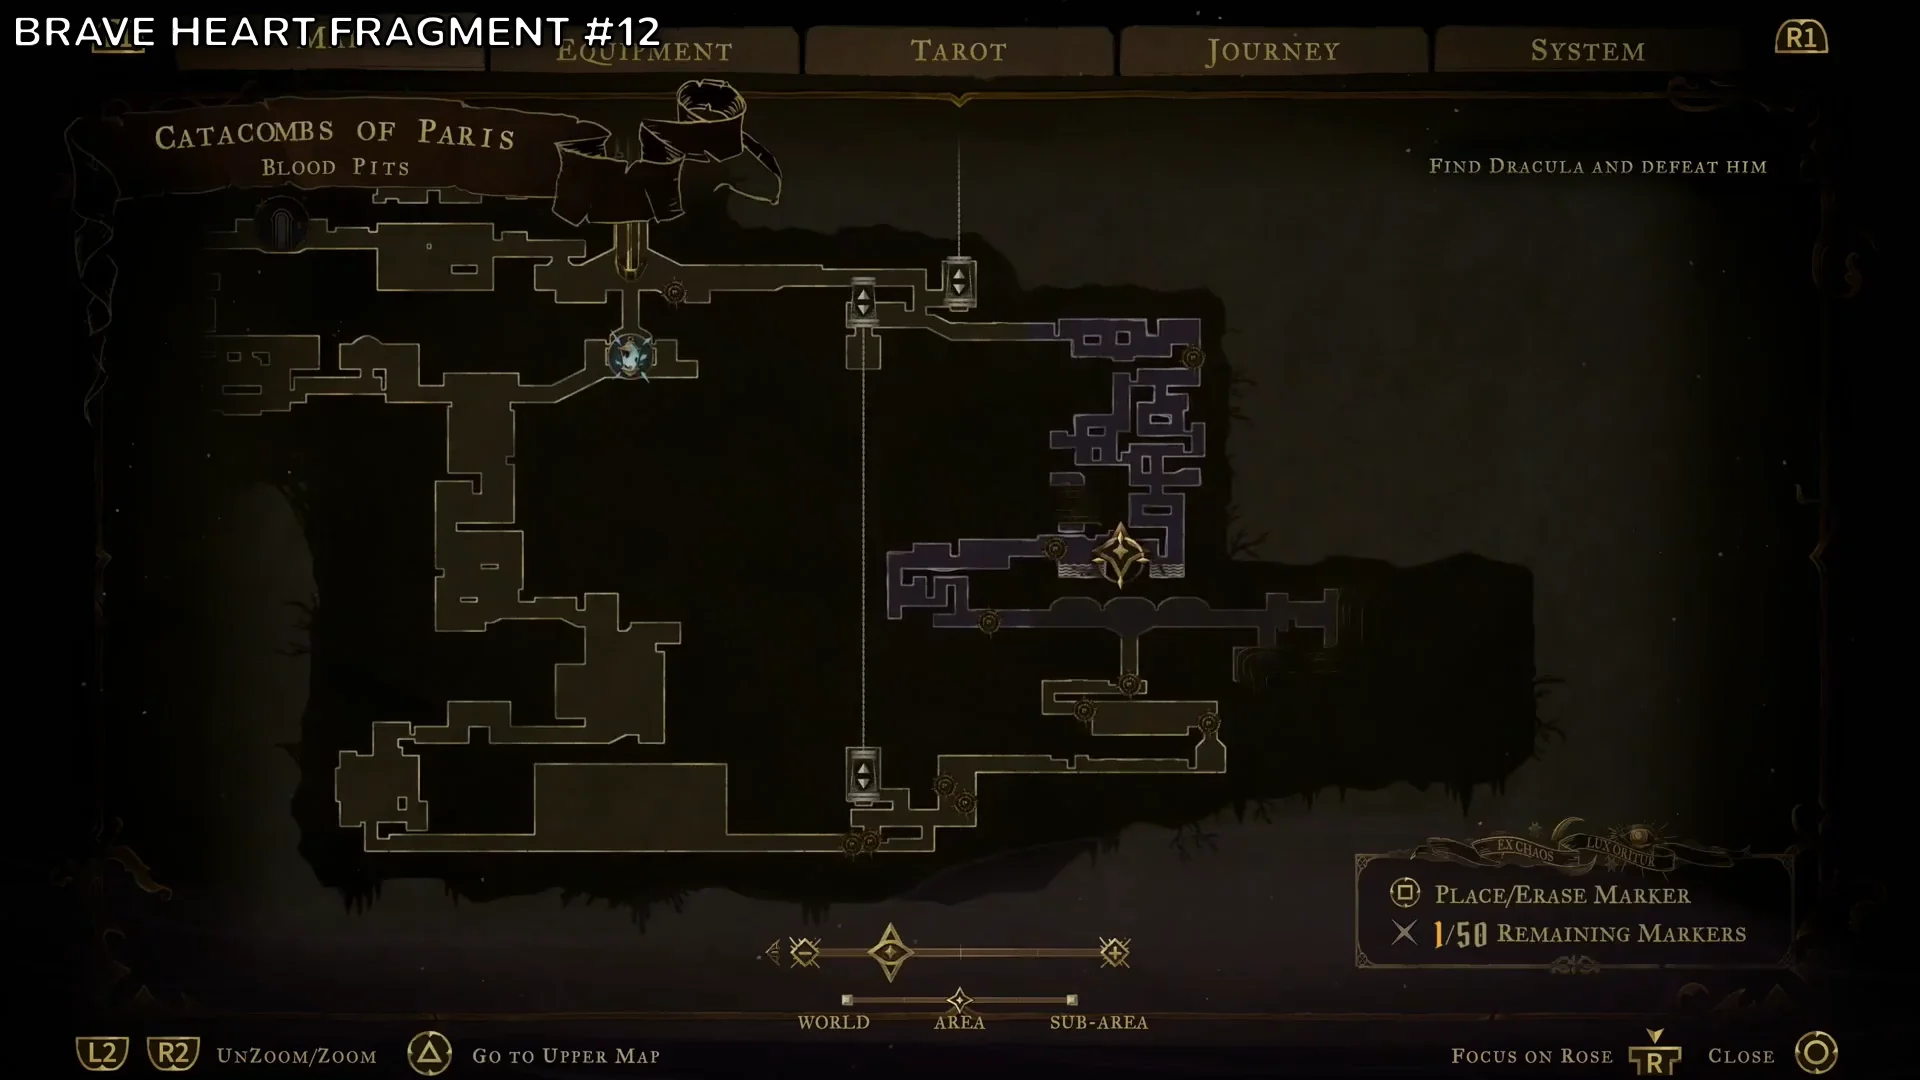
In the Throat of Hell, a ledge across an impassable spike pit holds the Wise Heart shrine. Jumping won’t cross the gap; latch the Arcane Whip onto the suspended grapple point and swing across.
In the Hall of the Fallen Angels, you can collect a Whip along with its Wise Heart Fragment. Reaching them involves a breakable wall and a secret area, so find both during your visit.
Dracula’s Castle Heart Fragment locations
The remaining 30 fragments are split across the Main Hall, Library, Clock Tower, Notre-Dame, and Hall of Mirrors. Two rooms in this half of the game hold a Brave Heart and a Wise Heart shrine together, which saves a trip.
Main Hall
| Type | Map location | How to reach it |
|---|---|---|
| Brave | Mirror Rooms | Chandelier platforms, spiked ledges |
| Brave | Wine Cellar / Entrance Corridor | Spiked shafts past armored guards |
| Brave | Torture Chambers / Balcony | Next to the Wise Heart shrine |
| Wise | Grand Hall / Boudoir | Portrait rooms and mirror portals |
| Wise | Wine Cellar / Entrance Corridor | Mirrors, saws, chandeliers over spikes |
| Wise | Servants’ Quarters / Torture Chambers / Balcony | Switch puzzle, then out to the balcony |
The Wine Cellar holds one of each type. The Wise Heart route there is the longest single trip in the game, winding through several mirror rooms and chandelier jumps above spike pits before the shrine appears.
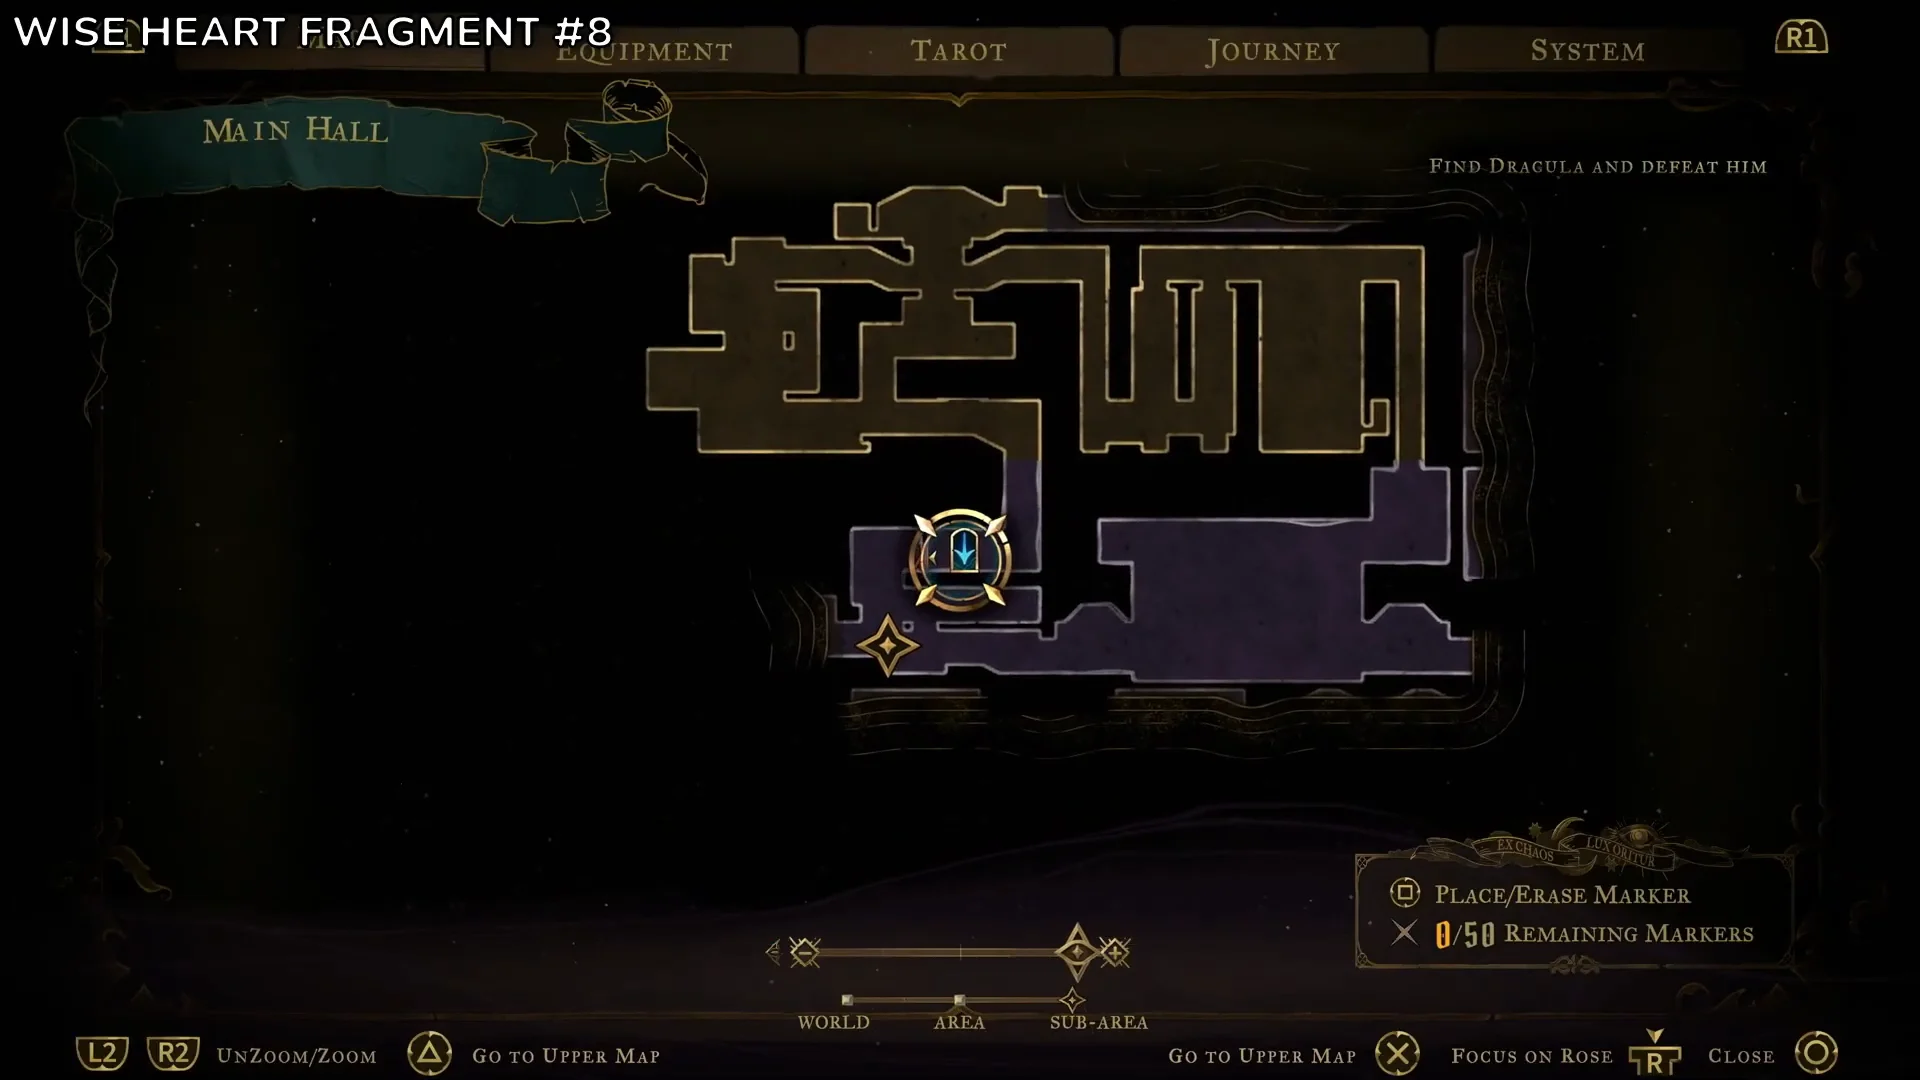
The outdoor Balcony is one of the two paired rooms, with a Brave Heart and a Wise Heart Fragment side by side. Getting there starts with a switch sequence back in the Servants’ Quarters.
Library
| Type | Map location | How to reach it |
|---|---|---|
| Brave | Library Foyer | Launch rings up the tall shafts |
| Brave | Poetry Shelves | Rings through thorn-covered ceilings |
| Brave | Planetarium | Swing around the planetary models |
| Wise | Rhetoric Shelves | Grapple, dash, chain the rings |
| Wise | Planetarium | Rotating armillary rings to an alcove |
| Wise | Fine Arts Shelves | Air rings and wall jumps up high |
Almost every Library route relies on the launch rings that fling Rose upward. The Planetarium has a shrine of each type, one in an upper alcove past the rotating armillary sphere and the other on an upper branch reached by swinging around the giant planetary models.
Clock Tower
| Type | Map location | How to reach it |
|---|---|---|
| Brave | Serpent Pinion | Break a wall above the cogs |
| Brave | Eastern Steps | Past bladed gears to an underfloor passage |
| Brave | Steps of Time / The Gauntlet | Dodge floor lasers and saws |
| Wise | Central Fuel Reservoir | Climb gears, air dash past saws |
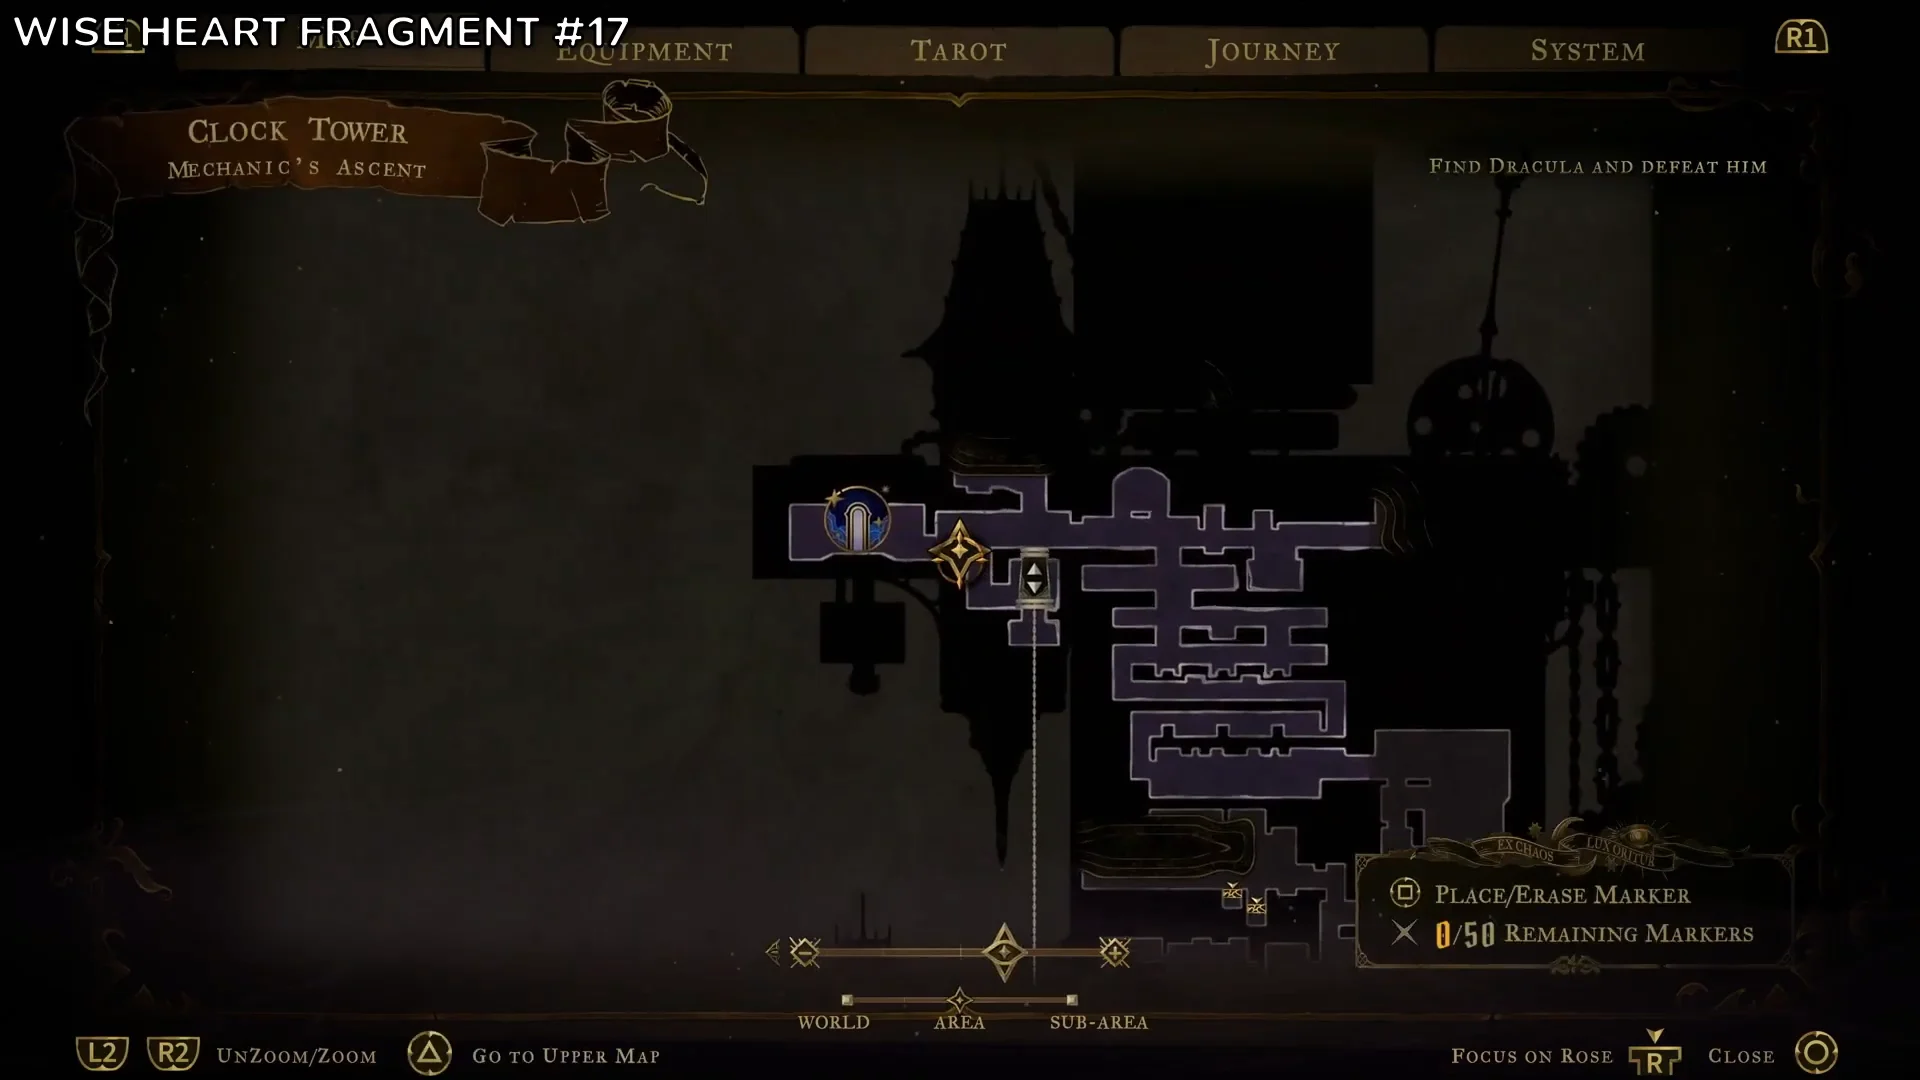
| Wise | Mechanic’s Ascent / West Tower Base | Ride the cage elevator to a side ledge |
| Wise | The Way of the Fist / Upper Gallery | Grapple across the exterior to a rooftop |
For the Mechanic’s Ascent fragment, ride the large cage elevator and jump off to a side alcove partway up. The shrine is on that ledge.
Notre-Dame
| Type | Map location | How to reach it |
|---|---|---|
| Brave | Tree of Saints | Right-hand ledge |
| Brave | La Flèche | Climb the beams, avoid electric traps |
| Brave | The Forest | Timed electric barrier run |
| Wise | Great Tower / Tree of Saints | Left-hand ledge, past saws |
| Wise | Apse | Drop into a spiked crypt room |
| Wise | Chapel of Patience | Clear an enemy fight, cross spikes |
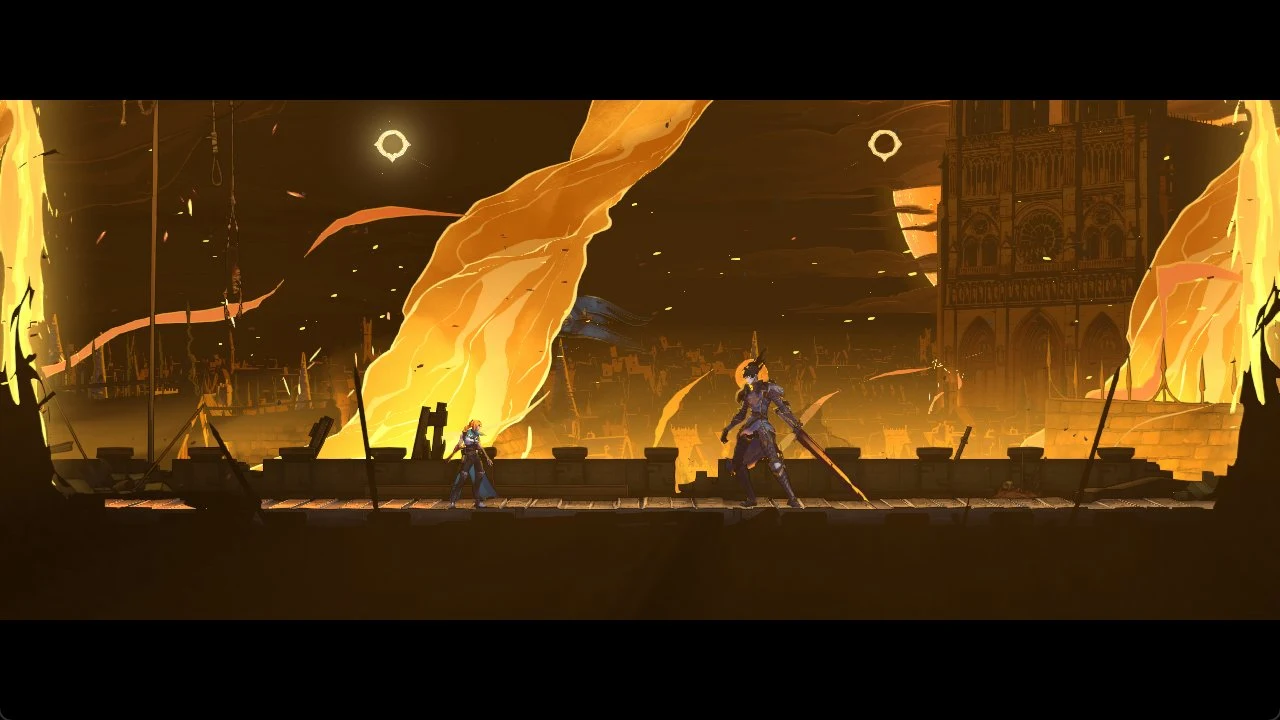
The Tree of Saints is the second paired room. Wall-jump past the saws and dash along the golden branches to the Wise Heart shrine on the left ledge, then jump across to the Brave Heart shrine on the opposite side. Electric hazards run through most of the other Notre-Dame routes, and The Forest’s barrier gauntlet is on a timer.
Hall of Mirrors
| Type | Map location | How to reach it |
|---|---|---|
| Brave | Nightmare Atrium | Fire jets, falling spiked blocks |
| Brave | Steps of Misdirection | Dark hall with swinging saws |
| Brave | Looping Hallways | Drop through mirrored chambers |
| Wise | Familiar Way / Chamber of Secrecy | Wall-slide past saws, break walls |
| Wise | Ballroom of Terror | Dash past saws, bounce off switches |
| Wise | Boudoir of Bewilderment | Mirror puzzle opens a hidden alcove |
The Hall of Mirrors comes last on most routes and is dense with saw traps. Solve the mirror puzzle in the Boudoir of Bewilderment to reveal the alcove holding its Wise Heart shrine.
Heart Fragments and area completion
Each area’s completion checklist tracks its Brave Heart and Wise Heart Fragments as separate entries, so an area can’t show as fully cleared while one of its six shrines is still untouched. Holy Innocents’ Cemetery, for example, has 176 completion entries, the Catacombs of Paris has 211, and the Hall of Mirrors has 158, with three of each fragment type in every one.
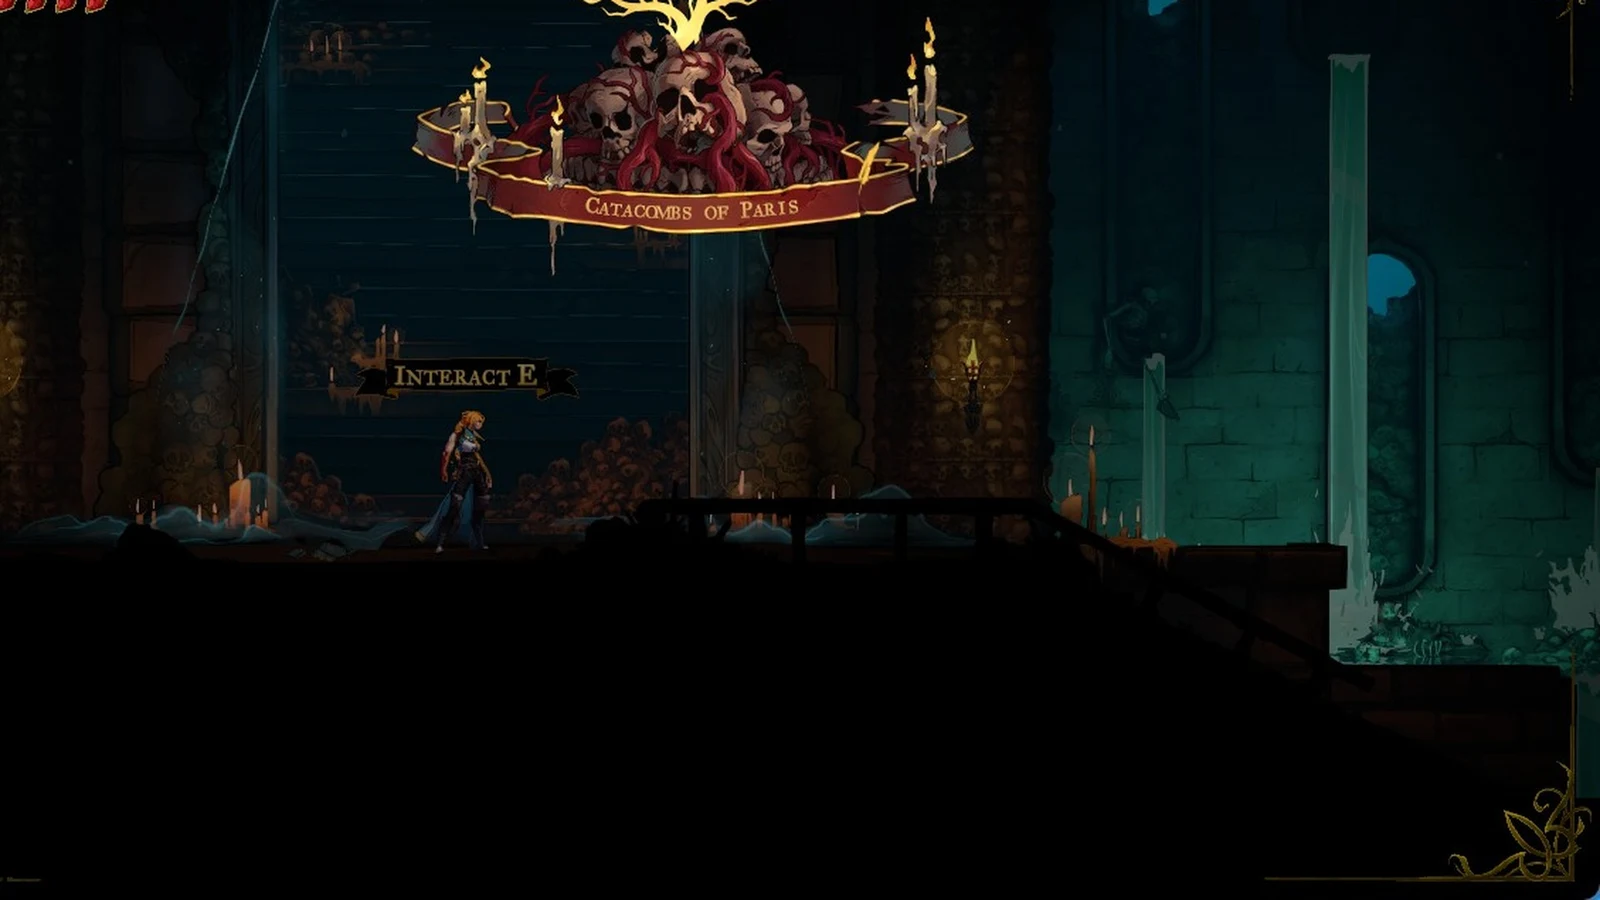
Mirrors of Life save progress, restore health, and refill potions, which makes them worth activating before the trap-heavy routes.
| Area | World part | Fragments (Brave + Wise) | Mirrors of Life |
|---|---|---|---|
| Paris Streets | City of Paris | 3 + 3 | 5 |
| Holy Innocents’ Cemetery | City of Paris | 3 + 3 | 4 |
| Catacombs of Paris | City of Paris | 3 + 3 | 2 |
| Main Hall | Dracula’s Castle | 3 + 3 | 9 |
| Library | Dracula’s Castle | 3 + 3 | 2 |
| Notre-Dame | Dracula’s Castle | 3 + 3 | 3 |
| Clock Tower | Dracula’s Castle | 3 + 3 | 3 |
| Hall of Mirrors | Dracula’s Castle | 3 + 3 | 5 |
Collector trophy and achievement requirements
The Collector requires all health and mana upgrades in the game, and only Heart Fragments qualify.
- Requirement: all 24 Brave Heart Fragments and all 24 Wise Heart Fragments
- Hidden on Steam: no
- Players who have unlocked it: 0.1 percent
The trophy fires the moment you pick up your 48th fragment, whichever shrine that happens to be. Before that, you can confirm progress three ways. “Brave Heart Completed!” and “Wise Heart Completed!” should each have appeared six times. Every area’s checklist should list 3 of 3 for both fragment types. And Rose’s health and mana bars should both sit at 220. Once the last piece is in, the “Collector” trophy notification appears on screen.