Chapter 1 of Beast of Reincarnation, titled Seedling, takes place entirely in the Ogouchi Buffer Zone in the Kanto Region. It teaches you Emma’s blade and hair traversal, Koo’s Bloom Arts, parrying, and the archery system, then caps things off with two fights against the region’s Nushi, Rangifer. Along the way you hunt down a foreman, collect three colored keys, and unlock fast travel.
Quick answer: Investigate the ruined village, find the subcity and defeat six golems plus the Door Golem to reach the foreman, chase Rangifer to its lair, then gather the Red, Blue, and Yellow (Tailwater) Keys to open the sealed lair and beat Rangifer’s two-stage rematch.
Chapter 1 objectives in order
Chapter 1 runs through a fixed sequence of main quests. Here is the full order so you can track where you are.
| Quest | Objective |
|---|---|
| Investigating the Village | Search the village for clues |
| The Foreman in the Subcity | Search for the subcity entrance |
| Defeat the Malefacts in Your Path | Clear the Malefact ambush |
| The Prowling Nushi | Chase the Nushi to its lair |
| Make Preparation for Tomorrow | Head to bed |
| Depart the Cleanse Walker | Leave through the door |
| Toward the Nushi’s Lair | Head to Subcity 03 |
| Path to the Sealed Lair | Obtain the Red, Blue, and Yellow Keys |
Prologue and combat tutorial
The game opens with Emma escorting a young girl, Kagura, aboard a vehicle driven by Bauera. Both girls carry the same infection, and a warning about incoming miasma pushes Emma out to clear the road with her dog, Koo. This drops you straight into a combat gauntlet where you cannot die, so treat it as free practice.
You reach the Nushi’s lair and meet Shidou, which cuts to a flashback set five years earlier. Emma talks with Brad about her new outfit; any of the three responses is fine, and none affect the outcome.
Investigate the village and find the foreman
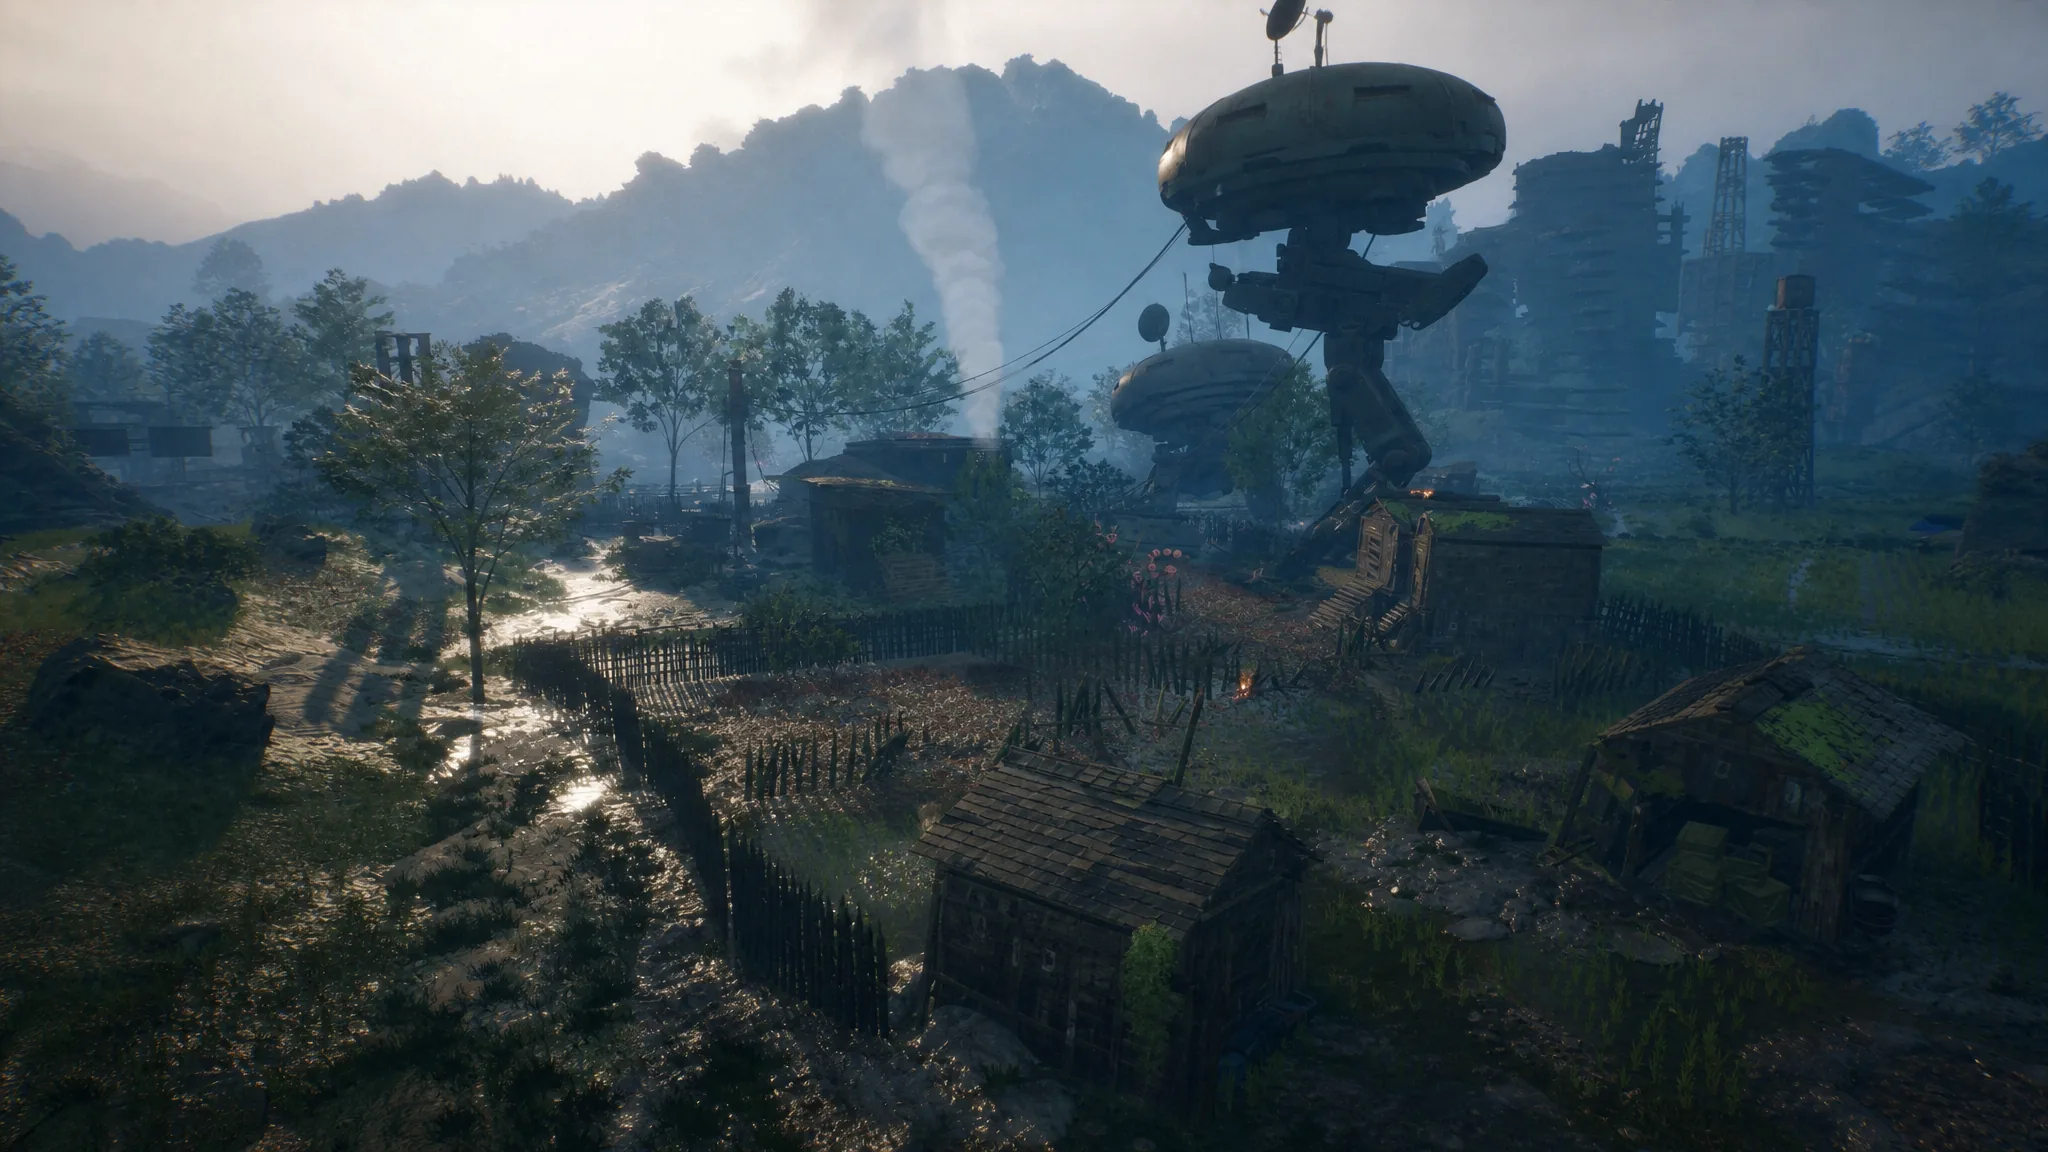
The flashback puts you on the edge of an abandoned village. Your goal is a Rusted Golem inside a ruined house who tells Emma to visit the subcity and speak with its foreman about the Nushi.
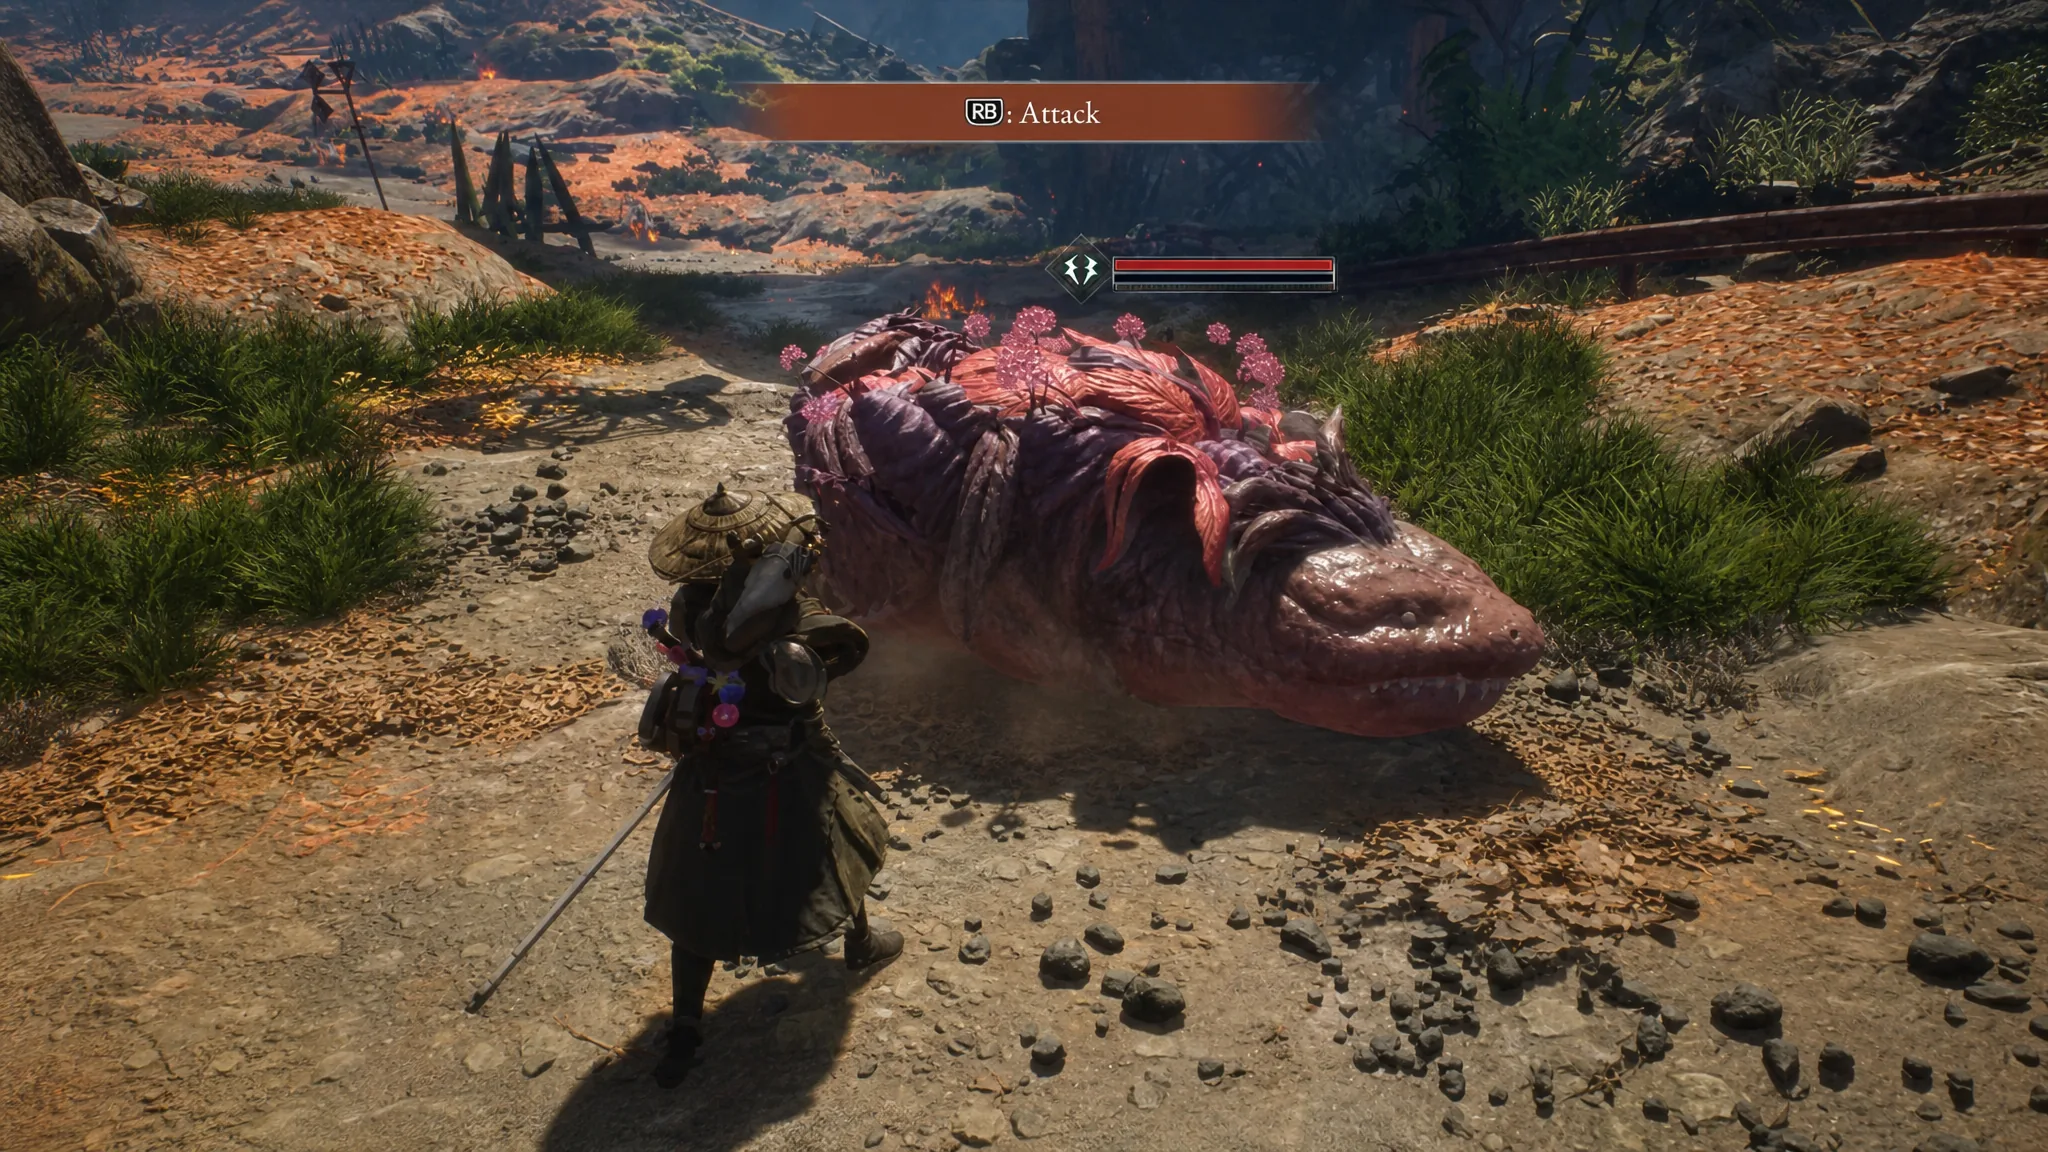
After the camp, the sun sets and Blight rises, sprouting trees across the forest. A deer and a bear rush you almost immediately. Kill them quickly, and note that the deer drops Malefact Meat, which cooks automatically when you rest at a camp.
The three-Malefact tower fight
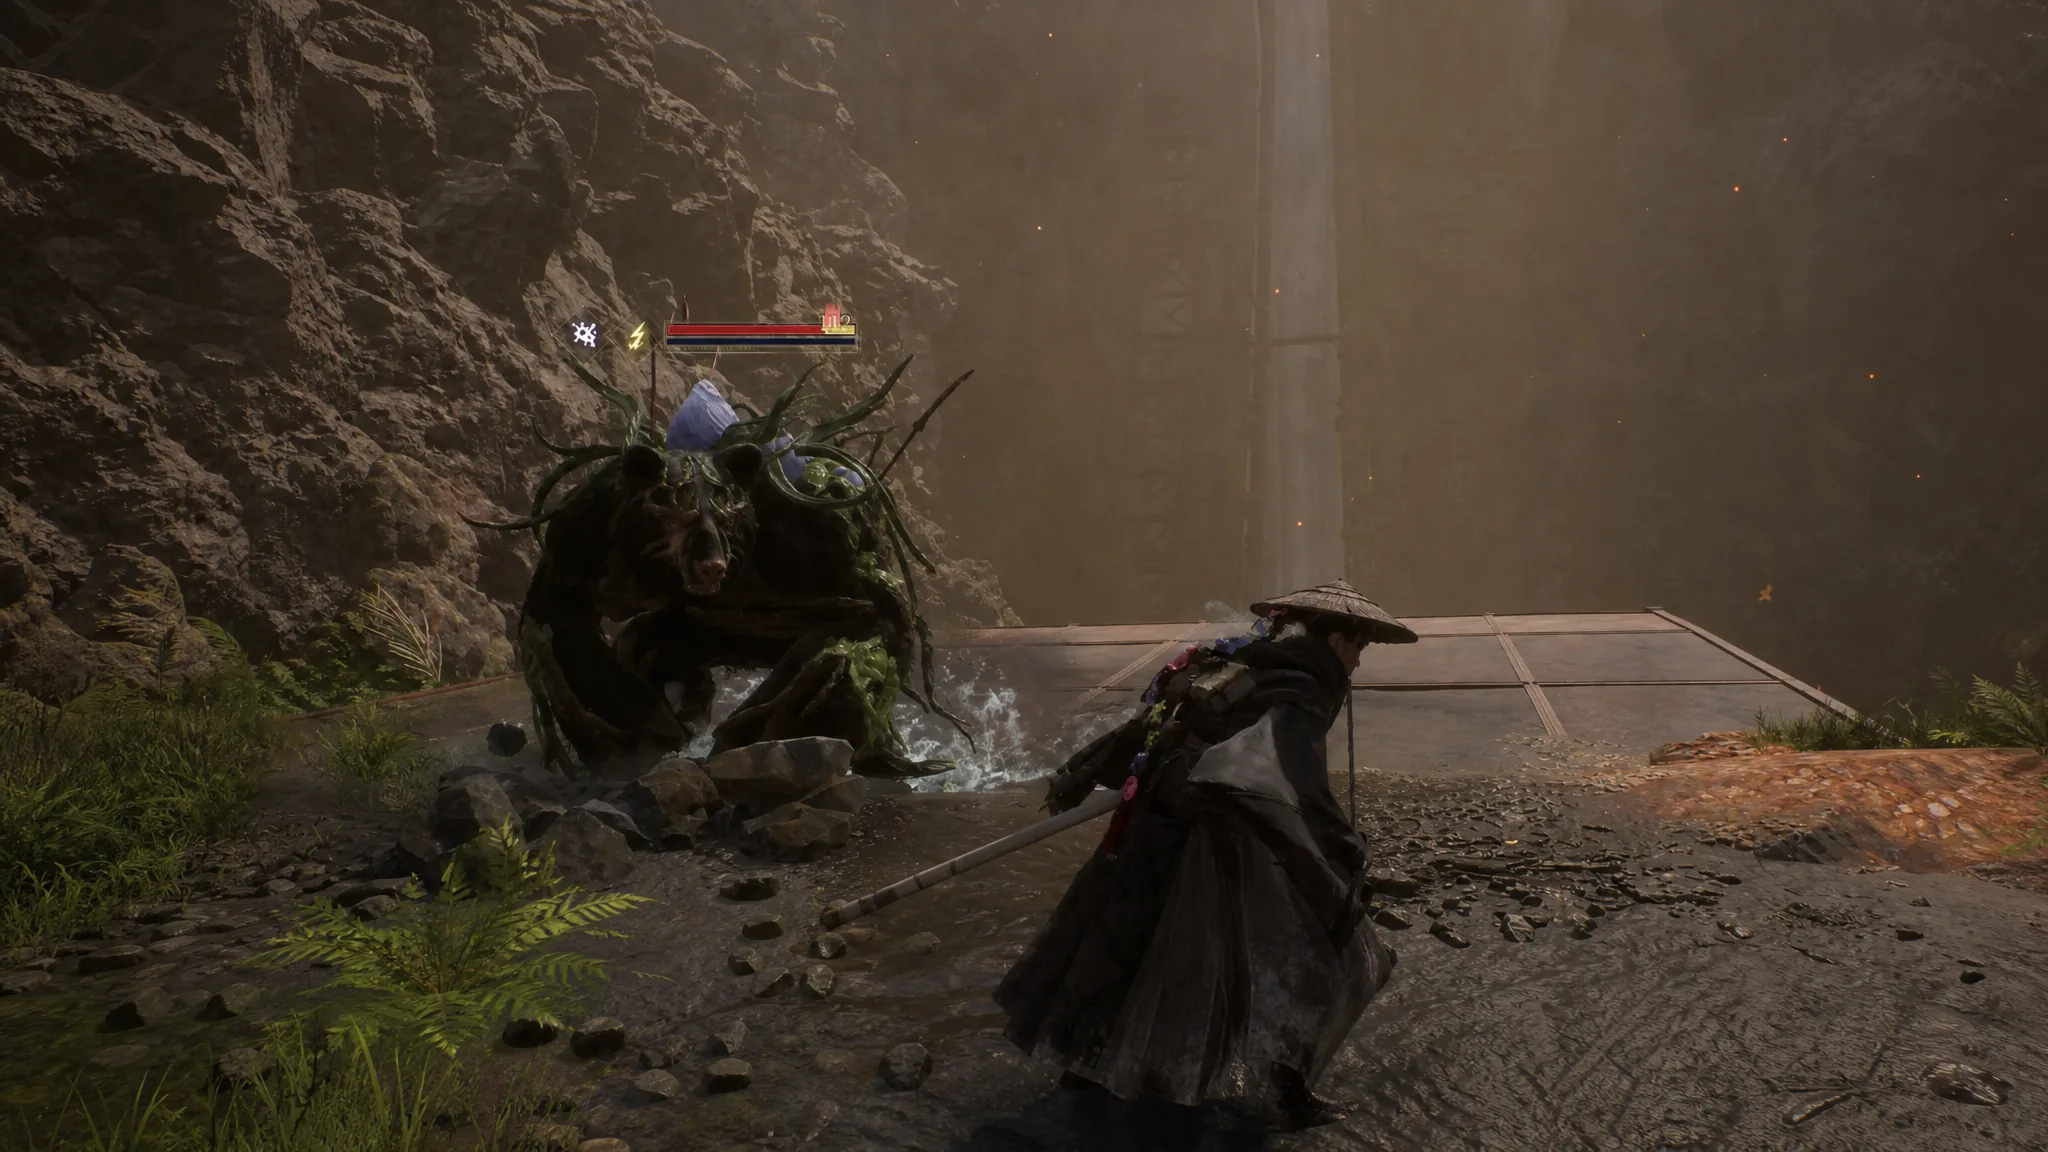
Continue north until you stand atop a ruined tower. Below are three enemies: a deer, a bear, and an Elite bear. This is your Death from Above tutorial, and it is the first real difficulty spike in Chapter 1.
Extend Emma’s hair over the Elite bear on the far right and drop onto it first. The insta-kill sneak attack will not fully kill the Elite, but it takes a large chunk of its health. Deal with the strongest enemy first, then handle the fast-attacking deer and the harder-hitting second bear. Heal fully before engaging, and lean on your parry timing throughout.
Once all three are down, the Blight clears. Loot every body, then leave the arena using Emma’s hair lift on its northern side and follow the marker to a lever. Turn it to open the subcity entrance.
Clear the subcity golems and the Door Golem
Head into the subcity and unlock the Subcity 01 Entrance Camp. Six golems patrol this area, and you must destroy all of them before the green door opens.
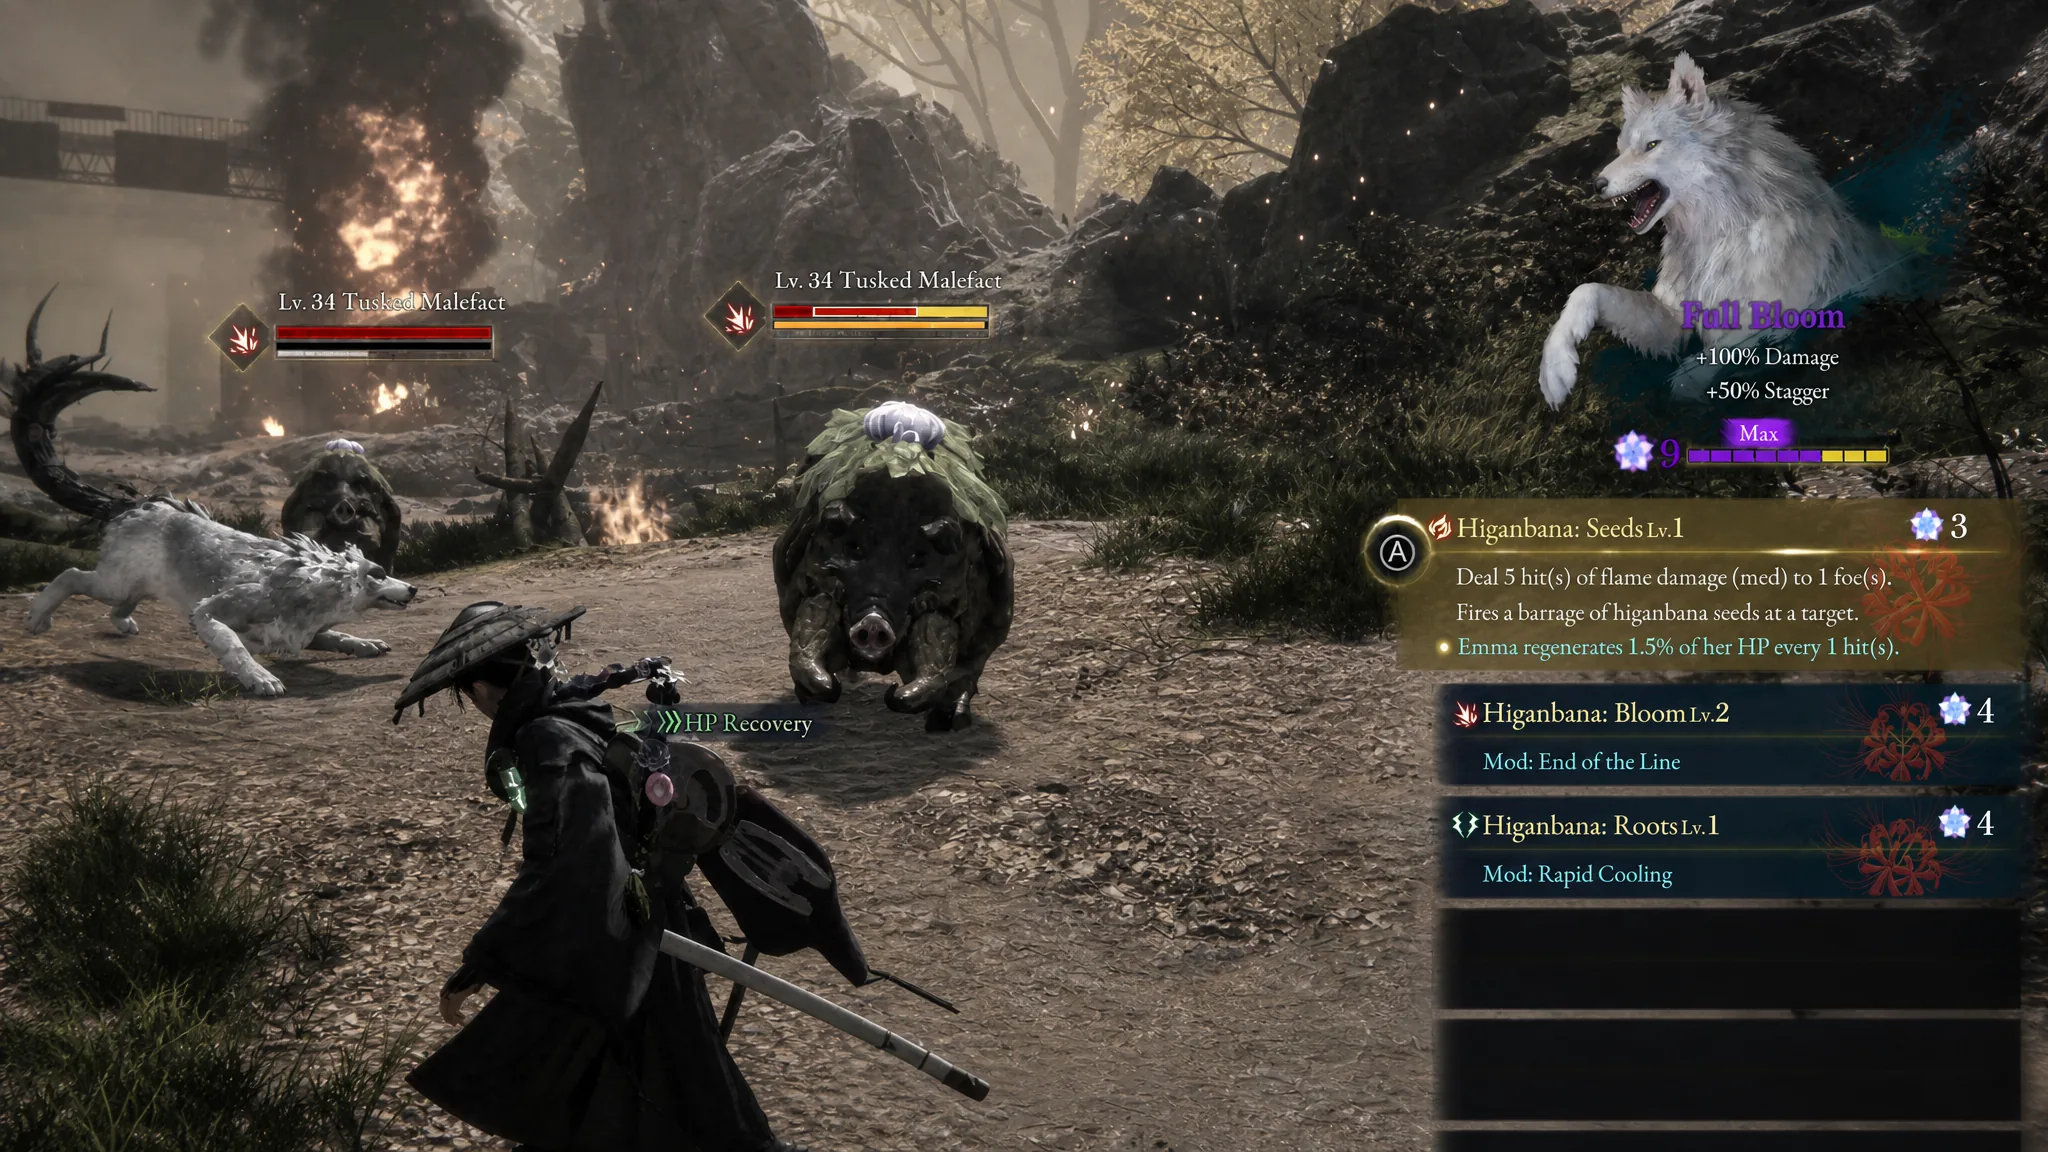
The Door Golem is fast and can chain up to five sword hits, blocking some of your attacks. Bind it with Koo’s Higanbana: Roots to land free hits, parry as many strikes as you can to stagger it, and keep distance since it favors long, closing attacks. Let it come to you, defend, punish, then reposition.
With the Door Golem dead, enter the next room and speak to the dying foreman. He explains the Nushi only appears when it senses a threat, and Violet suggests taking his bow. You receive the Zangetsu Bow, which holds less ammo than your crossbow but hits harder over longer range. Complete the quick tutorial by shooting five pots, then move on.
First Rangifer fight (Level 9)
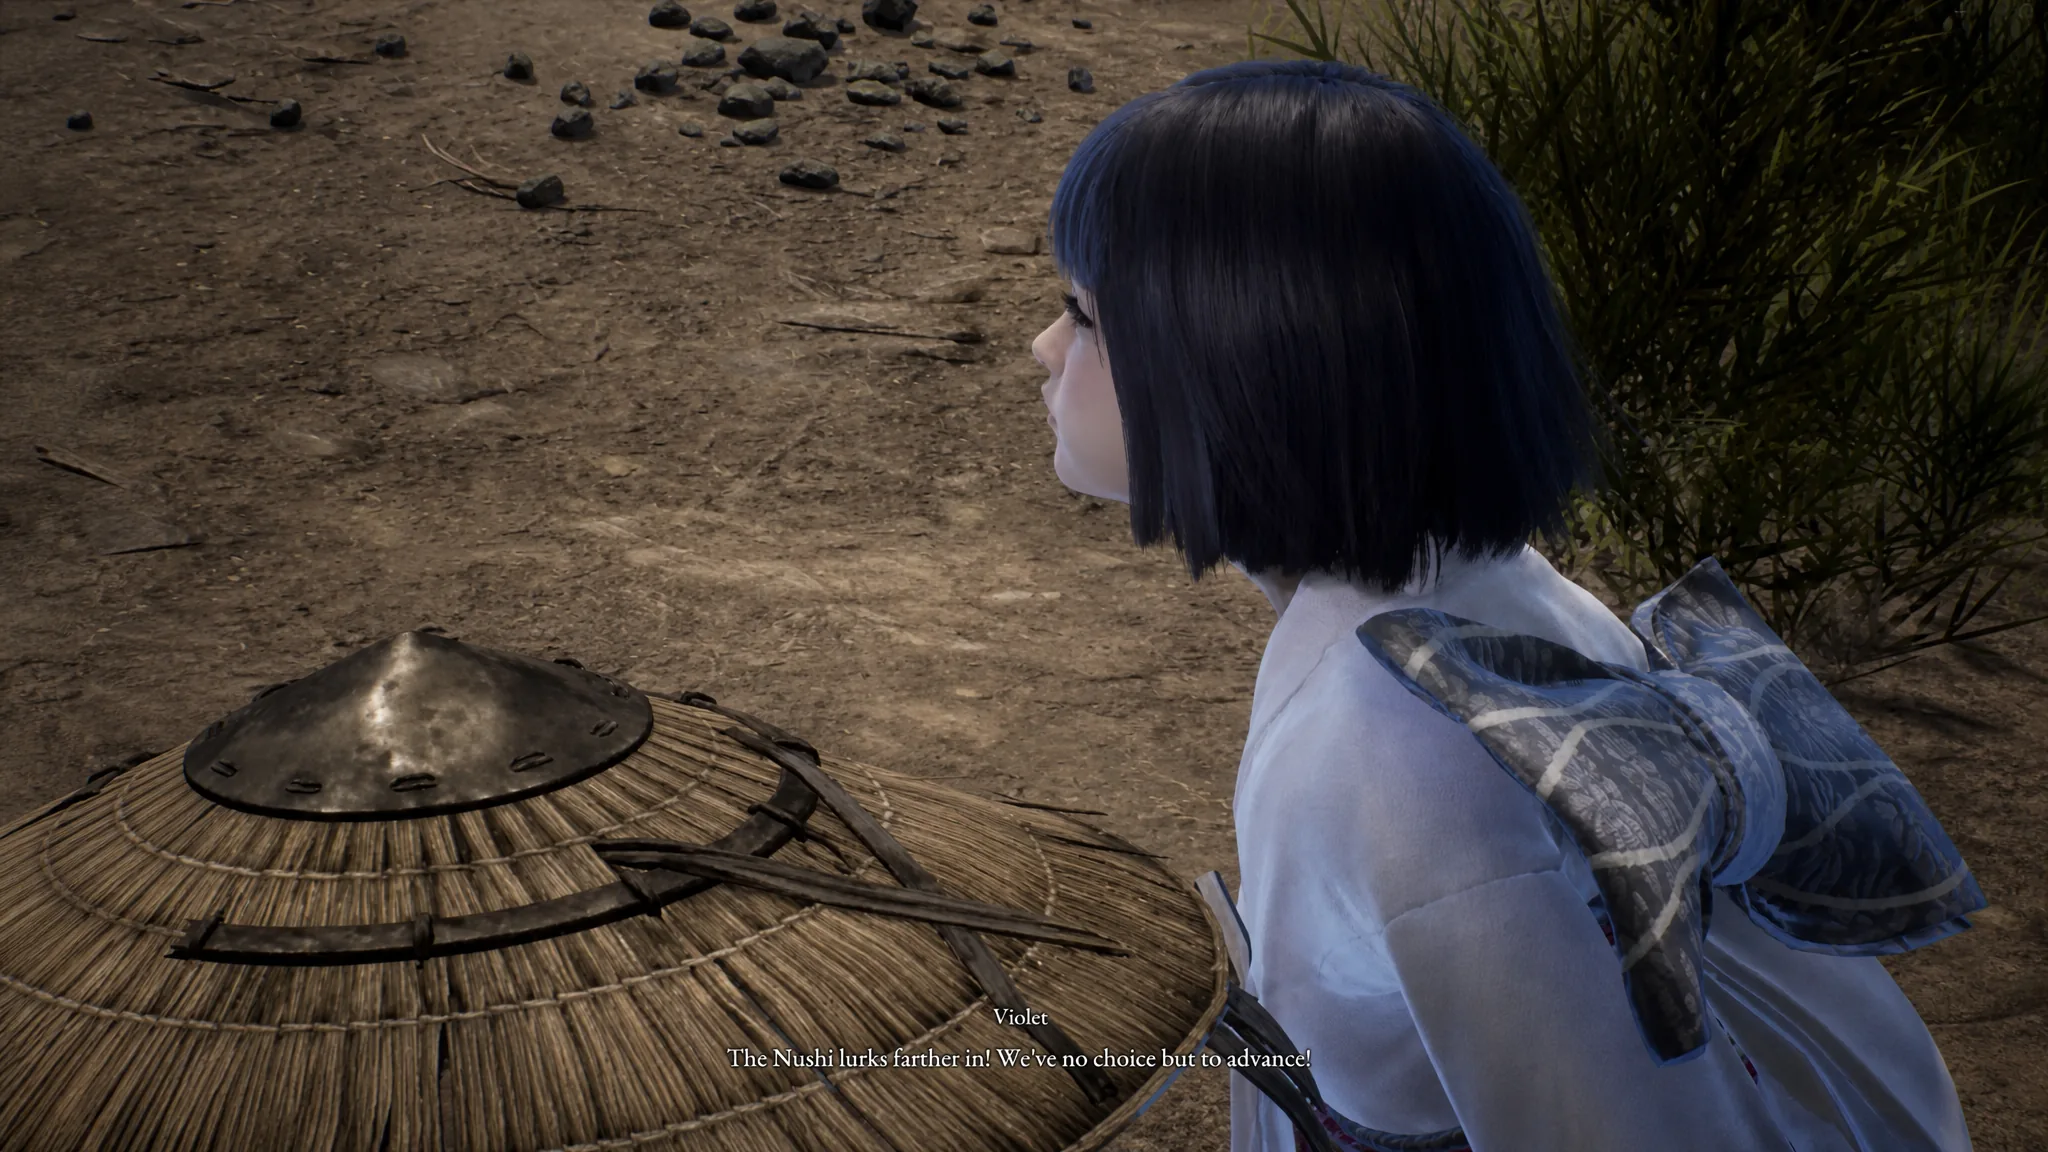
Leave the subcity and watch the cutscene where the Nushi, a blighted giant stag called Rangifer, emerges and makes the plants grow around you. It sniffs for Emma but does not find her. Track it to its lair.
Head around to the nearby gully and use Emma’s hair to reach the tower in the middle, where you will find the Cliff-Facing Tower Camp. Open the Strongbox beside it for Chain Mail, equip it for extra defense, and rest here. This is your first proper boss battle, so make the camp your respawn point.
Rangifer is Level 9. Treat it like a large Souls-style boss: dodge, parry, and attack in the openings. Open with Death from Above if you can, and use Koo throughout to add pressure. At half health it unleashes extra Blight effects to disorient you. Expect a few attempts, since learning its attack rhythm is the key to parrying consistently.
Defeating Rangifer grants the Rangiferine Memories and unlocks the Nushi Skill: Sakura Storm. To use it, tap the right bumper four times and press X to summon vines from the ground. Brad then calls you back to the Cleanse Walker rather than letting you pursue Rangifer.
Cleanse Walker prep and the Koo flashback
Back on the Cleanse Walker you can enhance equipment and level up Attributes. Spend time with Koo by petting him and giving him a shower to raise your Rapport, which increases his skill slots when it levels up. Koo’s Rapport drops if he falls in battle, but its rank never decreases, so feeding him treats keeps it healthy.
Rest to trigger a flashback. Head into the woods, clear a circular arena full of corrupted golems, and sneak-attack another golem past it. Take the right path to a cutscene, then retrace your steps and fight a bear. Because Koo is absent here, press B to Perfect Dodge any attack that glows red. Two more Malefacts follow, handled the same way.
Continue assassinating a blighted golem until you reach a blighted tree and find Koo, who collapses after triggering a memory. The scene fades and shows Koo recovering at Emma’s home before leaving. You then return to the flashback with Brad present, where petting and feeding Koo builds Rapport. Rest to end the day.
Path to Subcity 03 and the sealed door
After waking, leave the Cleanse Walker. Brad suggests routing through Subcity 03 to reach the Nushi’s lair. Pass back through the abandoned village, where a stag Malefact and a golem fight each other and ignore you, then push through the disposal site full of golems.
Defeat the shielded golem and cross the bridge with Emma’s hair. Rest at the back-to-back camps. Do not drop down from the second campsite to fight the golems below, since it is a brutal and unnecessary fight. Instead use Emma’s hair to go around, where a single, easier stag Malefact waits.
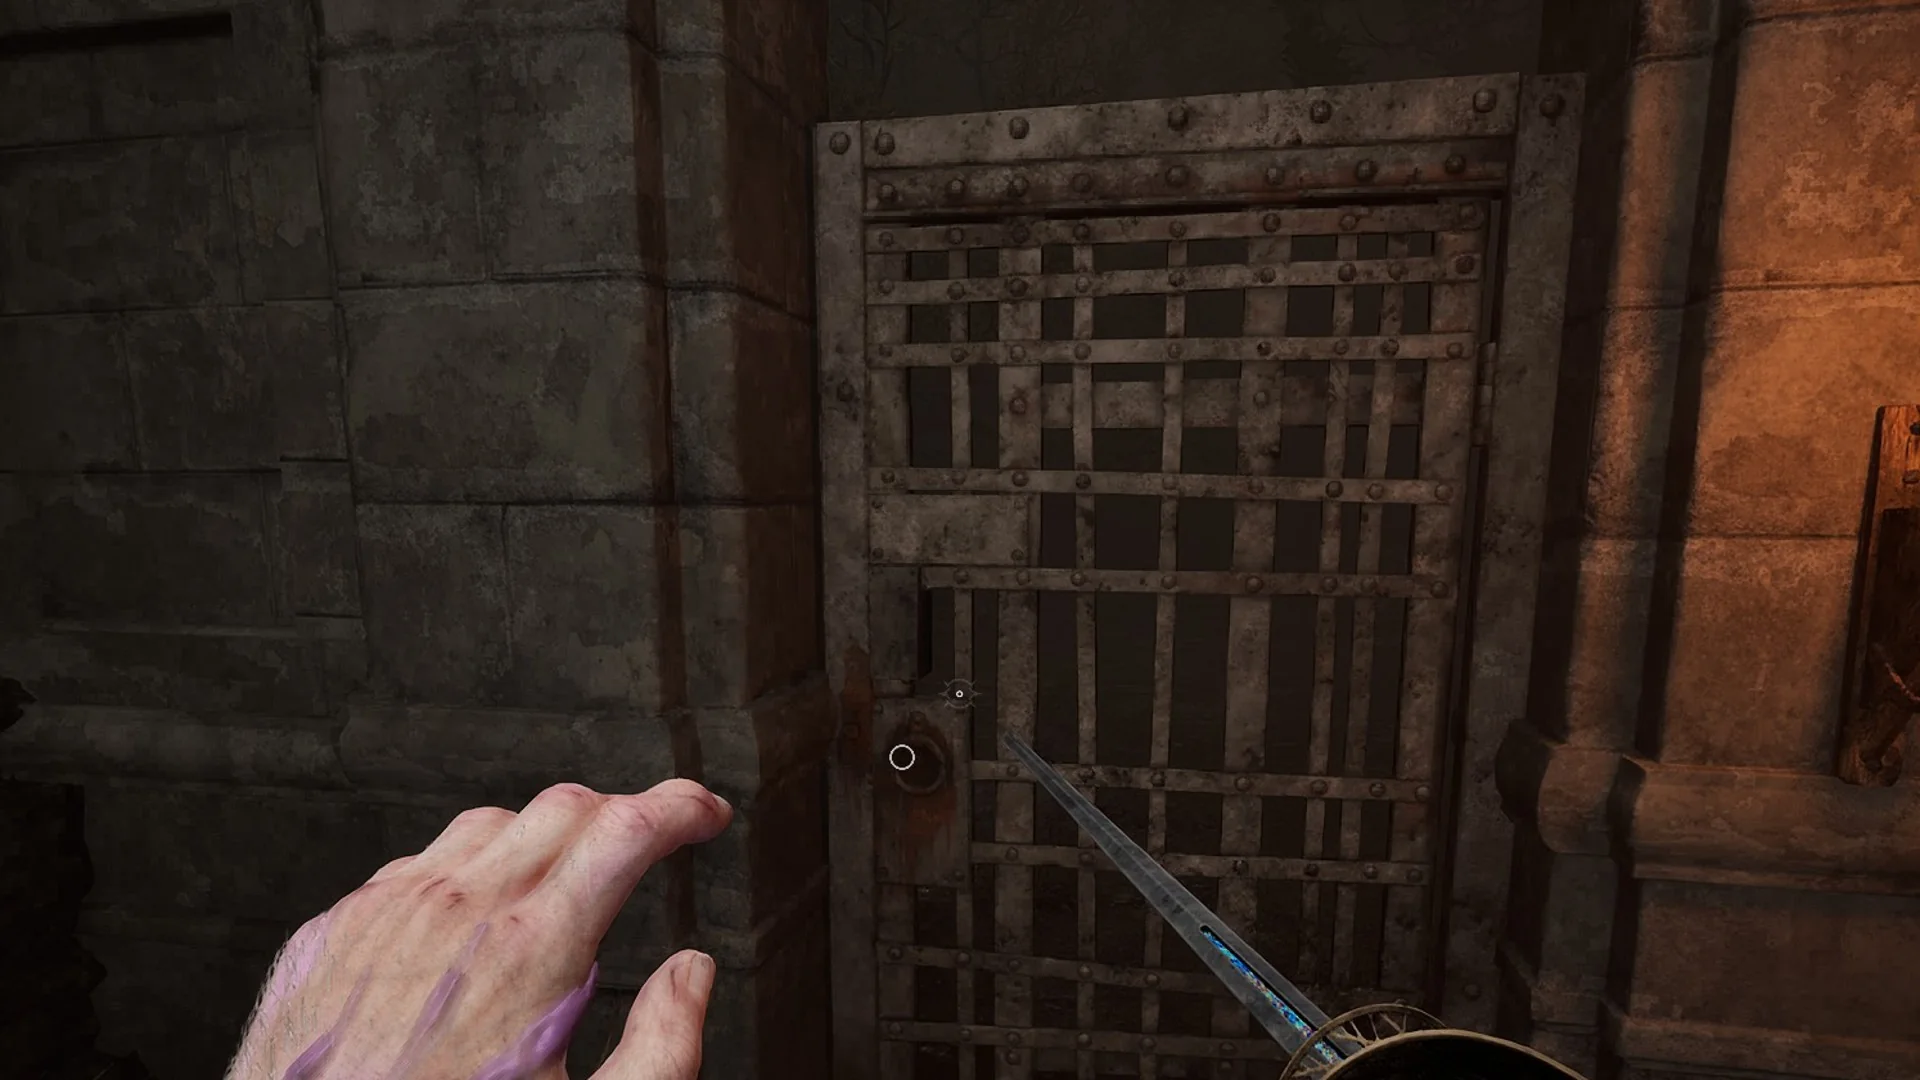
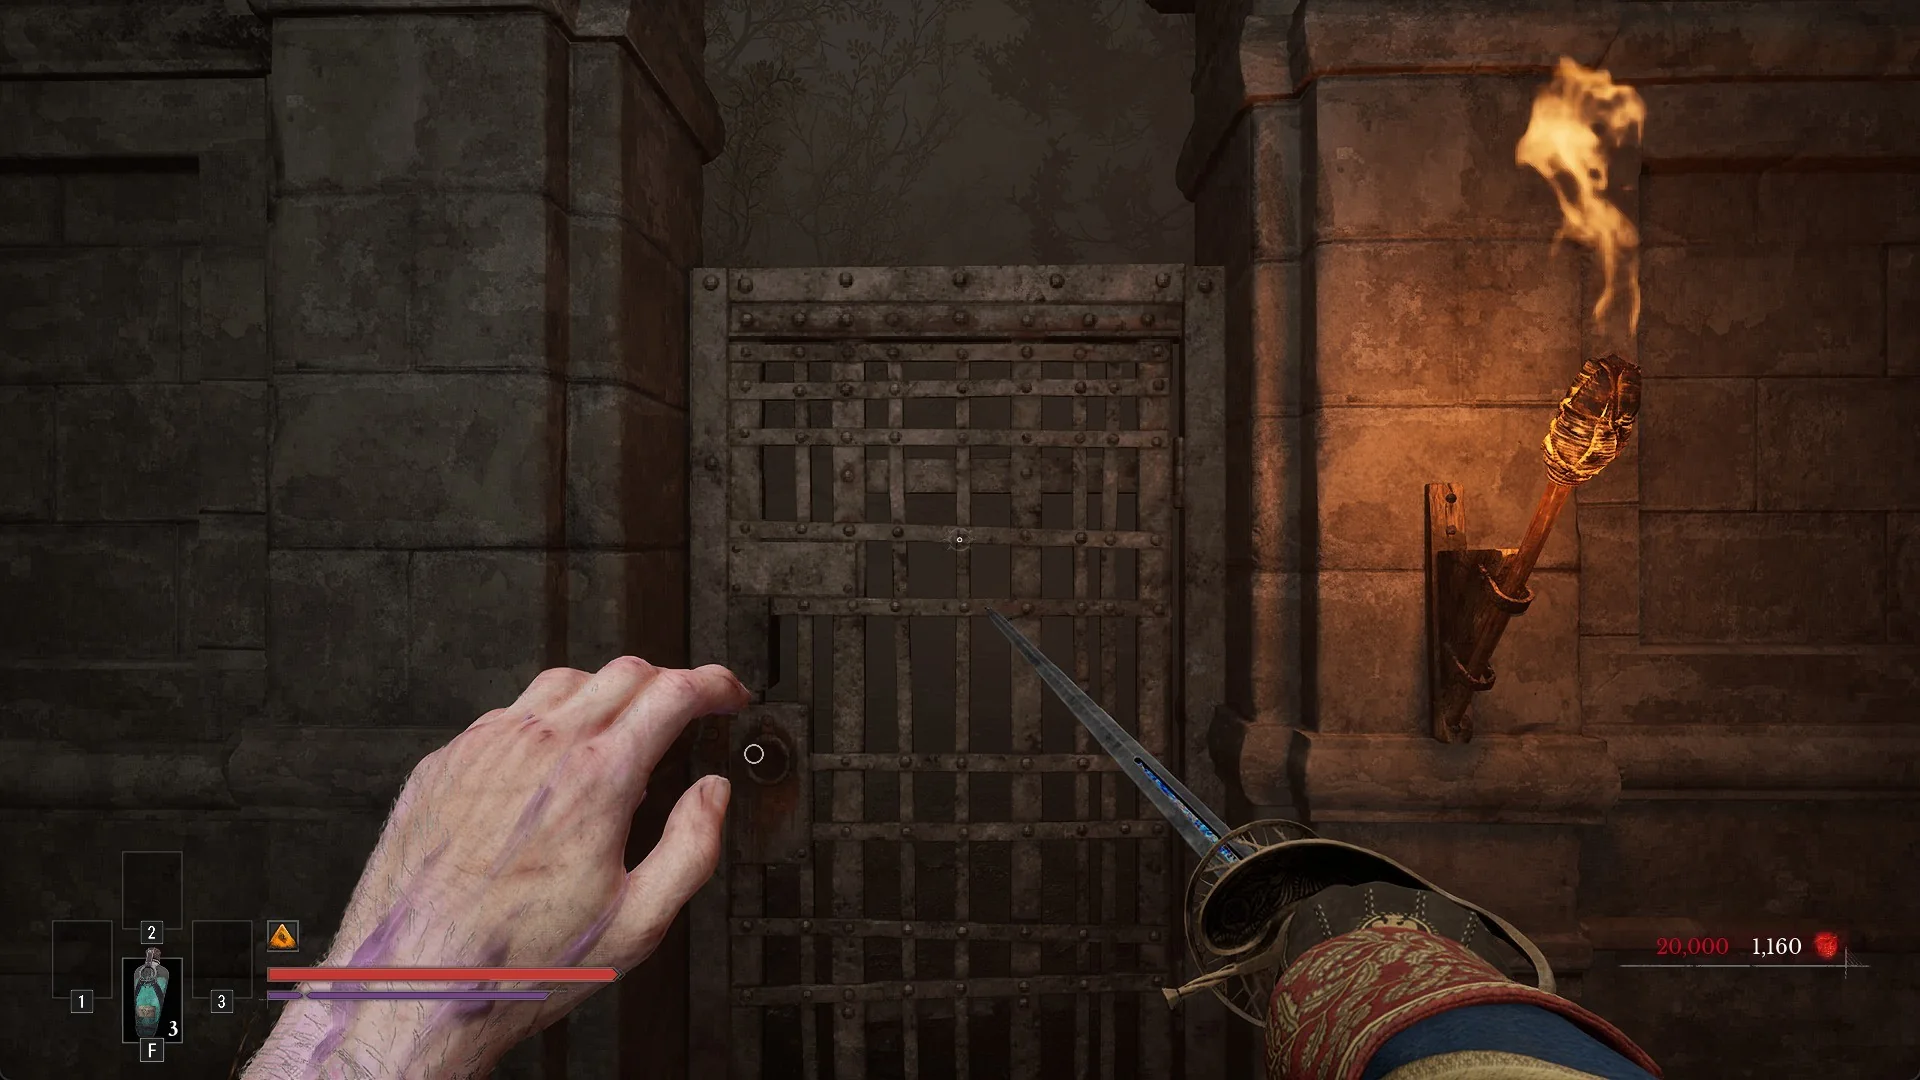
Reach Subcity 03 and save at the camp inside. Head left to a locked door where a Rusted Golem gatekeeper explains you need three keys: Red, Blue, and Yellow. It hands you the Red Key and points you toward a nearby sword to grab.
Where to find the Blue and Yellow Keys
You already hold the Red Key. Grab the Blue Key first because it is closer, then work through the caves for the Yellow Key.
| Key | How to get it |
|---|---|
| Red | Given by the Rusted Golem gatekeeper at the sealed door |
| Blue | On a lookout outside, past a few arrow-shooting golems, with a camp nearby |
| Yellow (Tailwater Key opens its door) | Through the caves; defeat a Level 10 Grizzly Malefact for the Tailwater Key, then reach the golem holding the Yellow Key |
For the Yellow Key, use Emma’s hair to leap toward its location, clearing golems along the way. The cave network is easy to get lost in, so follow the tracker. Rest at the camp before the final stretch, which throws Grizzly Malefacts in with the golems. Defeat the Level 10 Grizzly inside the cave to get the Tailwater Key, which opens the door to the golem carrying the Yellow Key. That golem dies after passing it to Emma.
Before you can return, Brad calls to say Kagura has woken up. Fast travel unlocks at this point, so use it to return to the Cleanse Walker.
The Ogouchi Colony flashback and the Nue Malefact
Talking to Kagura triggers another flashback set just after Koo left. Emma heads to the Ogouchi Colony to sell the Biwafruit she picked. The guard golem only lets her in once she shows the fruit, and the apothecary undercharges and dismisses her. On the way out, Emma sees a golem shoving Kagura, whom Violet suspects was sold to the colony.
Kagura later visits Emma, shares her name, and thanks her for the fruit before being summoned to clear blighted golems. After you dispatch them, capital walkers arrive and Emma is summoned. The Administrator reveals the Beast of Reincarnation has returned and orders Emma to travel the regions, seal each Nushi, and absorb their power to defeat it.
The Nue Malefact from the prologue then attacks the colony and wounds Kagura. This turns into an escort as Emma leads Kagura away, but she is swatted aside and Kagura is slashed before Koo arrives to help. Koo heals Emma, and together you fight the Nue Malefact for the first time chronologically. Beat it back, then a walker piloted by Brad extracts Emma while Shidou watches. Kagura and Koo end up aboard, and Brad offers to let Kagura stay in exchange for cooking and cleaning. Eating her meals boosts Emma and Koo’s strength.
Back in the present, fast travel to the camp closest to the Nushi’s lair to open the sealed door.
Rangifer rematch (Level 12) and end of chapter
Insert all three keys, then handle a short bit of traversal before the Rangifer rematch. Stock up and heal first, and use the merchant golem right before the lair. This second Rangifer is Level 12 and, once you bring it down the first time, it enters a second stage. If you lose to the second stage, you restart the whole fight from the beginning, so pace your Stimpacks accordingly.
After Rangifer finally falls, the residual power of absorbing it knocks Emma and Koo out. The Nue Malefact appears to finish them, but Shidou orders it to stop. Emma wakes back on the Cleanse Walker, where Brad notes her hair now carries traces of Rangifer’s power, and you see Brad without his mask for the first time.
Finish any upgrades and rest. A closing cutscene reveals the voice communicating with Violet is the Beast of Reincarnation itself. You will know Chapter 1 is complete when this scene ends and Seedling closes out, leaving you ready to move into Chapter 2, Creeping Tendrils.
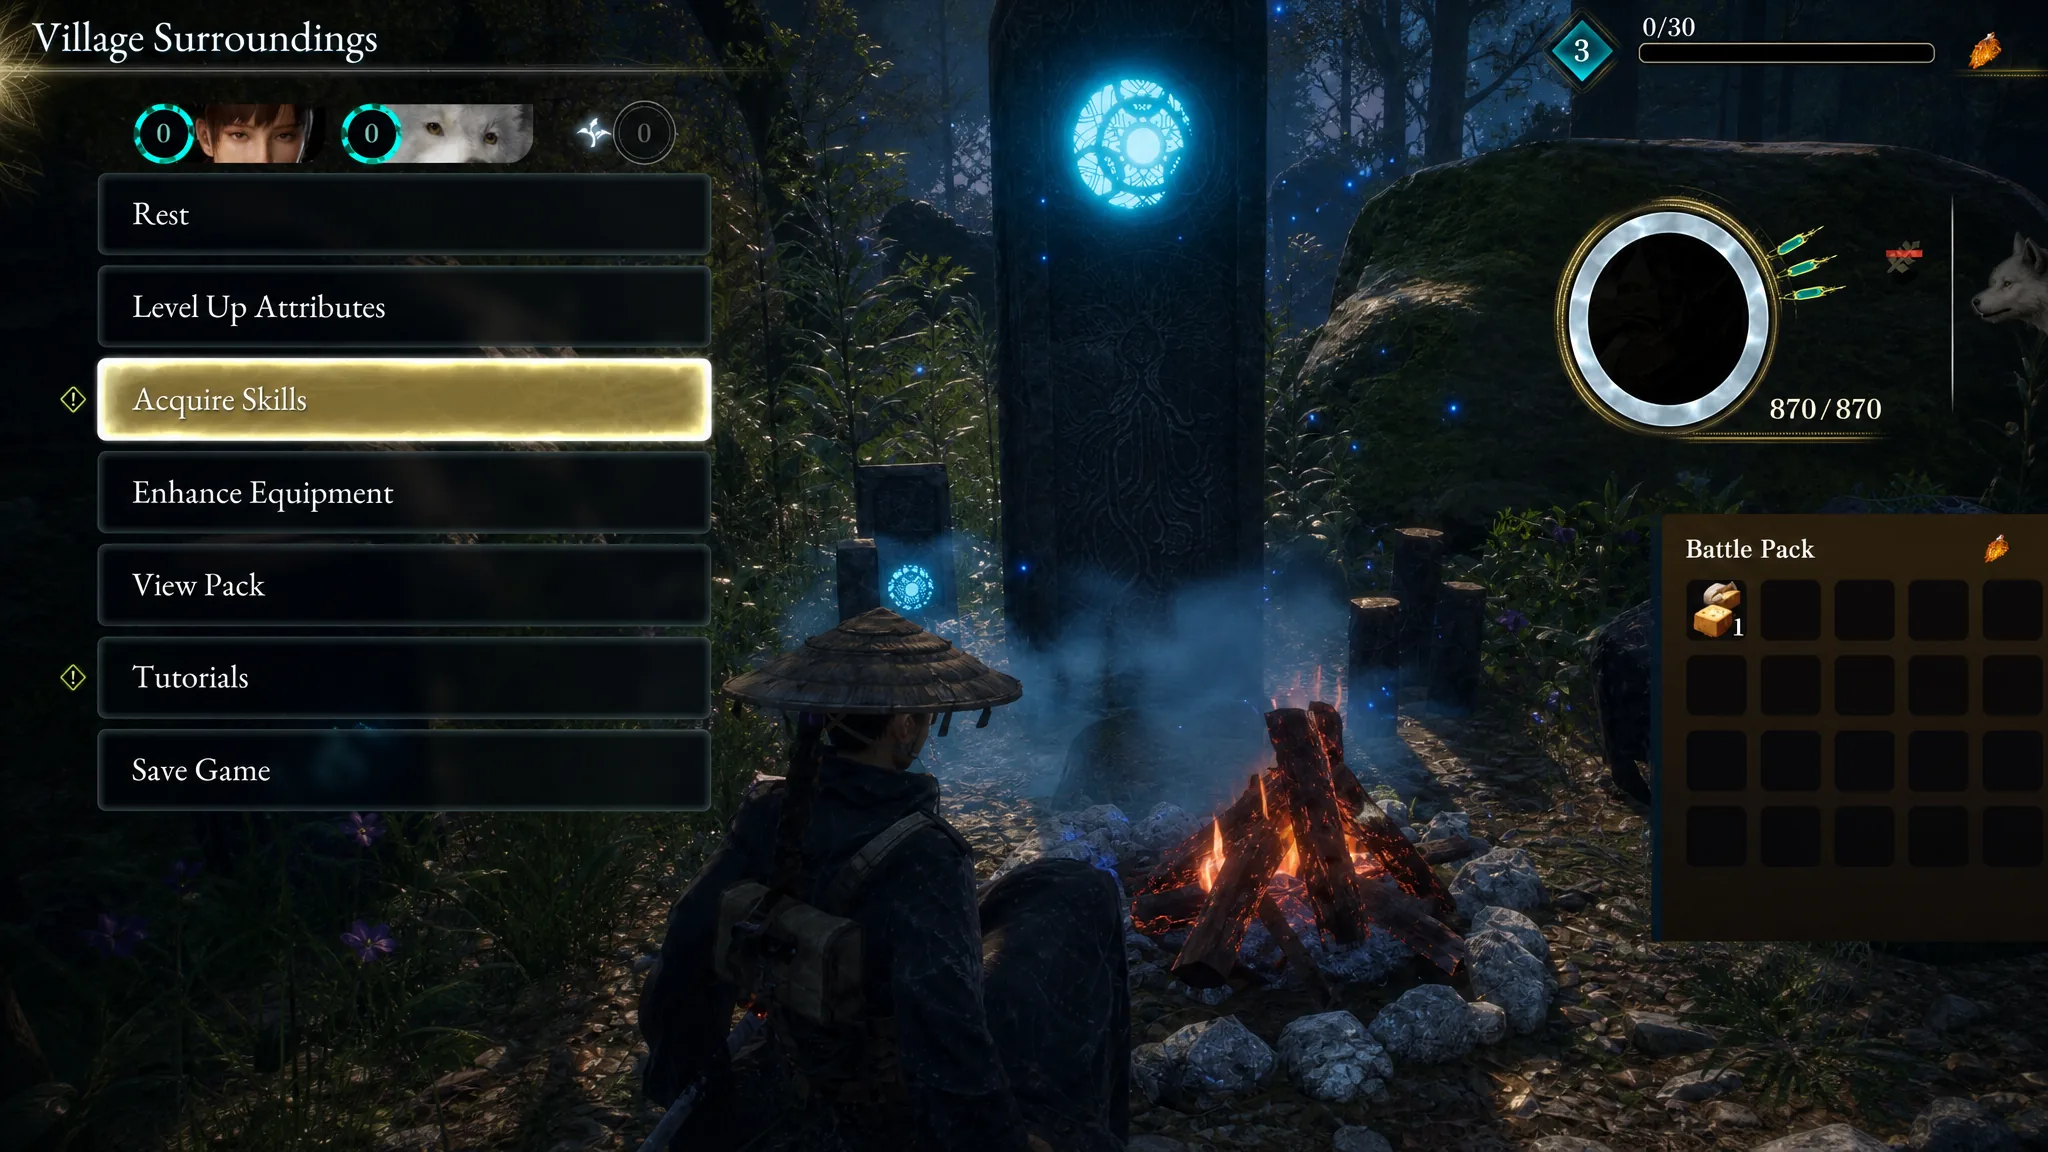
Note: If you want a stronger position for either Rangifer fight, take time to explore the Ogouchi Buffer Zone and seek out Keeper Golems, which mark objectives and useful resources on the map. A weaker weapon matching a boss’s elemental weakness often outperforms a stronger one that ignores it, so check Emma and Koo’s loadout before each encounter.