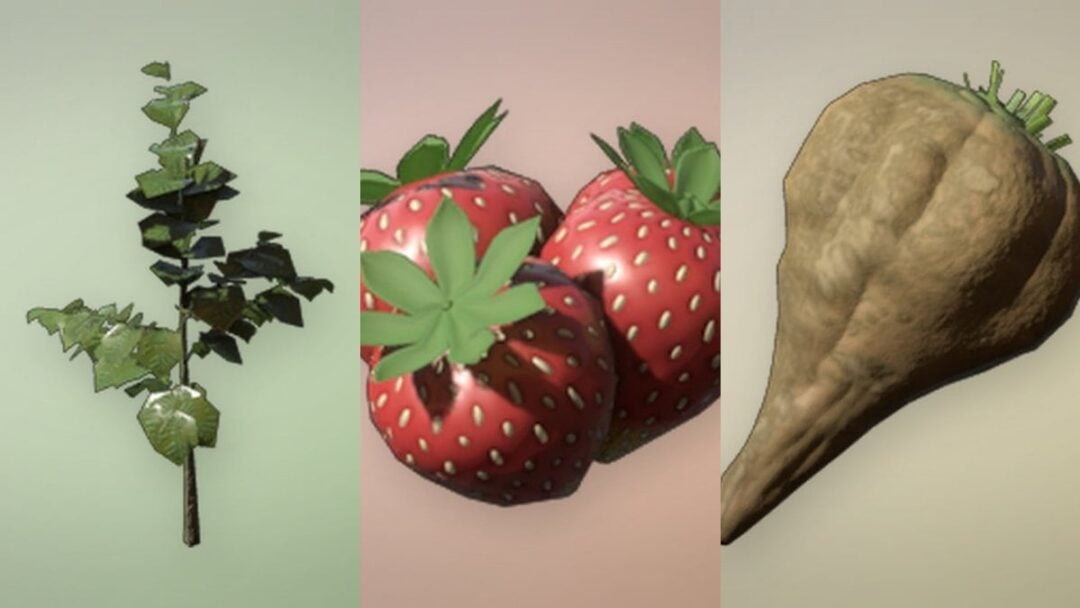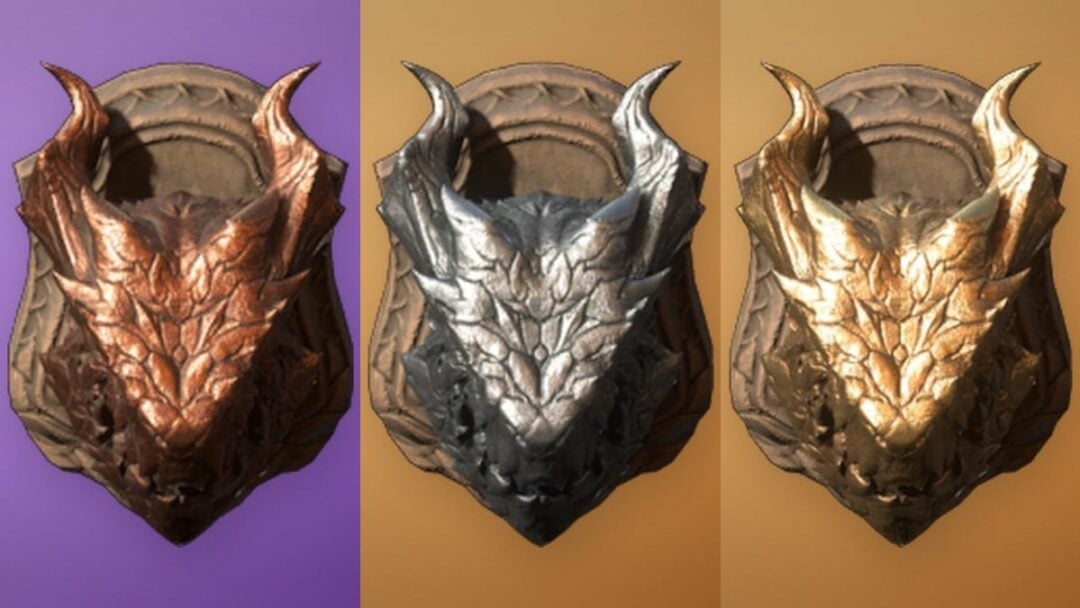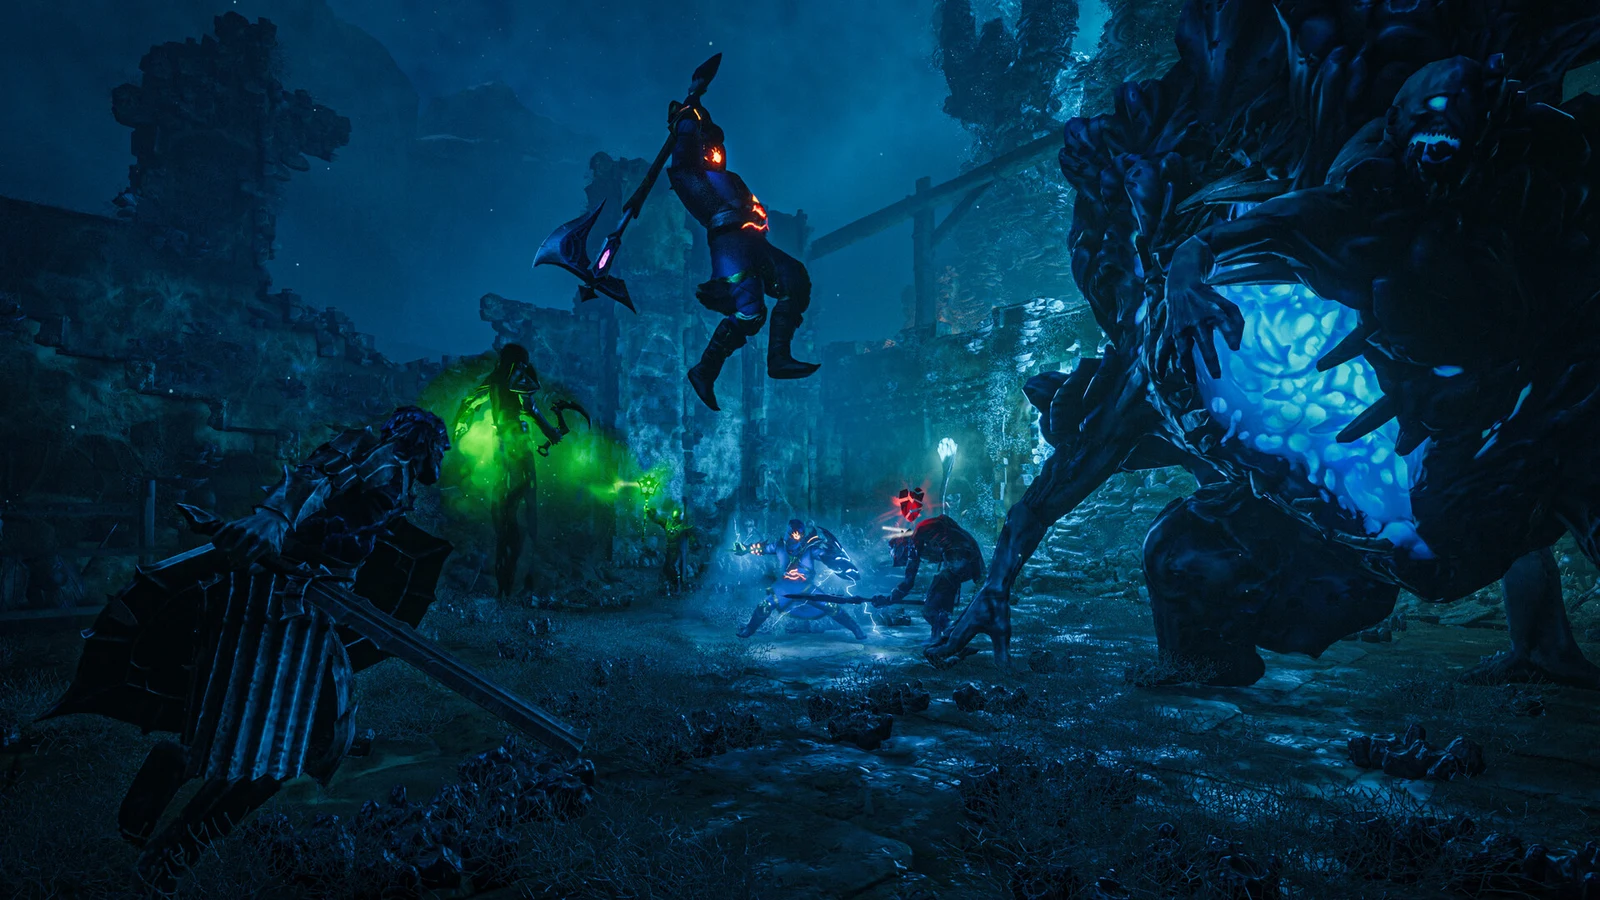
Clear The Elixir Well is the Blacksmith’s quest that sends you into a shroud-filled pit near your first base. At the bottom, a Shroud Root feeds corruption into Embervale. Inside you’ll fight a miniboss, chop down the root, and come home with the Shroud Cores your Flame Altar needs for its first upgrades.
Quick answer: Glide from the cliffs into the Elixir Well east of and below Braelyn Bridge, walk down to the cavern floor, kill the Fell Thunderbrute, then hit the Shroud Root until it breaks.
Elixir Well location and how the quest starts
Oswald Anders, the Blacksmith, offers this quest once you have completed Forge Weaponry or Armor. At your Flame Altar, speak with him and select the Cleansing Fire topic to begin. If you leave it alone, he will continue to remind you that the well needs clearing.
Within the shroud, the well is east and downhill from Braelyn Bridge. From Saline Springs, travel about 280 m northwest; from the Small Flint Mine, it is 300 m southeast; and from Longkeep, it is 350 m northeast. Complete the quest’s three objectives in sequence:
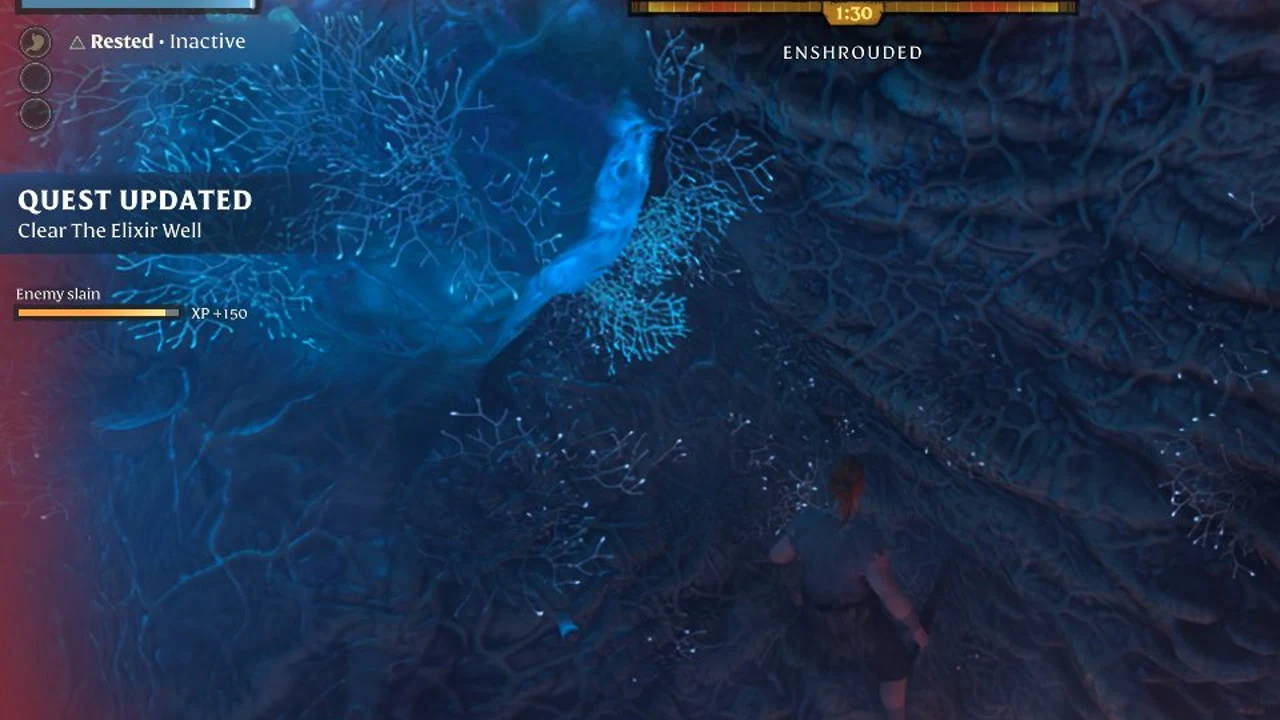
- Reach The Elixir Well
- Enter The Elixir Well
- Destroy The Shroud Root
Once you drop into the well, the enshrouded timer starts. Its base maximum is 10:00. The descent, the boss, and the root all have to fit inside that window, or inside whatever extra time you pick up from Return Beacons along the way.
Gear and skills to bring into the Elixir Well
You don’t need a strong character for this quest. You do need a few specific items, and two of them are required to finish it at all.
- Glider, which you need for the shortcut down into the chasm.
- A felling axe such as the Scrappy Axe, for the Shroud Root.
- A ranged weapon: a staff, a wand, or a bow.
- Fur armor or something sturdier, plus a few healing potions.
- Food buffs and a rest at base before you leave.
- Free inventory slots for the chest and the boss drops.
A ranged weapon lets you deal damage from outside the Thunderbrute’s reach. Magic users can cast Fire Bolt or Ice Bolt from a staff, or equip something like the Scorching Wand. A Pine Shortbow or Forest Longbow also works.
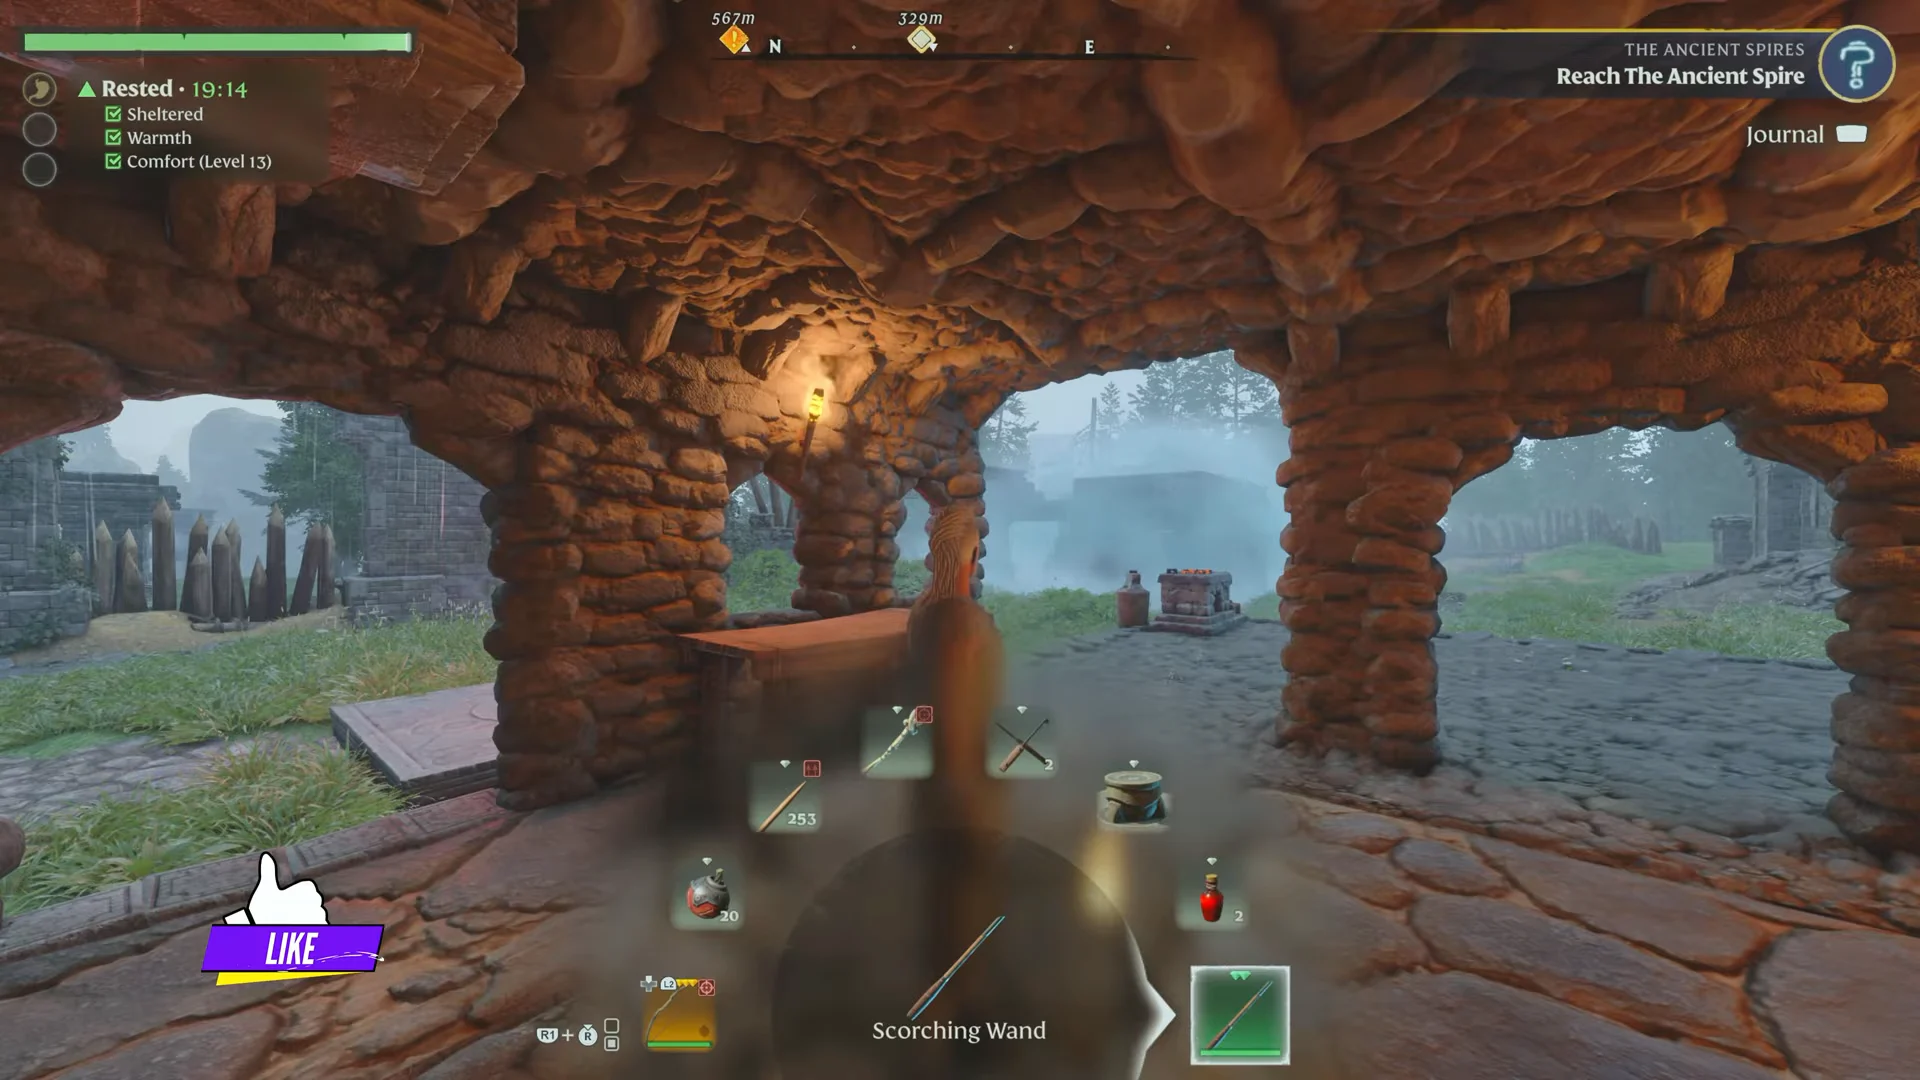
The glider unlocks early. You learn its recipe by picking up any of these: Animal Fur, Shroud Spores, Shroud Wood, String, or a Workbench. You then craft it at the Workbench. It is an Uncommon tool with a Speed of 10, and it drains 4 stamina per second while it’s open. To deploy it, press the glide key while you are in the air.
The Scrappy Axe unlocks when you pick up Metal Scraps. You craft it at the Blacksmith, and it has to be made under a roof. It is a Common tool that deals 17 Cutting damage and carries the Lumberjack 1 perk, which helps when you’re chopping the root.
Blink and Double Jump skills
Two mobility skills make both the descent and the boss fight easier. Blink, from the Mage tree, swaps your dodge roll for a short teleport. Double Jump lets you jump a second time in mid-air, which gives you more room for error on the ledges.

| Skill | Class | Skill point cost | Stamina per use |
|---|---|---|---|
 Blink | Mage | 4 | 20 |
 Double Jump | — | 2 | 10 |
| Blink Attack | Mage | 2 | Passive |
| Emergency Blink | Mage | 2 | Passive |
Blink also takes the place of Strategic Maneuver’s sideways roll. When Blink Attack carries you into an enemy, it triggers a small Fire explosion whose damage increases with Intelligence. Emergency Blink works while you’re stunned and ends the stun.

How to reach the Elixir Well with the glider
You could walk around the canyon to get there. Gliding straight in from the cliff above is faster and skips most of the trip on foot.
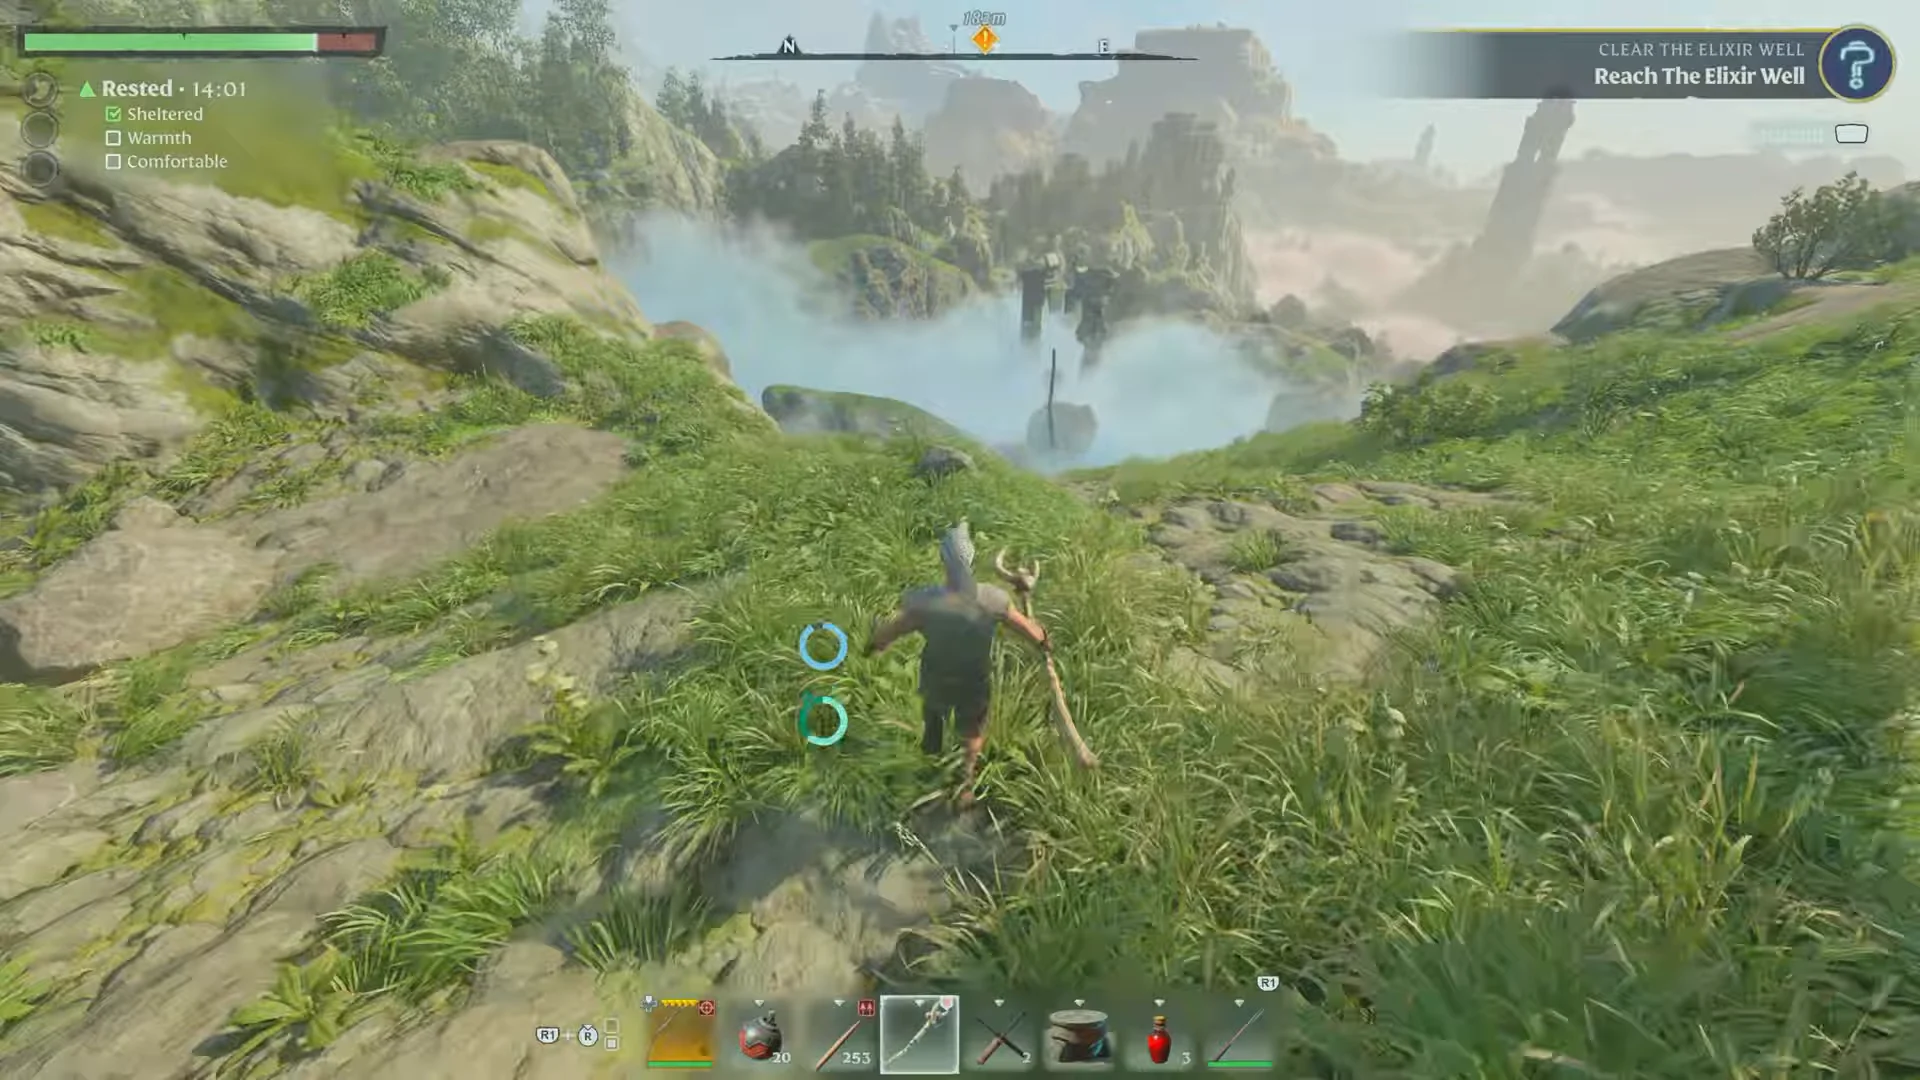
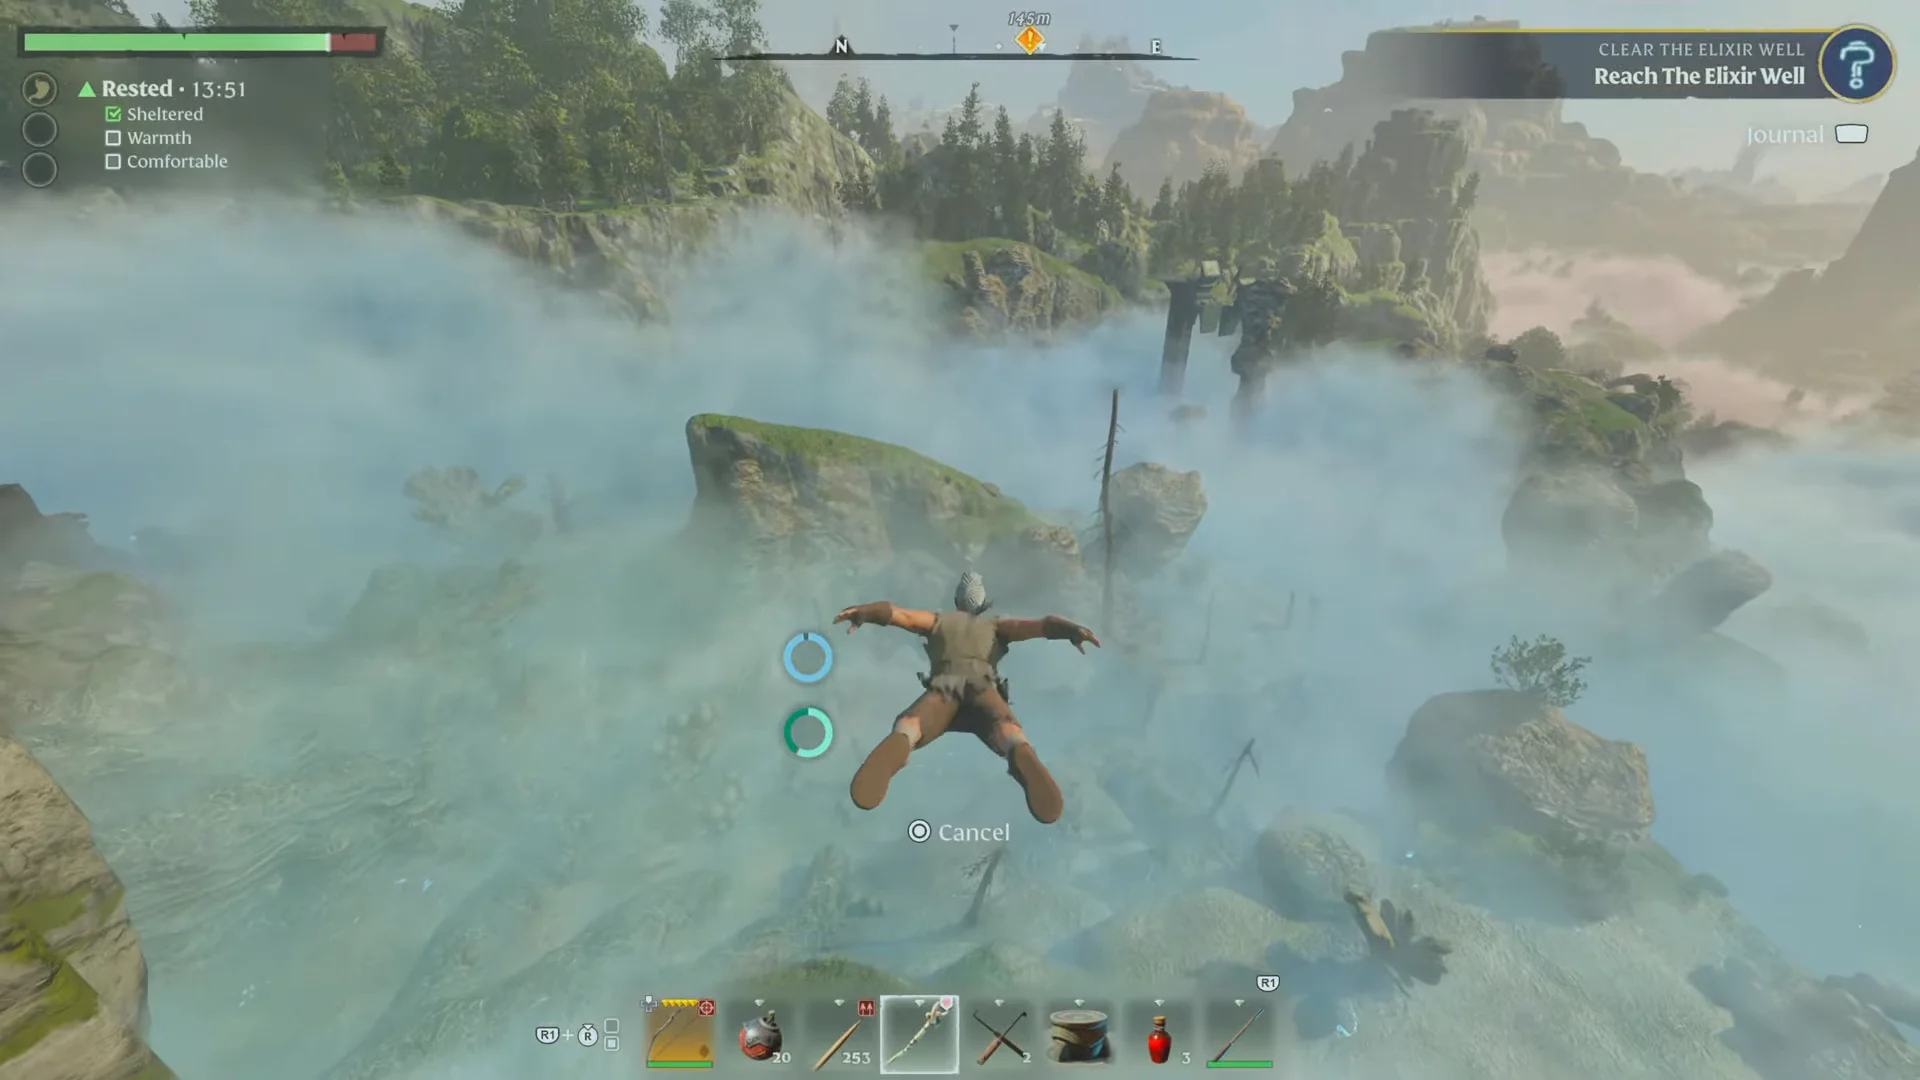
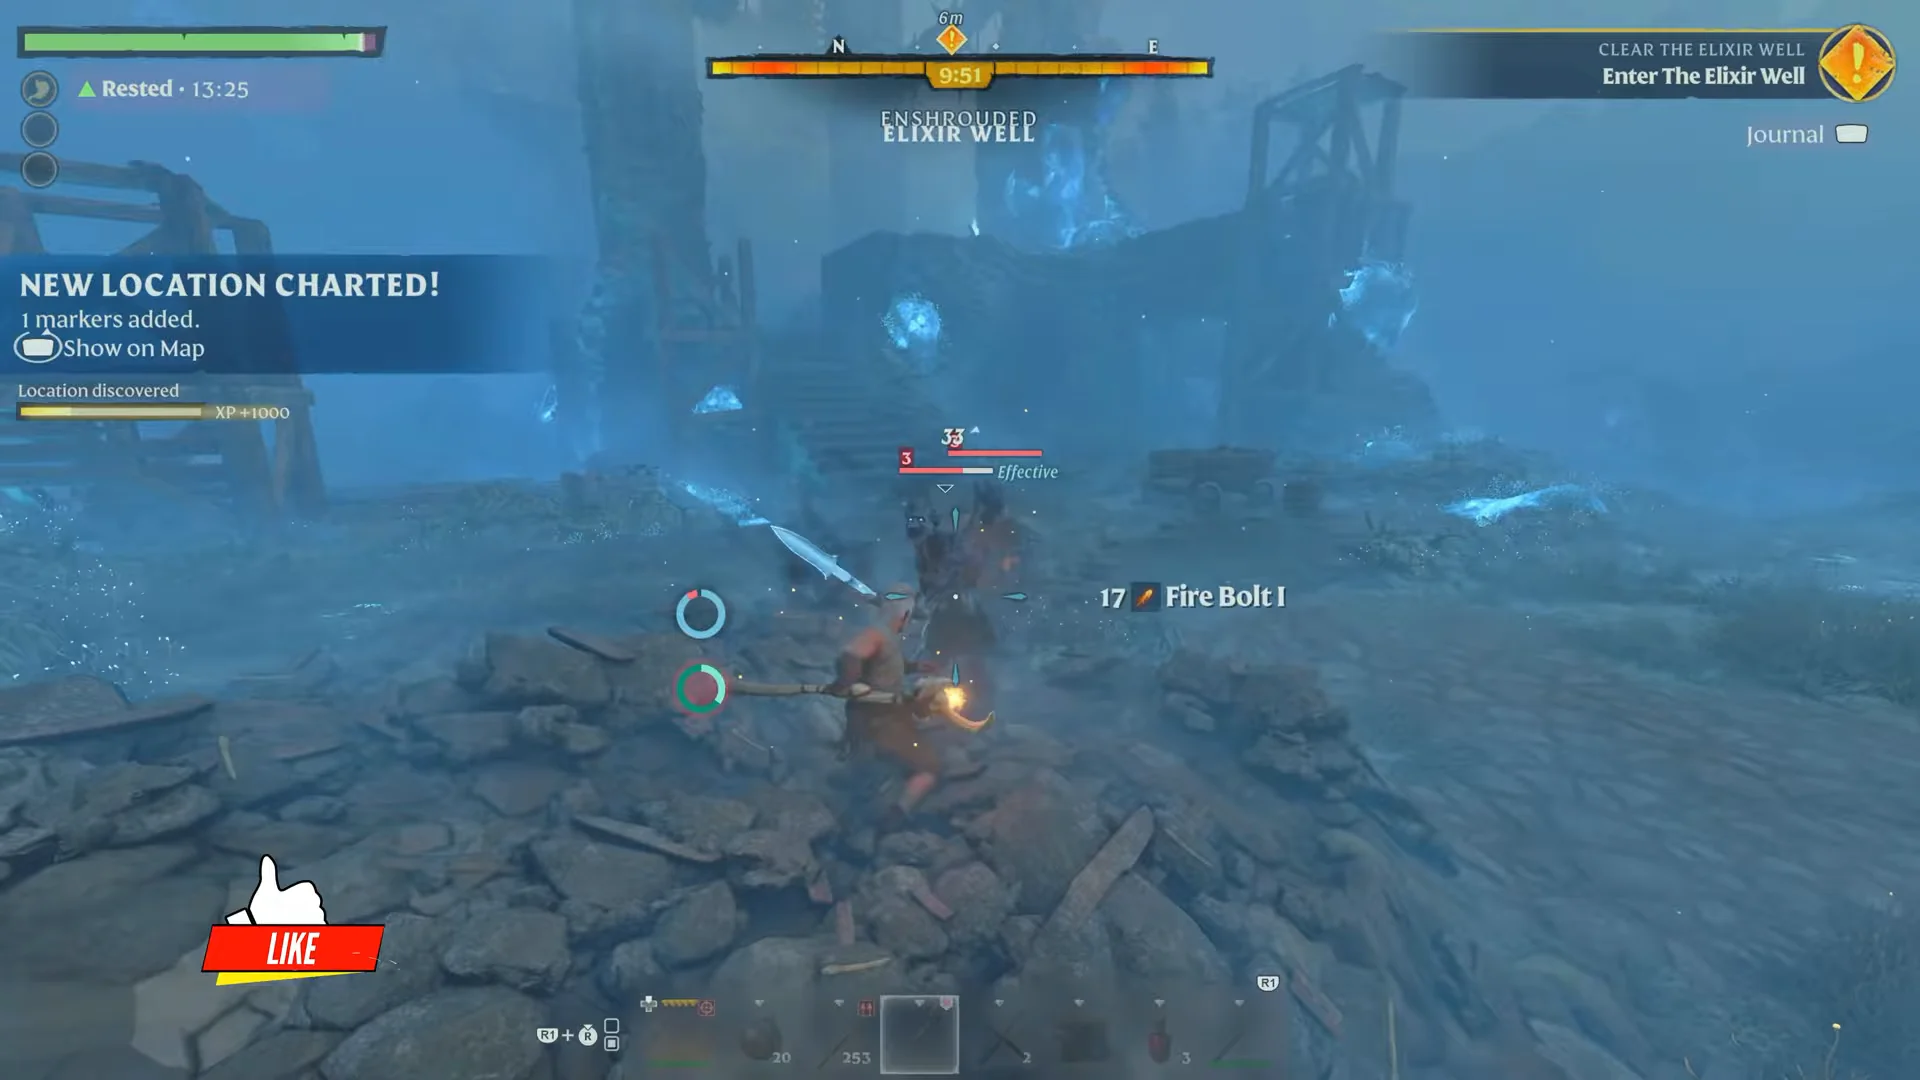
Once you arrive, you’ll see a LOCATION REACHED prompt and the objective changes to Enter The Elixir Well.
Descending the Elixir Well to the Shroud Root
Before you go down, find the glowing Return Beacon by the well entrance near the upper staircase. Standing next to it refills your shroud time, and it also works as a respawn point if the fight goes badly.
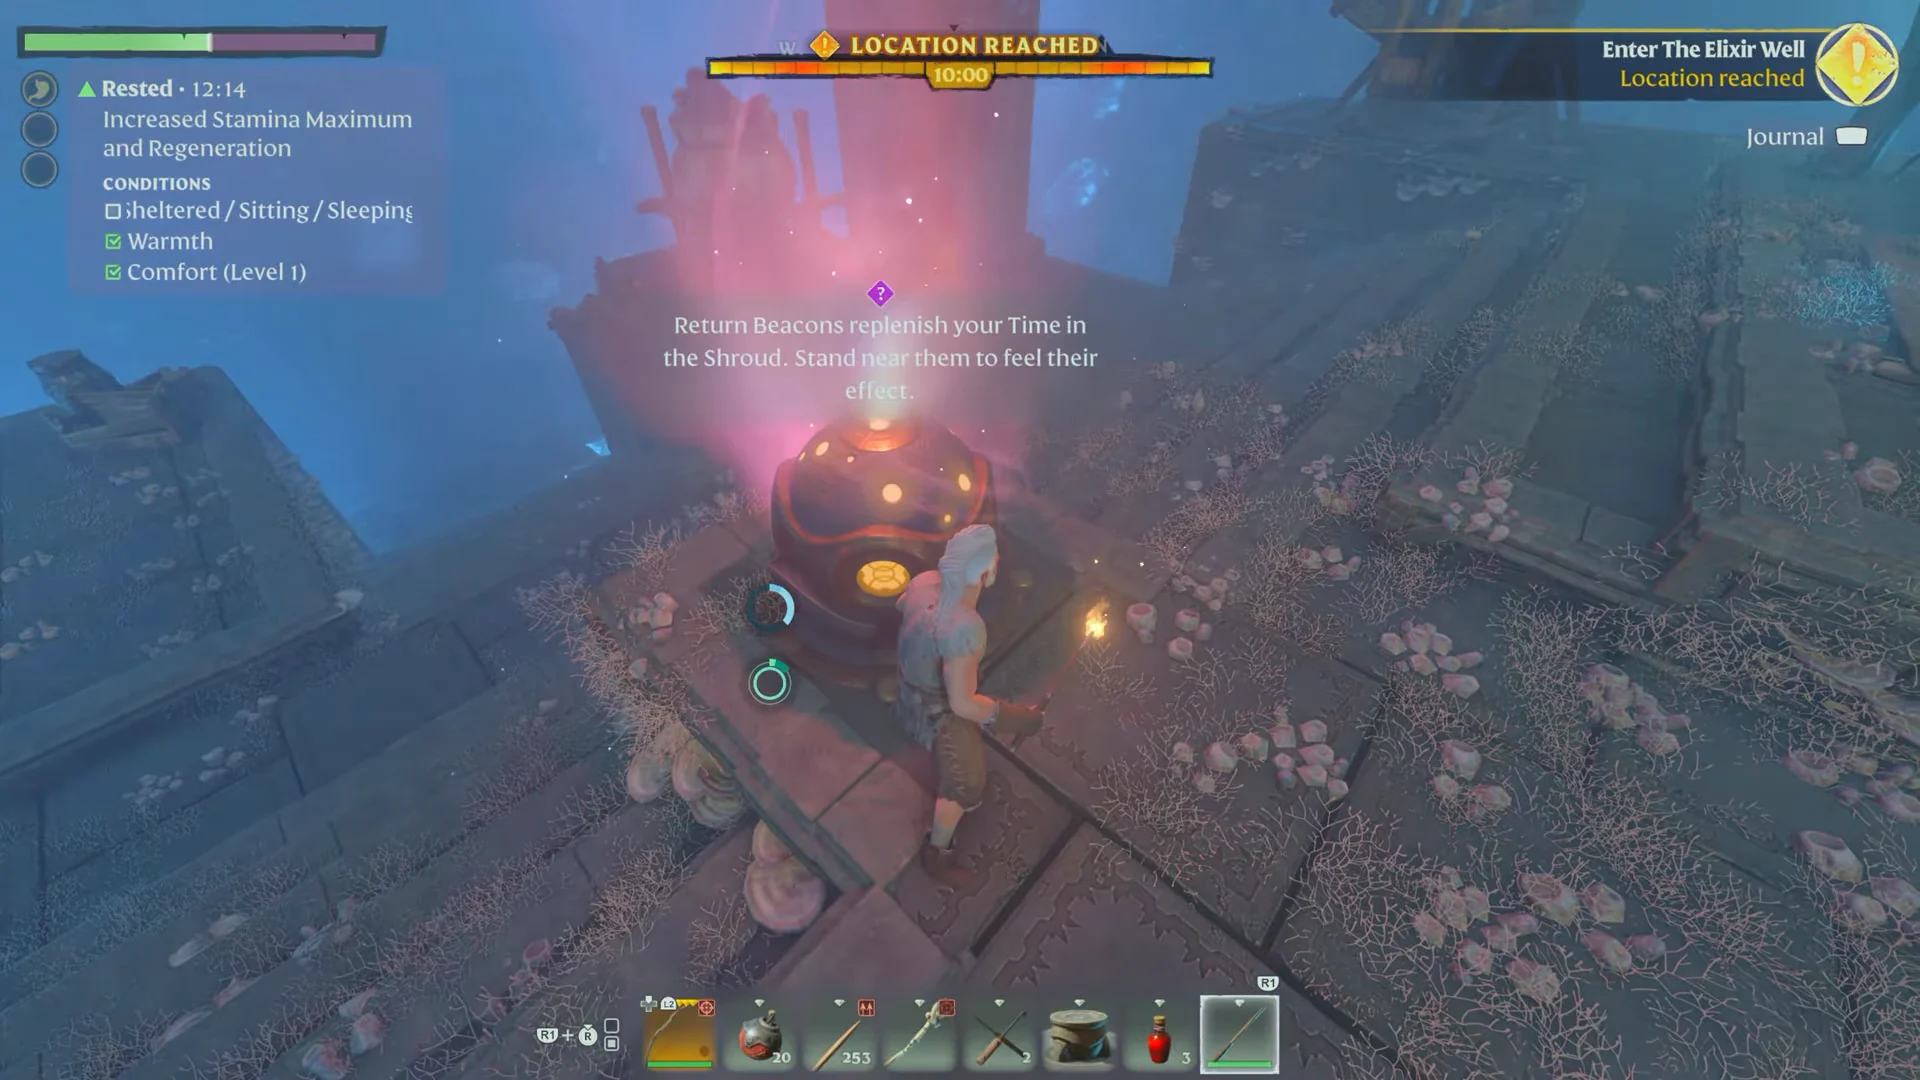
Check the ornate chest on the well’s upper wooden platform for a level 3 Metalstar Mace and a level 3 Wildwood Shortbow. Either one is a strong upgrade over your starter gear.
From the platform, climb down the grated wall and the wooden ladder, then follow the spiral staircase, the scaffolding, and the rock ramps. Walk down instead of gliding. A glide that misses a ledge can drop you too far or kill you outright. At the bottom, a tunnel leads to a wide cavern lit by the red glow of the Shroud Root.
Fell Thunderbrute fight
The Fell Thunderbrute guards the root. He swings a greatsword, and he only has a few attacks to learn:
- A greatsword slam that sends a shockwave forward in a straight line. Step to the side.
- A forward kick when you’re close. Keep circling around him.
- A three-hit combo that ends in a ground slam with a second shockwave. Back away on the last swing.
Lock on and keep moving around him. Attack in the moment right after a shockwave passes. Casters and archers can stay at range the whole fight and use Blink to escape the heavy hits. Bombs and explosive powder balls also deal good damage. Eat food and drink potions to keep your health up, because the timer keeps running during the fight.
An “Enemy slain” notice and the Thundering success trophy confirm the kill. Search his body before you move on.
Destroying the Shroud Root and confirming the quest is complete
Equip your felling axe and hit the base of the Shroud Root. The game asks for an axe, but any melee weapon will break the root eventually. An axe just does more damage, so it goes down faster. Keep hitting until the root shatters in a burst of light.
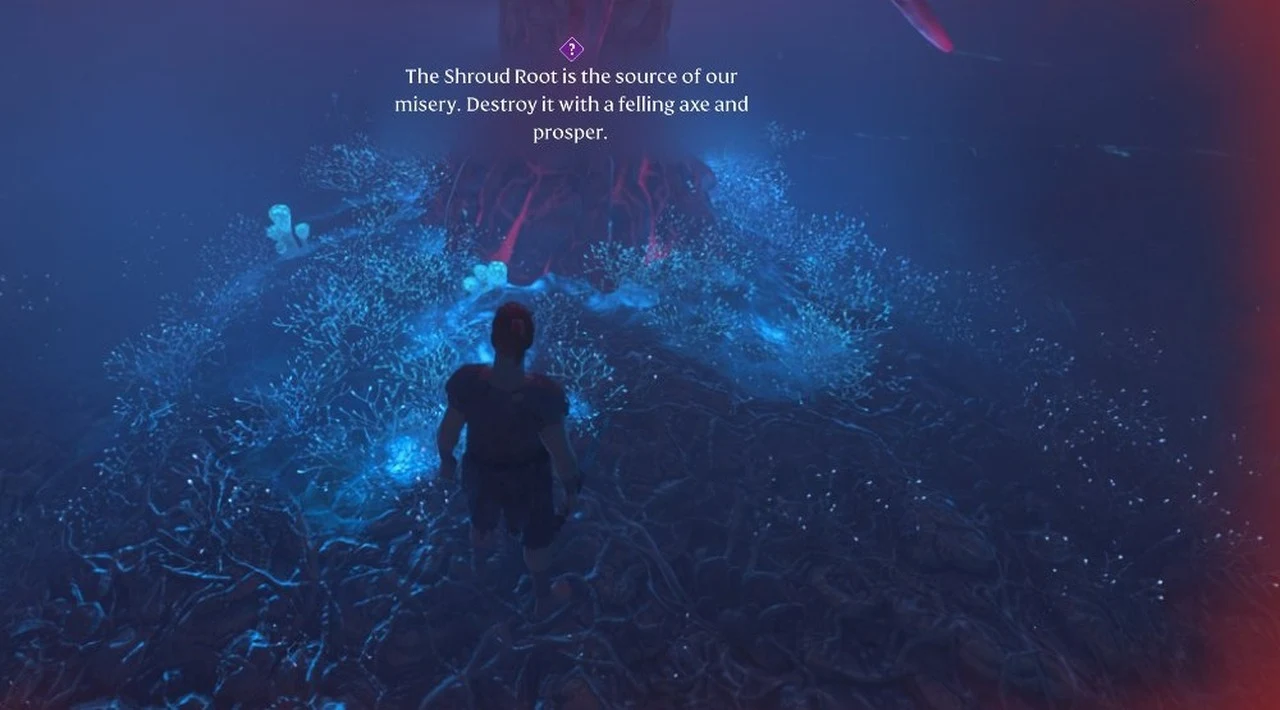
You’ll know it worked when the QUEST COMPLETED! banner appears, a Skill Point is added, and the Well done! trophy pops. The shroud clears from the lower cavern so you can explore it freely, although the ruins above stay shrouded. On your map, the location now shows as cleared.
Elixir Well loot and item stats
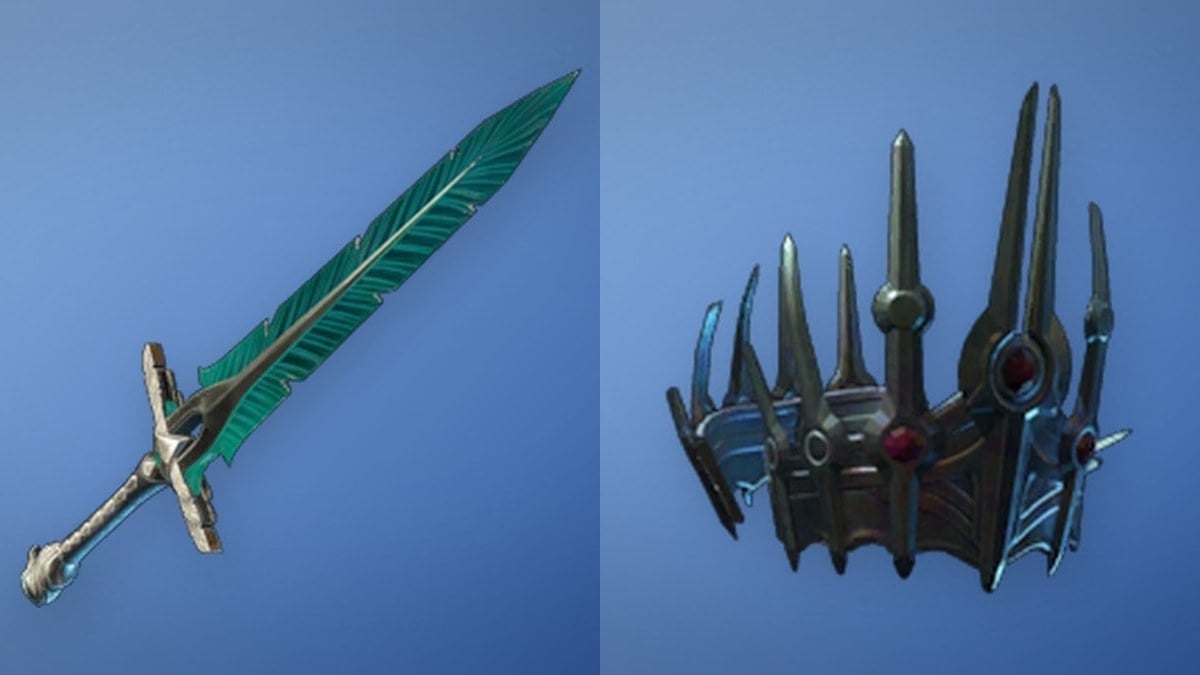
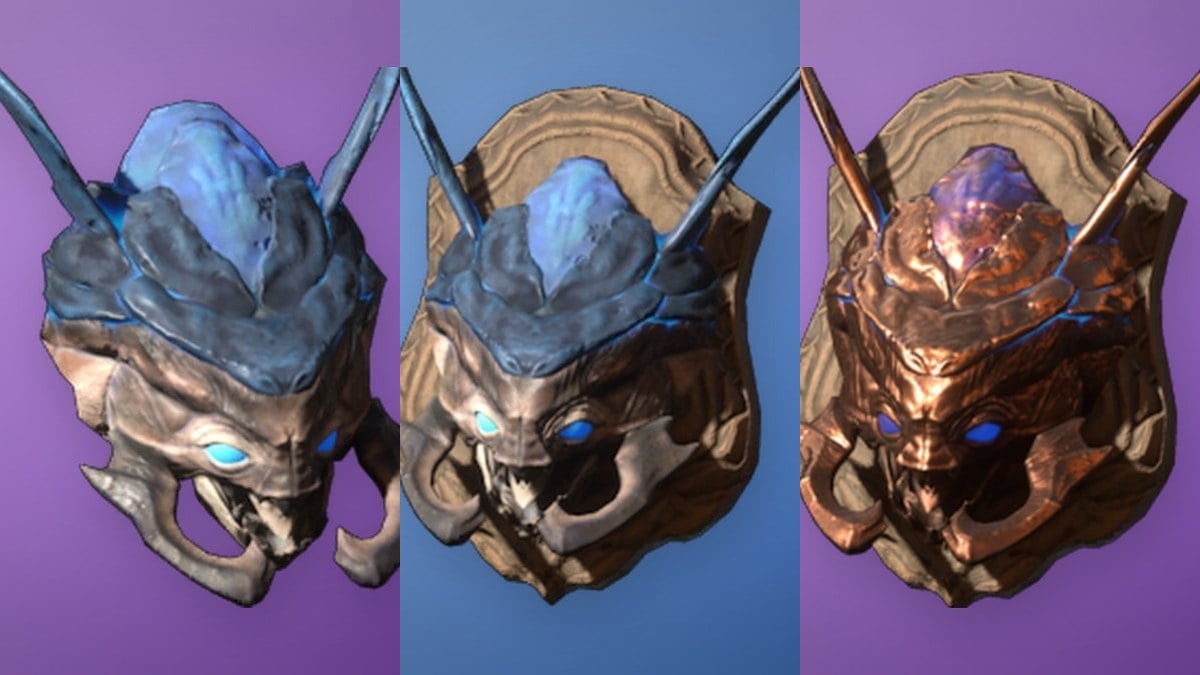
The boss drops two Shroud Cores, two Fell Thunderbrute Heads, and a Greatsword Of The Old Order. Completing the quest gives you another Fell Thunderbrute Head. Legendary Runes can also turn up in the loot, and picking them up unlocks their recipe at the Blacksmith.
| Item | Type | Rarity | Where it comes from |
|---|---|---|---|
 Shroud Core | Material, level 5 | Rare | Fell Thunderbrute |
 Fell Thunderbrute Head | Material | Rare | Boss and quest reward |
 Greatsword Of The Old Order | Two-Handed Greatsword | Legendary | Fell Thunderbrute |
 Legendary Runes | Material, level 13 | Legendary | Loot, then Blacksmith |
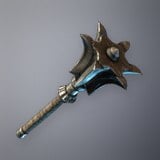 Metalstar Mace | One-Handed Club | Common | Entrance chest |
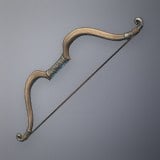 Wildwood Shortbow | Bow | Common | Entrance chest |
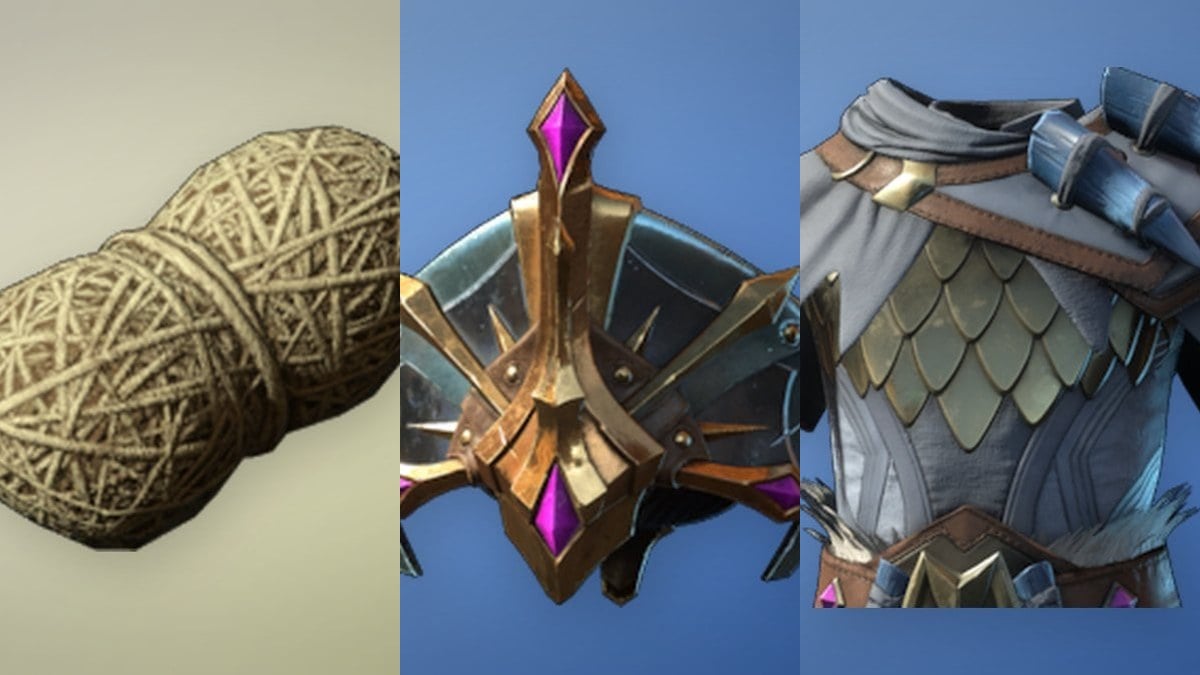
Shroud Cores burn at the Flame Altar to push back the Shroud. Beyond boss drops, the Alchemist can also craft them under a roof.
The Fell Thunderbrute Head is a heavy Rare material that stacks to 50.
Legendary Runes are what you use to upgrade legendary weapons, shields, armor, and rings. They stack to 5000.
Weapon stats for the Elixir Well drops
| Weapon | Class | Speed | Perks |
|---|---|---|---|
| Greatsword Of The Old Order | Warrior | 0.774 s attack | Critical Strike Damage 12% |
| Metalstar Mace | Warrior | 0.6 s attack | Retaliation 20%, Merciless Attack Damage 12% |
| Wildwood Shortbow | Ranger | 0.6 s draw | Renewal 1, Headseeker 10, Stamina Leech 2 |
Greatsword Of The Old Order deals pure Cutting damage and has Parry Power 1. It’s worth keeping if you’re a Warrior, because it scales all the way to item level 55.
Metalstar Mace is a one-handed club that deals Blunt damage, so it hits a different damage type than the greatsword.
Wildwood Shortbow fires quickly and saves stamina, but it deals less damage in return. It also gives +7% Arrow Speed.
| Item level | Greatsword damage | Metalstar Mace damage |
|---|---|---|
| 1 | 16 | 11 |
| 5 | 25 | 17 |
| 10 | 37 | 25 |
| 15 | 48 | 32 |
| 20 | 60 | 40 |
| 25 | 70 | 47 |
| 30 | 82 | 55 |
| 35 | 93 | 62 |
| 40 | 105 | 70 |
| 45 | 115 | 77 |
| 50 | 127 | 85 |
| 55 | 138 | 92 |
Armored Fell Thunderbrute drops
If you need more Heads or Shroud Cores later, the Armored Fell Thunderbrute drops both. It can also drop the Fell Thunderbrute Greatsword and Legendary Runes. Its loot rolls Epic 40% of the time and Legendary 60% of the time. One is found at Ancient Bridge in Revelwood.
| Region | Armored Fell Thunderbrute spawns |
|---|---|
| Revelwood | 3 |
| Albaneve Summits | 2 |
| Kindlewastes | 1 |
| Cinder’s Cradle | 1 |
| Nomad Highlands | 1 |
| Veilwater Basin | 1 |
Using Elixir Well Shroud Cores on the Flame Altar
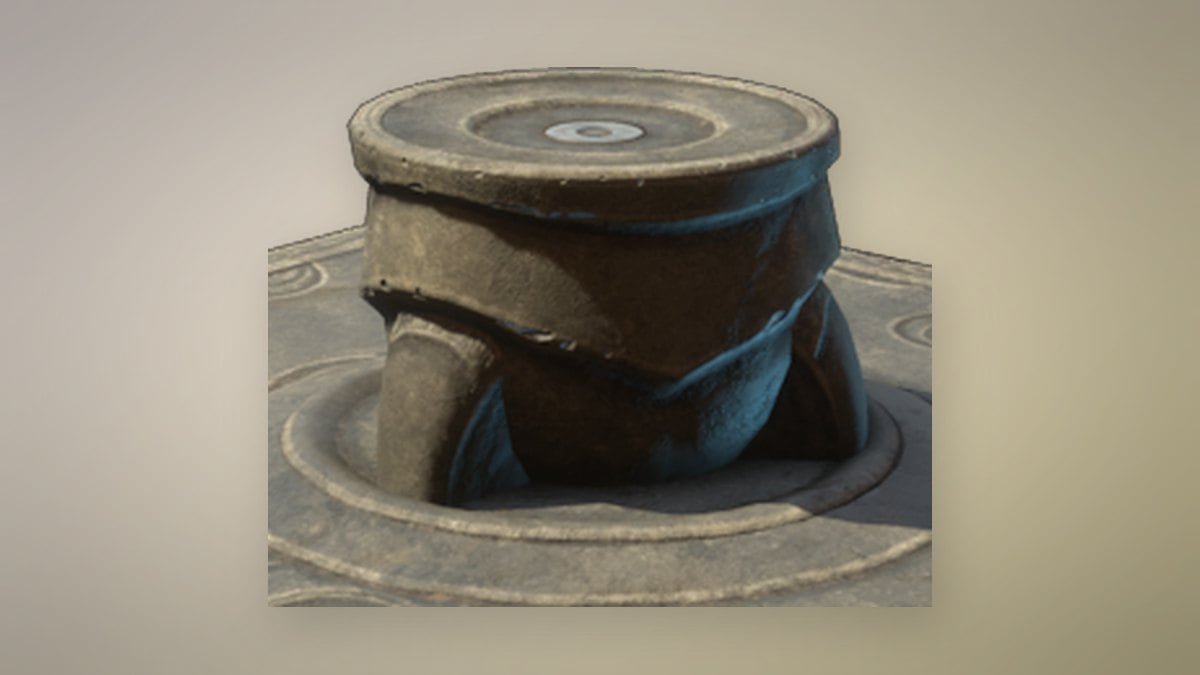
Back at base, talk to Oswald, then use your Flame Altar and choose Upgrade Altar. Each upgrade expands your building area, and each one costs Shroud Cores.
| Altar upgrade | Building area | Requirements |
|---|---|---|
| Level 1 to 2 | 40m to 80m cube | 1 Shroud Core |
| Level 2 to 3 | 80m to 120m cube | 5 Shroud Cores, Flame Level 2 |
The two Shroud Cores from the Thunderbrute cover the Level 2 upgrade with one left over. To reach Level 3 you also need to strengthen the Flame to Level 2, plus collect more cores from the Alchemist or from other Fell bosses.