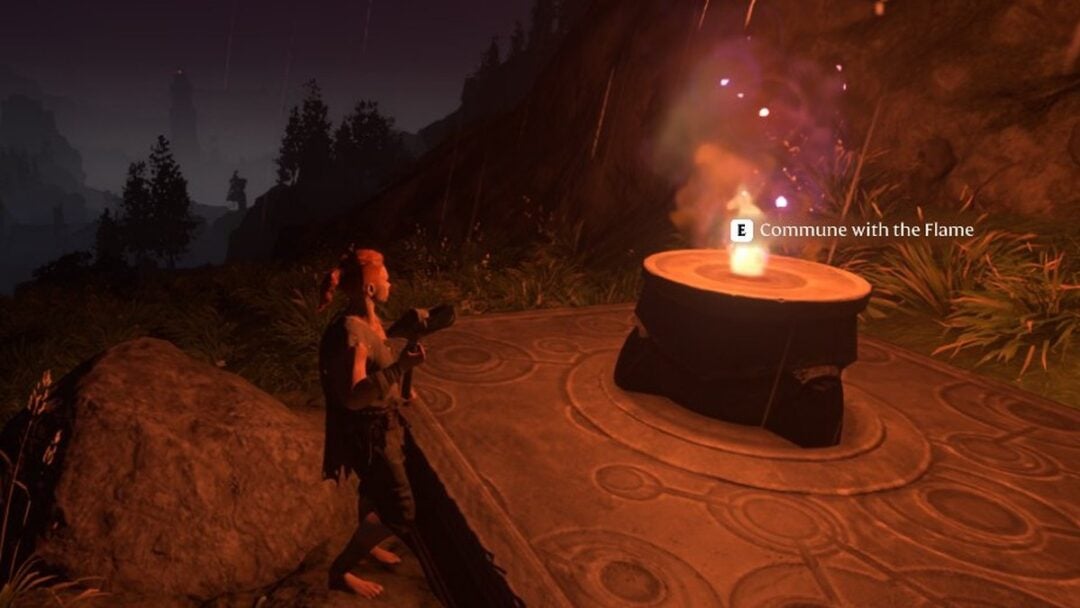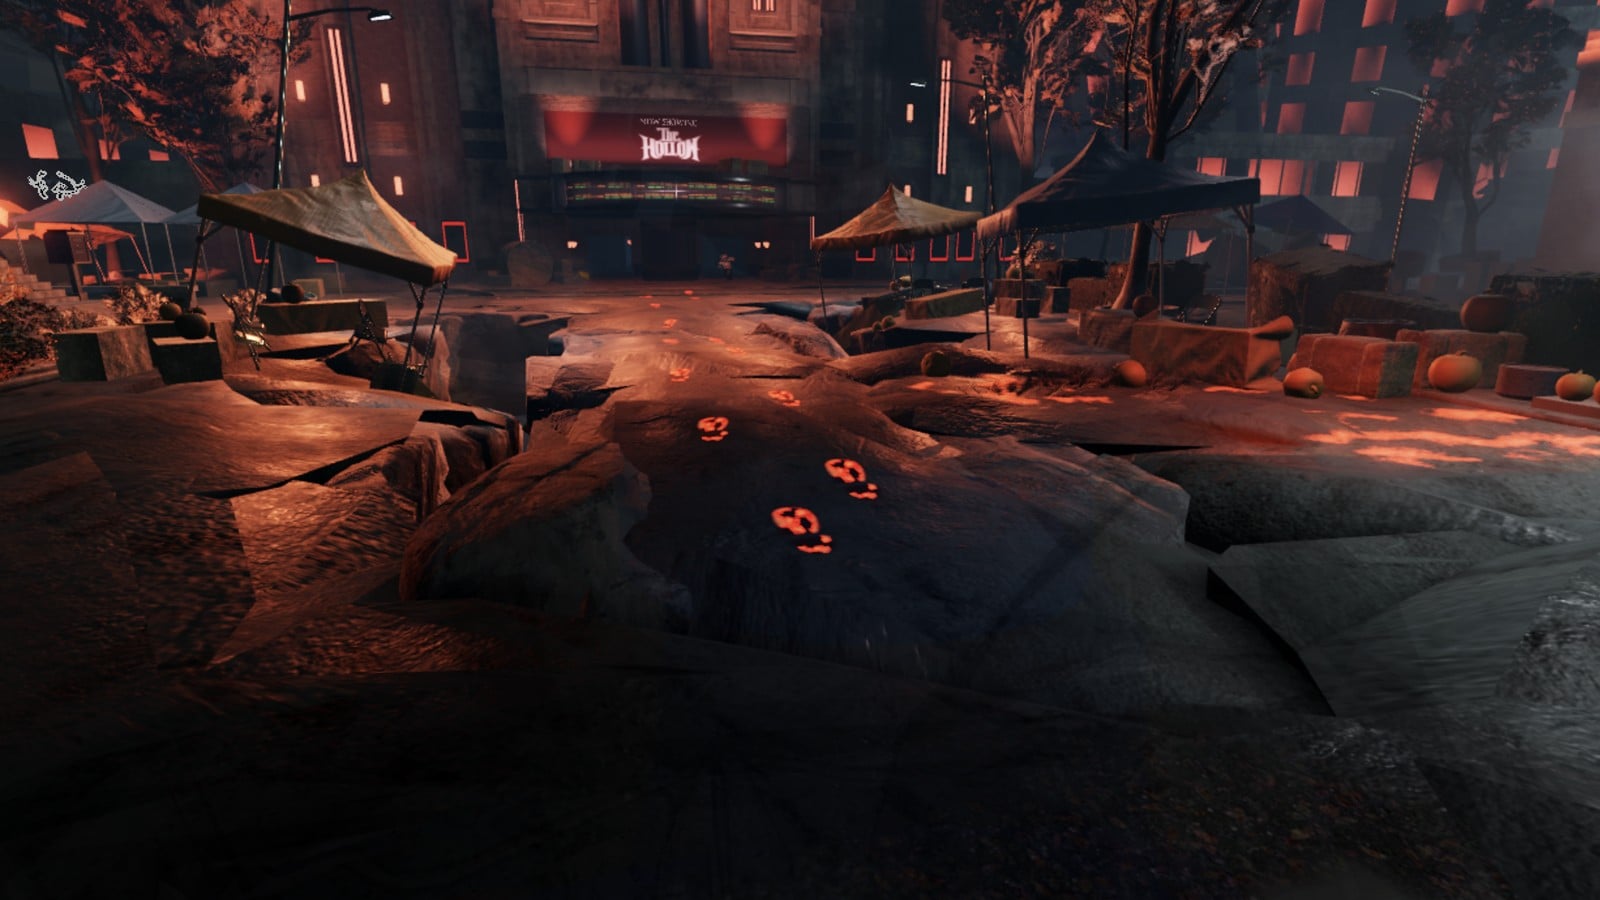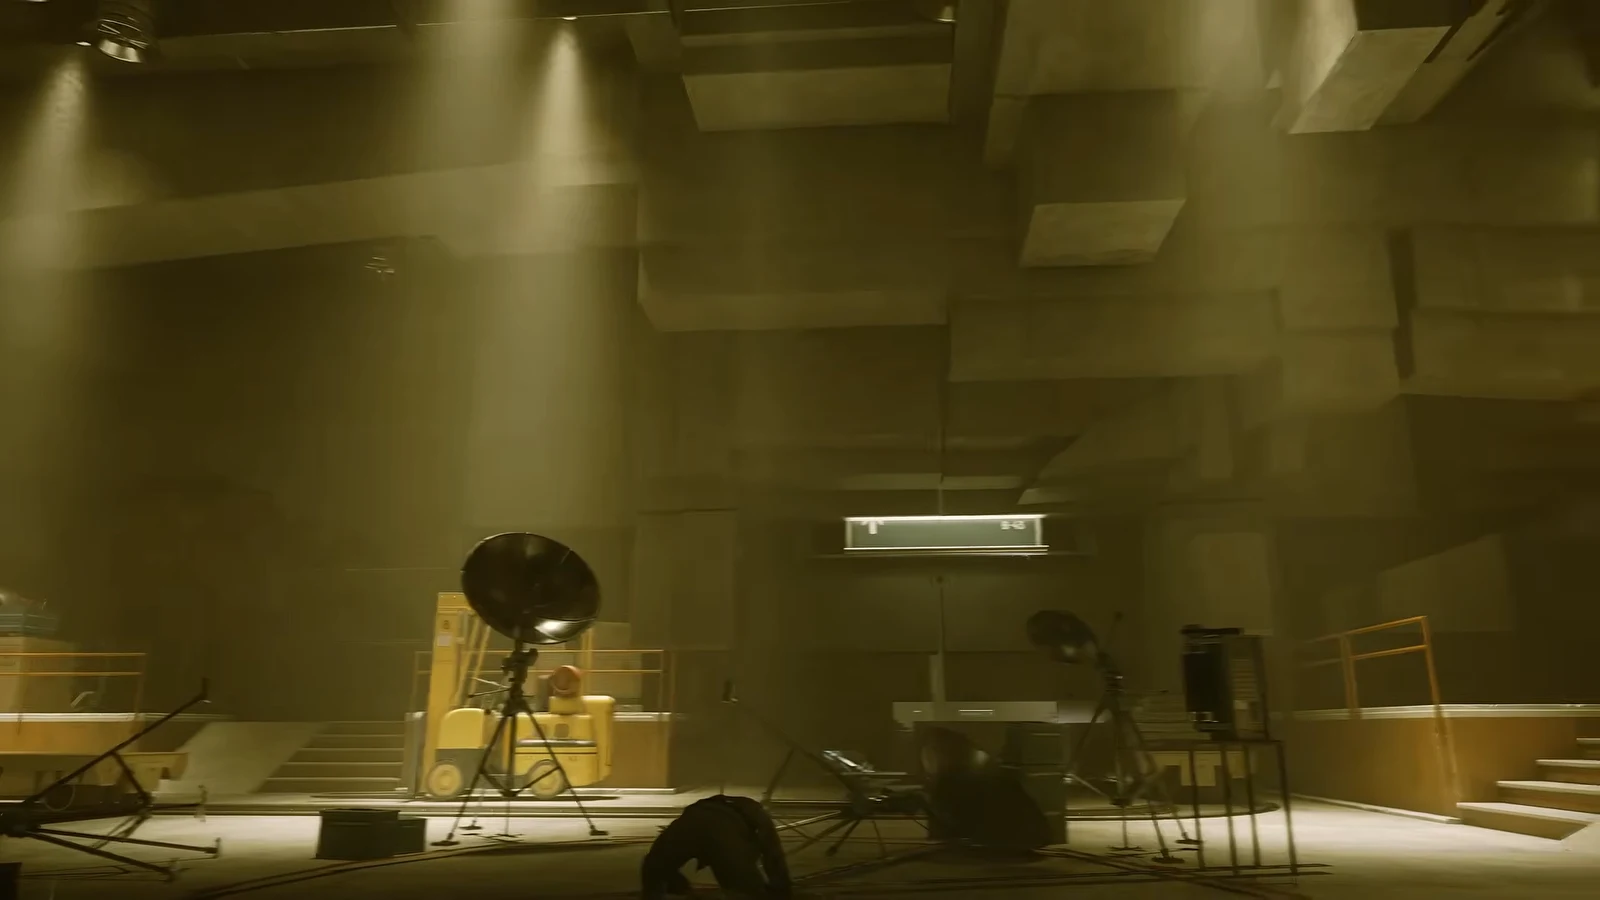
Unsupervised Science asks you to shut down six abandoned FBC experiments buried under Manhattan, and the side quest is awkward for one specific reason: the map pin drops you on an empty street. The facilities are underground, and the hatches that lead into them are never marked. Once you know which building or landmark hides each entrance, the rest is just two puzzles repeated in different rooms.
Quick answer: There are six underground testing facilities. Three use the Soda Dispenser state puzzle, three use a 60-second power core balance. The Testing Facility Coordinates file pins every location on your map.
Every testing facility location and reward in Control Resonant
Each facility ends with a shutdown, a file, and either a Power Upgrade or an accessory. The entrance column below is the part the map will not give you.
| Zone | Entrance | Puzzle | Reward |
|---|---|---|---|
| Downtown | Testing Facility Reade building, east side | Soda Dispenser | Power Upgrade, A Note From Dr. Milbeck’s Cardiologist |
| Central | Construction site east of the Patterned Factory | Power cores | Power Upgrade, Notes From Dr. Puchalski |
| Evacuation Zone | Beside the Survivalist’s Bunker fast travel point, south | Soda Dispenser | Power Upgrade, Testing Facility Coordinates |
| West Incursion Zone | South of the House of Mirrors, second lane from the bottom | Soda Dispenser | Power Upgrade, Notes From Dr. Janson |
| The Park | Two sewer entrances, northeast of the zone | Power cores | Emergency Hood, Notes From Dr. Roth |
| Unknown | Near the middle-west fast travel point | Power cores (five) | Firebreaker Goggles, Notes From Dr. Grant |
Clear the Evacuation Zone facility early. Its reward file, Testing Facility Coordinates, is the one that adds every remaining site to your map instead of making you hunt blind.
The Downtown entrance sits inside a building that is still under construction, and Hiss enemies spawn the moment you walk in — deal with them before you go looking for the hatch. The Park facility overlaps with the New Growth quest, so if you have reached that point in the campaign you will be sent there regardless.
Soda Dispenser puzzle solution (Downtown, Evacuation Zone, West Incursion Zone)
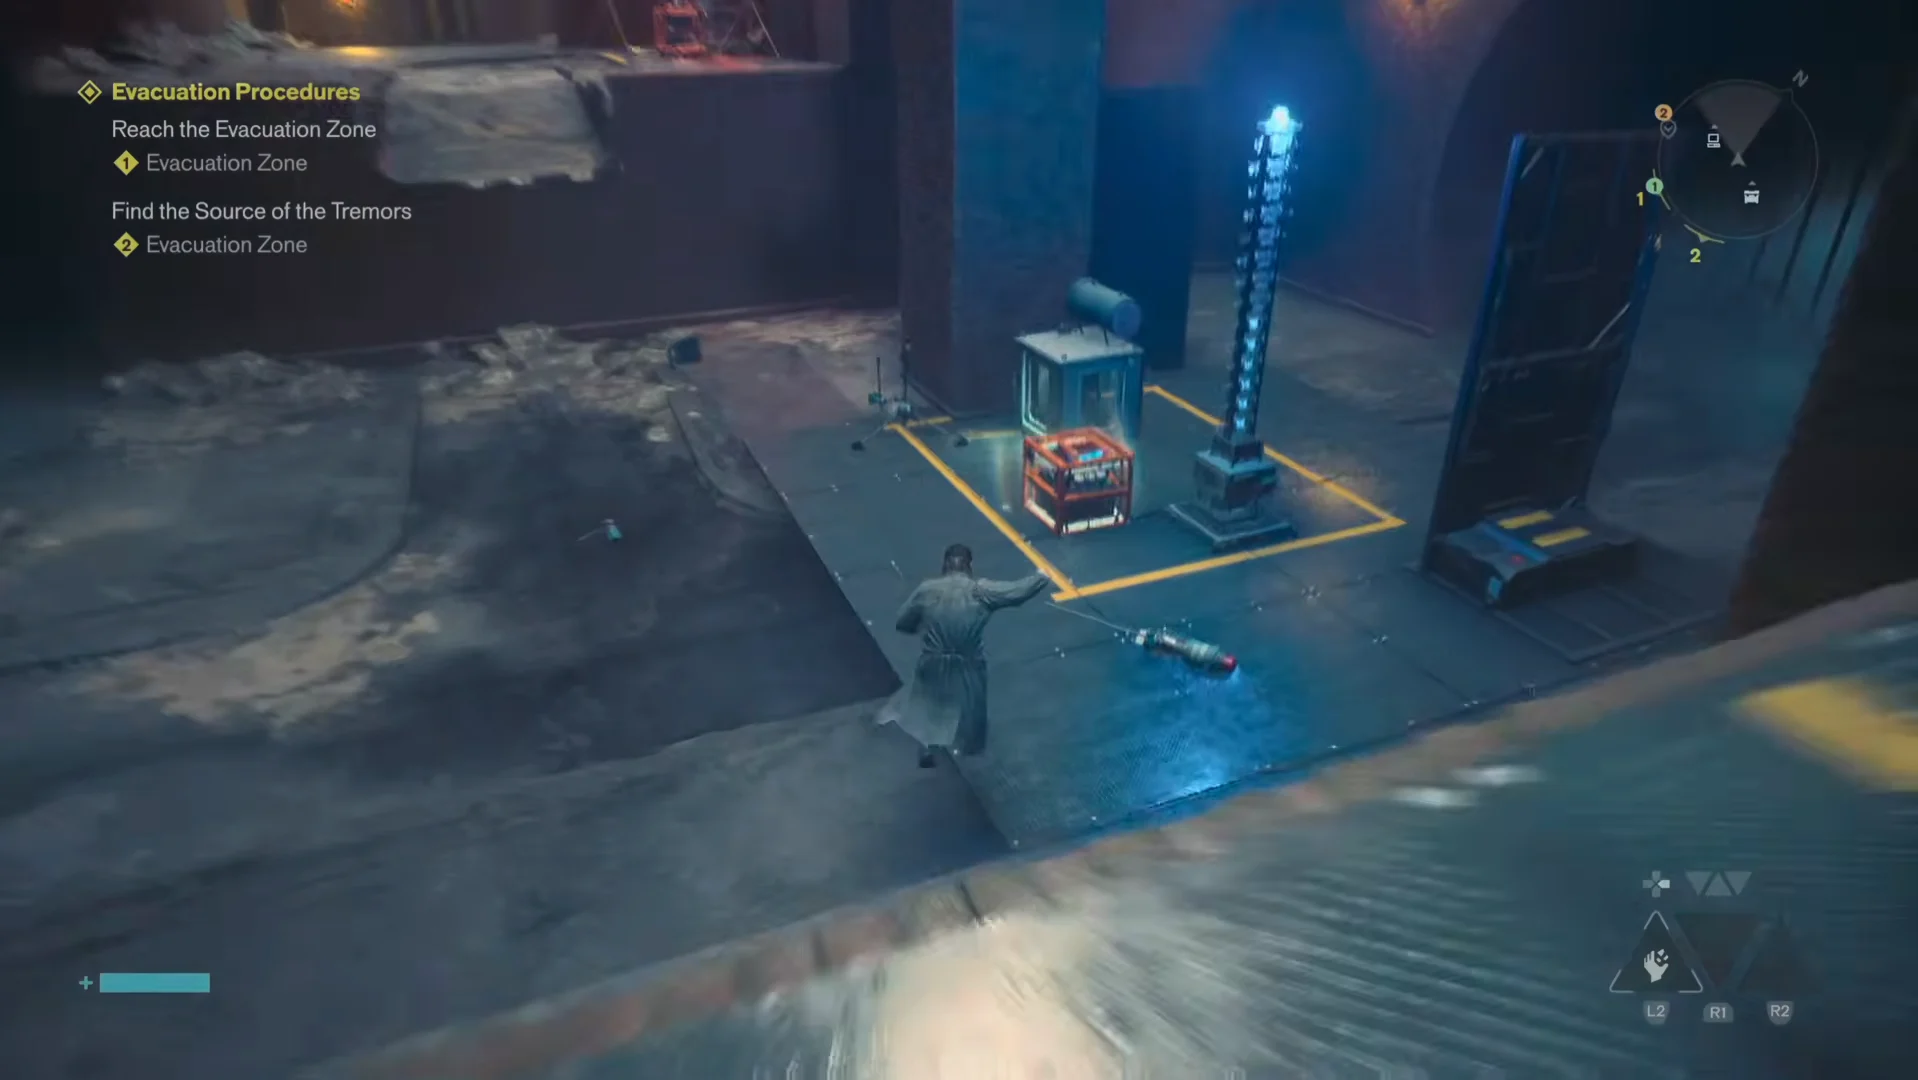
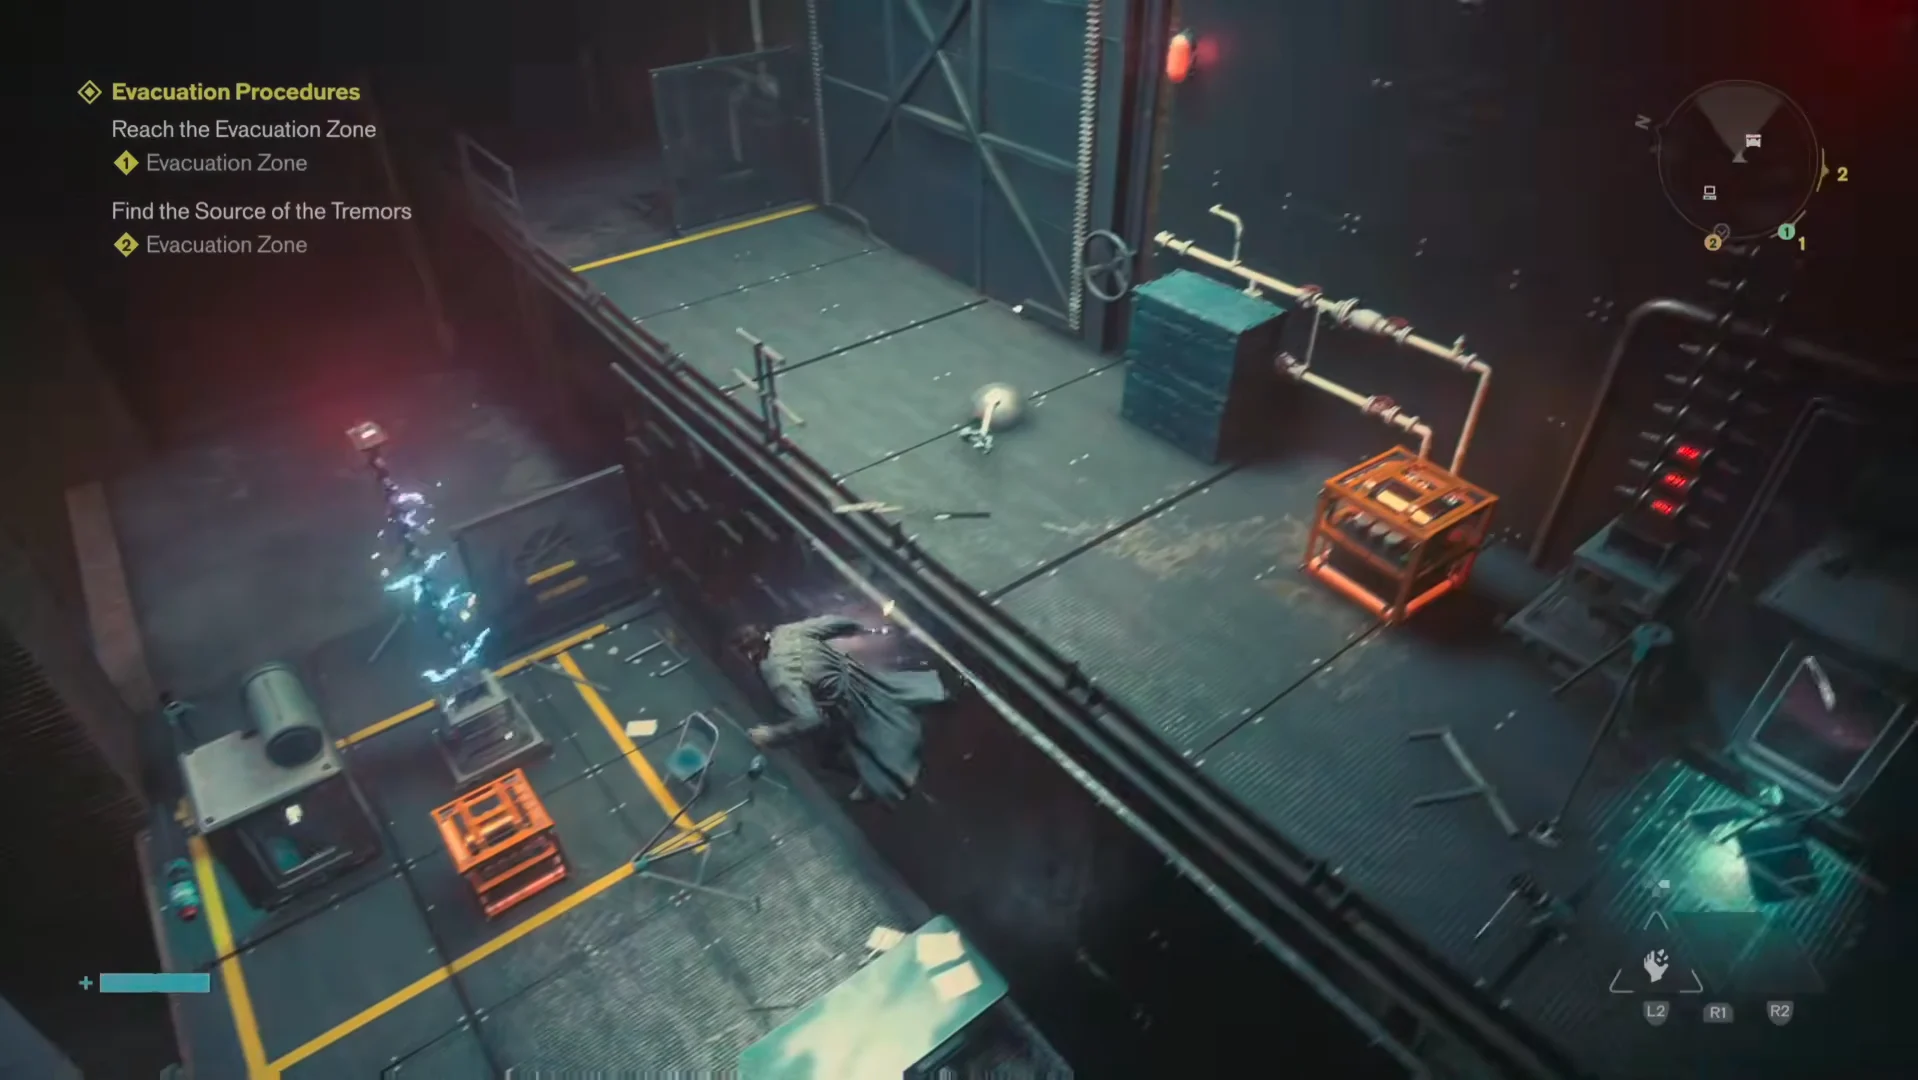
Three facilities run the same object-state puzzle. A terminal note tells you the default state is Soda Dispenser, and the box in the middle of the room only accepts objects in that state. Scattered around the room are items you can pick up and carry.
The yellow lines on the floor are the mechanic. Every time a carried object crosses one, it transforms into a different item, cycling through a fixed order that is drawn on the whiteboard next to the terminal. Your job is to land each object on Soda Dispenser and then get it into the box without crossing another line.
- Read the whiteboard first so you know the transformation order before you start carrying anything.
- Carry an item over a single line, then jump to the side rather than crossing the next one — this breaks the strict cycle and often reaches Soda Dispenser faster.
- When an item turns into a Soda Dispenser, look for a box on the same side of the lines you are already standing on.
The layout changes between the three rooms, but the rule never does. Solve it once and the other two are mechanically identical.
Power core shutdown: how to balance the load for 60 seconds
Central, The Park, and the Unknown use a timed load-balancing sequence instead. Central and The Park have four Power Cores; the Unknown has five. Two cores start charged, the rest are dead, and the shutdown fails if a dead core is left starved for too long.
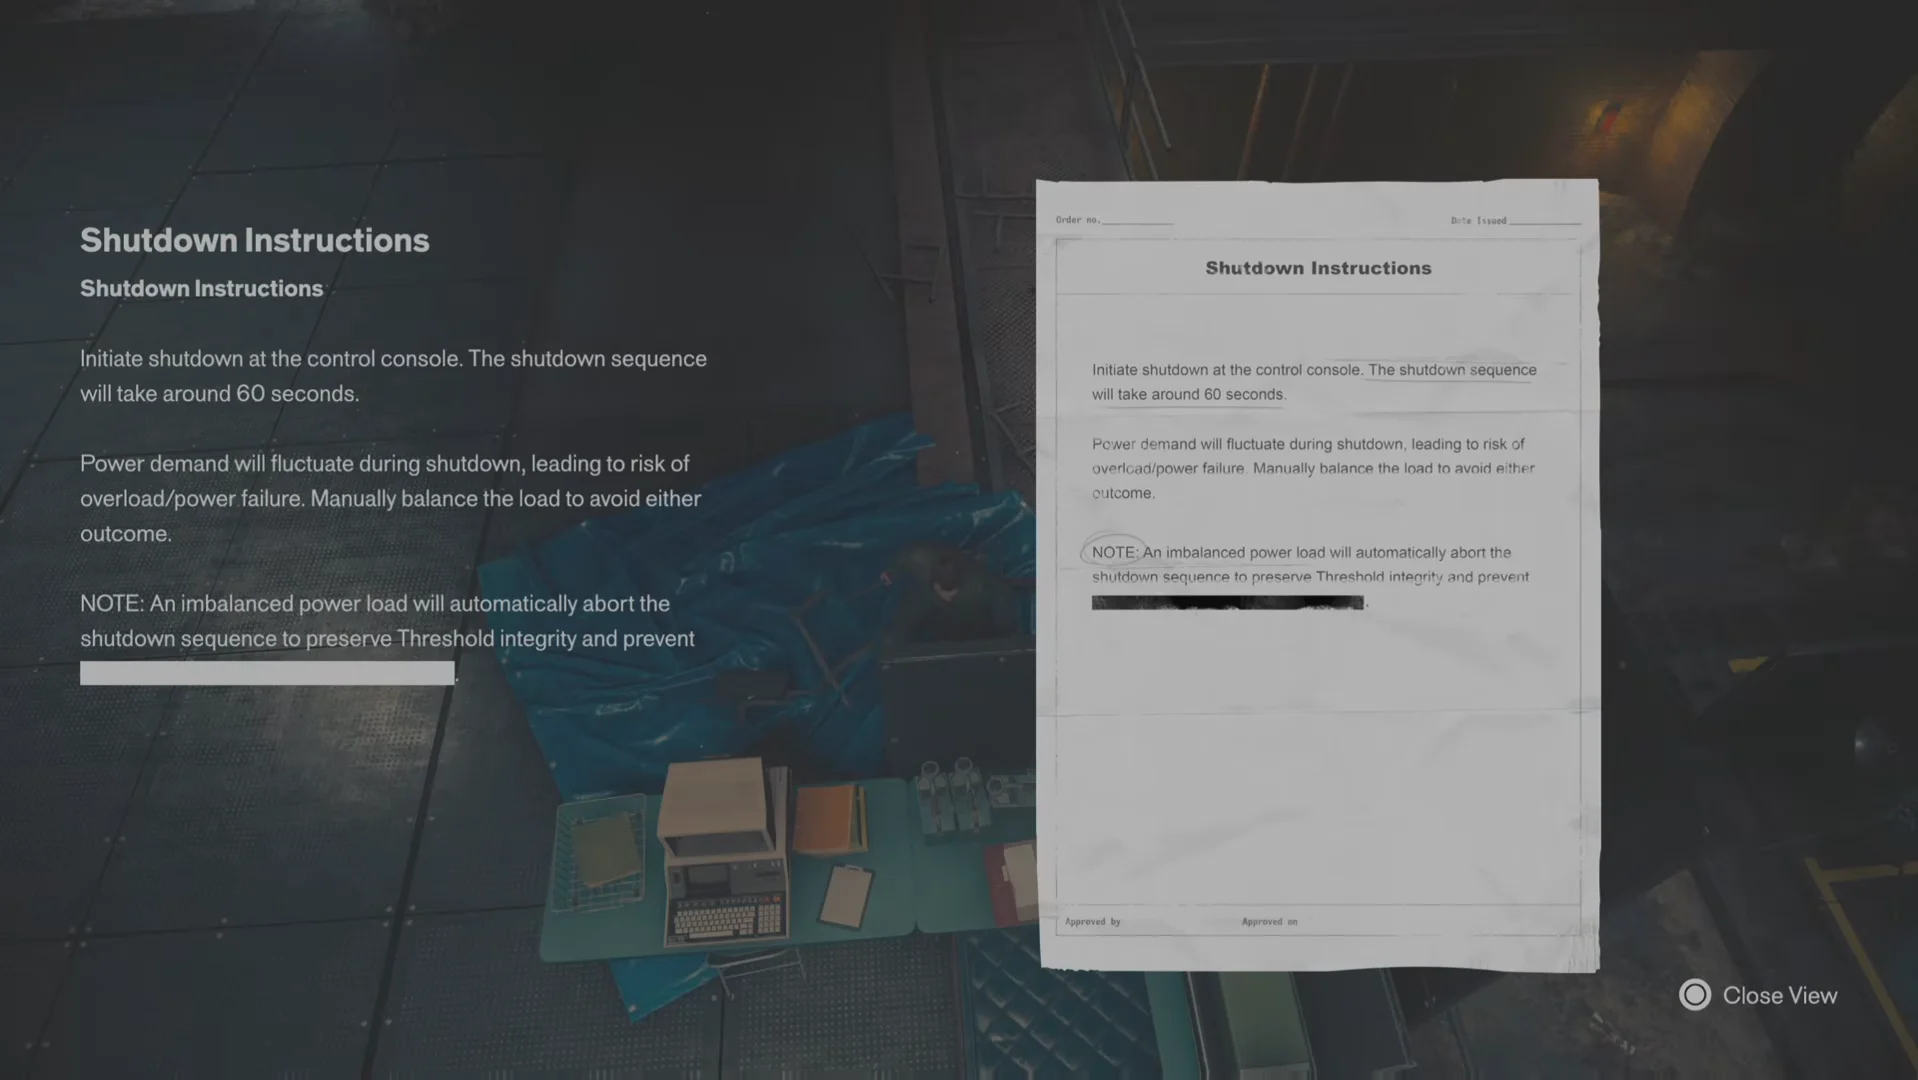
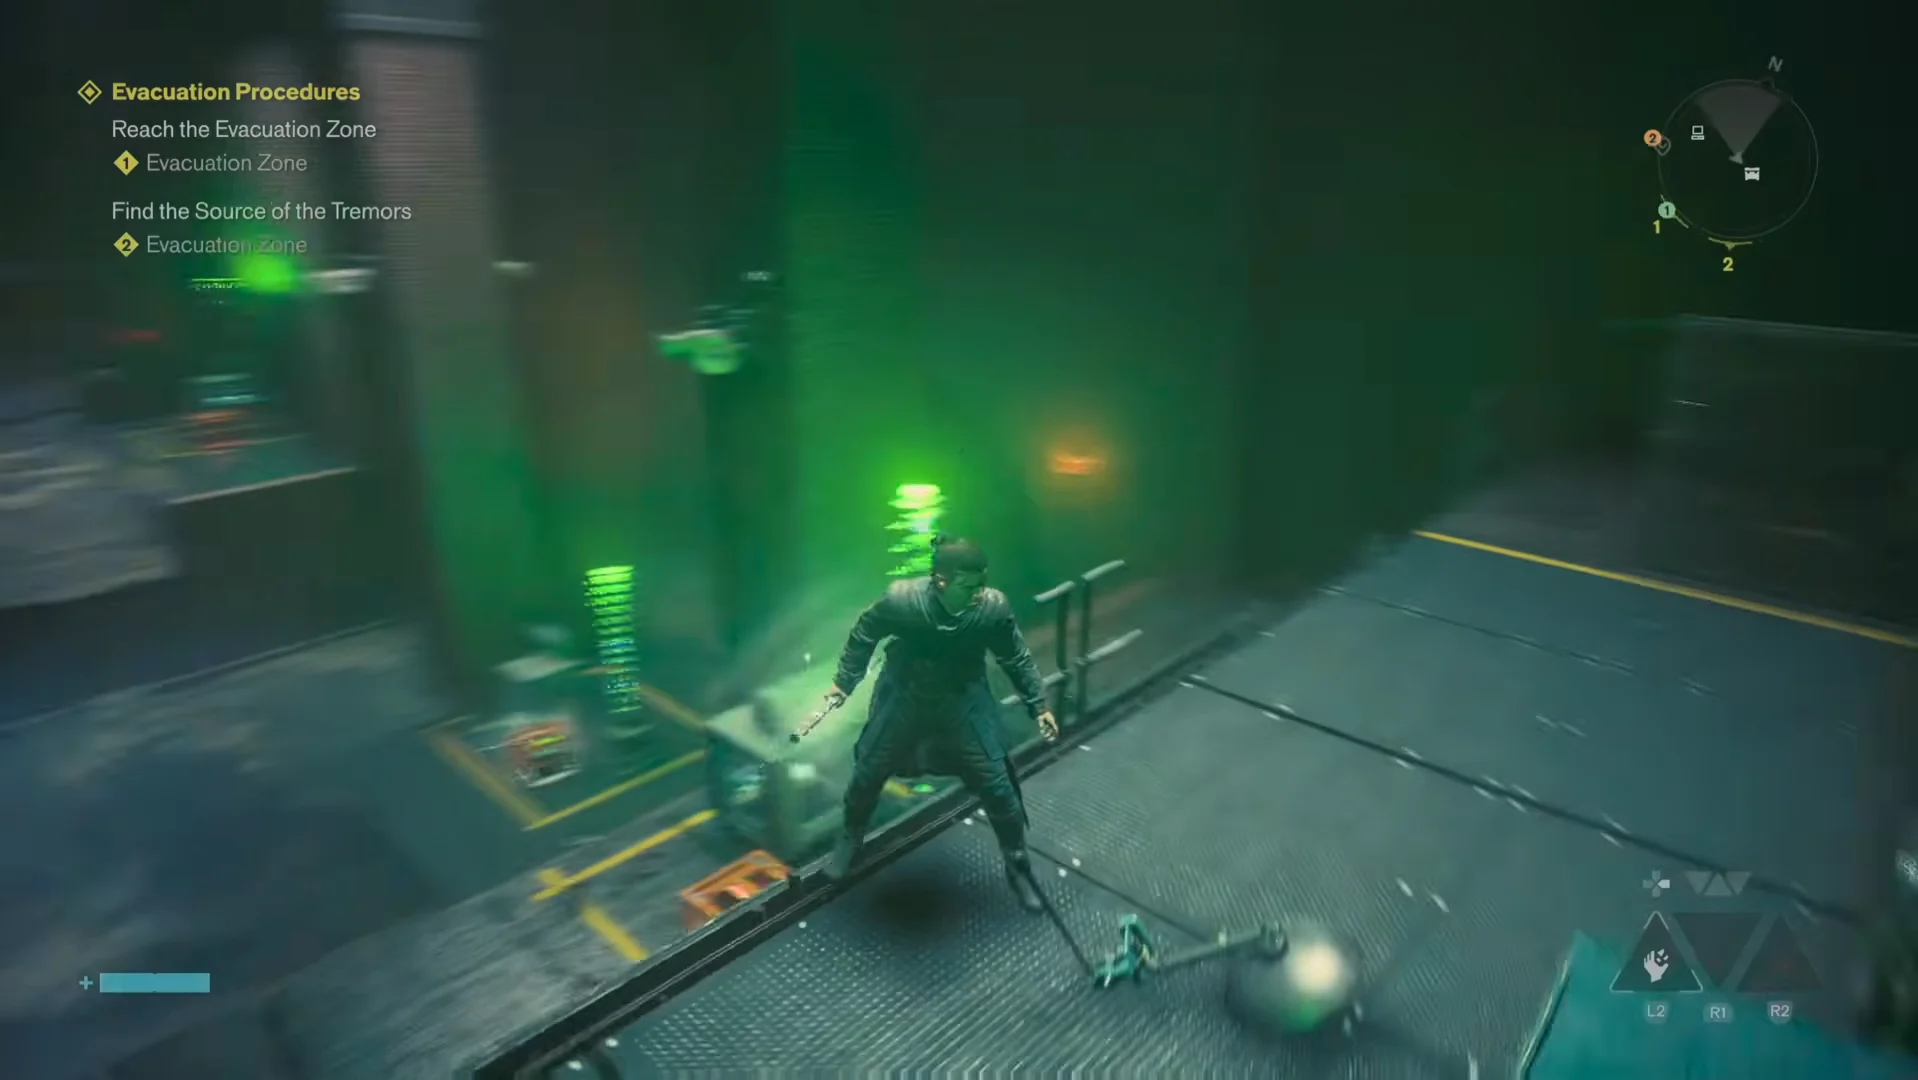
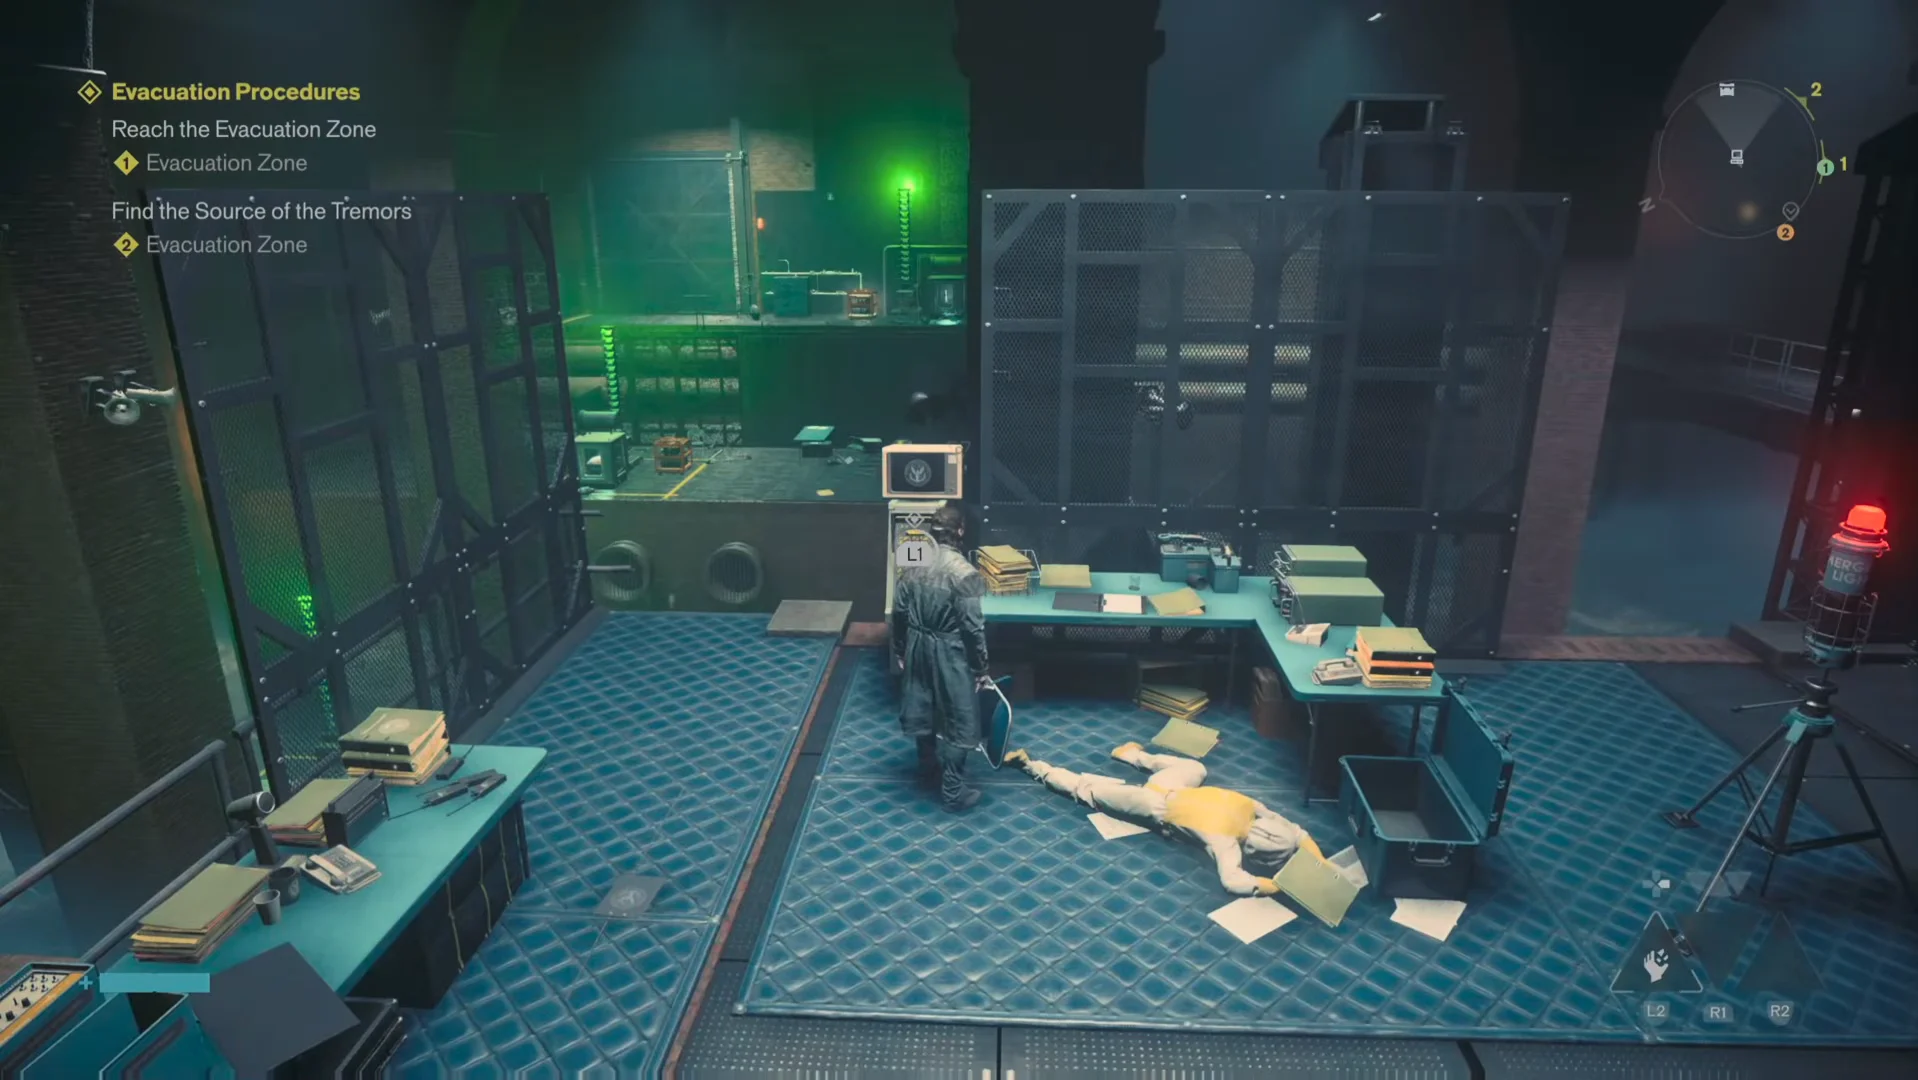
In Central, pushing through the door leads into Central 3 and Central 4, and you get an on-screen prompt reading You received a Talent Point. Visit the Gap to spend it. The file on the desk is Notes From Dr. Puchalski, covering research into Impermanence. Striking the floating anomaly container in the same area registers as Power Upgrade Point 2/3: Collect 3 to improve your Power, which is how the Power Upgrades from these facilities stack toward an actual stat increase.
The Threshold and finishing Unsupervised Science
Shutting down all six experiments opens a Threshold inside the Unknown facility, directly beside the room where you picked up the Firebreaker Goggles. Inside, names are written on the floor and each one changes what you become. Janson is on the left path and turns you into a chair; Puchalski is straight ahead and turns you into a telephone booth.
Completing the task grants Dr. Grant’s Final Report, the Untapped Scrunchie artifact recipe, and the Threshold Researcher achievement. If the trophy is still missing, interact with the corpse one more time; the overlooked trigger is that final interaction, rather than any of the six shutdowns.