In Control Resonant, visiting vendors is the quickest way to strengthen your build. They accept Source in exchange for crafting materials, Echoes, an Untapped Artifact, and upgrade resources. Each shop is positioned right beside a Health Upgrade Point, so finding them early gets you both a vendor and a permanent health increase.
Quick answer: You can find a vendor in each of the seven zones. Follow the sound of ice cream van music, collect the nearby Health Upgrade Point, and increase the zone’s level to make better stock tiers available.
How vendors work in Control Resonant
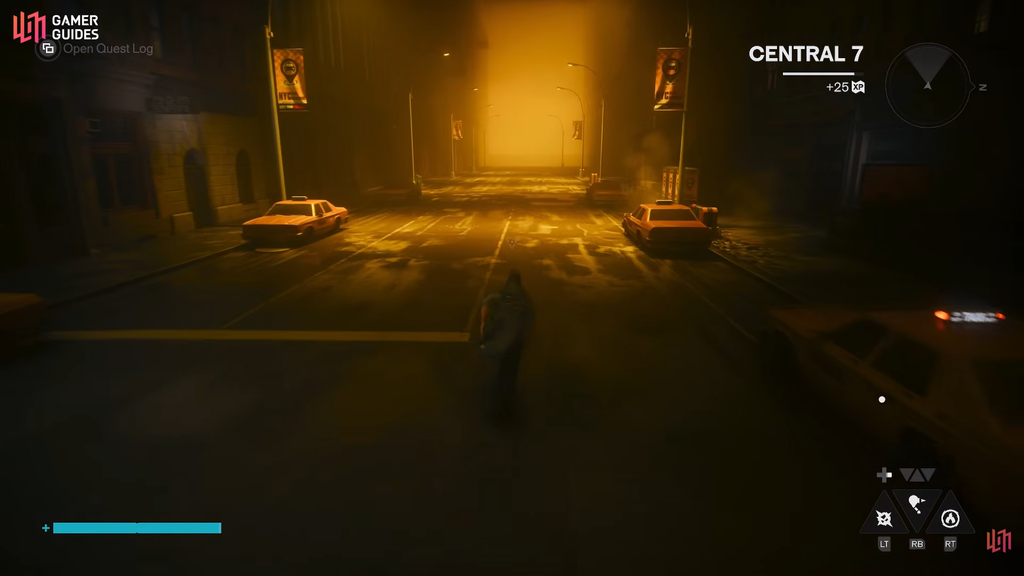
All seven vendors work alike, so learning how one operates covers the rest. Their wares cost Source, which you collect through combat, crates, and activities throughout Manhattan.
- Collect the Health Upgrade Point beside each vendor the first time you visit.
- The area’s Zone Level determines how much stock is available; on an early visit, the selection is smaller.
- For 1,000 Source, you can purchase a useful Untapped Artifact from every vendor.
- The ice cream van jingle plays whenever a vendor is within range.
Complete side quests, loot resource crates, finish World Feat activities, and defeat Heavy Hiss enemies to increase Zone Levels. A higher level means more items are available, so finish activities before you shop for the broadest selection.
Every vendor location by zone
| Zone | Vendor location |
|---|---|
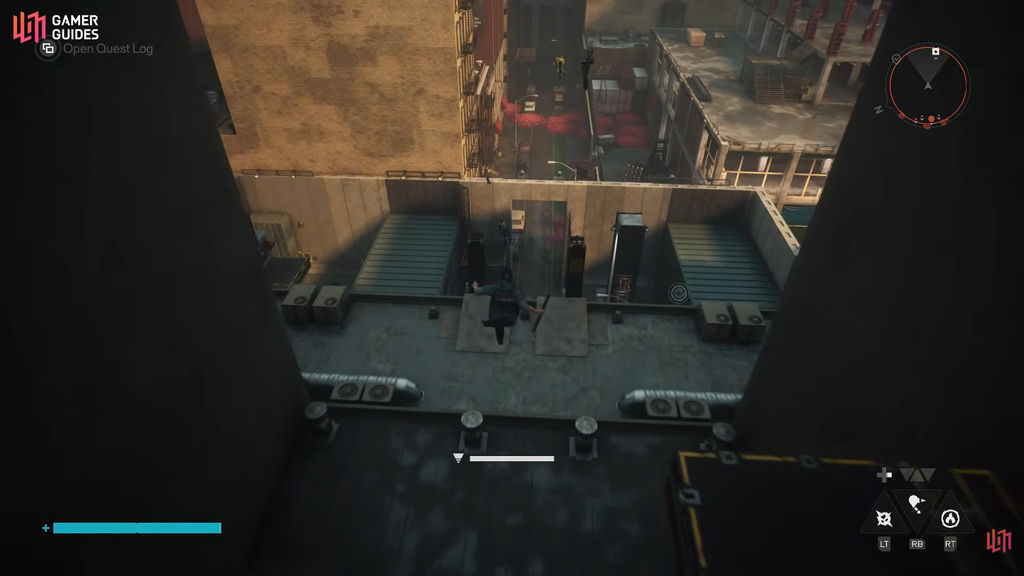
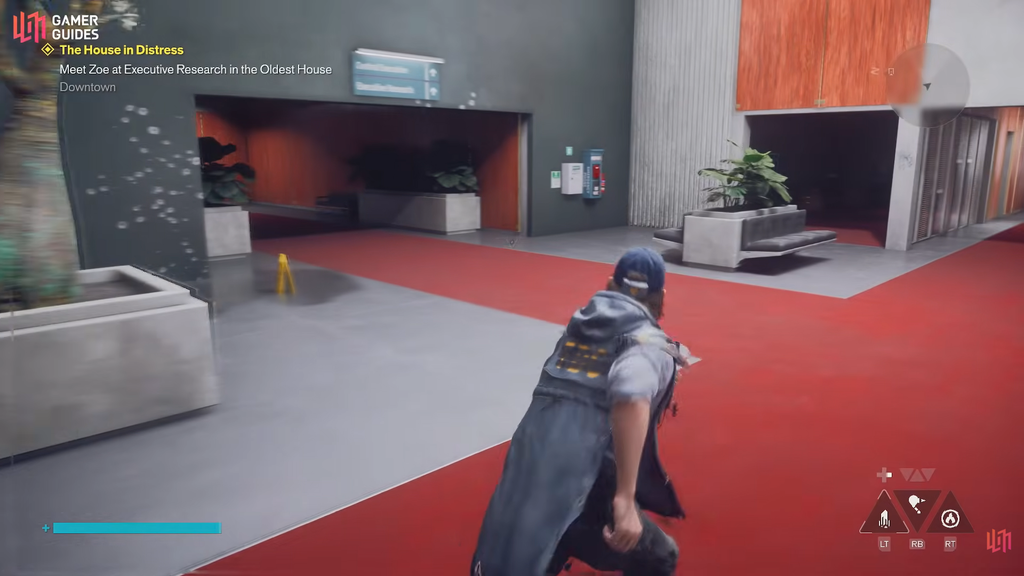
| Downtown | South of the ‘Outside the Oldest House’ fast travel point |
| Central | East of ‘Central Frontline’, north of East Park Station |
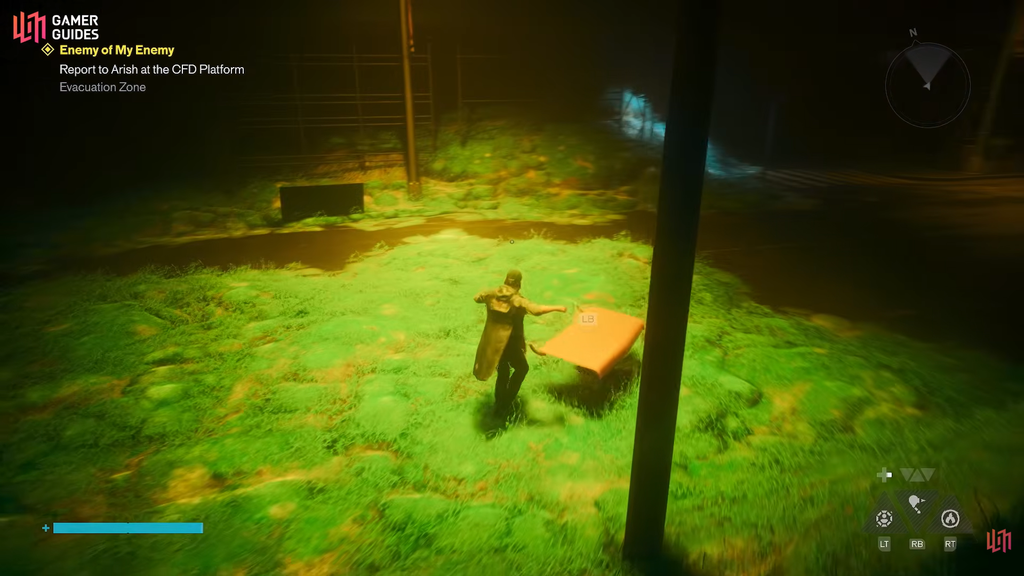
| West Incursion Zone | North of the parking garage |
| The Park | Atop the parking garage |
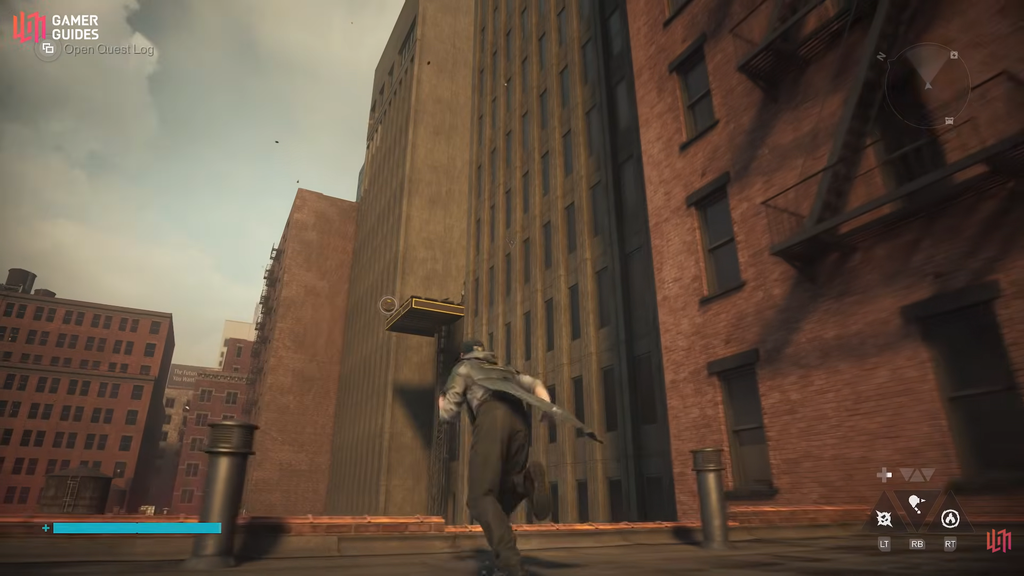
| Evacuation Zone | East of the ‘Main Street’ fast travel point |
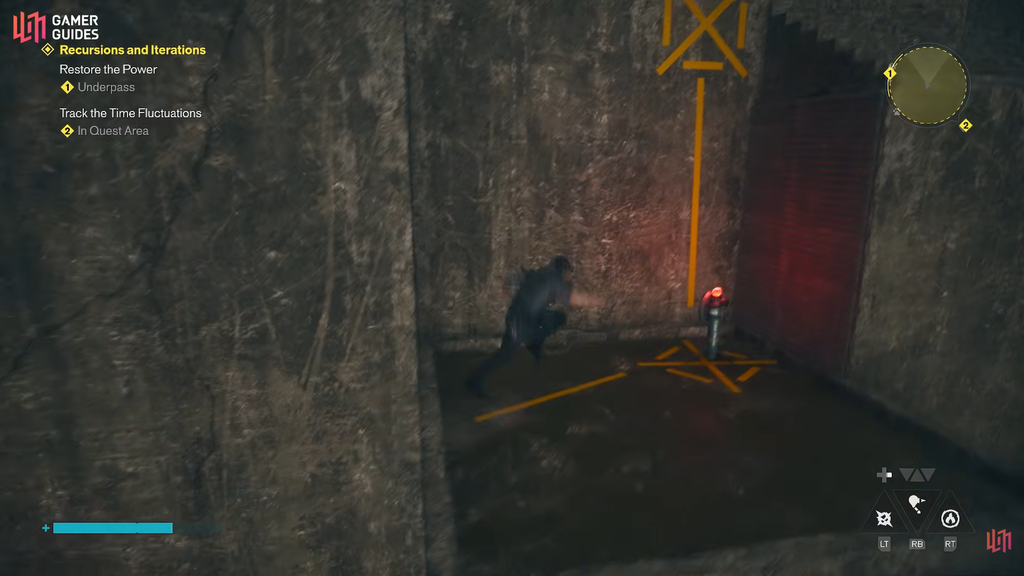
| Underpass | Beneath the first block near the start of the area |
| Unknown | Island to the right of Field Office Island |
How to reach each vendor
Downtown vendor
Central vendor
West Incursion Zone vendor
The Park vendor
Evacuation Zone vendor
Underpass vendor
Unknown vendor
This island’s fast travel point becomes available only after the game, so you will need to finish the story before visiting the Unknown vendor.
What each vendor sells
The core stock is identical everywhere. All seven vendors sell the same crafting materials, Aberrant items, Echoes, and a Reset Item, with the tiers unlocking as the zone levels up. What sets them apart is the Untapped Artifact and the single customization piece each one carries.
| Vendor | Untapped Artifact(s) | Customization item |
|---|---|---|
| Downtown | Lost Prescription, Fingerboard | Reading Glasses |
| Central | Stellar Bracelet, Bug Spray | Bureau Cap |
| West Incursion Zone | Spray Paint | Helix and Nostril Piercings |
| The Park | Molding Bar | Hood Down Tactical Rain Jacket |
| Evacuation Zone | Ornate Buckle | Standard Issue Goggles |
| Underpass | Framing Hammer | Middle Part |
| Unknown | Wad of Cash, Paper Plane | Boxer Braids |
A few vendors also stock materials the others do not. The Underpass vendor adds Aberrant Cuts and Aberrant Remnant, while the Unknown vendor sells Ordered Image and Patterned Thought alongside its Aberrant Cuts and Remnant. The Underpass and Unknown vendors also carry the Odd Echo and Panicked Echo that you will not find elsewhere.
The Park vendor’s Untapped Molding Bar is worth the trip on its own, as its Artifact helps a great deal against The Park Resonant boss.
Downtown vendor full stock and Source prices
The Downtown vendor unlocks when you begin the Welcome to Manhattan main quest. The table lists its stock at full expansion, matching the common price list used by every vendor at the highest tier.
| Item | Price (Source) |
|---|---|
| Corrupted Element | 100 |
| Distorted Form | 100 |
| Warped Resonance | 150 |
| Edible Glob | 200 |
| Fungal Growth | 200 |
| Thriving Spore | 300 |
| Aberrant Slivers / Splinter / Fragment / Shard | 750 each |
| Nostalgic / Quiet / Mourning / Violent Echo | 750 each |
| Untapped Artifact (Lost Prescription, Fingerboard) | 1,000 |
| Reading Glasses | 2,000 |
| Living Shard | 4,000 |
| Reset Item | 5,000 |
Best purchases and what to skip
The Living Shard at 4,000 Source is the most worthwhile regular buy. It feeds directly into Artifact crafting, and once the world pickups are gone, the vendor becomes its only renewable supply. The four Aberrant items at 750 Source each provide materials for Aberrant Form upgrades, so pick them up whenever you have Source to spare.
Avoid paying 5,000 Source for the Reset Item. Every Resonant boss drops one at no cost, and you can respec Aberrant Form skills and talents as often as needed without a permanent change. Buy one only if you urgently need to respec before your next fight.

How to confirm you found a vendor
Listen for the ice cream van tune to locate a vendor. Hearing it means one is close, so track the sound when the map marker is unclear. At the shop, the menu lets you spend Source on purchases; the adjacent Health Upgrade Point is another way to verify the location. Raising the surrounding zone’s level also raises the vendor’s level, adding more goods for your next visit.