Control Resonant — Evacuation Procedures Main Quest Walkthrough
Everything you need to reach the Evac Building, break both Hiss Nodes, rescue Arish, and claim the Agent Uniform.
Everything you need to reach the Evac Building, break both Hiss Nodes, rescue Arish, and claim the Agent Uniform.
by Pallav Pathak
Evacuation Procedures ranks as Control Resonant’s third main quest. Dylan enters the Evacuation Zone to investigate the shaking around the Evac Site. The mission begins during Welcome to Manhattan after you talk to Zoe at the Watchtower, then concludes in a high-rise interior with a trapped survivor, Arish. Although the path is largely straightforward, you must deal with two Hiss Nodes and several memory sequences before reaching the exit.
Quick answer: Reach the Evac Building, destroy both Hiss Nodes on the southern and northern trails to drop the barrier, ride the elevator through the 12th and 15th floors, rescue Arish, then take the Ground Floor elevator out.
Expect constant Hiss combat across the whole quest. Focus larger enemies first to speed up each clear, and keep an eye out for a Health Upgrade point along the way.
Reach the Evacuation Zone and find the source of the tremors
Start at the Central Zone’s southeast gate, pass east through the blue door, and enter the connector between Central and the Evacuation Zone. Ride the lift upward, follow the signs marked Evacuation Zone, and go outside once the door has opened.
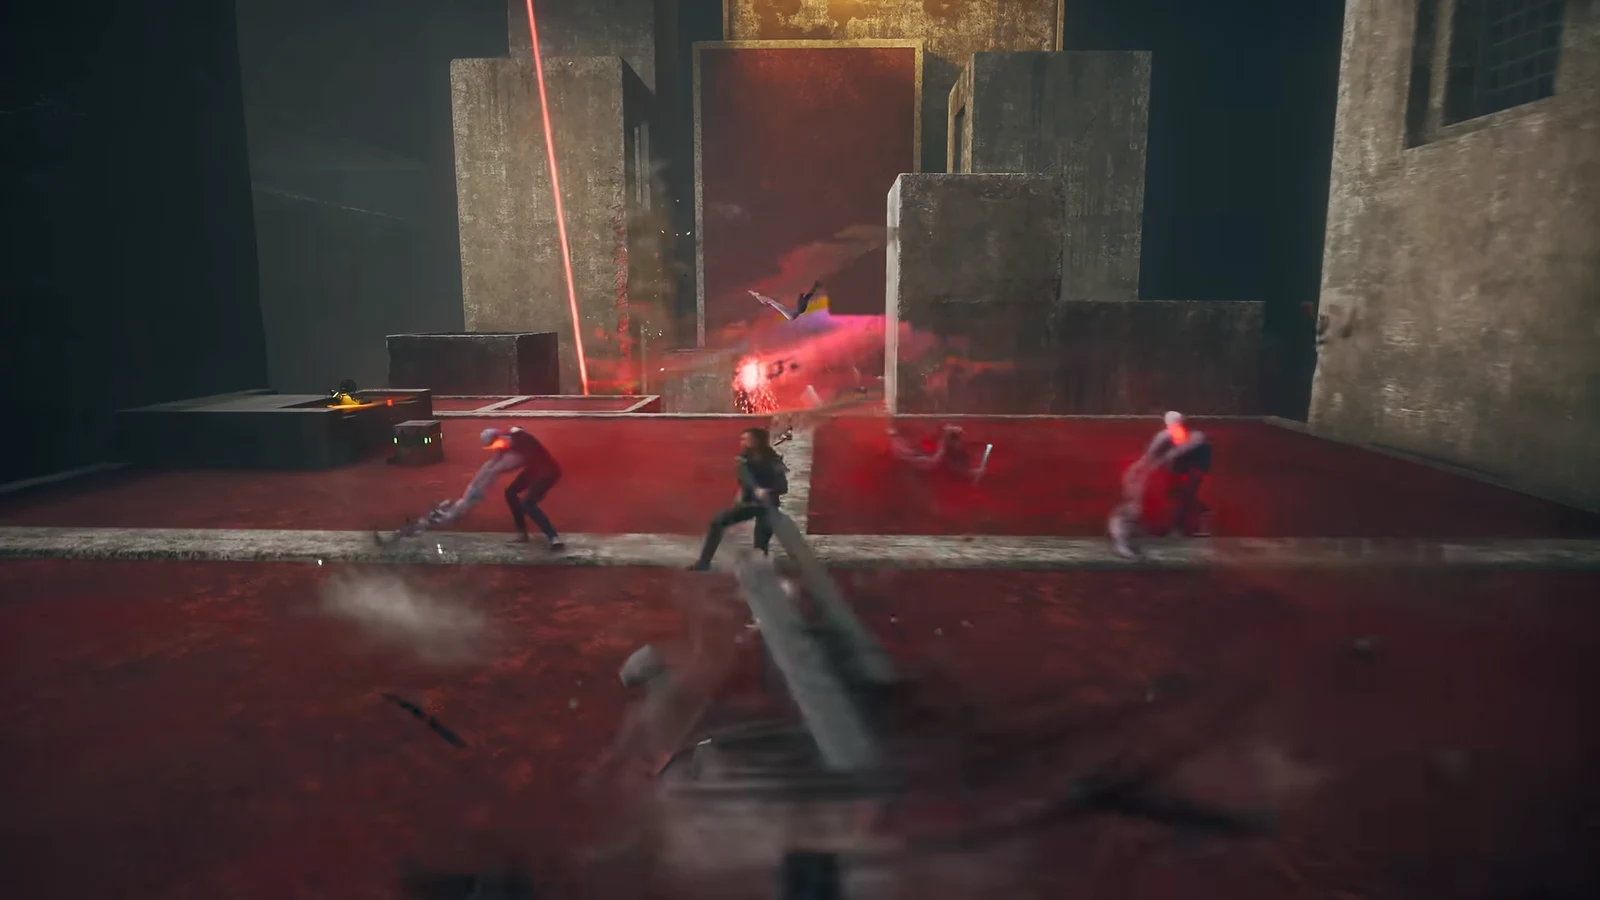
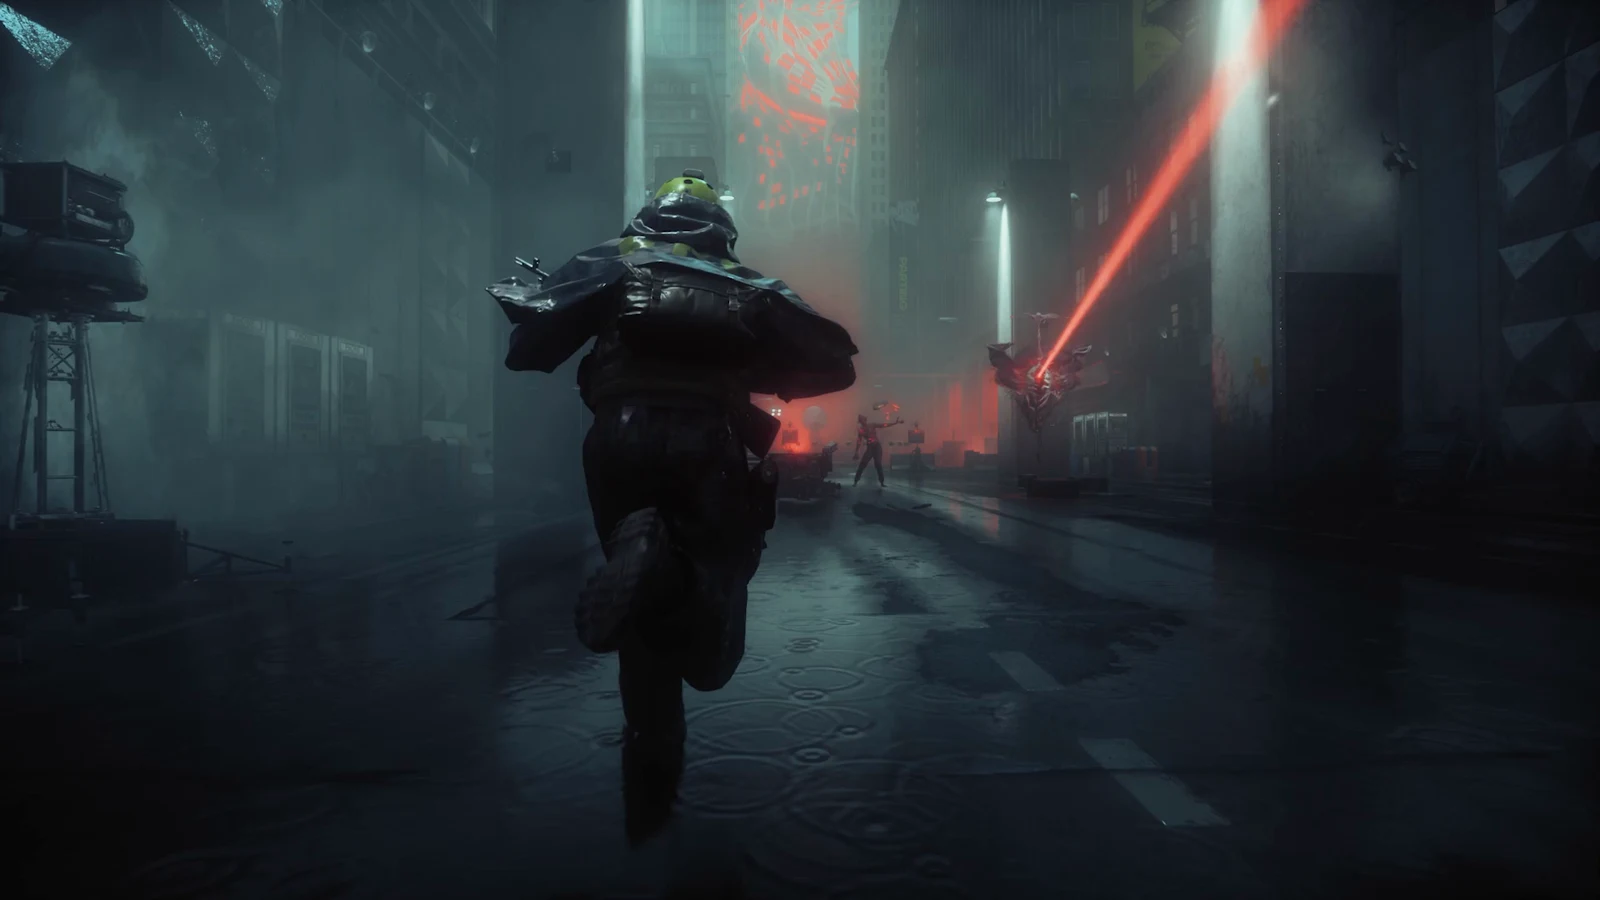
01:04Zone Access LiftDylan steps onto a yellow maintenance lift and presses its button to ascend to the higher level. Shown at 01:04 in MetaGuide’s video. Image: Remedy Entertainment00:17Clearing Enemies at the TowerFirearms and explosive telekinetic attacks strike multiple Hiss enemies around the central pillar. Shown at 00:17 in Trophy Guides’s video. Image: Remedy Entertainment
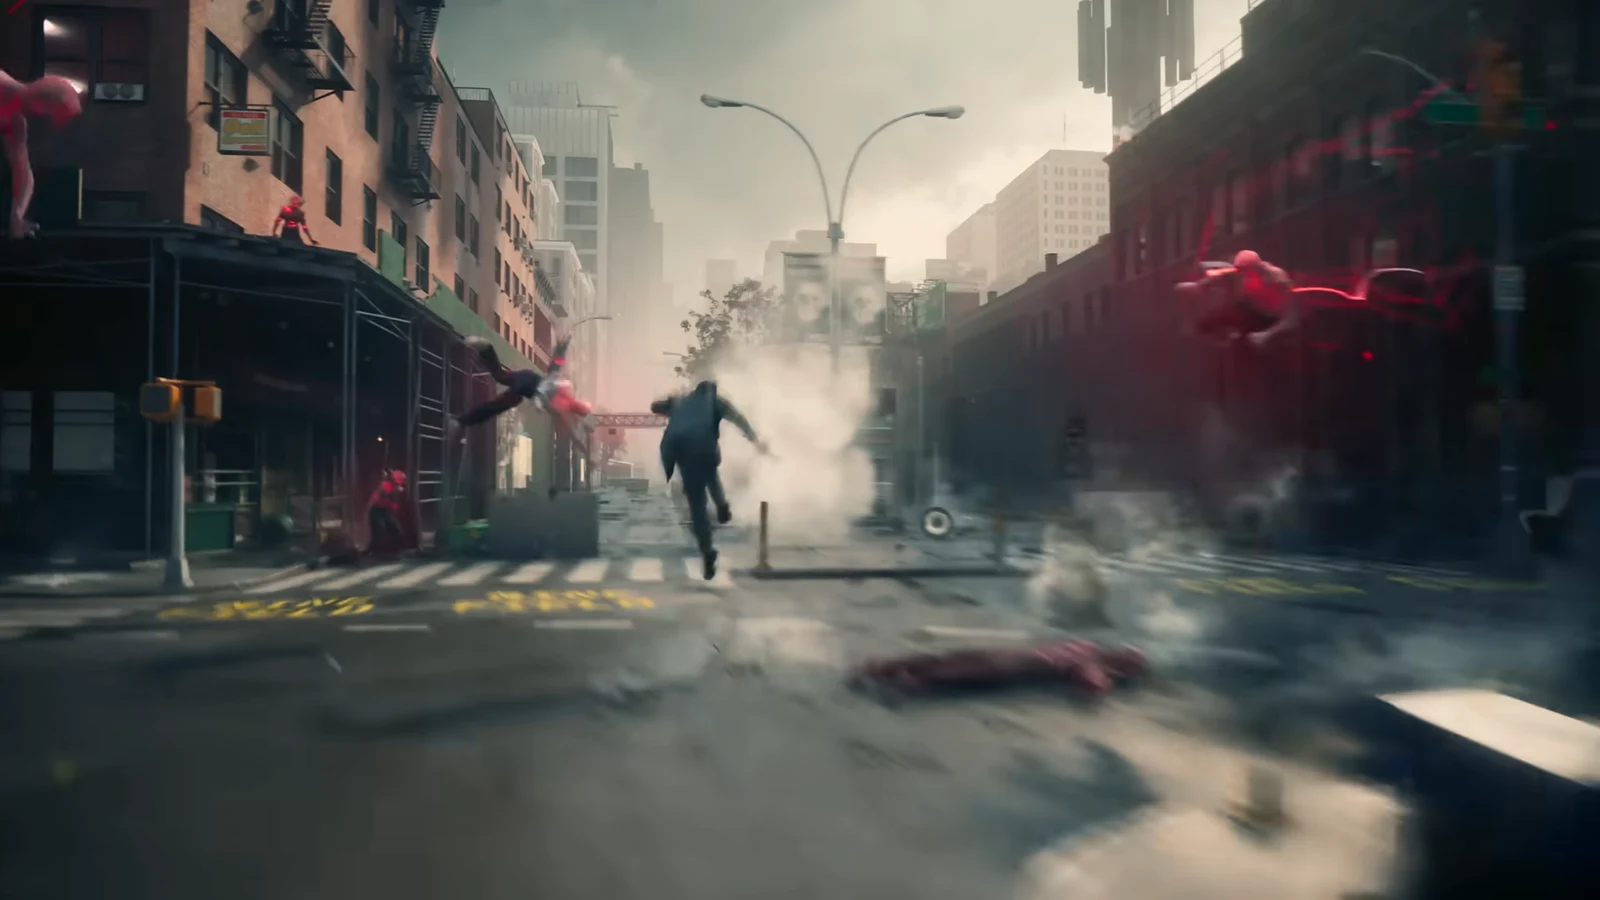
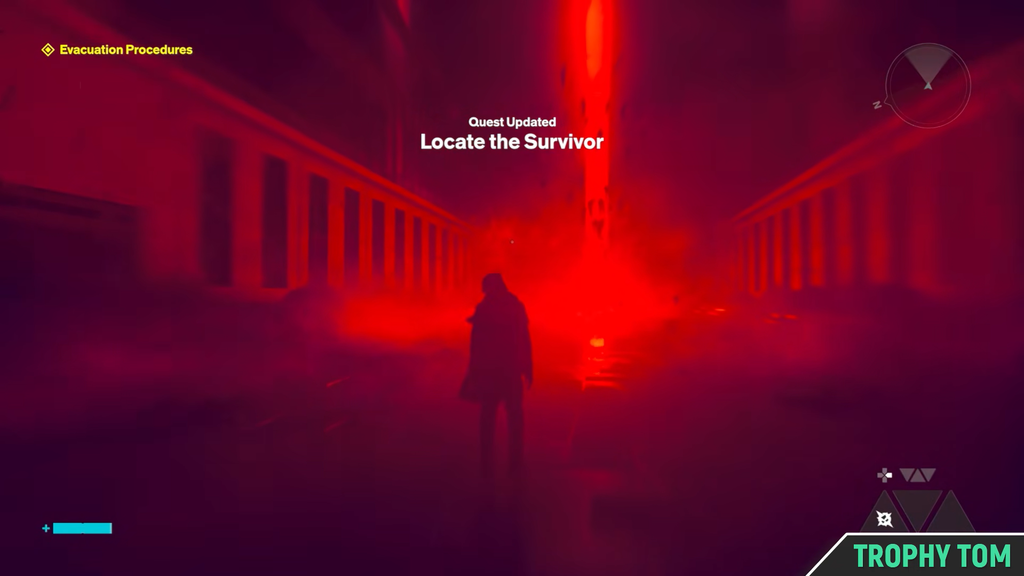
Reach the rooftop in the northwest to look down on the Sinkhole and Evacuation Site. A red shockwave then activates, sending you into streets covered by a red haze.
Go east until you reach the map Pylon on a rooftop. Turn it on, activate its Sensors, and let the area’s map populate. Before leaving, use the mirror close by to make a fast-travel point available.
Travel east toward the Evacuation Site marker. Its entrance cannot be used yet; two energy trails extend from it, with one going south and the other north. At both trail endpoints, destroy the Hiss core.
South of the blocked entrance, a pillar holds several Power Cores. Strike one to obtain the Charge. Go west, then climb the platforms along the left side until you reach the rooftop. Hit the Power Core there to send the Charge onward; a garage door below and to the west will open. Enter the garage and strike the object inside to destroy the first core.
Northern trail
Return to the entrance and move north along the second trail. Use the rooftops to traverse, since that route reaches the objective faster. At the end, you arrive on the rooftop holding the second object. Break it to destroy the last core, then return to the Evacuation Site entrance and go inside.
Climb the Evac Building through the 12th and 15th floors
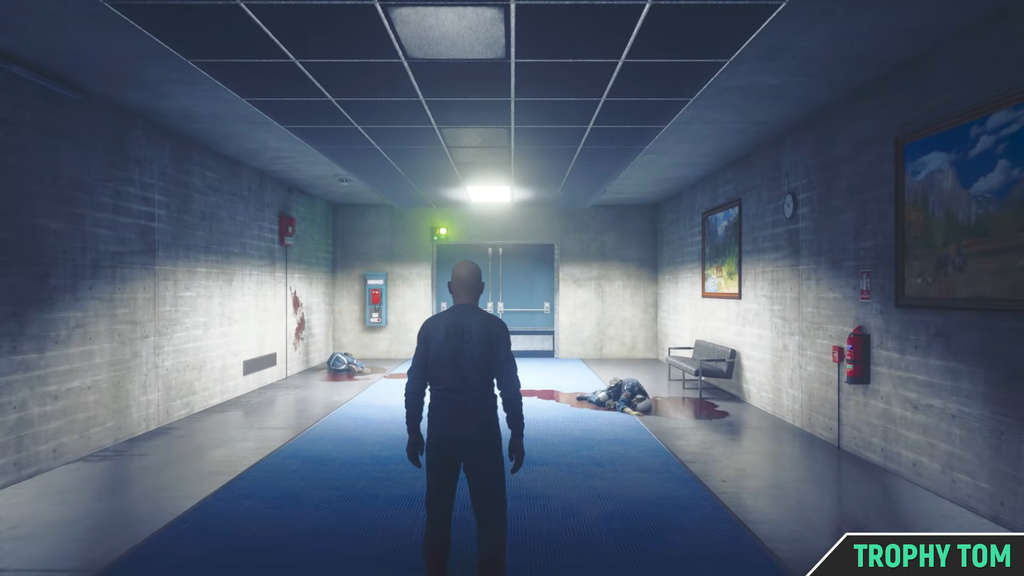
In the processing hall, take the left route to the elevator and choose the 12th Floor. After exiting, turn all the way around and enter the broad area ahead. Defeat its enemies, then use the blue corridor heading south and proceed to its edge.
Image credit: Remedy Entertainment via YouTube/@Trophy Tom
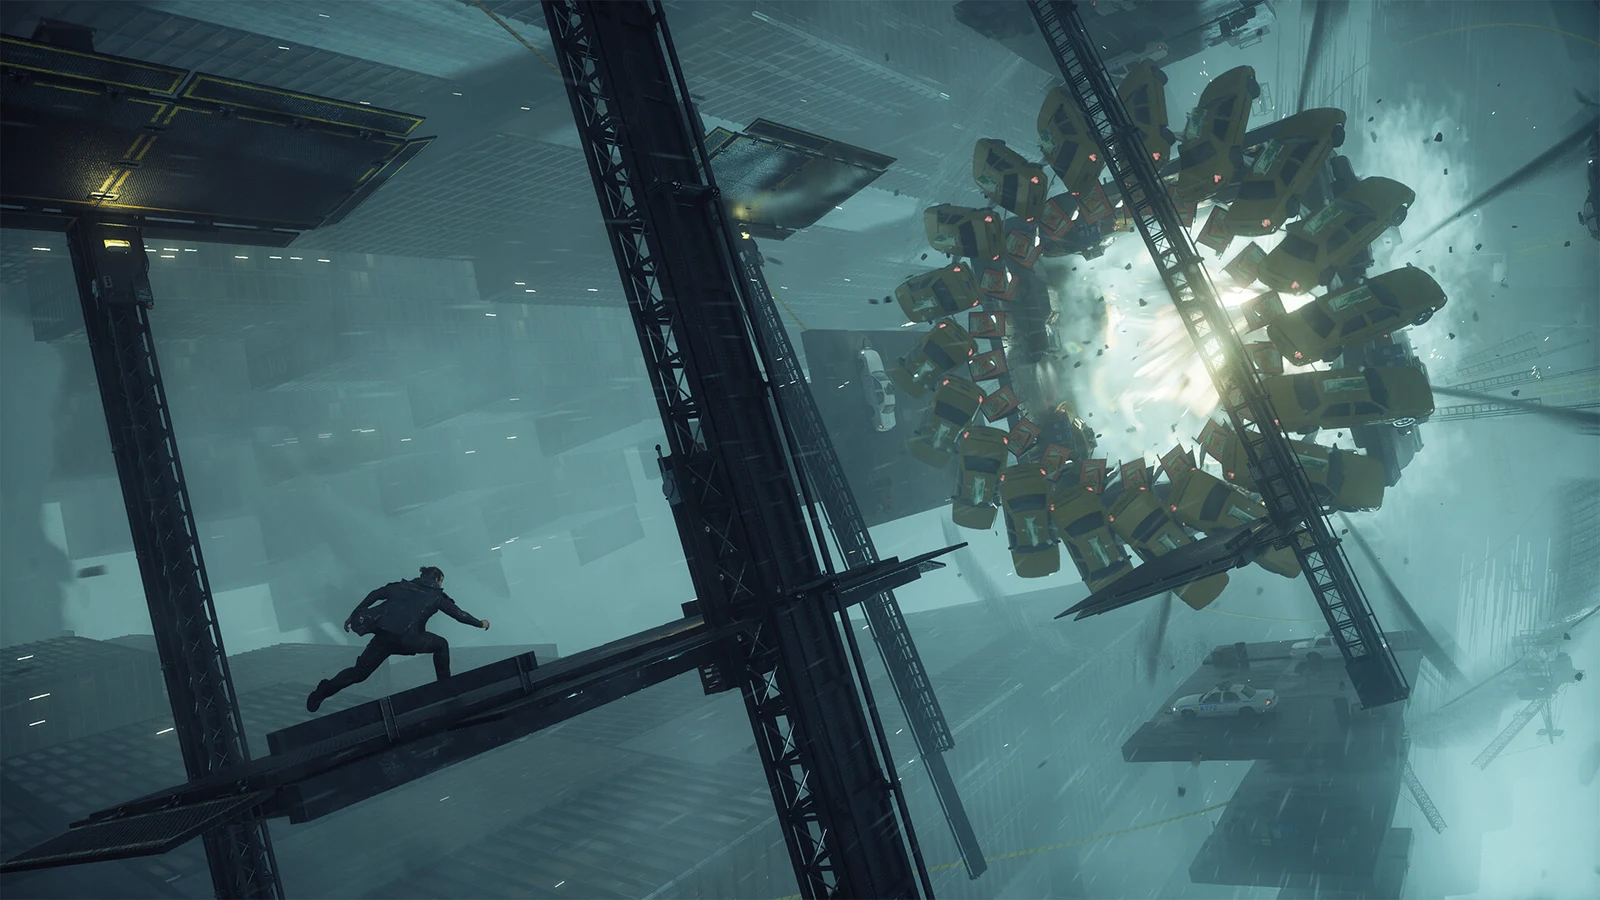
Use the platforms to move up. Jump to the western section, drop to the western platform below, turn east and jump to the upper section, then jump to the next platform on the west to climb higher.
An entrance stands beside a jukebox farther ahead. Search the jukebox to receive a Health Upgrade point, then go through the entrance and pass between the floating bodies. You will be shifted into a memory from the past. Advance, turn right, and bring that sequence to an end.
Once in the present again, turn left at the checkpoint and destroy the Hiss core in front of you, removing the elevator blockade. Go back to the elevator by the checkpoint and choose the 15th Floor. The next past sequence sends you toward the Central Executive; use the elevator there to finish it.
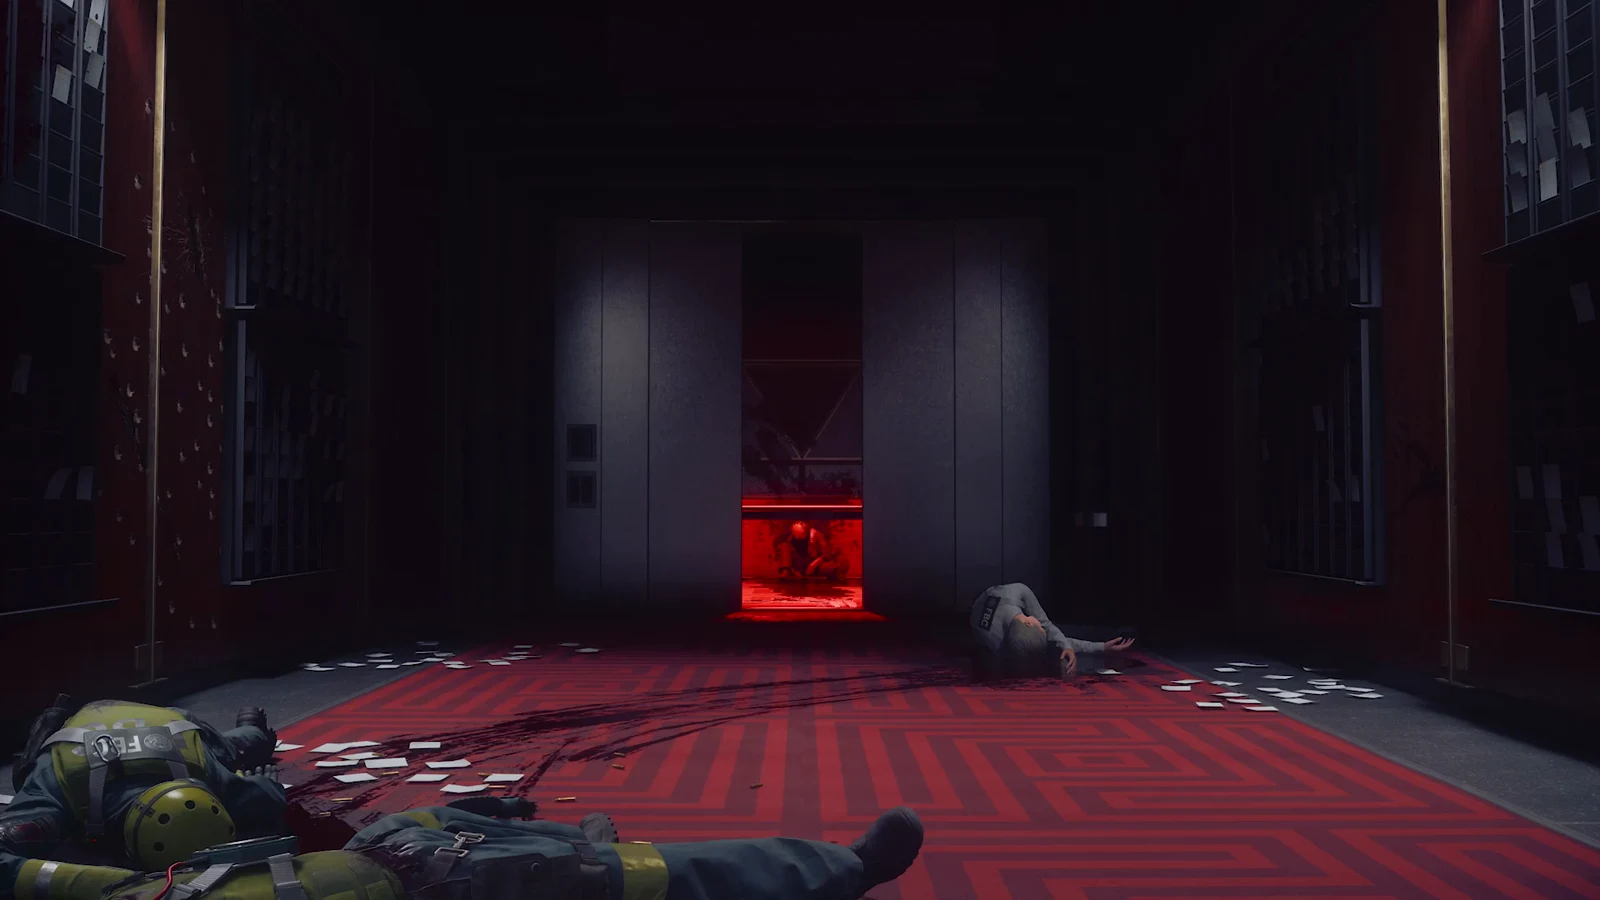
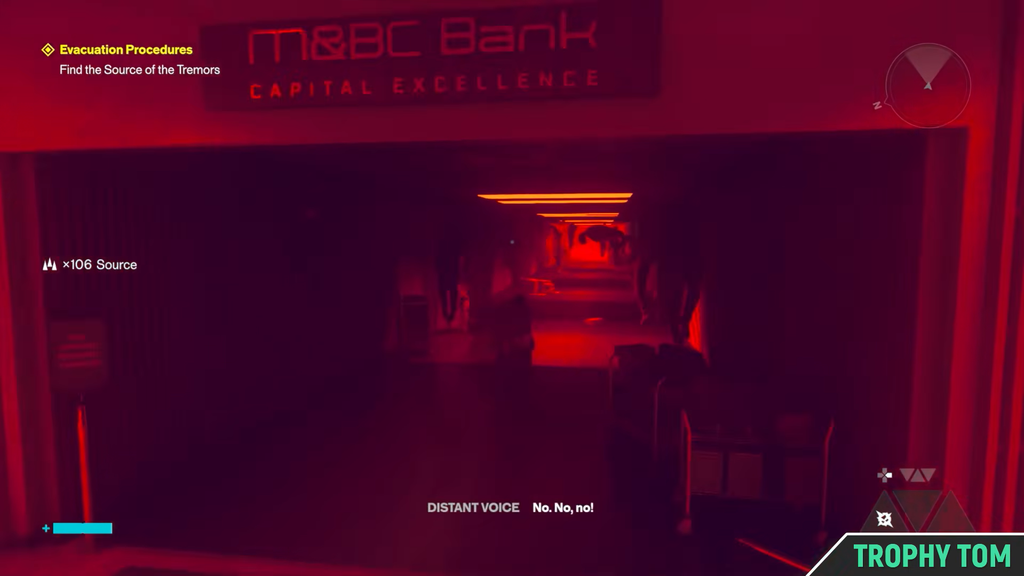
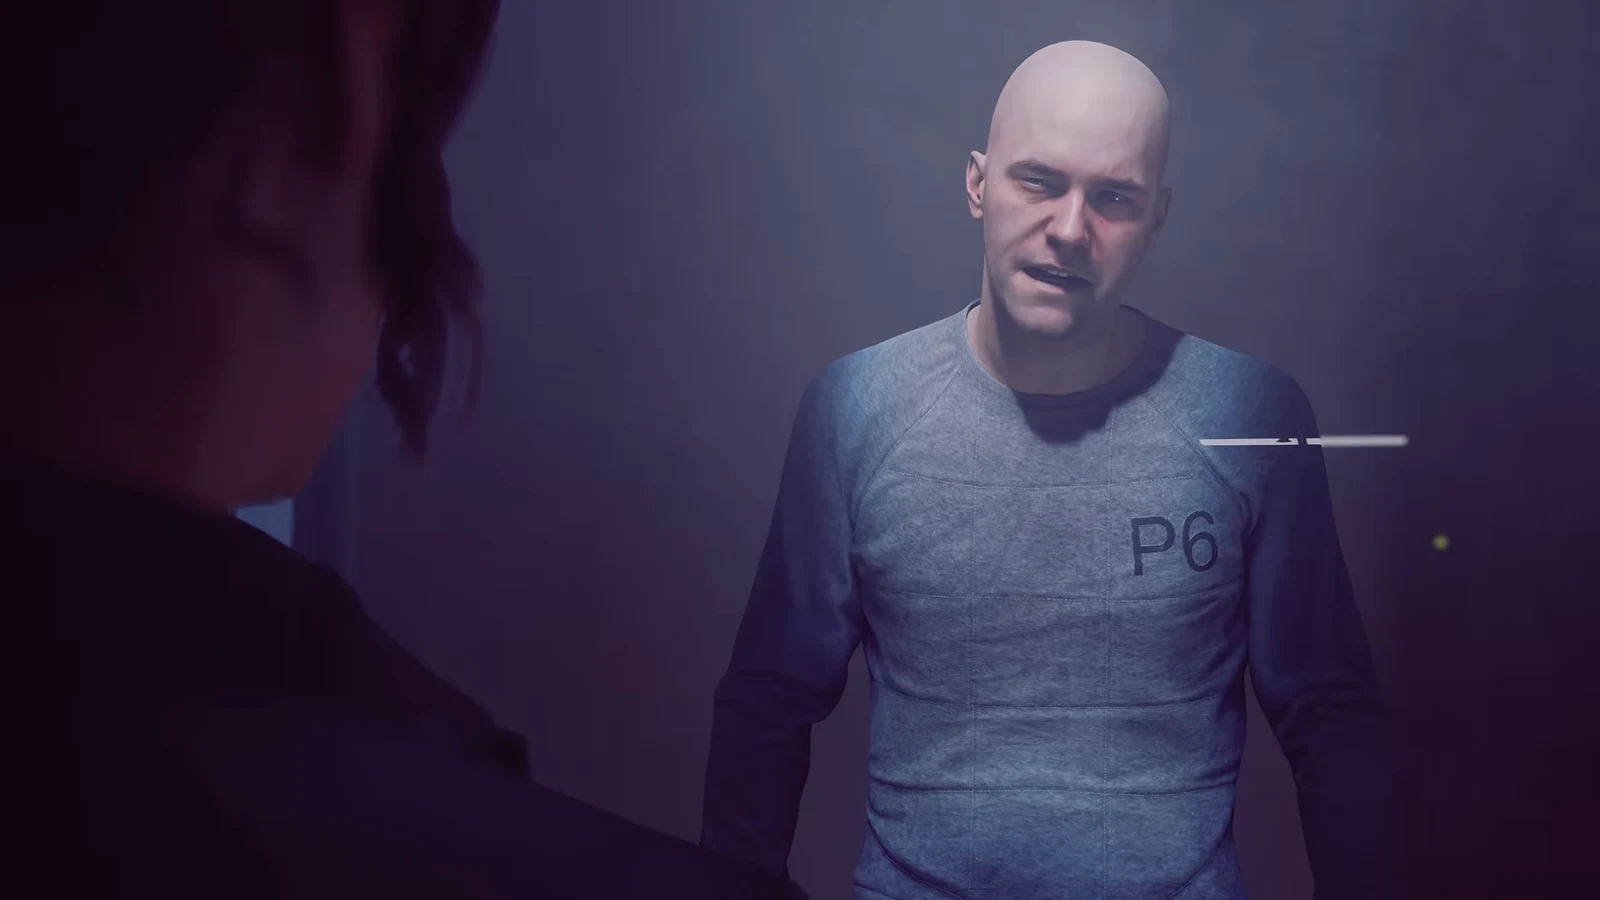
Advance to the vivid red entrance and go through it to trigger another past sequence, this time with you returning as your present self. Make for the Central Executive, then cross over to the far side when you reach a bright red section. Security Chief Arish is there. Speak with him, select any dialogue option, and go back with him to the entrance you used before.
Go through the western exit and continue forward. At one point, turn right and follow the hallway to an elevator. Press the button to call it and wait for Arish to work on the fault. The elevator stays dead, so exit and break the Hiss core feeding it.
Receive the Level 2 Keycard from Arish, then use it on the door to the north. Trace the red path and destroy the Hiss core waiting at its endpoint. Arish gets out of the building safely, so you must take care of your own way out.
Image credit: Remedy Entertainment via YouTube/@Trophy Tom
Escape the building and complete the quest
After the cutscene ends, defeat every enemy in the area so the route ahead opens. Use the path on the west side, then ride the elevator beside the checkpoint and choose the Ground Floor. On arrival, use the Level 2 Keycard on a nearby room to enter and collect additional items.
Walk out through the front doors to close out Evacuation Procedures. Completion is confirmed when the quest clears from your log, and you receive a Living Shard, the Agent Uniform, and Zone XP.
Once you leave the building, Arish’s Briefing becomes the next task. Its only requirement is a conversation with Arish at the Field Office in Central.