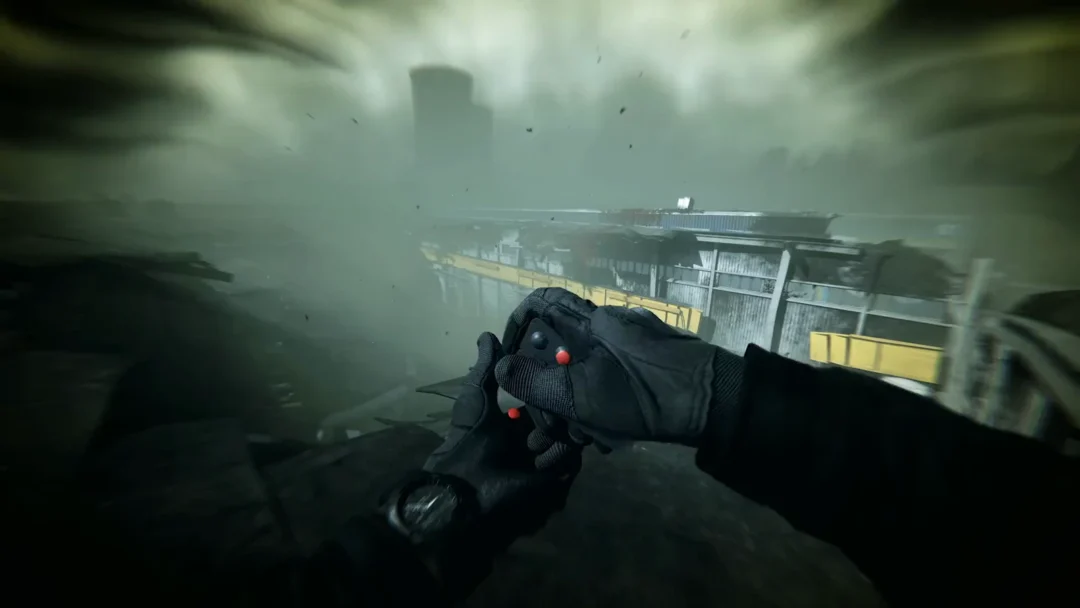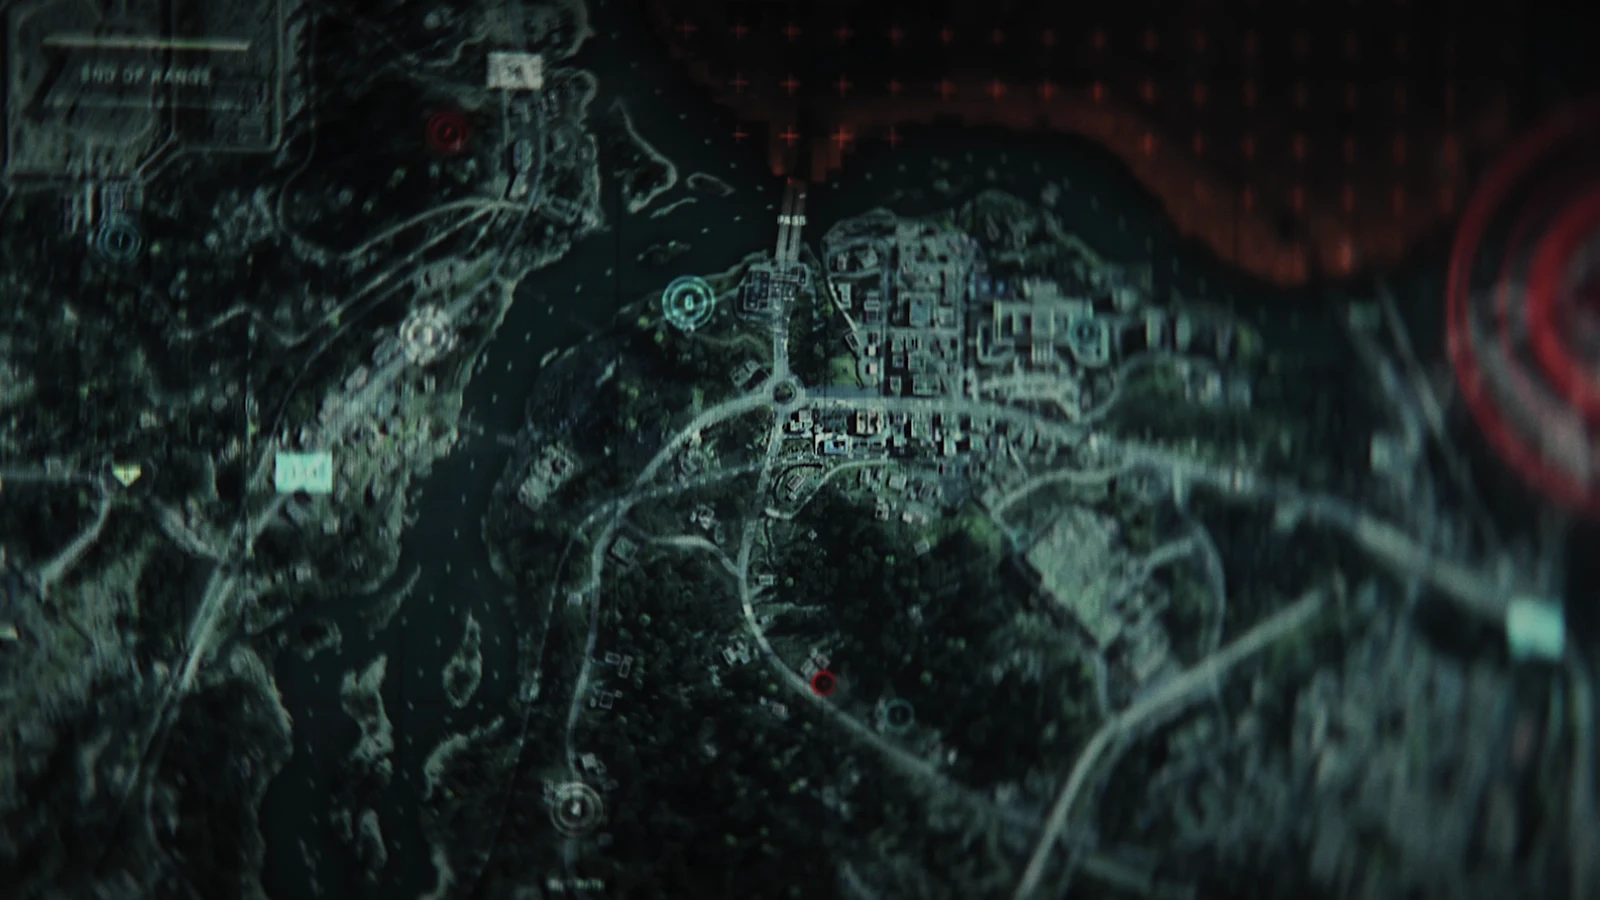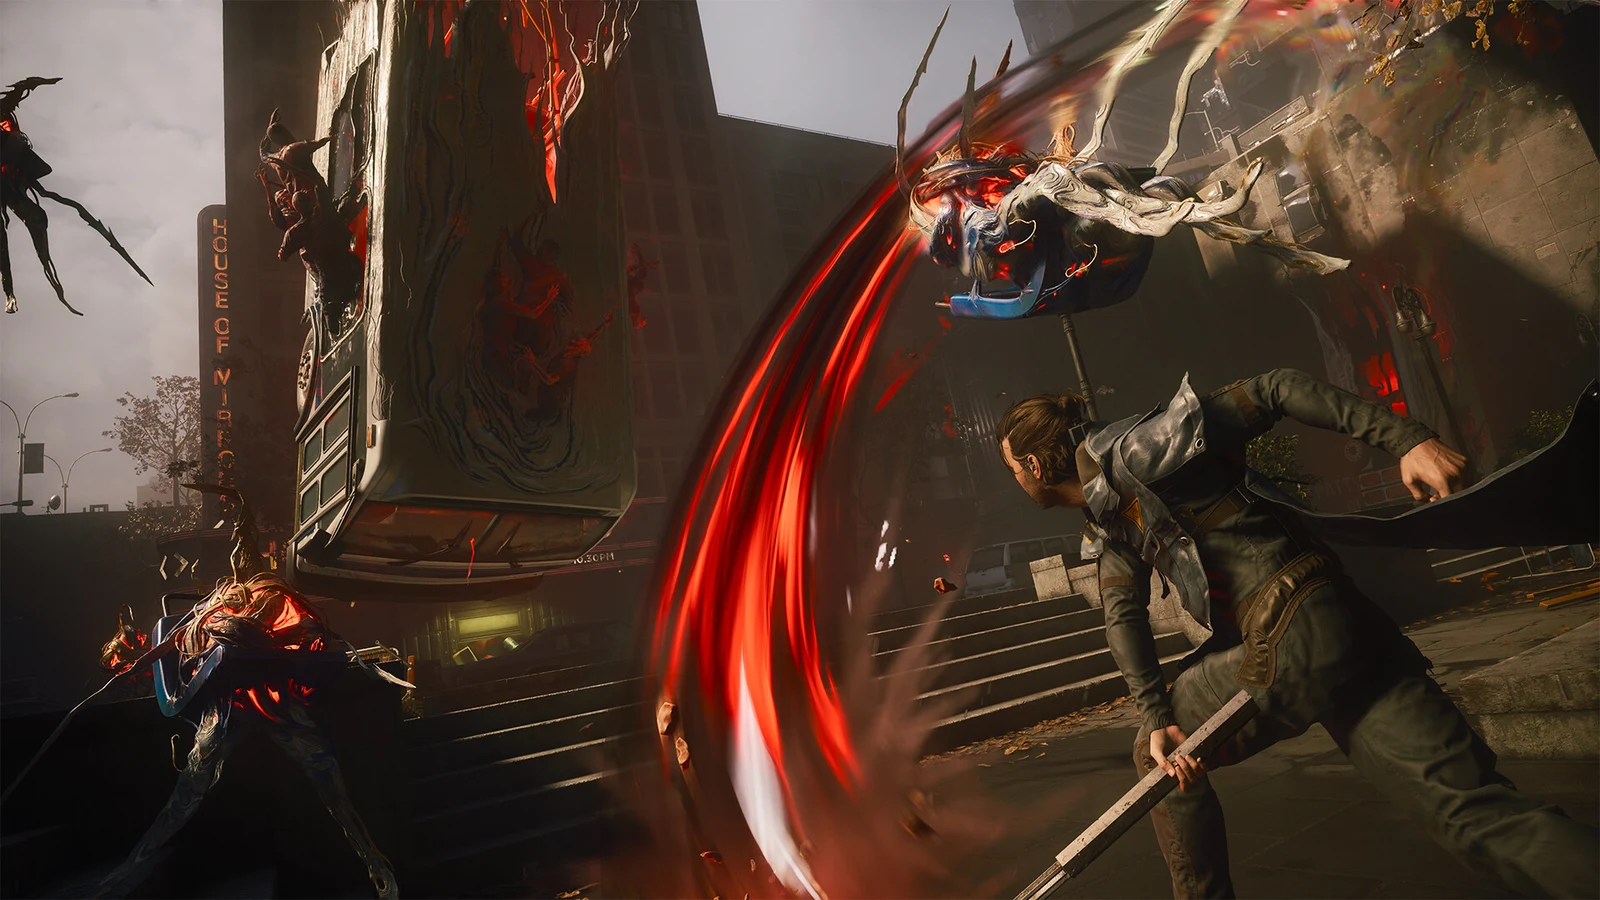
Control Resonant moves the fight out of the Oldest House and into a warped Manhattan, and the combat system changes shape with it. Dylan Faden’s toolkit is built around a transforming melee weapon, a stun-and-execute rhythm, and traversal powers that turn rooftops and collapsed streets into arenas. The early Downtown stretch is where all of those systems get introduced back to back.
Quick answer: Early Downtown fights run on melee momentum. Landing hits restores your Combat Ability resource and builds Falter, abilities stun enemies, and Executions on staggered targets temporarily raise your melee damage.
The Control Resonant combat loop: momentum, Falter, and Executions
Aggression is the resource engine. Melee hits refill Combat Ability, which is what your supernatural abilities spend, so backing off to recharge is the wrong instinct. Staying in close range is what keeps abilities available.
Damage also fills the Falter meter on an enemy. Once that meter is full, the target is stunned and open to an Execution, and abilities can stun enemies on their own to force the same opening. Each Execution grants a temporary melee damage boost, which feeds straight back into filling the next Falter bar.
- Melee hits restore Combat Ability.
- Damage builds Falter; abilities stun enemies directly.
- Executions on stunned enemies briefly increase melee damage.
- Defeated enemies drop Source, the currency picked up mid-fight.
Telekinesis is still in the mix. In open street fights, loose debris can be hurled at grounded and airborne enemies between melee strings, which is the fastest way to deal with flying Hiss that refuse to come down.
The Aberrant: primary forms, secondary forms, and combo enders
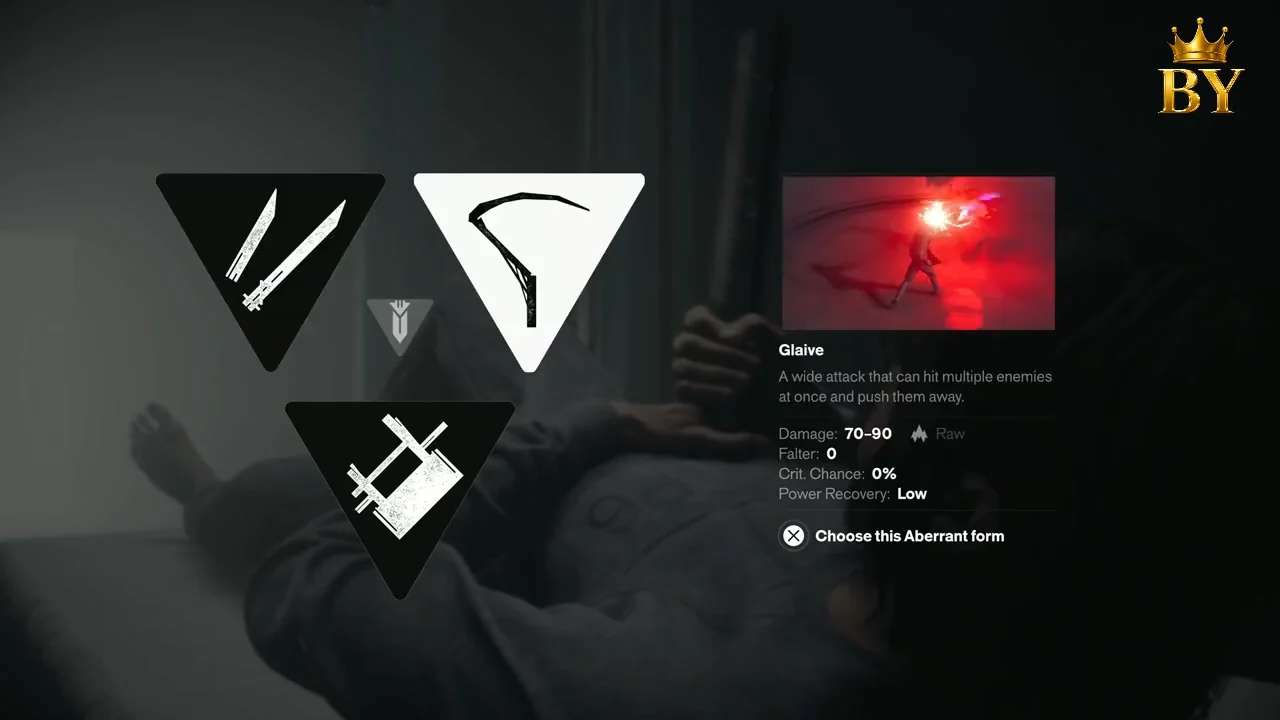
The Aberrant is Dylan’s transforming melee weapon, and it is the centre of every build. It splits into Primary Forms, Secondary Forms, and Combo Enders, each with its own perk tree in the skill menu, so speed, reach, and crowd control are all tuned through the same weapon.
The first choice happens inside the Oldest House, before Manhattan. Dylan touches a monument on the Astral Plane and picks a primary form from Strike, Cleave, or Glaive.
The second choice arrives after the first real arena fight on the surface, once an opening wave of Hiss is cleared. The upgrade menu offers Crush, Drill, or Extend as a secondary form; Crush adds a slower hammer-style follow-up combo that pairs with the faster primary strings.
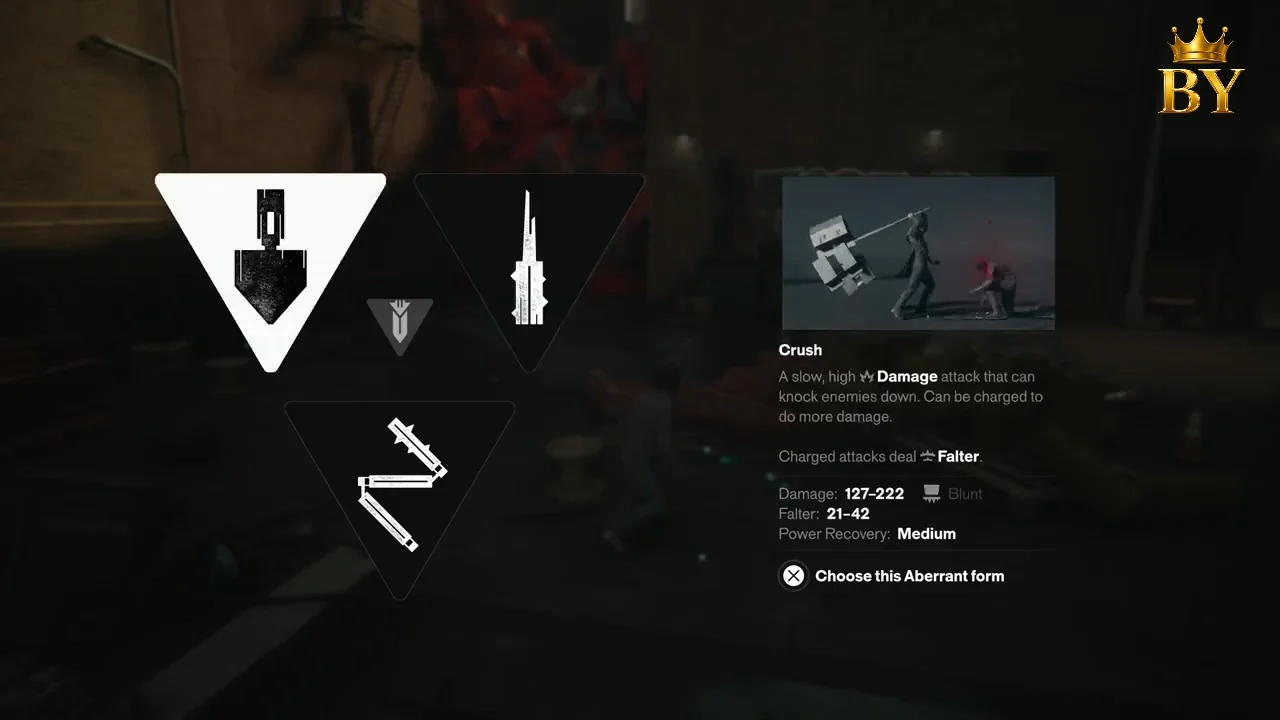
| Slot | Options | Where it is chosen |
|---|---|---|
| Primary Form | Strike, Cleave, Glaive | Astral Plane monument, before leaving the Oldest House |
| Secondary Form | Crush, Drill, Extend | After the first surface arena encounter |
| Combo Enders | Unlocked via perk tree | Skill menu tab alongside the form trees |
Perks sit on branching trees gated by stat thresholds. Dodge Attack, for example, unlocks at 17 Aberrant Strength and launches enemies for bonus damage when you press Square immediately after a Circle dodge.
Movement abilities unlocked before Downtown
Three traversal powers are handed out in a single dreamlike sequence. Following a vision of Jesse leads through a golden grass landscape where Dylan interacts with three television sets in turn, each one granting a movement ability.
| Ability | Where it is granted | Combat use |
|---|---|---|
| Double Jump | First TV in the dreamscape | Reaching airborne enemies and rooftop gaps |
| Elevate | Second TV, on a floating ledge | Gaining height across alleys and platforms |
| Rush | Third TV, on a carpeted platform | Sprinting between arenas and closing distance |
Once you are back in the real city, those combine with Dodge and Dash. The Downtown 1 stretch is built around them, with jumps across deep red-lit alleys between high-rises that only work if Elevate and Dash are chained together.
Early Downtown enemies and arena rules
The first proper arena on the surface comes with a tutorial overlay that introduces three things at once: Heavy enemies, Drone enemies that respawn until the encounter ends, and the mini-radar that tracks where the remaining hostiles are.
From there, encounters escalate quickly. Rooftops mix standard Hiss guards with Heavies, later chambers add teleporting and flying foes plus crimson laser fire, and a circular red-fog arena throws explosive attacks into the rotation. Clearing an area can award a Talent Point +1.
Arenas are frequently gated. Some doors are marked with clearance levels, and others read “Opens remotely” and stay shut until you find and activate an electrical panel elsewhere in the area.
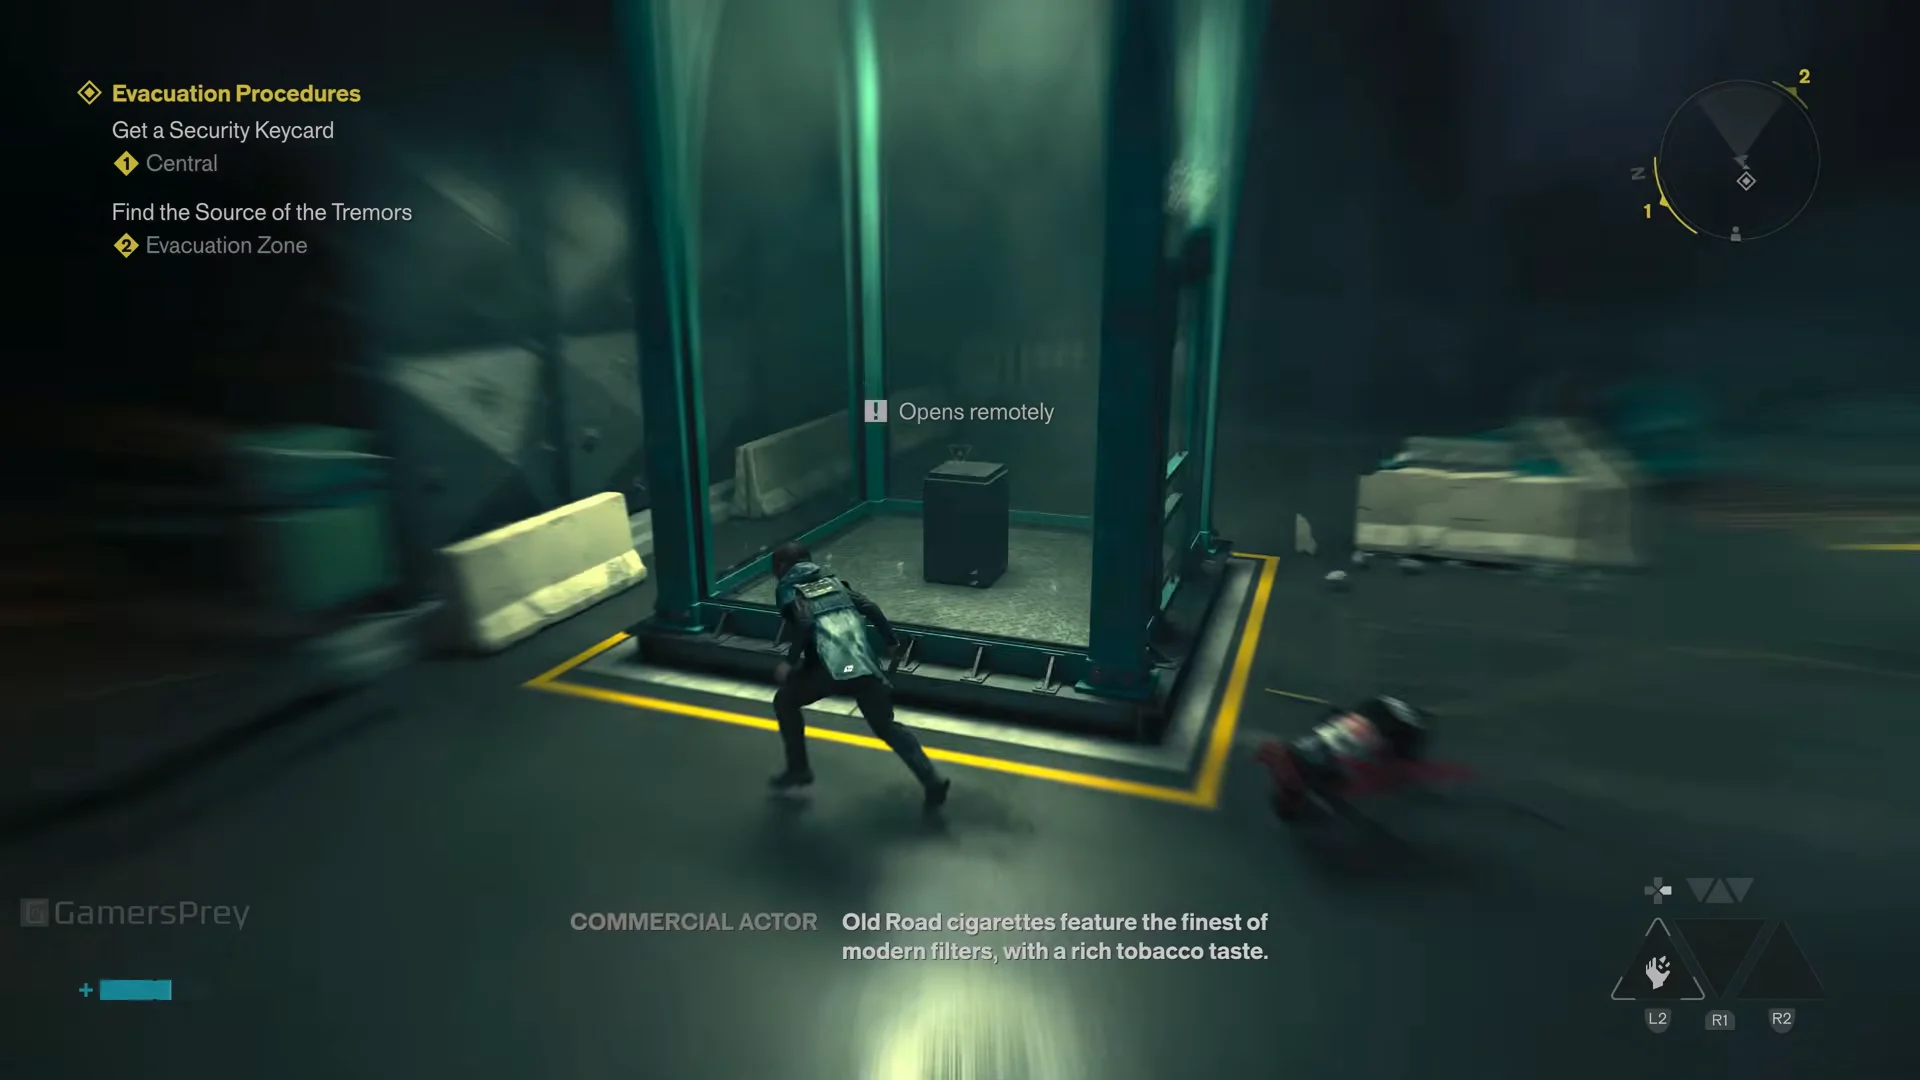
Glowing doorways double as fast travel points once activated, so touching one when you pass it saves a return trip through cleared territory.
Building your loadout in the Gap
While you are out of combat, press down on the DualSense directional pad to enter the Gap, a dreamlike realm connected to Dylan’s psyche and used for assembling builds. Progression in this space has three foundations: Supernatural Combat Abilities gained by defeating powerful Resonants, Weapon Forms for the Aberrant, and Talents that connect abilities with melee attacks.
The Loadout menu assigns abilities to L2, R1, and R2, with a second slot set available for a swappable configuration. Every entry lists full numbers, so build performance is readable rather than guesswork. Seekers, a summon that spawns a volatile telekinetic entity you can throw and detonate, breaks down like this.
| Stat | Value |
|---|---|
| Blunt-type Projectile Damage | 189 |
| Raw-type Explosion Damage | 236–787 |
| Projectile Falter | 63 |
| Explosion Falter | 24–189 |
| Resource Cost | 300 |
| Launch Resource Cost | 120 |
Summons provide the primary alternative to relying entirely on close-range combat. Mold Turrets fight independently and inflict harmful status effects, making them useful for a tactical setup when an arena continually produces Drones. Remedy has confirmed that one playthrough cannot unlock everything, while some Resonants present branching ability options that steer builds along different paths. Platform information is available in the game’s PlayStation store listing.
Early boss fights in Downtown Manhattan
Resonants are the major boss encounters woven into story progression, and defeating one grants its unique ability. Two of them anchor the early Manhattan hours.
The stone head Resonant
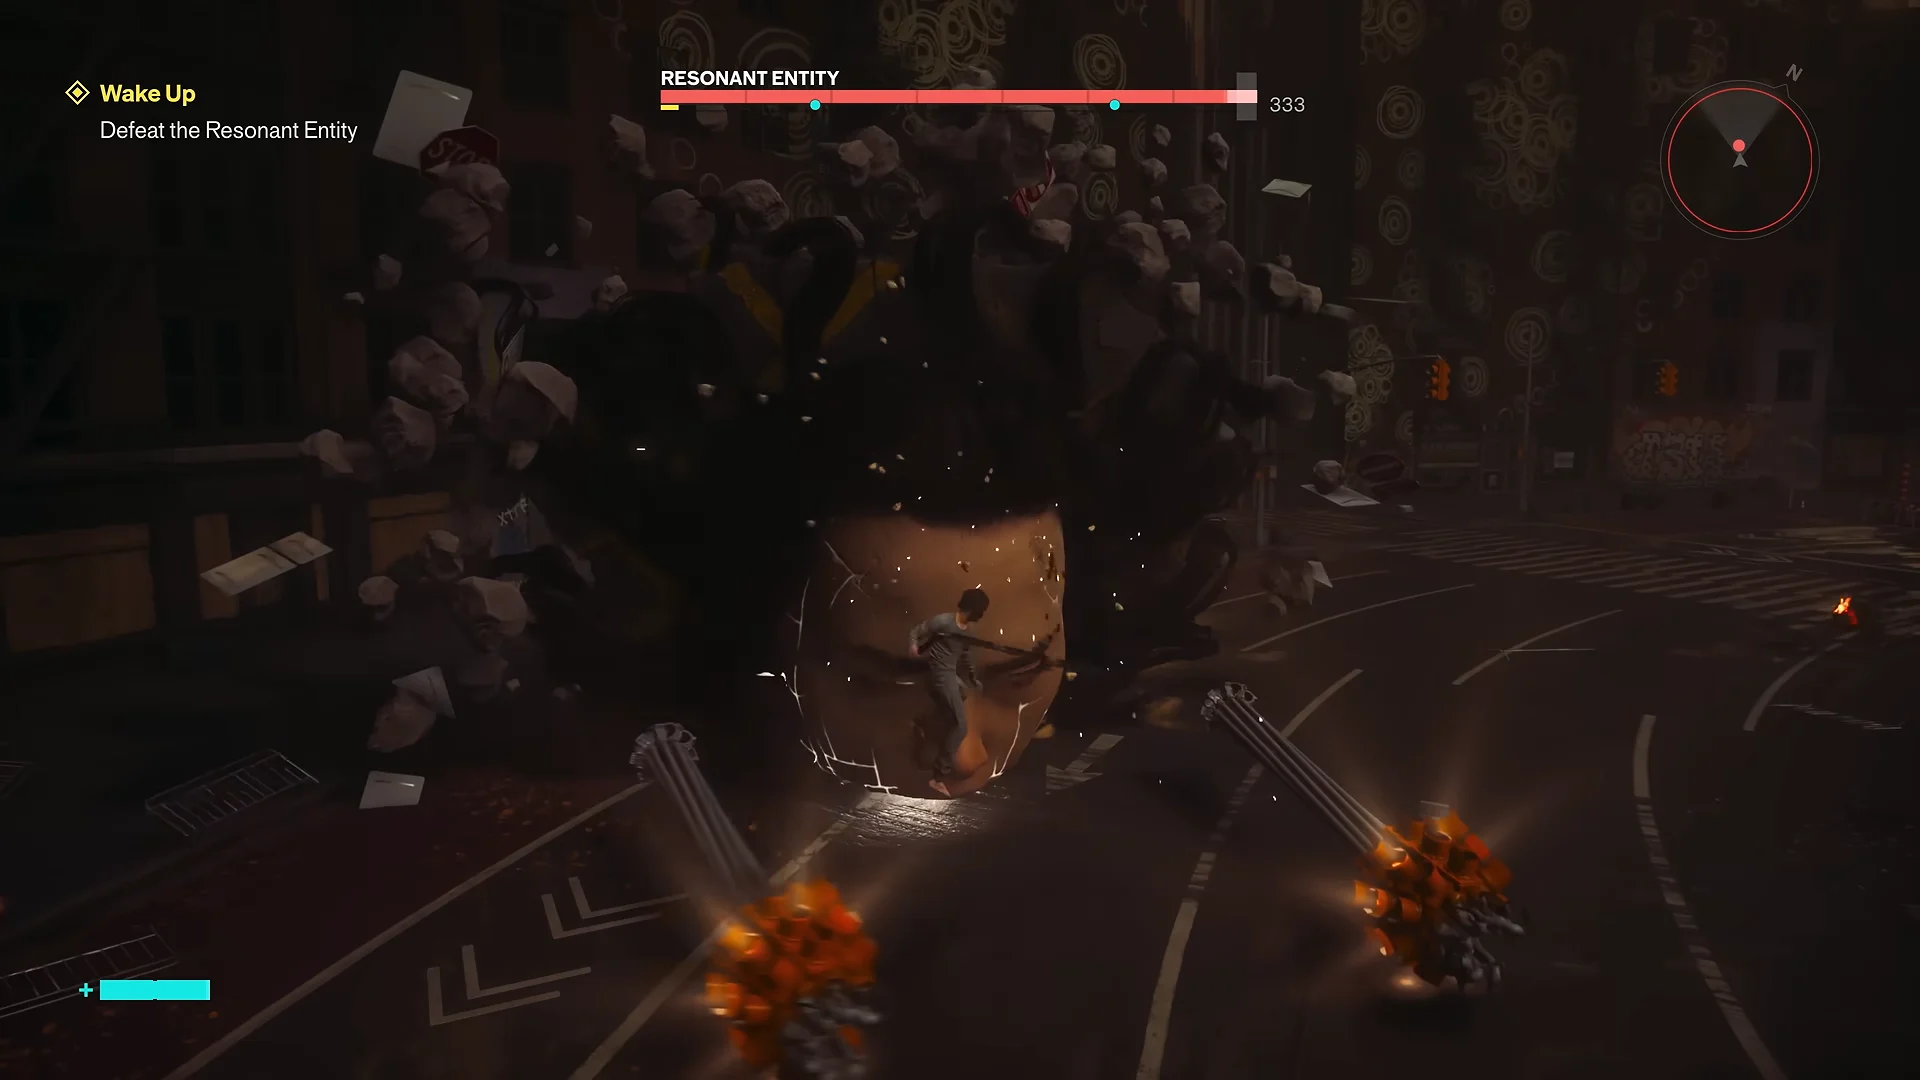
Following the Patterning leads through a stylised exhibition hall lined with circular black murals, ending at a grand double door. The cutscene that follows drops a gigantic cracked stone head out of a rift and onto a city intersection, with the objective set to defeat it.
The opening phase is ground-level. The head fires shockwaves and hurls vehicle debris while you dodge in and strike it directly.
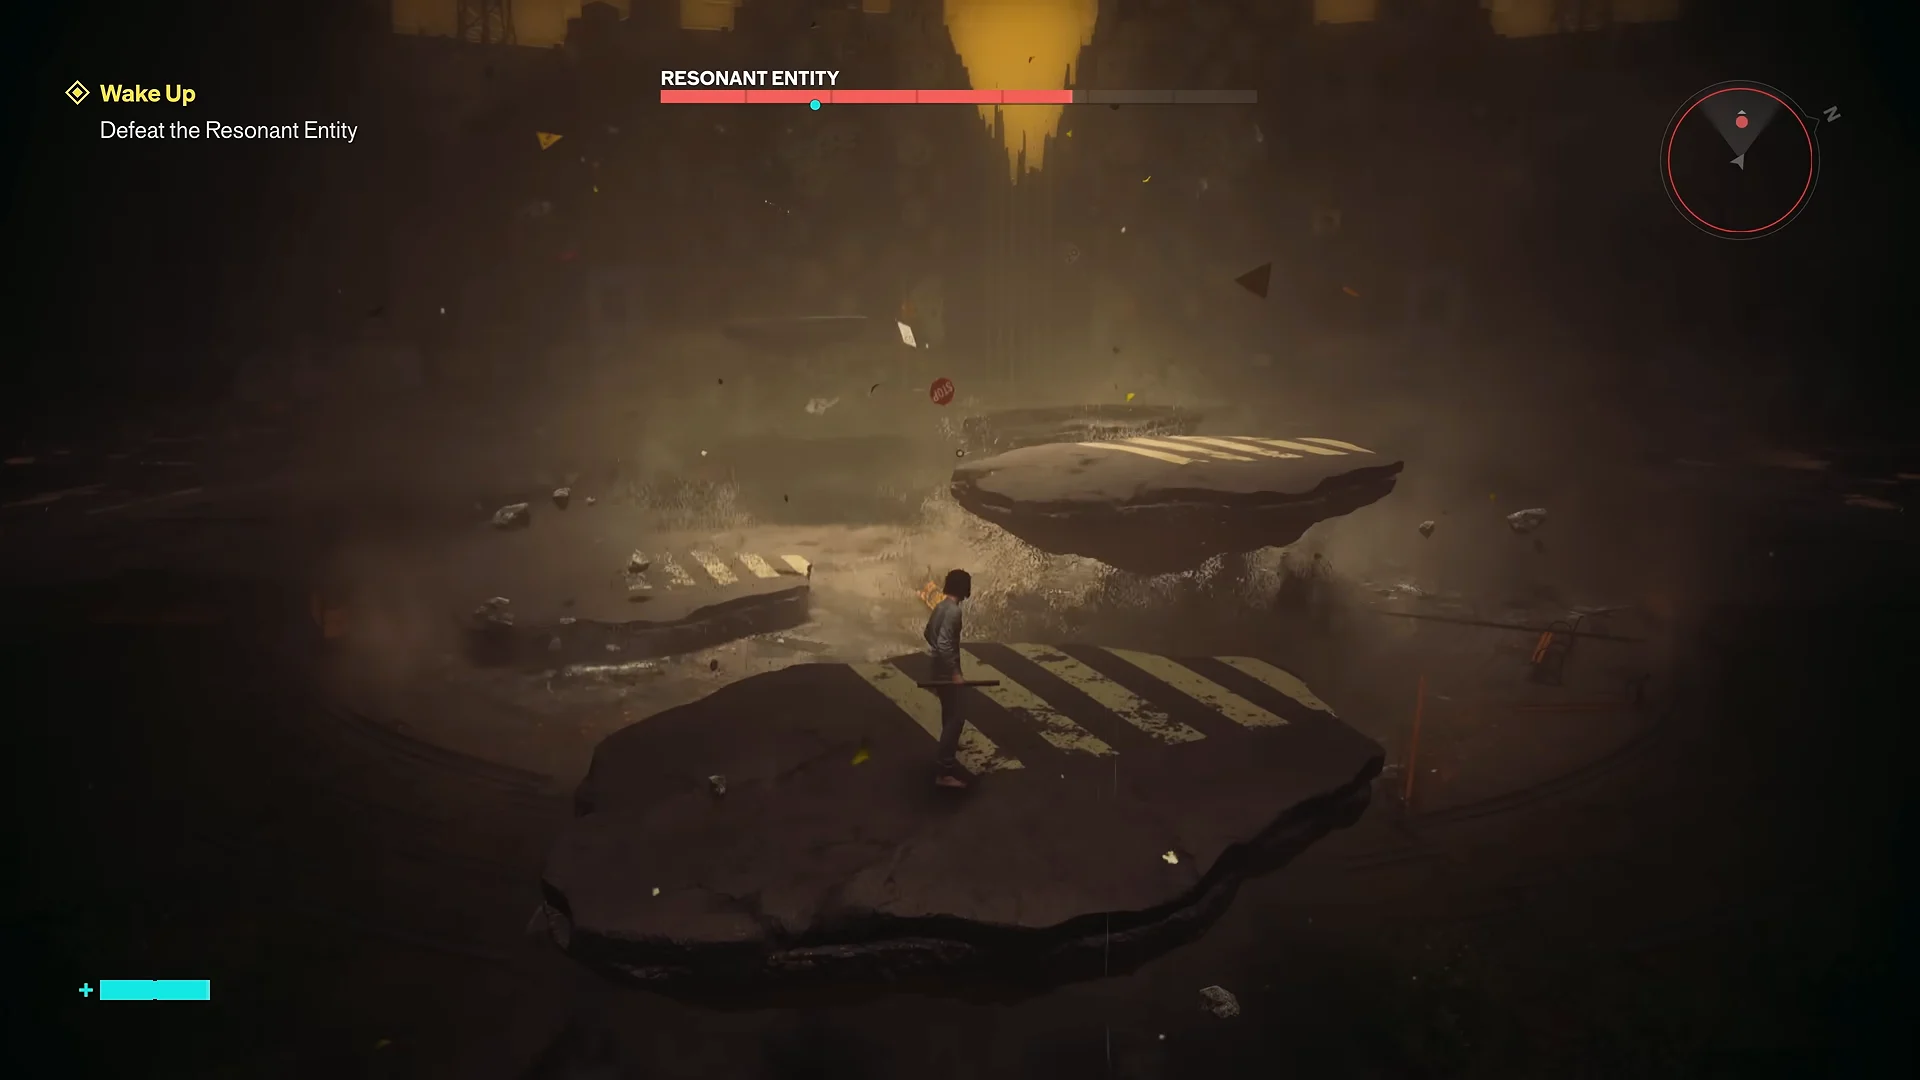
The second phase changes the floor entirely. The boss rises into the air and tears up chunks of asphalt, so the arena becomes a set of floating platforms you have to jump between while continuing to attack.
The Deserter
A lava trail leading into a furnace updates the quest to The Central Resonant. Dropping into the fiery core triggers a cinematic in which molten cables and magma pull together into The Deserter, a huge burning creature suspended from above.
Control of the arena floor determines this battle. Lava waves, flame bursts, and impacts that raise pillars of fire fill the boss’s attack pattern, making movement more important than maintaining constant damage. Each head slam creates an opening: once the head is planted, purple and red weak points on the body glow and can be hit. The finishing cutscene clearly shows the creature’s glow fading before its body turns into black, scorched stone and falls apart.
Named Hiss enemies in the Evacuation Zone
Not every named encounter is a Resonant. Moving through the floating apartment cubes toward Evacuation Zone 2 puts you against a corrupted humanoid labelled Anne with Hiss support, then a heavily armoured foe labelled Marie inside a furnished living room. Both are fought in cramped interiors, which limits dodge space and favours the shorter, faster Aberrant forms.
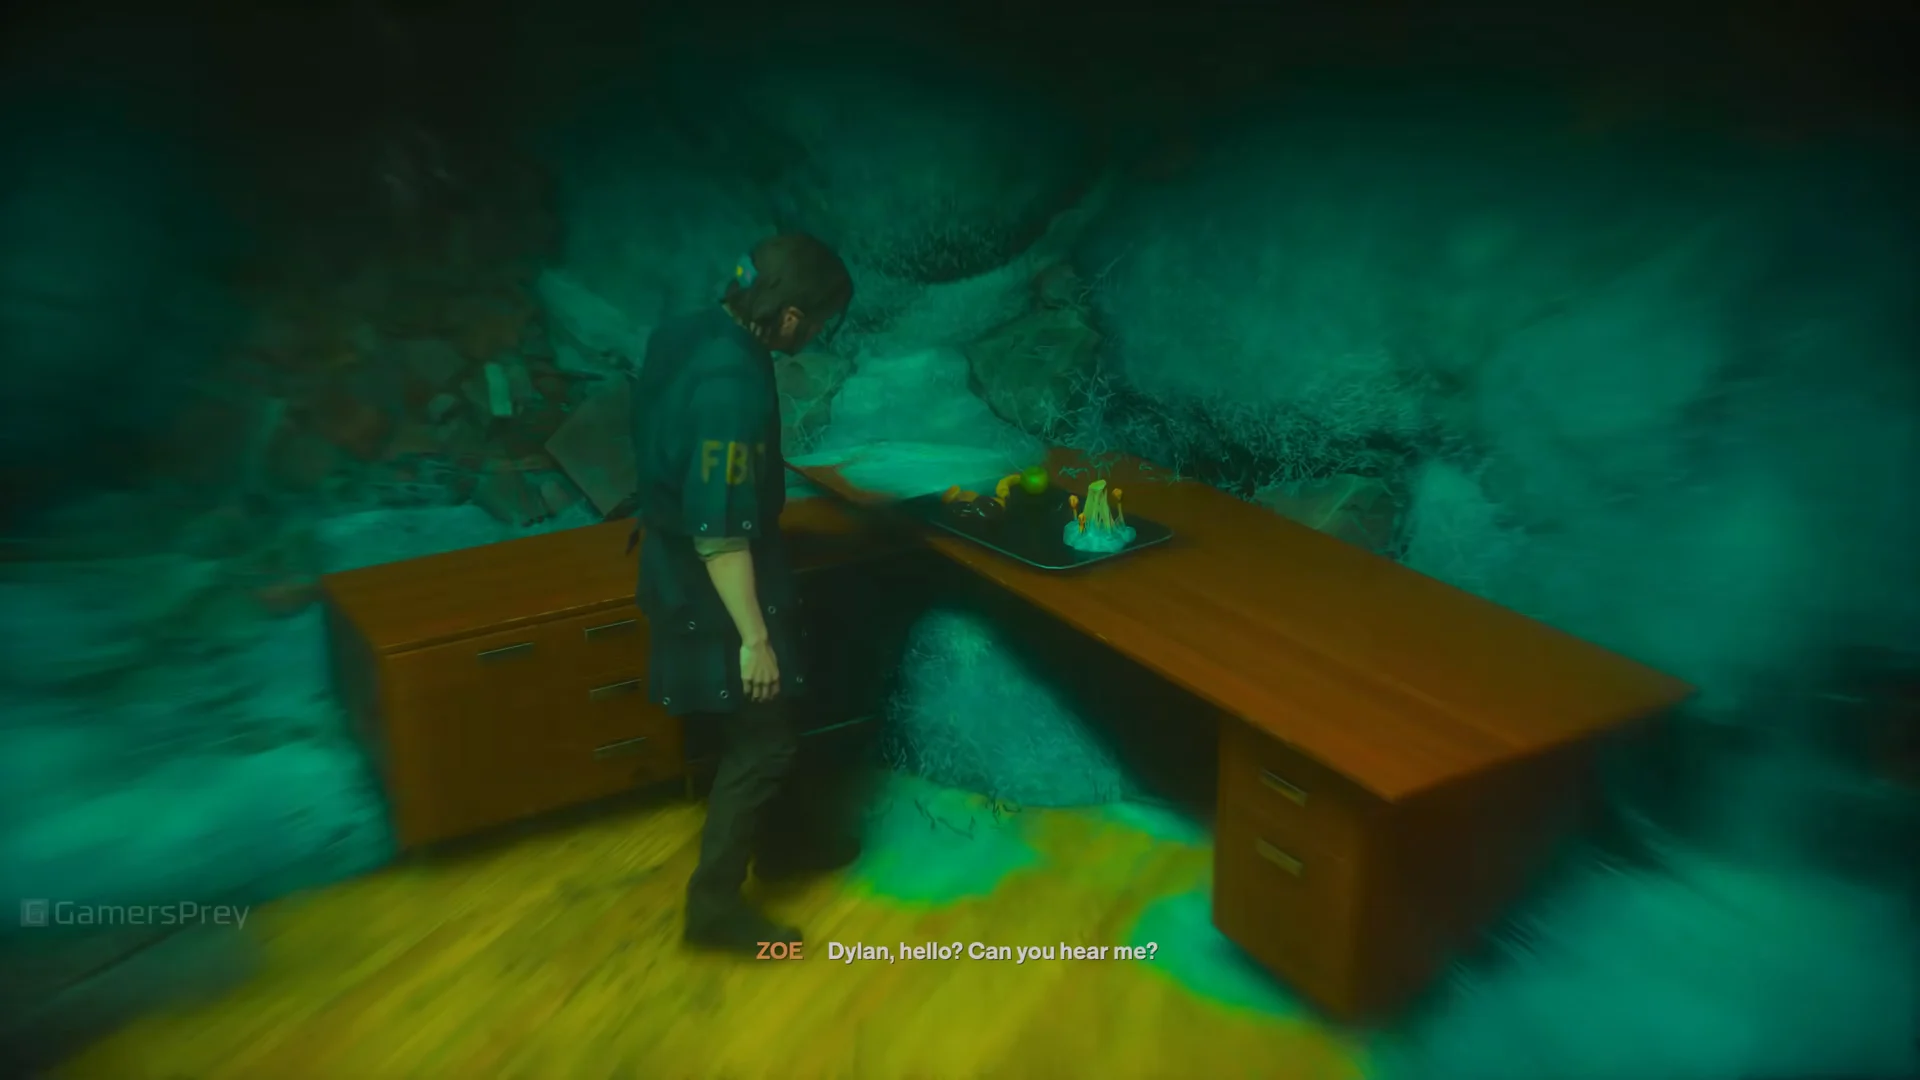
Taken together, the early Downtown hours are a deliberate on-ramp: two Aberrant form choices, three traversal powers, the Falter and Execution rhythm, and a pair of Resonant fights that each reward you with a new ability. Manhattan itself is split into handcrafted zones rather than a single open map, with Dylan’s Journey as the main campaign and self-contained World Quests sitting alongside it, so the systems you settle on in these first fights carry into everything that follows.