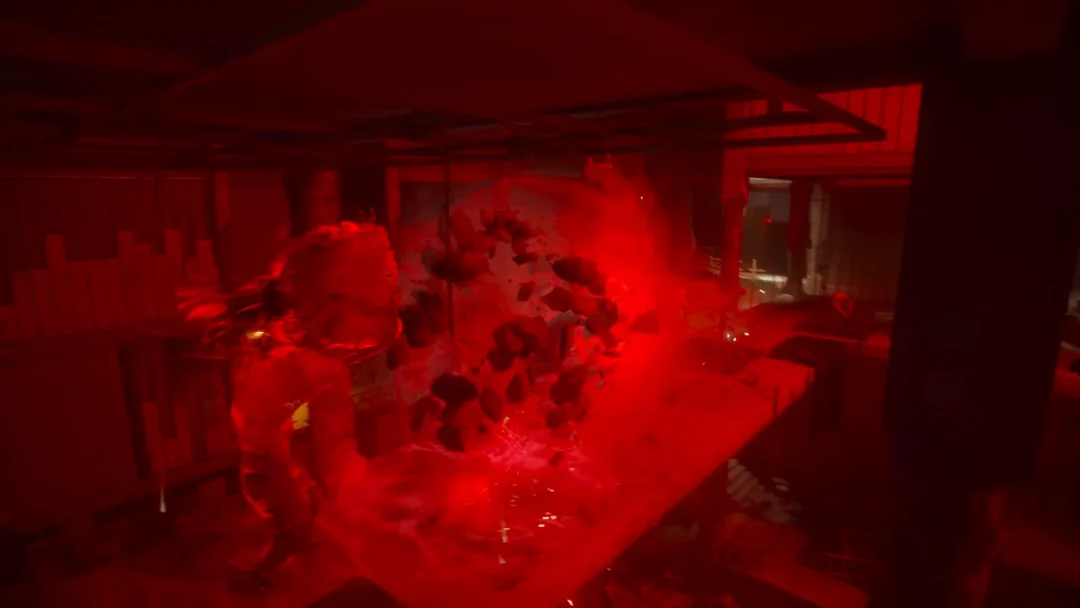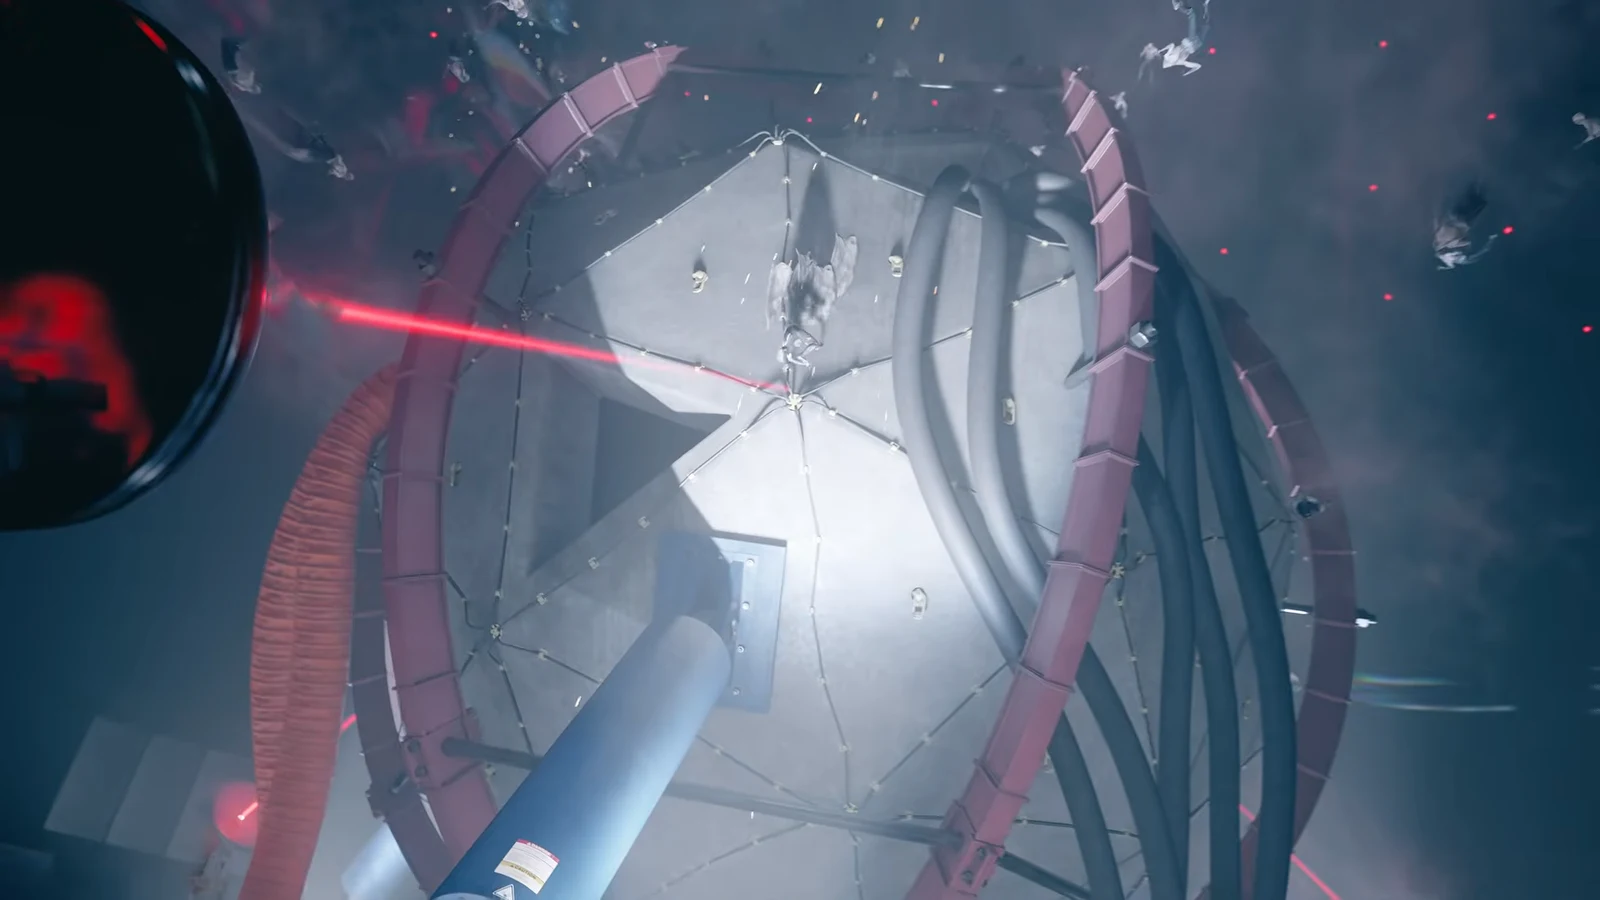
“Follow the CFD and Use the Switch” is one of the late objectives in the Enemy of My Enemy mission of Control Resonant. It drops Dylan Faden into a collapsing pocket of dimensional geometry, where the Cancellation Field Device has spun out of control and started warping Manhattan into floating debris. The goal reads as a shutdown, but the switch at the end of the route does not stop the device. It only pushes the mission into its next step.
Quick answer: Chase the yellow conduit cables through the shifting corridors and floating platforms until you reach the switch terminal, then interact with it. The switch fails to disable the CFD, so the objective updates to Destroy the CFD.
What this objective asks you to do
The quest description frames it plainly. The CFD worked, but it is now out of control, and you have to follow it, reach the switch, and try to shut it down before the whole city and everyone in it gets Patterned. Arish talks over the radio for most of the run, warning that the switch has been patterned into the CFD and that power cannot simply be cut.
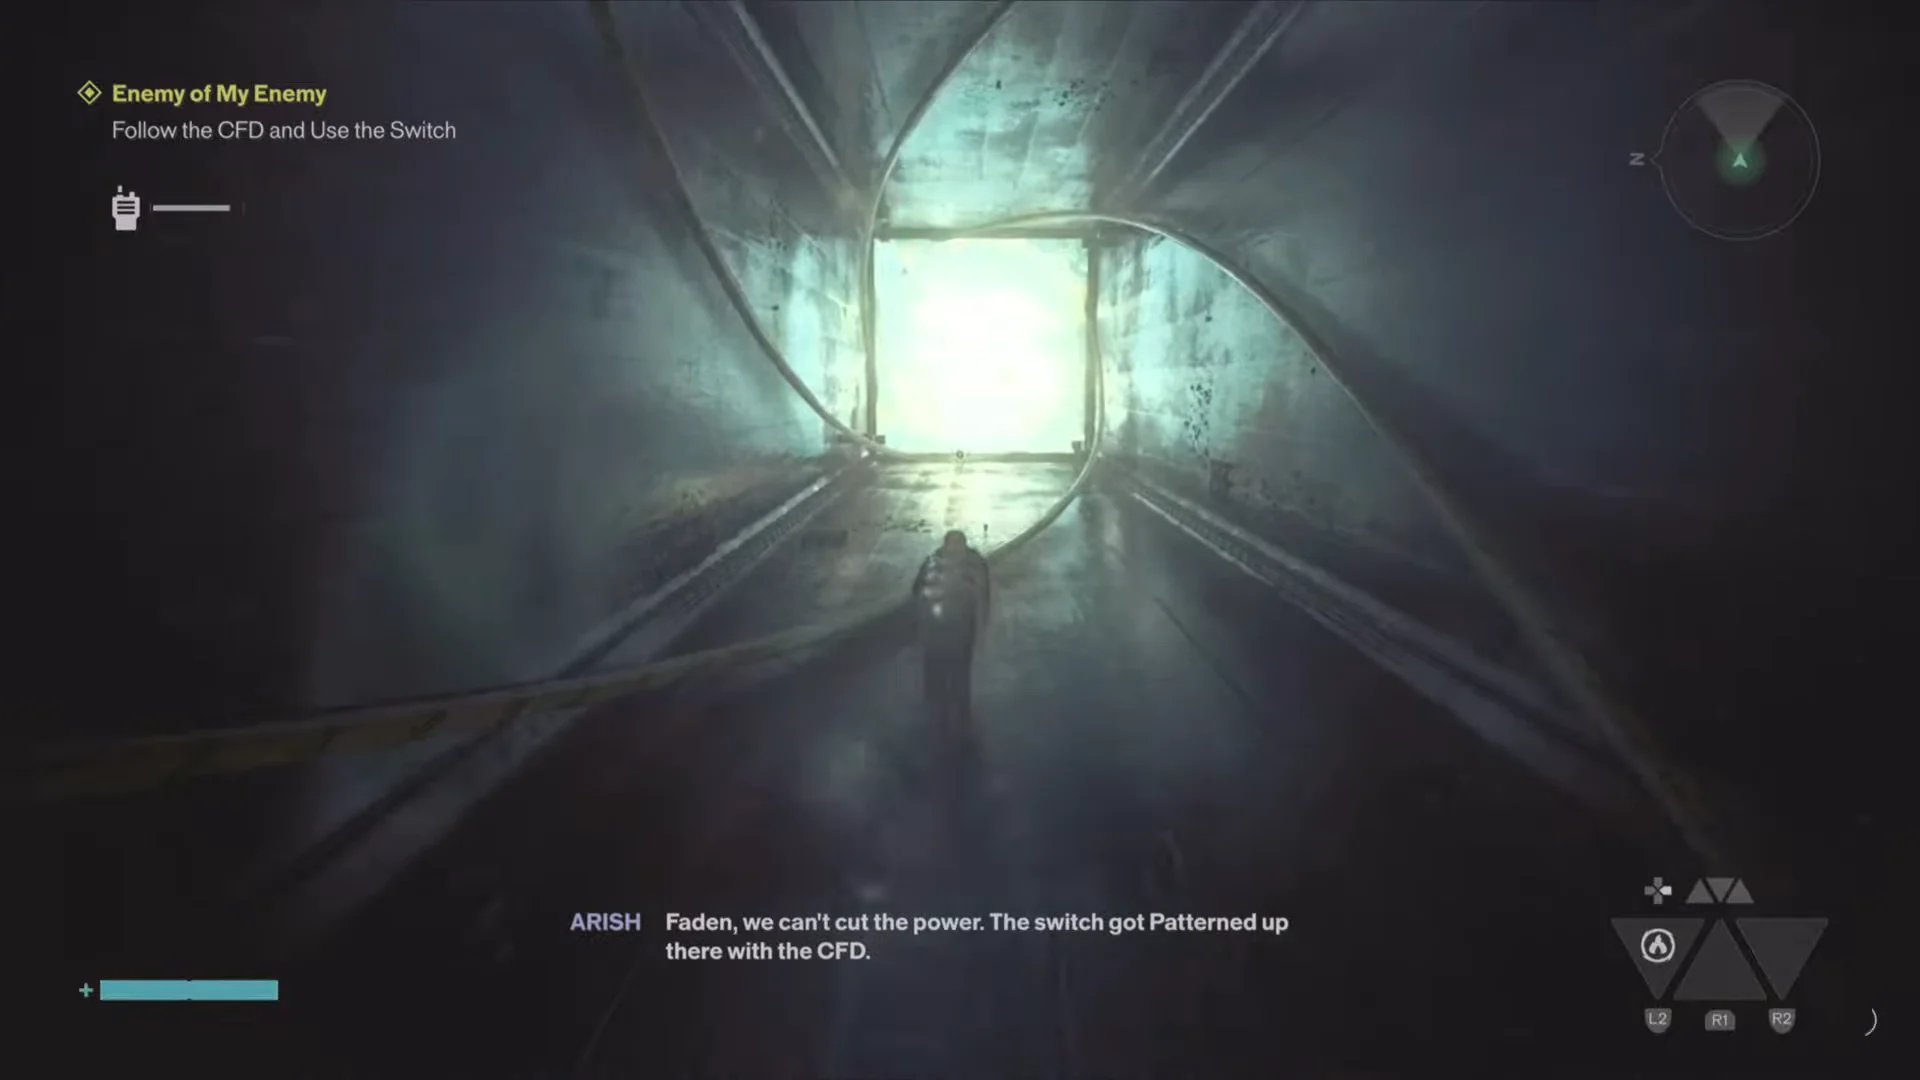
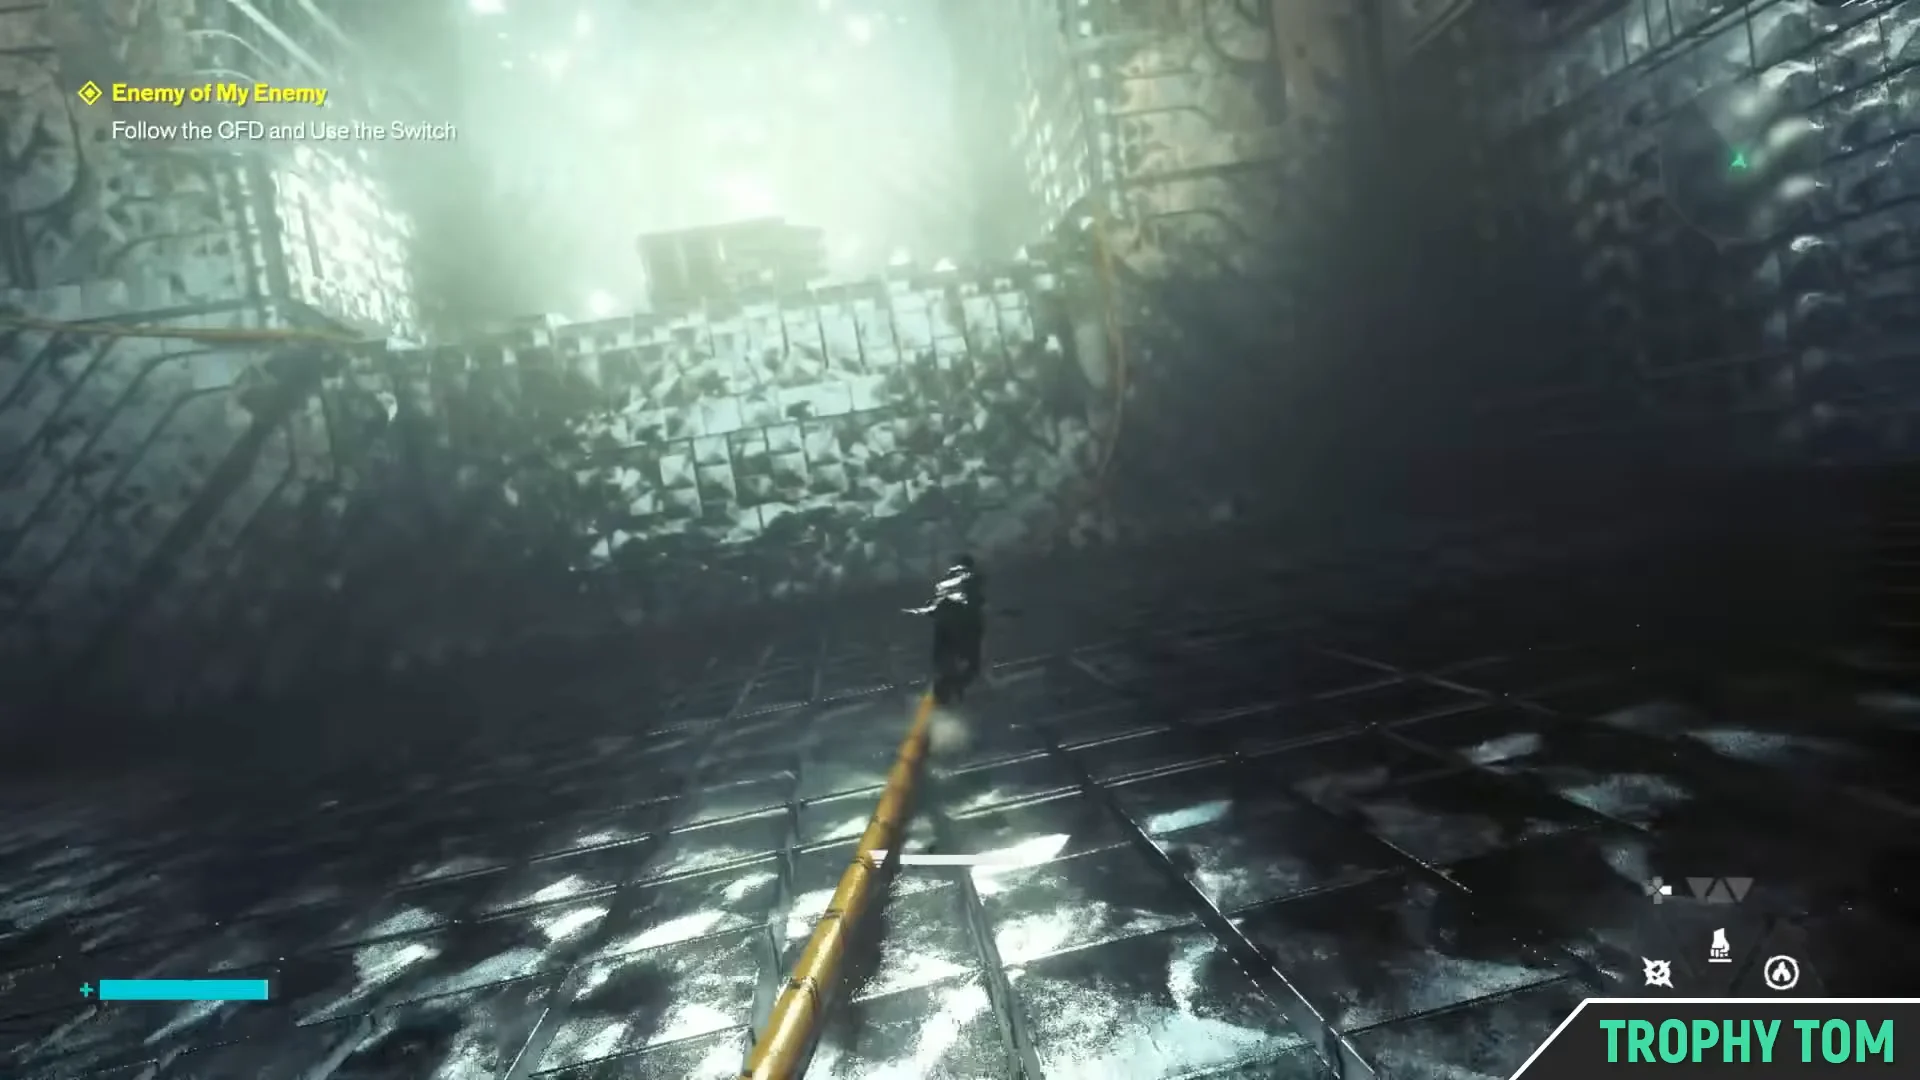
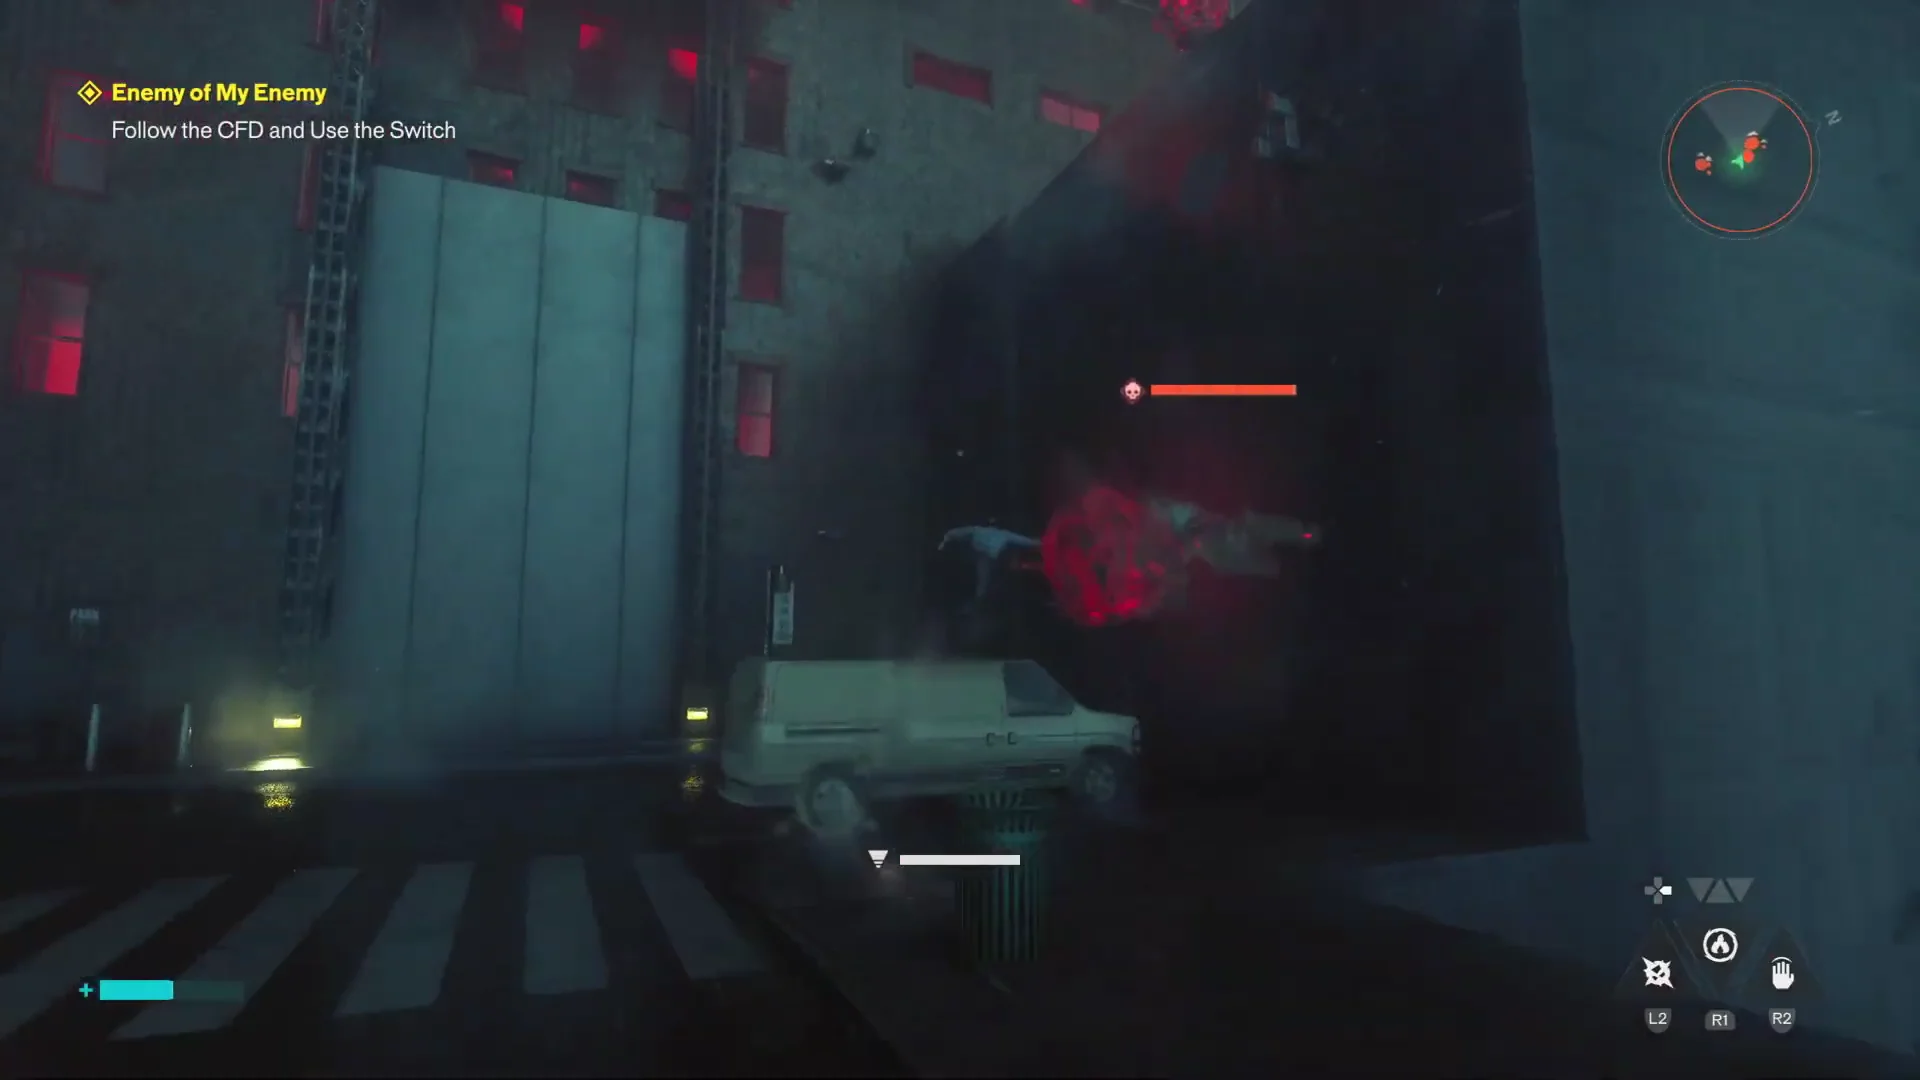
There is no combat gate that must be cleared to finish this step. Enemies appear along the way, but the objective is fundamentally a traversal sequence. The single most reliable navigation aid is the yellow conduit cable that runs through every room, corridor, and gantry. Wherever the geometry falls apart, the cable marks the direction the CFD went.
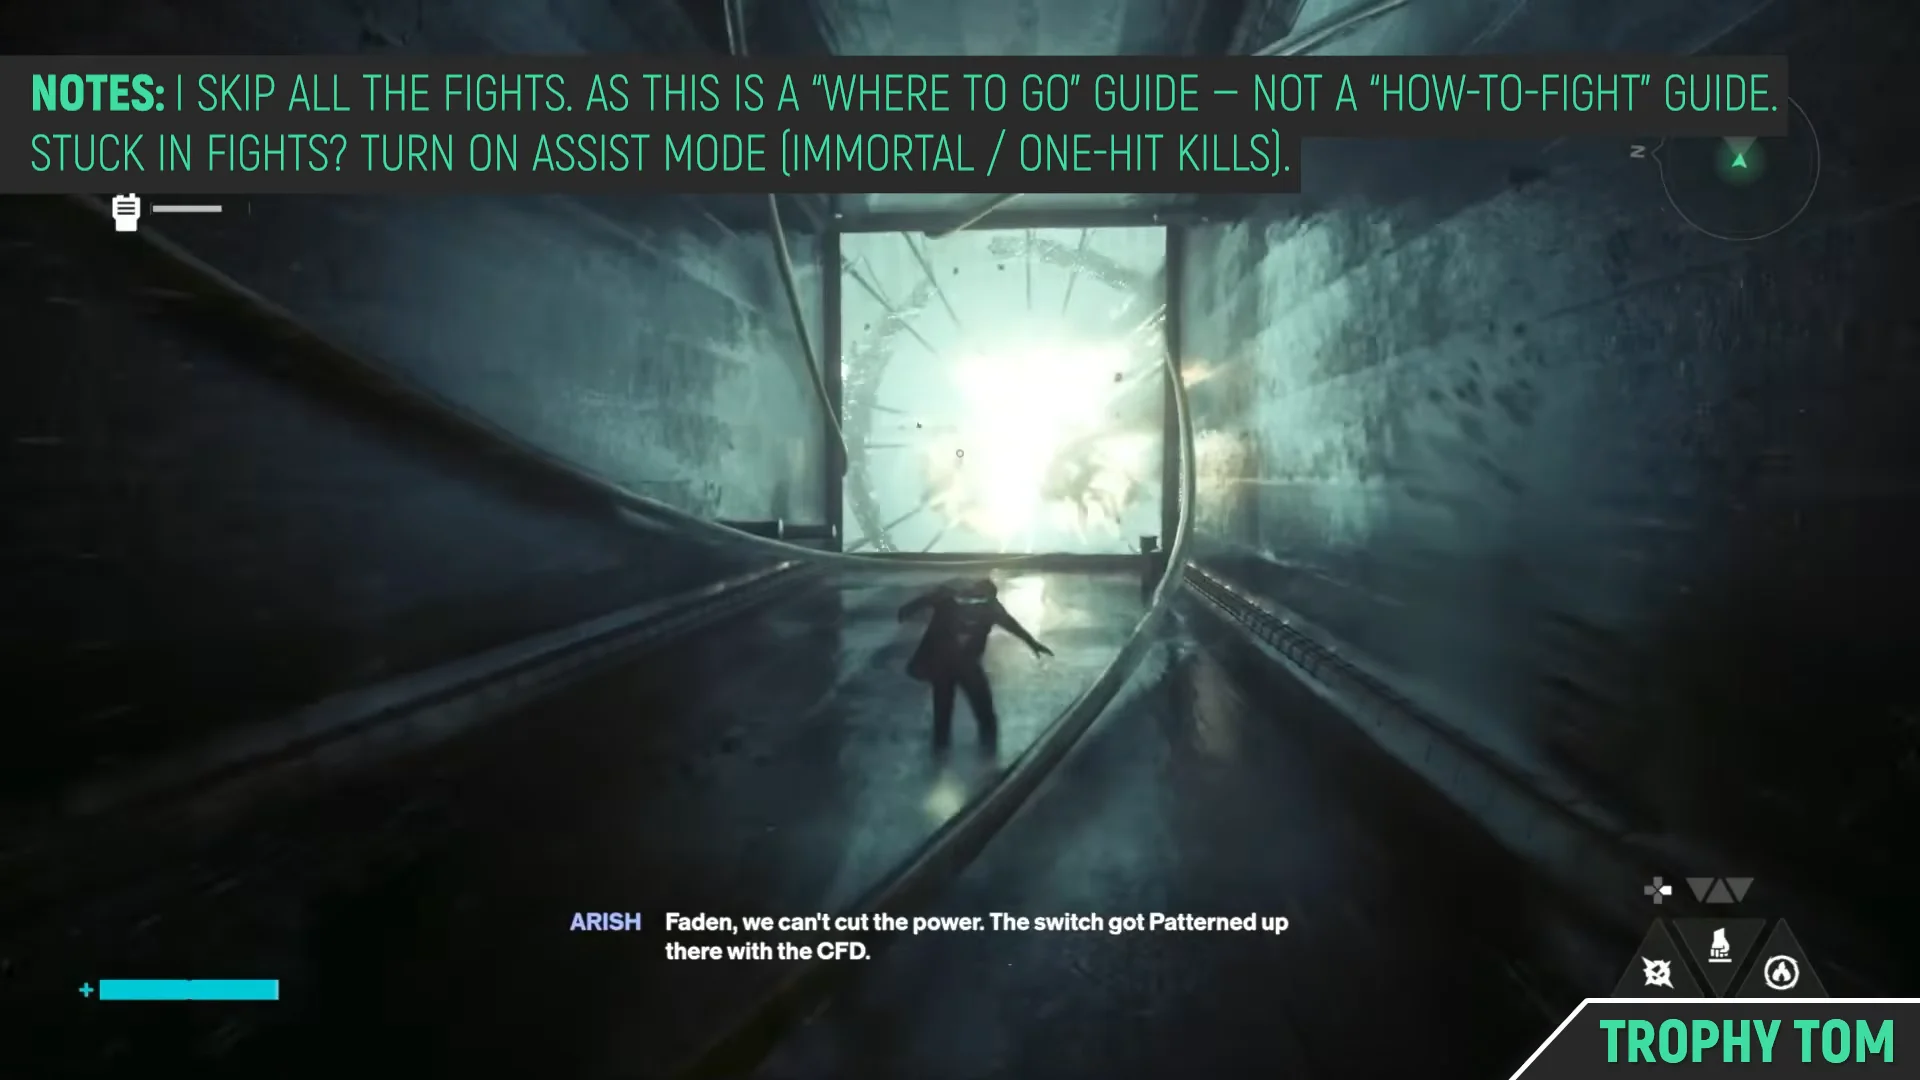
Route to the switch terminal
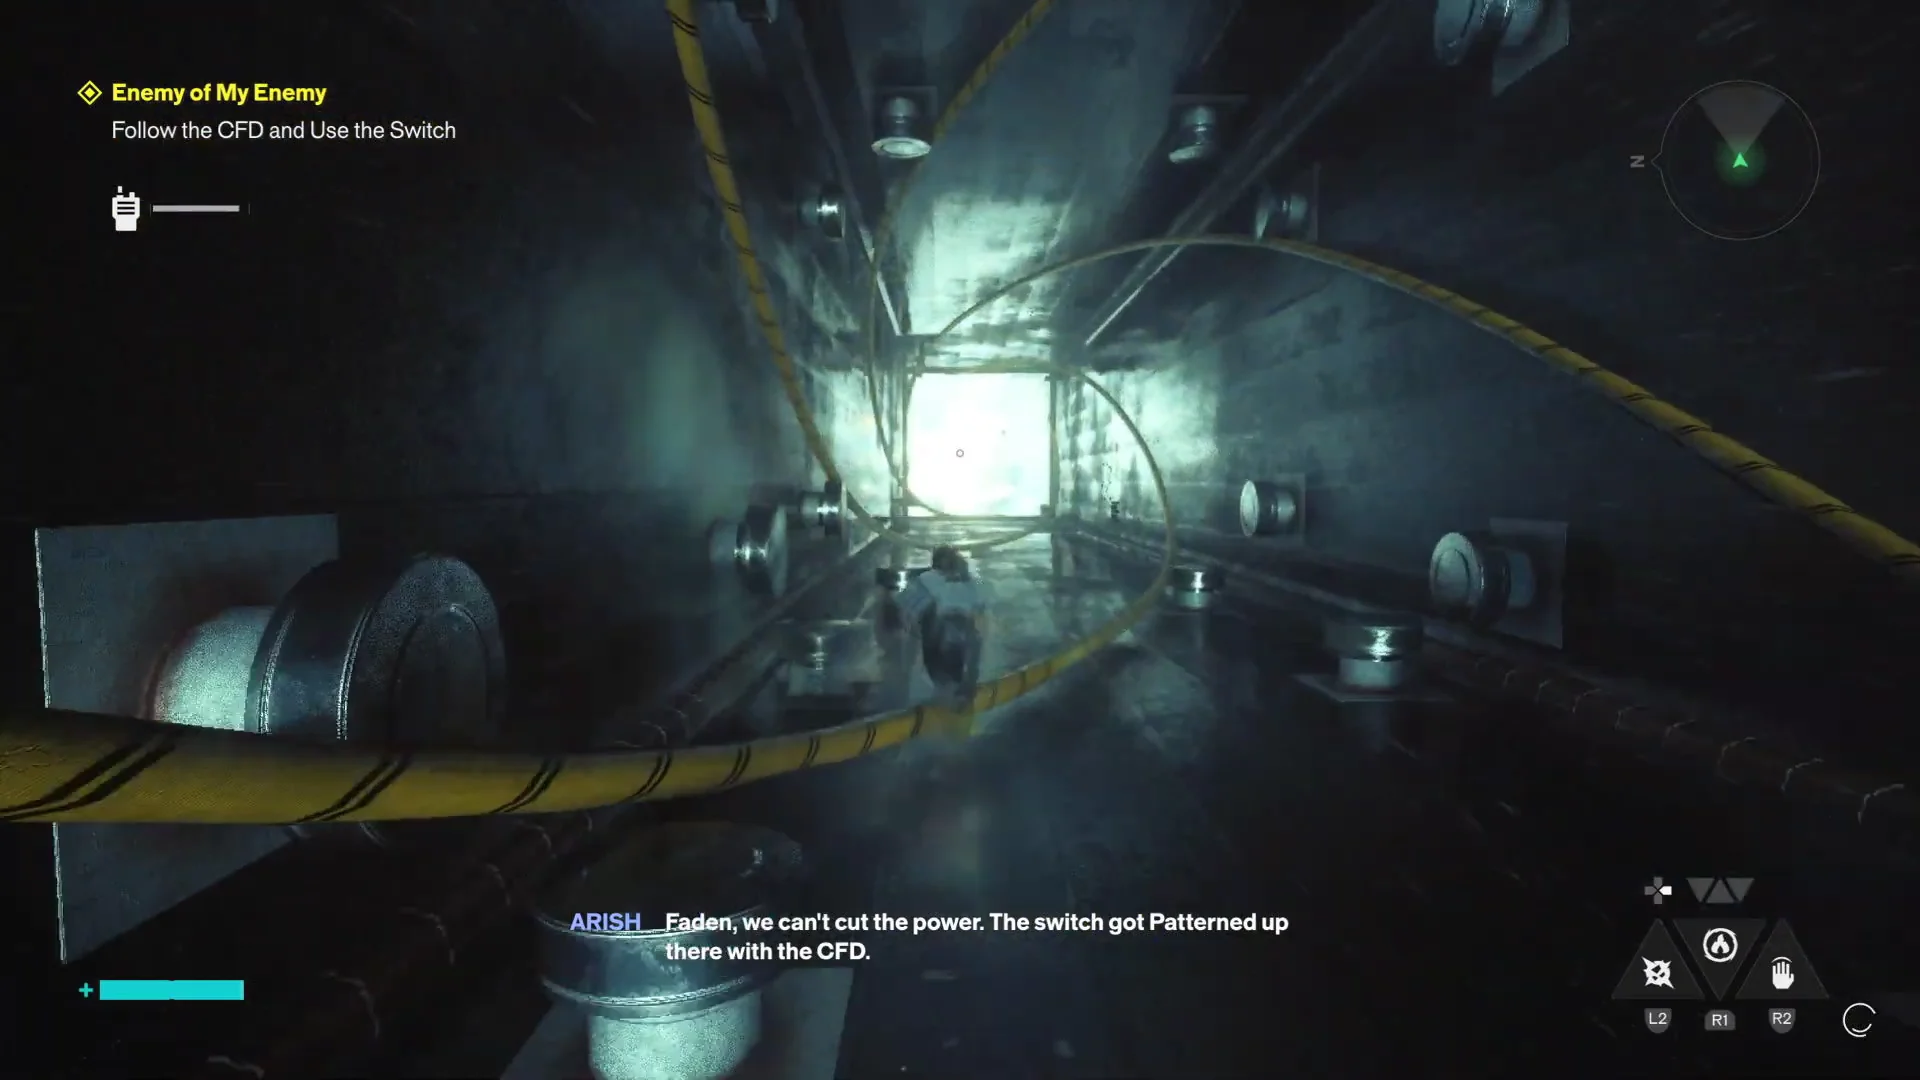
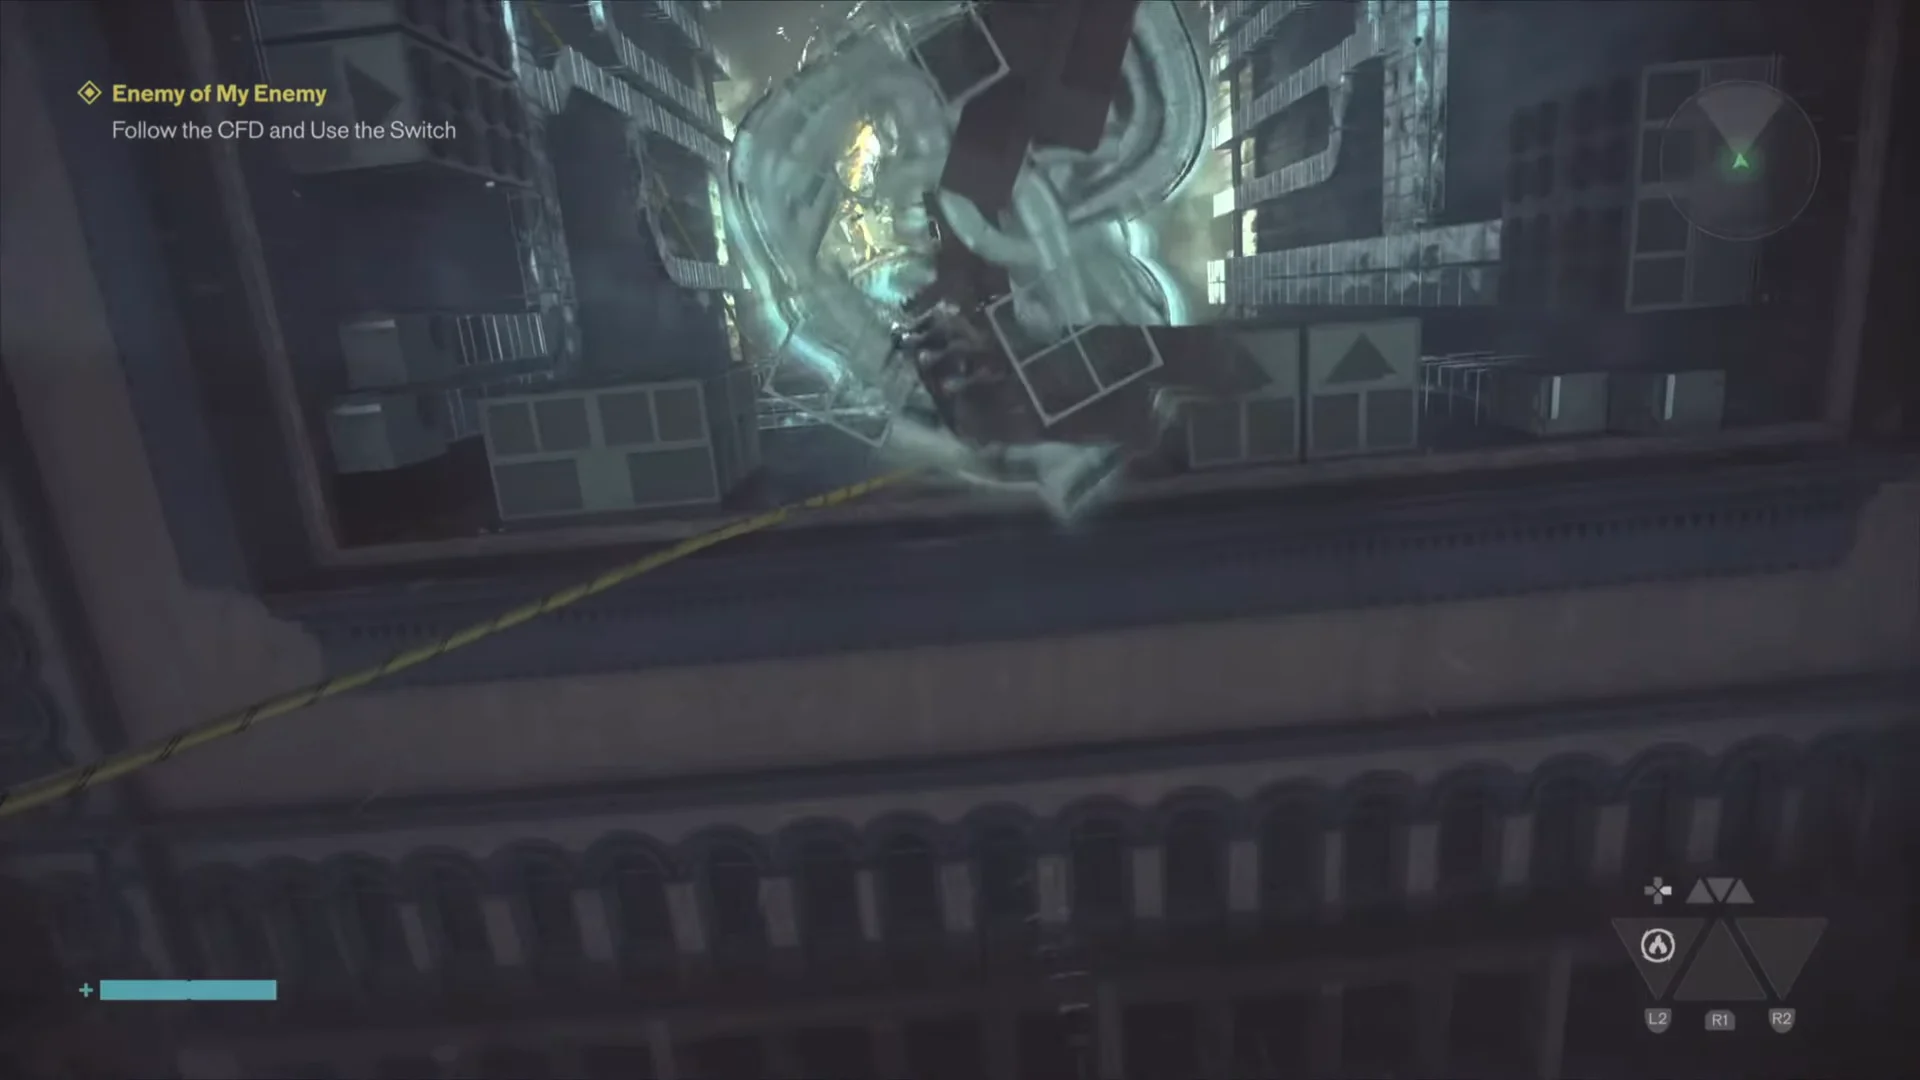
The yellow cable stays visible even as the corridor breaks apart. Floating above it and following its line keeps you on the correct path through the fractured geometry.
Using the switch and destroying the CFD
Reach the console at the end of the bridge and pull the switch. On PlayStation this is the L1 prompt at the terminal. Activating it triggers an energy surge and a distortion wave, but it does not shut the CFD down.
The moment the switch fires, the on-screen banner reads Quest Updated / Destroy the CFD. With the shutdown failing, the only remaining option is to charge the overloaded core. Sprint back down the gangway straight into the discharging device.
Reaching the core triggers a cutscene: Dylan knocks the device down with a powerful melee strike. Next, an archival projector reel shows Dr. Darling talking about Dylan’s abilities and psychological growth, then the scene shifts to Dylan waking up.
How to confirm the objective is complete
You know the switch worked the instant the objective flips to “Destroy the CFD.” You know the wider mission is finished once Dylan wakes up inside a glass containment cell in Evacuation Zone 4. At that point the game confirms two rewards.
- The “Enemy of My Enemy” trophy pops.
- You receive a Talent Point +1 reward notification.
From here the story continues past the CFD failure and back below the city. Spend the fresh Talent Point in the Loadout menu before moving on, since the fights that follow ramp up in difficulty and a stronger build makes the next stretch far easier to handle.