

Manhattan does not fill in its own map as Dylan Faden moves around it. Each region uses an FBC Map Kit built from one central Pylon and three separate Sensors, and you have to align all three before the Pylon will bring that zone’s map online. There are seven zones with a kit, and clearing every one closes out the side quest and hands you a unique reward.
Quick answer: In each of the seven zones, calibrate all three Sensors so their lights change from blinking red to solid green, then interact with the central Pylon to reveal that zone’s map.
How Map Kits reveal each zone map
The system is introduced early. Maintenance Worker Thorne, standing beside the central pylon in Downtown, starts the quest NOTES: MAPPING THE NEW YORK. From there the rule is identical in every region.
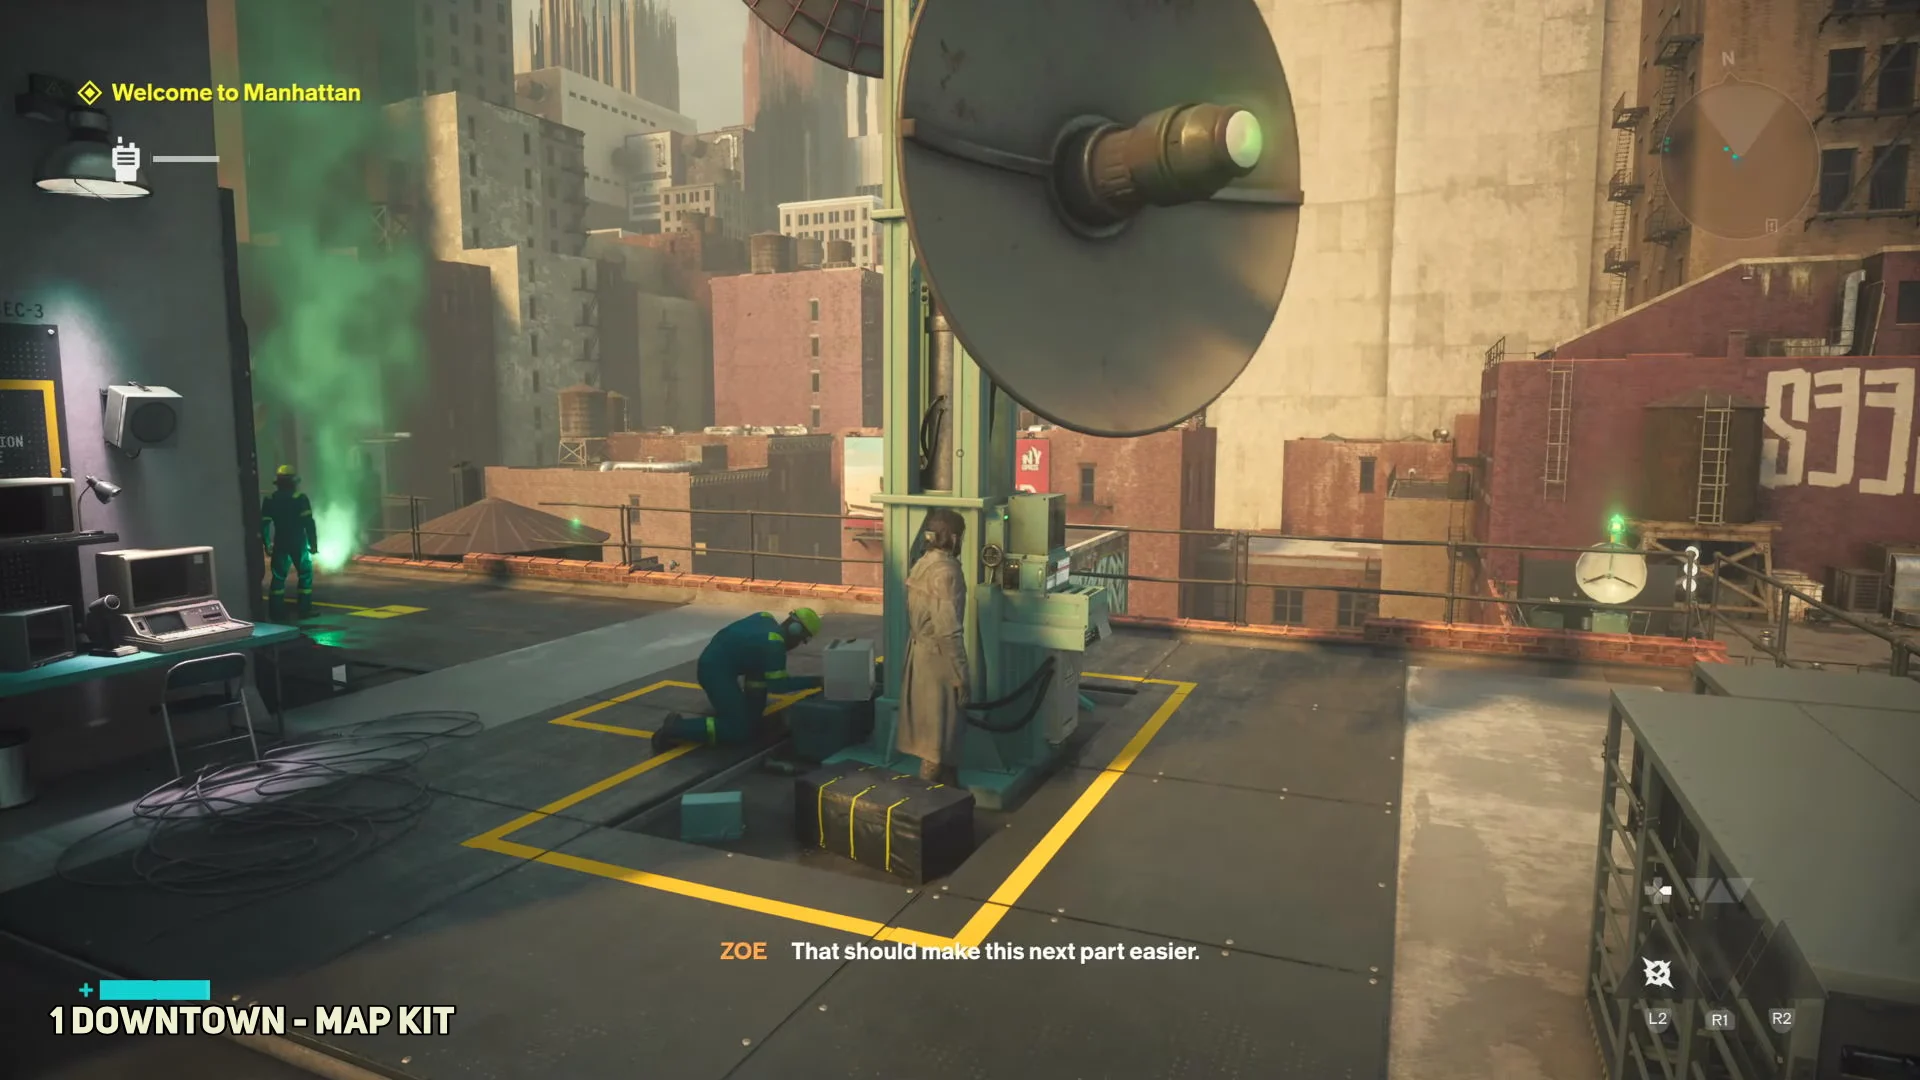
Interacting with a Pylon before its Sensors are ready only produces the prompt “Tower Offline: Calibration Required.” The Pylon and its map icon are marked when you enter a zone, but the three Sensors sit apart on nearby rooftops or platforms. Each Sensor dish carries a blinking red beacon. Approach it and use the interact prompt (L1) to calibrate it, which turns that light solid green and points the dish toward the Pylon.
Once all three lights turn green, go back to the central Pylon and interact with it once more. This return trip is easy to miss. If all three Sensors have been touched and the map remains blank, the Pylon still awaits its final activation. It costs nothing, and there is nothing to buy.
You know a kit worked when the screen displays Zone Map Unlocked and the local map fills with layout data. The first kit in Downtown also awards a Talent Point to spend at the Gap.
Handle a zone’s Map Kit before pushing deep into it. The city regularly folds streets and hides sight lines, so having the map visible saves far more time than the detour costs.
| Zone | When it opens |
|---|---|
| Downtown | Opening tutorial area |
| Central | After the Downtown checkpoint |
| Evacuation Zone | East of Central |
| West Incursion Zone | West of Central |
| The Park | After the Evacuation Zone Jesse sighting quest |
| Underpass | Later story, sent down the Sinkhole a second time |
| The Unknown | Endgame Hedron progression |
Where to find every Map Kit sensor
Downtown Map Kit sensors
This is the easiest kit and doubles as the tutorial. The Pylon sits near the center of the opening streets, with two Sensors on the connected rooftops beside it and the third on the basketball court.
- Sensor 1: slightly north of the main Pylon, on a nearby rooftop below the “Velocity You Can Trust” sign.
- Sensor 2: northeast of the Pylon near a small rusted water tower, beside a green table with three stacked spotlights.
- Sensor 3: southeast in the fenced-off basketball court, right next to what is likely your first fast travel door.
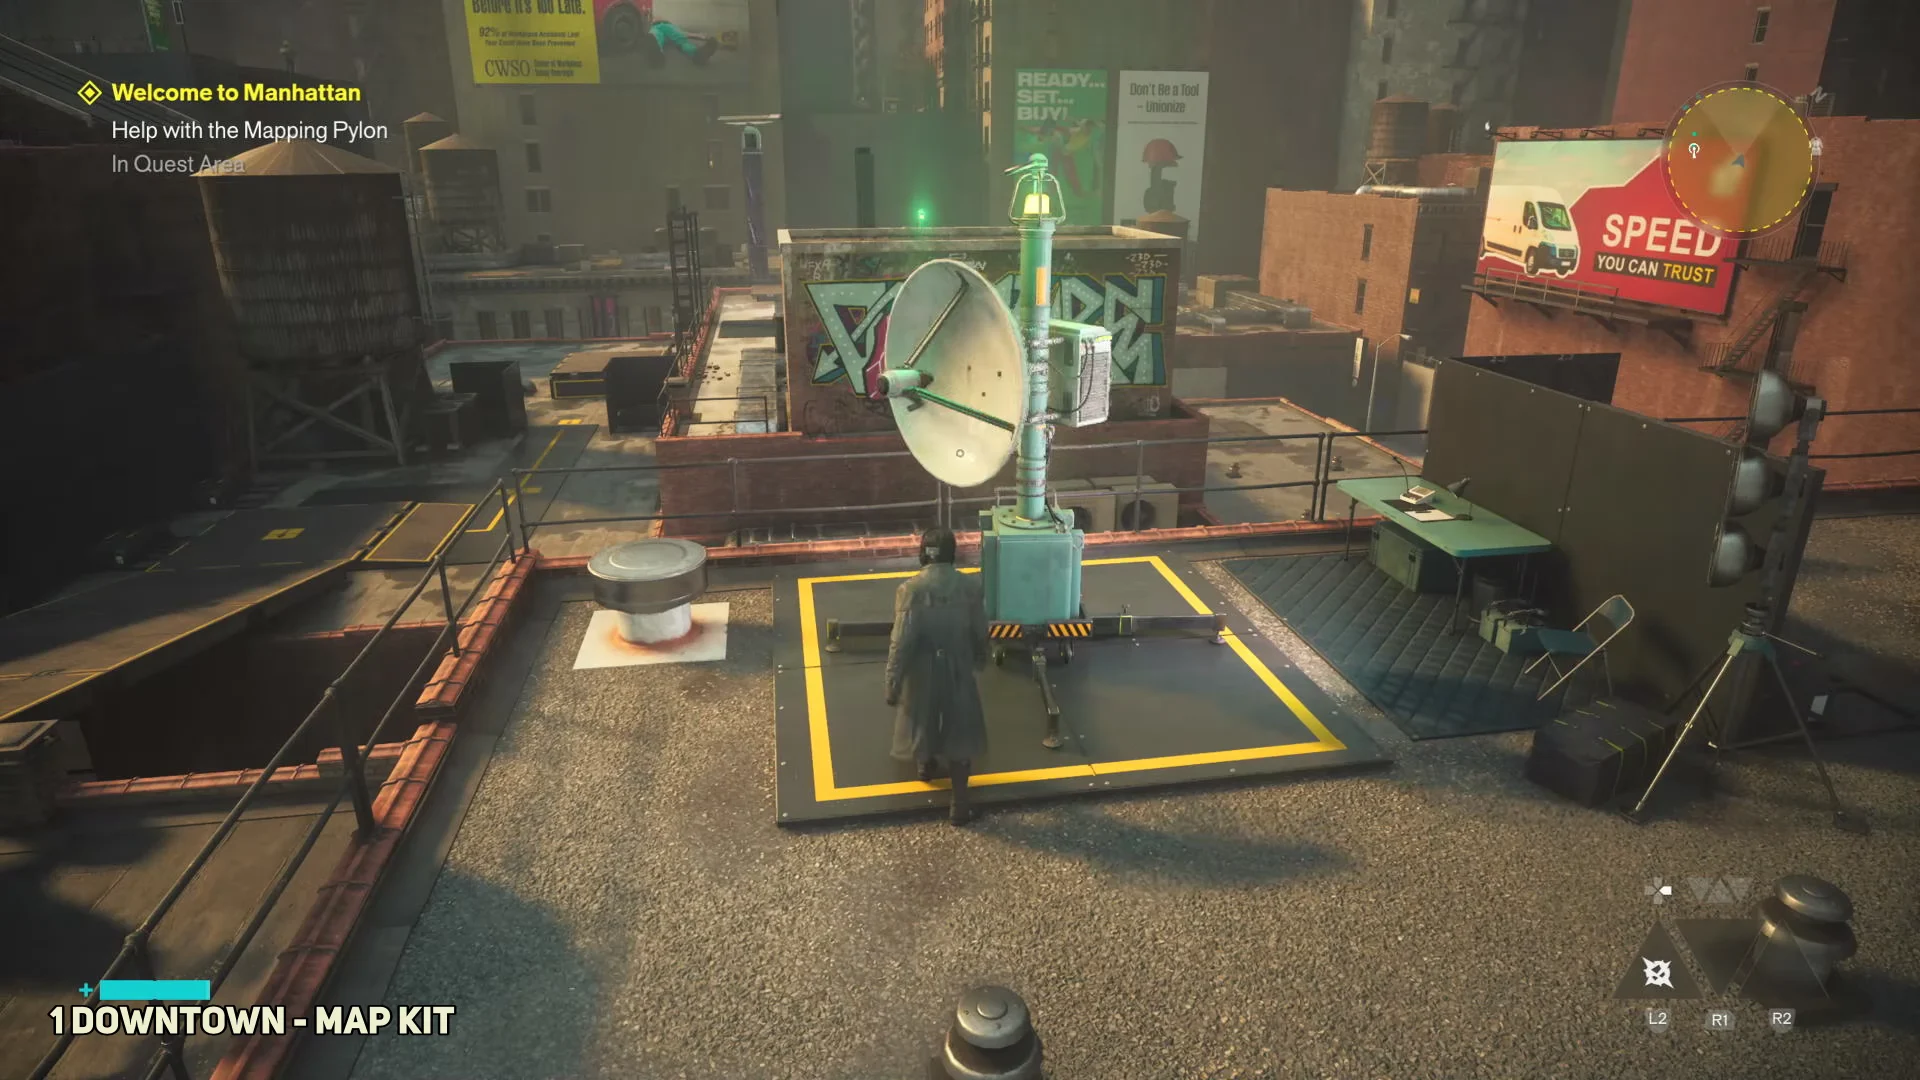
With all three green, return to the central Pylon and activate it. The Downtown map unlocks and you receive a Talent Point.
Central Map Kit sensors
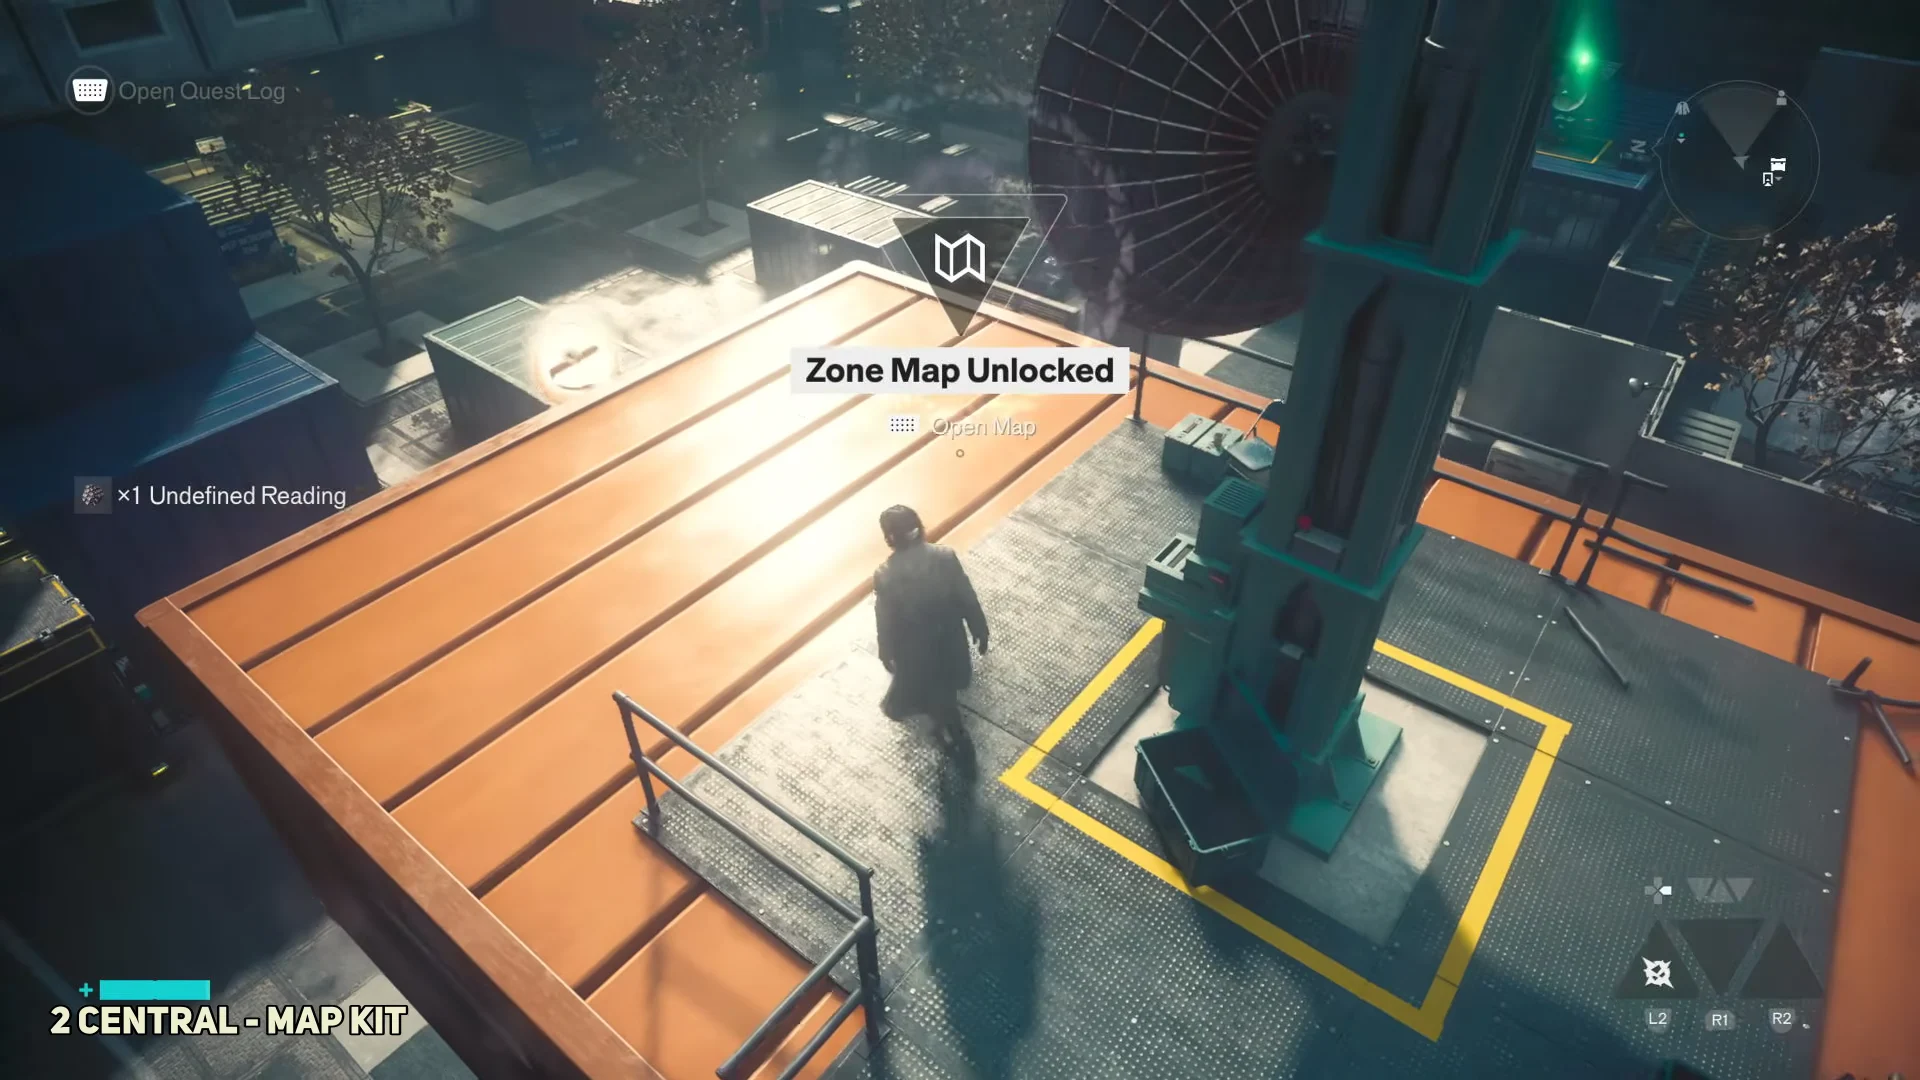
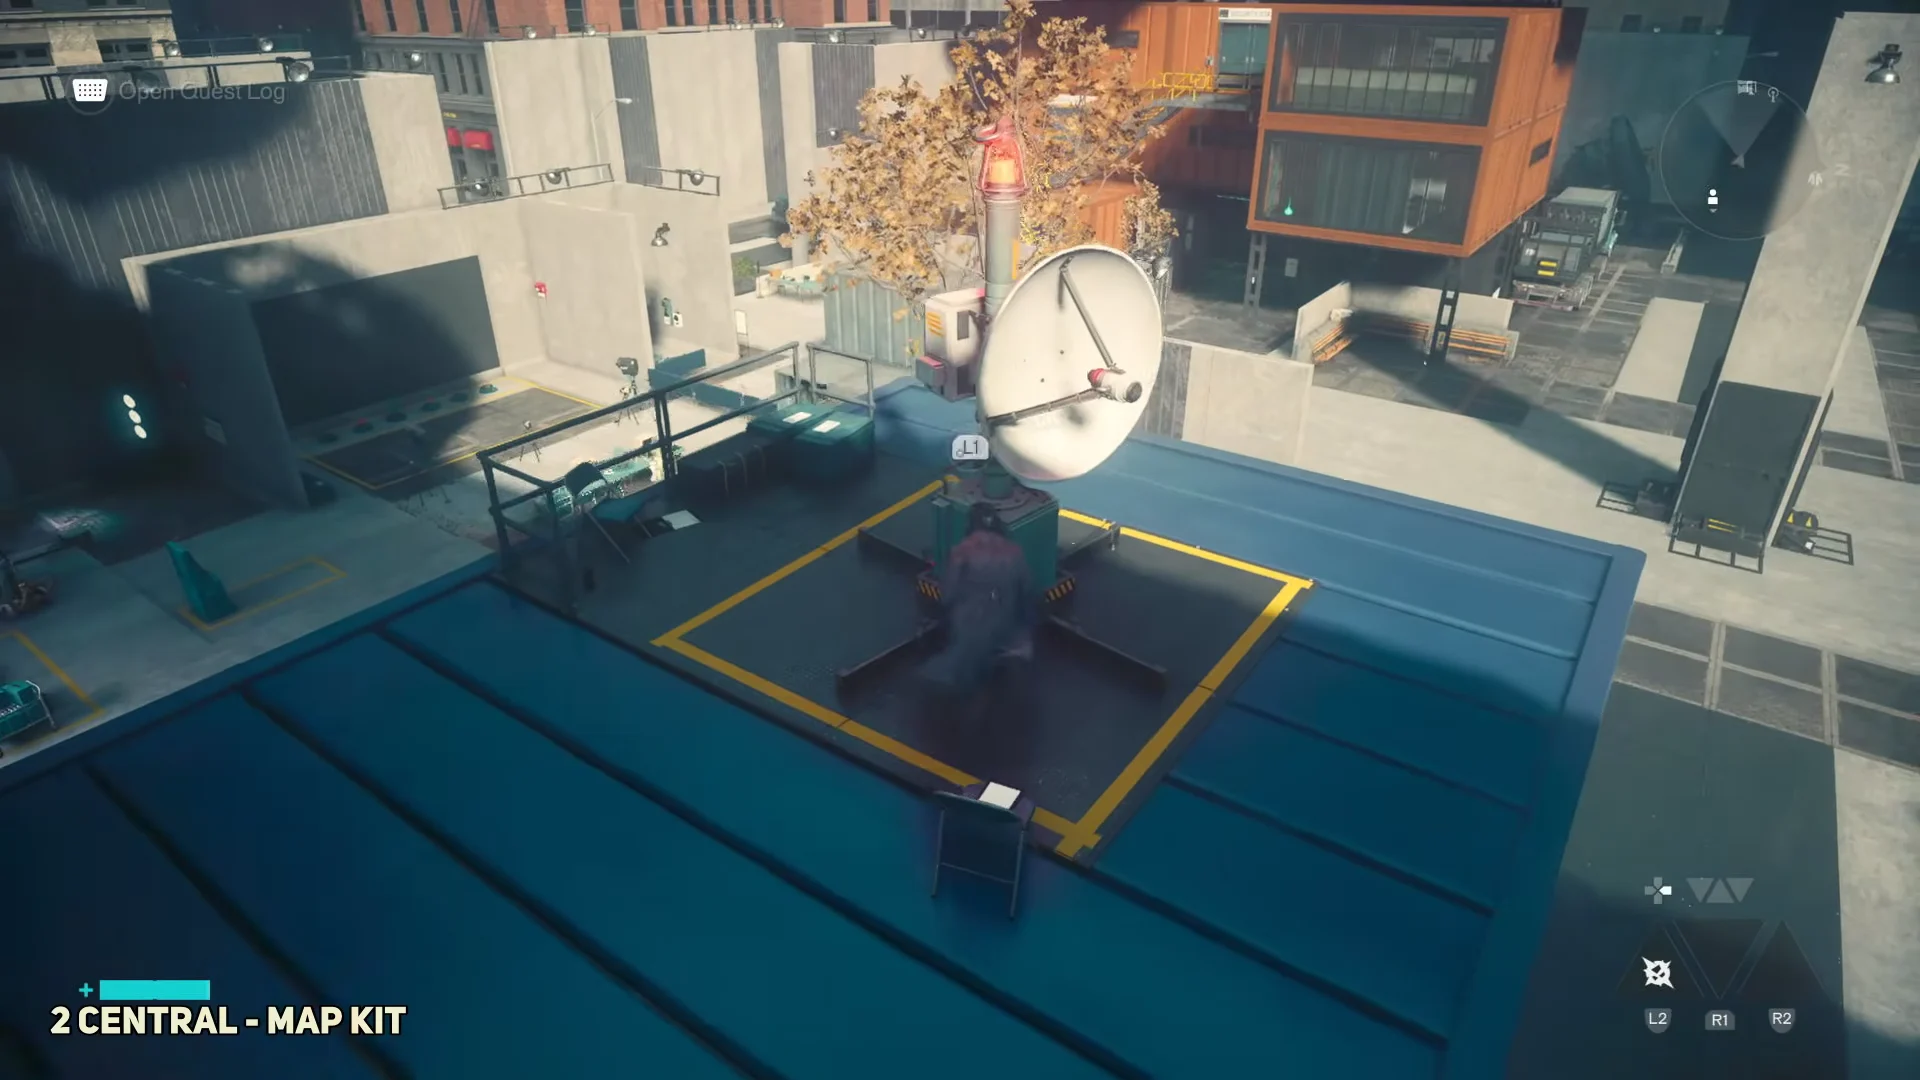
Central is the FBC’s operating hub. The Pylon sits atop an orange portable office on the western side of the main plaza, north of the Downtown checkpoint. All three Sensors are close together, and you can spot them looking out across the plaza from the tower.
- Sensor 1: a short hop north of the Pylon on top of blue portable-office containers.
- Sensor 2: northeast near the entrance to the Verconn building, on a stack of orange containers.
- Sensor 3: east of the Pylon on a lone blue container, next to a cluster of yellow balloons.
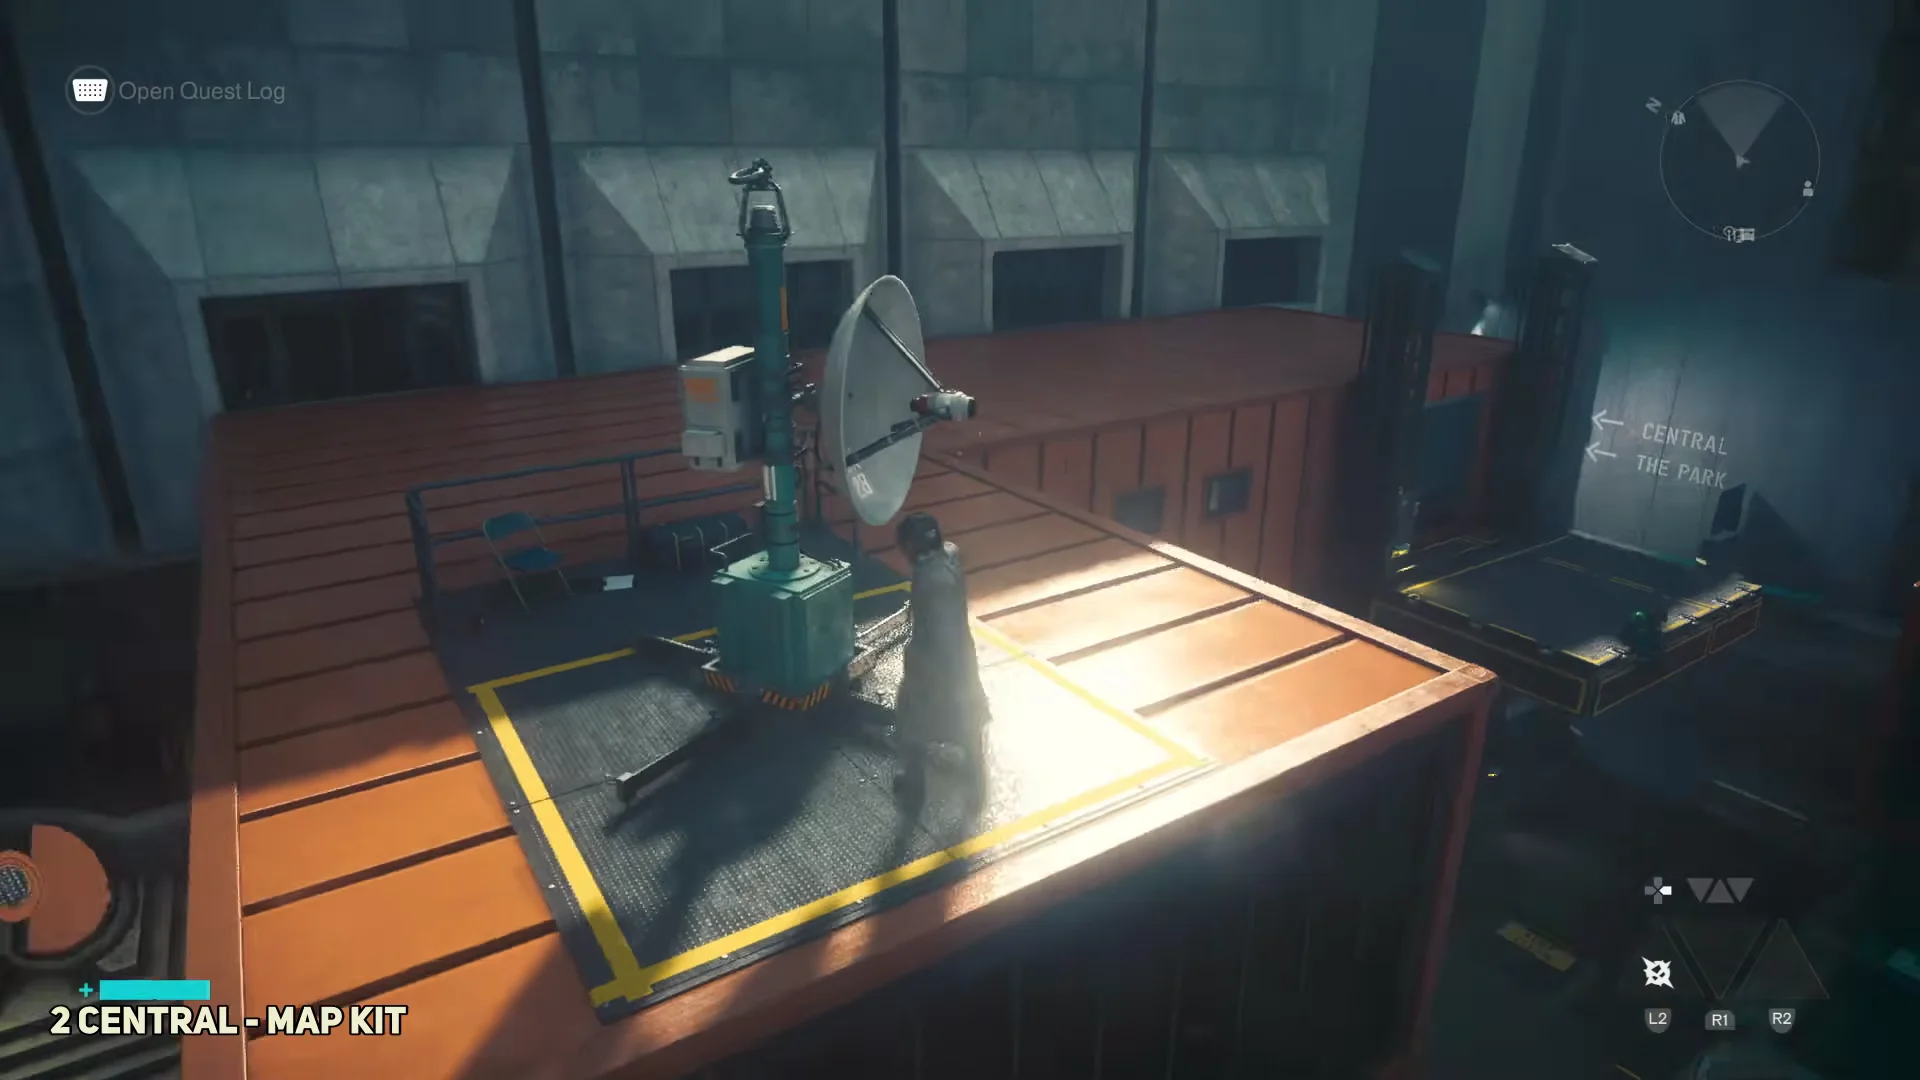
Return to the orange office platform and activate the Central Pylon to unlock the zone map.
Evacuation Zone Map Kit sensors
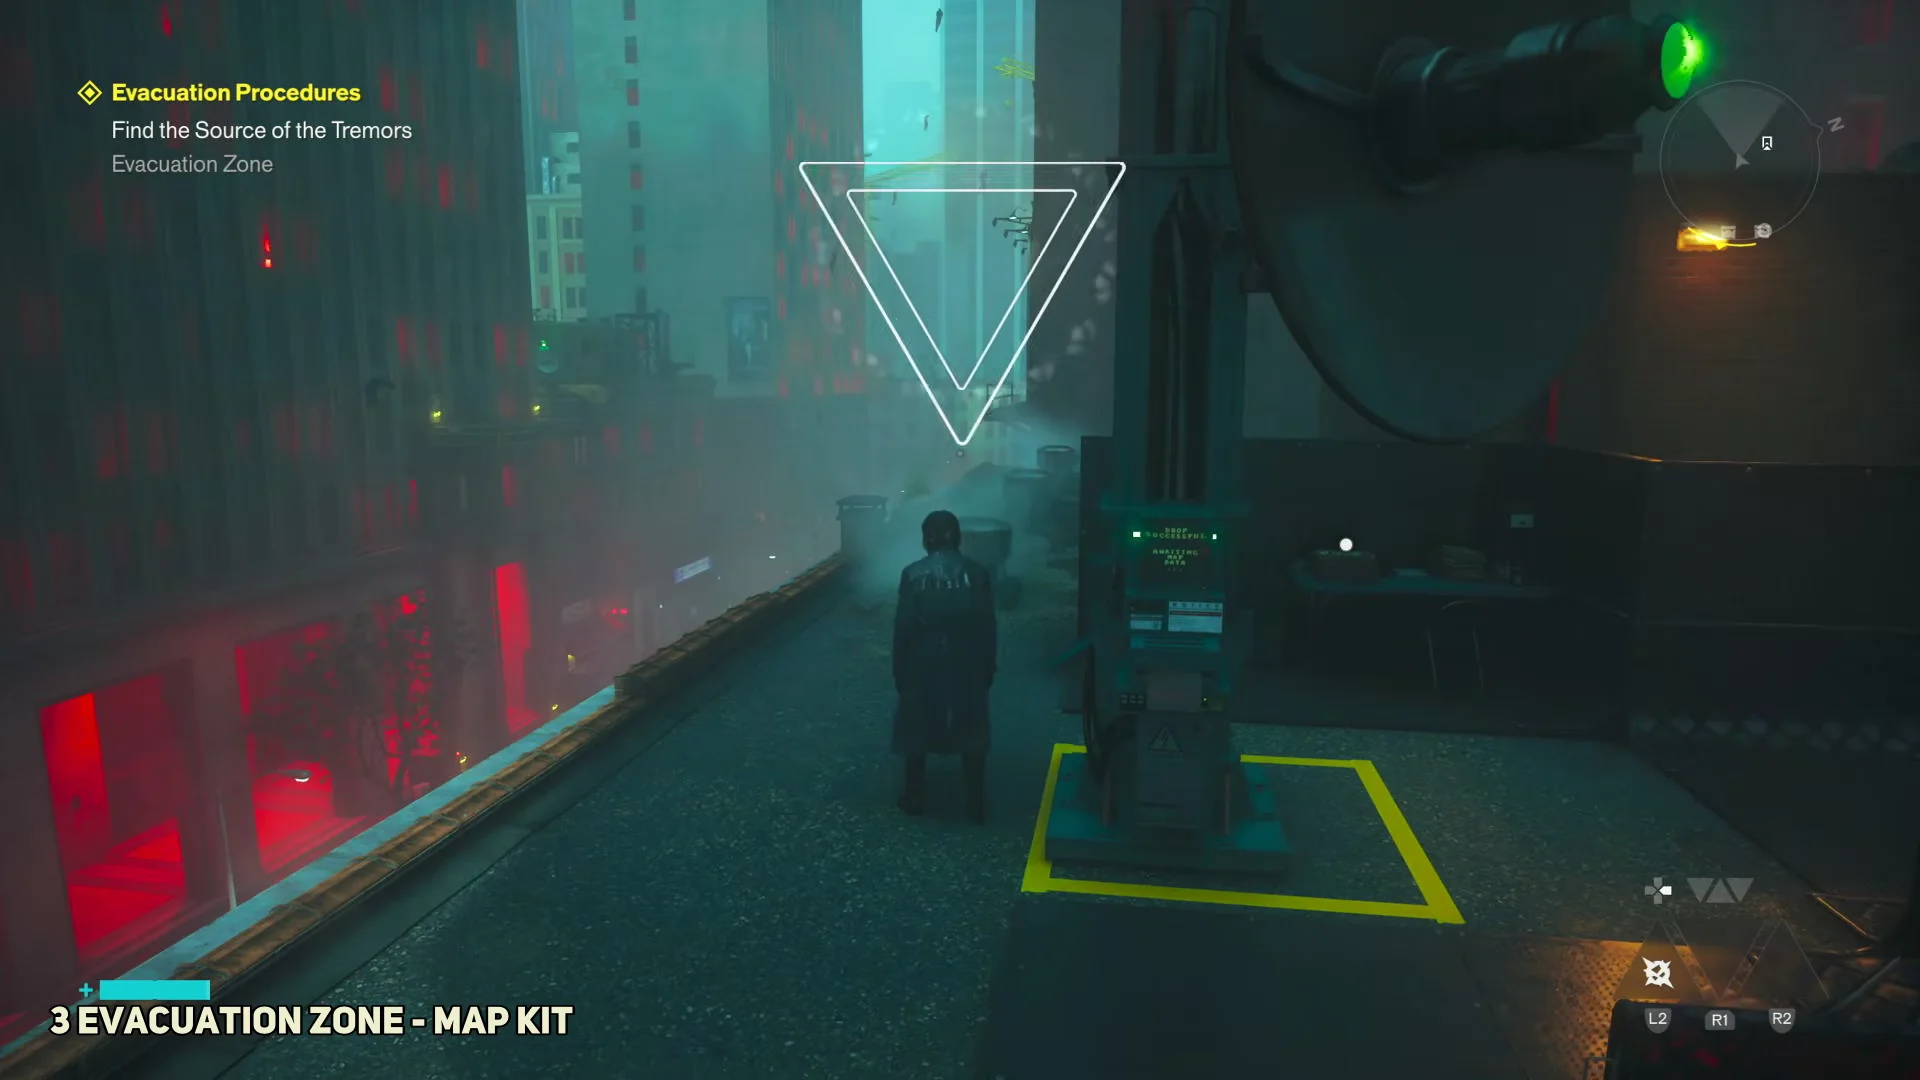
The Evacuation Zone lies east of Central, and its dark, rainy layout spreads the Sensors farther apart. The Pylon is on a rooftop on the south side of Main Street, next to a fast travel door that makes a handy reference point. A yellow parachute draped over a building edge marks the area, so look for it if you get turned around.
- Sensor 1: on the roof across the street north of the Pylon and door. Watch for the slow-blinking red light.
- Sensor 2: a short hop east of the Pylon and door, almost right beside it.
- Sensor 3: southwest across the southern street, on a rooftop next to a “Velocity You Can Trust” sign.
Jump back to the central rooftop and activate the Pylon to bring the Evacuation Zone map online.
West Incursion Zone Map Kit sensors
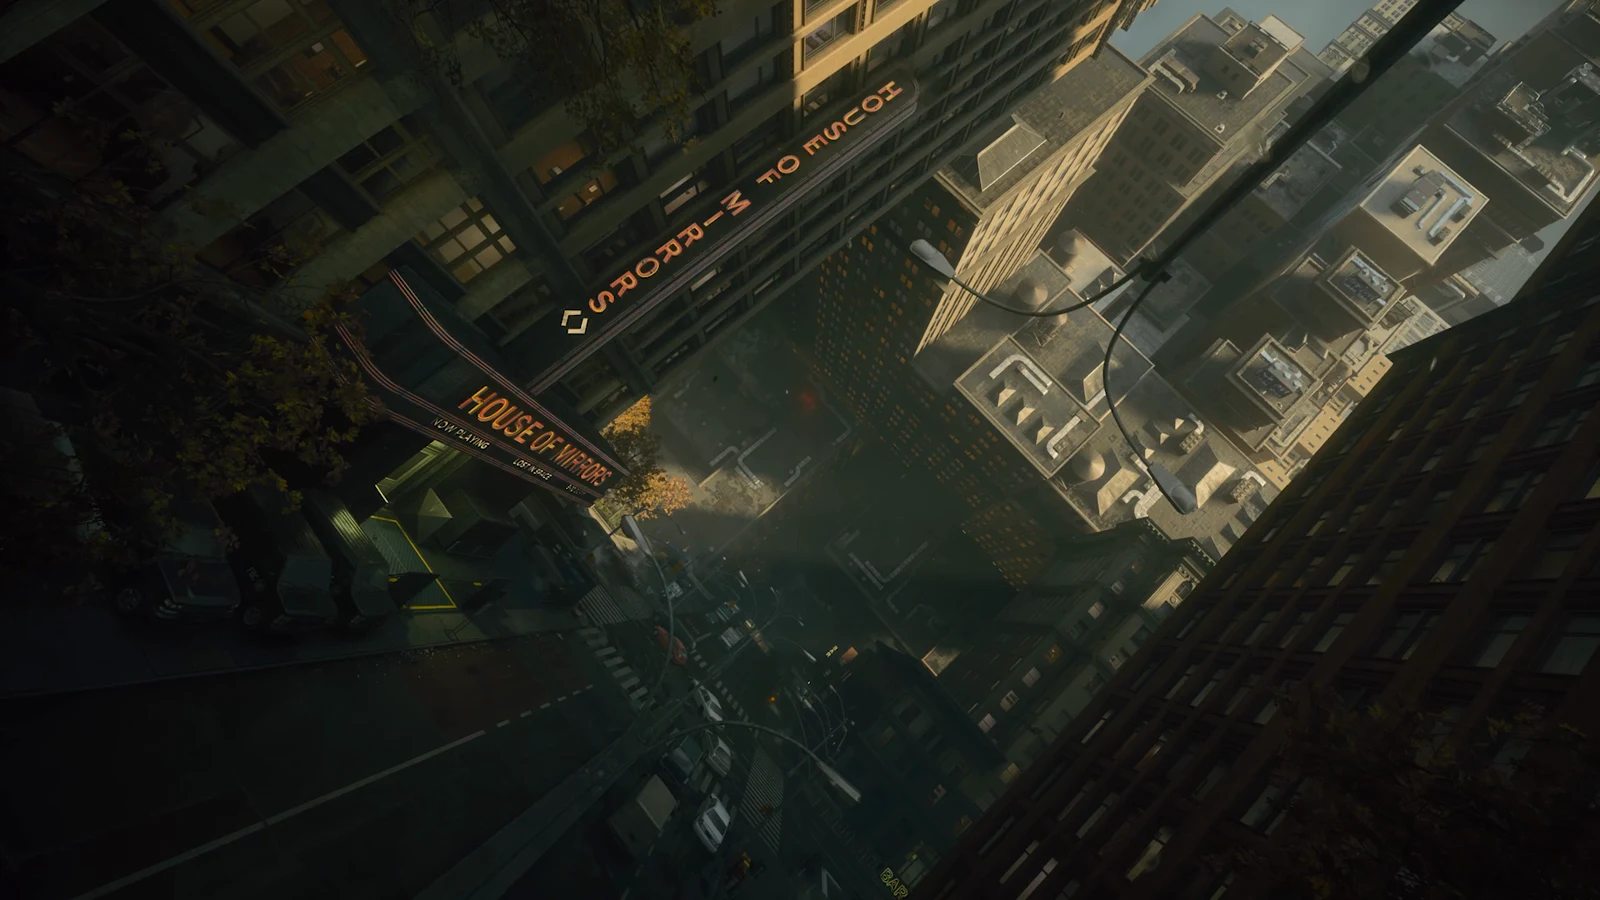
West of Central, the West Incursion Zone suffers heavy Patterning and folded streets. Push through until you reach the House of Mirrors theater. The Pylon sits in the town square across the road from it.
Leo, a mini-boss form of the Hiss Transporter, guards this square. Bring it down by targeting the human body nodes on its exterior, then calibrate the sensors.
- Sensor 1: in the southwestern corner of the square, west of the House of Mirrors near the “Patterned Area” sign.
- Sensor 2: on the eastern street corner near the House of Mirrors, visible from the first sensor.
- Sensor 3: northeast of the Pylon, in the middle of a street that turns vertical, near the Atlantis and The Badger shops.
Return to the central square and activate the Pylon to reveal the West Incursion Zone map.
The Park Map Kit sensors
The Park opens after the Evacuation Zone Jesse sighting quest. It is heavily contaminated by Mold, with higher-level enemies and floating Spore Mothers, so clear threats before calibrating. The Pylon sits in the middle of the region among the larger Spore Mothers. Use the Park Valley fast travel door on the western edge as your anchor.
- Sensor 1: northwest of the central Pylon; from the Park Valley door, head northeast to reach it on a rooftop.
- Sensor 2 sits at ground level, north of the Pylon, in a mold-filled ditch separating a small building from a highrise.
- Sensor 3: drop off the Pylon roof and head southwest to a building above some graffiti, near a neon “Bar” sign.
Climb back to the central Mold-covered rooftop and activate the Pylon to unlock the map.
Underpass Map Kit sensors
The Underpass is a deep underground zone that becomes available after the story sends Dylan down the Sinkhole for the second time. It is a distinct area, not another floor of the Evacuation Zone, and getting its map is more difficult. First, head to the large white-lit spire southwest of your entry point and activate the fast travel door there.
From the spire platform, look over the ledge to the southeast to spot the Pylon and all three Sensors. They are atop the columns positioned north, east, and south of the Pylon.
Powerful Hiss enemies, including a Riveter and other heavy units, patrol this area with little room to move. Attack the Riveter when it hovers over a platform or pauses to expose the weak point on its back, and clear the space before working the columns.
Once the three Sensors are green, drop to the stepped central platform and activate the Underpass Pylon.
The Unknown Map Kit sensors
The Unknown is the final zone and the most dangerous kit to reach. It is a heavily Patterned space of floating, inverted buildings where up and down are relative. Aim to be around Aberrant Strength 100 to survive the Hiss, Mold, and Hedron enemies here. If you are underleveled, calibrate and run.
After arriving by elevator, go to the supply balloon Pope placed near the start, drop the box, and open it. Take a probe to the rough red circle on the ground nearby, then place a second probe in the matching red circle at the opposite end. That spawns a platform you can pull to with Reach. Step on, then jump off toward the nexus of buildings “below.” About halfway down you will see the Pylon on a tall central building.
- Sensor 1: look toward the red brick building with “Yo” graffiti, jump across to it, and keep right to find the sensor on a nearby roof.
- Sensor 2: hanging from a roof above the Pylon. Use Reach on a nearby rooftop to swap up and down, then look toward the white brick building; a red “Bus Only” sign sits on the street “below” you.
- Sensor 3: level with the Pylon, with a view of the top of the Oldest House. It is near intense white floodlights and a yellow balloon that has deflated.
Return to the central Pylon on the high floating roof and activate it to complete the final kit.
Completing all seven kits and the Untapped Fork reward
Activating all seven Pylons completes NOTES: MAPPING THE NEW YORK. After the last activation in the Unknown, contact Zoe over the radio to finish the quest. You will see the Quest Completed notification and receive the Untapped Fork as your reward.
Seeing a zone on the map doesn’t guarantee that every route can be traveled yet. A newly uncovered area may still have gaps that require a traversal ability acquired later, Patterned barriers dependent on story progress, locked FBC access, or paths sealed by Mold. Use the map to locate an objective, but don’t take it as proof that its route is currently usable.





