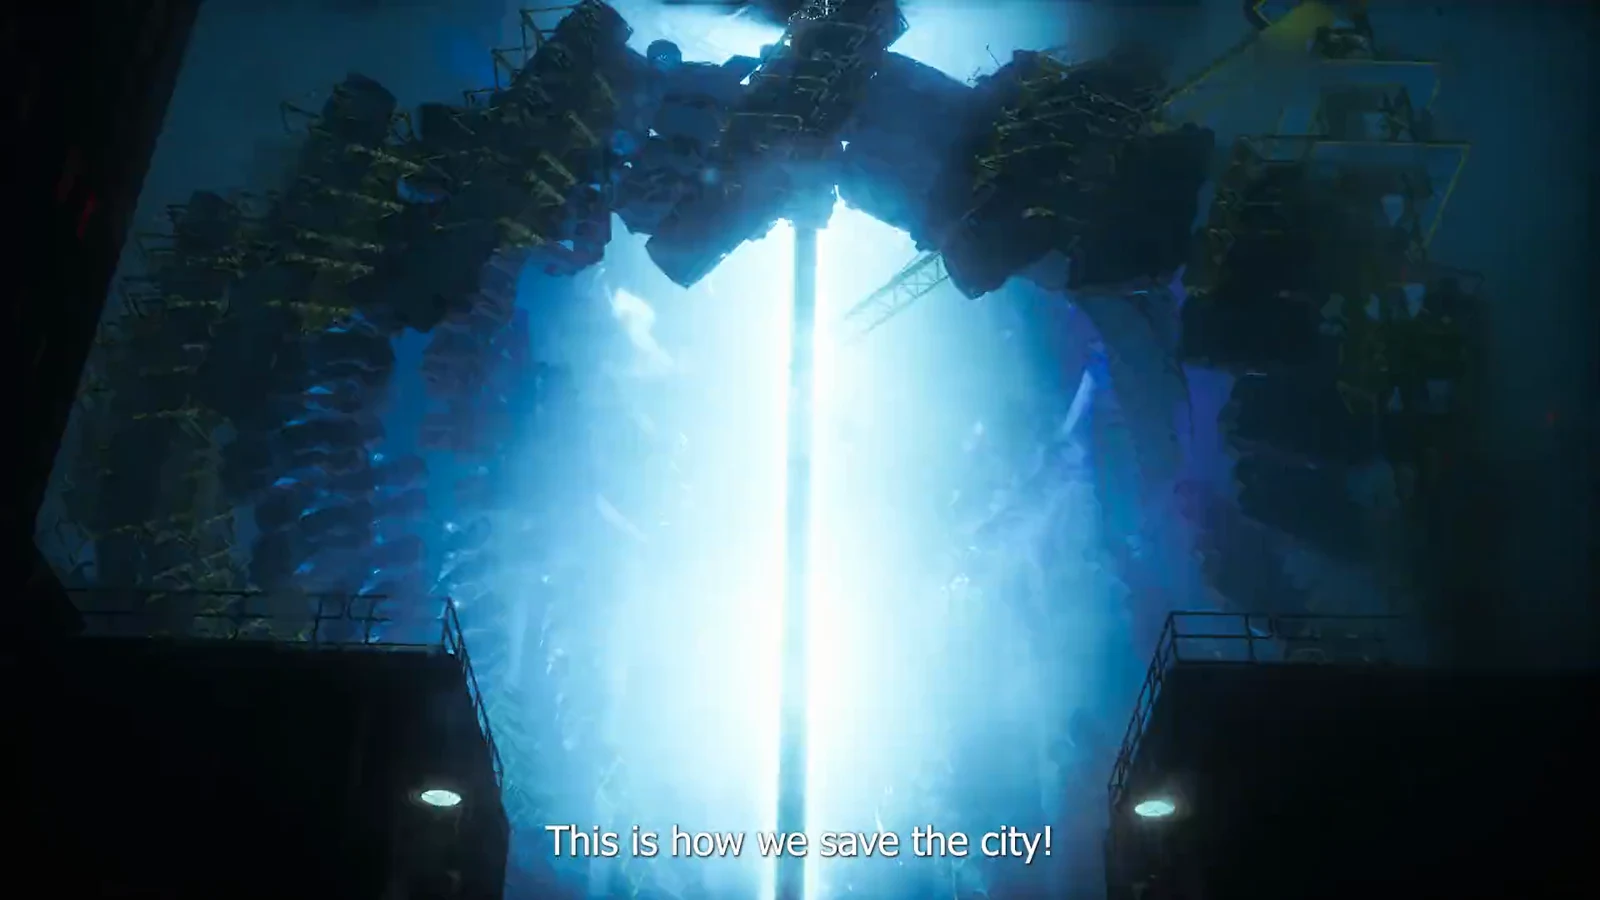
Into the Sinkhole is a main story mission in Control Resonant that drops Dylan Faden into a huge paranormal sinkhole carved through a collapsed city block. It starts as a briefing at the FBC Field Office and turns into a long vertical journey down a crane-suspended diving bell, punctuated by forced combat stops, a carry-and-place task at the bottom, a boss fight, and a shifting maze you clear by chasing sound and light.
Quick answer: Dylan rides the diving bell down the sinkhole, clears Hiss at each stop, installs four probe relays at bedrock, defeats a Hiss Ruiner, then escapes a looping apartment maze by following music. Finishing it opens the next main quest, Enemy of My Enemy.
Arish’s briefing and the Cancellation Field Device
The mission opens inside the Central Field Office, where Arish explains that Hiss tremors are destabilizing the pattern barrier. His plan centers on a weapon Pope is building called the Cancellation Field Device, or CFD. The weapon needs high Pattern resonance drawn from the very bottom of the sinkhole to work as ammunition, and it also needs power rerouted from three electrical sub-stations.
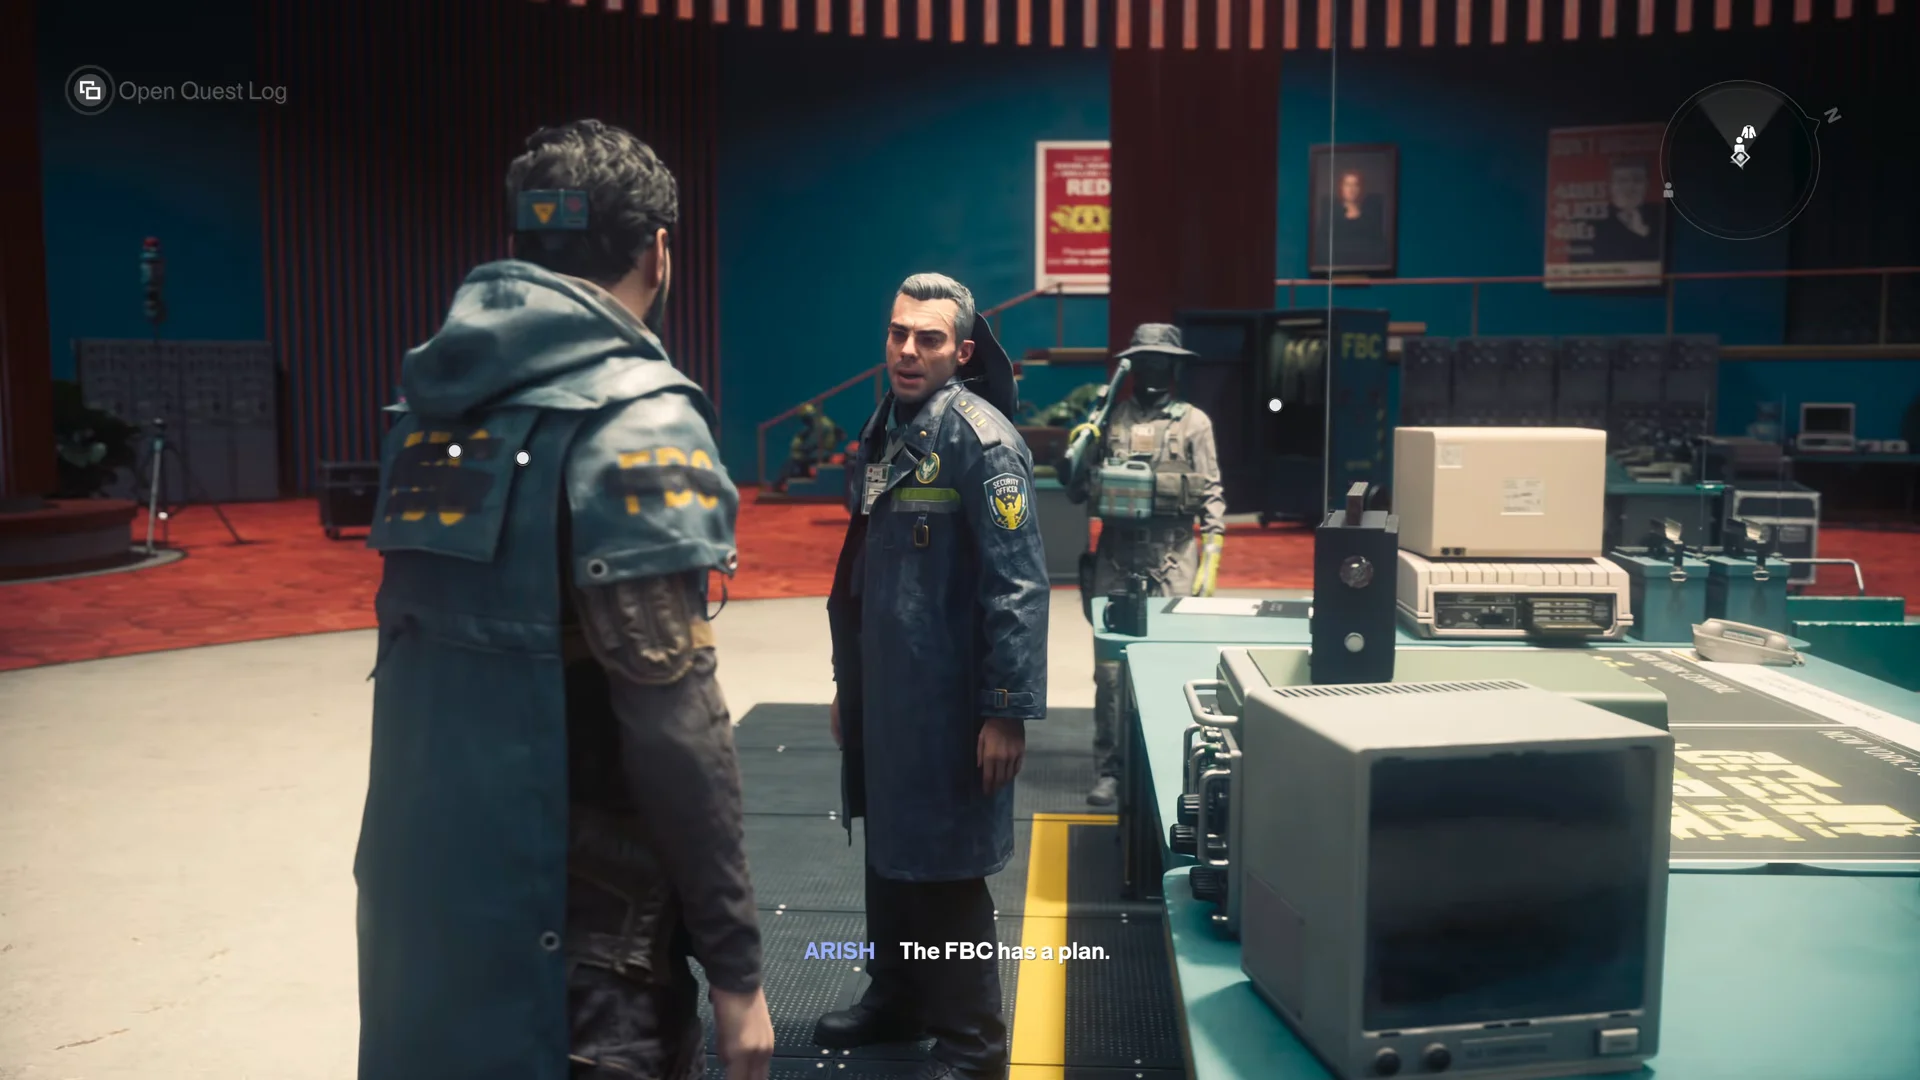
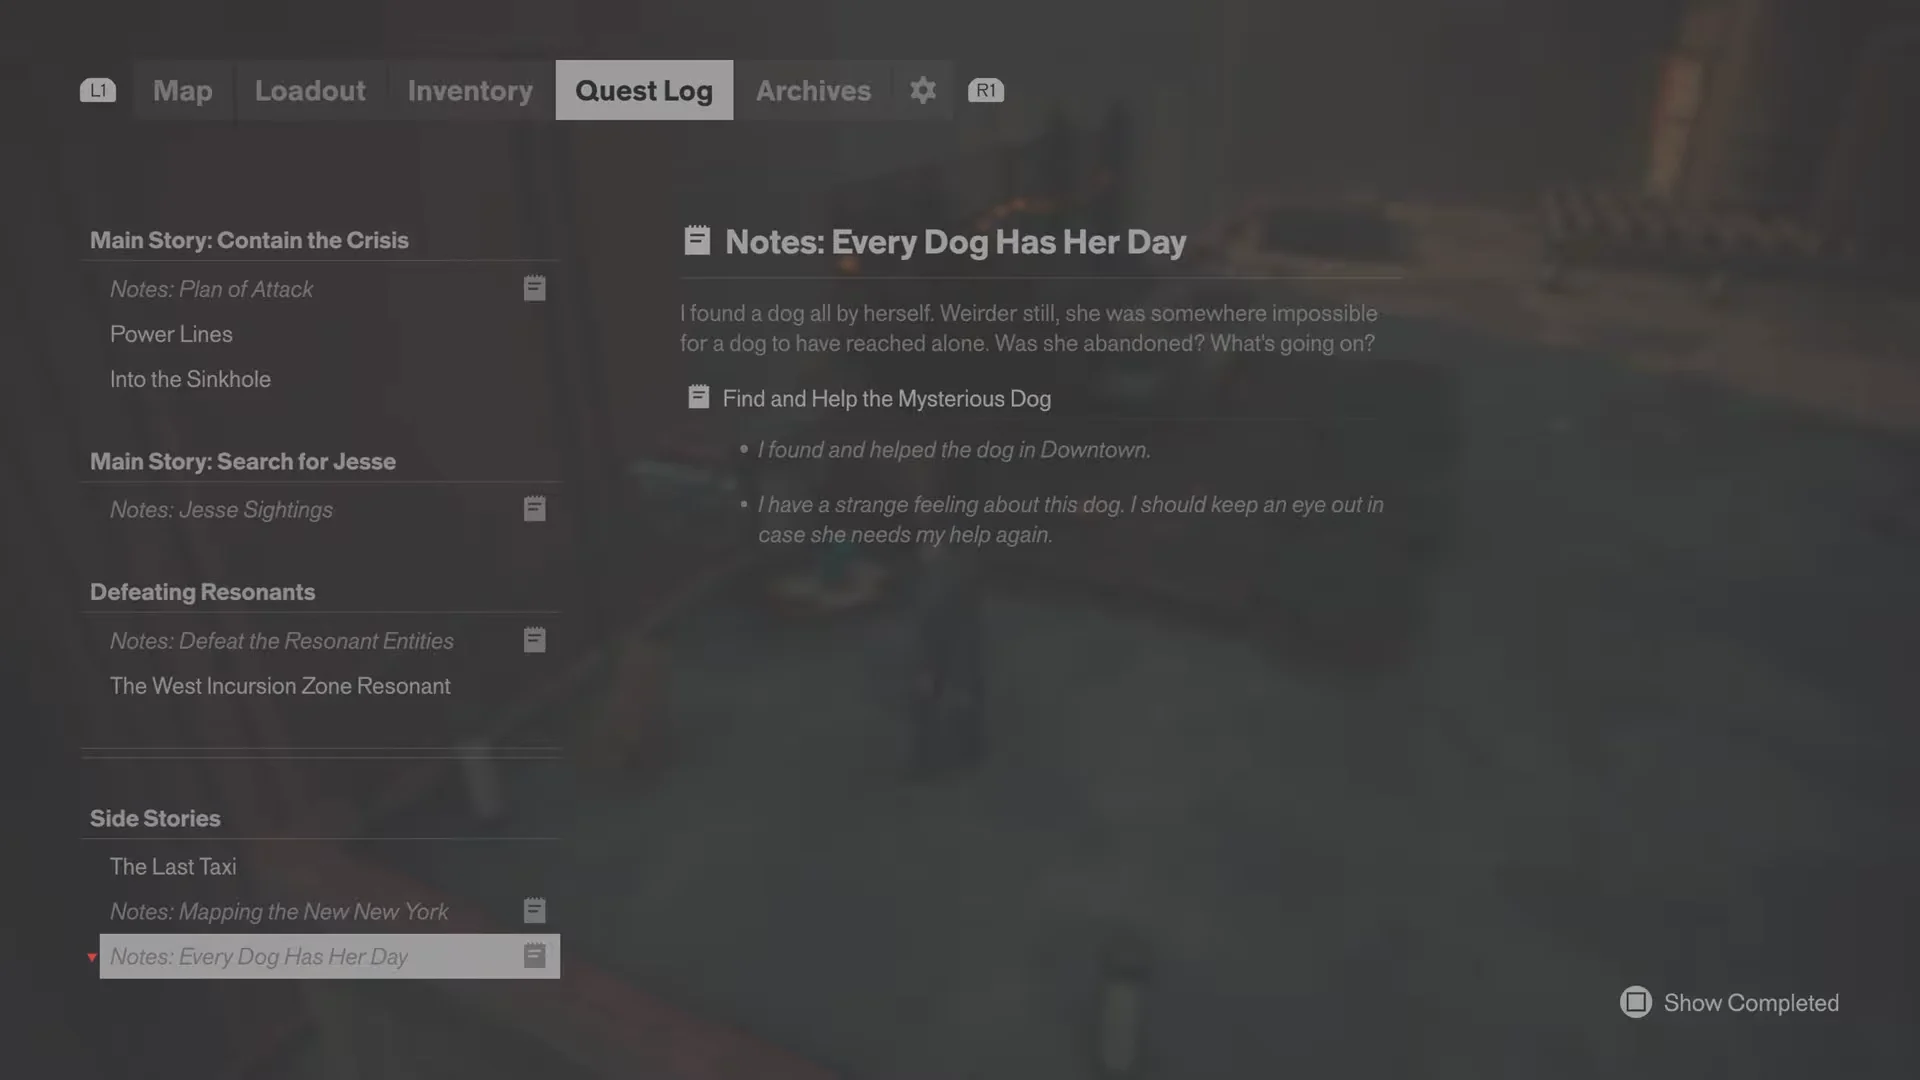
Accepting the briefing updates three entries in the log at once: Power Lines, Notes: Plan of Attack, and Into the Sinkhole. Before leaving, Dylan picks up a Level 1 Keycard borrowed from Arish’s desk, which becomes his early access credential.
Getting to the sinkhole through the Evacuation Zone
The route runs out through the streets and a fast travel jump to Main Street in Evacuation Zone 5. Along the way there are optional beats, including a ringing payphone with a call from Mila about the city evacuation and a side story called The Last Taxi, where Dylan interacts with specific cabs to match the traffic light patterns across an intersection.
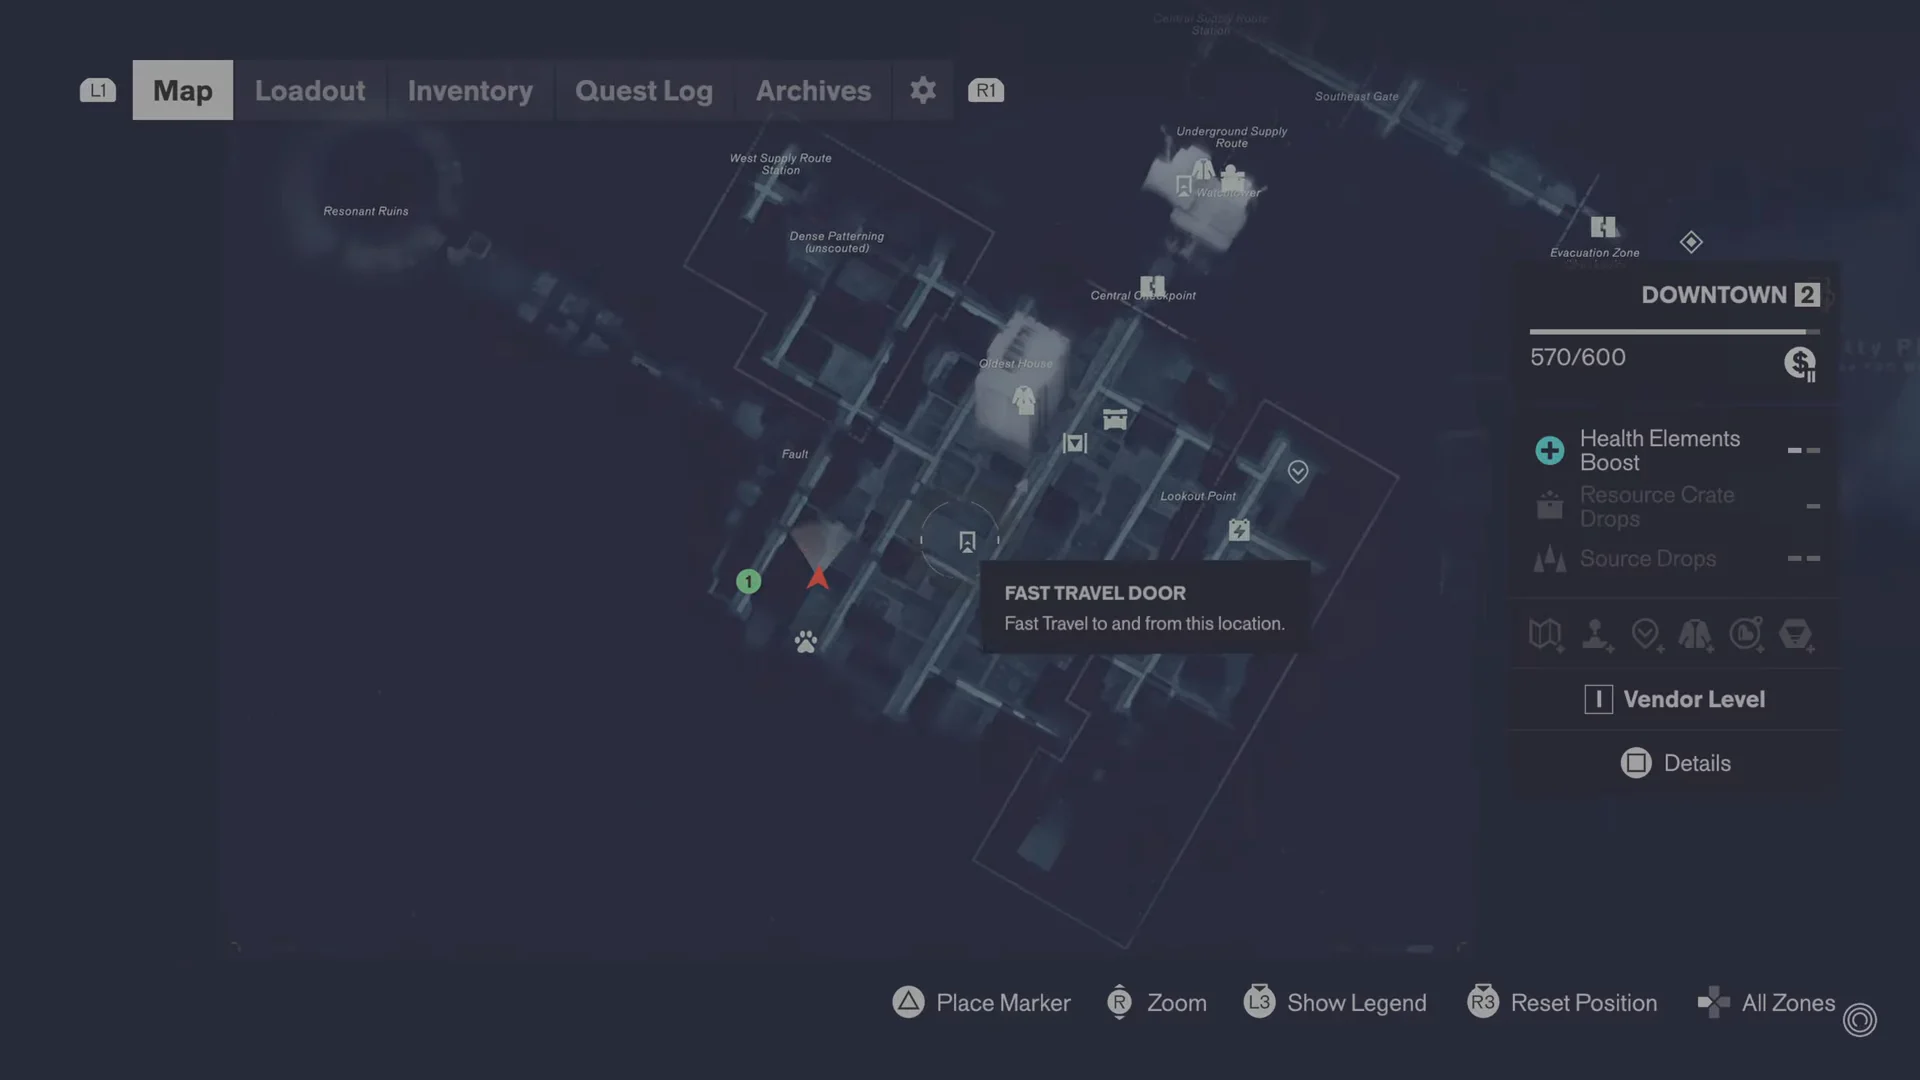
The staging area sits at a crane platform above the sinkhole, where Zoe checks in over the radio. From here the descent proper begins.
The diving bell descent (P32 – A1)
Dylan descends in an FBC diving bell rig marked P32 – A1. The journey down is broken into stages: at fixed points in the shaft, the bell pauses and Dylan has to get out and defeat the Hiss to continue. Each stop forms another arena in the sequence.
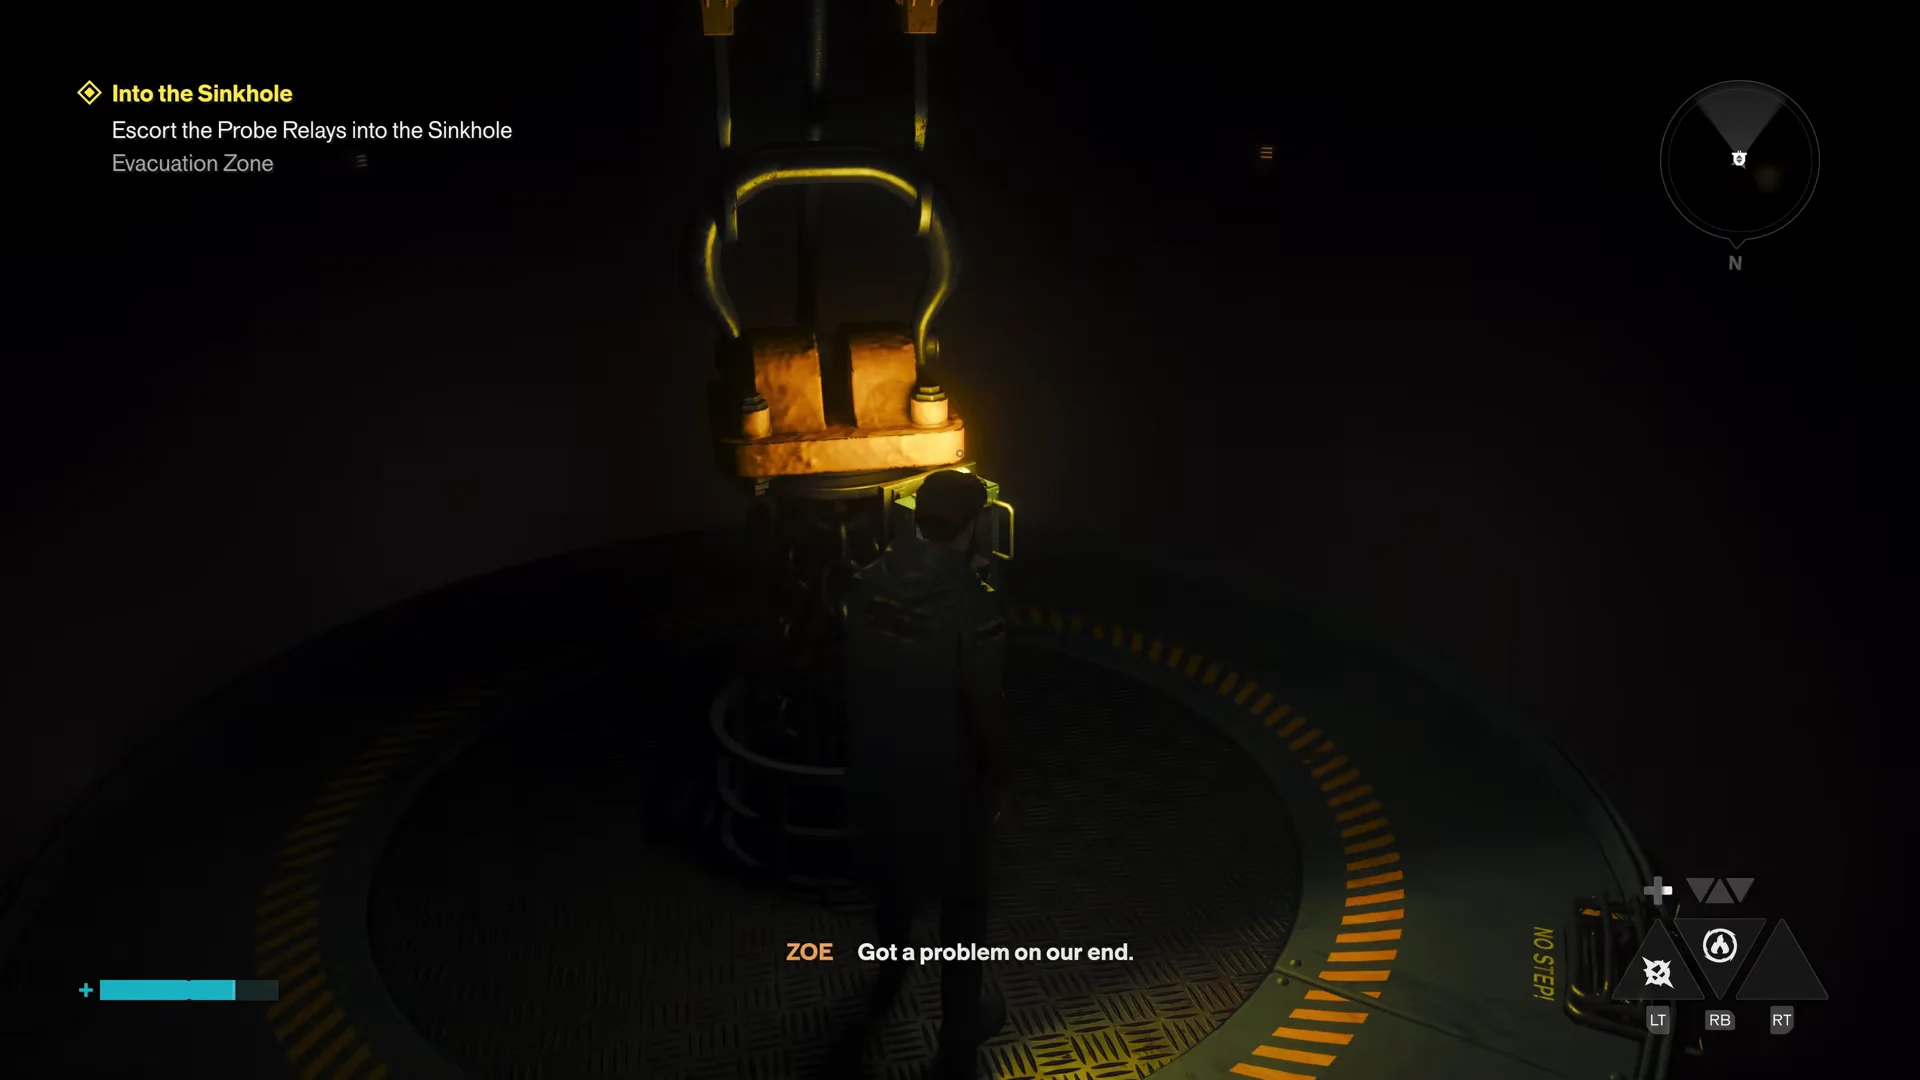
The first stop is a construction and scaffolding level infested with floating, laser-firing Hiss alongside ground creepers. The second is an embedded multi-story apartment block, which is where the mission’s named enemies live.
The named Hiss: Dan, Anne, Michelle, and the Ruiner
Several Hiss appear with their own health bars during the descent and the final arena. Dan is a teleporting enemy fought across the apartment rooms, and clearing him immediately triggers two more airborne entities, Anne and Michelle. The bedrock arena caps the fight with a massive Hiss Ruiner.
| Named enemy | Type | Where |
|---|---|---|
| Dan | Hiss Focused – Apex, teleporting | Apartment block |
| Anne | Airborne Hiss | Apartment block |
| Michelle | Airborne Hiss | Apartment block |
| Hiss Ruiner | Boss | Bedrock arena |
The game exposes an Assist Mode with sliders for things like Incoming Damage, Outgoing Damage, Immortality, One-Hit Kills, and Enemy Aggression, which is useful for the harder retries on the scaffolding and the Ruiner.
Installing the probe relays at bedrock
At the shaft’s base, the bell docks in a vast circular chamber. Floating doors ring the space, while human bodies hang in a stasis vortex over the floor. The objective is Install the Probe Relays. Dylan collects each relay from a central dispenser, then takes it to an apartment rooftop marked on the radar with a radio symbol. He must place and activate each relay before the dispenser provides the next one; activation requires the interact button.
Holding a relay restricts Dylan’s movement: he cannot make full high jumps and can ascend only one building tier at a time. After all four relays are placed and activated, the bedrock area locks into place, and the diving bell cable retracts beyond reach.
The Hiss Ruiner arena and the reward
Activating the fourth relay triggers a large arena battle. The chamber turns crimson and waves of Hiss pour in, starting with grunts, laser snipers, and flying Apex units, and building to the giant Hiss Ruiner boss. Prioritizing the laser units and using execute power gains helps keep the fight survivable, and heavy melee brings the Ruiner down.
The Ruiner’s defeat grants +1 Talent Point and records Hiss Ruiner in the archive menu. Once the arena is clear, fragments of buildings float into view, giving Dylan a route to climb out.

Escaping the sinkhole by following the music
With the bell gone, the way up follows the severed cable, lit in yellow and orange against the debris. Dylan climbs the floating cubes and interior shafts to the cut end of the cord, which closes out the Escape the Sinkhole objective. At that point Zoe’s radio signal cuts out and music begins playing over the building’s PA system.
The apartment maze at the end is non-Euclidean, with rooms that shift and recur. Dylan can follow two clues: the song on Zoe’s mixtape and the televisions. Seen from afar, a TV flashes blue; close up, it becomes solid yellow to indicate the right way. Green-lit doorways and a lengthy corridor with green-and-yellow wallpaper take him to a maintenance area, then a break room, and at last a commercial laundromat. Its glass doors lead out to the street in Evacuation Zone 6.
How you know the mission is complete
On reaching the street, Dylan triggers the Quest Completed: Into the Sinkhole banner, and the linked note Plan of Attack is completed as well. He also obtains the audio track “Another World” by Frida Amundsen and Sakima for the Zoe’s Mixtape archive. Enemy of My Enemy, the next main quest, starts immediately; seeing it in the log confirms that everything triggered correctly.
Taken as a whole, Into the Sinkhole is one of the more structured set pieces in Control Resonant, blending a controlled descent, a carry puzzle, a boss encounter, and a sensory navigation section into a single arc that ends with the resonance the CFD needs and a fresh objective waiting on the surface.