


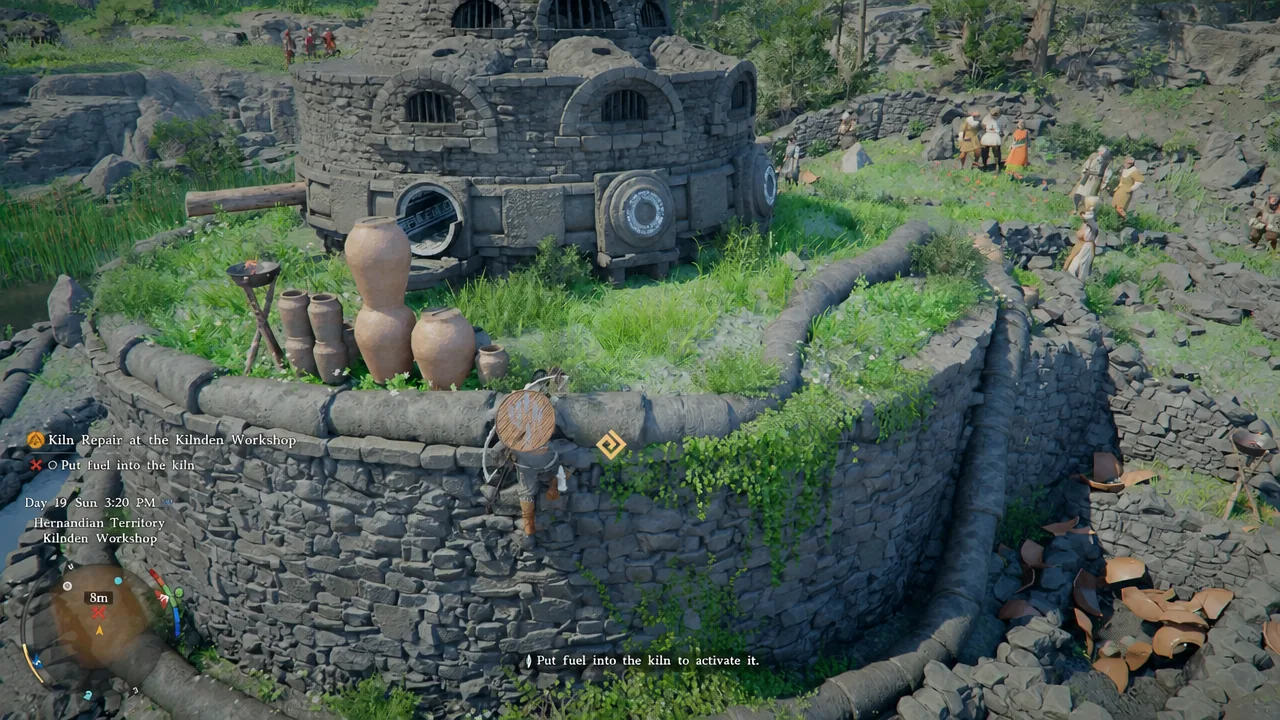
The fuel objective is the fiddliest part of Kiln Repair at the Kilnden Workshop, the Chapter IV main quest where Kliff patches up Grimnir’s broken pottery operation. Five electrified spheres are scattered around the workshop, and the kiln will not light until every one of them is sitting inside a chute.
Quick answer: Grab all five blue glowing orbs with Axiom Force (hold L3 / Left Stick), roll each one into the round openings on the kiln’s exterior, then push the wooden lever beside the kiln to the left to power it on.
What you need before the fuel objective
Axiom Force is the only ability required here. You hold L3 / Left Stick to lock onto an object, then use the precise control inputs to pull, push, and rotate it while it floats in front of you. Holding L2 / LT pulls a locked object toward you, which matters for one orb in particular.
The fuel kiln is the objective marker furthest north, sitting northwest of the ancient generator you reactivated earlier in the quest. Open your map and zoom into your position and you will see five circular icons dotted around the kiln — those are the orbs, and they are all within a short walk.
All five fuel orb locations
Every orb glows bright blue, so they are easy to pick out once you are looking in the right direction. Two are effectively handed to you; the other three sit in the flooded ground around the kiln.
| Fuel orb | Where it is |
|---|---|
| Orbs 1 and 2 | On the ground directly beside the kiln, within a couple of steps of the chutes. |
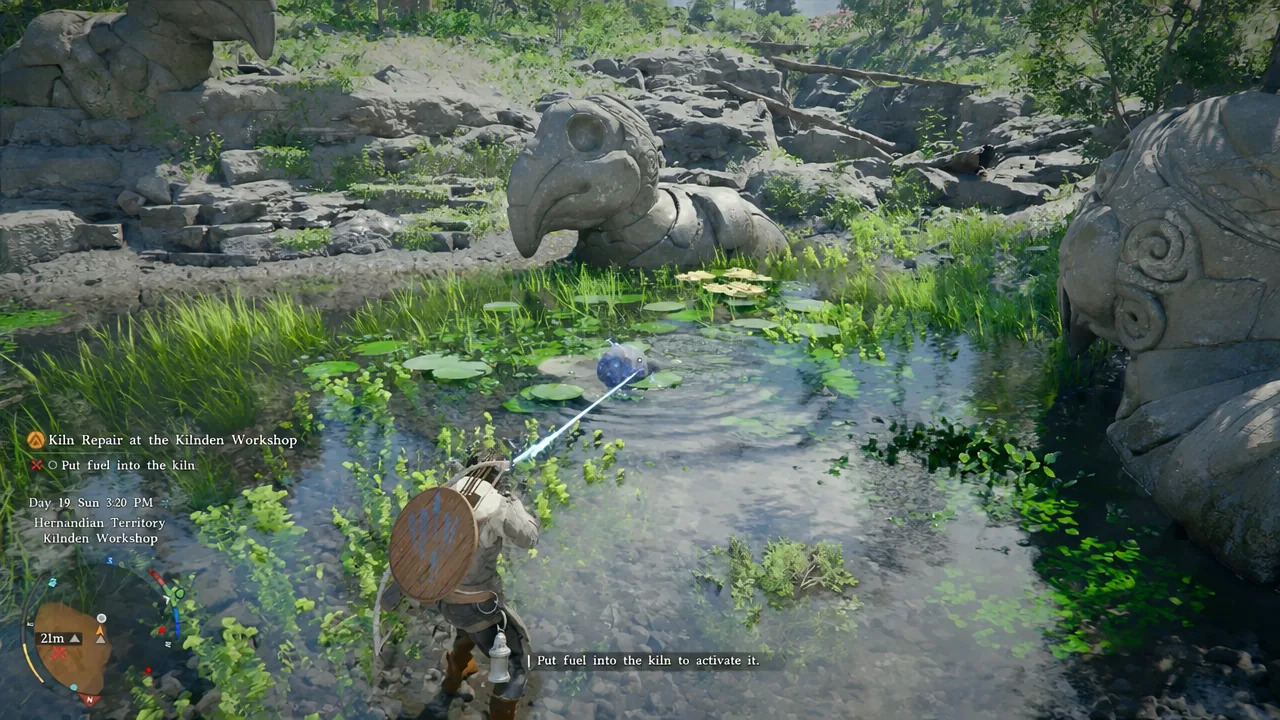
| Orb 3 | Lying in the shallow water of the marshy pond west of the kiln, below the kiln platform. |
| Orb 4 | Set into the eye of the large bird-shaped stone statue standing in that same flooded area. The statue’s head glows blue. |
| Orb 5 | In a small cave mouth or rocky crevice south-east of the kiln, in the direction of the hill where you activated the ancient generator. |
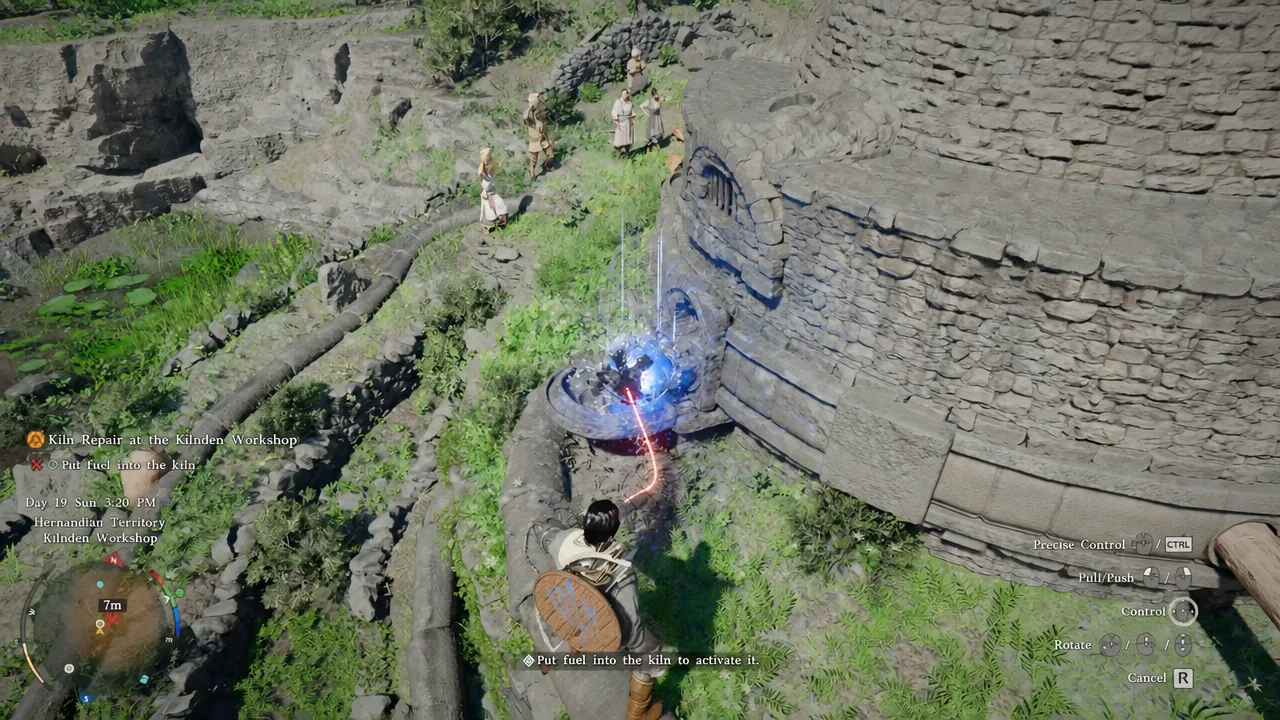
How to load the fuel into the kiln
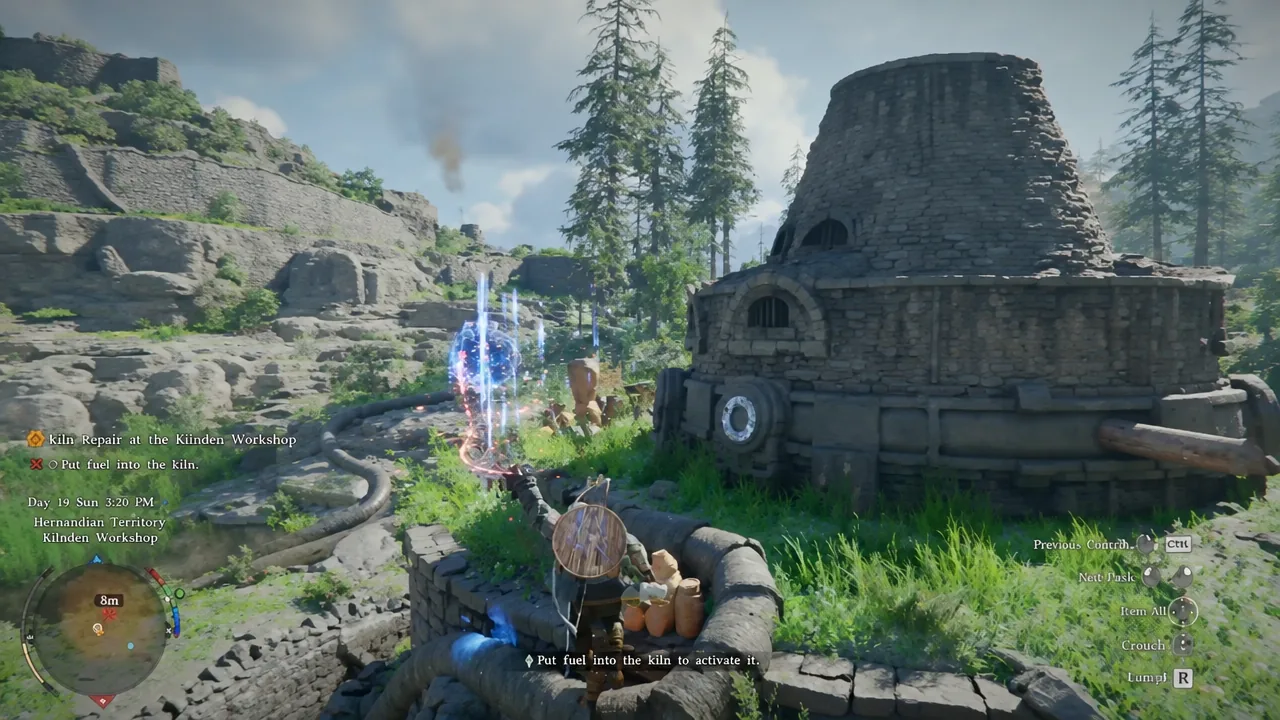
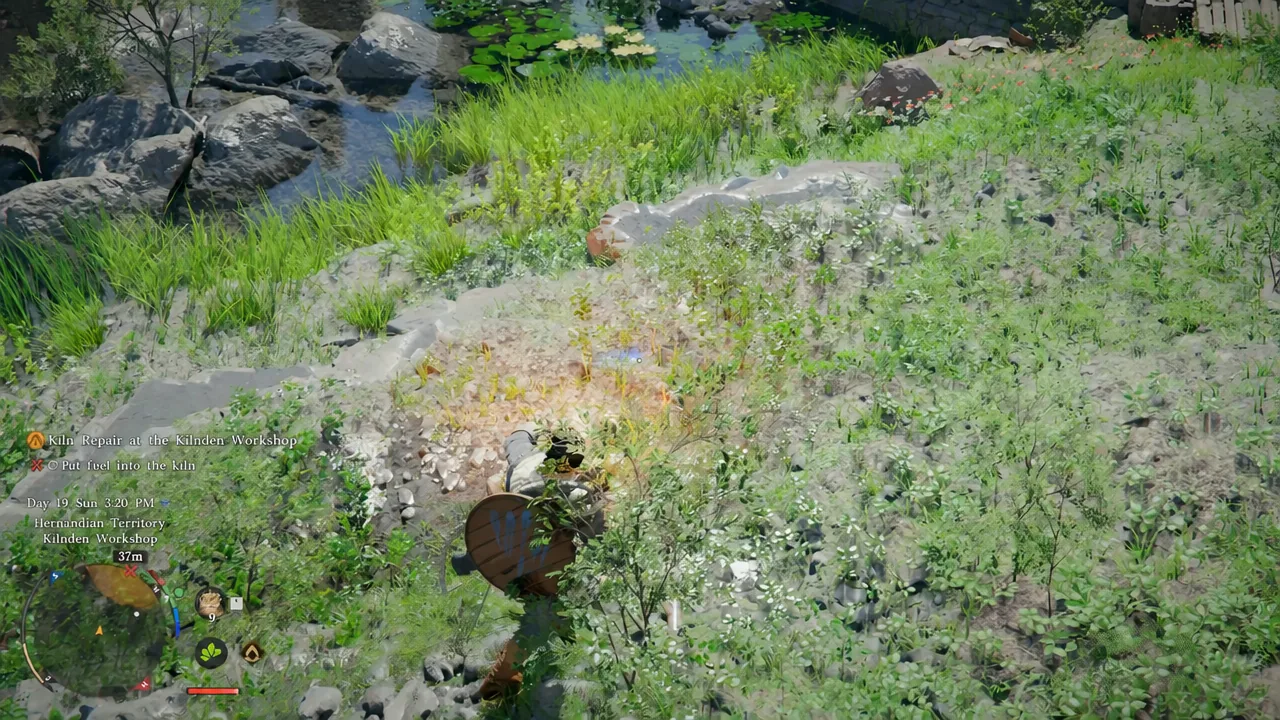
Tip: an orb only counts once it has rolled fully into a chute. If the lever does nothing, walk a lap of the kiln and check whether one sphere is still sitting on the lip of an opening.
Fuel orb missing or not spawning
One orb — the one near the cave entrance, in the direction of the hill with the ancient generator — occasionally fails to spawn. If the map shows fewer than five circular icons and you have searched the spot with nothing there, restarting the game is the first thing to try.
If a reboot does not bring it back, load an older autosave from the end of the previous quest and play the section again. That reliably restores the missing sphere.
Fuelling this kiln is one of three repairs in the quest, alongside reconnecting the cable on the disconnected kiln and rebuilding the dismantled one with aerial Force Palm. Once all three are burning, return to Grimnir up by the ancient generator and speak with him to close out the quest and move on to the pot he owes you.





