

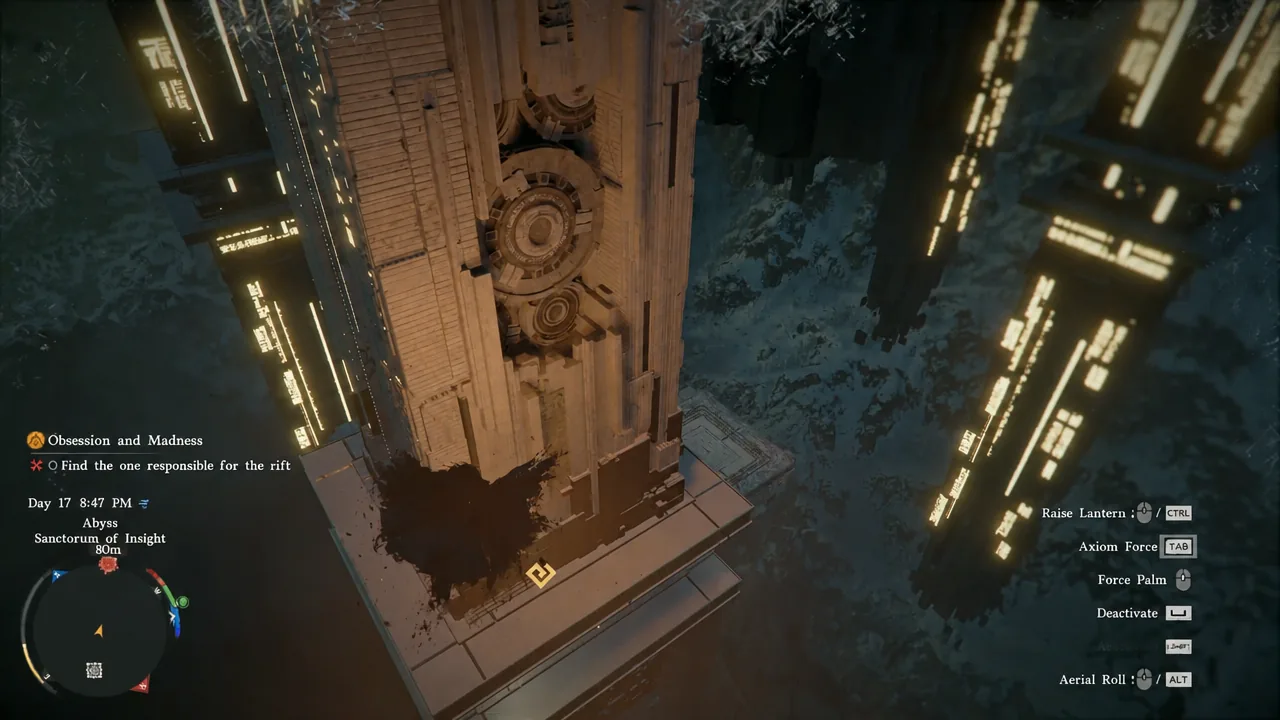
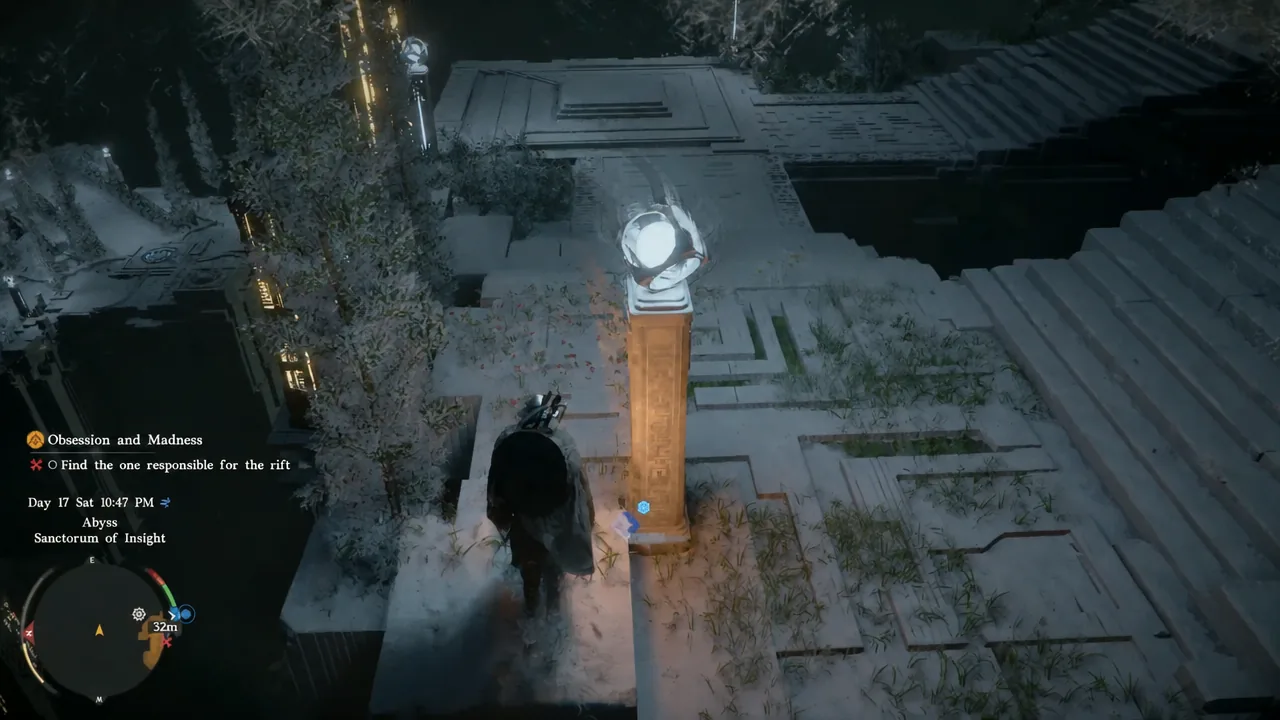
Stepping through the rift at the top of the Spire of the Stars drops you into the Abyss with one instruction and almost no explanation of how to follow it. The marker for Find the one responsible for the rift floats on an elevated island high above you, separated by open sky and a set of enormous stone pillars. There is a puzzle built around those pillars, but there is also a much faster way up that the game never teaches you.
Quick answer: Jump from the Abyss Nexus and chain Force Palm three times in midair to launch up to the island, then jump over the glowing platform at the top and use Force Palm while airborne.
Obsession and Madness quest details
Obsession and Madness is the 58th main quest, and it picks up straight after Spire of the Stars. Octavius has been swallowed by the rift, and the first objective, Investigate the Abyss, completes on its own the moment you walk through the gate at the top of the spire.
| Detail | Value |
|---|---|
| Quest number | 58th main quest |
| Chapter | 4 – The Price of Knowledge (Forbidden Knowledge) |
| Starting location | Hernand region, Scholastone Institute |
| Requirement | Spire of the Stars completed |
| Reward | +8 Contribution Levels with the Hernandian faction |
Activate the Abyss Nexus before you jump
Once you regain control of Kliff, walk onto the glowing floor plate directly ahead of where you arrived. That plate is the Abyss Nexus, and stepping on it registers a fast travel point inside the Sanctum of Insight. Falling off a pillar is easy here, and without the Nexus active you have to make the whole trip again from the spire.
If you do fall, open the map and press R3 to switch to the sky map, then travel back to the Nexus. The same trick works later if you want to return to the Sanctum of Insight after the quest is over.
Controls used in the Abyss
| Action | Input |
|---|---|
| Force Palm | R3 (right stick click) |
| Recharge Spirit | Hold L3 + R3 |
| Connect Axiom Force | Aim at the conductor slot and interact |
| Select a pillar | L2 / R2 (LT / RT on Xbox) |
| Raise the selected pillar | X (A on Xbox) |
| Switch to the sky map | R3 on the map screen |
Force Palm drains Spirit every time you use it, so top the bar back up with L3 + R3 between attempts rather than running out halfway through a jump.
Fastest route: Triple Force Palm up to the island
The hidden mechanic behind this objective is that Force Palm can be used three times in a row while you are in the air. Nothing earlier in the game requires it, so most players never discover it. Used here, it skips the pillar puzzle entirely.
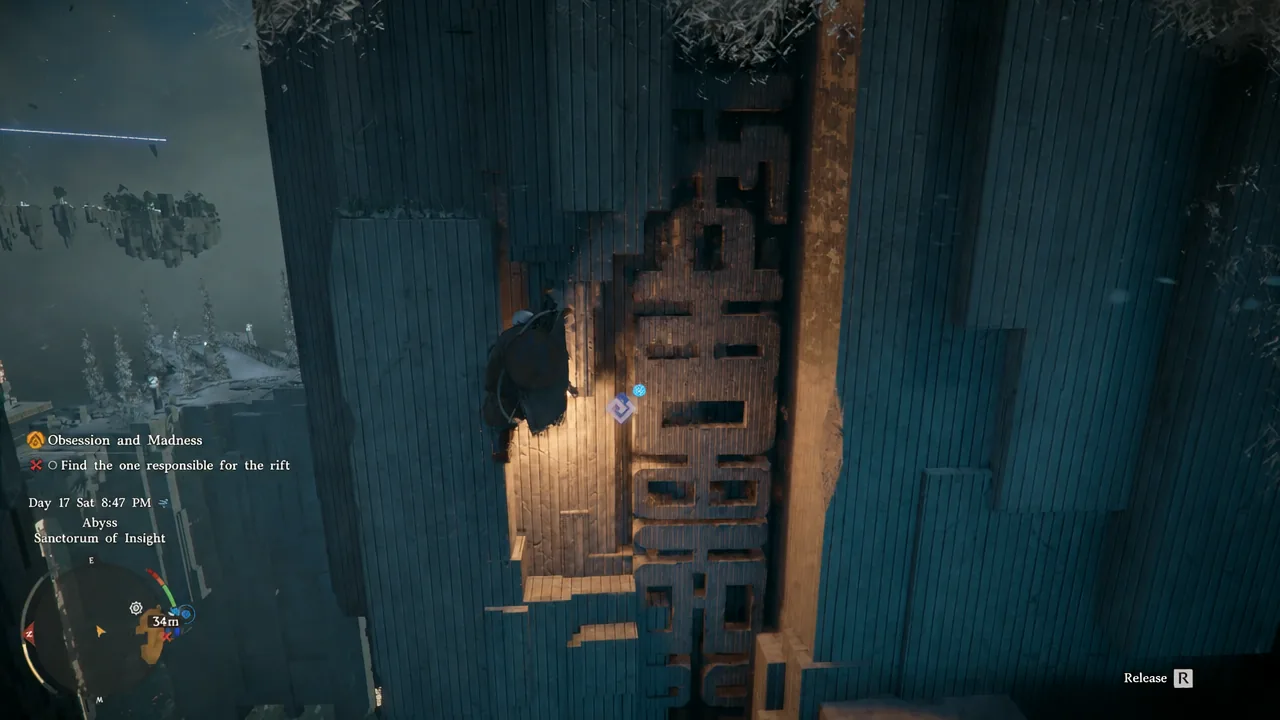
If your Stamina stat is high enough, climbing the pillar walls directly also works. The Double Jump skill from Kliff’s green skill tree adds extra height to every launch and makes the ascent more forgiving.
Alternate route: Raise the pillars with Axiom Force
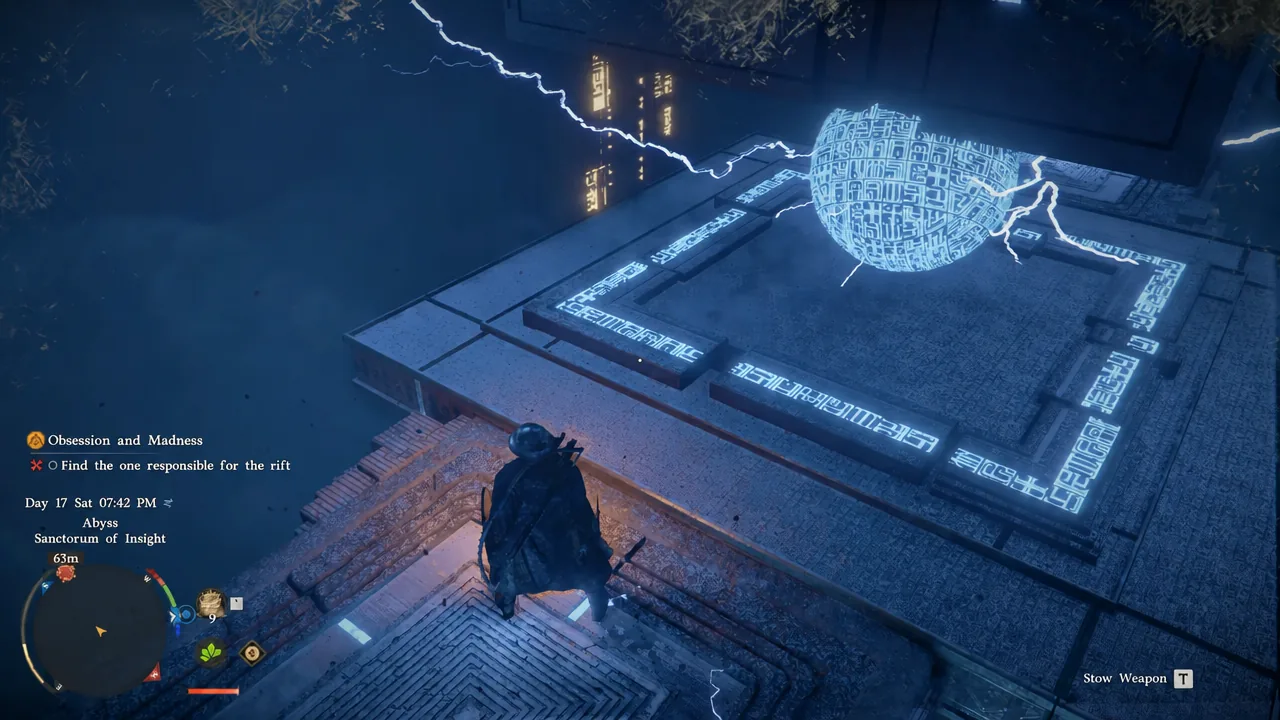
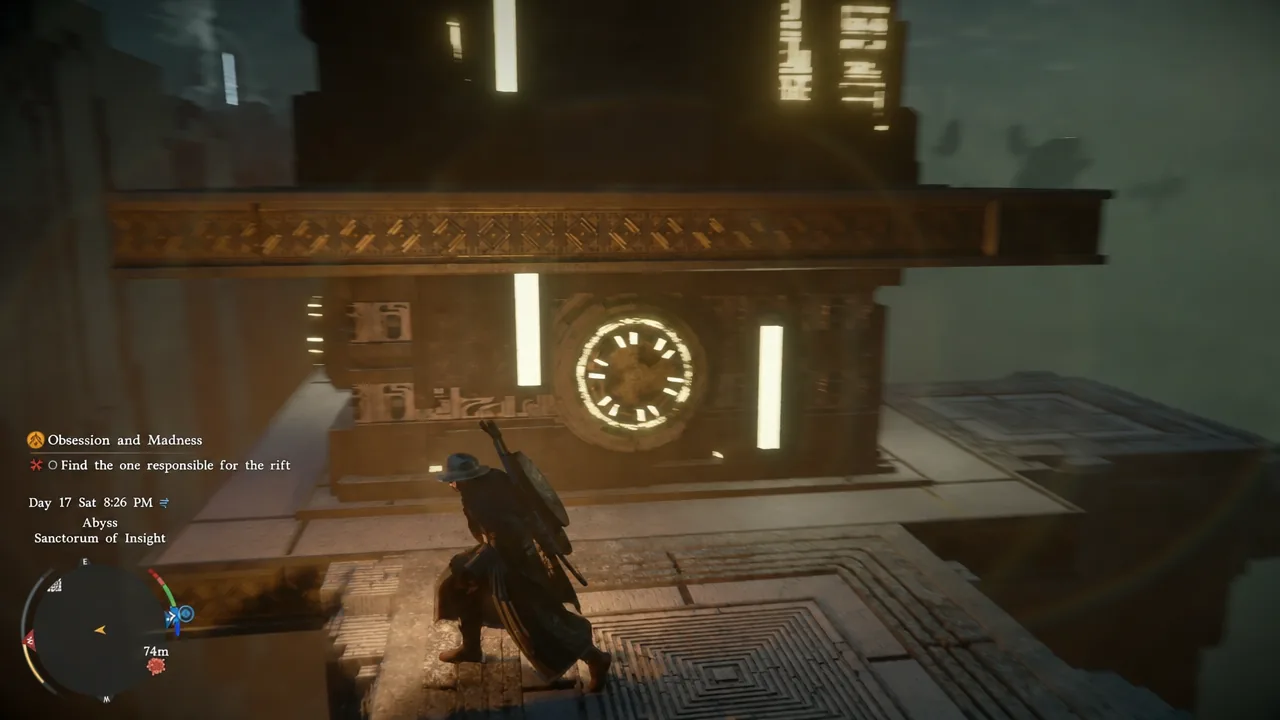
The intended solution turns the pillars into a bridge. You raise each one in turn so the floating platforms drift toward it, then walk forward and repeat until you reach the far side.
Activate the pressure platform to finish the objective
At the top of the stairs is a glowing circular platform with light beams falling onto it. This is where most players stall, because the platform does not respond to walking onto it or pressing the interact button.
Line up with the centre of the platform, jump so you are directly above it, and press R3 to slam down with Force Palm while airborne. The floor shatters, the Abyss is restored, and the cutscene starts.
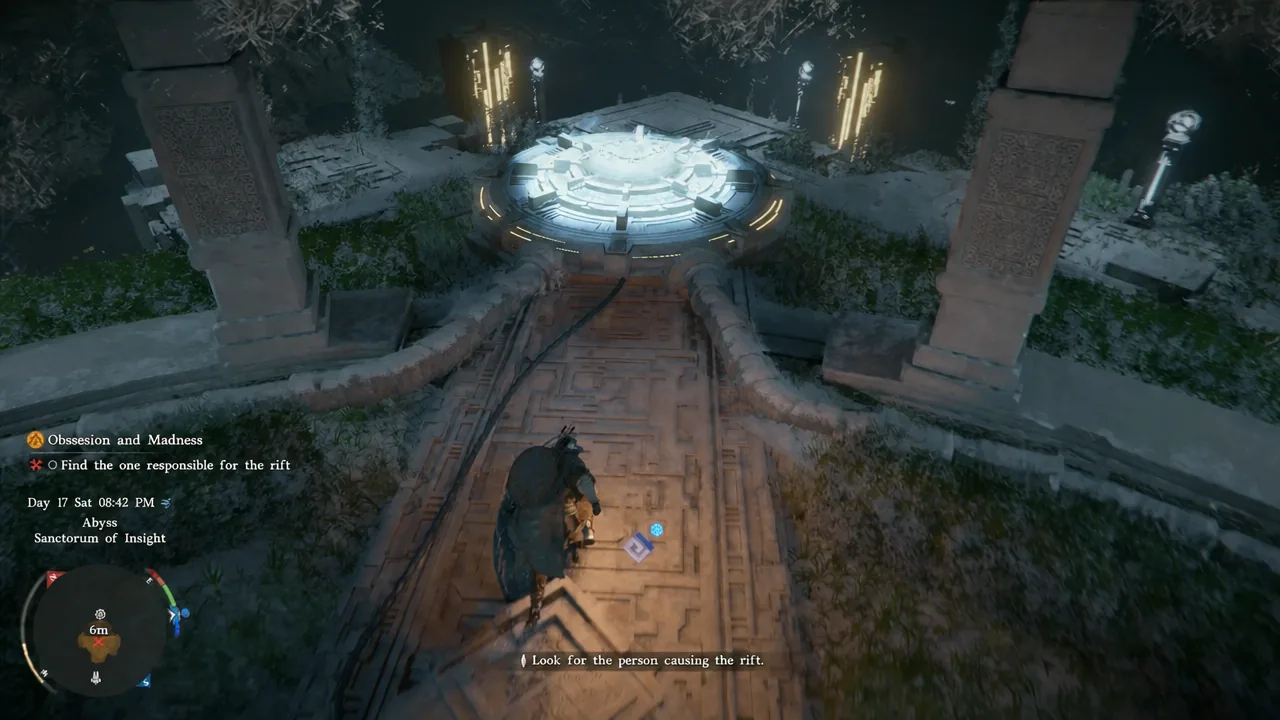
A grounded Force Palm will not register. The input only counts when you are in the air over the platform.
How to confirm the quest is complete
The cutscene is the confirmation. A stranger appears, throws up a force field, and blasts Kliff out of the Abyss. You fall all the way back down to Scholastone, where a conversation with the dean closes out the mission.
- The objective tracker clears and Obsession and Madness is marked complete.
- You receive +8 Contribution Levels with the Hernandian faction.
- The Restore the Abyss challenge for the Sanctum of Insight ticks over.
- The next main quest begins automatically once the dialogue ends.
The triple Force Palm you learned here is worth keeping in your pocket. It is a general traversal tool rather than a one-off puzzle solution, and it makes cliffs, towers and fortress walls elsewhere in the world far less of a Stamina problem.





