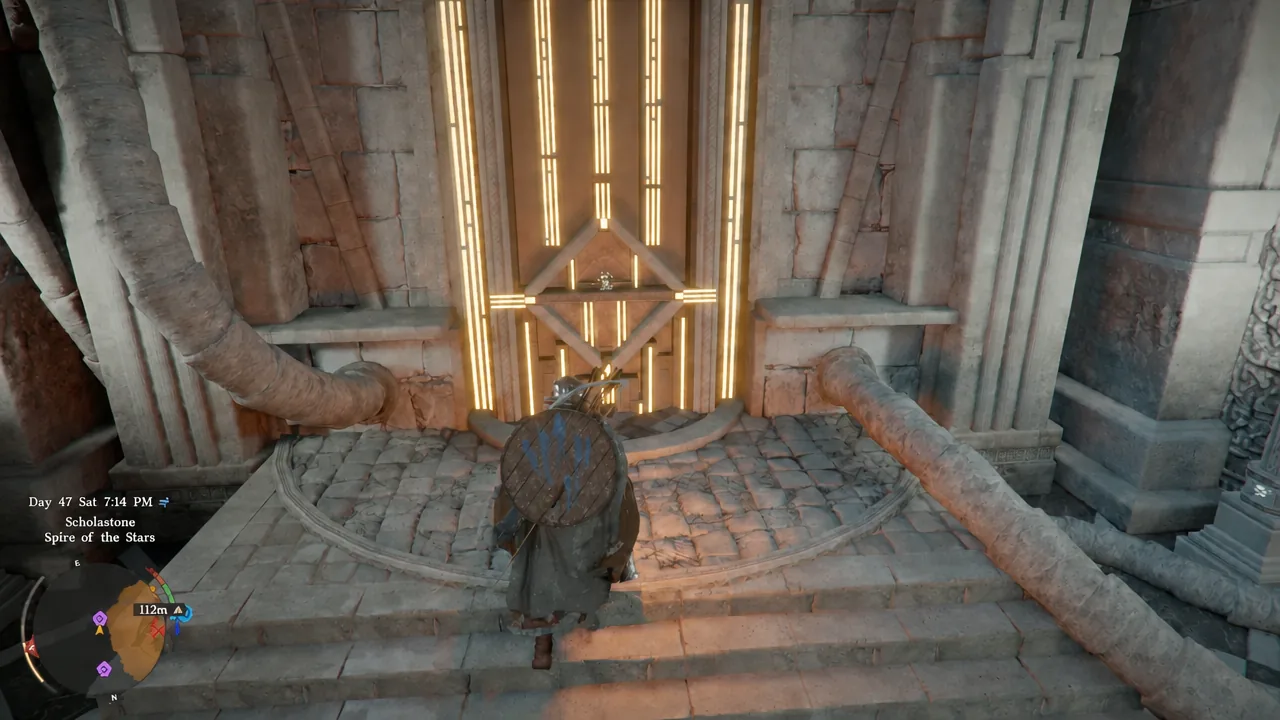
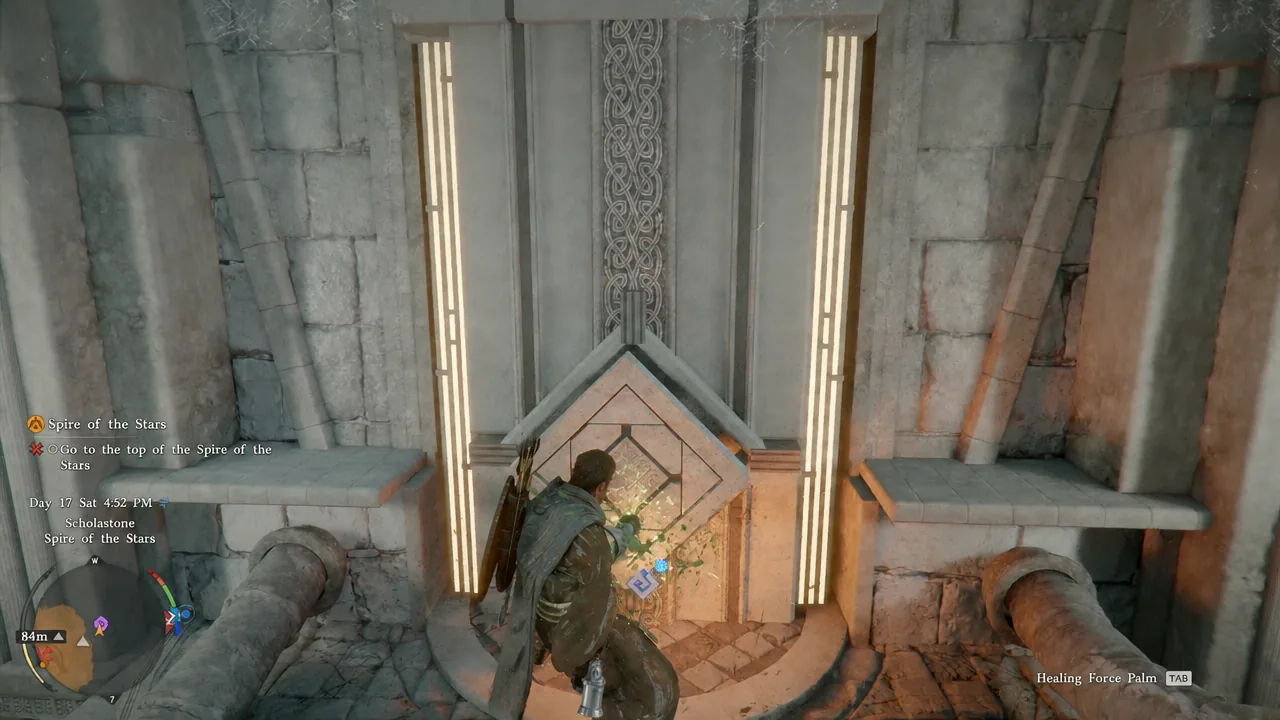
The Spire of the Stars is a tower on the frozen peak above the Scholastone Institute, and the moment you step inside, the lift that carries you to the top refuses to work. Powering it means solving a switch puzzle that the game never really teaches you, using four wall symbols and three stones hidden behind fake panels.
Quick answer: Force Palm the three hidden panels in the side rooms, take the Engraved Stones, and slot them into the empty sockets under the hourglass, square, and triangle switches. Then hang from the symbols until they read, from top to bottom, hourglass, circle, triangle, square. The floor lights up blue and the lift runs.
Spire of the Stars location and entry requirements
The spire sits on the mountains south of Hernand, directly above the Scholastone Institute. You reach it during Chapter 4, The Price of Knowledge, in the Forbidden Knowledge questline, right after the Gate to the Otherworld mission wraps up. You do not need to hunt for it early, since the story routes you there anyway.
From the institute, head north-east past the banquet hall and take the stone staircase outside. The path runs through a short cave, then keeps climbing until you hit the large stone door you unlock with your key. Force Palm is mandatory for the puzzle inside, so make sure you have it before the climb.
The mountain is cold, which slows stamina regeneration and raises the stamina cost of your actions. If you have no cold resistance food or gear, stand next to the fires dotted along the path to top yourself back up.
Get the three Engraved Stones from the side rooms
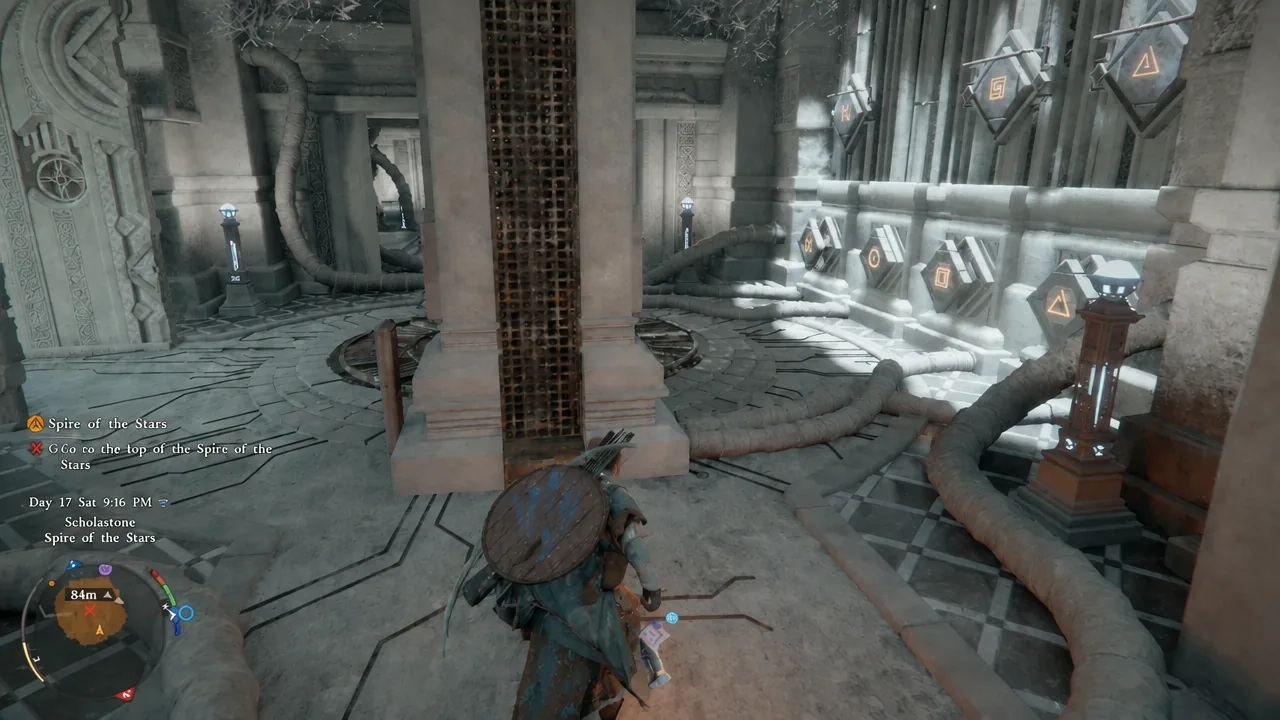
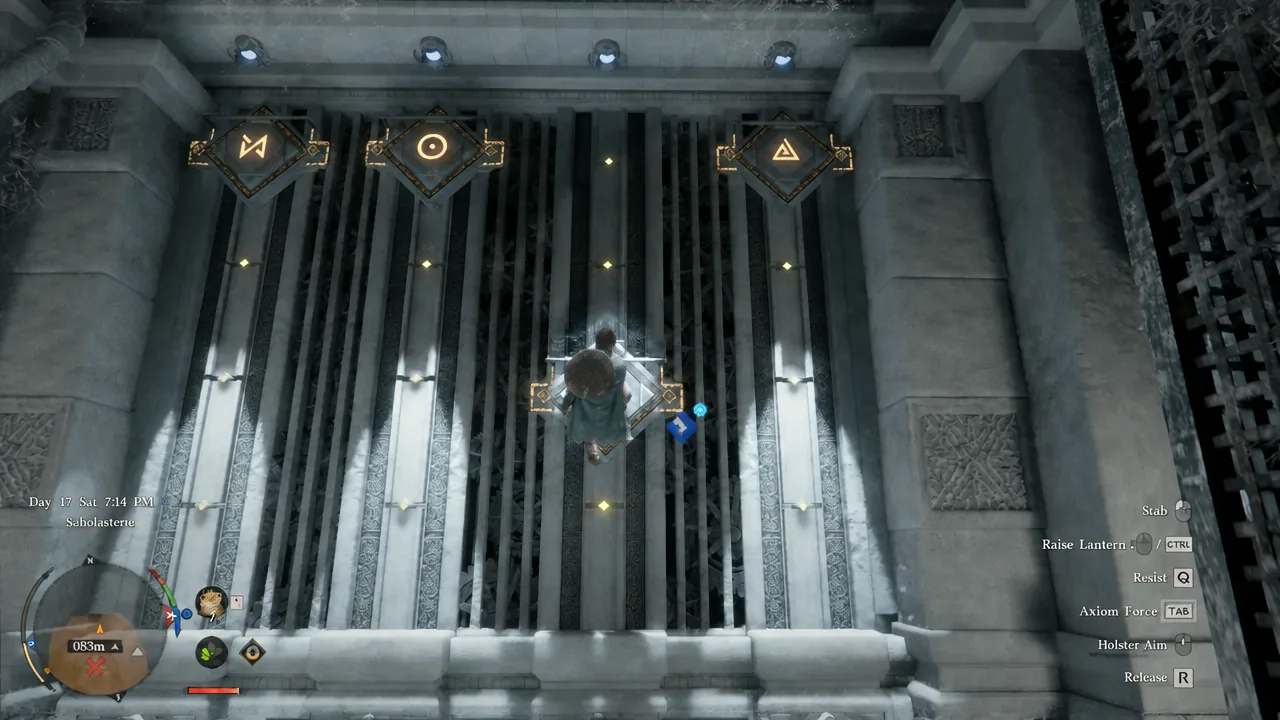
Inside the spire you will find the dead lift, a wall of four large symbol switches facing it, and two small side rooms, one to the left and one to the right. Each switch has a square socket beneath it, and the circle switch already has a stone fitted. That is why you only need three.
Spire of the Stars symbol solution
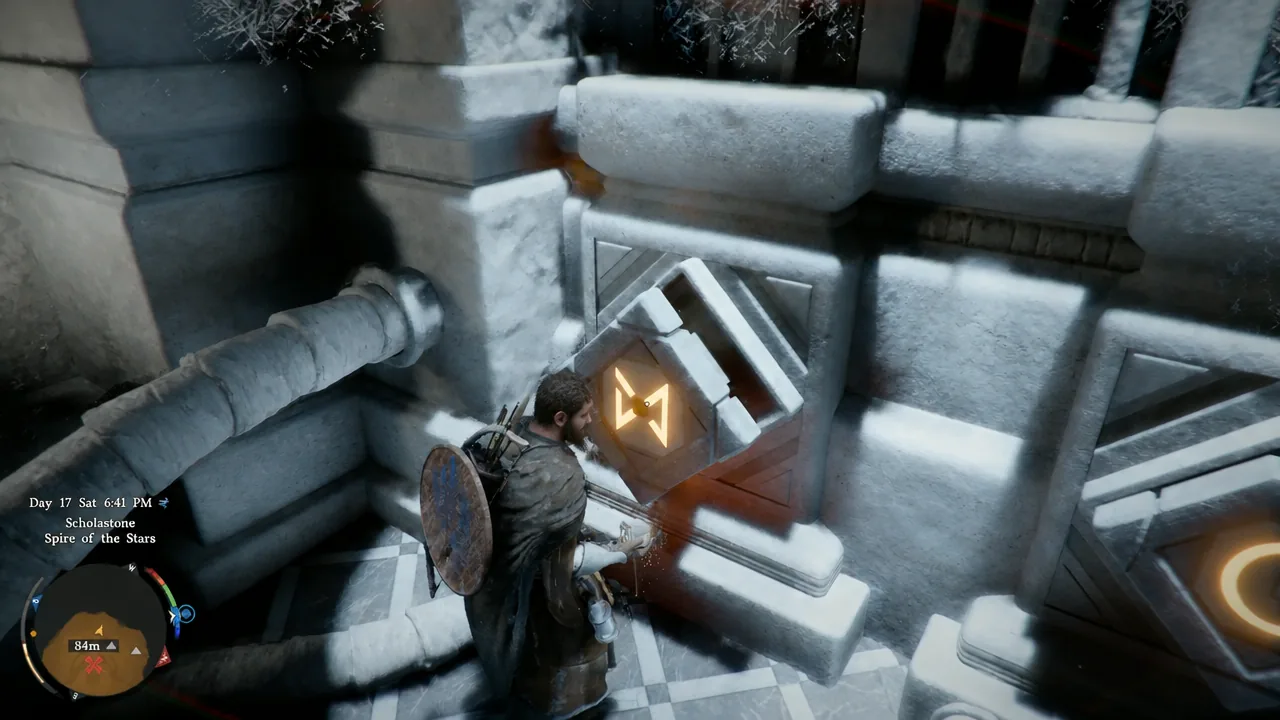
There are four rails and four slots on each, numbered here from the top down. Reading the wall from left to right, the symbols are the sideways hourglass, the circle, the square, and the triangle. Only two of them actually need moving once the stones are in.
| Symbol | Correct slot | Action needed |
|---|---|---|
| Hourglass (leftmost) | 1, top | Rises there on its own after the stone goes in |
| Circle | 2, second from top | None, it already starts in place |
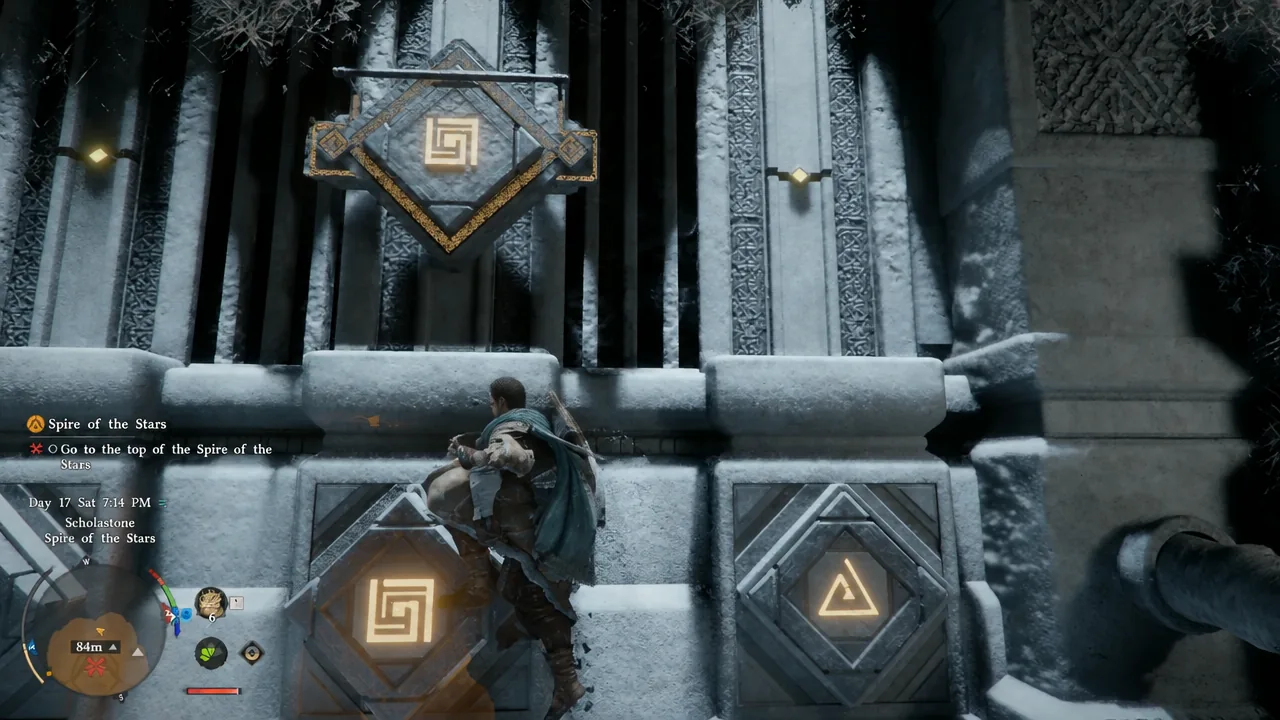
| Triangle (rightmost) | 3, second from bottom | Hang until it drops two slots, then let go |
| Square | 4, bottom | Hang until it reaches the very bottom |
How to move a symbol down its rail
How to confirm the lift is powered
Two things change the moment all four symbols sit correctly. The yellow glow on the panels switches off, and the patterns on the chamber floor turn blue. That blue floor is your confirmation that the lift has power.
Step onto the platform and it rises automatically. Get off quickly when you arrive, because the lift heads straight back down if you linger on it. From the upper landing, keep running up the stairs to trigger a cutscene, then interact with the abyssal gate to finish the objective.
If the lift still does not move
- You arrived before the story sent you. The lift is quest-gated and only activates once the Spire of the Stars mission is active, so climbing the mountain early does nothing.
- A stone is missing. Three panels hide Engraved Stones, one on the left of the lift and two on the right. A switch with an empty socket cannot be moved at all.
- One symbol is off by a slot. The panels keep glowing yellow until every one of the four is correct. Use the lower buttons to reset any that overshot.
- You fell out of the puzzle area. Dying from a high drop reloads you at the checkpoint with your progress intact.
Passing through the gate drops you into the Abyss and rolls straight into Obsession and Madness, a short platforming section across floating pillars. The cold still applies up there, so a Force Palm upgrade or Double Jump makes the gliding far less punishing on your stamina bar.