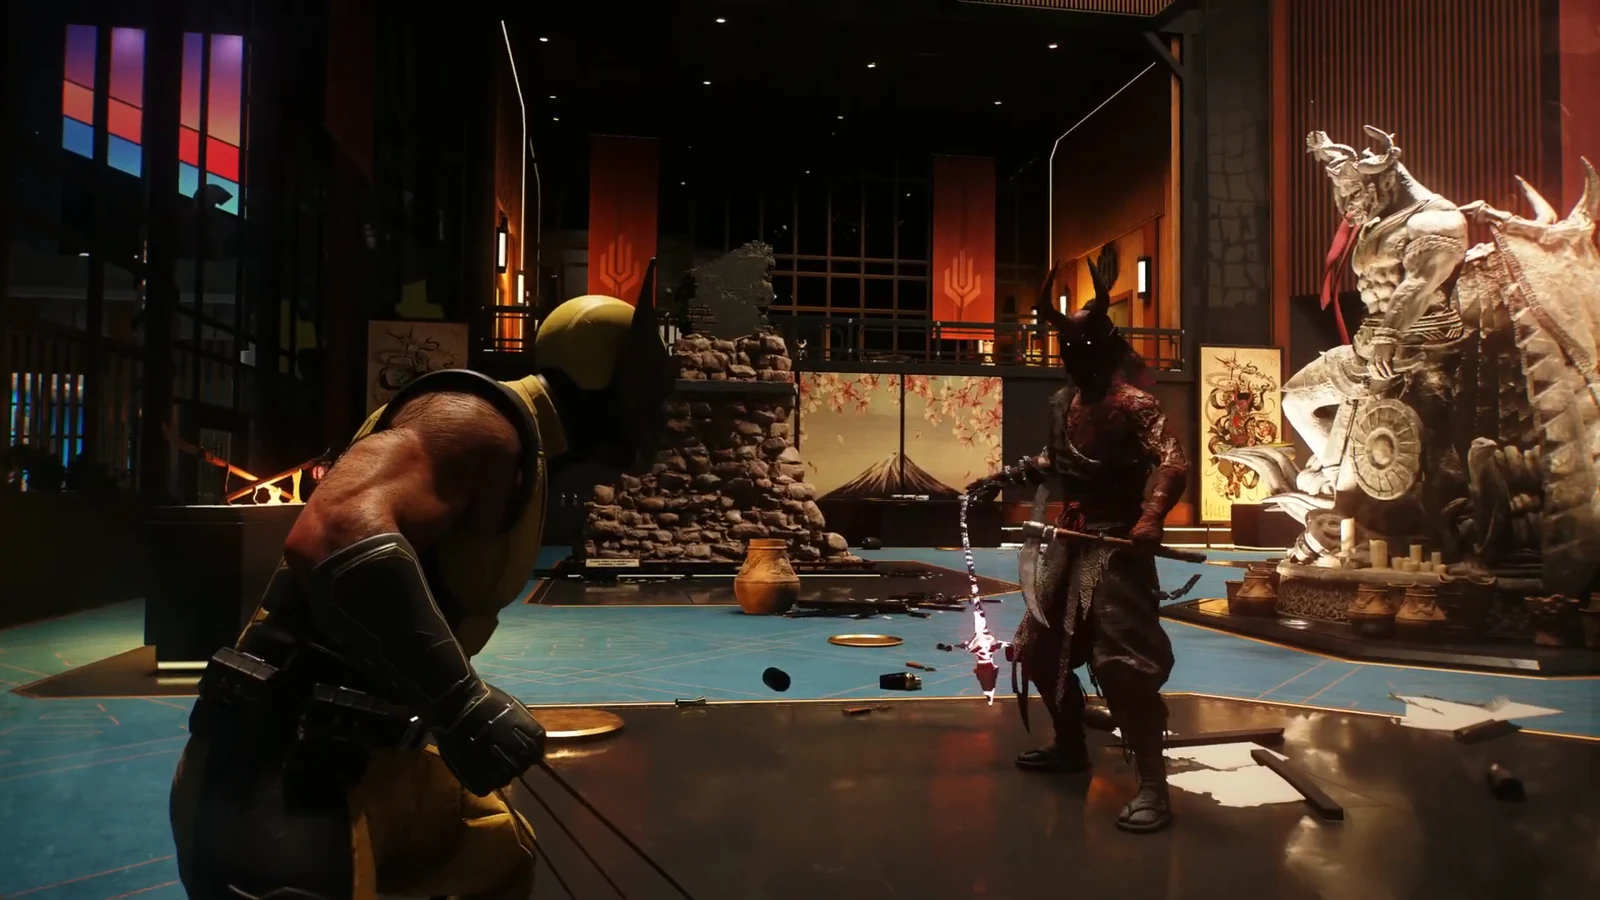
Death Comes to Death is the fifth mission of the Japan chapter in Marvel’s Wolverine, and it runs a single unbroken route: rooftop, into Harada Garden Tower, down through the bathhouse, and onto the stage where the Hand is running its ceremony. The objective marker never sends you backwards, so every collectible sits slightly off the forward path rather than behind you.
Quick answer: Clear the mission from the rooftop down to the theater and pick up three Material Crates, the Hand of God whisky bottle, and the Rockbottom Blues Nightmare Door on the way.
Death Comes to Death objective and starting point
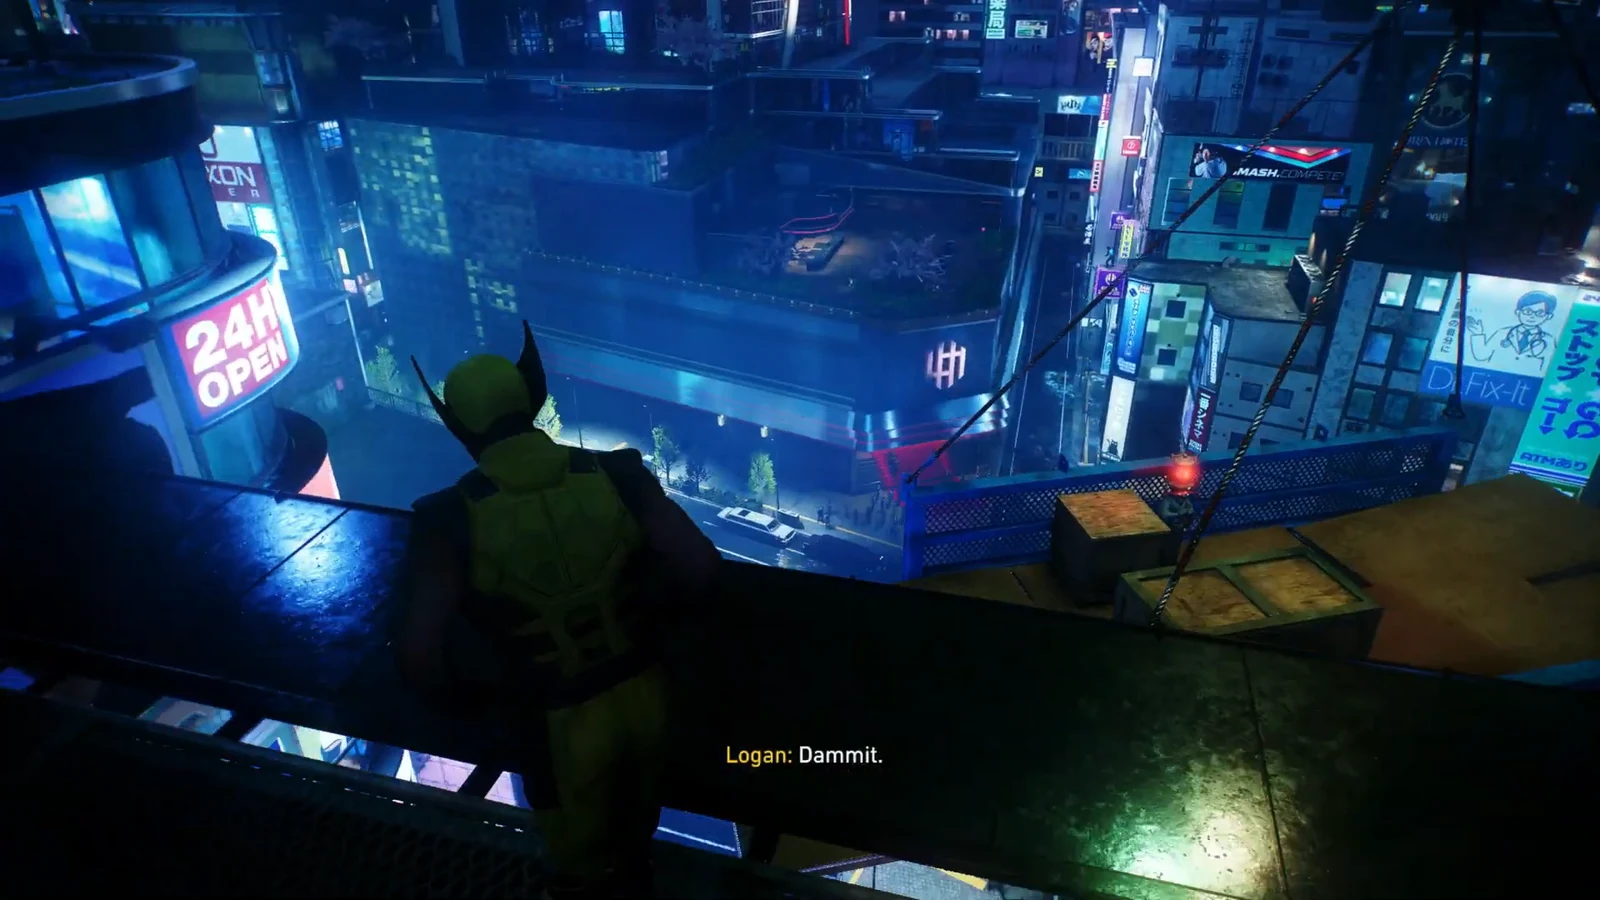
The mission opens with Logan and Shiro standing on a rooftop above Harada Garden Tower while guests file in for an event below. The tracked objective is Get to Harada Garden Tower. Jean Grey arrives by car in a green outfit and a mask, walks in through the front, and opens a telepathic line with Logan before you take control.
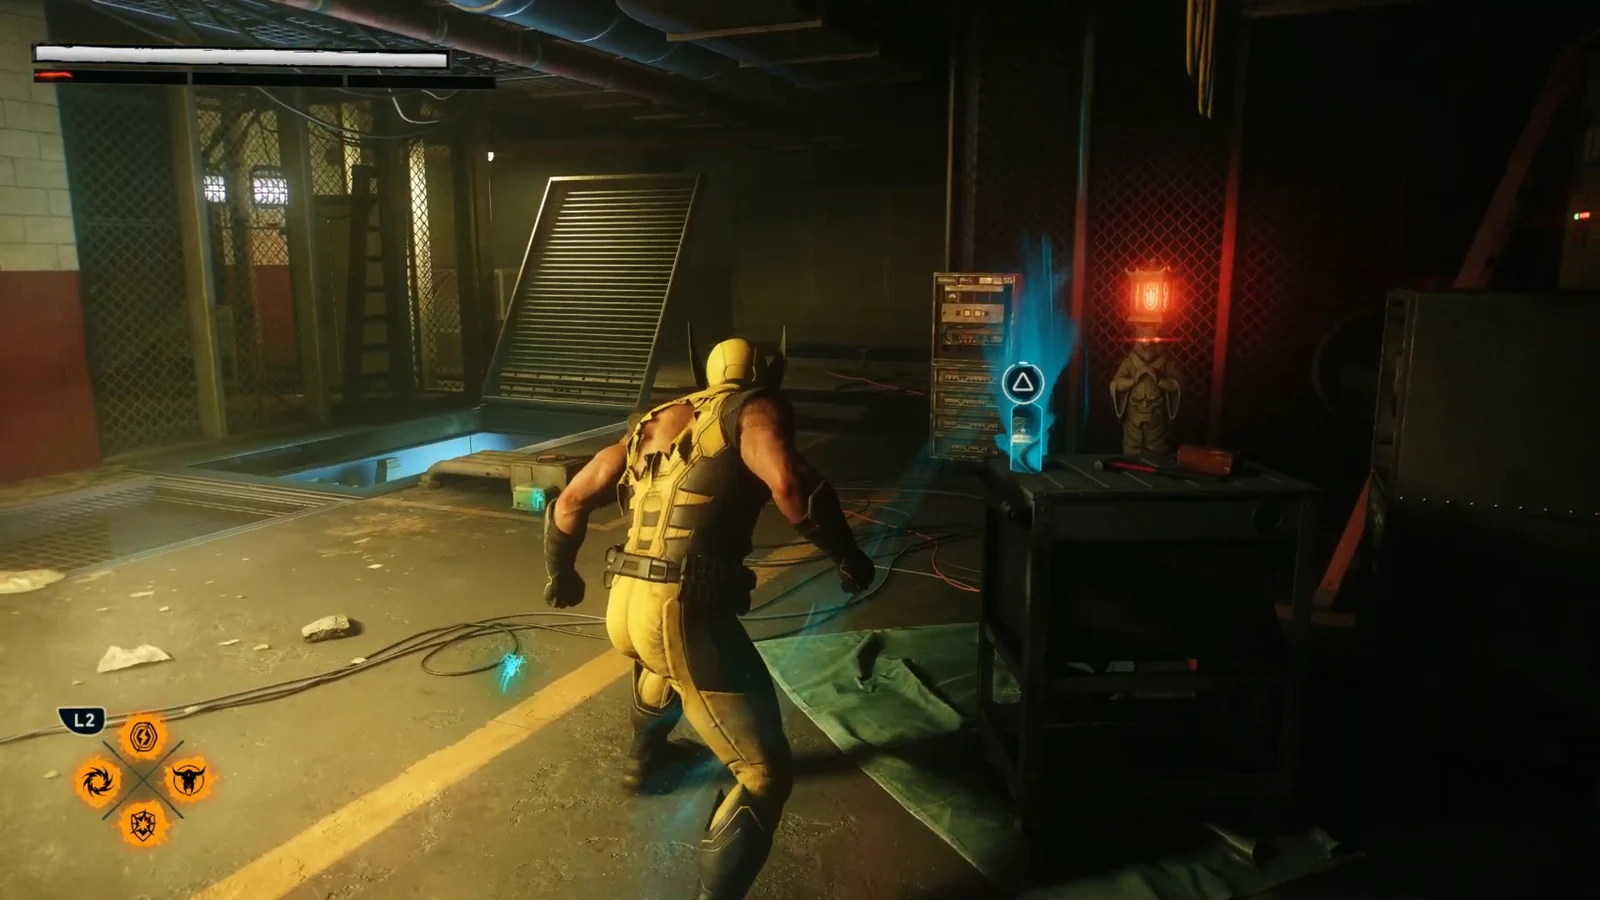
From that point the mission alternates between short stealth stretches and forced brawls. Stealth is never mandatory, but the terrace garden and the server room both let you thin out Hand patrols with takedowns before anyone raises an alarm.
Every collectible in Death Comes to Death
Five pickups sit on the route: three Material Crates worth +50 Materials each, one whisky bottle, and one Nightmare Door. They are listed here in the order you reach them.
| Collectible | Where it is | What to look for |
|---|---|---|
| Material Crate #1 | Opening rooftop, on the roof section to your left | Blue markers, visible the moment you get control |
| Whisky Bottle: Hand of God | Floor above the kitchen door the ambush pours out of | Maintenance corridor along the main objective path |
| Material Crate #2 | Corridor after the security camera footage | Duck under the pipe on the right |
| Nightmare Door: Rockbottom Blues | Same corridor after the footage | A root in the floor leading to a glowing purple tear |
| Material Crate #3 | Past the steam room, at the elevator shaft | Turn right at the shaft and follow it to the end |
Mission tallies for this part of the Japan chapter can list a fourth Material Crate. The three above are the ones sitting directly on the forward route, and Crate #2 is easy to walk past because the Nightmare Door root pulls your eye the other way.
Rooftop route into Harada Garden Tower
Rockbottom Blues Nightmare Trial
The glowing purple tear at the end of the root drops you into Rockbottom Blues, a traversal trial rather than a combat one. It is a timed platforming course, and your finish time sets the rank. A clean run of 00:45:12 earns the Adamantium rank; a slower pass of 00:48:02 lands in Gold, so a couple of missed jumps is the difference between the two tiers.
You can retry the trial immediately without leaving the Nightmare space, so there is no reason to accept a Gold time on the first attempt.
The same area holds a memory piece. Inspect the carved wooden pterodactyl to play a 1923 memory log about giant flying lizards before you head back out.
Spending materials before the bathhouse fight
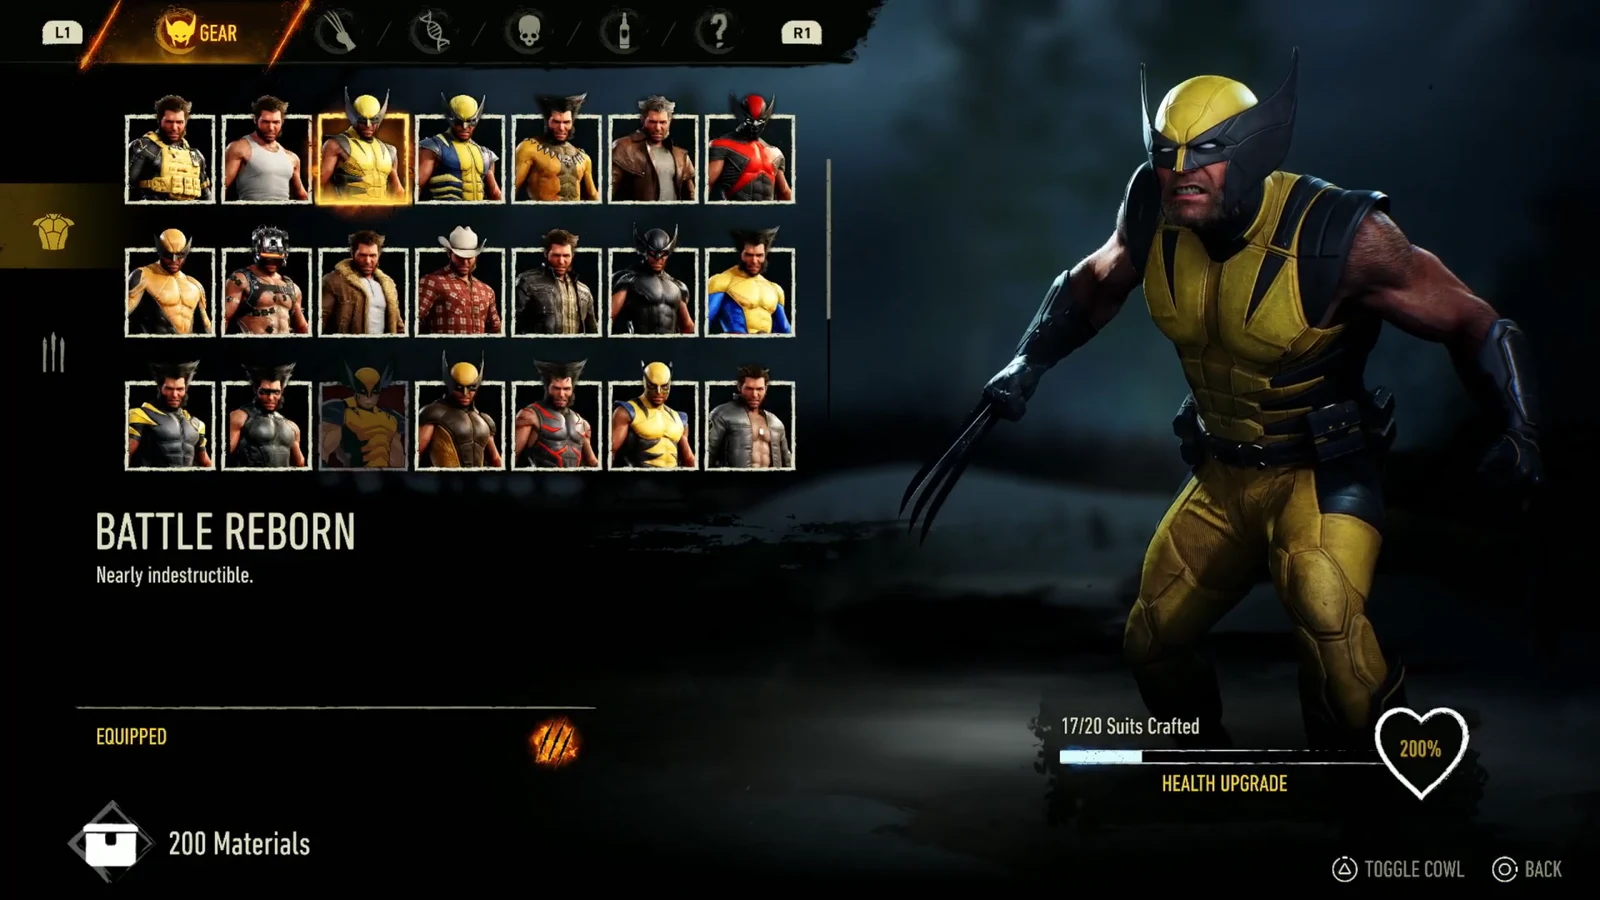
The stretch between the Nightmare Door and the bathhouse is the last quiet window in the mission, which makes it the right moment to cash in the materials you have collected. Techniques such as Overwhelm Lv 2 become affordable around level 22, and suits are bought from the same Gear menu. Battle Reborn, for example, costs 200 materials and carries a 200 percent health bonus.
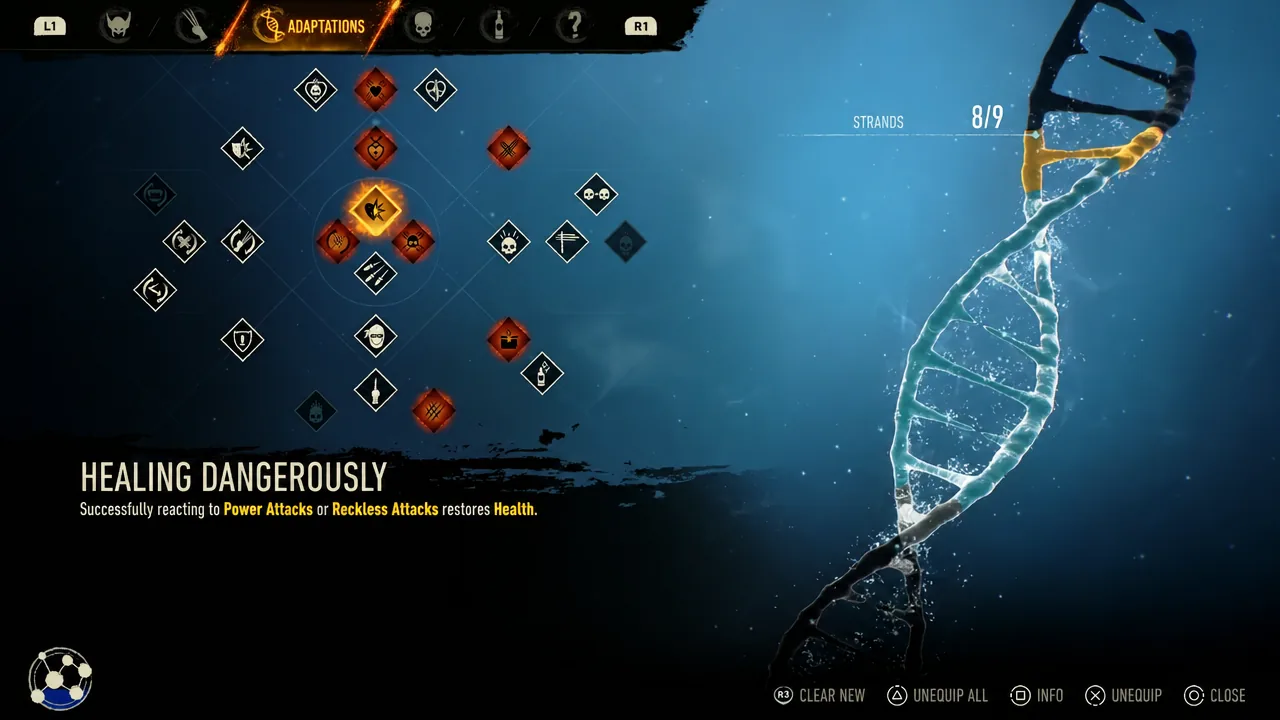
Adaptations are worth a pass too. Healing Dangerously restores health after Power or Reckless Attacks, and Rage Longer extends your rage window, both of which matter in the two fights coming up.
Bathhouse fight and the hidden passage to the ceremony
Follow the sensory tracks through the steam pipes and tear open the air duct to reach the bathhouse. The fight inside is fought through heavy steam and burning debris, so enemy tells are harder to read than usual and Hand operatives can close in from angles you cannot see.
Once the room is clear, follow the track out toward the elevator shaft and turn right for Material Crate #3 at the end. Back on the objective, pick up the drag marks on the ground. They lead to a stone doorway concealed behind vines, which opens the interior corridors running to the ceremony hall.
Climb the upper grating at the end of those corridors. Looking down through the vents gives you a view of the ceremony stage before the cutscene starts.
Ghost boss fight on the ceremony stage
Lady Deathstrike runs the ritual below, using the Helix Engine to transfer a demonic Oni mask onto an operative. Jean breaks it up with a telekinetic strike, Logan drops down to cover her, and Deathstrike impales him. That exchange starts the Ghost mini-boss fight.
The fight plays out across the whole stage against a powered-up Ghost plus rolling Hand reinforcements. Two things keep it manageable:
- Clear the reinforcements in bursts so you are never trading with Ghost while surrounded.
- Save Berserker Rage for a crowded moment. It cuts through the waves of Hand warriors quickly and is the cleanest way to finish Ghost off.
- Keep moving across the stage rather than fighting in one corner, since enemies spawn in from the sides.
Helicopter chase and the street duel with Lady Deathstrike
Deathstrike blasts Jean through a window and escapes by helicopter while Logan leaps out to catch her. What follows is a scripted pursuit across lit Tokyo rooftops and billboards, ending with Logan jumping onto the helicopter, shredding the engine with his claws, and riding the crash down into the street.
Deathstrike walks out of the wreck with energy blades drawn. The close-quarters duel that follows is scripted to end with her stabbing Logan through the chest, so you are not expected to win it.
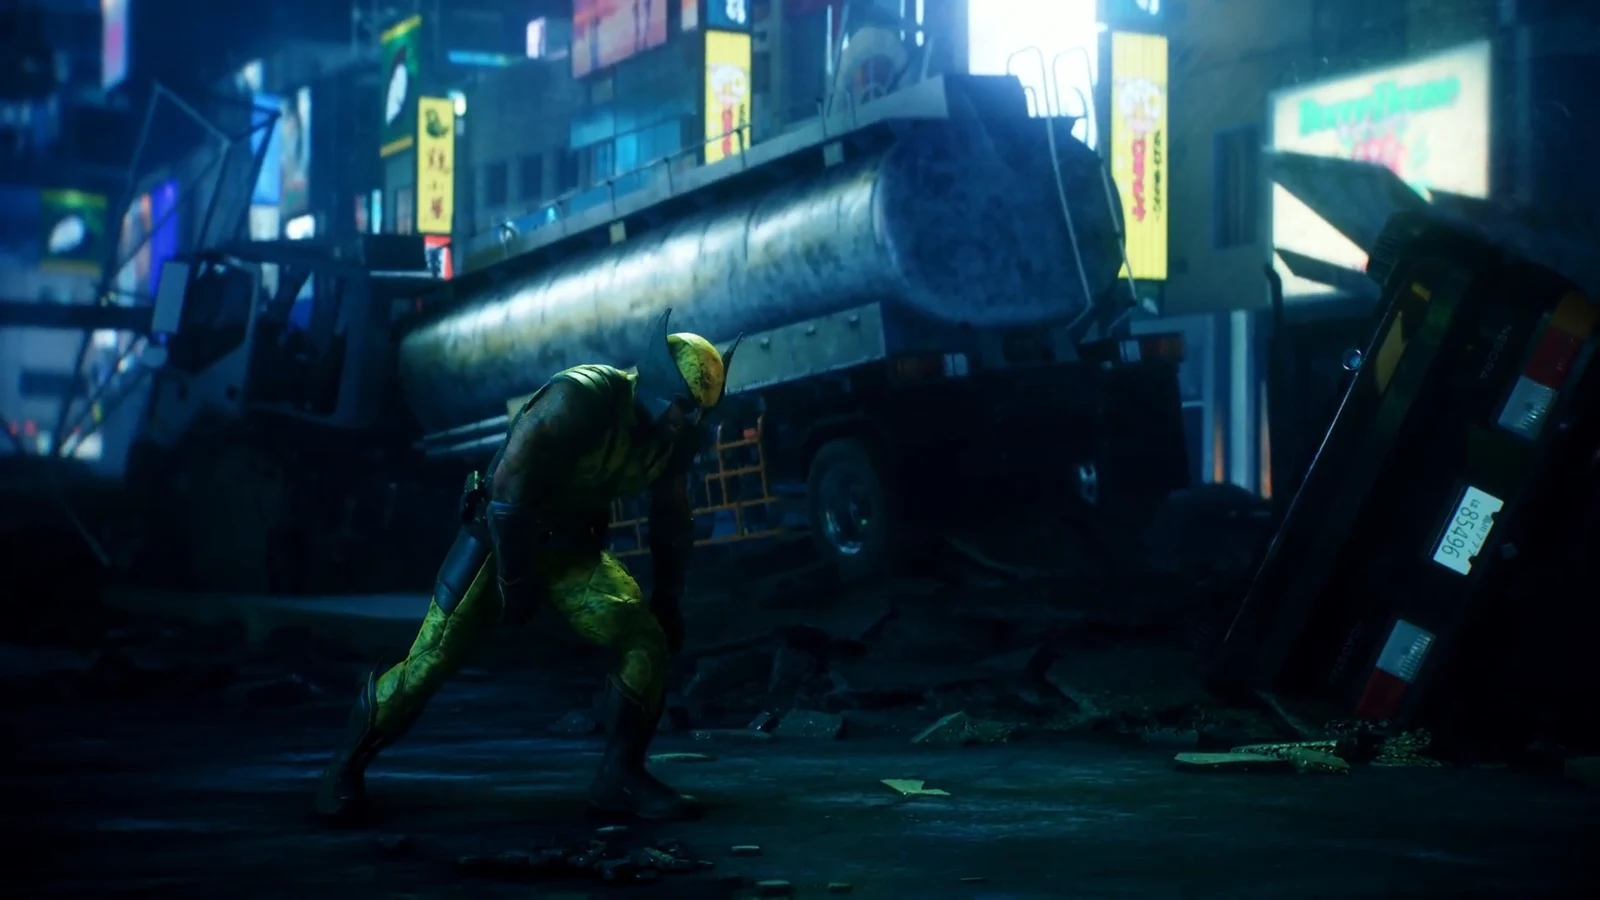
Jean throws Deathstrike into a van with telekinesis and reaches Logan. Mister Essex arrives and helps her load him into the Helix Engine capsule to stabilise him while Hand ninjas close in, and Jean throws up a telekinetic forcefield around the capsule.
How to confirm the mission is complete
Inside the machine, Logan goes through a nightmare sequence in which an armour-clad Wolverine fights across a desert wasteland before standing over Jean and his fallen allies. He then wakes in the wrecked Tokyo street with Jean explaining that the Helix Engine has been stolen.
You will know the mission has closed out when the The Monster in Me trophy pops during that final scene and the pause menu switches its tracked objective to the next mission, We Were Wrong. If the trophy has not appeared, the scene has not finished playing out yet.
Because nothing in this mission sends you back through cleared ground, any collectible you skipped stays skipped for that run. Checking the crate, bottle, and Nightmare Door counters before the ceremony cutscene is the last safe chance to sweep up anything missing.