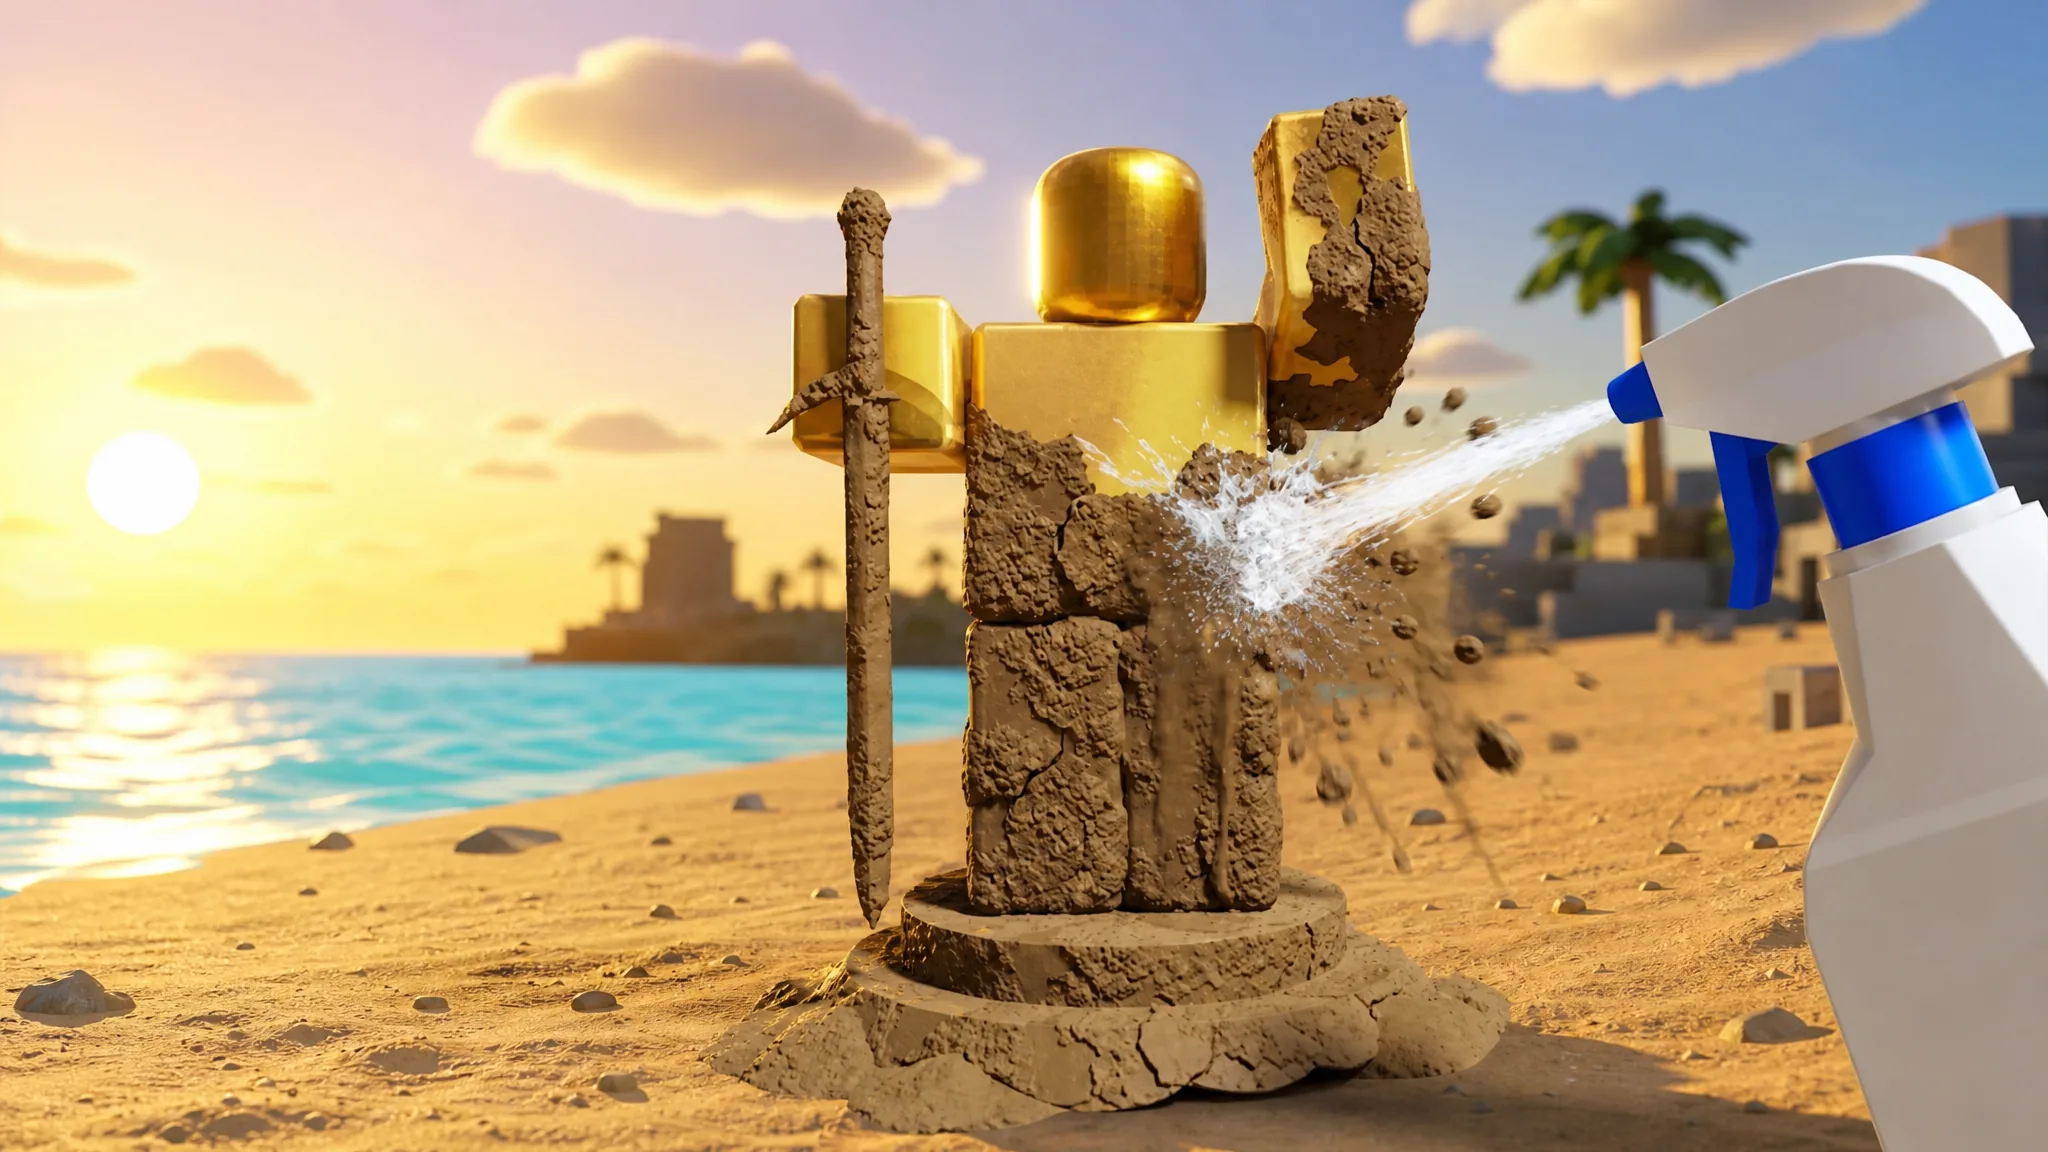
Gear runs everything in Dig and Clean. Your detector finds buried loot, your shovel pulls it out of the ground, and your spray bottle scrubs it clean so you can sell it or show it off in your museum. Every upgrade costs Gold, and the jump between tiers gets steep fast, so it pays to know exactly what each piece does before you spend.
Quick answer: Buy every piece from the Gear Shop in the center of the map. Prioritize a stronger Detector and Shovel first, then upgrade your Spray Bottle once digging and finding are handled.
Where to buy gear in Dig and Clean
All three gear lines are sold at the Gear Shop, which sits in the middle of the map. Stock is unlimited and shared by everyone, so the only thing standing between you and a better tool is Gold. Walk up to the display for the piece you want, interact with it, and pick the Buy option from the pop-up menu.
Gold comes from your finds. Displaying items in your base earns Gold automatically as NPC visitors stop by, with payouts scaling on each item’s Condition and Rarity. You can also sell items outright at the Sell Shop, where Condition, Weight, and Rarity set the price. Mythical items in Mint Condition with a high KG weight are the big earners, so keep your rarest, cleanest finds on display. The game is playable on Roblox under the Squeaky Clean! group.
All shovels, costs, and stats
Shovels are your digging tools. Power sets how strong the shovel is when pulling buried items out of the ground, and higher-Power shovels are required to dig up the best treasure at all. Walk Speed is a movement bonus that helps you cover the dig area faster between finds.
| Shovel | Cost | Power | Walk Speed |
|---|---|---|---|
| Plastic Shovel | Free | 1 | 0% |
| Wood Shovel | 500 Gold | 2 | 5% |
| Stone Shovel | 1,600 Gold | 3 | 10% |
| Metal Shovel | 9,000 Gold | 5 | 15% |
| Gold Shovel | 45,000 Gold | 7 | 20% |
| Amethyst Shovel | 190,000 Gold | 9 | 25% |
| Titanium Shovel | 390,000 Gold | 14 | 30% |
| Cobalt Shovel | 650,000 Gold | 17 | 35% |
| Carbon Shovel | 1,300,000 Gold | 21 | 40% |
| Ruby Shovel | 2,900,000 Gold | 26 | 45% |
| Diamond Shovel | 9,200,000 Gold | 40 | 50% |
| Sandstone Shovel | 9,000,000 Gold | 50 | 18% |
| Amber Shovel | 15,000,000 Gold | 62 | 19% |
| Scarab Shovel | 30,000,000 Gold | 78 | 20% |
| Malachite Shovel | 66,000,000 Gold | 100 | 21% |
| Aquamarine Shovel | 145,000,000 Gold | 160 | 22% |
The Aquamarine Shovel tops the chart with 160 Power and a 22% Walk Speed bonus, but at 145,000,000 Gold it’s a late-game goal. You don’t need to buy every tier on the way up. Several upgrades are small steps, so it’s often smarter to skip closely matched tiers and save toward a bigger jump.
Note: from the Sandstone Shovel onward, Walk Speed drops back to the high teens even as Power keeps climbing. If movement speed matters more to you than raw dig strength, the Diamond Shovel’s 50% Walk Speed is the peak.
All detectors, costs, and stats
Detectors point you to buried items before you dig. Luck raises your odds of turning up rarer finds like antiques and treasure chests, while Range sets how far the detector can pick up buried objects around you.
| Detector | Cost | Luck | Range |
|---|---|---|---|
| Rusty Detector | Free | x1 | 7 |
| Copper Detector | 500 Gold | x3 | 7.5 |
| Silver Detector | 5,000 Gold | x5 | 8 |
| Gold Detector | 28,000 Gold | x8 | 8.5 |
| Platinum Detector | 140,000 Gold | x12 | 9 |
| Onyx Detector | 330,000 Gold | x18 | 9.5 |
| Sapphire Detector | 530,000 Gold | x28 | 10 |
| Jade Detector | 1,000,000 Gold | x44 | 10.75 |
| Topaz Detector | 2,300,000 Gold | x70 | 11.5 |
| Crystal Detector | 6,400,000 Gold | x110 | 12 |
| Sandstone Detector | 7,500,000 Gold | x165 | 12.5 |
| Amber Detector | 12,000,000 Gold | x250 | 13 |
| Scarab Detector | 23,000,000 Gold | x380 | 13.5 |
| Malachite Detector | 52,000,000 Gold | x570 | 14 |
| Aquamarine Detector | 92,000,000 Gold | x850 | 14.5 |
The Aquamarine Detector is the strongest option with x850 Luck and 14.5 Range, and it costs 92,000,000 Gold. Luck matters more the further you get, because rarer finds are worth far more Gold. That’s why detectors with big Luck jumps are worth prioritizing early instead of small Range bumps.
All spray bottles and pressure washers, costs, and stats
Spray Bottles clean the items you dig up so their type and value are revealed. Power is cleaning efficiency, and higher-Power sprays strip dirt, grime, and rust much faster. Range is the spray’s coverage area, which helps with larger objects. The top tiers switch to Pressure Washer names but work the same way.
| Spray Bottle | Cost | Power | Range |
|---|---|---|---|
| Basic Spray Bottle | Free | 34 | 22 |
| Rubber Spray Bottle | 900 Gold | 43 | 24 |
| Plastic Spray Bottle | 5,500 Gold | 57 | 26 |
| Copper Spray Bottle | 26,000 Gold | 71 | 28 |
| Steel Spray Bottle | 100,000 Gold | 85 | 30 |
| Gold Spray Bottle | 220,000 Gold | 101 | 32 |
| Turquoise Spray Bottle | 400,000 Gold | 114 | 34 |
| Plastic Pressure Washer | 640,000 Gold | 137 | 36 |
| Metal Pressure Washer | 1,000,000 Gold | 164 | 38 |
| Obsidian Pressure Washer | 1,600,000 Gold | 196 | 40 |
| Opal Pressure Washer | 2,800,000 Gold | 235 | 42 |
| Garnet Pressure Washer | 5,200,000 Gold | 285 | 44 |
| Sandstone Pressure Washer | 14,500,000 Gold | 335 | 45 |
| Amber Pressure Washer | 23,000,000 Gold | 394 | 48 |
| Scarab Pressure Washer | 36,000,000 Gold | 459 | 50 |
| Malachite Pressure Washer | 64,000,000 Gold | 535 | 52 |
| Aquamarine Pressure Washer | 125,000,000 Gold | 625 | 54 |
Sprays don’t find or collect anything on their own, so they earn you nothing directly. They only speed up the cleaning stage. That makes them the lowest priority until your Shovel and Detector are strong.
What gear to buy first
Spend on your Detector and Shovel before pouring Gold into Spray Bottles. The Detector controls what you can find, and higher Luck directly raises how much your finds are worth. The Shovel controls whether you can dig those finds up at all, since high-tier treasure needs enough Power to unearth.
Once both of those are solid, start putting Gold toward better cleaning gear. Upgrading the Spray last keeps your whole digging loop moving without burning early Gold on the tool that affects your income the least. The one exception is a backed-up cleaning queue. If dirty items are piling up faster than you can wash them, a spray upgrade is worth it sooner.
You’ll know an upgrade worked the moment you buy it, since the new gear equips automatically and its stats replace your old tool. From there it’s a matter of grinding Gold, saving through the closely matched tiers, and jumping straight to the pieces that meaningfully move your Power, Luck, and cleaning speed.