


Support Digimon do a lot of quiet heavy lifting in DIGIMON UP. They fill backup slots in your automated formation and hand your Partner Digimon passive stat bonuses plus a single Battle Effect, and the gap between a top pick and a filler unit can decide how fast bosses fall. With more than thirty of them available, the smart move is to pour Breakthrough materials into the units that stay useful from your first stage to the endgame.
Quick answer: Reroll and invest in Wingdramon (29.2% Skill Cooldown Reduction), Jazarichmon (23.9% Boss Damage), or HeavyLeomon (8% Critical Rate with 128% Normal Attack Damage and 64% ATK/DEF/HP). These three anchor S Tier and slot into nearly any team.
This ranking reflects the launch roster as of the July 2026 patch. Because DIGIMON UP went live on July 15, 2026, placements weigh Battle Effect strength, passive stat scaling, and how consistently each unit stays relevant across PvE modes. Expect shifts once balance patches and new banners arrive.
Support Digimon tier list (full ranking)
| Tier | Support Digimon |
|---|---|
| S | Wingdramon, Jazarichmon, HeavyLeomon, HiAndromon, BlueMeramon, Durandamon |
| A | Knightmon, HippoGryphonmon, Lilamon, Lavogaritamon, Hydramon, MegaSeadramon, Digitamamon |
| B | Hudiemon, BryweLudramon, Skadimon, Parrotmon, Unimon, Meramon, Jazardmon, Okuwamon, Seadramon, Gladimon |
| C | Tankdramon, RajiLudomon, Jagamon, Meteormon, Duramon, Oboromon, Fumamon, Monzaemon, Kyukimon, PolarBearmon |
How this was ranked: each unit is judged on the strength of its Battle Effect, its passive ATK/DEF/HP and damage scaling, and how many team comps it fits without becoming dead weight later.
S Tier: the six you build first
The top tier is built almost entirely from EX and EX+ rarity units, and every one of them provides an effect that scales with any Partner. Wingdramon is the standout because cooldown reduction lets your Partner spam skills, which raises damage in every fight rather than niche situations. Jazarichmon and BlueMeramon lean into raw offense, while HeavyLeomon, HiAndromon, and Durandamon pair strong Battle Effects with the highest passive stat lines in the game.
| Digimon | Rarity | Why it ranks S |
|---|---|---|
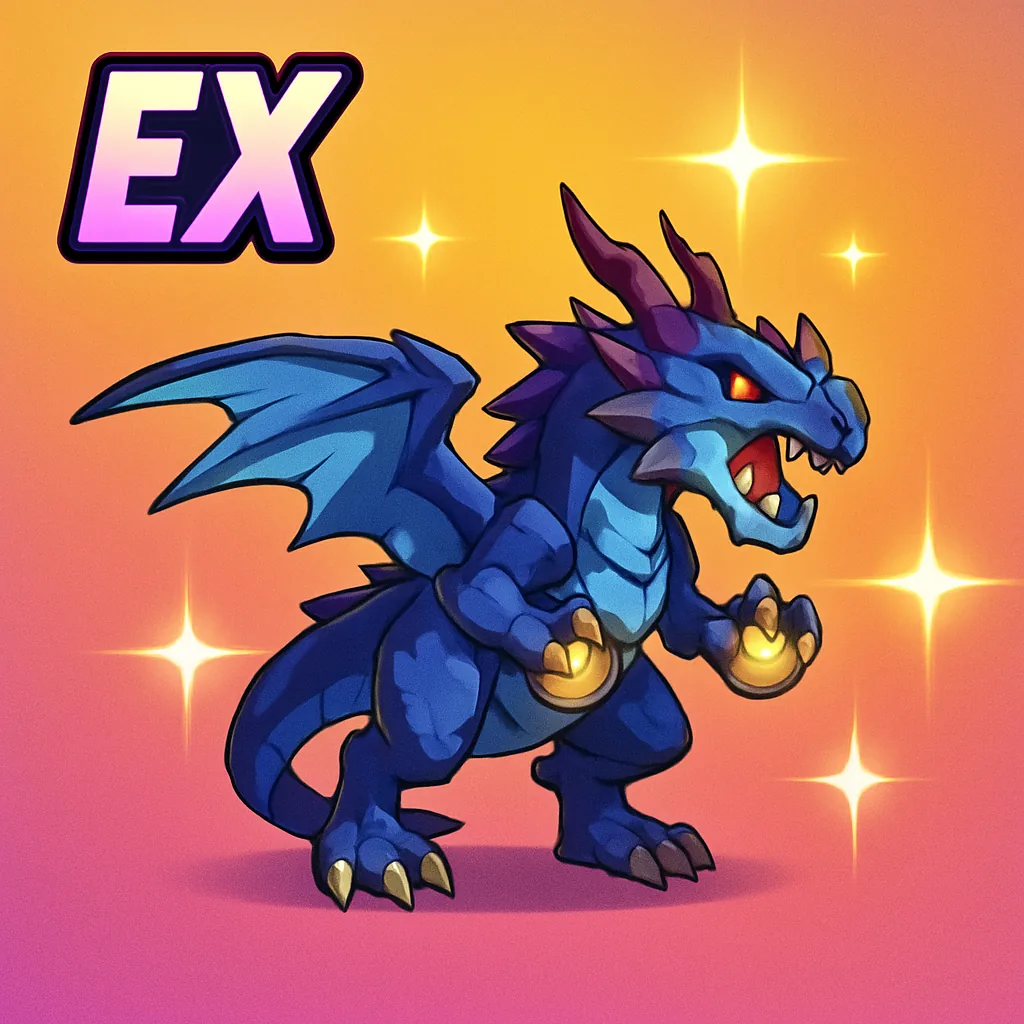 Wingdramon | EX | Cuts Partner Skill Cooldown by 29.2% for far more frequent casts. Adds 96% Normal Attack Damage, 14% Critical Damage, and a 48% ATK/DEF/HP passive. Fits every comp. |
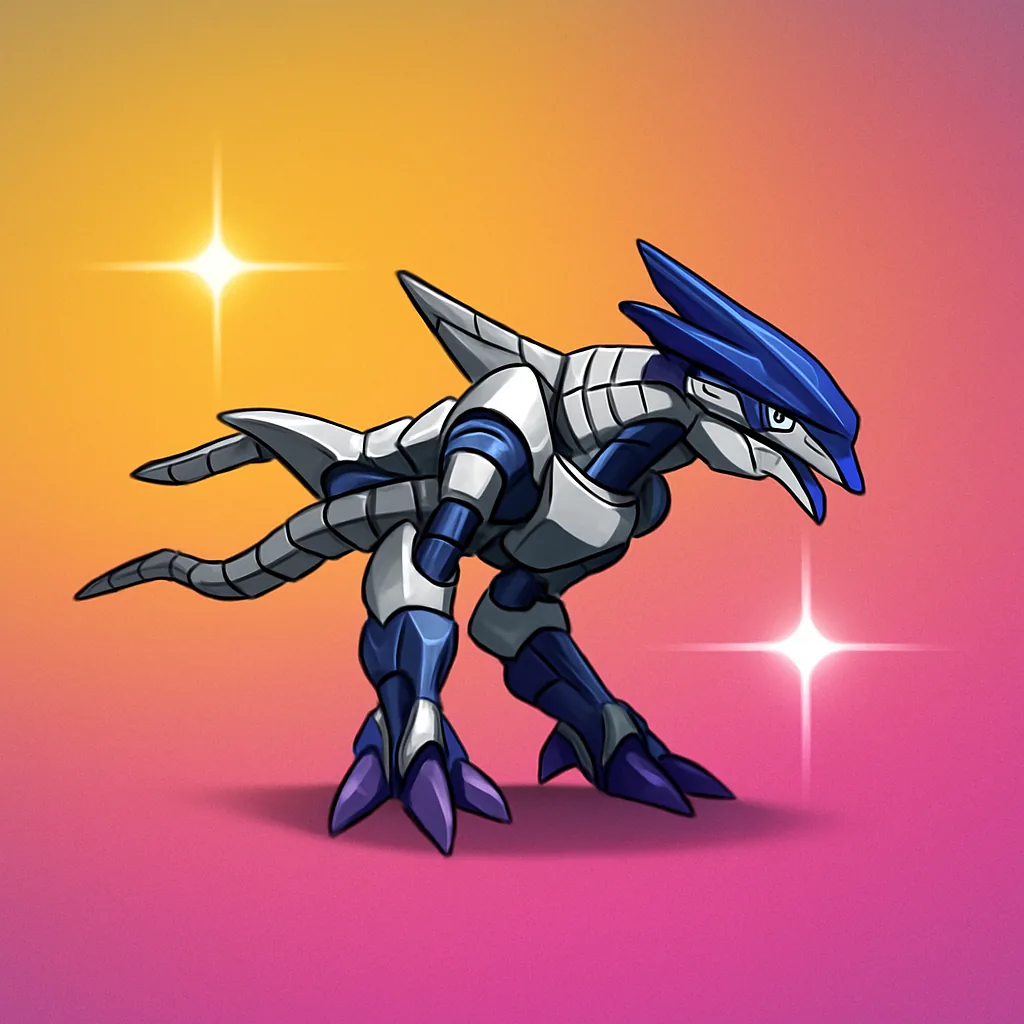 Jazarichmon | EX | 23.9% Boss Damage makes it one of the best units for high-HP boss stages, backed by 96% Normal Attack Damage and a 48% ATK/DEF/HP boost. |
 HeavyLeomon | EX+ | 8% Critical Rate plus a huge 64% ATK/DEF/HP passive, 128% Normal Attack Damage, and 16% Critical Damage. Among the strongest all-round stat sticks. |
 HiAndromon | EX+ | Raises Skill Critical Rate by 8%, ideal for skill-reliant Partners, with 128% Normal Attack Damage and a 64% ATK/DEF/HP passive. |
 BlueMeramon | EX | 23.9% Skill Damage, one of the largest direct skill boosts, alongside high Normal Attack Damage, Critical Damage, and a 48% passive bonus. |
 Durandamon | EX+ | Adds 26% Normal Attack Damage on top of 128% Normal Attack Damage, 16% Critical Damage, and a 64% ATK/DEF/HP passive. Best-in-slot for auto-attack teams. |
A Tier: strong picks with a narrower focus
A Tier units still carry teams well, but each leans toward a specific job rather than the universal value of S Tier. Knightmon and Hydramon keep sustain teams alive, HippoGryphonmon and Lilamon push offense, and MegaSeadramon, Lavogaritamon, and Digitamamon shine as defensive or anti-crowd-control options in tougher content.
| Digimon | Rarity | Why it ranks A |
|---|---|---|
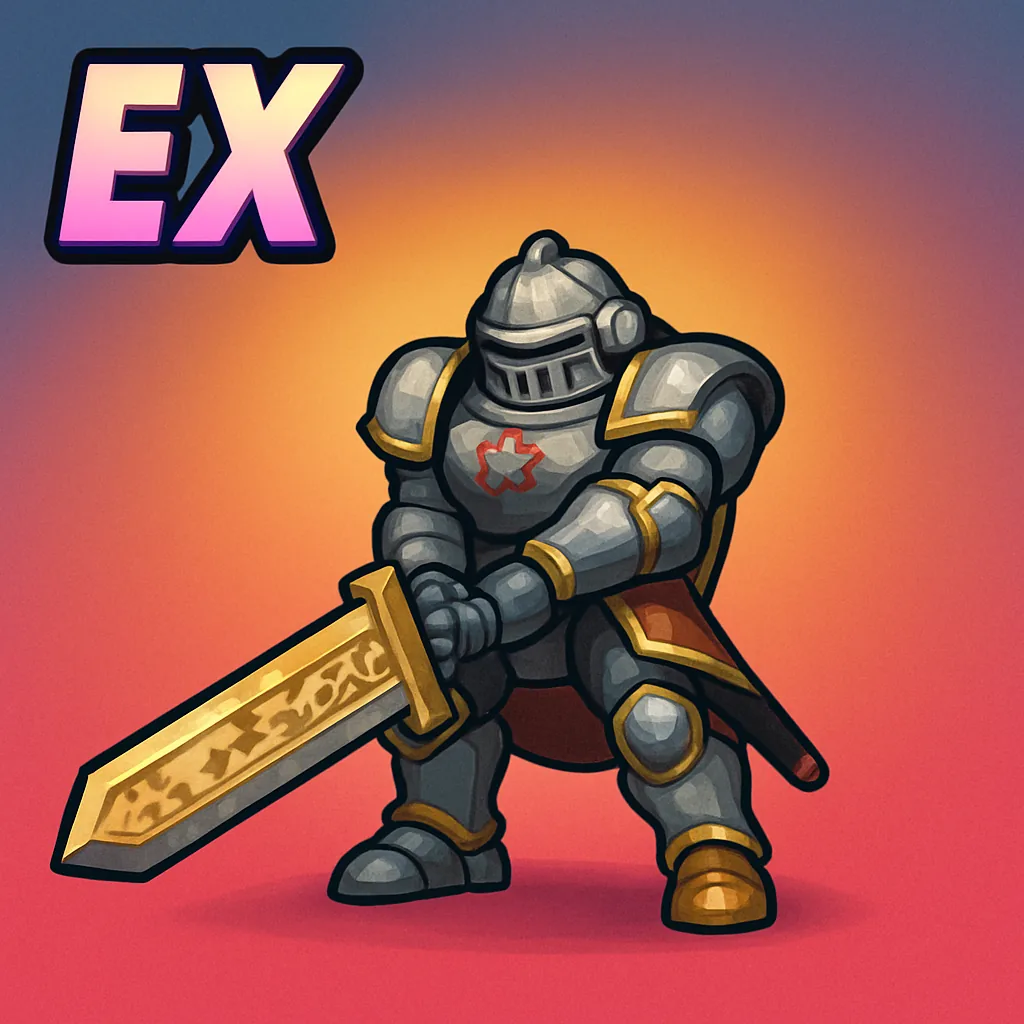 Knightmon | EX | Raises HP Recovery Amount by 3.65% for longer fights, with 96% Normal Attack Damage, 14% Critical Damage, and a 36% ATK/DEF/HP boost. Sustain over raw speed. |
 HippoGryphonmon | LR+ | 66% Critical Damage effect plus 64% Normal Attack Damage and a 36% ATK/DEF/HP bonus. Needs a high Critical Rate Partner to shine. |
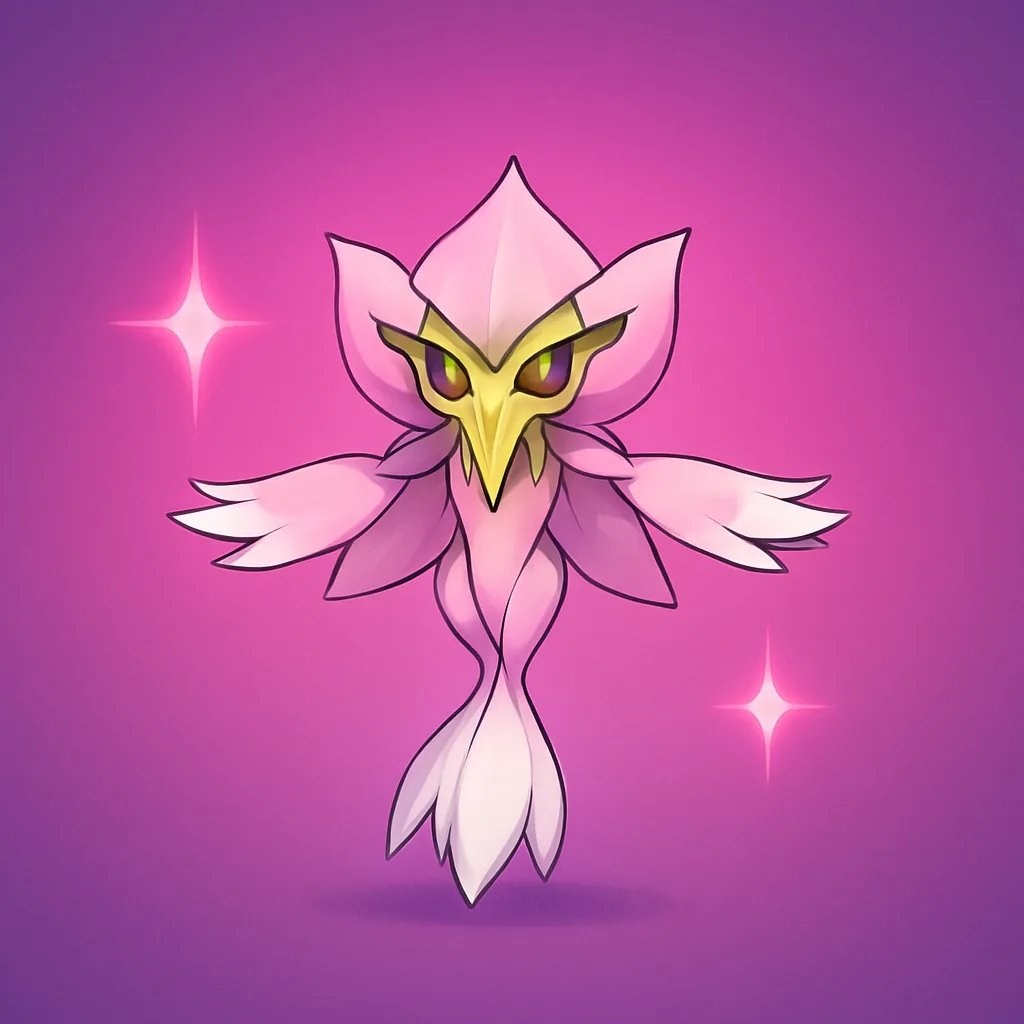 Lilamon | LR+ | 3.8% Evasion Rate for survivability, plus Critical Rate, Critical Damage, and Normal Attack Damage on a 26% ATK/DEF/HP passive. |
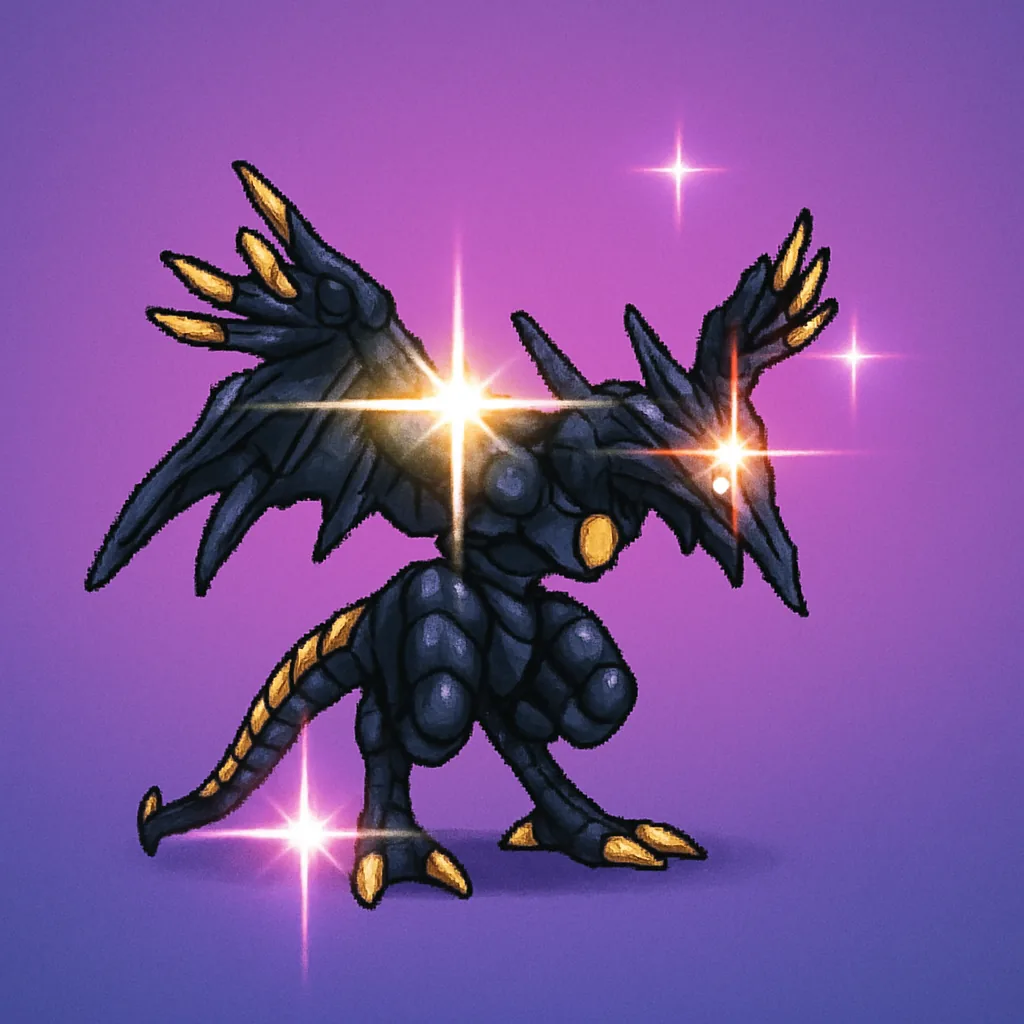 Lavogaritamon | LR+ | Reduces Boss Damage by 13.2% for safer boss clears, with solid offensive scaling and a 36% ATK/DEF/HP passive. Less useful in normal farming. |
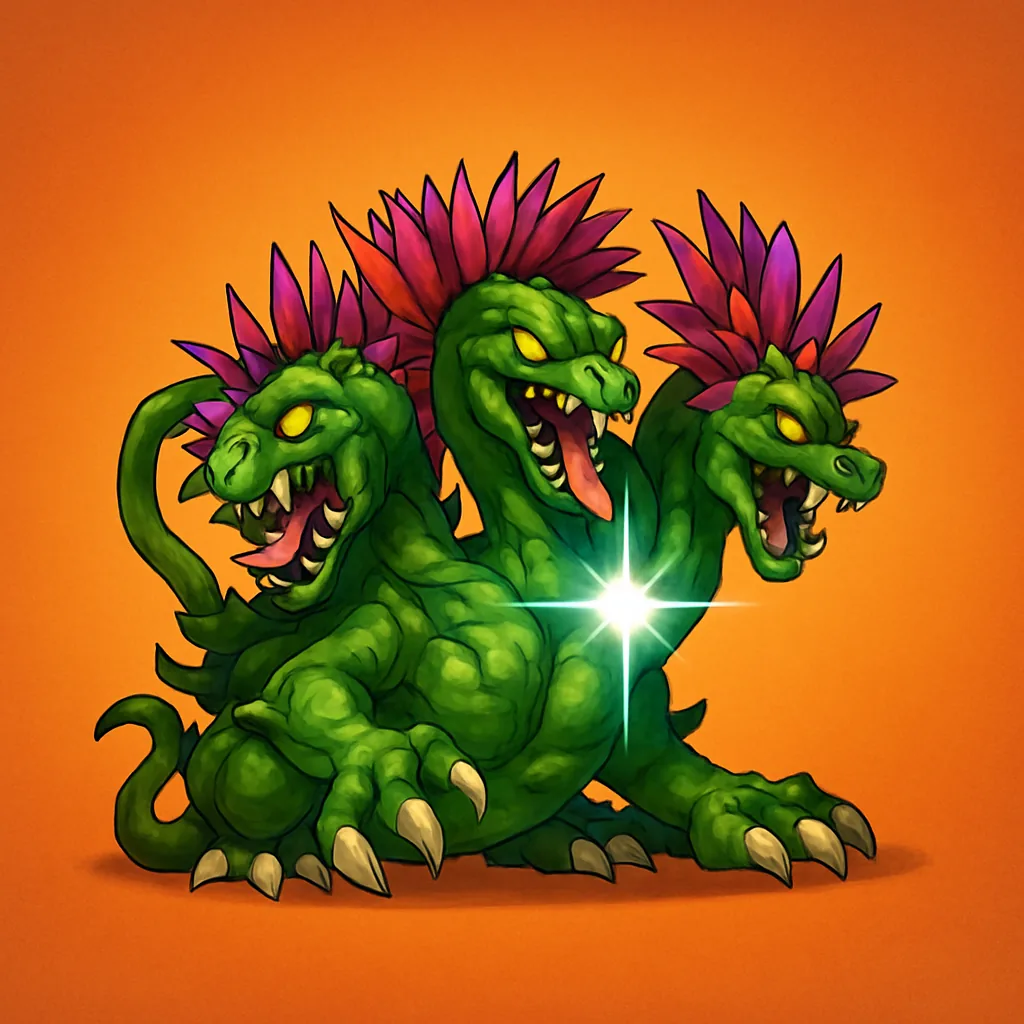 Hydramon | EX+ | Boosts HP Recovery Rate by 2% for sustain teams, backed by 128% Normal Attack Damage and a 64% ATK/DEF/HP passive. |
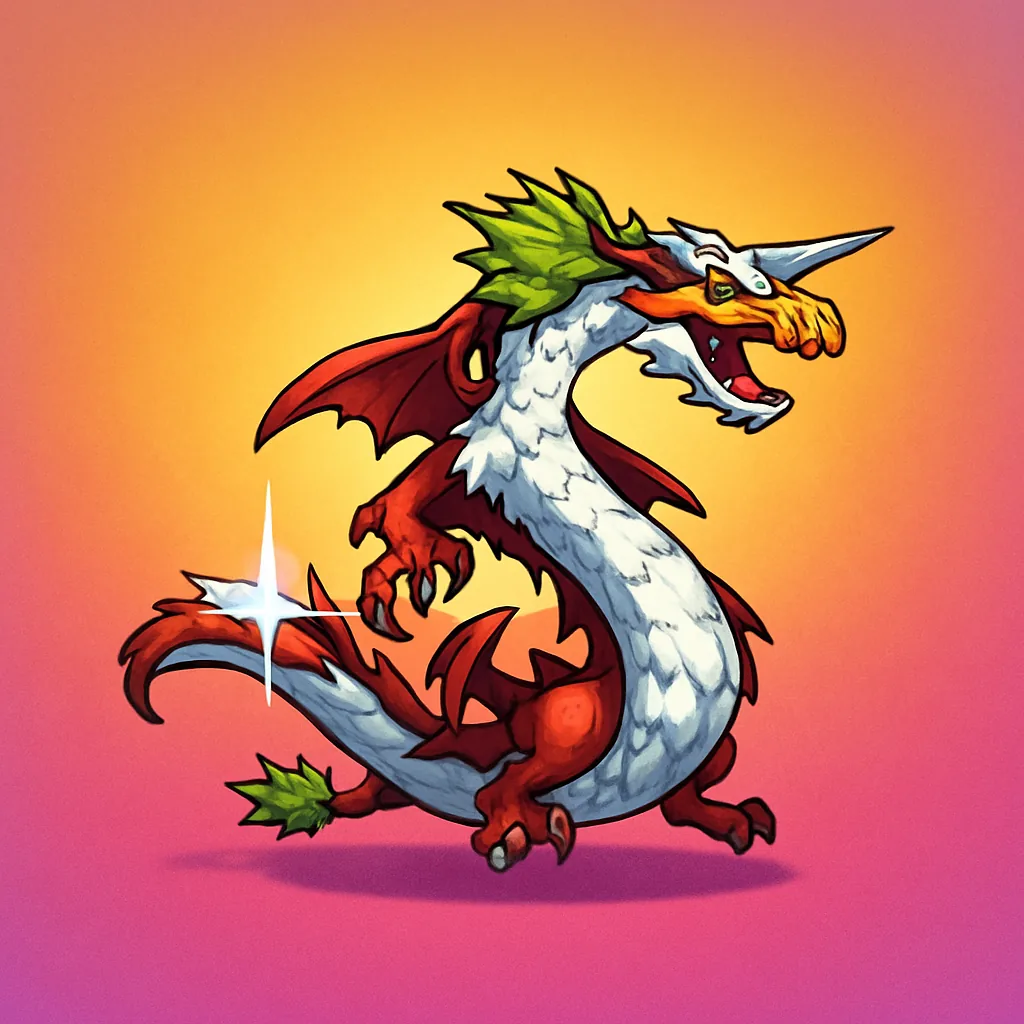 MegaSeadramon | EX | Cuts incoming Skill Critical Damage by 7.3% to survive burst enemies, with attack-oriented stats and a 48% ATK/DEF/HP passive. |
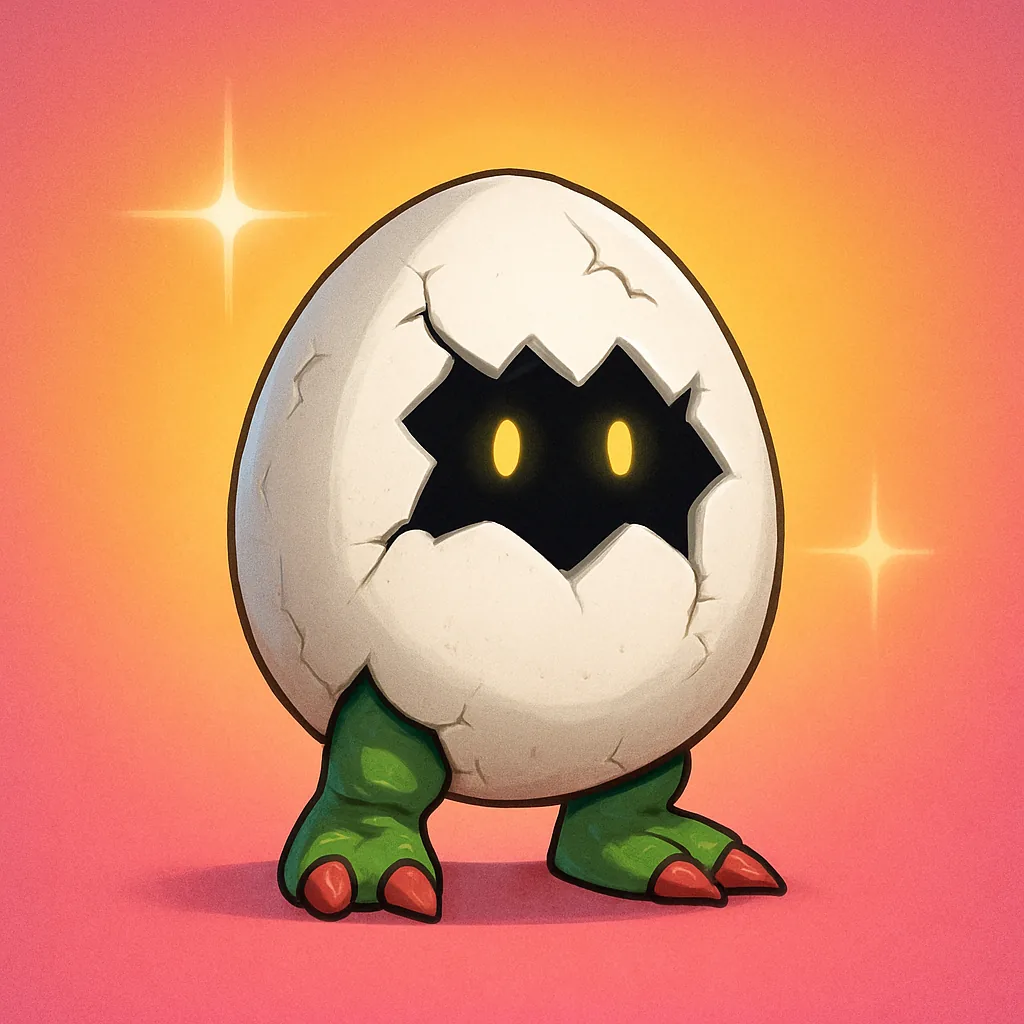 Digitamamon | EX | Lowers Stun Chance by 3.65% against crowd-control enemies, with solid normal attacks and a 48% ATK/DEF/HP passive. |
B Tier: reliable early and mid-game fillers
B Tier is where accessibility beats ceiling. Several UR units here, like Unimon and Meramon, punch well above their rarity in the early game before EX supports take over. Higher-rarity outliers such as BryweLudramon and Skadimon land here because their effects (critical defense and a low-proc stun) matter less than pure damage once teams optimize.
| Digimon | Rarity | Why it ranks B |
|---|---|---|
 Unimon | UR | 45% Critical Damage boost clears early stages fast and is far easier to obtain than EX units, though scaling falls off late. |
 BryweLudramon | EX+ | Cuts incoming Critical Damage by 8% for smoother boss survival, but adds no direct team damage. |
 Skadimon | EX+ | 2% Stun Rate with high offensive scaling and a 64% passive, but the low proc rate holds it back against offensive supports. |
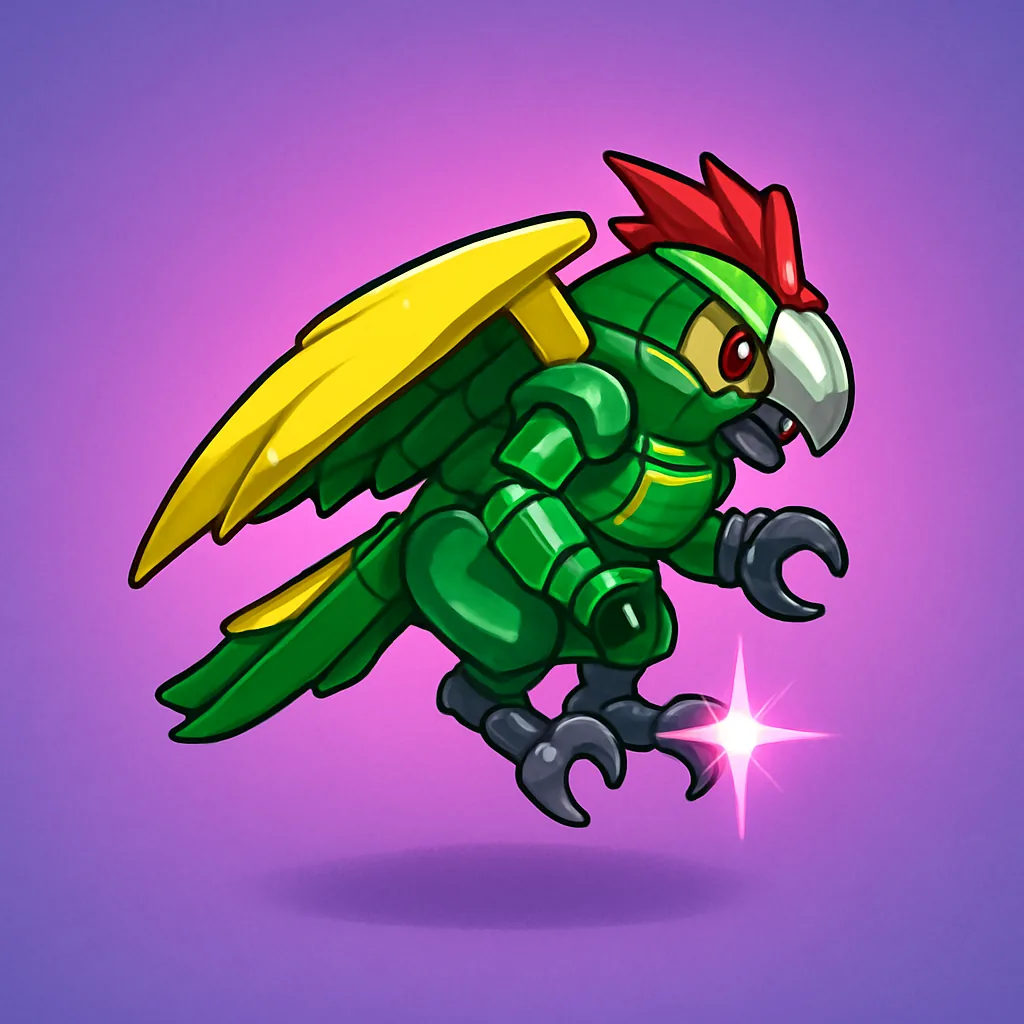 Parrotmon | LR+ | 3.8% Airborne Rate control against vulnerable enemies, plus strong offense and a 36% passive. Control is less consistent than damage buffs. |
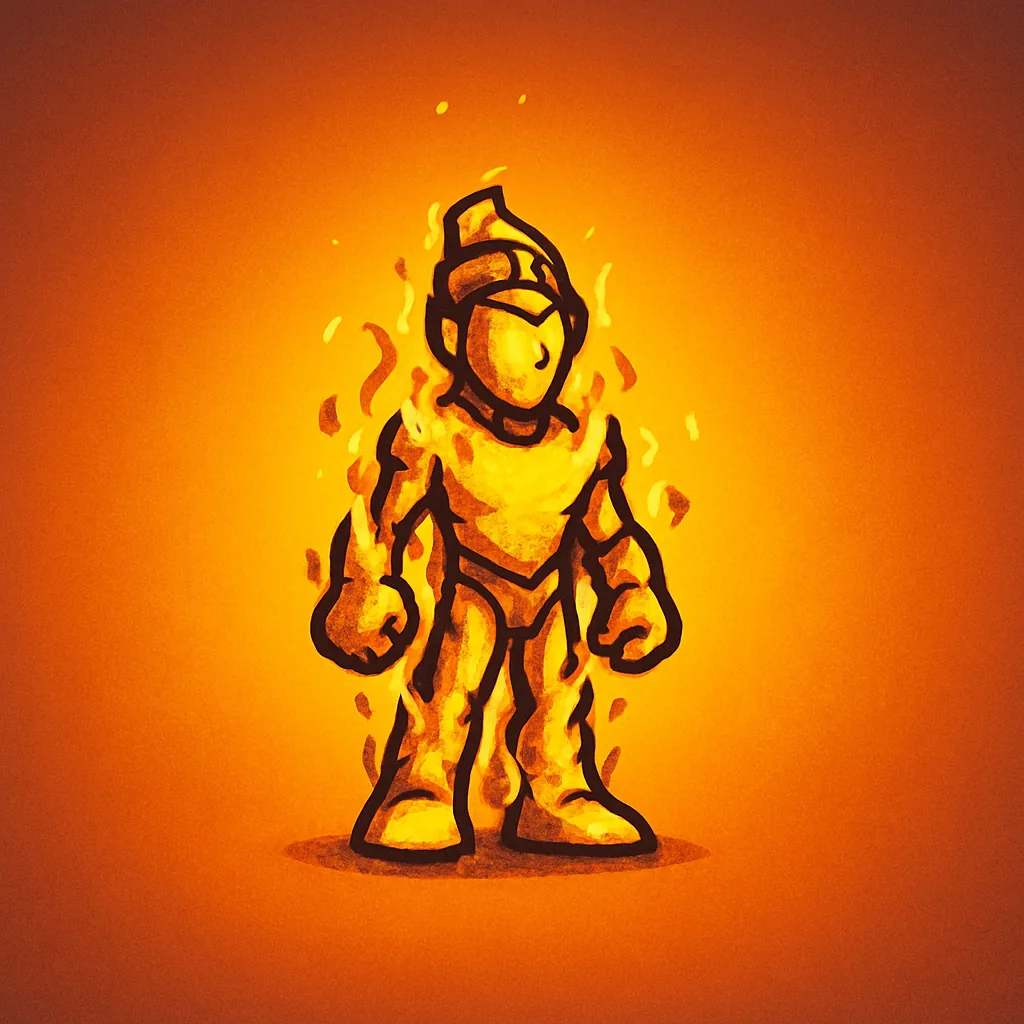 Meramon | UR | 15.5% Skill Damage with balanced stats. A great beginner support, but EX options outscale it. |
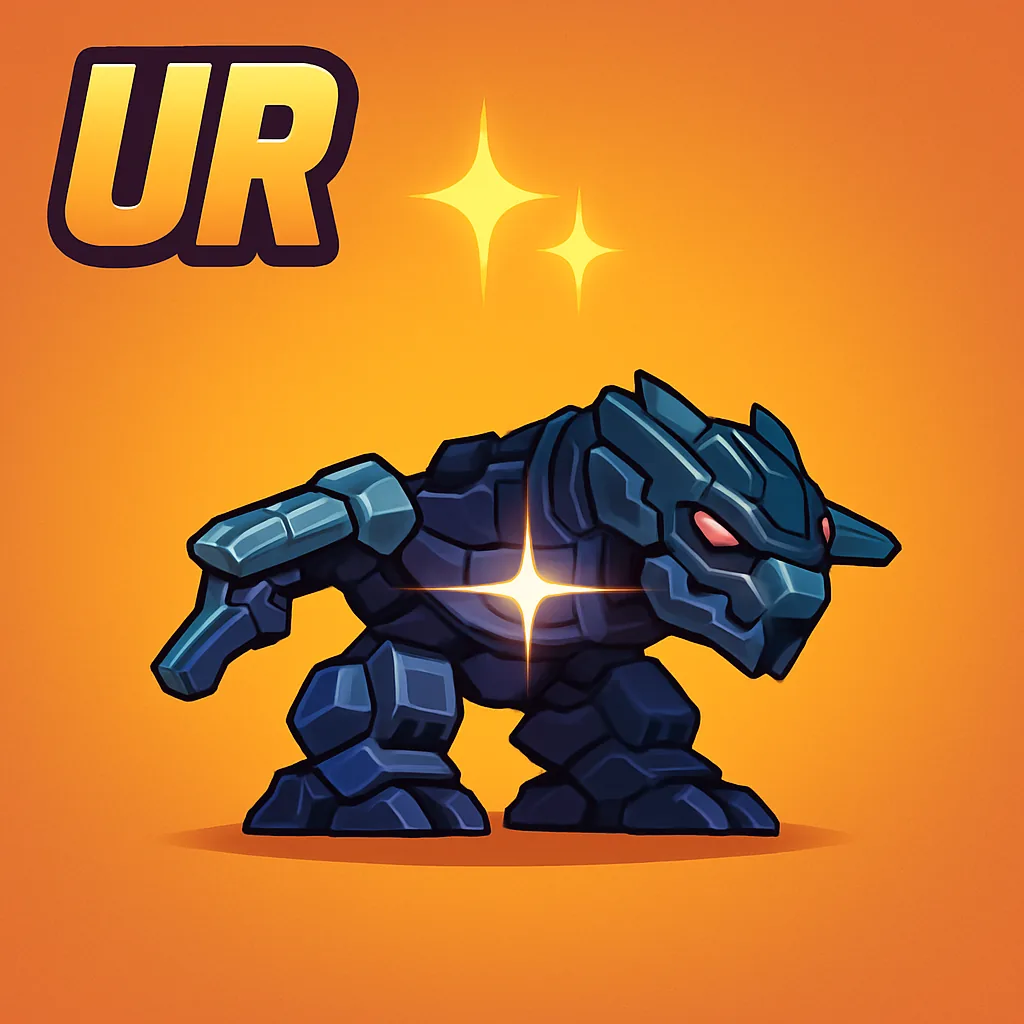 Jazardmon | UR | 15.5% Boss Damage helps early boss clears, but it is a clear downgrade from Jazarichmon. |
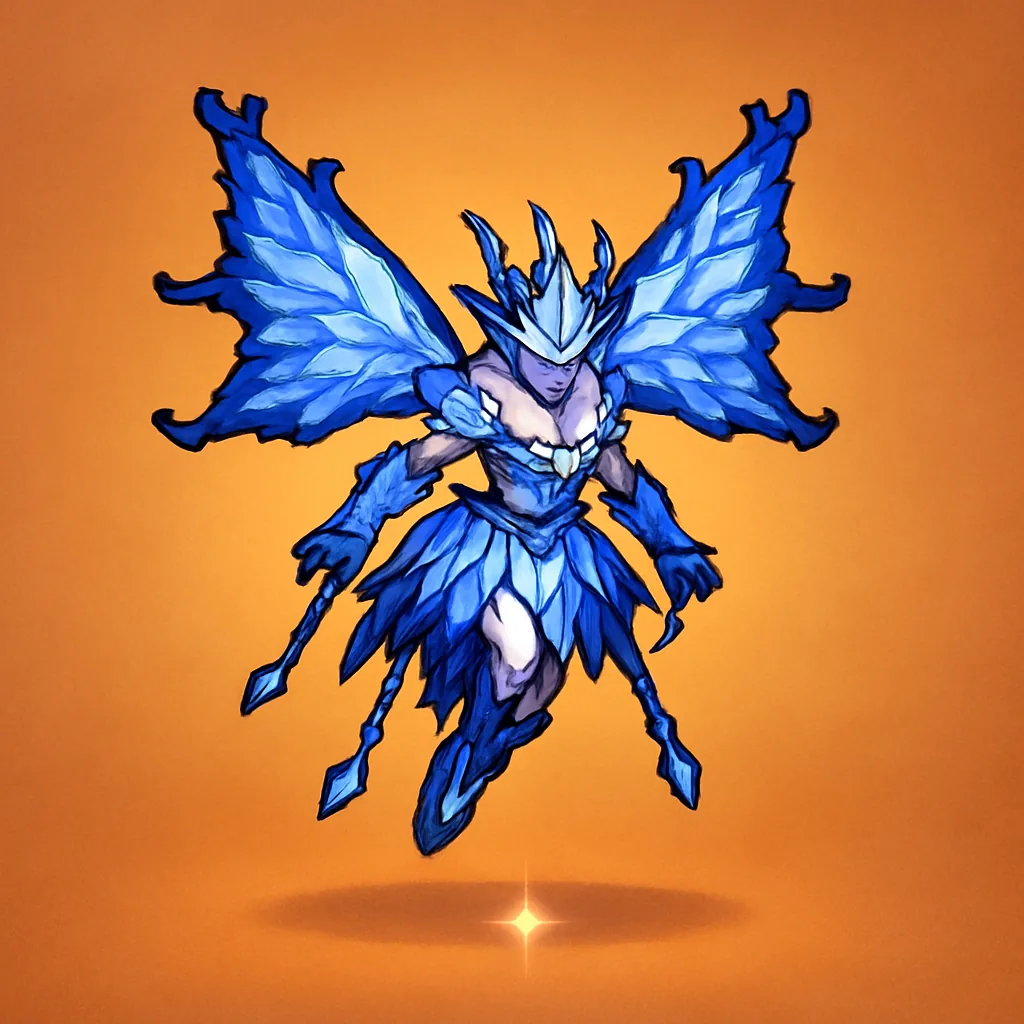 Hudiemon | UR | 0.30% enemy Attack Speed reduction with decent early scaling, quickly replaced once EX supports arrive. |
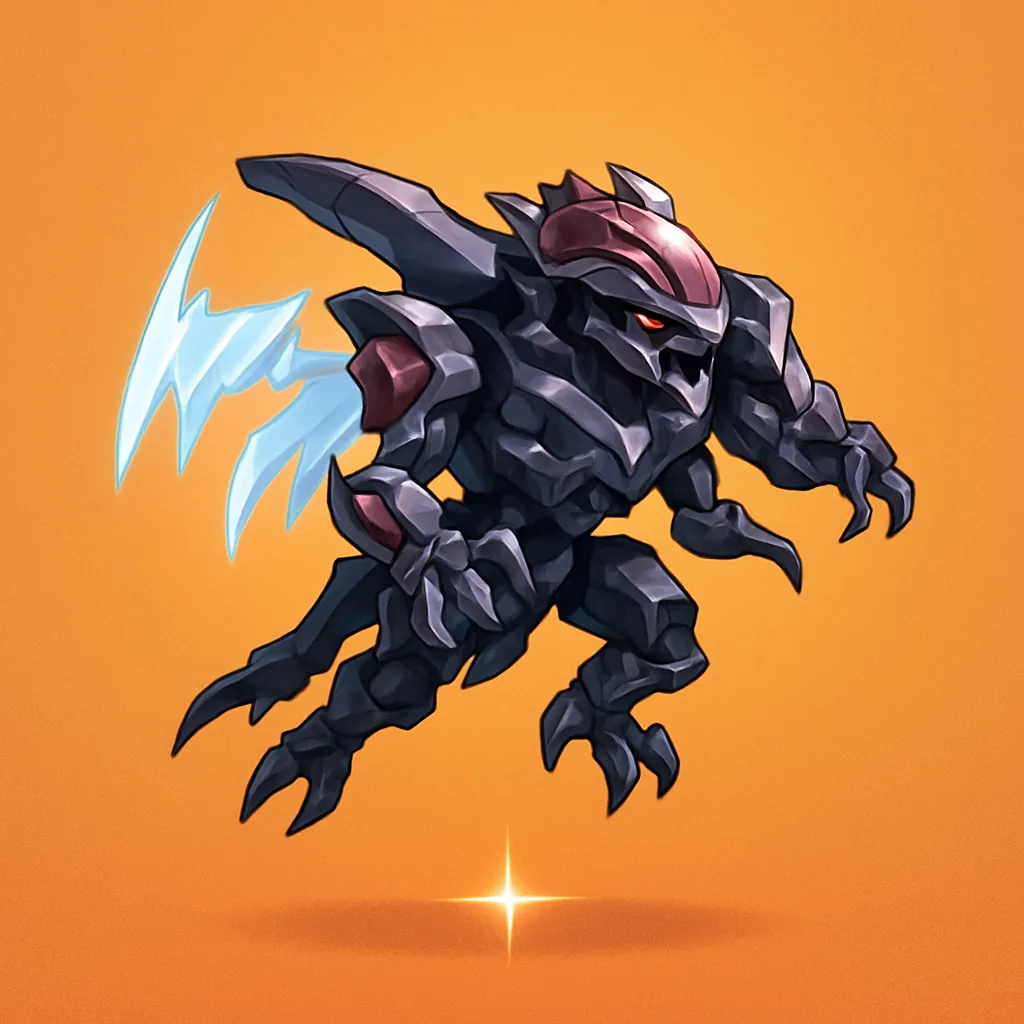 Okuwamon | UR | Balanced offense and a 0.30% enemy Attack Speed cut, but low scaling struggles in harder PvE. |
 Seadramon | UR | Reduces enemy Critical Damage by 4.5%, a fine placeholder until better supports unlock. |
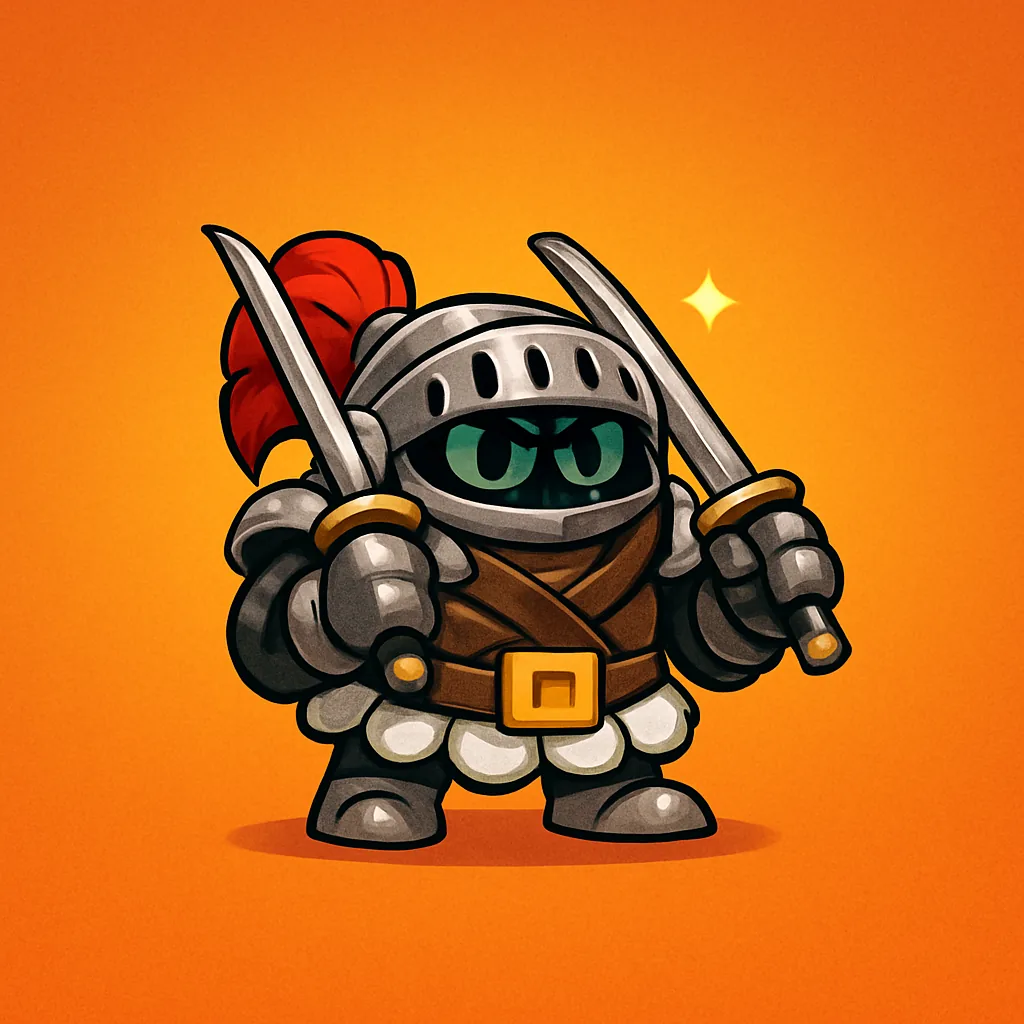 Gladimon | UR | Provides early healing and decent damage, but falls off fast as enemy difficulty rises. |
C Tier: temporary slot-fillers
C Tier units exist to keep your formation slots occupied during the first stretch of the game. Their Battle Effects are small and their passive stats trail every higher rarity, so swap them out the moment a B Tier or better unit becomes available. Note that Support Digimon only unlock after clearing Stage 25, so a few of these do nothing before then.
| Digimon | Rarity | Why it ranks C |
|---|---|---|
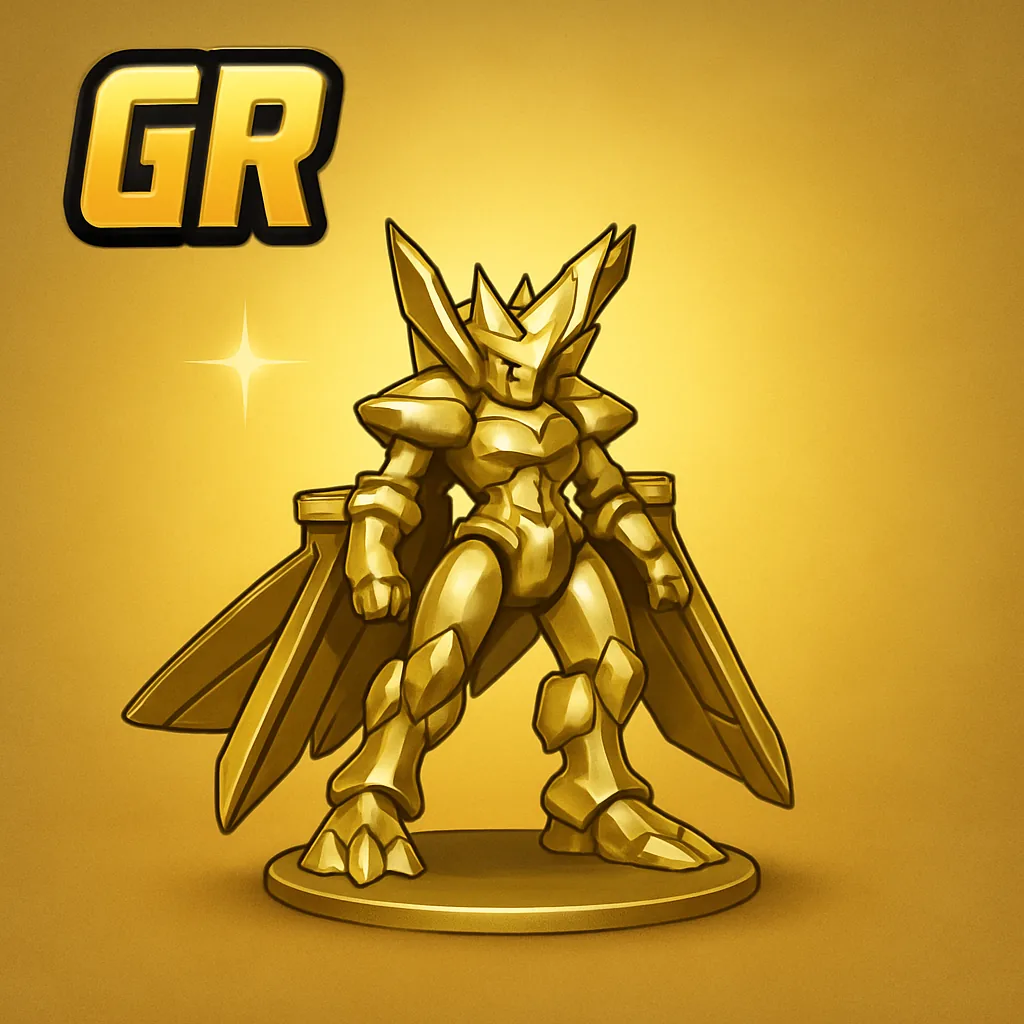 Duramon | GR | 17.6% Attack Damage eases early progression, but nearly every other support offers more overall. |
 Monzaemon | LR | 2.95% Support Damage for mid-game, though it is useless before Stage 25 and easily replaced. |
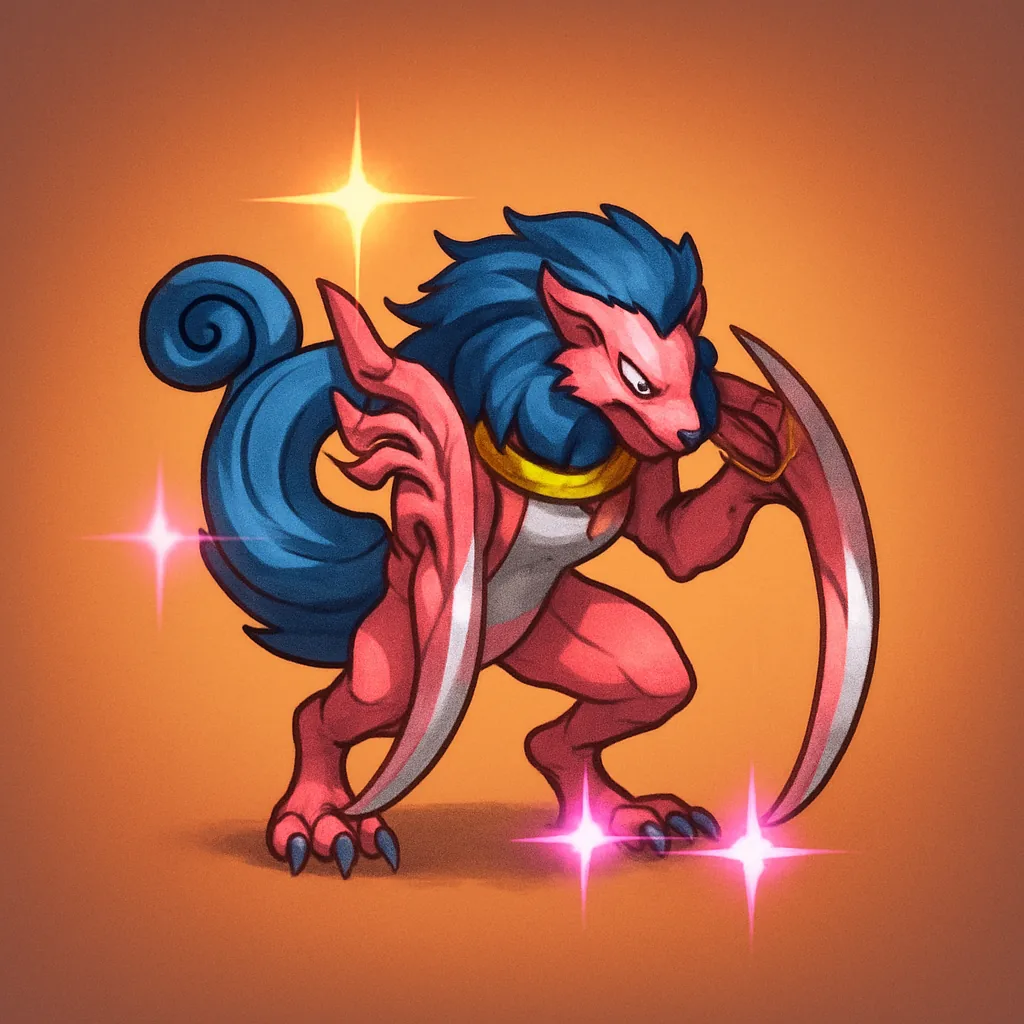 Kyukimon | LR | 6.2% Skill Card cooldown reduction while using another card, but weak scaling limits its endgame value. |
 Fumamon | LR | 2.75% Skill Critical Rate, far below top picks and easily outclassed by LR+ options. |
 PolarBearmon | LR | 1.55% Stun Rate helps early bosses, but low damage and passives make it a placeholder. |
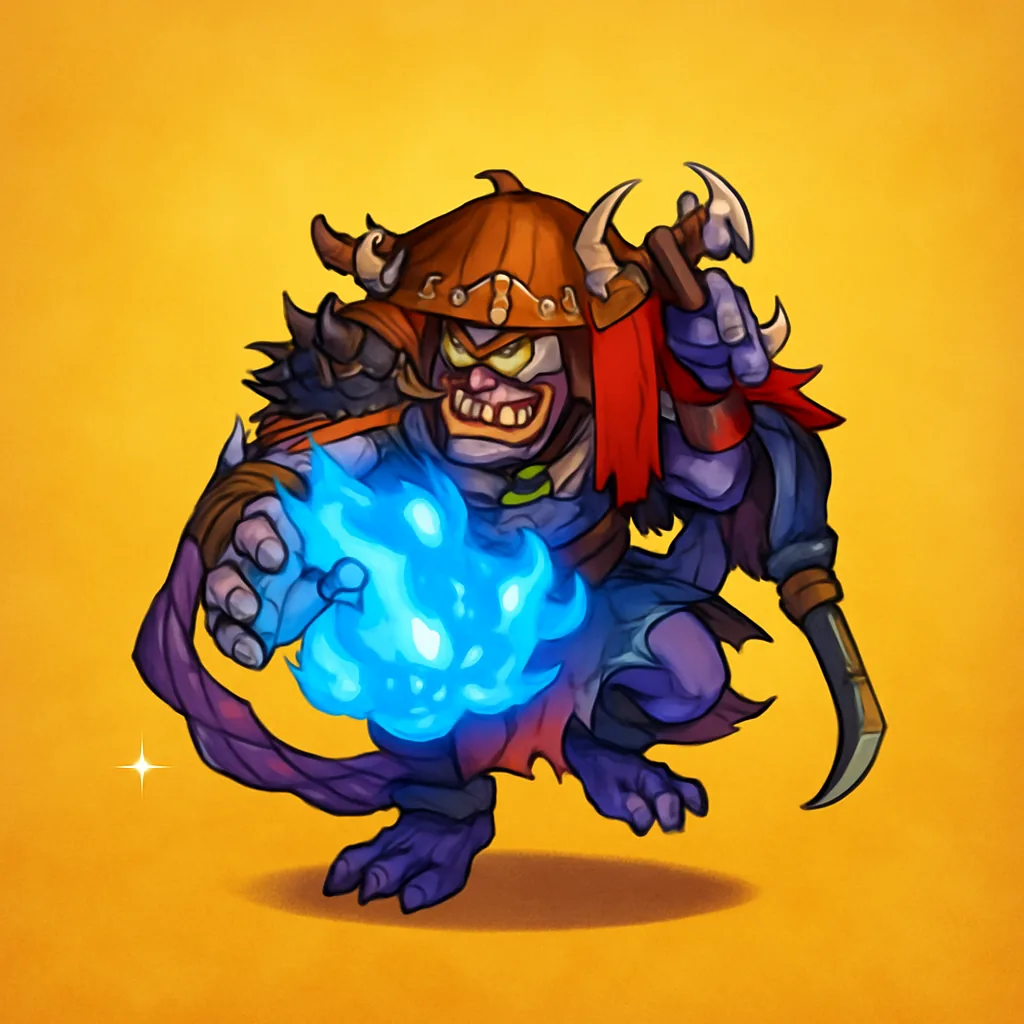 Oboromon | GR | 3.1% Counterattack rate for early progression, but no damage amplification for late game. |
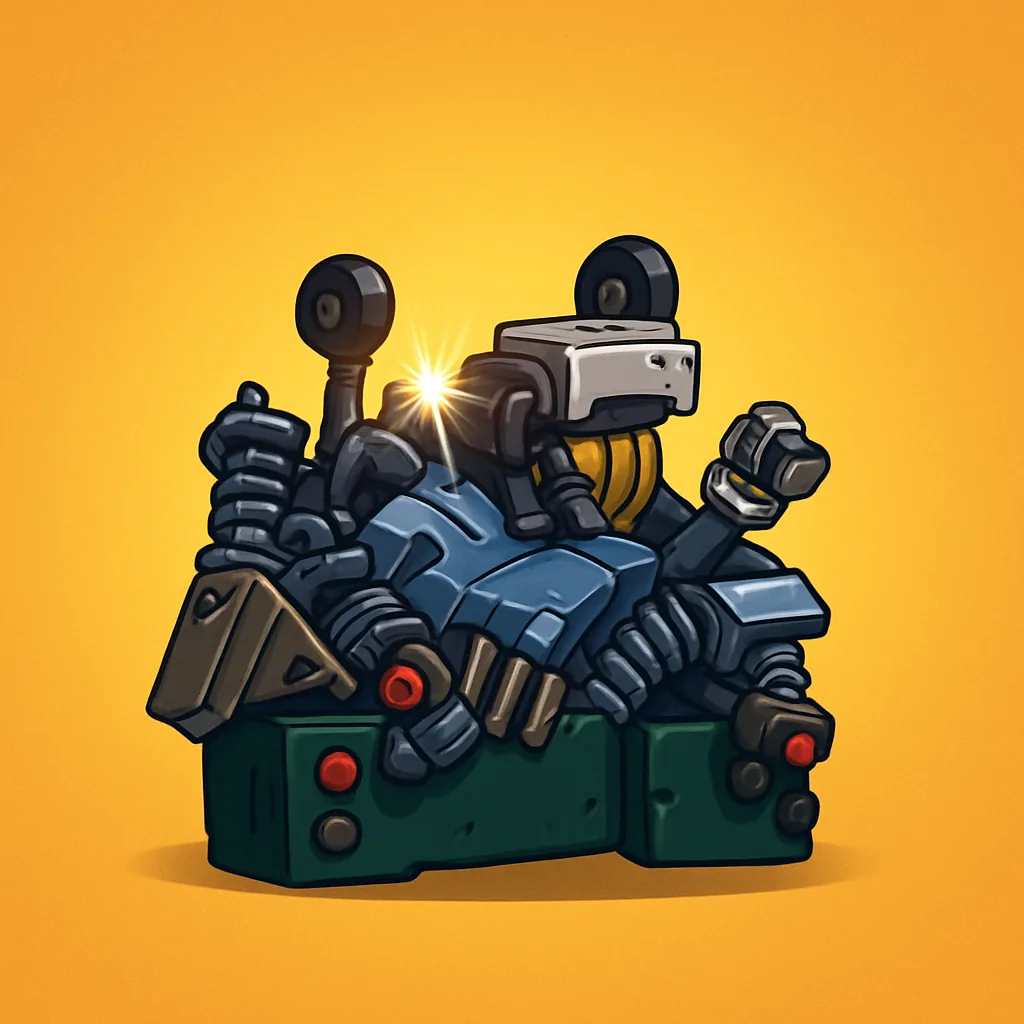 Tankdramon | GR | Very easy to acquire early, but its Critical Rate boost and stats cannot match LR, UR, or EX units. |
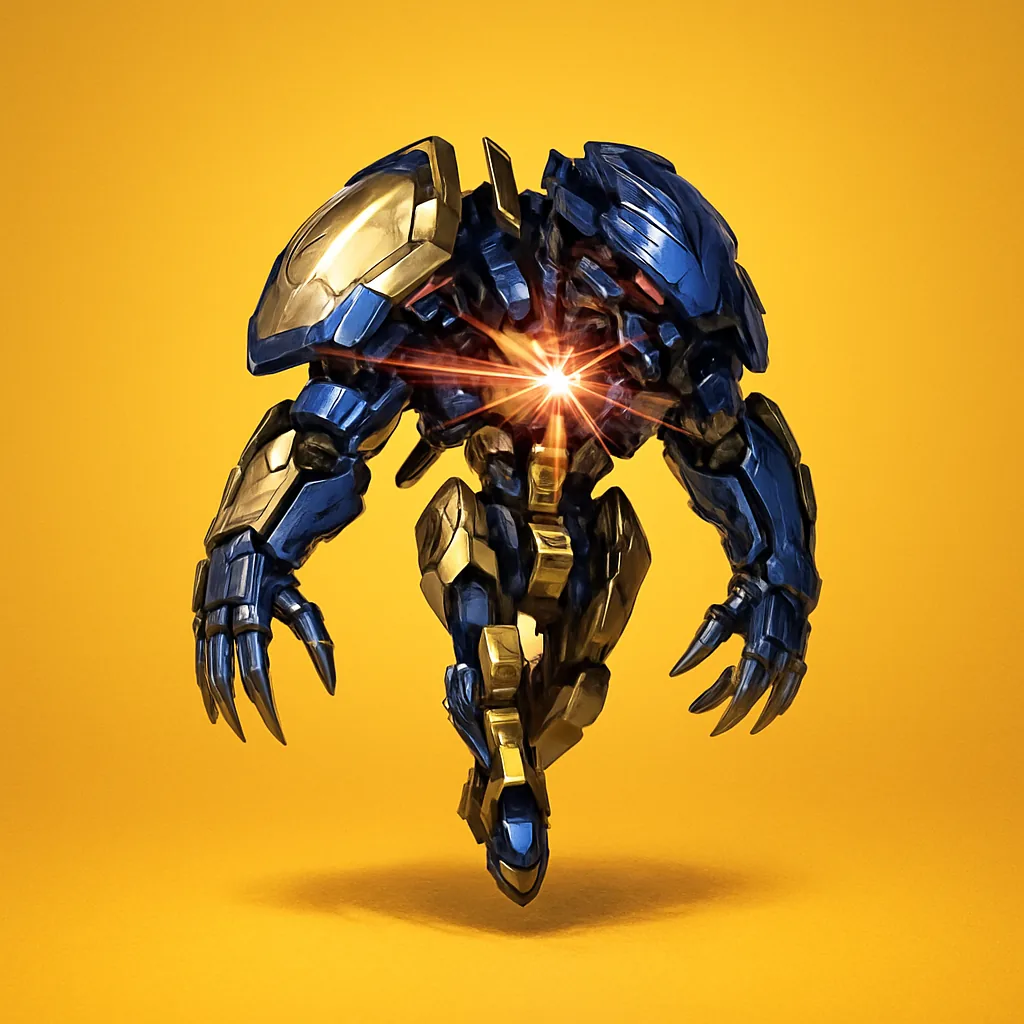 RajiLudomon | GR | Small stat increase plus a Critical Damage reduction that fades in mid and endgame content. |
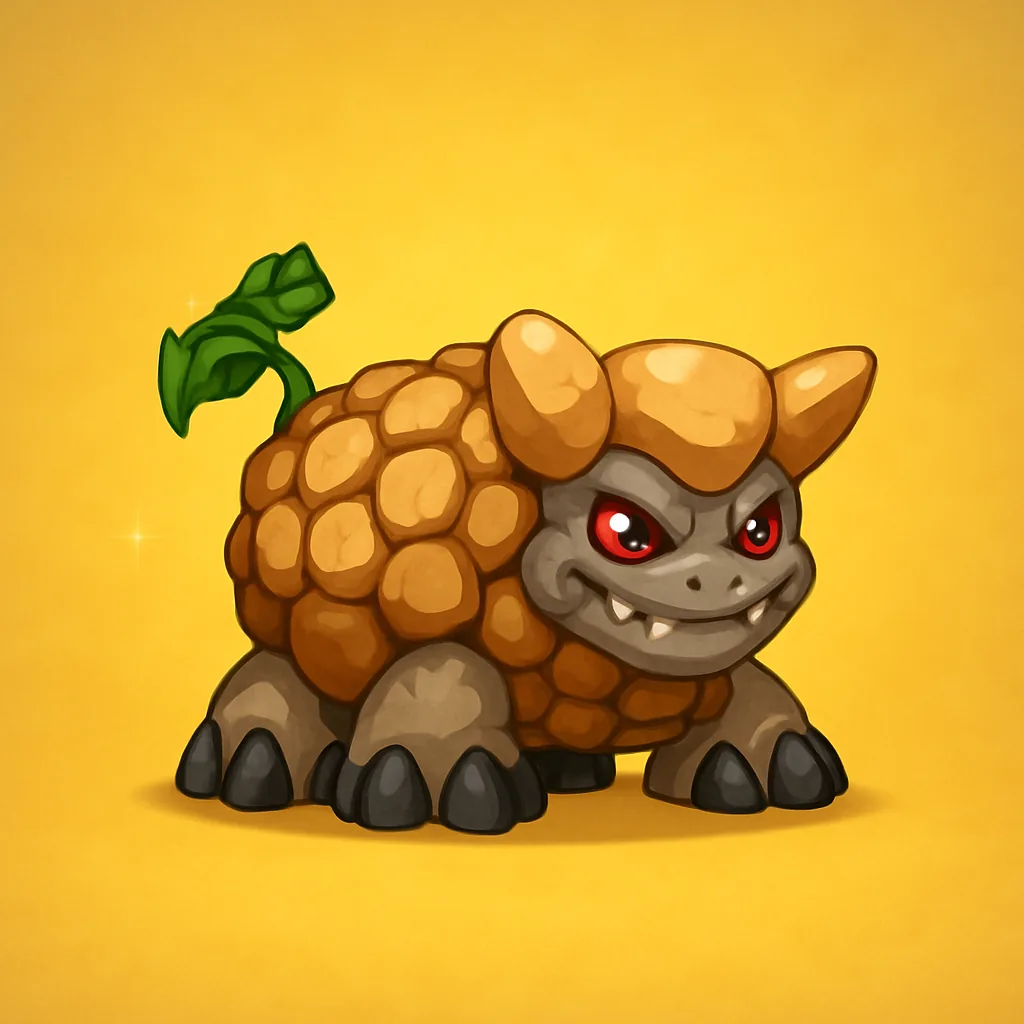 Jagamon | GR | Fine for filling an empty slot, but small stat boosts make it obsolete early. |
 Meteormon | GR | Slight enemy Damage reduction for the earliest stages, with low scaling that ends its usefulness quickly. |
Which Support Digimon to reroll for
If you plan to reroll, aim for any of the six S Tier units. Wingdramon is the single best target because its cooldown reduction benefits every Partner and every mode, but Jazarichmon, HeavyLeomon, HiAndromon, BlueMeramon, and Durandamon are all account-defining early pulls. For pure beginners who miss those, Unimon’s 45% Critical Damage boost is the strongest budget option to speed through story stages until a better support drops.

You will know a reroll succeeded when the pulled S Tier support appears in your unit list after restarting. Only sync your account to a social login once you land one of the top supports, since syncing locks the account to those results.
Support Digimon effects and rarities can move with future balance updates, so treat this as the current launch-window read rather than a permanent ranking. Lock in Wingdramon or another S Tier unit first, backfill your formation with whatever B Tier options you already own, and upgrade toward EX and EX+ supports as your resources allow.





