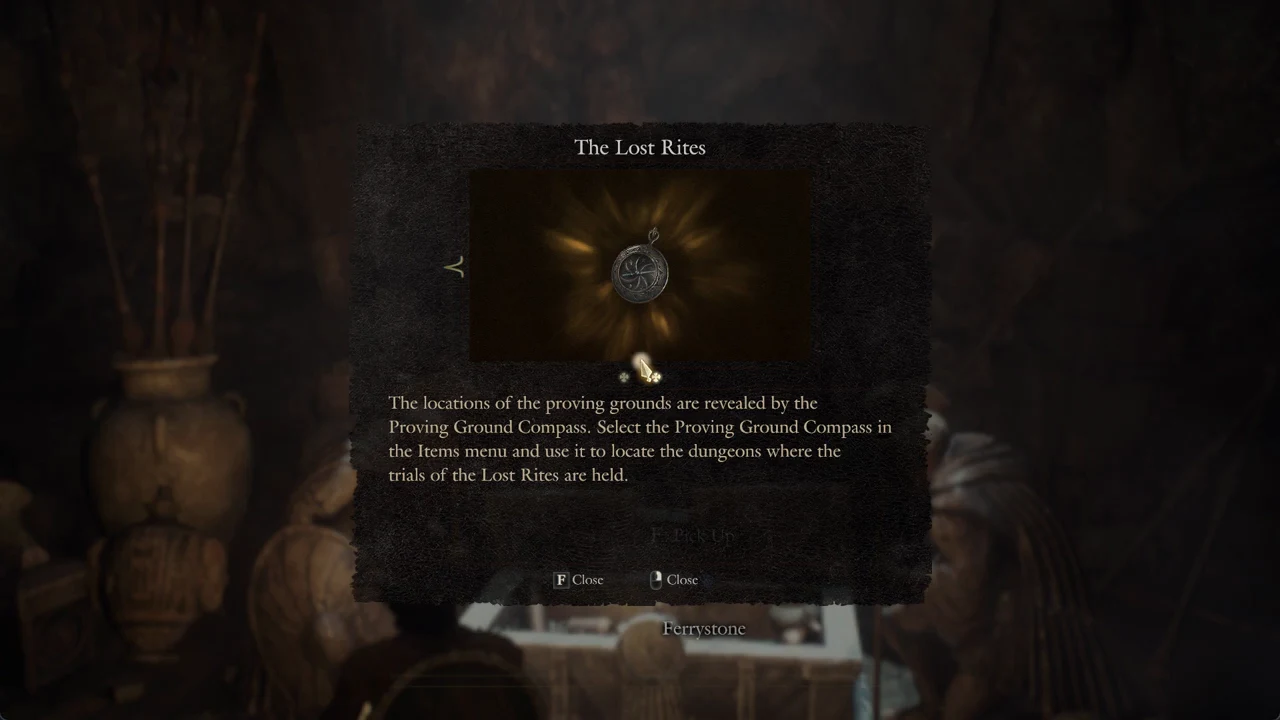
The Proving Ground Compass is the item that turns the Lost Rites into a full set of dungeons instead of one cave. It sits in the final chamber of Devilkin Hollow, and using it reveals proving-ground locations on your map.
Where the Proving Ground Compass is in Devilkin Hollow
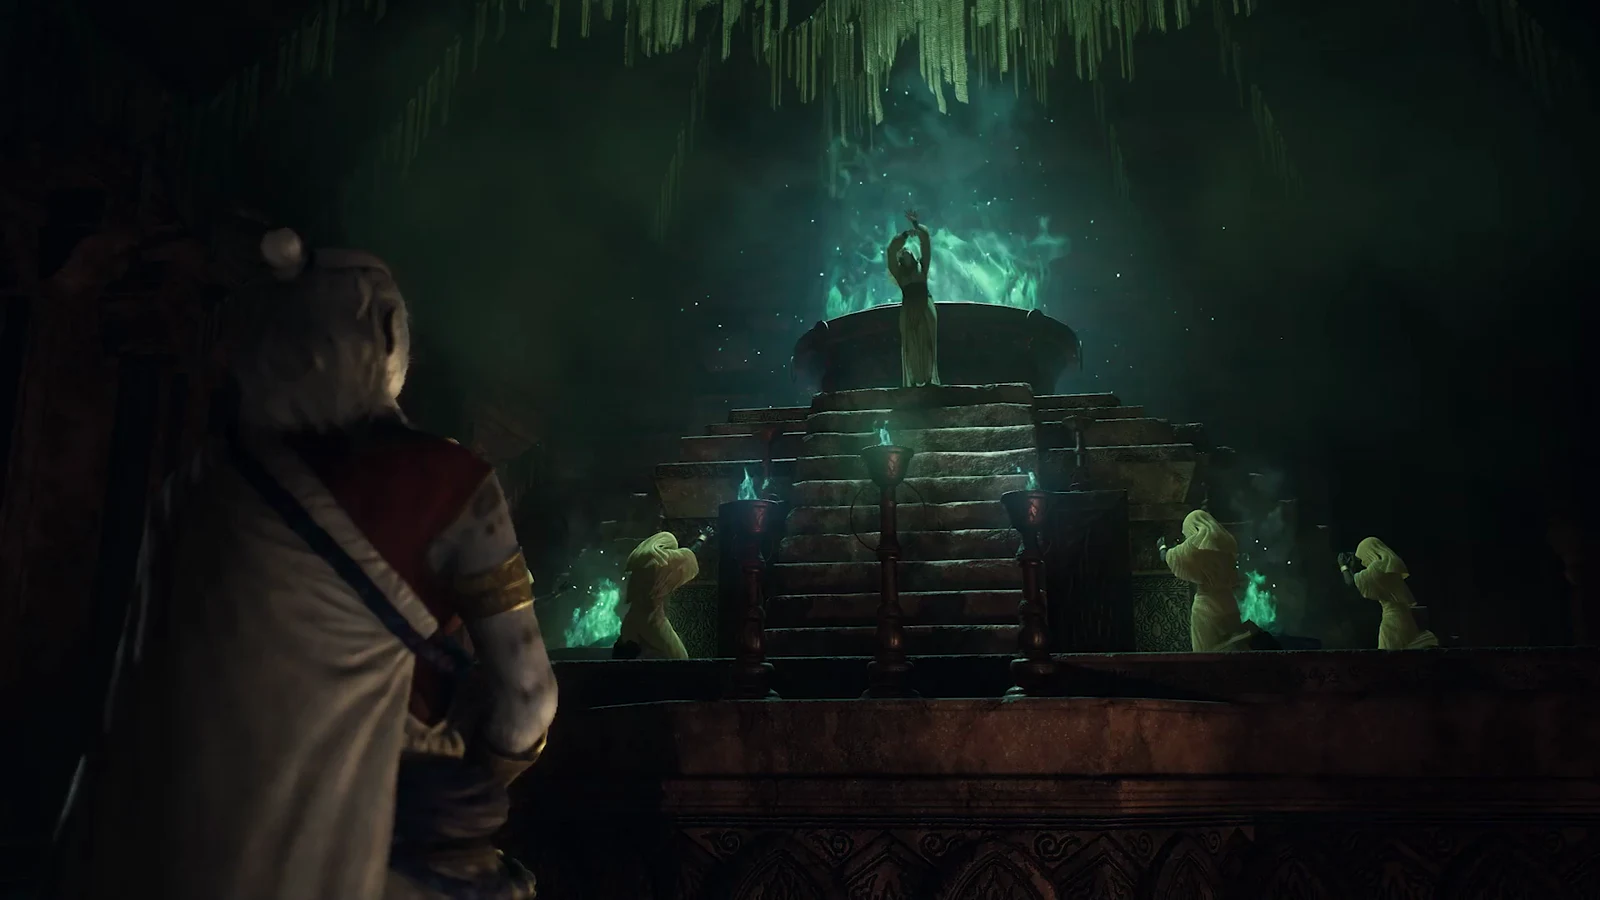
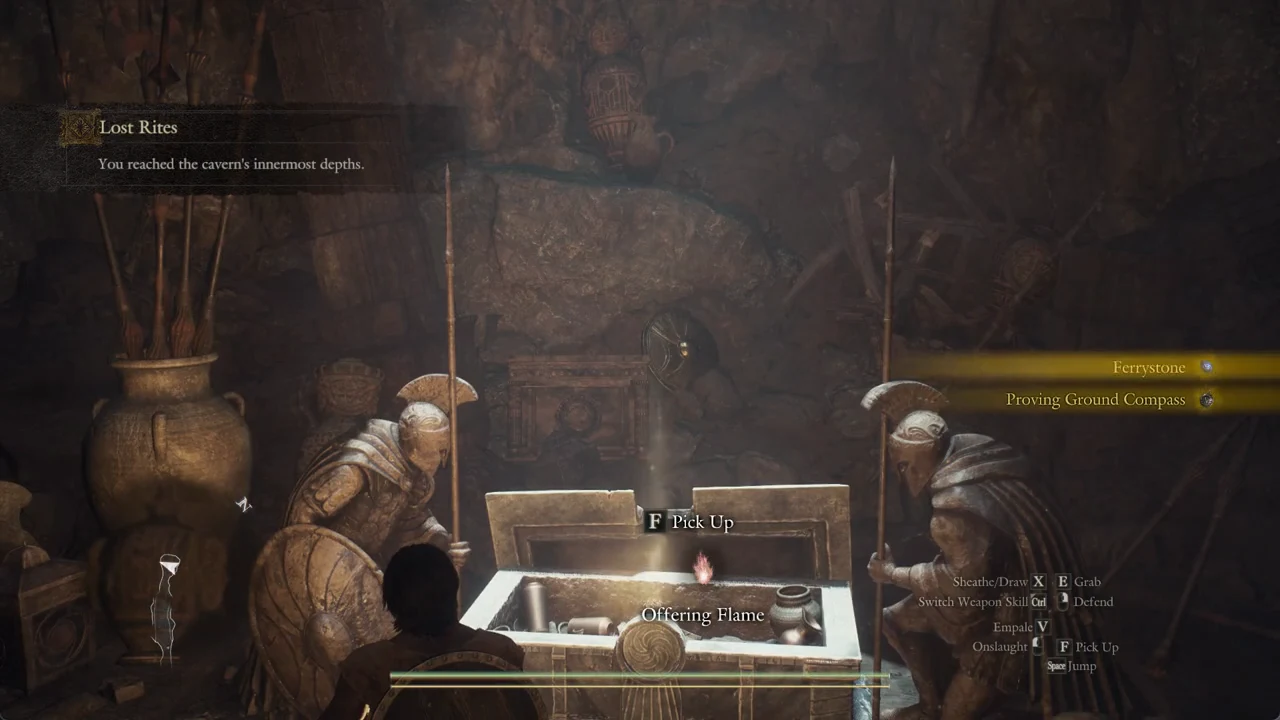
Go to the last room of Devilkin Hollow, the one lined with kneeling soldier statues under a shaft of light. An open white hoard box stands there, and the compass is inside it.
Empty the whole chest, not just the top item
Everything in and around the box is a separate pick-up. The name under the “F Pick Up” prompt changes as you take each thing, and it is easy to walk away with the box half full. The objective “Investigate the cavern’s depths.” stays on screen until the items inside the box are gone, so keep pressing F until no prompt is left.
How the quest ends and how to know it worked
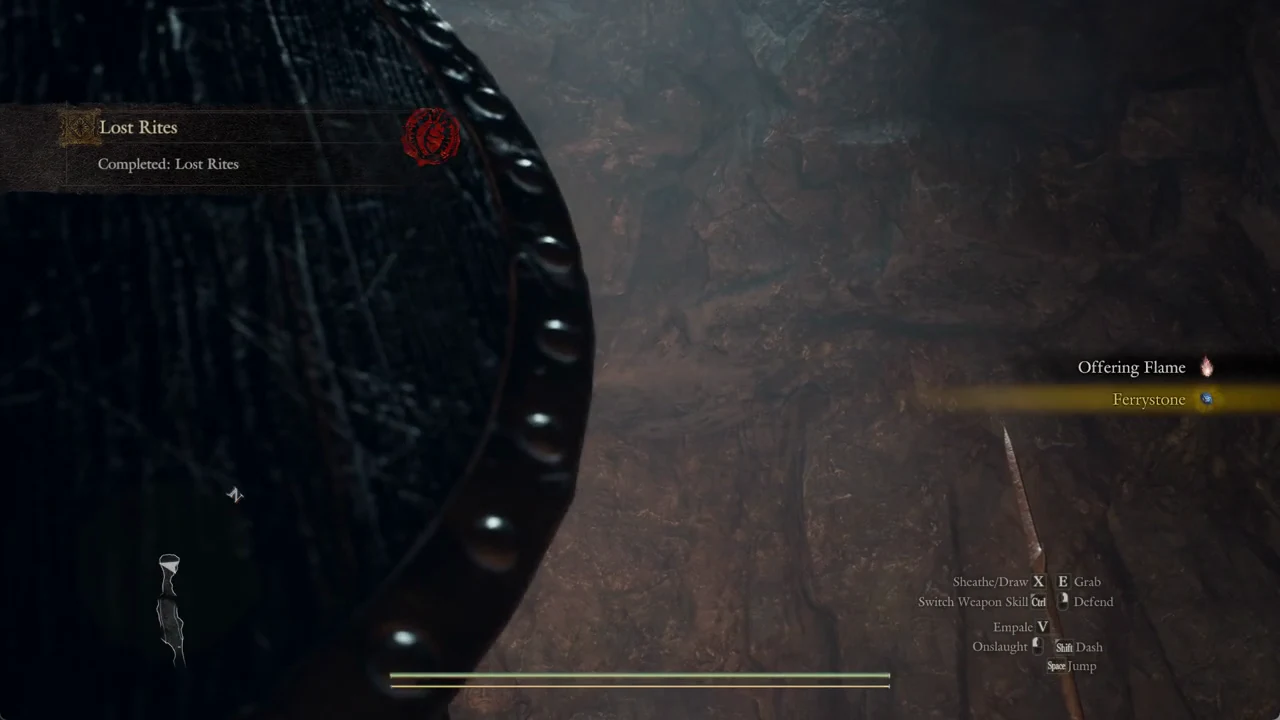
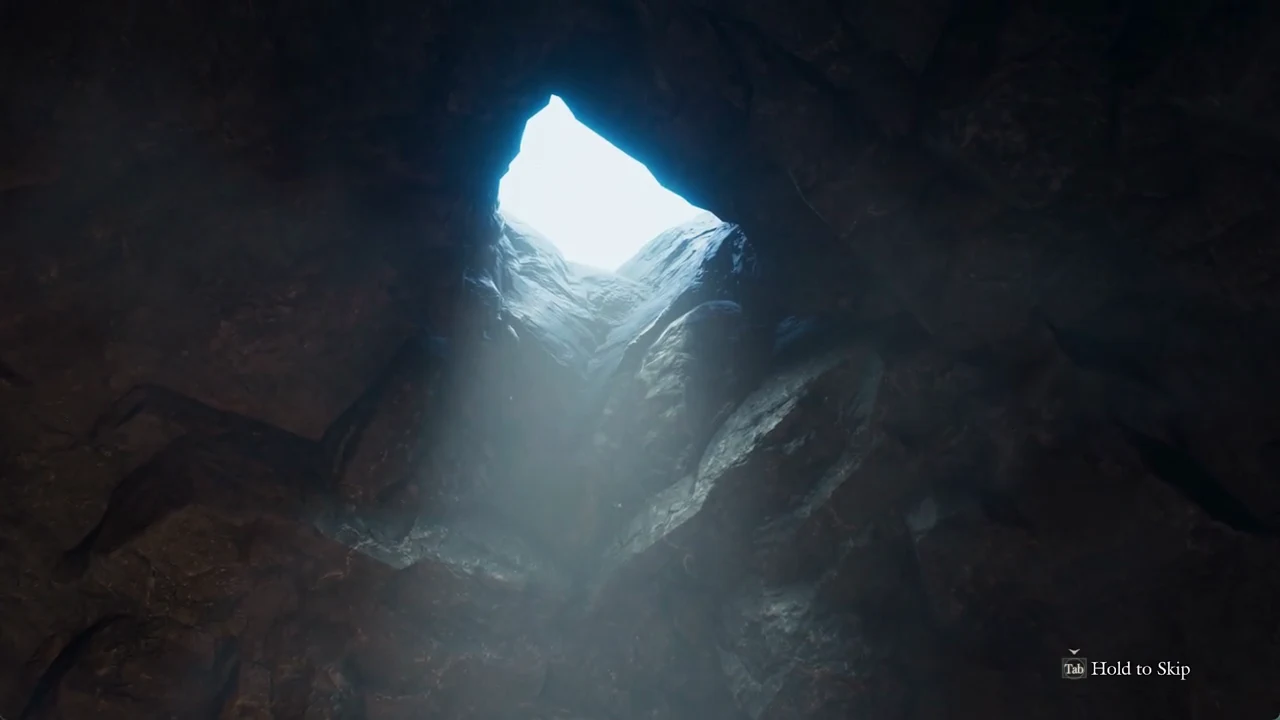
Once the last item is out of the box, a short scene plays looking up through a hole in the cave roof. You can hold Tab to skip it. The banner “Lost Rites / Completed: Lost Rites” then appears, and the quest finishes right there in the cave. Nobody has to be visited afterwards.
Check Quests > Completed > Lost Rites to confirm. It lists three ticked lines, “Encountered Corrupted Foe”, “You reached the cavern’s innermost depths.”, and “Completed: Lost Rites”, along with “No Destination”.
How to use the Proving Ground Compass
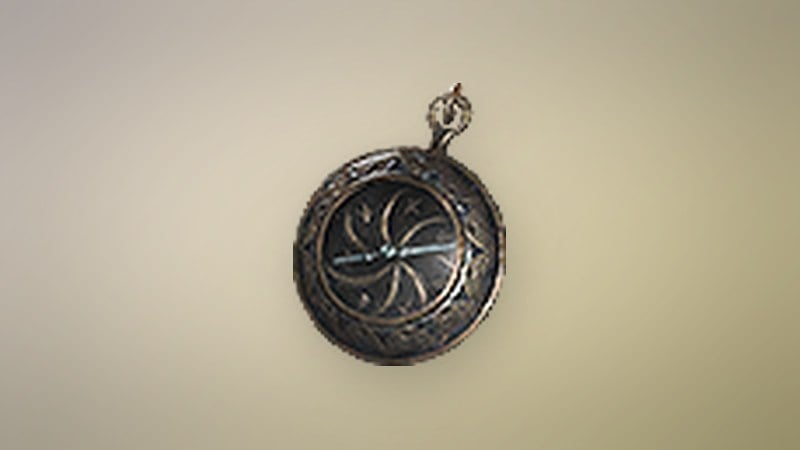
The compass is a light item at 0.05 kg that reveals the forgotten proving grounds and marks them on your map. You use it from the inventory, and it stays in your pack afterwards, listed at x1 once you have used it.
Lost Rites trial conditions on the map
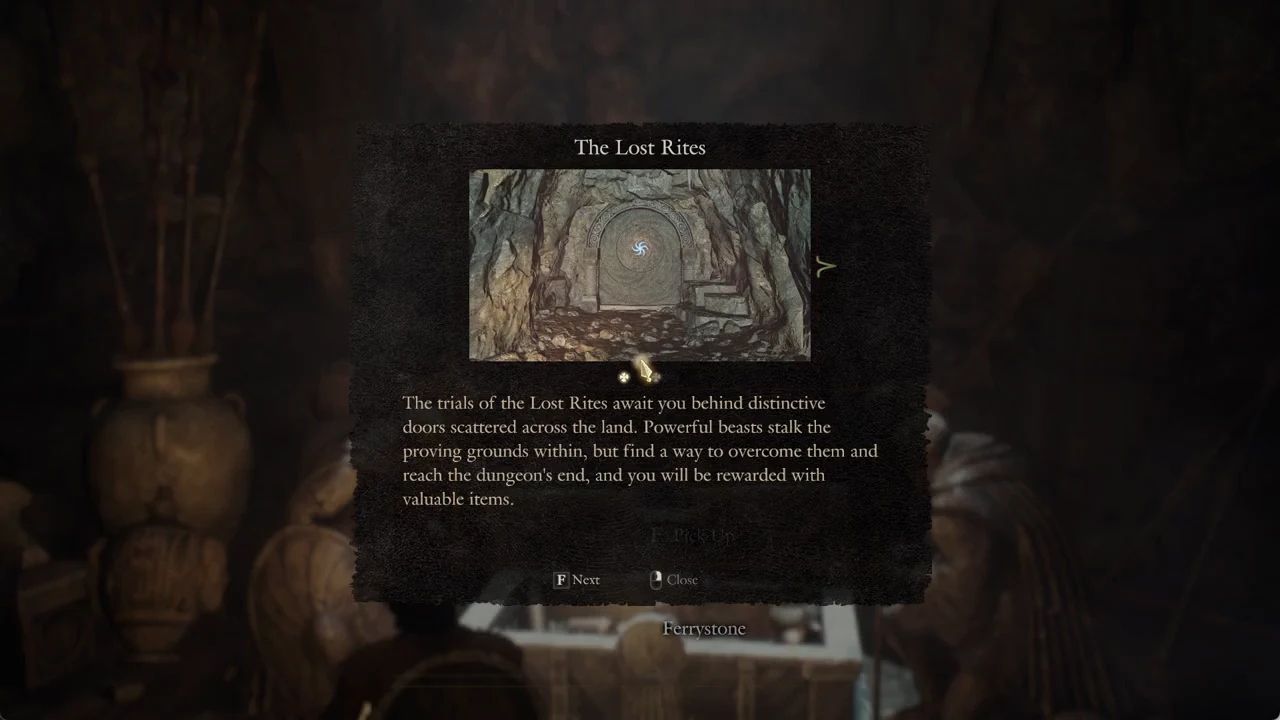
Using the compass after reaching Norgan, with the main story cleared up to Seat of the Sovran, puts cards on eight proving grounds. Three of them have no entry rule at all, so they are the places you can walk straight into first. The rest gate entry on your vocation, your loadout, or how many trials you have already finished.
| Proving ground | Entry condition |
|---|---|
| Devilkin Hollow | No conditions. |
| Daemons’ Corral | No conditions. |
| Sunken Spire | No conditions. |
| Mired Conduit | Complete four or more Lost Rites trials in total. |
| Embersand Mine | Bearers of grimoires and enchanted weapons are forbidden entry. No weapons skills that grant fire, ice, lightning, and/or holy archmagicks may be set. |
| Shrouded Warren | Only the Arisen’s main pawn may participate in this trial. (All other pawns must wait at the entrance.) |
| Precipitous Catacombs | The Arisen must be an archer or magick archer by vocation. |
| Wyrmsblood Arena | The Arisen may only have two weapon skills set. |
Daemons’ Corral and Sunken Spire both carry “No conditions”, so after Devilkin Hollow they are the natural next clears and the fastest way toward the four-trial count that unlocks Mired Conduit.
What to do with Offering Flames afterward
The Offering Flame you pulled from the Devilkin Hollow chest is the same resource the other trials hand out. Its purpose is the Obelisks of Benediction in the forgotten northern region of Vermund, where the tutorial says the flames can be used to acquire boons. Clearing proving grounds builds up a supply of flames to spend once you are exploring that region.
From here, the loop is simple. Use the compass from Items to reveal proving-ground locations; the map opens automatically. The gated trials open up as you change vocation, trim your weapon skills, or bring your total clears to four or more.