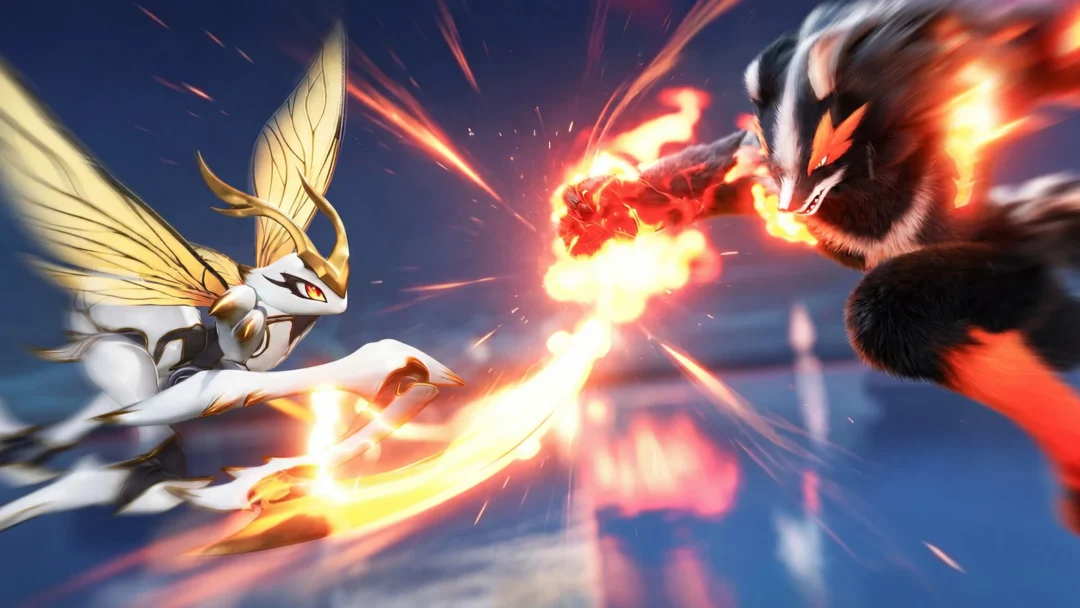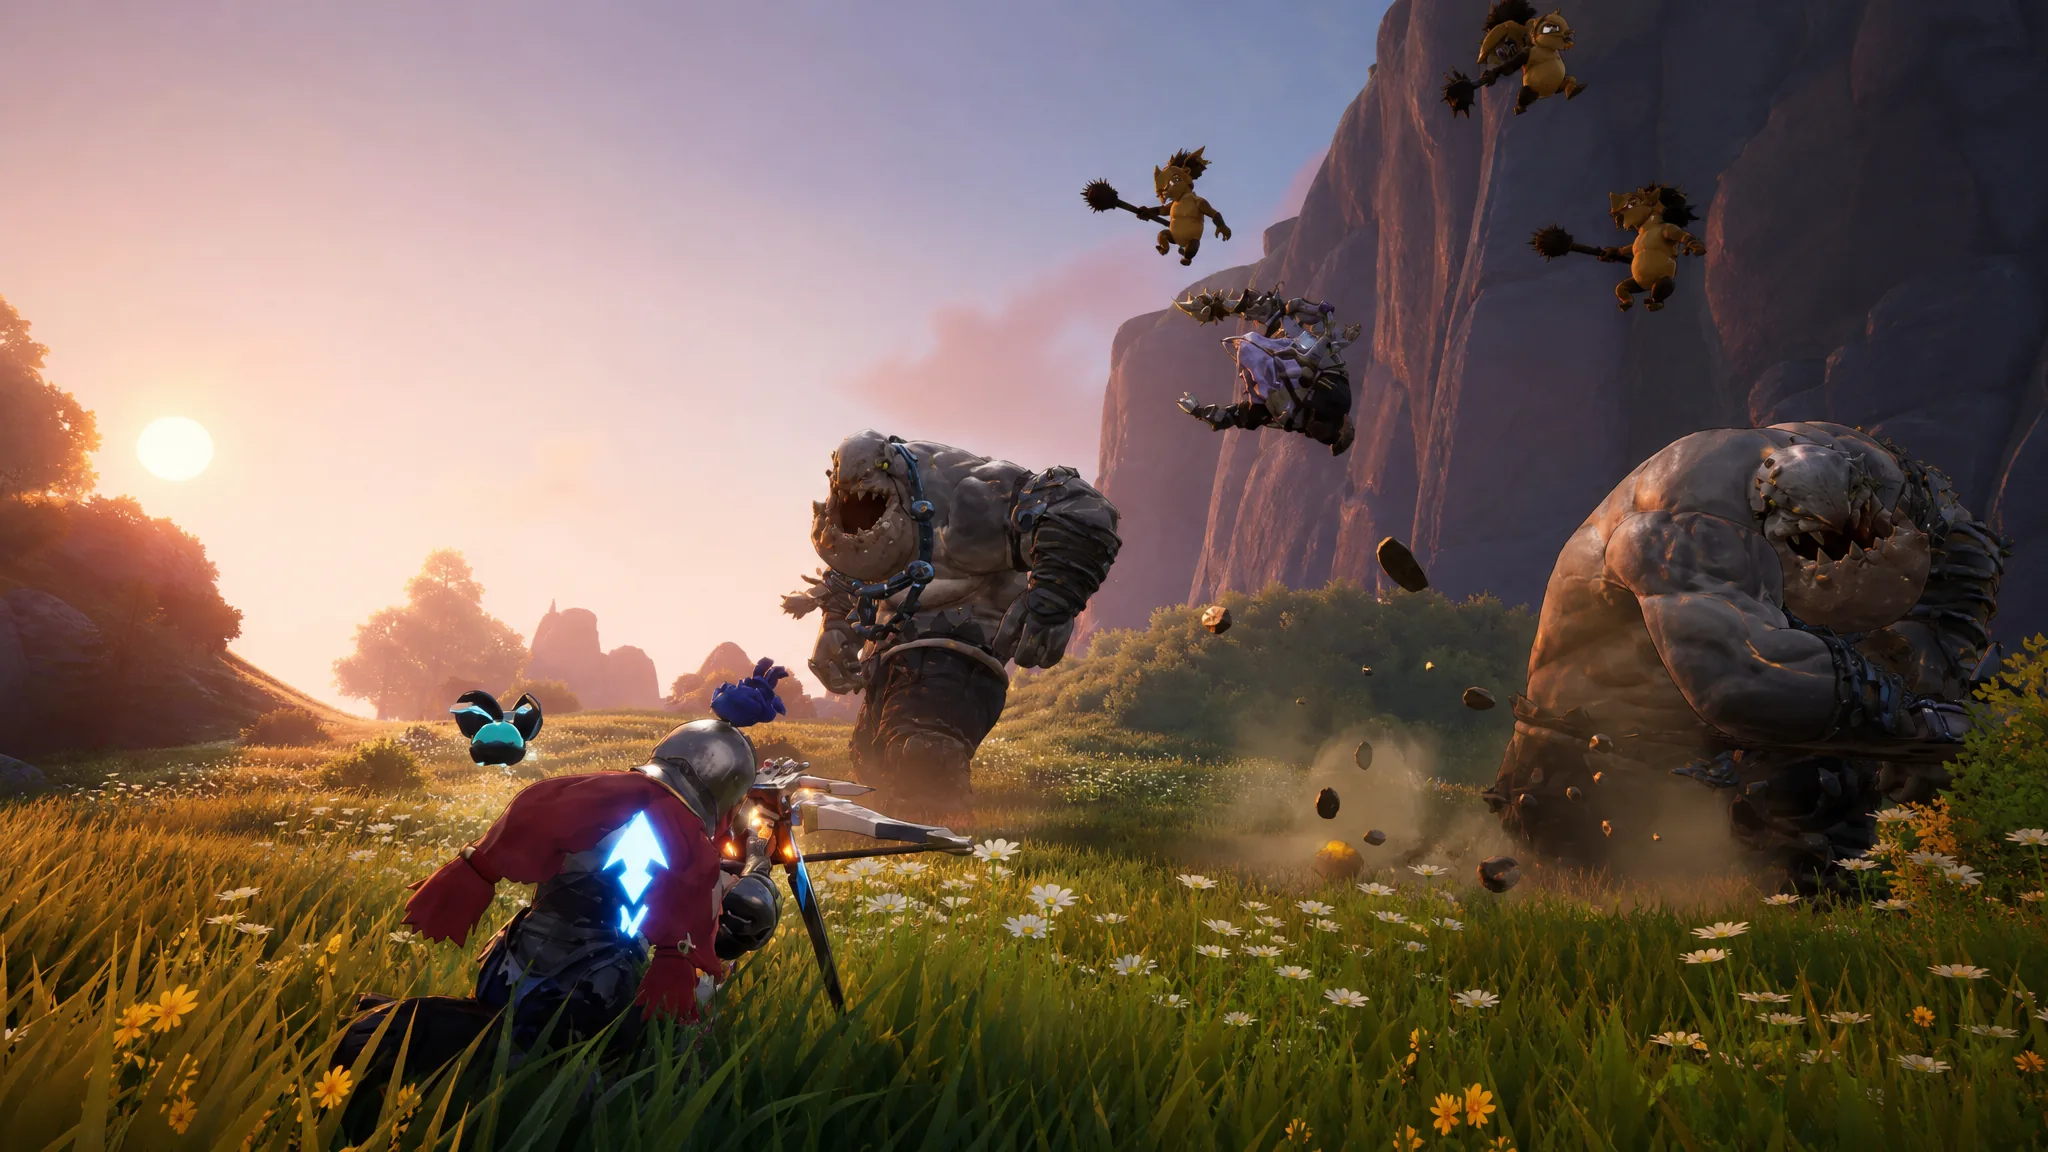
Combat in DragonSword: Awakening runs deeper than a standard hack-and-slash. You control a party of three heroes, swap between them freely in a fight, and win by stacking Status Ailments and firing Signal Skills at the right moment. Stacking the highest-damage characters does not carry you on its own. The point is to chain conditions and hand the fight from one hero to the next.
Quick answer: Use a hero’s Active Skill to apply a Status Ailment, keep hitting so the cooldown returns faster, wait for the required condition and the teammate icon to light up, then trigger the Signal Skill and switch. Repeat that loop rather than holding one character.
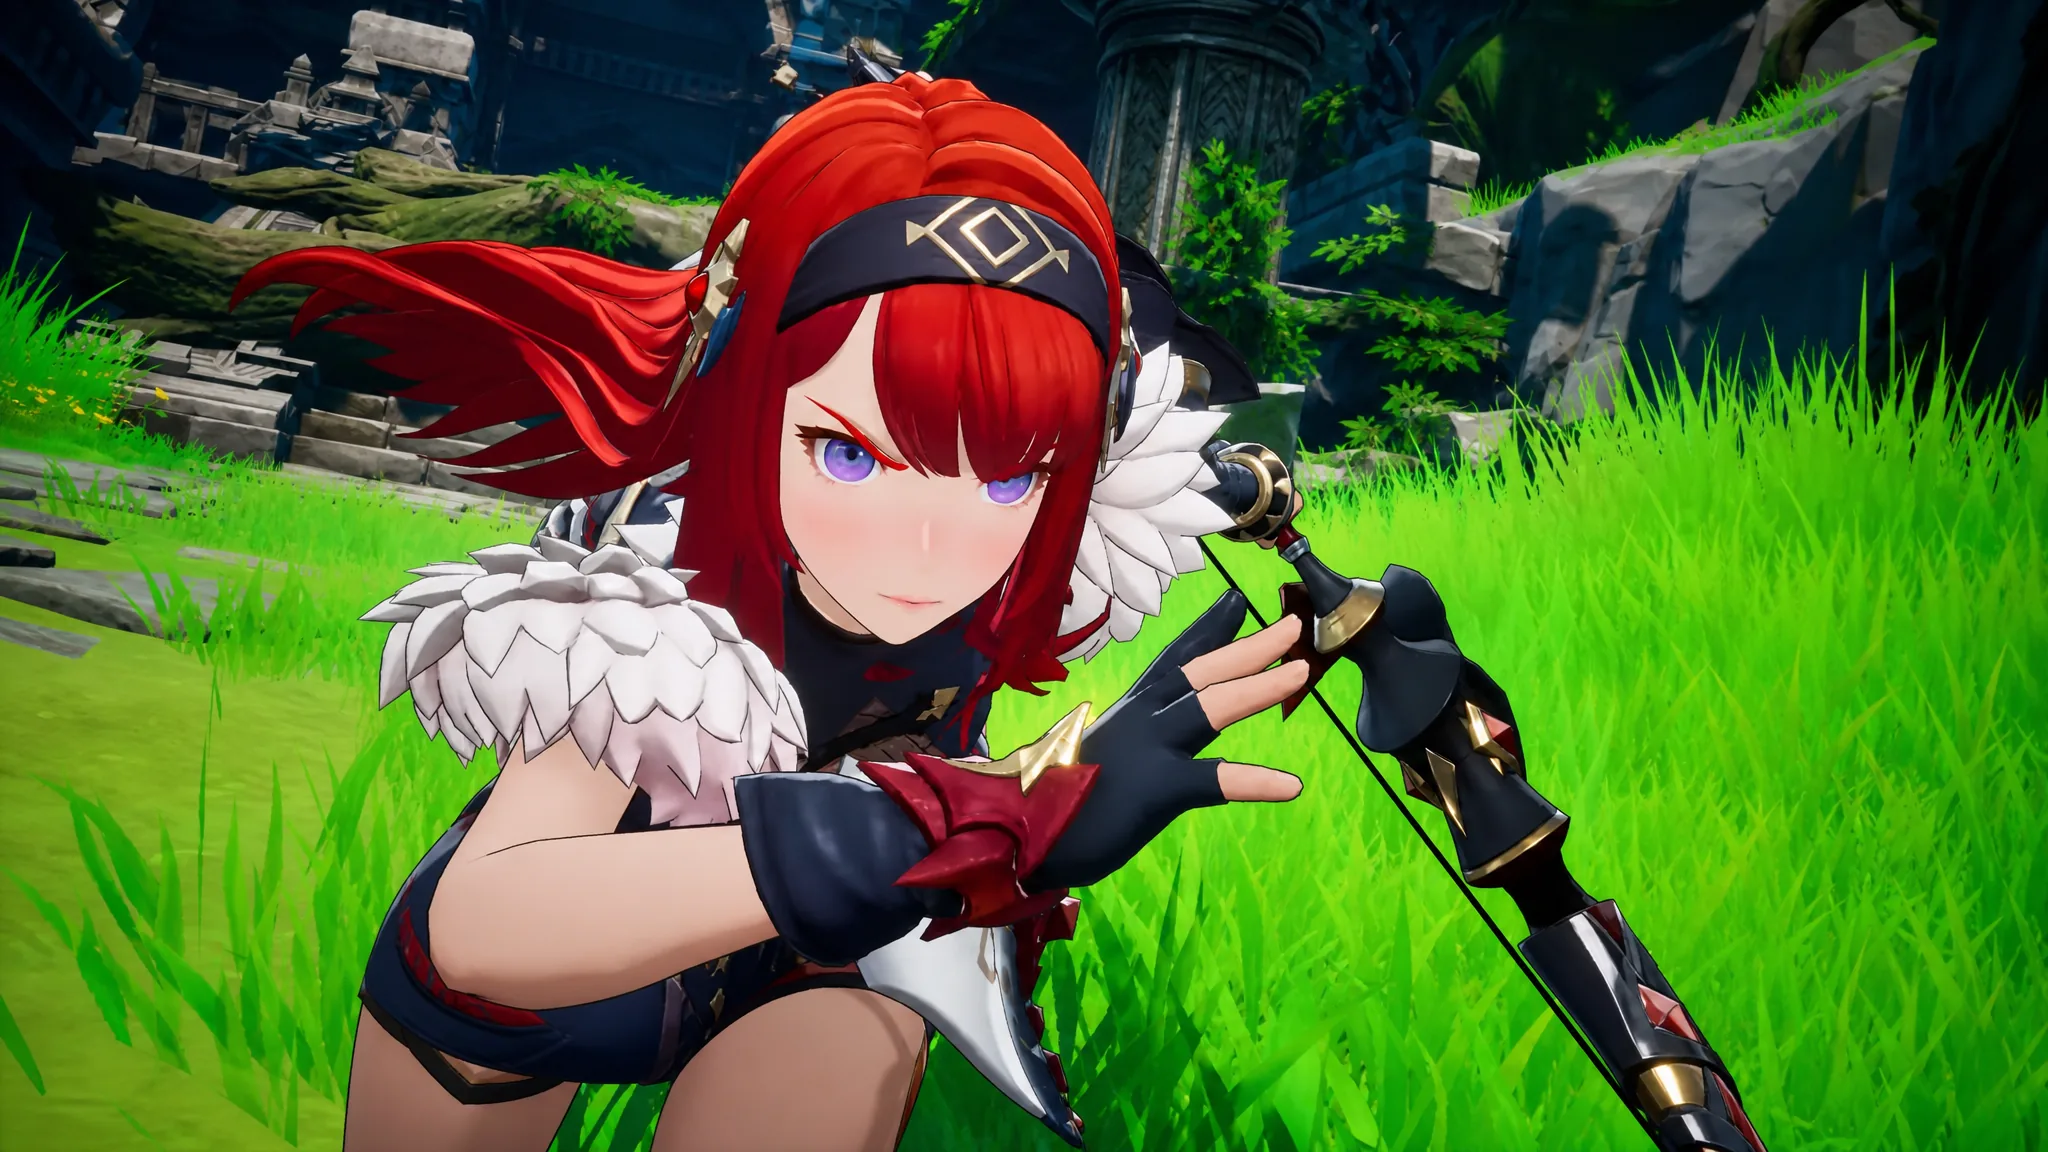
The three-hero tag-team loop
A team is three heroes you can switch at any time during combat. There are no ultimate abilities. Instead, each hero carries up to two Active Skills and two Signal Skills. The Active Skills apply a status effect, and once the right condition is on the enemy, you can trigger a Signal Skill for the active hero and the one swapping in.
The result works much like Intro and Outro skills in Wuthering Waves. Signal Skills deal large bursts, so the goal is to keep triggering these tactical swaps to push your overall damage. Treat switching as an offensive move, not an escape button.
The basic sequence in practice looks like this.
Break is the easiest condition to recognize early, so build your first rotations around it. If the follow-up does not fire, the condition is usually missing rather than the team being wrong.
Status Ailments and why matching heroes matters
Every hero can inflict one of seven Status Ailments. These effects do not chemically react with each other, but they are designed to be applied fast. Pairing heroes that inflict the same ailment lets you build the condition quickly and reach the Signal Skill window sooner.
| Ailment | Notes for combat |
|---|---|
| Poison | Damage-over-time condition applied through Active Skills. |
| Bleed | Common Signal Skill trigger; some heroes lean into it (Roxy pairs bleed with physical pressure). |
| Freeze | Sets up freeze-to-burst chains, for example Renia freezing before a teammate’s Icebreaker Switch. |
| Shock | Applied rapidly to keep a condition live for a follow-up. |
| Burn | Fire-based pressure that stacks quickly with repeated hits. |
| Knockdown | Opens juggle windows once poise is broken. |
| Stun | Locks the enemy in place for a teammate’s Signal Skill. |
The attack toolkit: no heavy attack here
Strip away the flashy animations and the core inputs are simple. Every hero has a basic attack, a jump basic attack, and a dodge attack, which is a dodge input followed by a light attack. There is no heavy attack in the game. That is a deliberate design choice, not a missing feature.
What changes wildly is presentation. Each hero layers unique animations, sprint skills, and dodge skills onto that shared skeleton. Castella, for example, is built around Airborne pressure and rapid spear chains, which makes her a strong pick for juggle setups.
Some long animations can be exploited. Castella has an Active Skill with a long spin attack that keeps hitting the enemy even after you switch to another hero. You can use that to land double attacks, dealing damage with the outgoing hero while the incoming one starts a new sequence.
Reading poise: break, grab, and aerial combos
Watch enemy health bars closely. A white bar under the health bar means the enemy is staggerable. Deplete that gauge to trigger a poise break, and the target becomes easy to juggle with Knockdown. Enemies flagged with super armor will not give you that opening, and forcing Airborne chains on them is a losing bet.
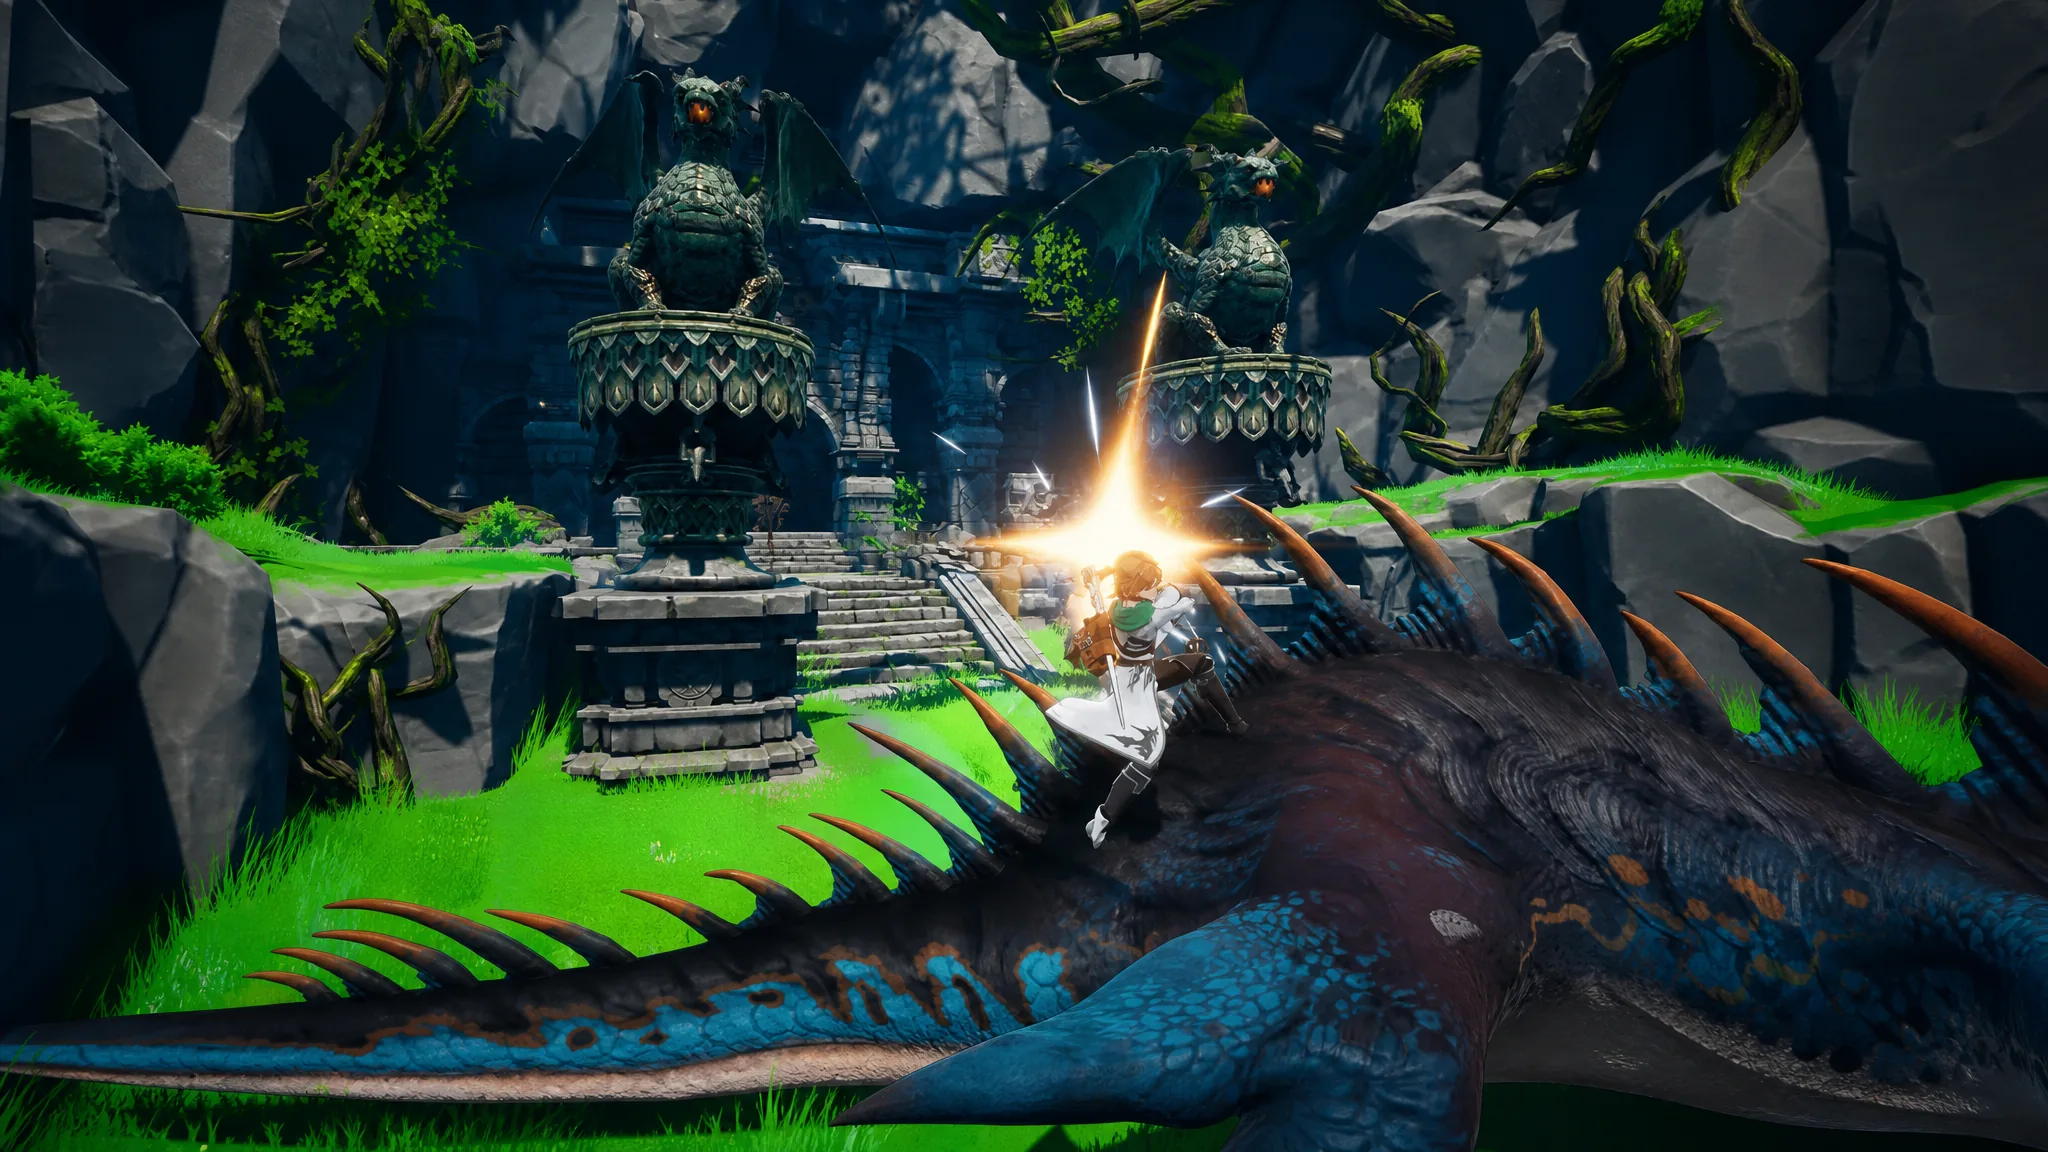
Larger elite enemies have a grab mechanic that boosts damage. Most world elites have a lock-on point that characters can occasionally latch onto. Deplete the white gauge to break poise, and a blue prompt appears. Press the matching button to grab the large enemy. While your primary hero holds and attacks the target, switch to another character to add ground damage.
Breaking poise can also reveal a blue wing icon. Use that ability to launch the target into the air, where it cannot retaliate, so you can chain Active Skill combos freely. The launcher is limited to heroes with aerial status effects, such as Reina and Johnny.
Switching gives invincibility frames
Swapping mid-combo is not only about style. A character switch grants a brief window of invincibility frames that lasts until you land the down attack or fire a Signal Skill. Learn that timing and you can swap through hits that would otherwise interrupt you. A switch only protects you across one timed hit, so cross it and keep moving rather than expecting a long safe window.
If super armor stops an expected launch, stop the air combo and fall back to shorter attacks until Break or another safe opening appears. Dodging and repositioning beats forcing a broken combo.
How to know the rotation worked
The clearest confirmation is the teammate portrait lighting up. When the required condition lands, the incoming hero’s icon becomes active, and pressing the Signal Skill input triggers the support attack for a large damage spike. A visible character icon alone does not mean the Signal Skill is ready, so wait for the real Break or ailment state before you commit.
When a follow-up refuses to fire, the fix is almost always the missing condition rather than the team order. Confirm the ailment is applied, confirm the icon is active, and only then change your composition. Build one reliable status chain across three heroes first, and the rest of the combat systems open up around it.