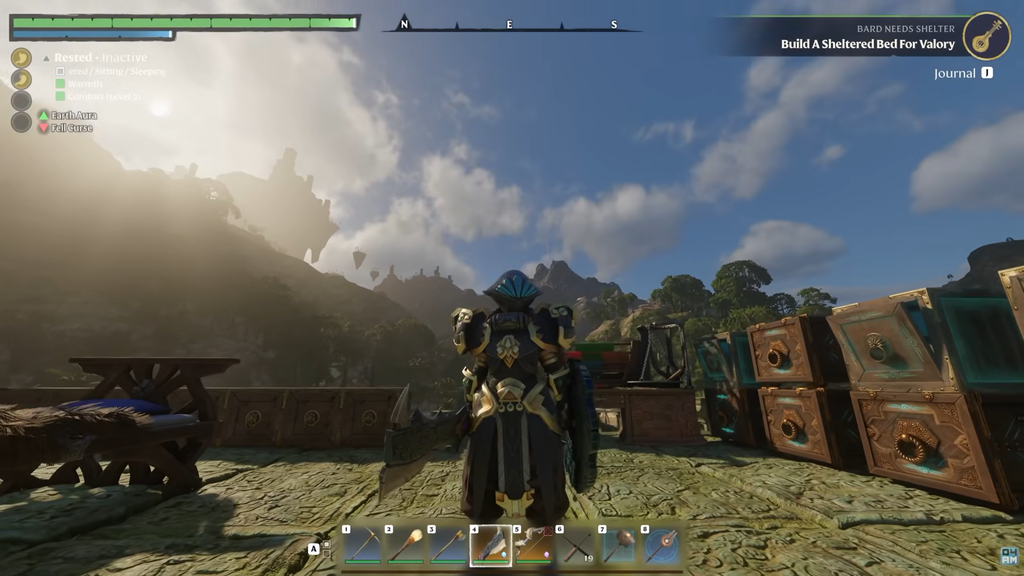
Enshrouded 1.0 does not make you pick a class. A Warrior is any character that spends its points in the melee side of the skill tree. With the level cap at 50, 212 total skill points, and gear that scales to item level 55, the strongest way to play that side is a two-handed greatsword tank. It parries with the sword itself, heals off critical hits, and uses grappling hook skills to keep enemies in reach.
Quick answer: Use Guard Of The North Sword, the Sunpiercer helmet and chestplate, and Greatsword Gauntlets. Push Strength and Constitution, and take Battle Heal, Veteran, Titan Edge, Power Parry, and Blink.
How the greatsword Warrior build works
The build runs on three loops. Critical hits heal you through Battle Heal. Parries and blocks fill enemy Stun Bars until they are overpowered, which opens them to Merciless Attacks and bonus damage. Mobility skills like Blink and Emergency Blink get you out of trouble, including when you are stunned.
Strength and Constitution are your two attributes. Strength drives melee damage and also feeds Bash and Athlete. Constitution raises Health, and Battle Heal restores a percentage of maximum Health, so a bigger pool means bigger heals. The Warrior area holds 11 pips of each.
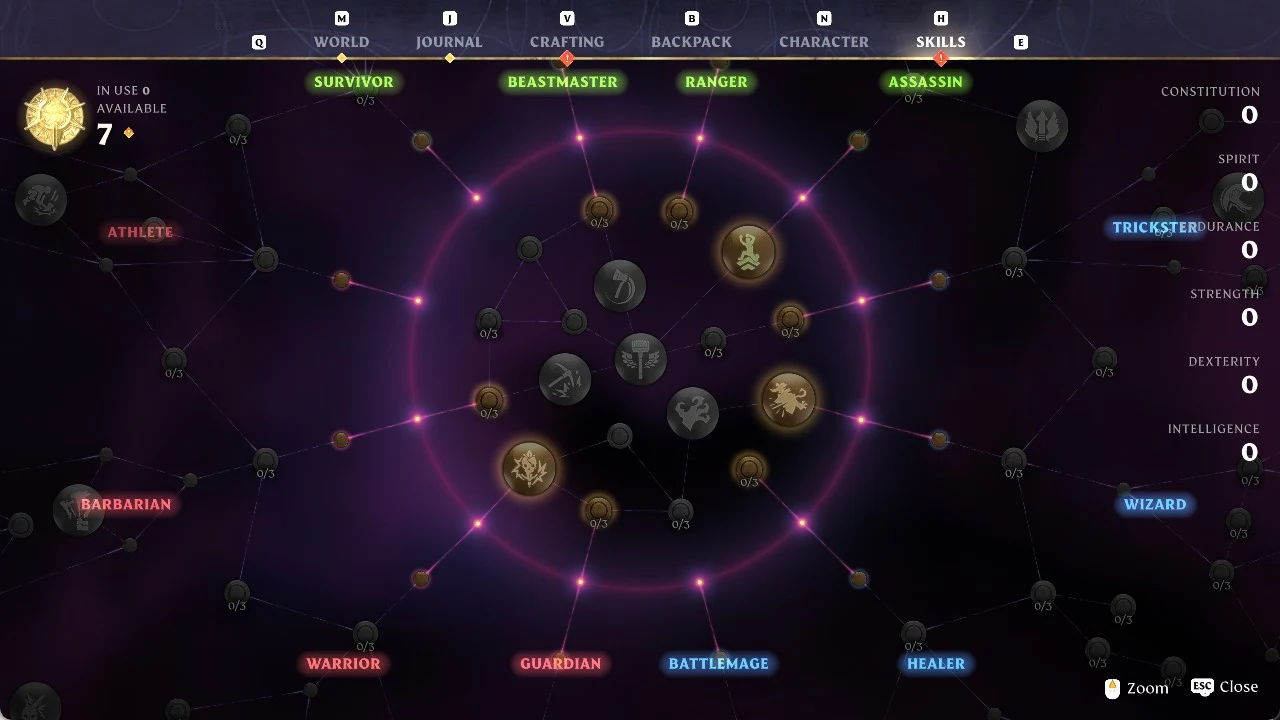
A shield isn’t required; any melee weapon can guard. Time a greatsword block correctly to deflect the hit and raise the enemy’s Stun Bar, just as a shield would.
Best Warrior weapons: Two-Handed Greatswords
| Greatsword | Damage types | Damage (Lv 1 / 50 / 55) | Perks |
|---|---|---|---|
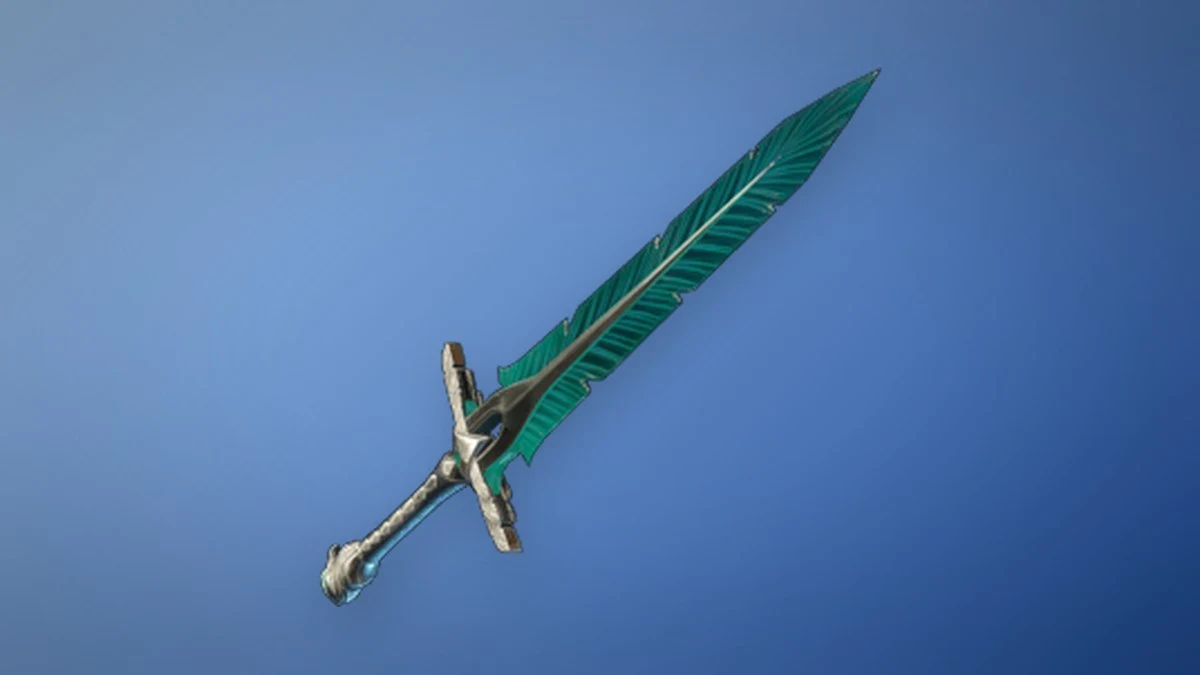
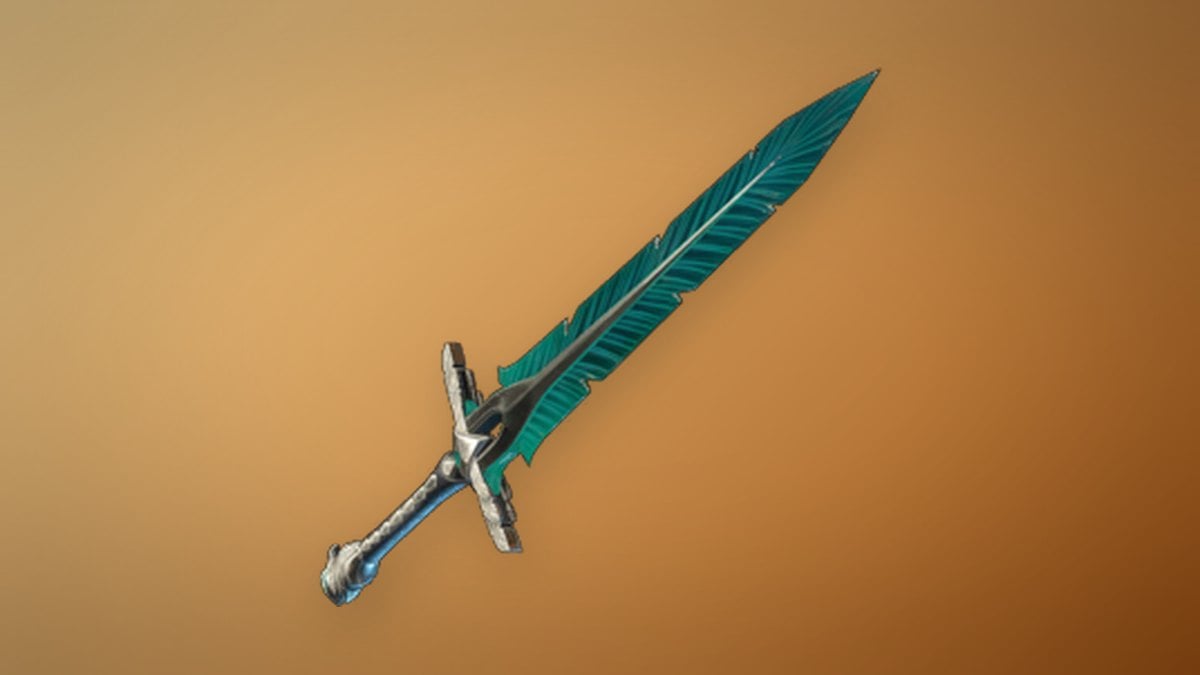
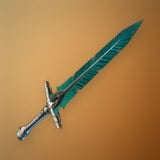 Guard Of The North Sword | Cutting | 16 / 127 / 138 | 6% Crit Chance, 22% Crit Damage |
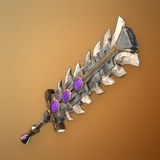 Megalodon Greatsword | Cutting 8, Ice 8 | 16 / 127 / 138 | 10% vs Drak, 22% Crit Damage, 22% Merciless Attack Damage |
Both are Legendary and scale across item levels 1 to 55. They share Parry Power 1 at base and a 0.774 s attack speed, so the difference comes down to perks and damage type.
Guard Of The North Sword is the main pick. It is the only one of the two with bonus crit chance, and crit chance feeds everything else in the build. You learn its Blacksmith recipe the first time you pick it up. To craft it you need Flame level 8 or higher and a roofed shelter. It belongs to the Veilwater Basin unique equipment set. Rare variants also exist at item level 36 with 96 damage and at item level 46 with 118 damage.
Megalodon Greatsword trades crit chance for a split Cutting and Ice damage profile. It also adds a Merciless Attack bonus, so it is a good swap for bosses you plan to overpower repeatedly, and for Drak.
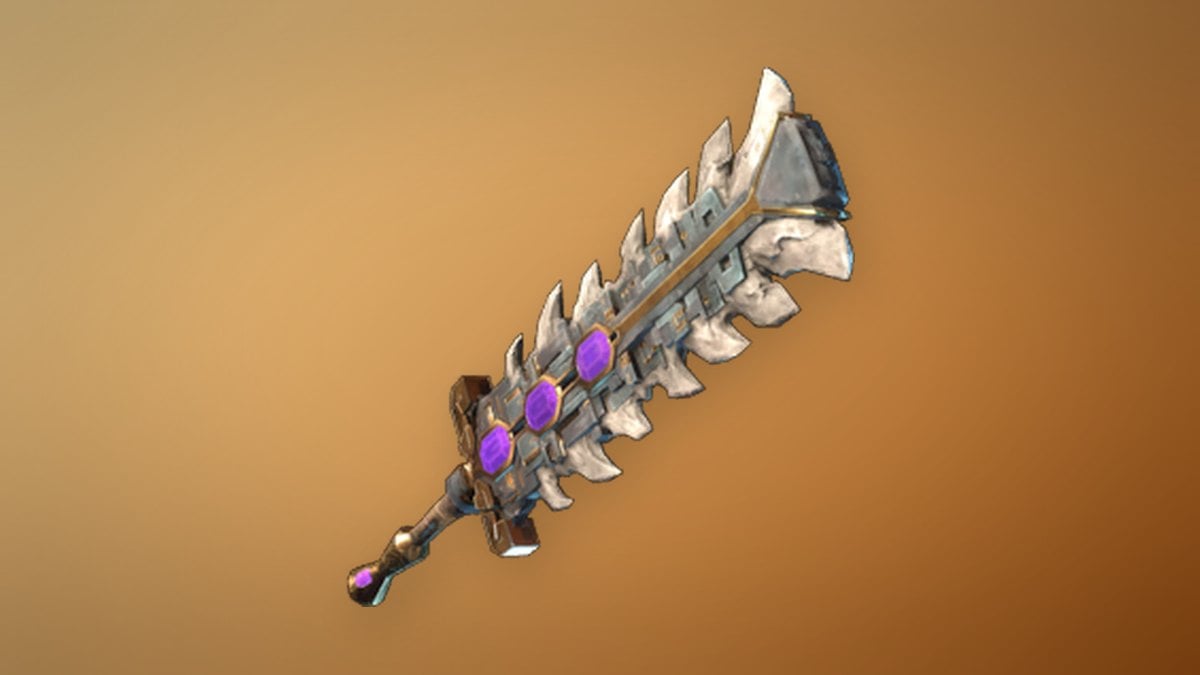
Forked Tongue is a third greatsword option. It pairs with a bleed gem for crit-based damage over time. Carry a bow for flying enemies, too. Forsaken loaded with Eternal Frost Arrow II covers that job.
Best Warrior armor for the greatsword build
| Slot | Item | Physical / Magical | Key stats |
|---|---|---|---|
| Head | 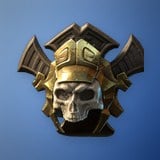 Sunpiercer Helmet | 50 / 25 | 13% Melee Crit Chance, 15% Crit Damage |
| Chest | 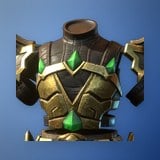 Sunpiercer Chestplate | 100 / 50 | +360 Health, +36 Stamina, Veteran 1, Blood Rage 1 |
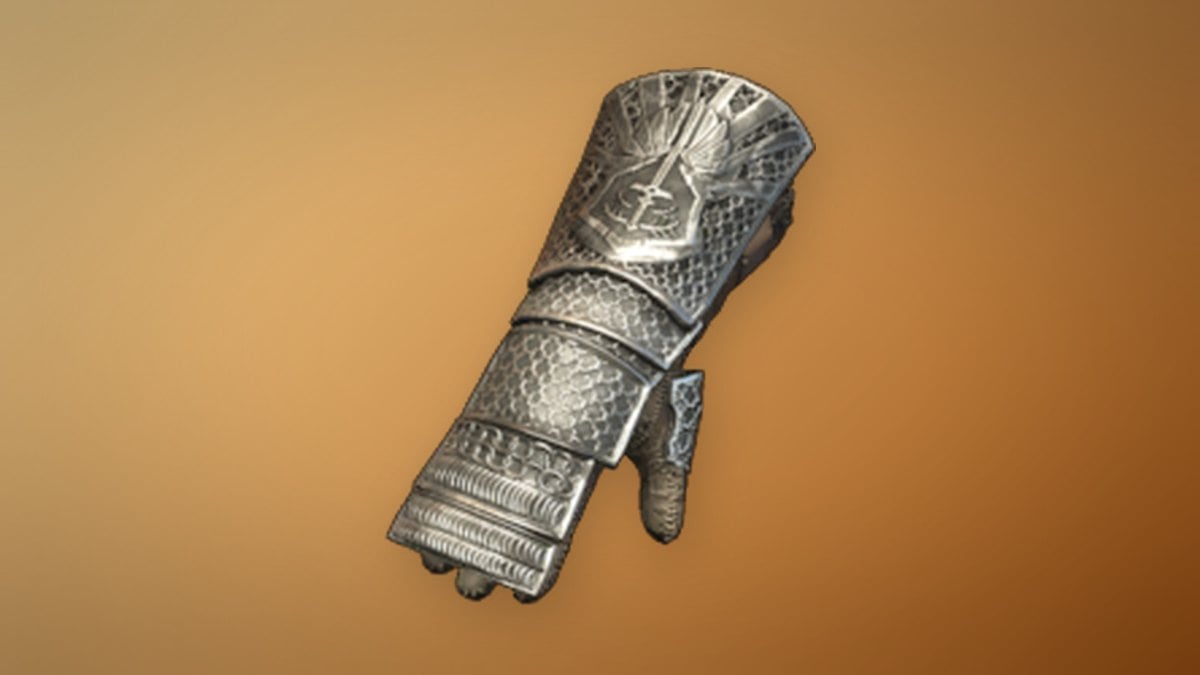
| Hands | 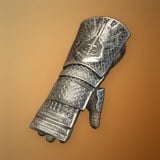 Greatsword Gauntlets | 31 / 19 | 21% Greatsword Damage, +12 Stamina Regen |
| Legs | 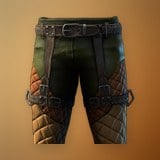 Wayfarer Pants | — | Sprint speed, reduced climb and glide drain |
| Feet | 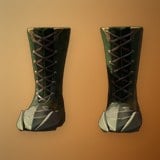 Drakian Boots | — | Stamina regeneration, damage vs Drak |
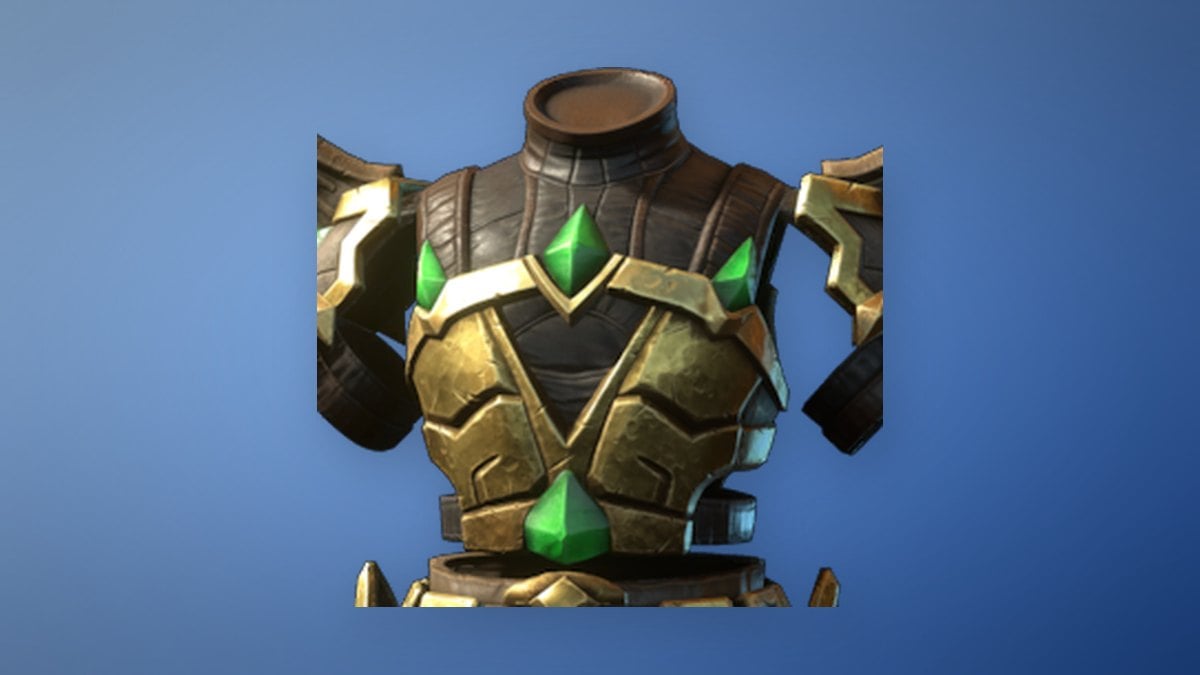
Sunpiercer Helmet covers the crit side of the build. It also adds Health Regeneration 18, 120 s of Wet Duration Reduction, and one rank each of Brute and Barbarian’s Path. Both Sunpiercer pieces are item level 40 Rare gear made at the Blacksmith once your Flame reaches level 8, crafted under a roof.
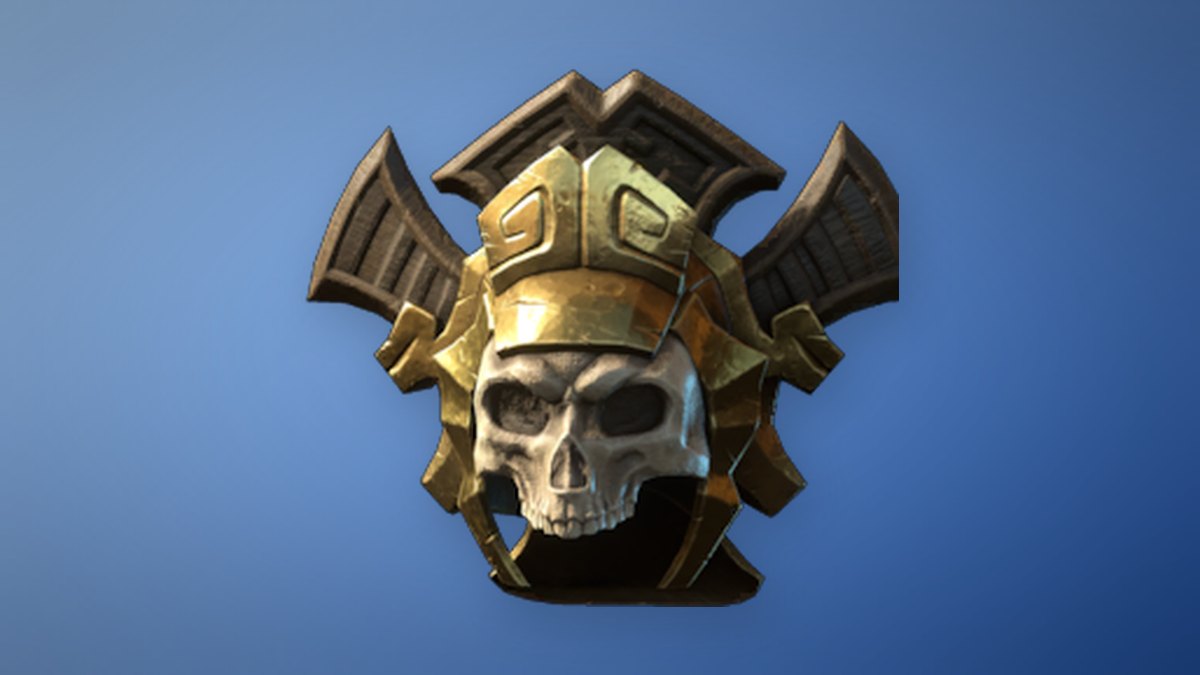
Sunpiercer Chestplate carries the most raw survivability. A perk adds another 120 Health, and its free Veteran and Blood Rage ranks save skill points. It also has 180 s of Wet Duration Reduction.
Greatsword Gauntlets are Legendary, item level 40, and part of the Veilwater Basin unique set. You find them in Goldrock Saddle. On top of the greatsword bonus, they add Piercing armor 19, 18% damage against flying enemies, and a rank each of Athlete, Titan Edge, and Vigorous Deflection.
Earlier and alternate Warrior armor pieces
| Item | Slot / item level | Physical / Magical | Unlock |
|---|---|---|---|
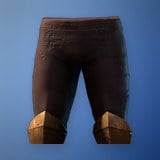 Guardian Trousers | Legs / 15 | 22 / 12 | Flame 4, Blacksmith |
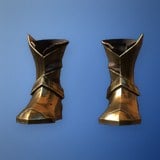 Brazen Bull Boots | Feet / 30 | 24 / 14 | Flame 6, Blacksmith |
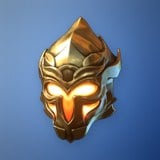 Radiant Paladin Helmet | Head / 30–55 | 38 / 19 | — |
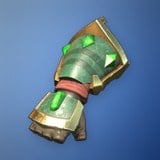 Golden Bulwark Gloves | Hands / 40 | 31 / 19 | Flame 8, Blacksmith |
Before the Flame 8 gear comes online, the Mercenary helmet, chest, and gloves pair well with Guardian Trousers and Guardian Boots. Guardian Trousers add 68 Health, Stamina Regeneration 5, and ranks of Absorb and Shiny Plates.
Brazen Bull Boots stack Health Regeneration with Stamina Regeneration 8 and a free rank of Earth Aura. Radiant Paladin Helmet mirrors the Sunpiercer Helmet with slightly lower numbers: 12% Melee Crit Chance and 14% Crit Damage. Golden Bulwark Gloves give Block 6, 5% Melee Damage, and a Soul Leech rank, but they lack the gauntlets’ greatsword bonus.
Warrior skills that drive the build
| Skill | Cost | Effect |
|---|---|---|
| Battle Heal (3 ranks) | 2 per rank | Melee crits heal 1% max Health per rank |
| Blood Rage (3 ranks) | 2 per rank | +15% melee damage for 10 s after nearby kills |
| Breach | 3 | Overpowered enemies take +100% melee physical damage for 3 s |
 Bash (3 ranks) | 2 per rank | Parries deal 10 Blunt per rank, scales with Strength |
 Athlete (3 ranks) | 1 per rank | Max Health scaling with Strength |
 Crash Down Attack | 3 | Jump strike: a small blast deals +50% weapon damage |
| Crash Down: Force | 3 | Crash Down deals +20% damage when launched after a double jump |
 Evasion Attack | 4 | Dash attack, +50% weapon damage, 25 Stamina |
 Earth Aura (3 ranks) | 2 per rank | +10% Physical and Magical Resistances, 4 m per rank |
| Barbarian | 5 | +1 Strength per two Flame levels |
Battle Heal tops out at 3% of maximum Health per melee critical hit. That is why the build stacks crit chance from the sword, helmet, and Veteran. Blood Rage’s trigger range grows by 5 meters per rank, so even one rank, which the chestplate provides, keeps it active in crowds.
Two skills on the path do little for a greatsword. Barbarian’s Path adds 5% per rank to Two-Handed Axes, Clubs, and Hammers. Brute adds 10% per rank to melee Blunt damage. Guard Of The North Sword deals only Cutting damage, so take Barbarian’s Path for the route and as a payoff if you switch to an axe or hammer. Treat Brute as a temporary connector and refund it later.
Enshrouded 1.0 Warrior skill order
Buy the nodes in this order. Each group finishes one part of the build before the next begins.
Movement and jump damage
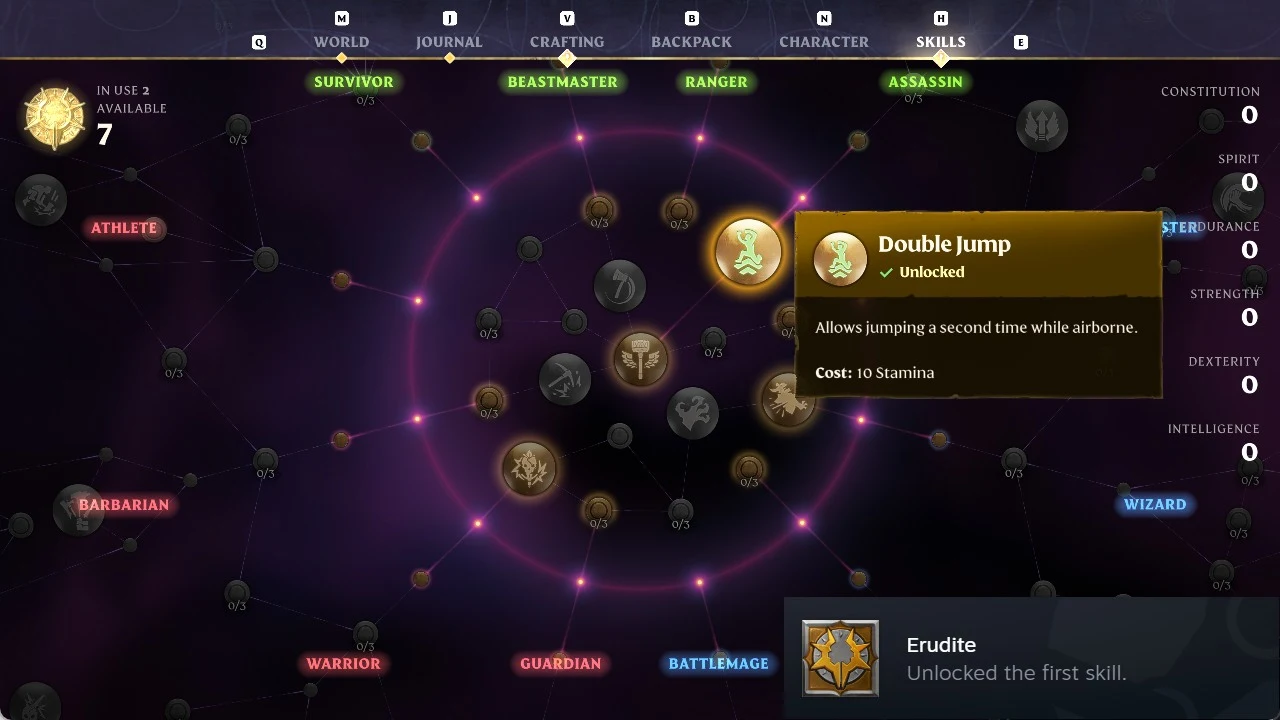
- Take Double Jump, then add Spirit; follow with Counterstrike and finish on Updraft.
- Strength, Wet Dog, Strength
- Crash Down Attack, Crash Down: Force
- Strength, Upwards Slash Attack
Defense and escape tools
- Constitution, Heavy Plates
- Evasion Attack, Arcane Deflection
- Blink, Emergency Blink
Two-handed damage line
- Strength, Barbarian’s Path 3/3, Constitution, Strength
- Invest in Two-Handed Specialization before Constitution, then bring Titan Edge to 3/3.
- Whirlwind Crescendo, Blood Rage 1/3, Relentless, Heavy Hitter
- Barbarian, Strength, Brute (temporary)
Crit healing and parry punishes
- Start with Constitution and Shockwave; set Bash to 1/3, then choose Breach, Strength, and Constitution.
- Veteran 3/3, Battle Heal 3/3, Slasher 3/3
- Strength, Strength, Merciless Attack
- Power Parry 3/3, Opportunity 3/3
- Grounding Hook, Giant Slayer Hook
Survivor utility and the tank finish
- Put points into Endurance, raise Runner to 3/3, return to Endurance, then take Good Metabolism and Dexterity.
- Rebound 3/3, Dessert Stomach, Endurance, Strategic Maneuver
- Set Shiny Plates at 1/3, then take Constitution and Tower; add Soul Leech at 1/3, followed by Strength.
- Refund Brute, then Snap, Warden, Constitution, Thick Skin
- Earth Aura 1/3, Constitution, Constitution
Refunds happen at a Flame Altar, and each spent skill point costs 1 rune to reset. Grounding Hook and Giant Slayer Hook need the Improved Grappling Hook equipped. The first pulls airborne enemies down to you, and the second launches you toward large ones. Strategic Maneuver replaces your roll with a sideways evade.
Gems, rings, and food for the Warrior
| Category | Pick | What it does |
|---|---|---|
| Gem | 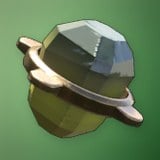 Gem of Swiftness | Bonus Cutting damage after sprinting |
| Gem | 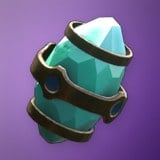 Gem of Soul Reaping | Marked kills leave healing soul phials |
| Gem | 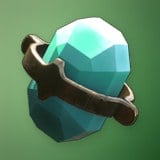 Gem of Lesser Necromancy | Kills can summon an allied Hollow |
| Ring | 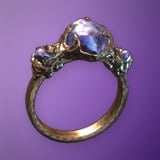 Commander’s Ring | Health, Stamina, Health Leech |
| Ring | 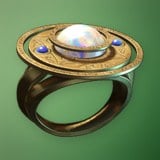 Ring of the Ancients | Regeneration and Crit Chance |
| Ring | 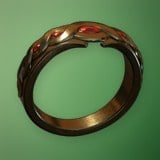 Ultimate Ring of Health | Health and Health Regeneration |
| Food |  Fried Rice | Melee damage and Stamina |
| Food | 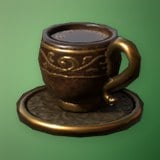 Black Coffee | Stamina, Stamina Regen, melee damage |
| Food | 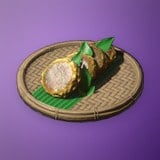 Crab Cakes | Health, damage vs wildlife |
All three gems go on Guard Of The North Sword. Soul Reaping phials also count as kills for other on-kill effects, which helps keep Blood Rage running. On Megalodon Greatsword, swap in Gem of Currents for bonus Shock damage against Soaked targets. On Forked Tongue, use Gem of Bleeding.
Dessert Stomach opens a fourth food slot. Fill it with Grilled Fish with Coconut Rice for Health, Stamina, and Oxygen, or with Glimmer Gentian Tea for damage against Fell and extra time in the Shroud. Useful flasks include the Drak Soulward Flask, the Greater Shroud Survival Flask, and the Flask of the Fell. The Prayer of the Flame Scroll extends your Shroud timer.
Greatsword Warrior combat rotation
Fights follow a parry, overpower, punish rhythm. Wait for the flash on an enemy or projectile, then block to parry. Bash adds Blunt damage on each parry, Shockwave knocks nearby enemies back, and both add to the Stun Bar.
Breach doubles the melee physical damage you deal to an Overpowered target for 3 seconds. Use those seconds to land a Merciless Attack, ideally benefiting from Megalodon Greatsword’s bonus against bosses. While waiting for another parry, complete all four hits of your combo to set off Whirlwind Crescendo’s spin. When enemies cluster, spend Focus on the Two-Handed Specialization whirlwind.
Open fights from above when you can. A Crash Down from a double jump stacks Crash Down: Force on top of the base 50% bonus. Use Grounding Hook to drag fliers into range, and use Giant Slayer Hook to close distance on large targets. If a stun catches you, Emergency Blink pulls you out before the follow-up lands.
In co-op, the late Earth Aura rank shares its resistance bonus with allies inside its radius. The Brazen Bull Boots add a second rank if you want a wider circle without spending more points.