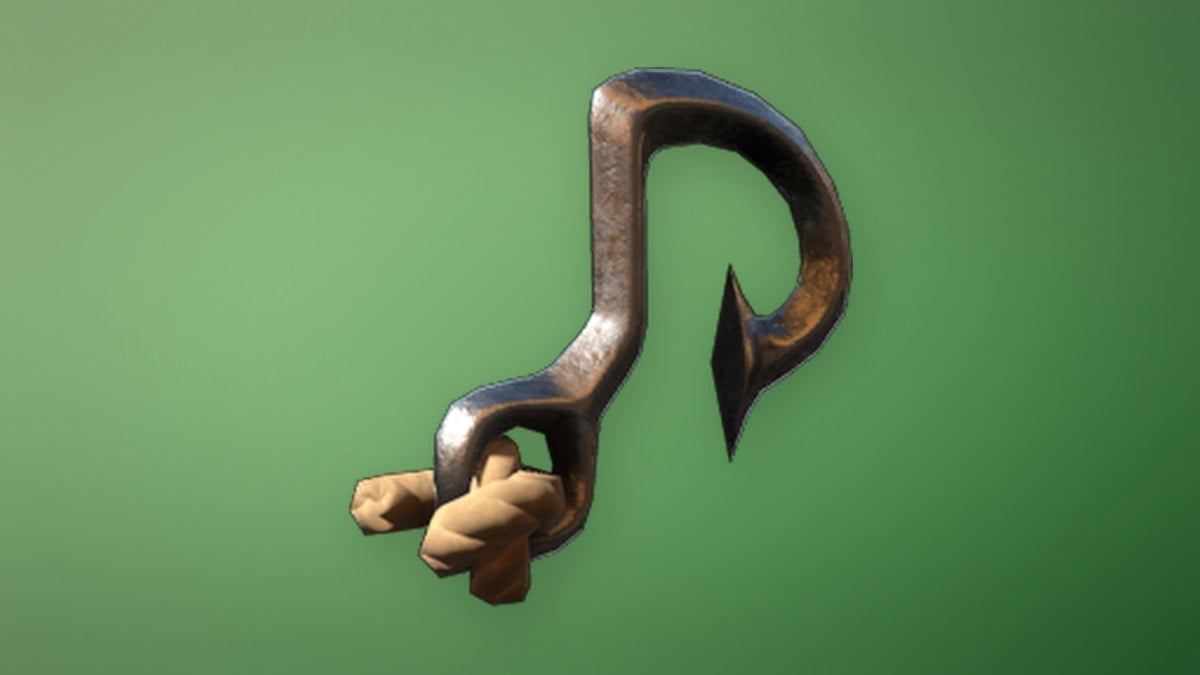
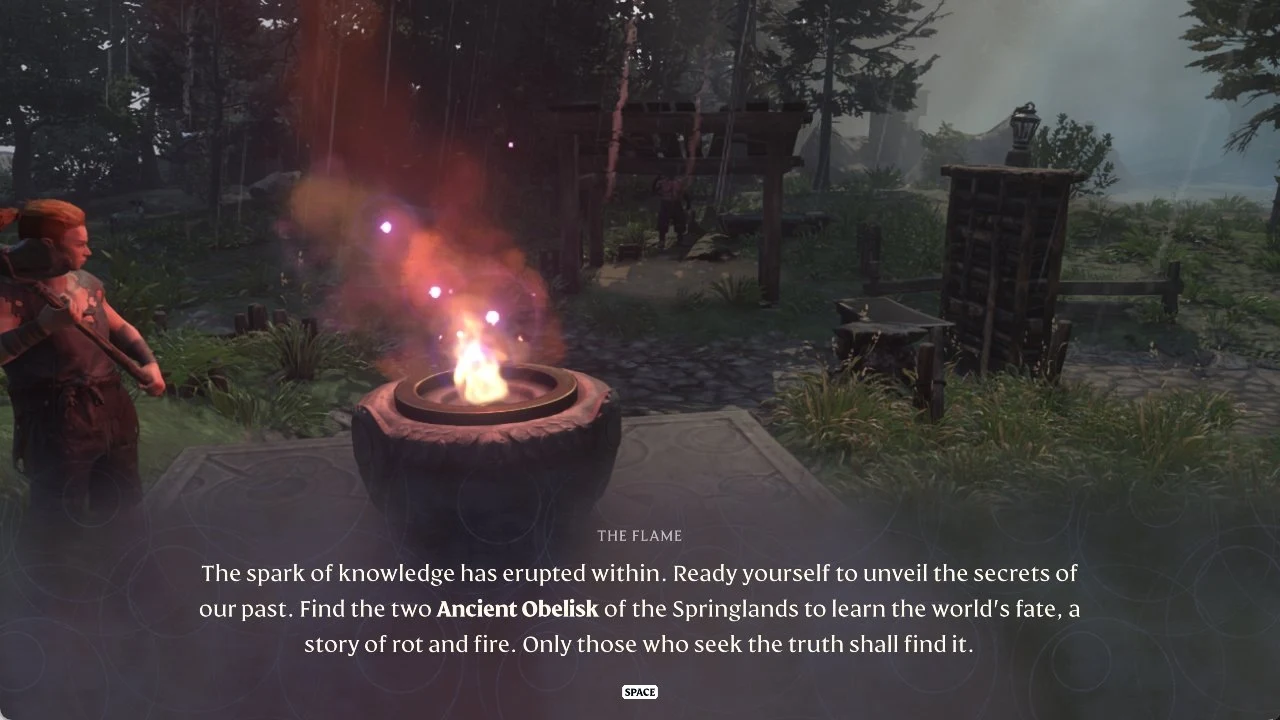
The Ancient Vault — Hunter in Enshrouded’s Springlands has a barred gate near the entrance with three dark rune lights above it. Each light is tied to its own switch somewhere in the entrance hall. Activate all three and the gate opens to a room with an ornate chest. Two of the switches are easy to find. The third sits above the vault’s front door, and you can only reach it with the Grappling Hook.
Quick answer: Shoot the switch on the pillar facing the gate. Press the switch in the side room that opens. Then grapple from a brazier to the ledge above the main entrance and press the third switch.
Gear for the Ancient Vault — Hunter gate puzzle
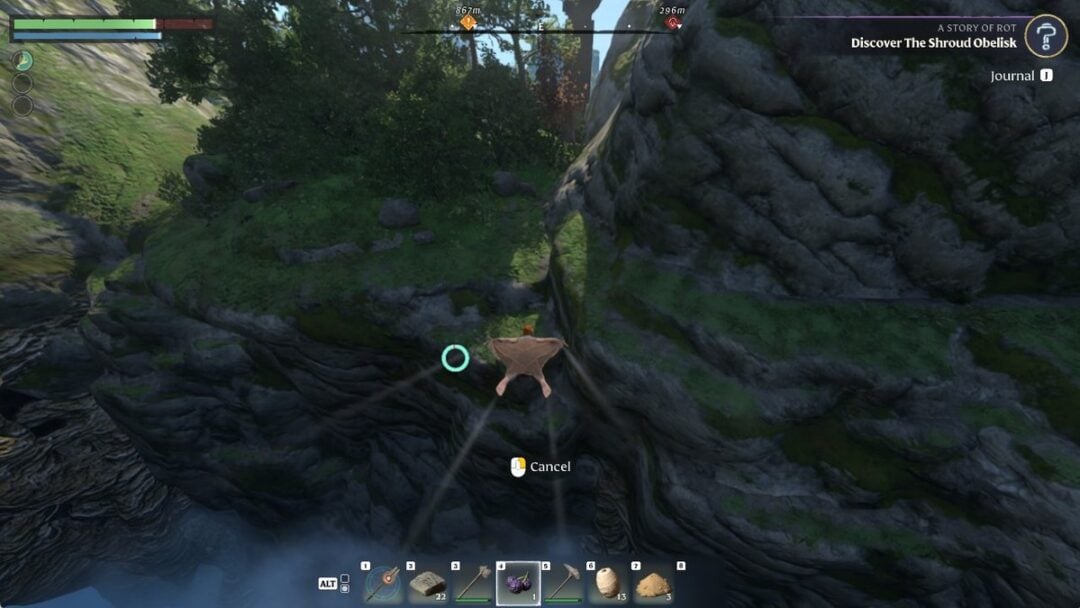
Opening the gate requires no special skills, but you’ll need two tools. Hit the first switch from a distance; use a grapple to reach the third. A Glider is optional. It lets you land safely from the upper ledge and avoid fall damage and floor traps if a jump goes wrong.
| Item | Used for | Key value | Crafted at |
|---|---|---|---|
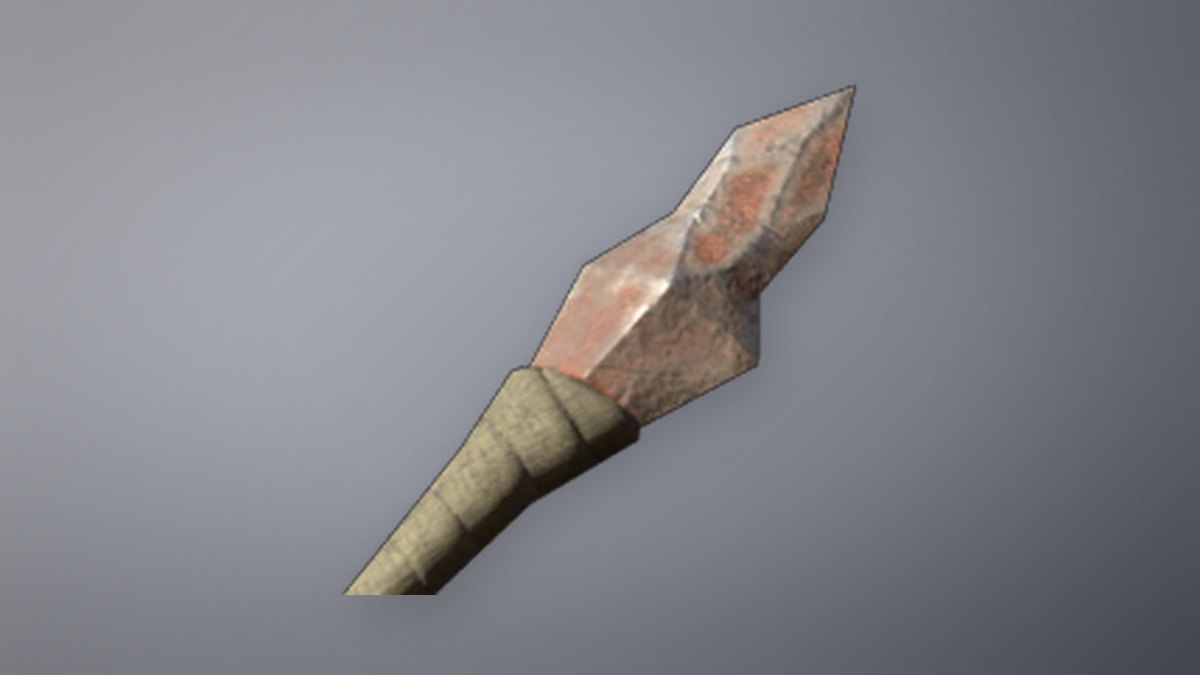
| Bow with Scrap Arrows (or a spell) | Switch 1 | 12 damage per arrow | Hunter (arrows, 50 per craft) |
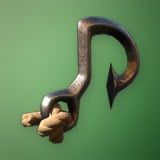 Grappling Hook | Switch 3 | 40 stamina per use | Workbench |
 Glider | Getting down safely | 4 stamina per second | Workbench |
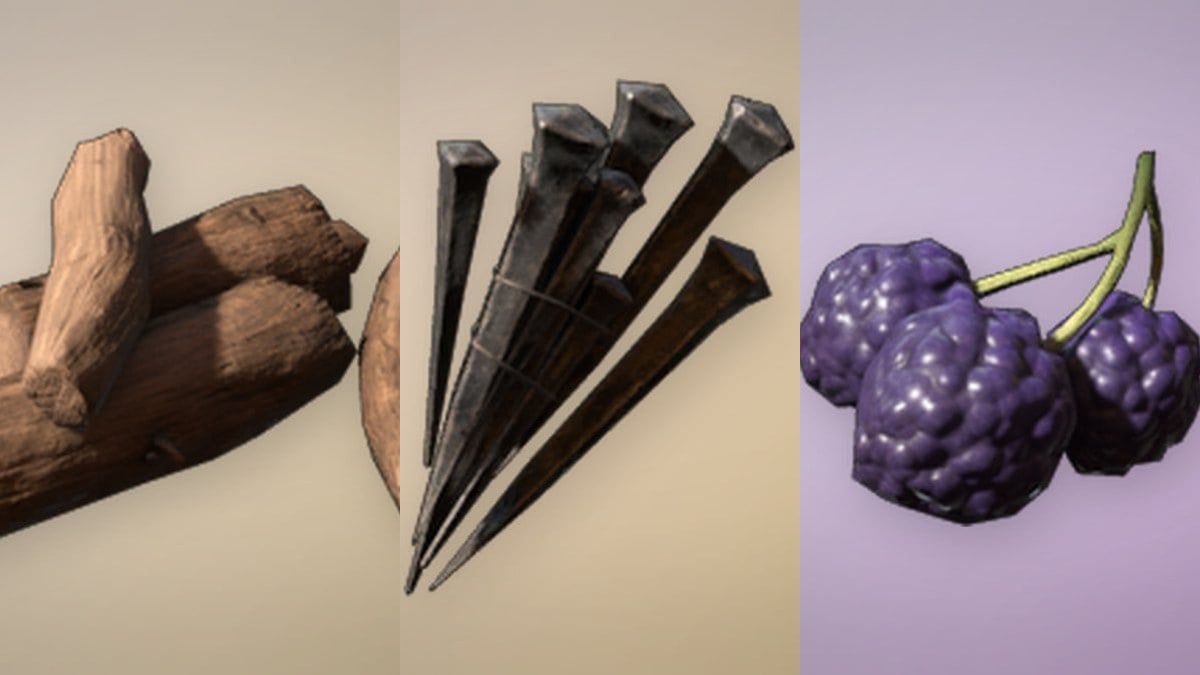
Any ranged attack works on the first switch. Scrap Arrows split their 12 damage evenly between Cutting and Piercing, and they stack to 500. The Grappling Hook costs 40 stamina per use, so start the swing to the third switch with a full stamina bar.
Ancient Vault — Hunter location and where the gate is
The vault is east of Braelyn Bridge in the Springlands. The fastest route starts at the Springlands Ancient Spire on the western side of the map. Glide due east from the spire and you’ll land about halfway there. Keep walking east on foot past the tower until the temple entrance comes into view.
Ascend the stone stairway into the temple, then pass through the entrance corridor where electric orb traps are set. At the top of the first short stair section, turn left to spot the barred gate, positioned just left of the main entrance with three dark rune indicators above it.
All 3 button locations for the locked gate
| Switch | Location | How to trigger |
|---|---|---|
| 1 | Pillar facing the gate, right of the main stairs | Arrow or spell |
| 2 | Small room that opens behind that pillar | Press (interact) |
| 3 | Ledge above the vault’s main entrance | Grapple up, then press |
Switch 1: The target on the pillar
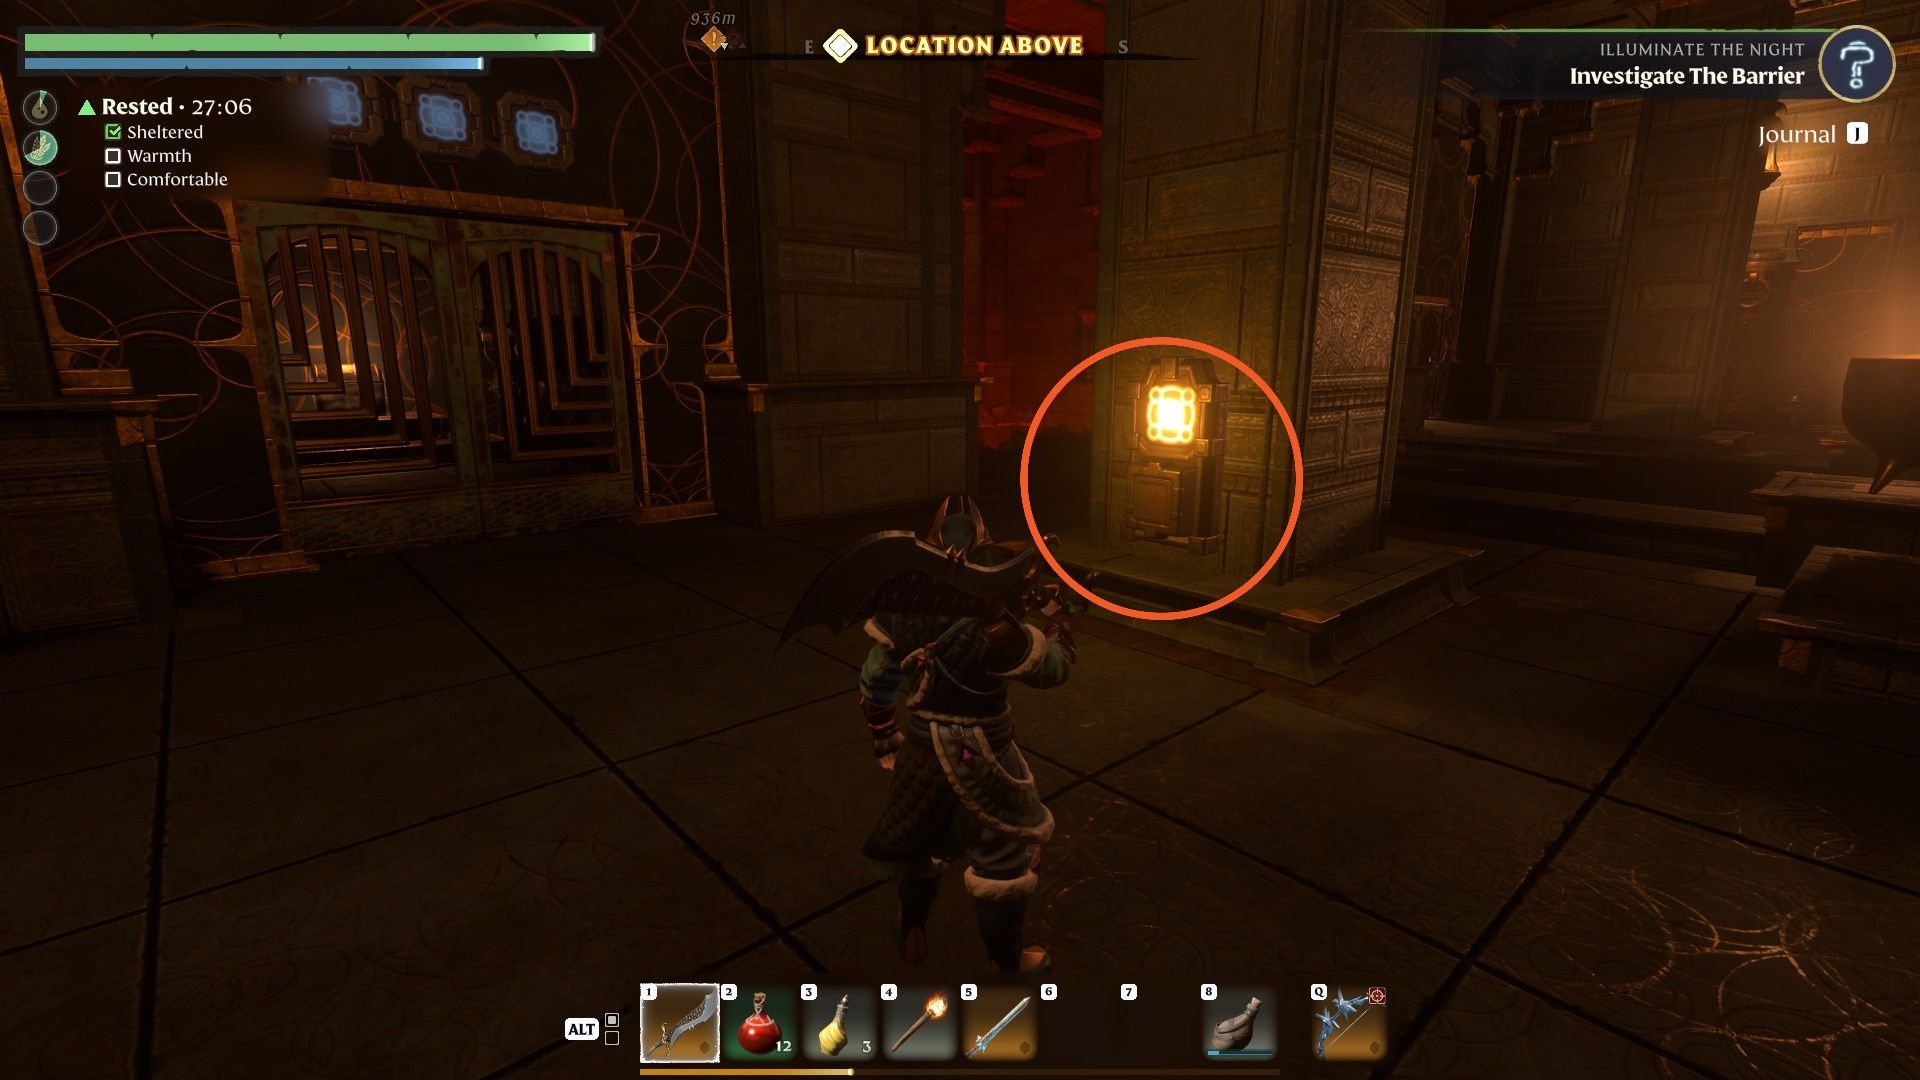
Stand in front of the gate and turn to face the opposite side of the hall, on the right of the stairs you just climbed. A glowing circular target is mounted high on a pillar there. The hall is dim, so it’s easy to miss even though it’s directly in view. Hit it with an arrow or a spell. That lights the first rune and opens a metal door on the lower level next to the pillar.
Switch 2: The wall switch in the side room
Walk toward the pillar you just shot and go through the doorway that opened on the left. Inside the small room, the glowing blue switch is on the right-hand wall. Press it to light the second rune. Smash the pots and containers in the room on your way out, since they can drop extra resources and consumables.
Switch 3: The ledge above the main entrance
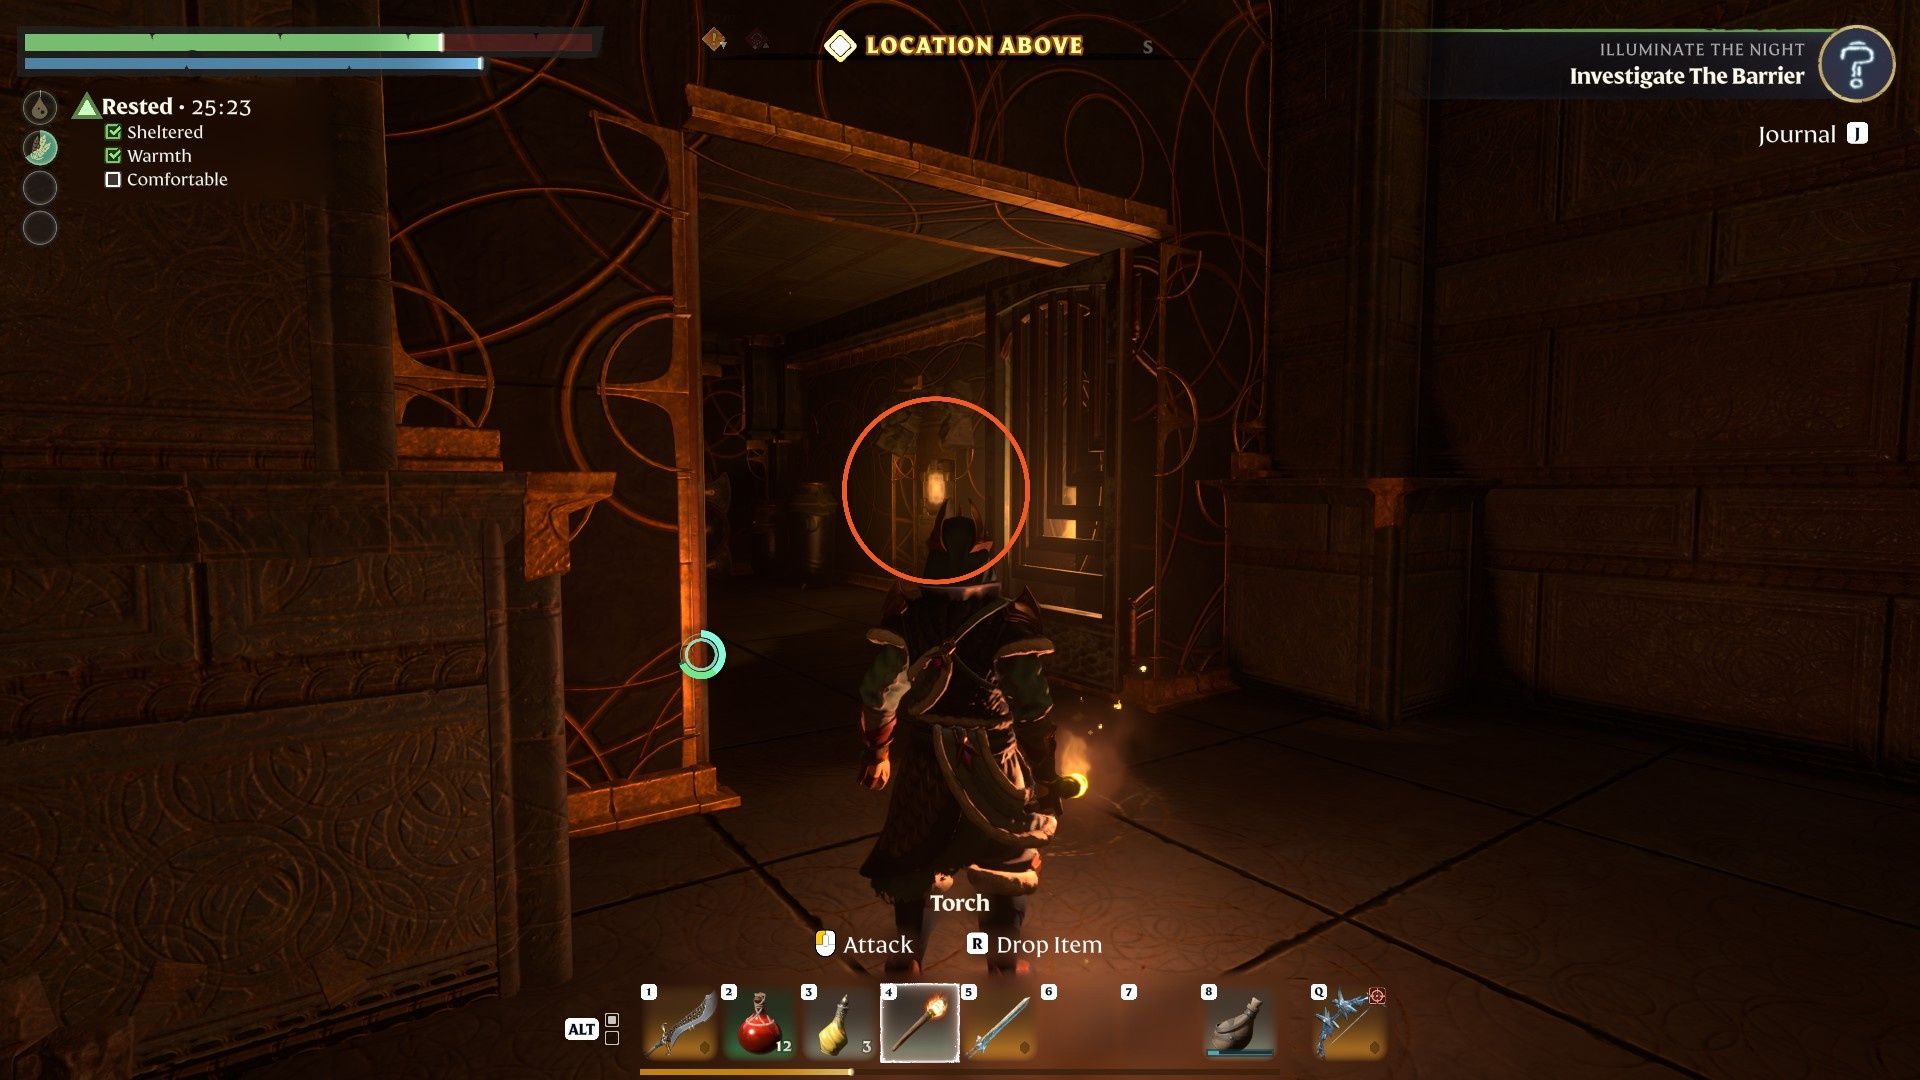
Return to the landing at the top of the first stair flight and turn back toward the entrance. Above the vault’s main doorway, a small ledge holds the final glowing switch. A shot won’t activate it; climb up and press it instead. A ceiling grapple point hangs between the stairs and ledge, and climbable metal lattice covers each side of the ledge.
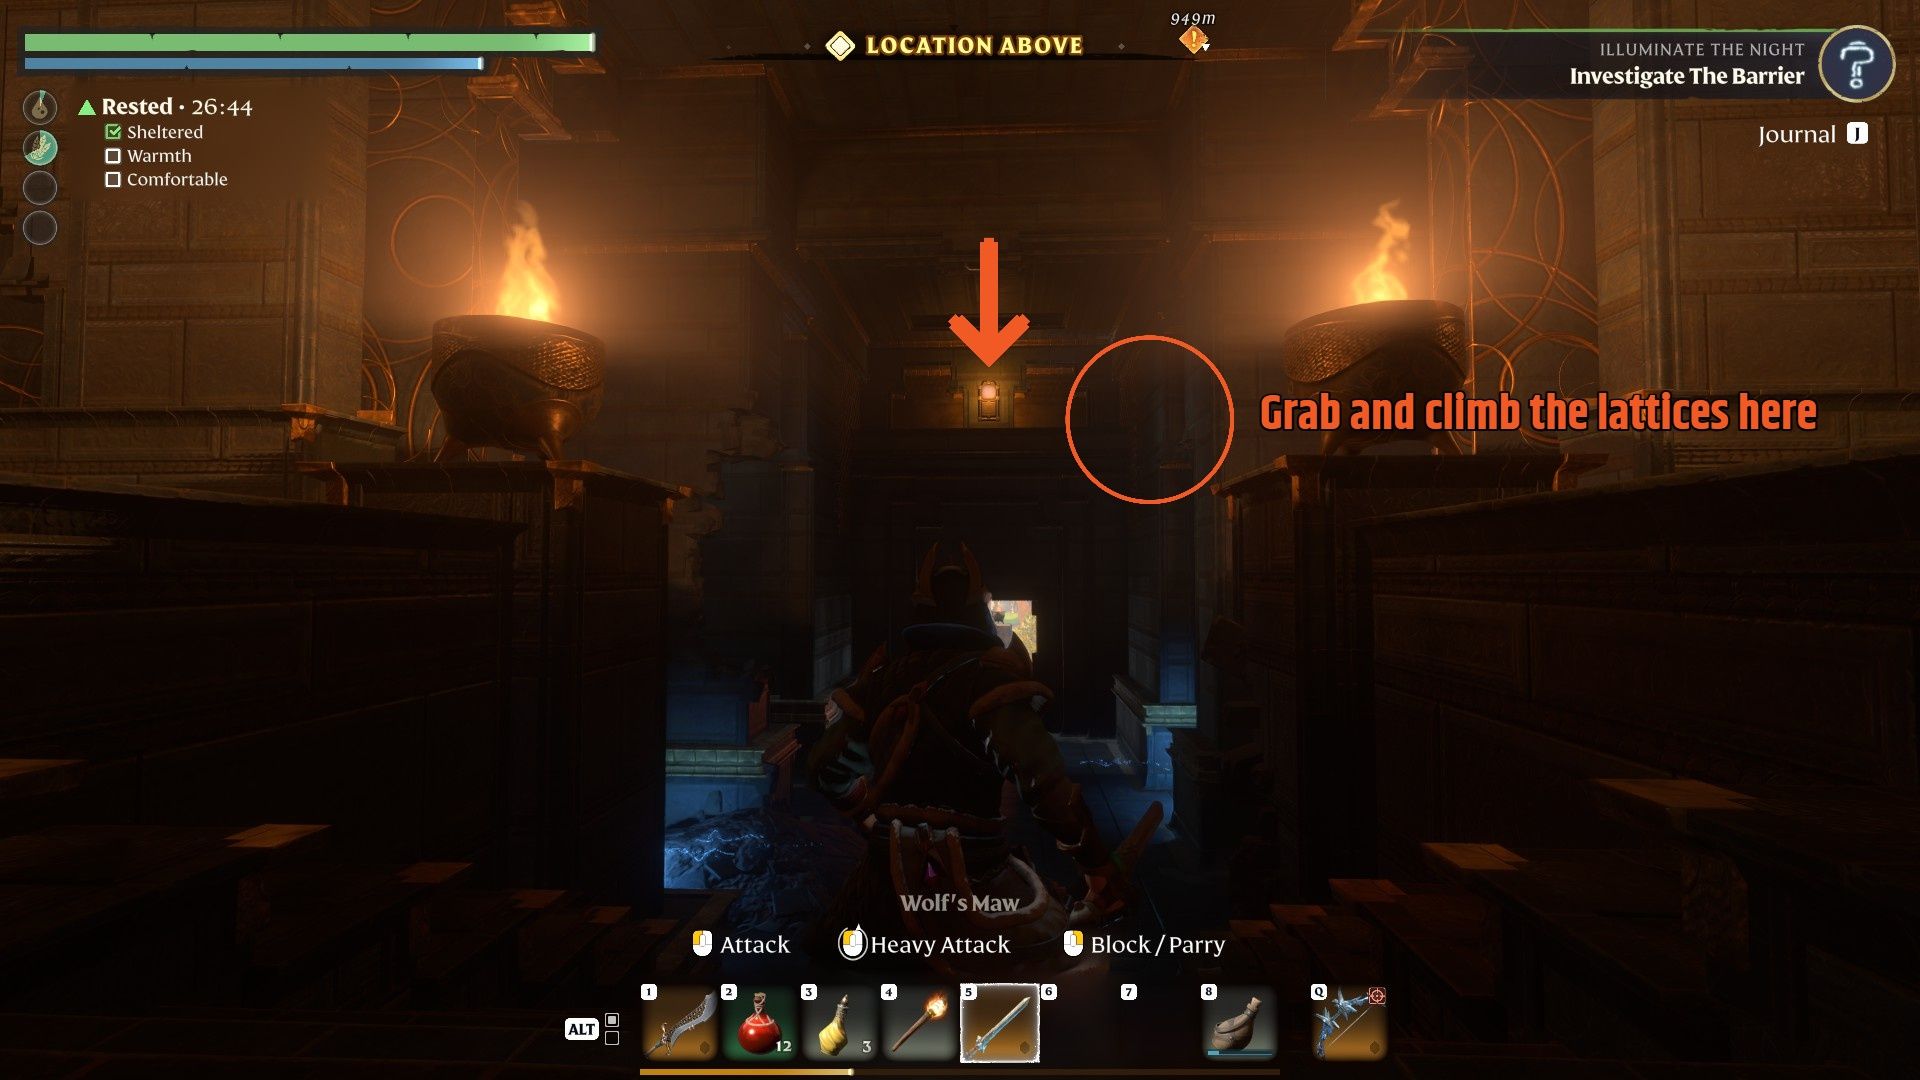
The electric traps are directly below this ledge. If you miss the catch or drop down afterward, open the Glider to avoid fall damage and steer away from the traps.
How to confirm the locked gate is open
Glide down from the ledge and walk back to the gate. Once all three switches are triggered, all three rune indicators above the gate glow and the bars are raised, so you can walk straight into the chamber. If only one or two lights look lit, move a bit or adjust the camera. From some angles, a lit rune is hidden from view.
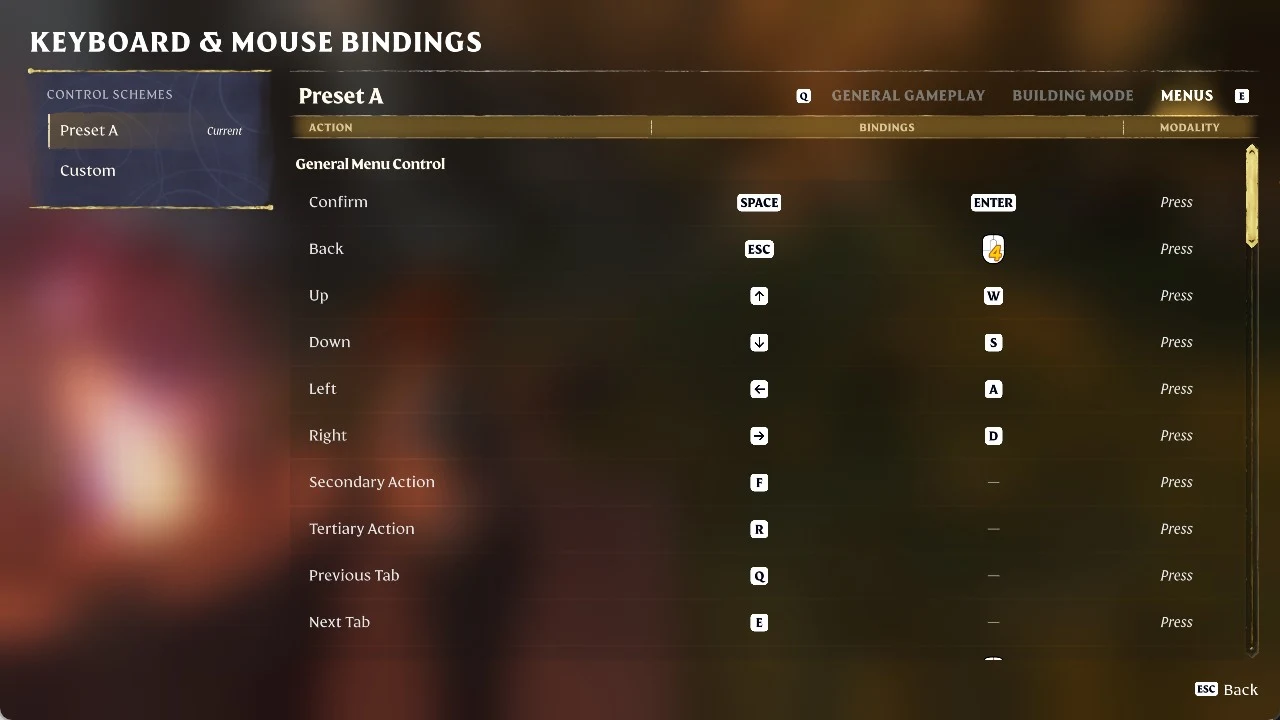
Locked gate chest rewards
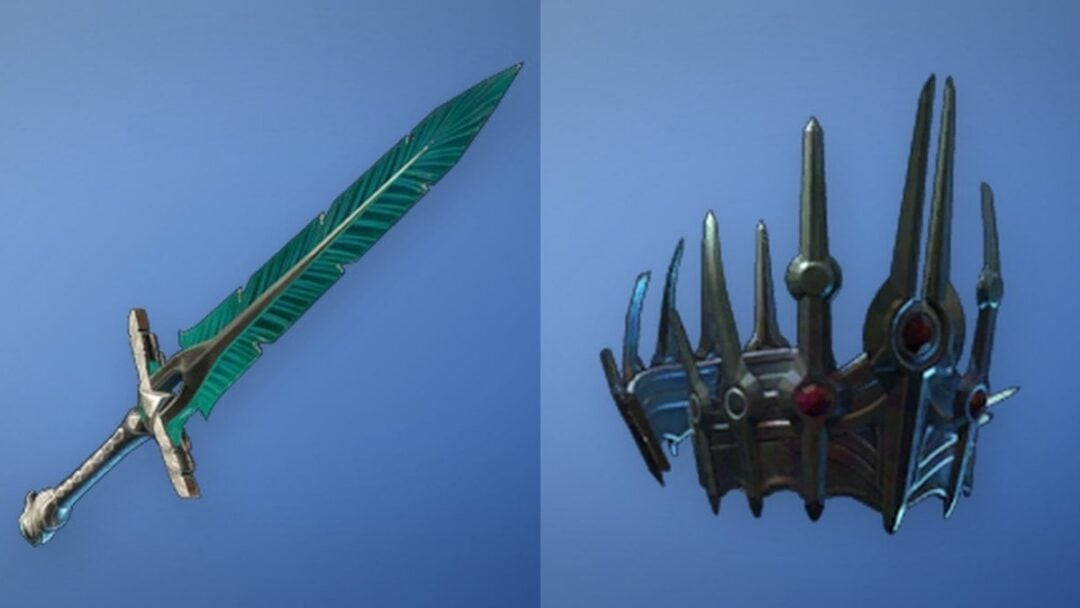
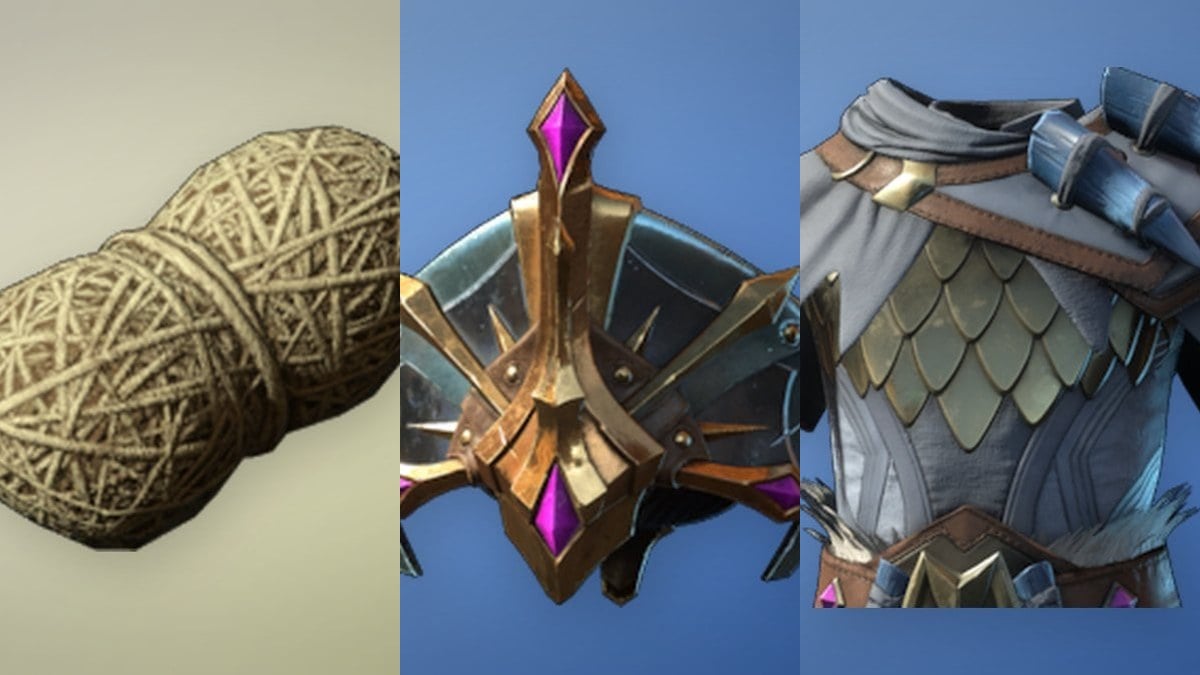
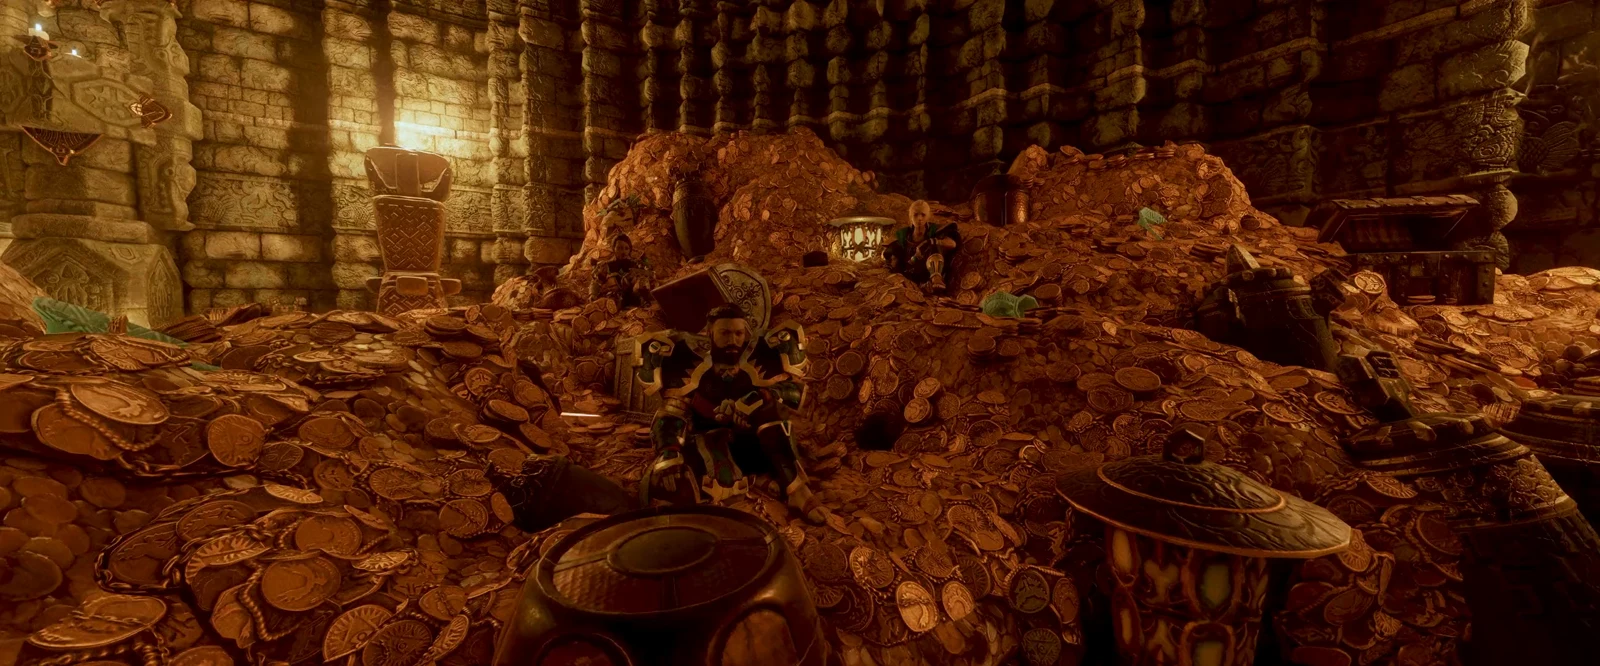
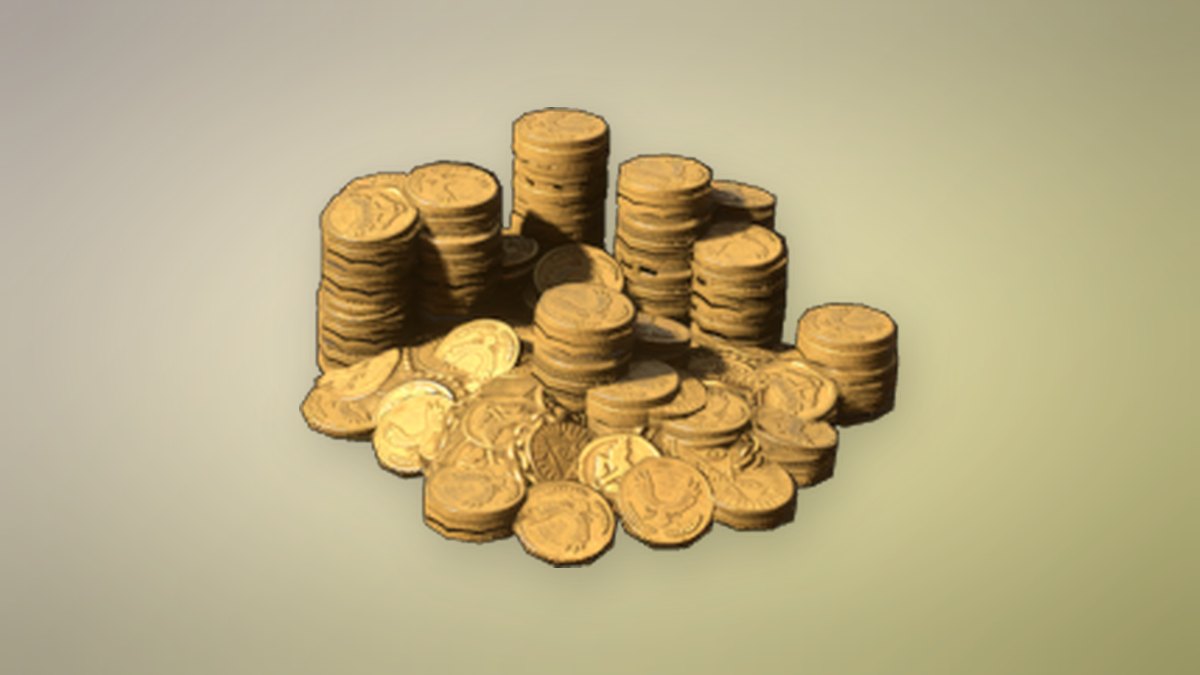
The ornate chest has random contents, so two players opening it won’t necessarily get the same thing. Known drops include a pile of Gold Coins with a Legendary Barbarian Greatsword, a Scout Chest armor piece, and spell charges. For gear you can get this early, any of them is worth the detour.
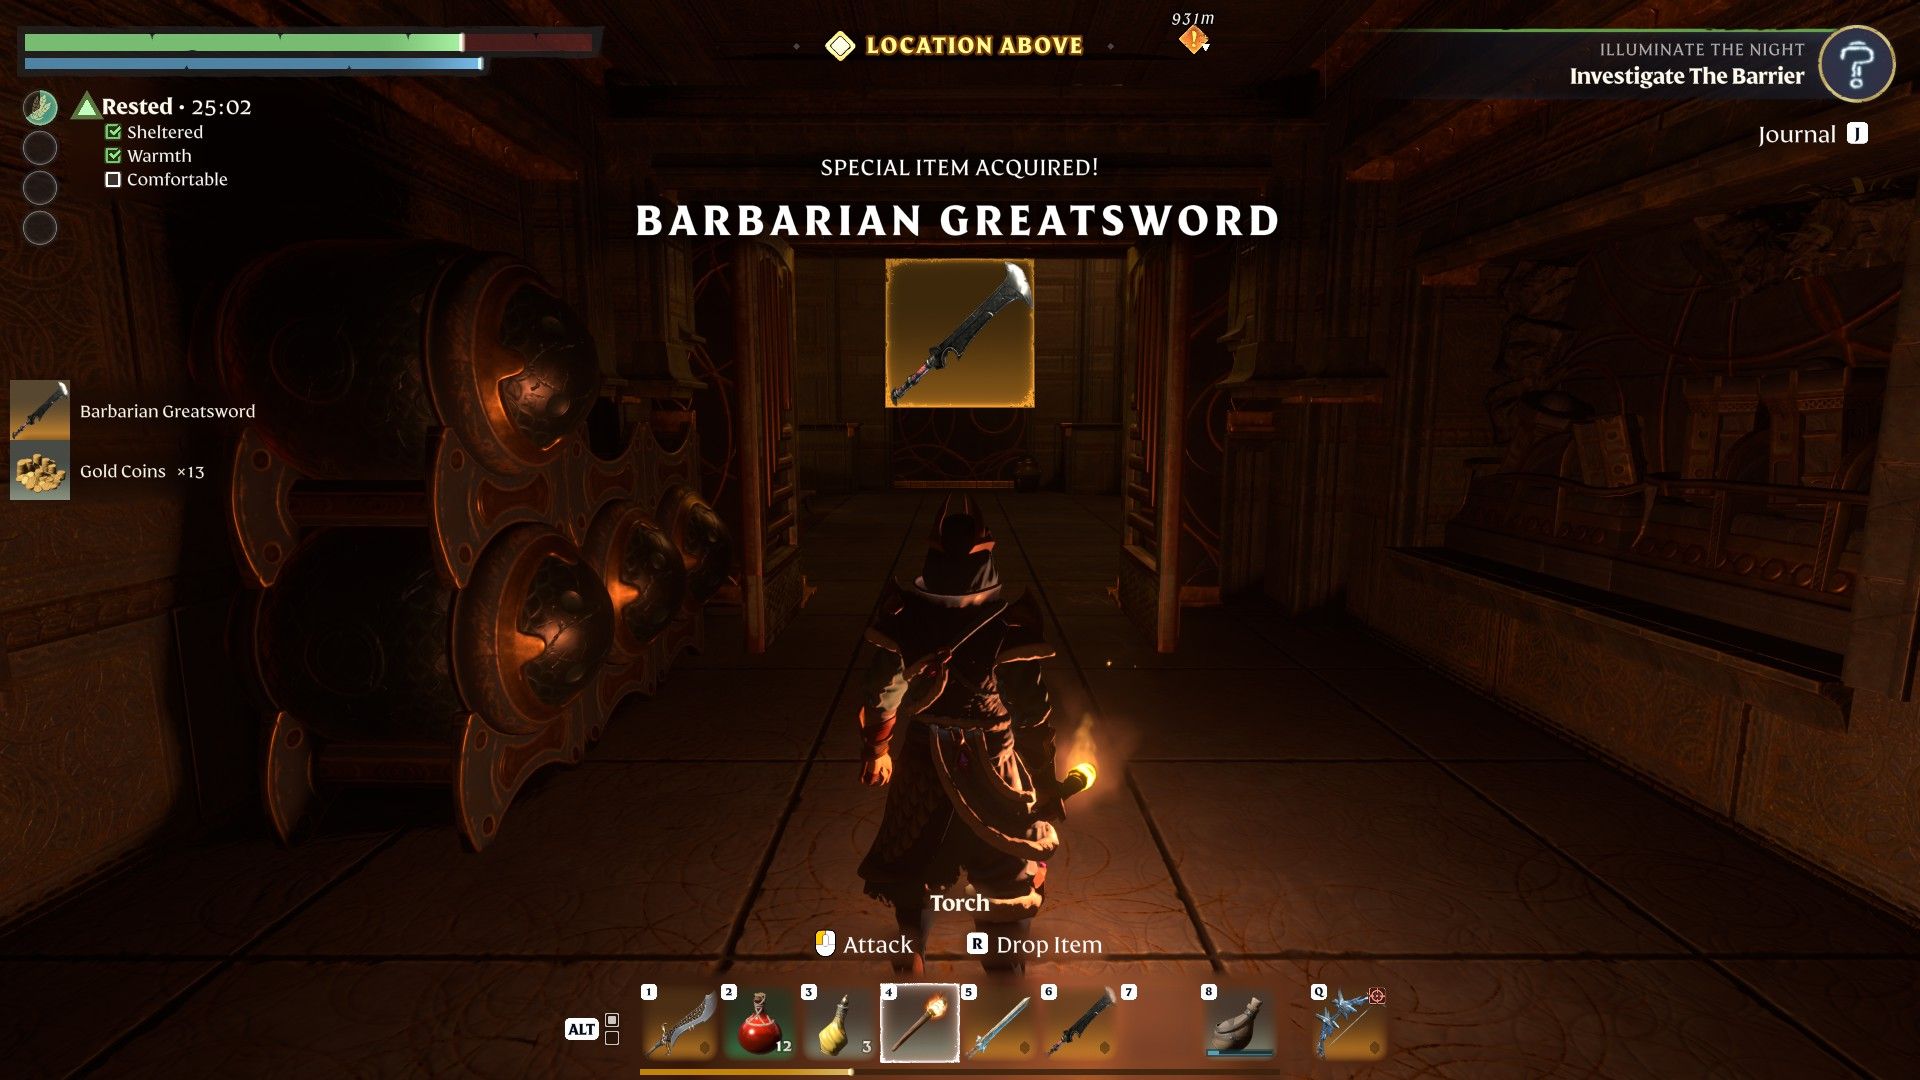
Barbarian Greatsword
| Stat | Value |
|---|---|
| Rarity / class | Legendary / Warrior |
| Damage (level 1) | 16 Cutting |
| Damage (level 55) | 138 |
| Attack speed | 0.774 s |
| Parry Power | 1 |
| Perks | Renewal 1, 4% Critical Strike Chance |
Barbarian Greatsword is a two-handed greatsword that covers item levels 1 to 55. It isn’t one of the game’s strongest weapons, but it’s a big upgrade for a character this early in the game. Greatswords swing slowly and hit hard. They pair well with Barbarian skills like Merciless Strike, which lets you land a heavy finisher on stunned enemies.
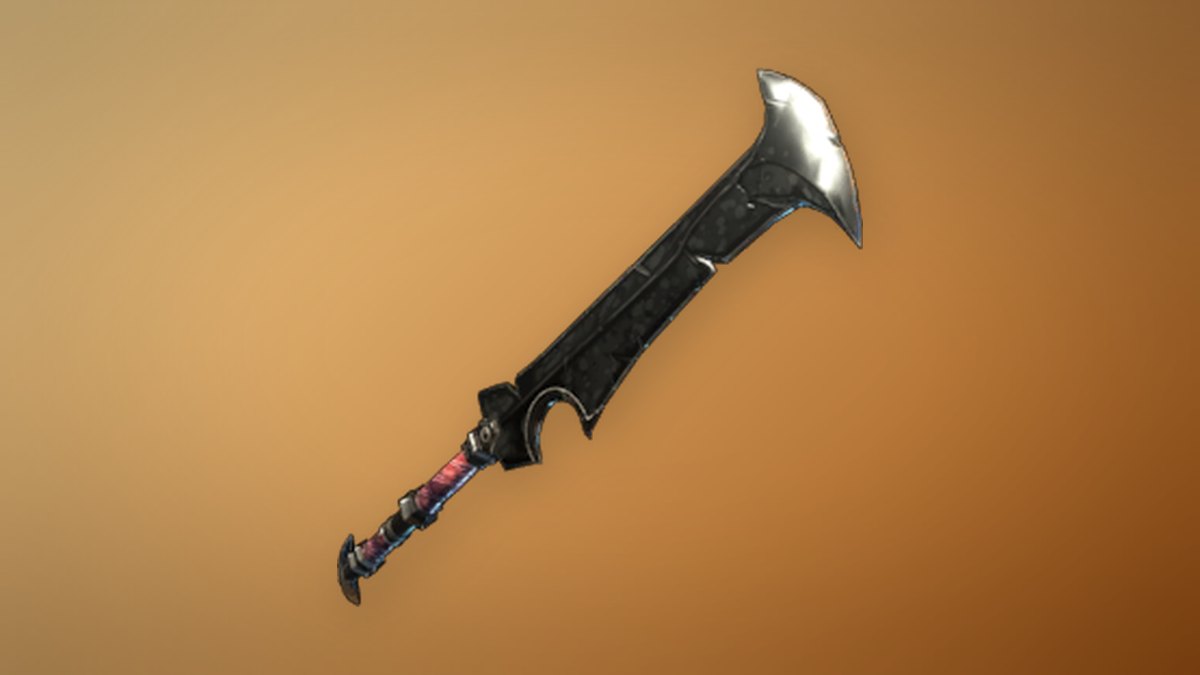
Adding gems to its sockets boosts the sword. A Gem of Bleeding causes Critical Strikes that deal Cutting damage to apply Bleeding, dealing 8 Cutting damage each second for 6 seconds. This pairs well with the sword’s built-in critical chance and skills that increase it further.
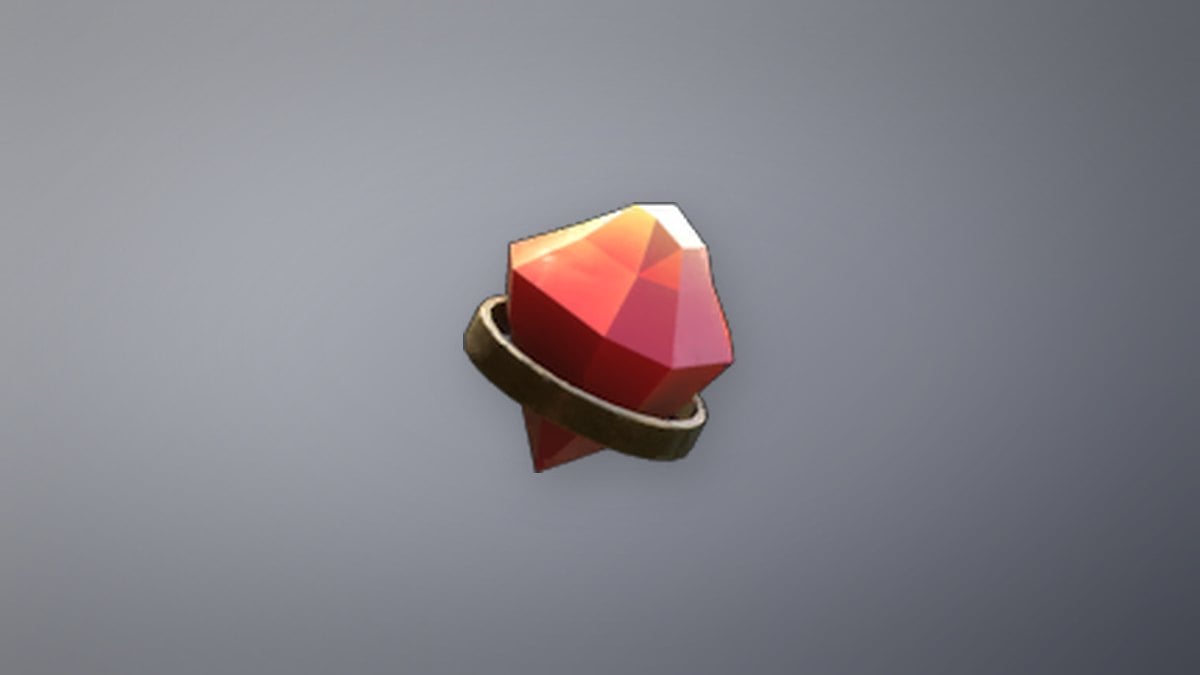
Gold Coins stack to 1,000 per slot, so even a large payout from the chest fits in one slot.
Scout Chest
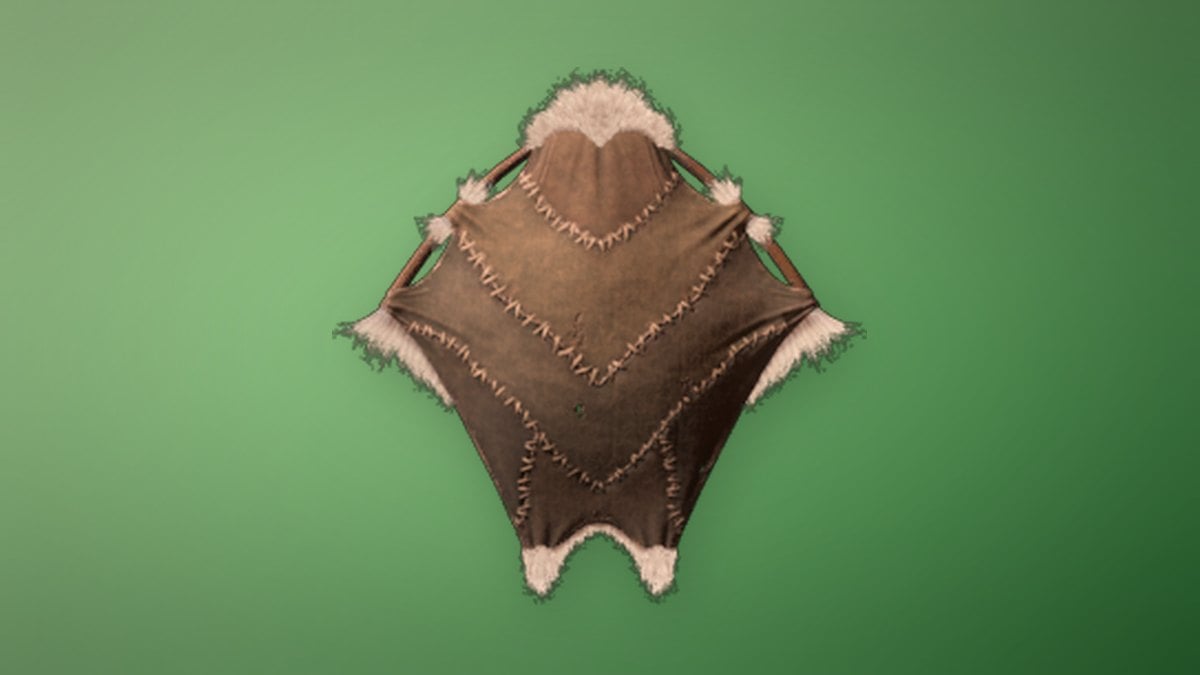
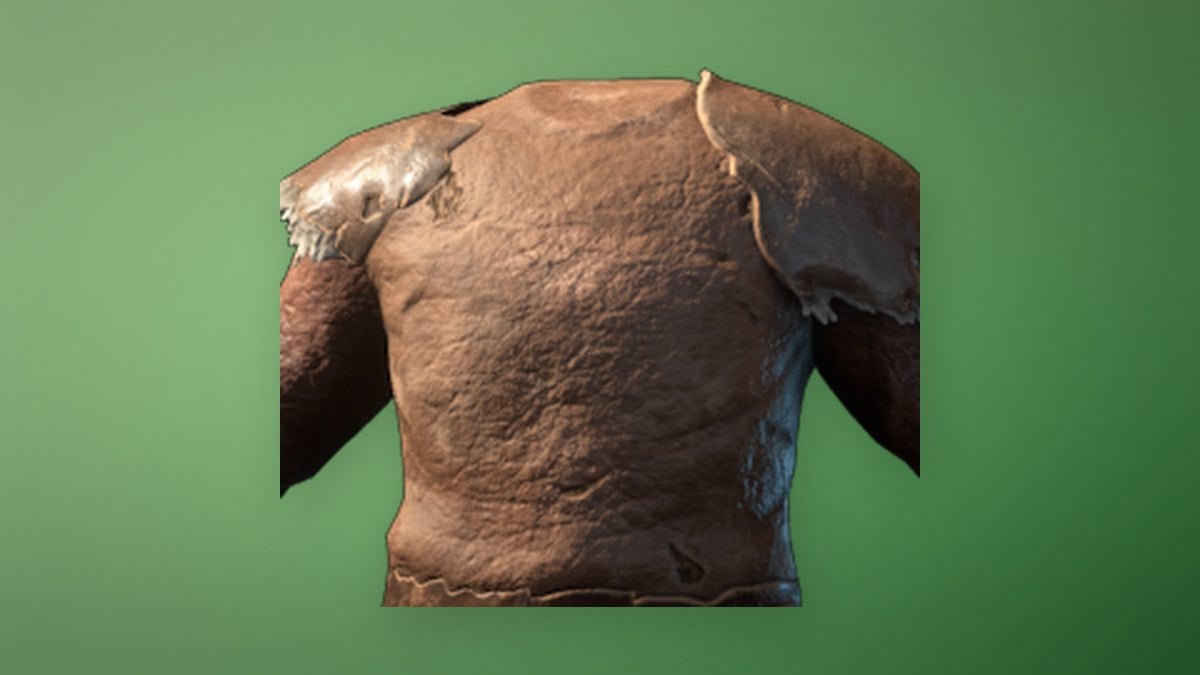
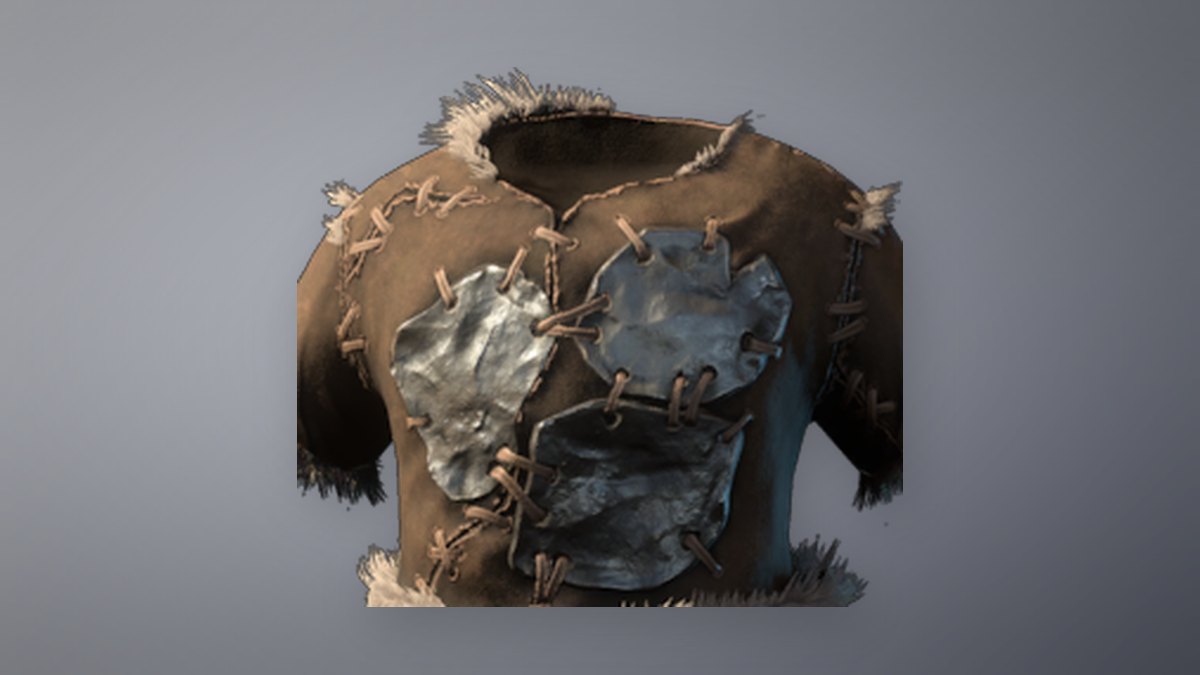
The Scout Chest is an Uncommon Ranger chest piece at item level 5. Most players reach the vault wearing a Fur Chest, so here’s how the two compare.
| Item | Physical / Magical Armor | Item level | Perks and bonuses |
|---|---|---|---|
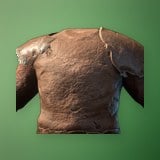 Scout Chest | 12 / 12 | 5 | +12 Stamina, Ranger 1, Stamina 4, Vitality Surge 1 |
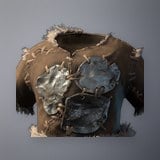 Fur Chest | 13 / 7 | 4 | Health 20, Veteran 1, Blood Rage 1 |
Scout Chest gives up one point of Physical Armor in exchange for much more Magical Armor and a stamina pool better suited to bow builds. If the chest gives you something else, you can still get the Scout Chest later, since the Hunter crafts it once you rescue her.
The Hunter and the second chest in the same vault
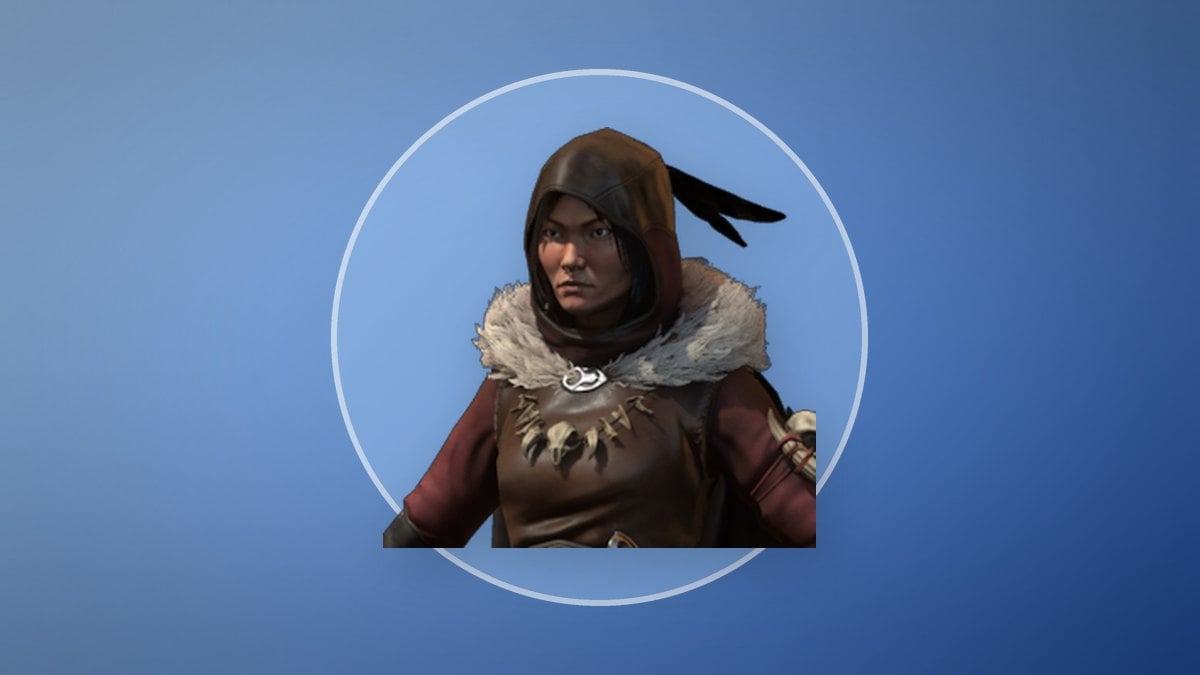
The locked gate isn’t the only reason to visit. Athalan Skree, the Hunter, sleeps on the upper floor. To reach her, pass the lightning traps, use the ceiling bar to grapple over the lava pit, and take either staircase up to the second floor. Her chamber is behind the large door in the middle of the room. Awaken her at the pod to complete Hunter Becomes The Hunted, and the quest moves on to Summon The Hunter. She crafts armor, arrows, and survival gear from 275 recipes.
A second treasure chest is hidden higher up in the vault. From the Hunter’s room, grapple up into a hidden room, follow the path around and drop down, then open the small door on your right to find the chest. With both chests opened and the Hunter freed, there’s nothing left to do in the vault.