The Charge Blade has always been the weapon that asks you to do bookkeeping mid-hunt. Phials, shield charge, sword charge, and a discharge you have to earn. In Monster Hunter Wilds: Ascendance, the Boost Bracer removes a large chunk of that setup by loading phials instantly and turning the weapon’s slowest commitments into follow-ups you can throw out on reaction.
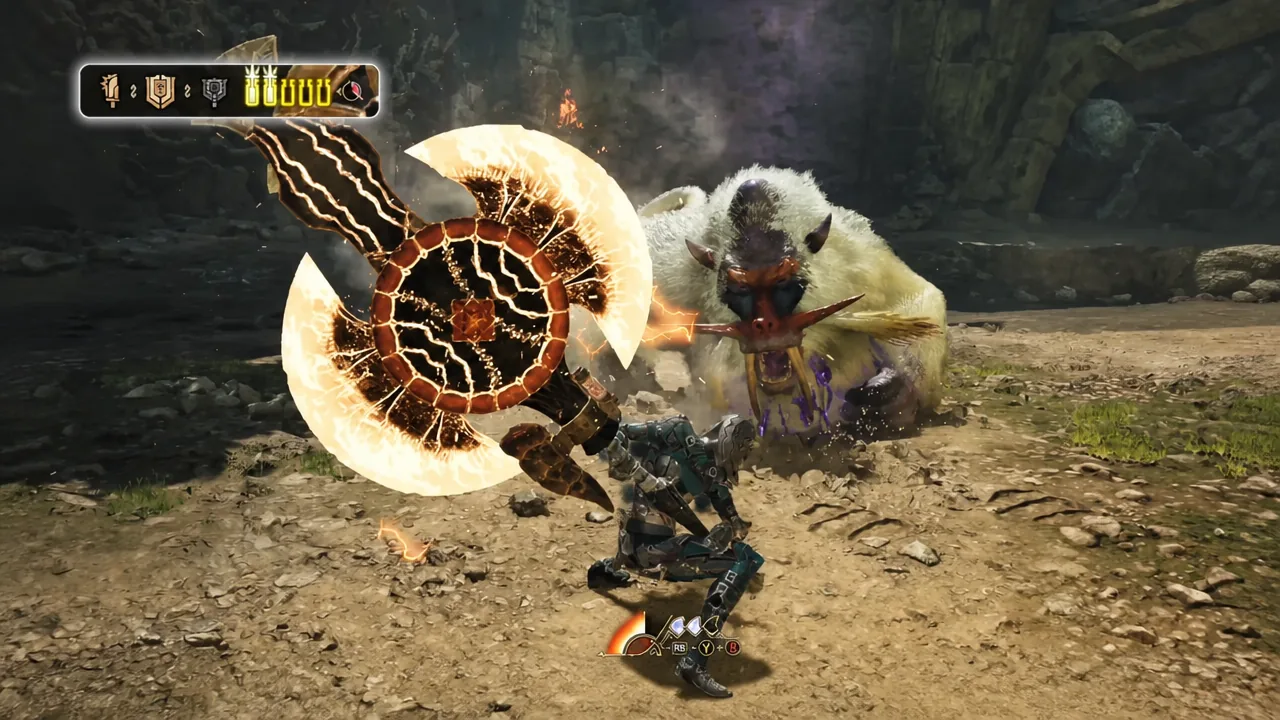
Quick answer: Press R1 + Triangle + Circle (RB + Y + A on Xbox) to perform a Boost Driver. It activates Boost instantly and charges your phials — red from the Sword Mode version, yellow from the Axe Mode version.
Every new Charge Blade action from the Boost Bracer
The Boost Bracer adds five distinct things to the Charge Blade. Two of them are entry points into Boost, and three only exist while Boost is running.
| Action | What it does |
|---|---|
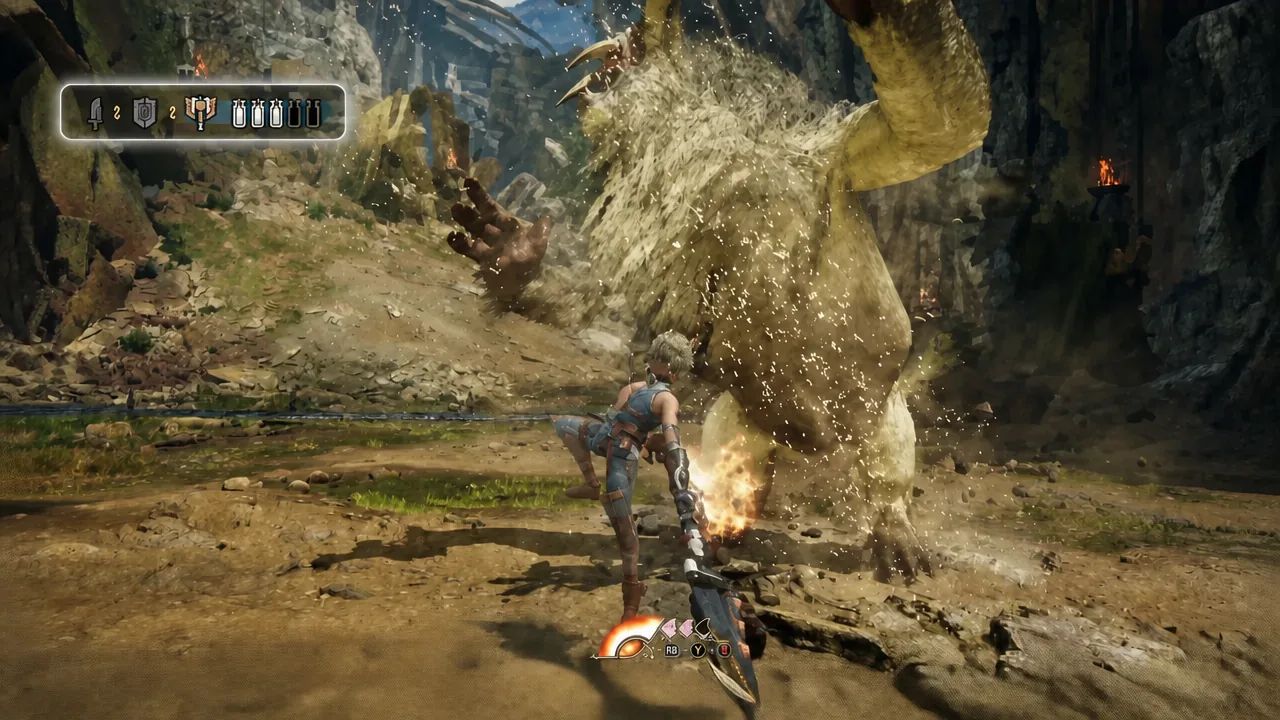
| Sword Mode Boost Driver | A forward leaping strike that charges phials to red. |
| Axe Mode Boost Driver | A driver attack with a Guard Point built in, charging phials to yellow. |
| Charged Spinning Slash | Sword Mode only, while boosted. Spends phials to power up the blade, similar to the Energy Blade. |
| Offset AED | Lets the Amped Elemental Discharge function as an Offset Attack. |
| Empowered SAED | A shotgun-style Super Amped Elemental Discharge with wider spread and longer reach. |
Capcom’s own summary of the weapon under Boost is short and accurate: earth-shattering elemental discharge, energy-enhanced sword blows, and instantaneous phial charges.
How to trigger Boost with a Boost Driver
You do not have to stop and activate Boost from a menu or a dedicated stance. Every one of the 14 weapons has a Boost Driver, and the Charge Blade has two — one per mode. Pressing R1 + Triangle + Circle (RB + Y + A on Xbox) fires the driver for whichever mode you are currently in, and Boost turns on as part of the attack.
Boost Drivers run on a charge system rather than a cooldown bar you passively wait on. The Boost gauge sits at the bottom center of the screen, and each driver spends a charge. The system behaves much like Wirebugs did in Monster Hunter Rise, so you should treat charges as a resource to spend on openings, not something to burn the moment it refills. Certain weapon actions refund a portion of the gauge.
Note: energy for the bracer builds by staying aggressive. Attacking keeps the system fed, so a passive, guard-only playstyle starves the loop before it starts.
Instant phial charging: Sword Mode vs Axe Mode Boost Driver
This is the change that matters most for the weapon. The two Boost Drivers do not just start Boost — they fill your phials on the spot, and which driver you use decides what colour you get.
The Sword Mode Boost Driver sends the hunter lunging forward with a strike and charges the phials to red. It doubles as a gap closer, so you can convert a repositioning move into a full phial load instead of grinding out charged slashes first.

The Axe Mode Boost Driver charges phials to yellow and carries a Guard Point during the animation. That makes it usable as a defensive option when a monster commits to an attack while you are stuck in the heavier mode, which is normally where the Charge Blade feels most exposed.
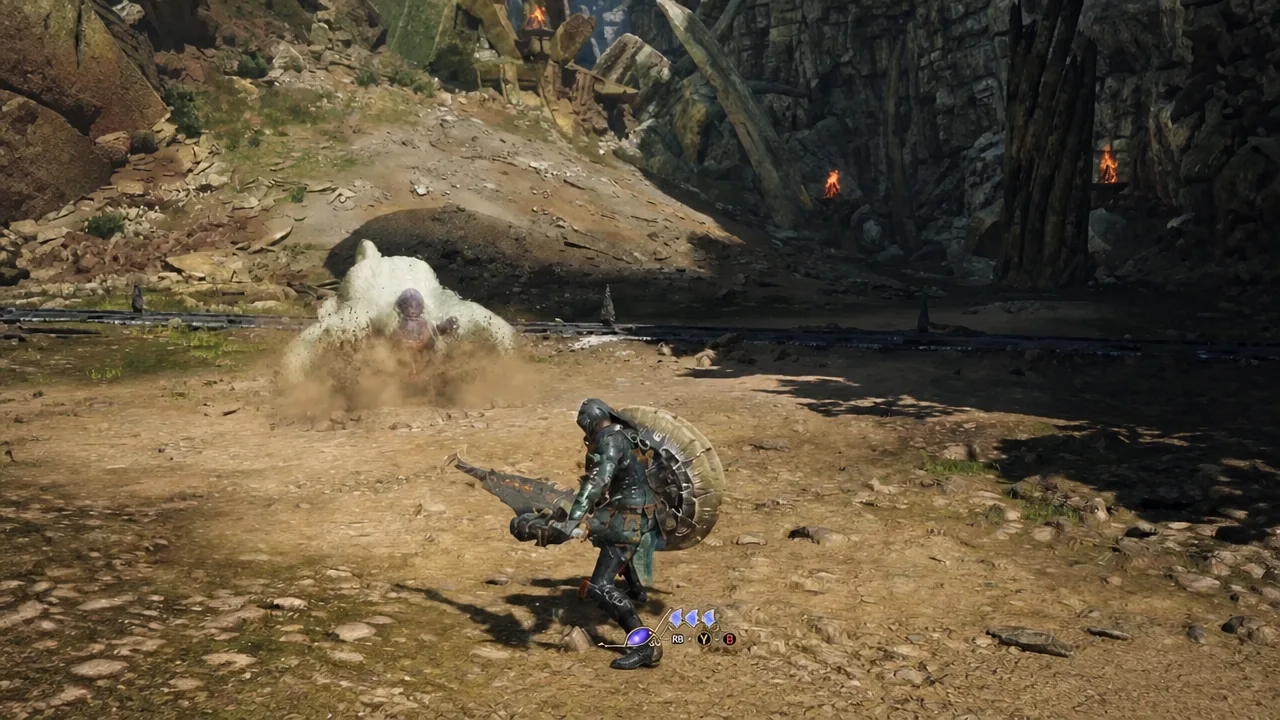
Charged Spinning Slash and boosted sword blows
Once Boost is running and you are in Sword Mode, you can spend phials on the Charged Spinning Slash. Instead of saving that stored energy for a discharge, the sword itself gets wrapped in energy and swings with extended reach — close in feel to the Energy Blade from Monster Hunter Generations. It gives the Charge Blade a sustained damage option that does not require you to morph into Axe Mode and eat the recovery frames.
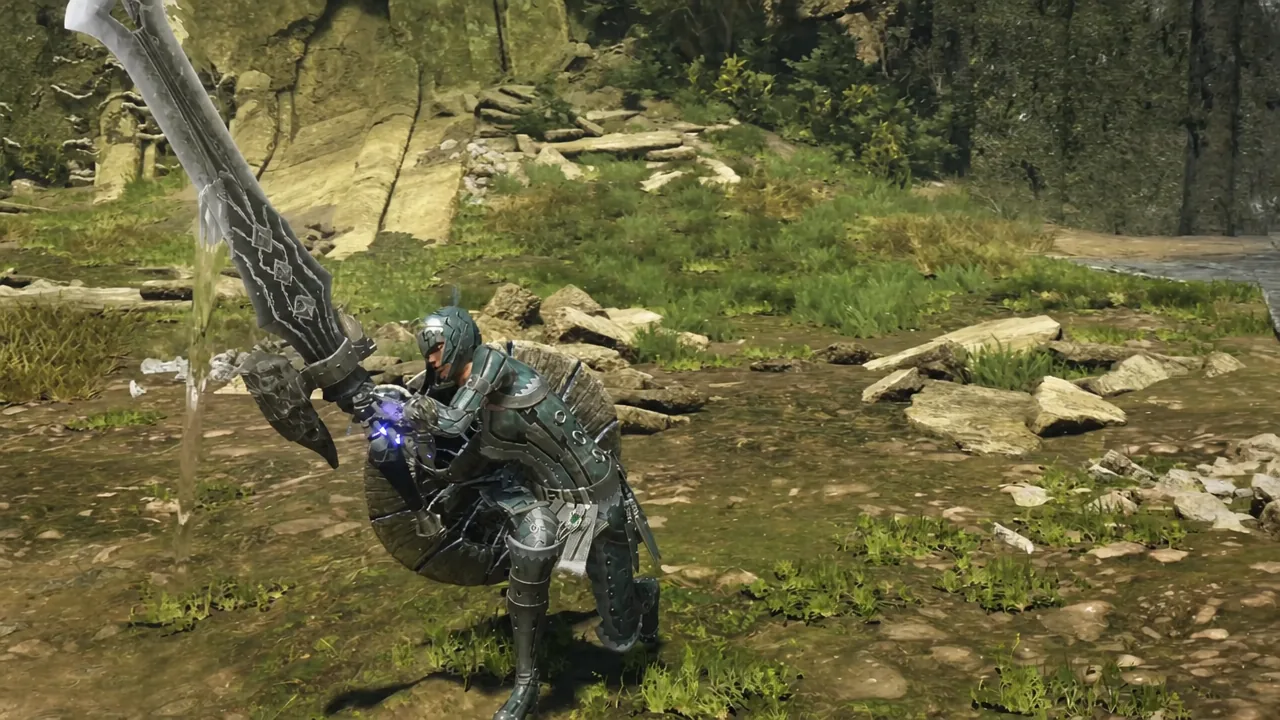
Boost is temporary. Enhanced versions of these actions are available for the duration of the Boost window, tracked by an on-screen timer, and revert once it runs out.
Offset AED and the shotgun-style SAED
The discharge side of the weapon gets two changes while boosted. The Amped Elemental Discharge gains Offset Attack properties, meaning your damage move can also be your counter to an incoming monster attack. That is a meaningful shift for a weapon whose big hits normally have to be scheduled around a knockdown or a long recovery window.
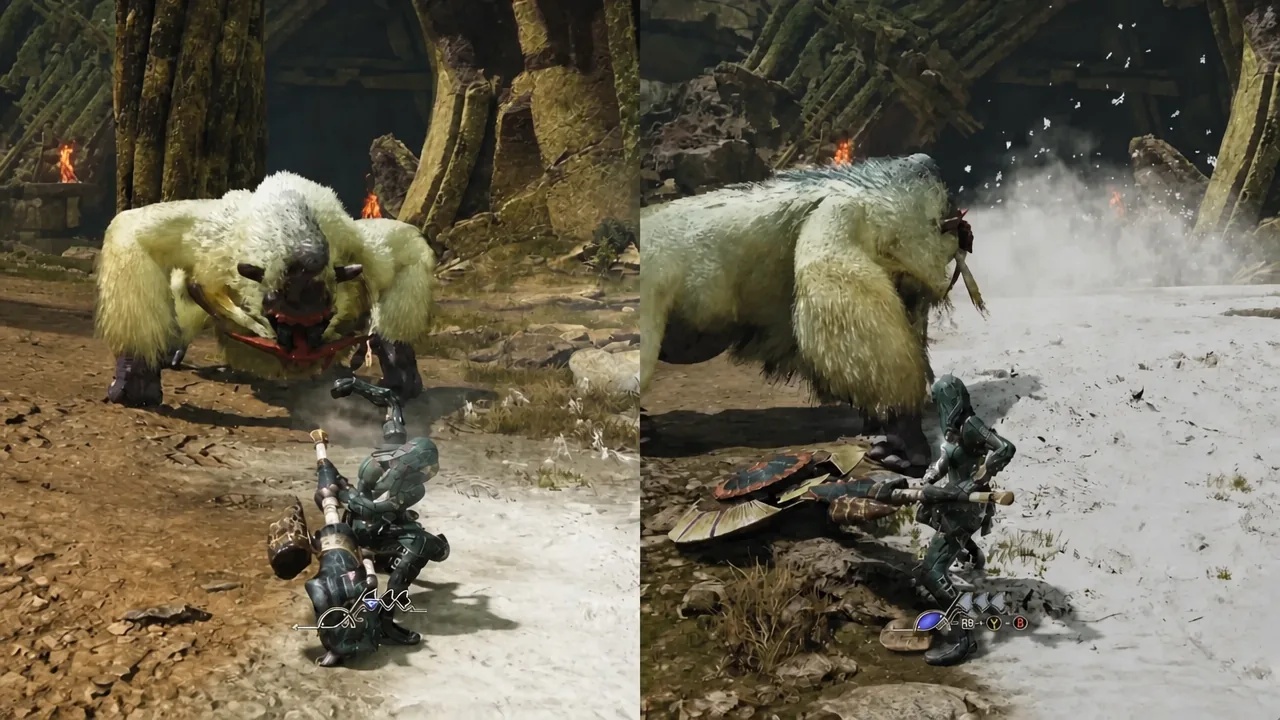
The Super Amped Elemental Discharge changes shape entirely. The boosted version fires in a shotgun-style spread with wider coverage and extended reach, which makes it far less punishing to line up against a monster that will not sit still for the standard version.
How to confirm Boost is active
Three on-screen cues tell you the state has flipped. Your phial indicator changes colour — red after a Sword Mode driver, yellow after an Axe Mode one. A charge disappears from the Boost gauge at the bottom center of the screen. And a Boost timer appears, counting down the window in which Charged Spinning Slash, Offset AED, and the wide SAED are available.
If the Boost Driver does nothing when you press the input, the usual cause is an empty Boost gauge. Charges are consumed per use, so you cannot chain drivers back to back once the gauge is drained. The enhanced discharge and sword actions are also gated behind Boost being active, so attempting them after the timer expires gives you the standard versions instead.
The Boost Bracer arrives with the Master Rank expansion, which is heading to PlayStation 5, Xbox Series X|S, and Steam in 2027. Capcom has not confirmed a specific launch date, and the weapon breakdown videos covering all 14 types are still rolling out, so individual damage values and phial economy details are subject to change before release.