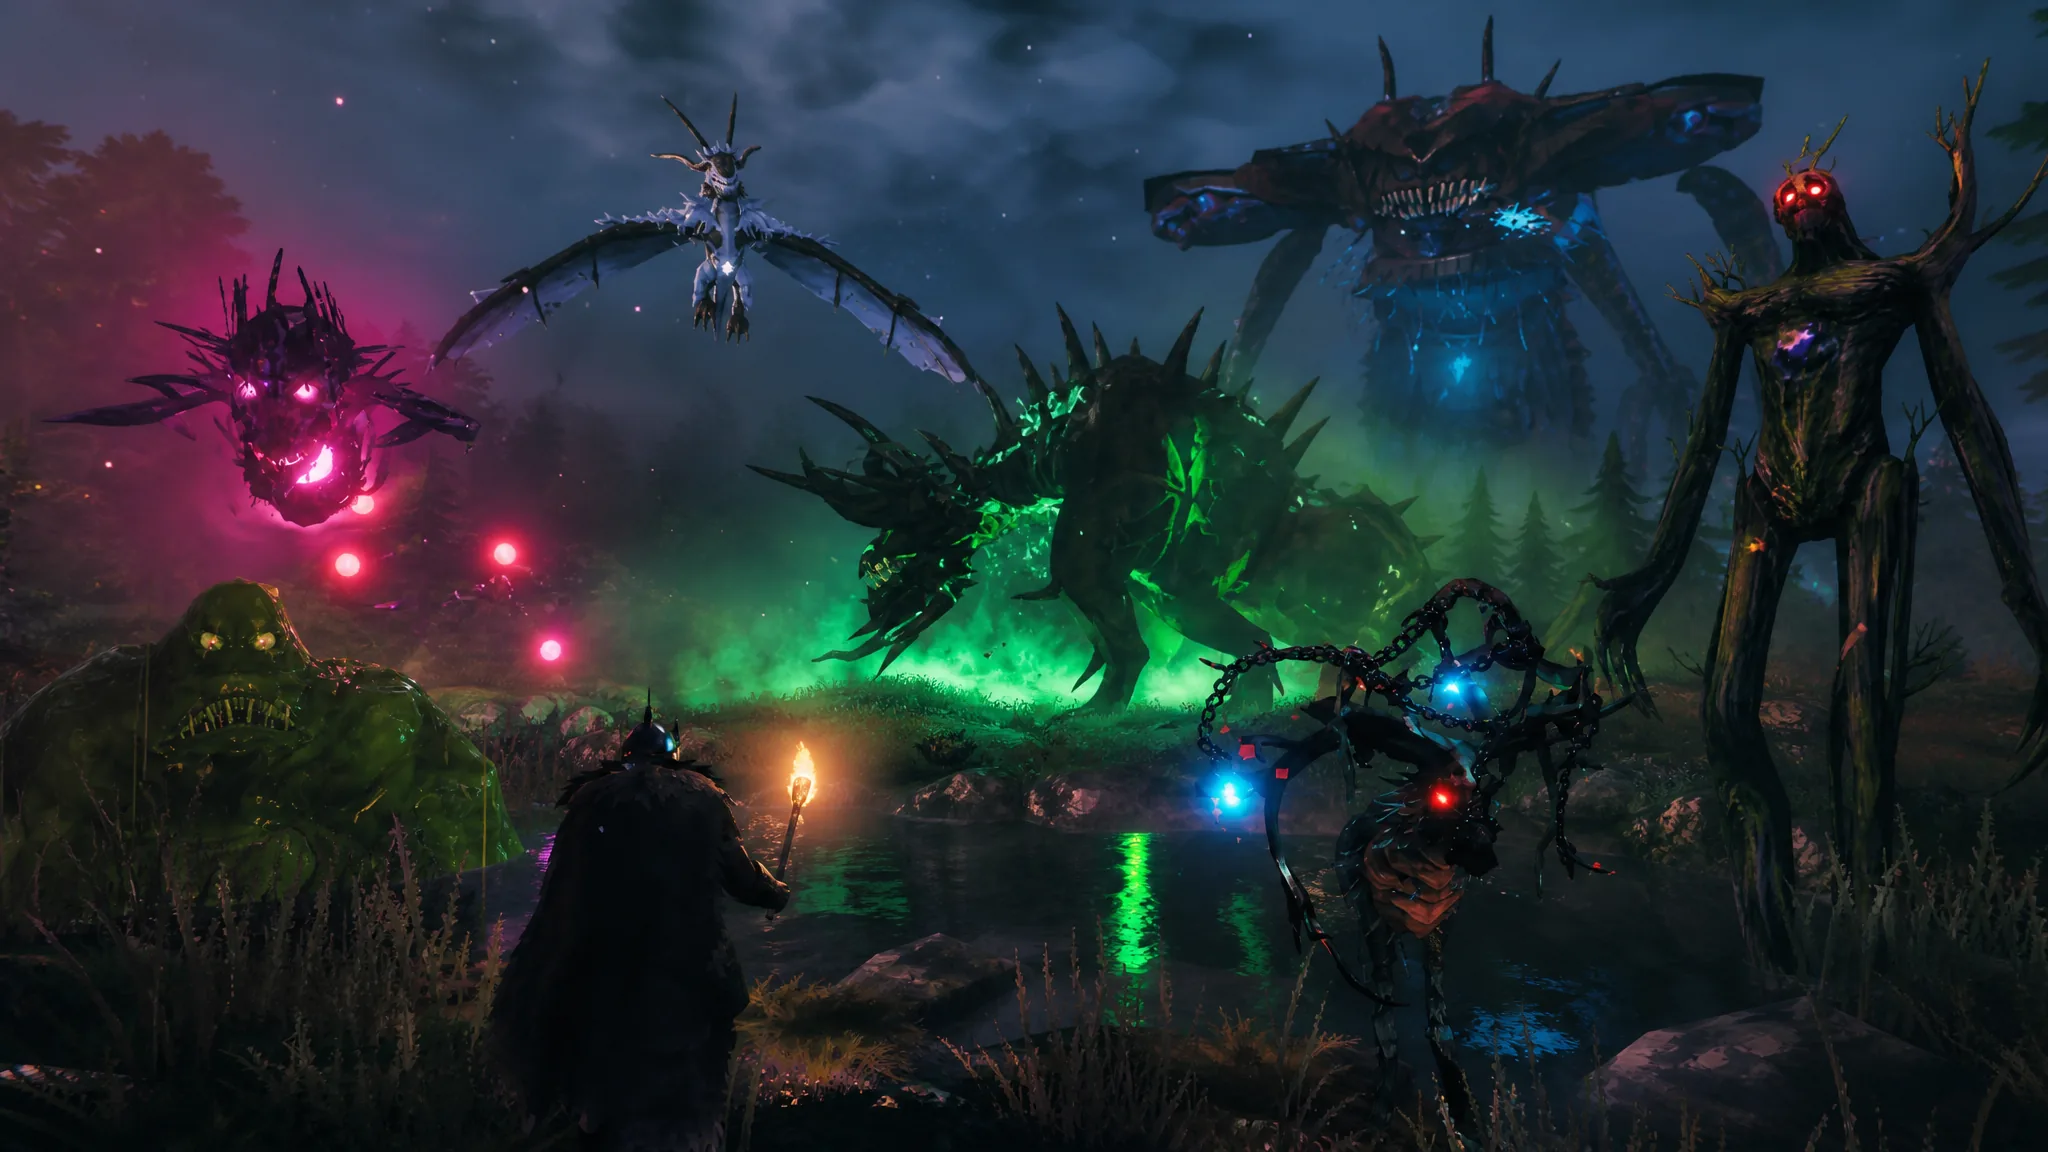
Valheim’s whole progression runs on its bosses, the Forsaken. Each one sits in a specific biome, is called to a summoning altar with a set offering, and drops the material or key that opens the next tier of crafting. With the 1.0 update and the Deep North live, the chain now ends on an eighth boss.
Quick answer: Fight them in this order — Eikthyr (Meadows) → The Elder (Black Forest) → Bonemass (Swamp) → Moder (Mountain) → Yagluth (Plains) → The Queen (Mistlands) → Fader (Ashlands) → Kall Fimbulbringer (Deep North). Read the red-glowing Vegvisir runestones to mark each altar on your map, place the required offering, and interact to spawn the boss.
Full Valheim boss order, biomes, and summon costs
| # | Boss | Biome | Summon offering | Key drop |
|---|---|---|---|---|
| 1 | Eikthyr | Meadows | 2x Deer Trophy | Hard Antlers |
| 2 | The Elder | Black Forest | 3x Ancient Seed | Swamp Key |
| 3 | Bonemass | Swamp | 10x Withered Bone | Wishbone |
| 4 | Moder | Mountain | 3x Dragon Egg | Dragon Tears |
| 5 | Yagluth | Plains | 5x Fuling Totem | Torn Spirit |
| 6 | The Queen | Mistlands | Sealbreaker (first fight), then 3x Seeker Soldier Trophy | Majestic Carapace |
| 7 | Fader | Ashlands | 3x Bell | Fader Relic |
| 8 | Kall Fimbulbringer | Deep North | 3x Malicious Blood | Final boss reward |
How summoning, runestones, and Forsaken Powers work
Bosses are summoned, not stumbled upon. Every world contains multiple altars for each boss, so if one is far away, you can sail out and find another. To learn where an altar sits, read a Vegvisir runestone. These stones appear in specific structures per biome and near the Sacrificial Stones at spawn, and reading one marks the altar on your map.
Each boss guarantees a trophy on death. Hang that trophy on the Sacrificial Stones at your world’s spawn to unlock the boss’s Forsaken Power, a buff you toggle with a hotkey that runs for a set time on a cooldown. You can switch between any powers you have unlocked at any time.
Every kill also raises the world’s difficulty behind the scenes and, more importantly, unlocks a new crafting tier. Beat Eikthyr and copper and tin become mineable; beat The Elder and the Swamp crypts holding iron open up. That dependency is why the order is effectively fixed rather than optional.
Eikthyr in the Meadows
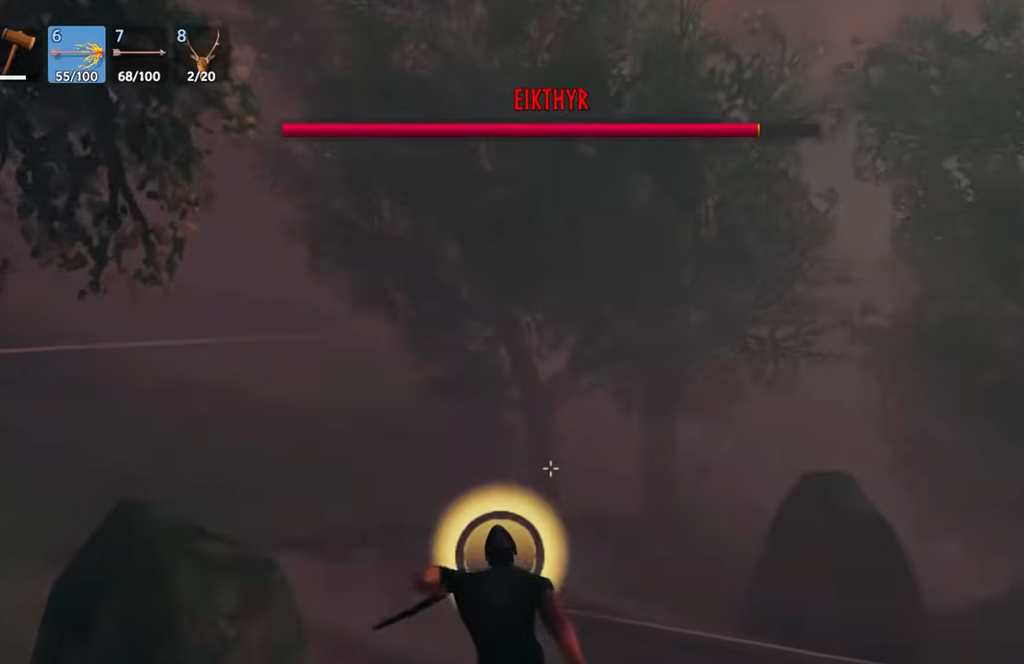
Eikthyr is a giant electrified stag and the first boss you meet. Its altar stands in the Meadows, usually close to spawn, and the Vegvisir at the Sacrificial Stones points to it. Place two Deer Trophies on the altar to call it.
It uses a ranged lightning bolt, an area electric stomp up close, and an antler ram. With 500 health it goes down in flint or bronze gear: block its charges with a small wooden shield and strike between attacks. The kill drops three Hard Antlers, used to craft the Antler Pickaxe for mining copper and tin, plus a power that cuts run, jump, and swim stamina cost by 60%.
The Elder in the Black Forest
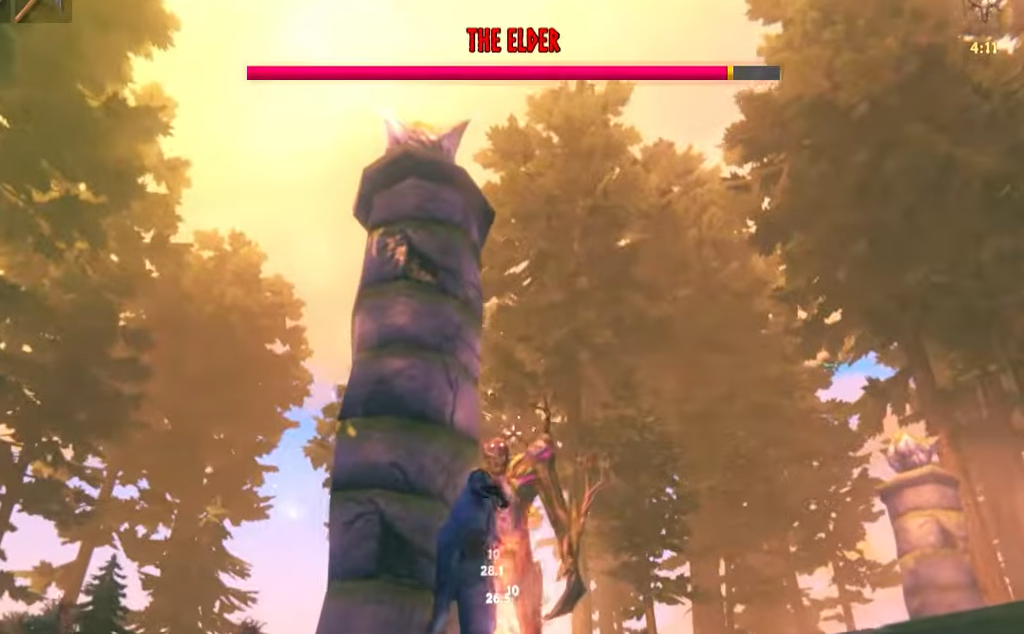
The Elder is a towering tree-guardian in the Black Forest, and its Vegvisir hides inside Burial Chambers. Burn three Ancient Seeds in the altar’s offering bowl to summon it. Those seeds drop from Greydwarf brutes, Greydwarf shamans, and the nests they guard.
It fires vine projectiles, stomps for area damage, and summons roots from the ground. Being a tree, it is weak to fire, so fire arrows are the fastest way to bring down its 2,500 health while you use the altar’s stone pillars for cover. The reward is the Swamp Key, which unlocks the Sunken Crypts where iron is found, plus a power that boosts chopping and mining damage and health regeneration.
Bonemass in the Swamp
Bonemass is a huge poison-belching slime and the game’s first real wall. Its Vegvisir appears inside Sunken Crypts, and you summon it with ten Withered Bones dug from muddy scrap piles and looted in those crypts.
With 5,000 health, heavy poison clouds, and constant self-healing, Bonemass punishes the wrong loadout. It is weak to blunt and frost, so an iron mace is the standard weapon, and poison-resistance mead is close to mandatory. It also summons skeletons and blobs, so clear adds before they pile up. The kill drops the Wishbone, which pings buried silver in the Mountains and hidden treasure, plus a power granting 25% physical damage resistance and near-free blocking.
Moder on the Mountain
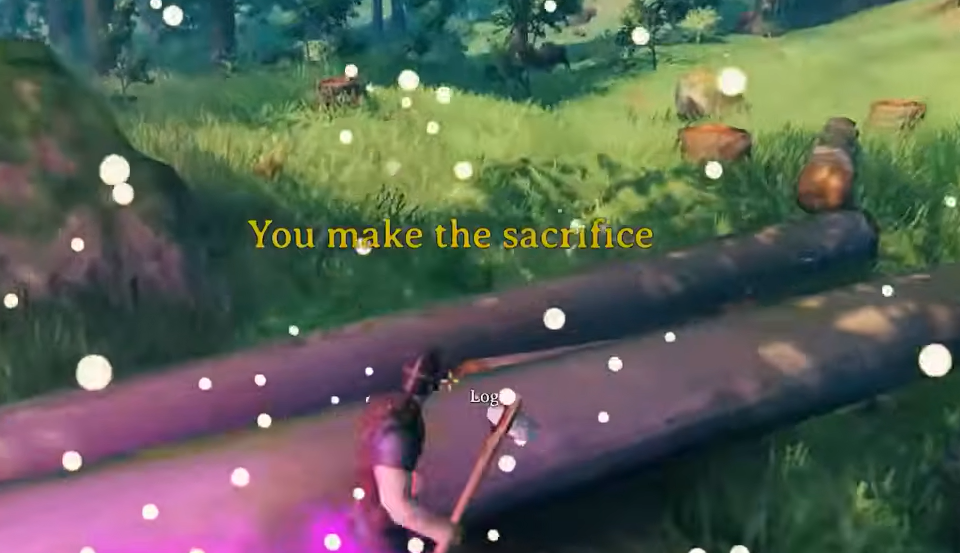
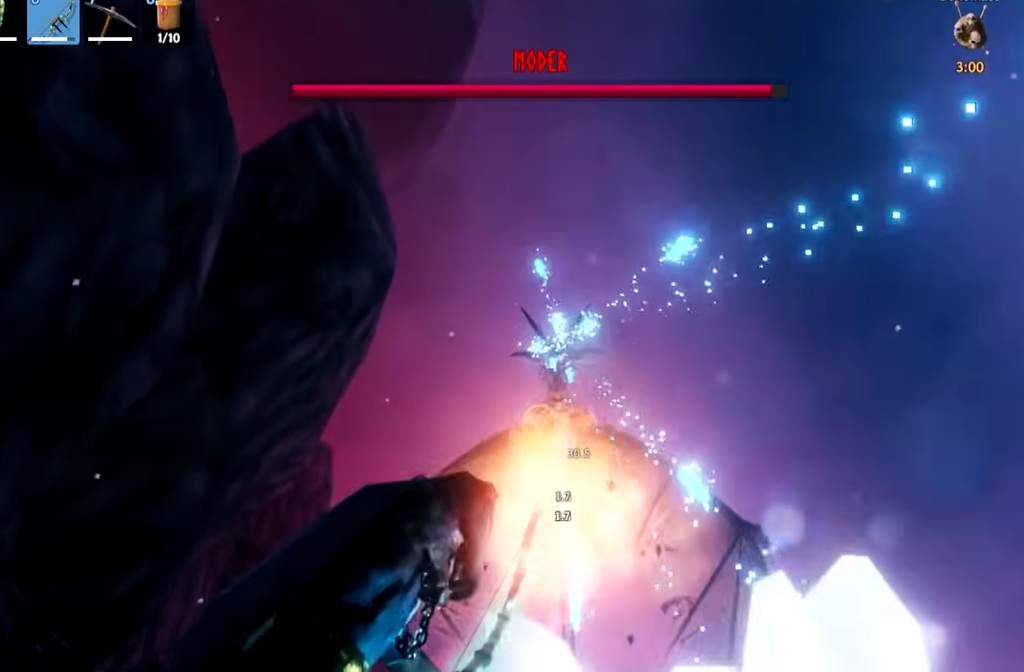
Moder is a frost dragon summoned at a mountain summit. Look for its Vegvisir inside ruined stone towers near the peaks, then bring three Dragon Eggs from drake nests. Each egg weighs 200, so plan one trip per egg unless you have the Megingjord belt or friends to help carry.
The Mountain itself will freeze you without frost-resistance mead or wolf armor, so pack survival gear first. Moder has 7,500 health and alternates grounded claw swipes with airborne frost-breath barrages, so bring a strong bow for the air phases. The kill drops Dragon Tears for the Artisan Table, plus a power giving a constant sailing tailwind, +300 carry weight, +10% move speed, and frost resistance.
Yagluth in the Plains
Yagluth is a colossal undead hand and skull that rises in the Plains. Its Vegvisir hides in Stonehenge-style stone formations, so you may find the altar before the runestone. Place five Fuling Totems, looted from Fuling villages, to summon it.
At 10,000 health it hammers the ground with fire meteors and sweeps a fire beam, so fire-resistance barley wine and constant repositioning carry the fight. Come in black-metal gear. The reward is the Torn Spirit, used to build the Wisp Fountain that lights your way through the Mistlands, plus a power with lightning resistance, +25 Farming skill, and +10% damage.
The Queen in the Mistlands
The Queen is the Seeker matriarch and the only boss with no open-world altar. She waits inside the Infested Citadel, a sealed dungeon in the Mistlands. Vegvisirs in the Infested Mines mark the citadel, and the door only opens to a Sealbreaker forged from nine fragments found in those mines.
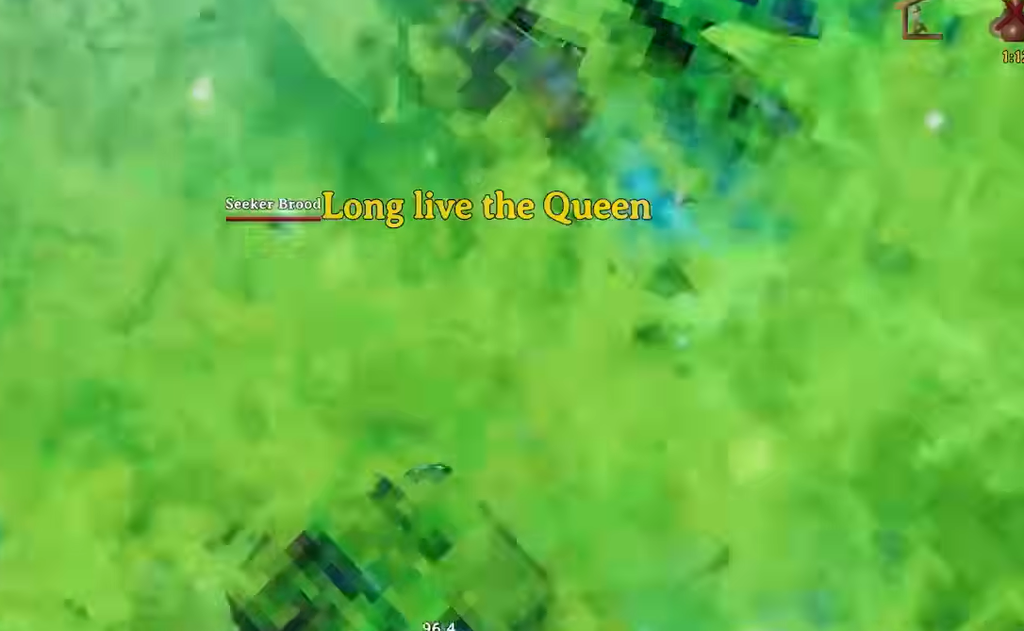
The first fight costs nothing beyond opening the door. To face her again, offer three Seeker Soldier Trophies at the hive seat above the arena. With 12,500 health in a tight, pillar-filled room, this is the most mechanically demanding fight so far, so bring carapace or Eitr gear and healing meads. She drops the Majestic Carapace for the Artisan Press, plus a power that doubles Eitr regeneration and grants free sneaking and poison resistance.
Fader in the Ashlands
Fader’s arena is a coliseum in the volcanic Ashlands. Its Vegvisir sits in the central towers of Charred Fortresses, and in rare cases the altar can appear atop Charred Ruins. Collect nine Bell Fragments from those fortresses, forge them into three Bells, and hang the Bells around the coliseum to wake it.
At 25,000 health, five times Bonemass, Fader demands Flametal gear and fire resistance, along with the Call to Arms combat systems like Adrenaline, Trinkets, and perfect blocks and dodges. The kill drops the Fader Relic and its trophy, and the power grants +100% Adrenaline gain, −50% stagger buildup, and fire resistance.
Kall Fimbulbringer in the Deep North (1.0)
Kall Fimbulbringer is the eighth and final boss, a frost giant of the Jotun race added with the Deep North at 1.0. He waits inside a dungeon called The Prison, reached through the Aesir Passage. Read the Deep North Vegvisir to mark the passage on your map, but opening it takes a full ritual rather than a simple offering.
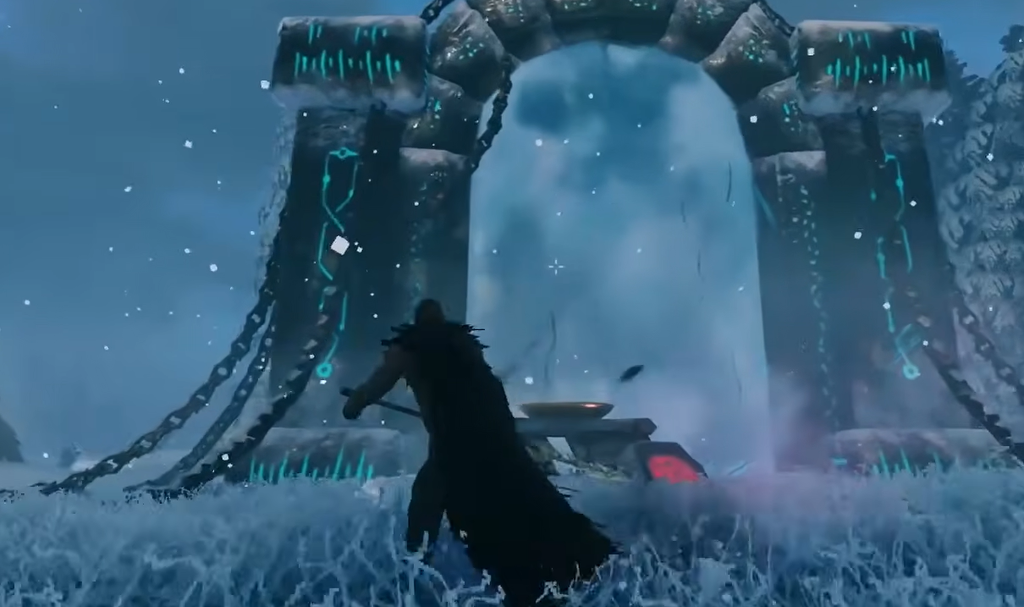
Inside, Kall Fimbulbringer is chained to two pillars and breaks free to attack as you approach. He is the toughest opponent in the game, with roughly 40,000 health fought across multiple phases, using the chains for wide, hard-to-dodge blows. Stay close, avoid the swings, and drop his health to force the transformation. Defeating him reunites the world with Yggdrasil and grants your reward in Valhalla.
Note: if a boss altar does not appear where a marker suggests, remember every world is generated differently. Sail out and read another Vegvisir, since each boss has several altars scattered across the map.