

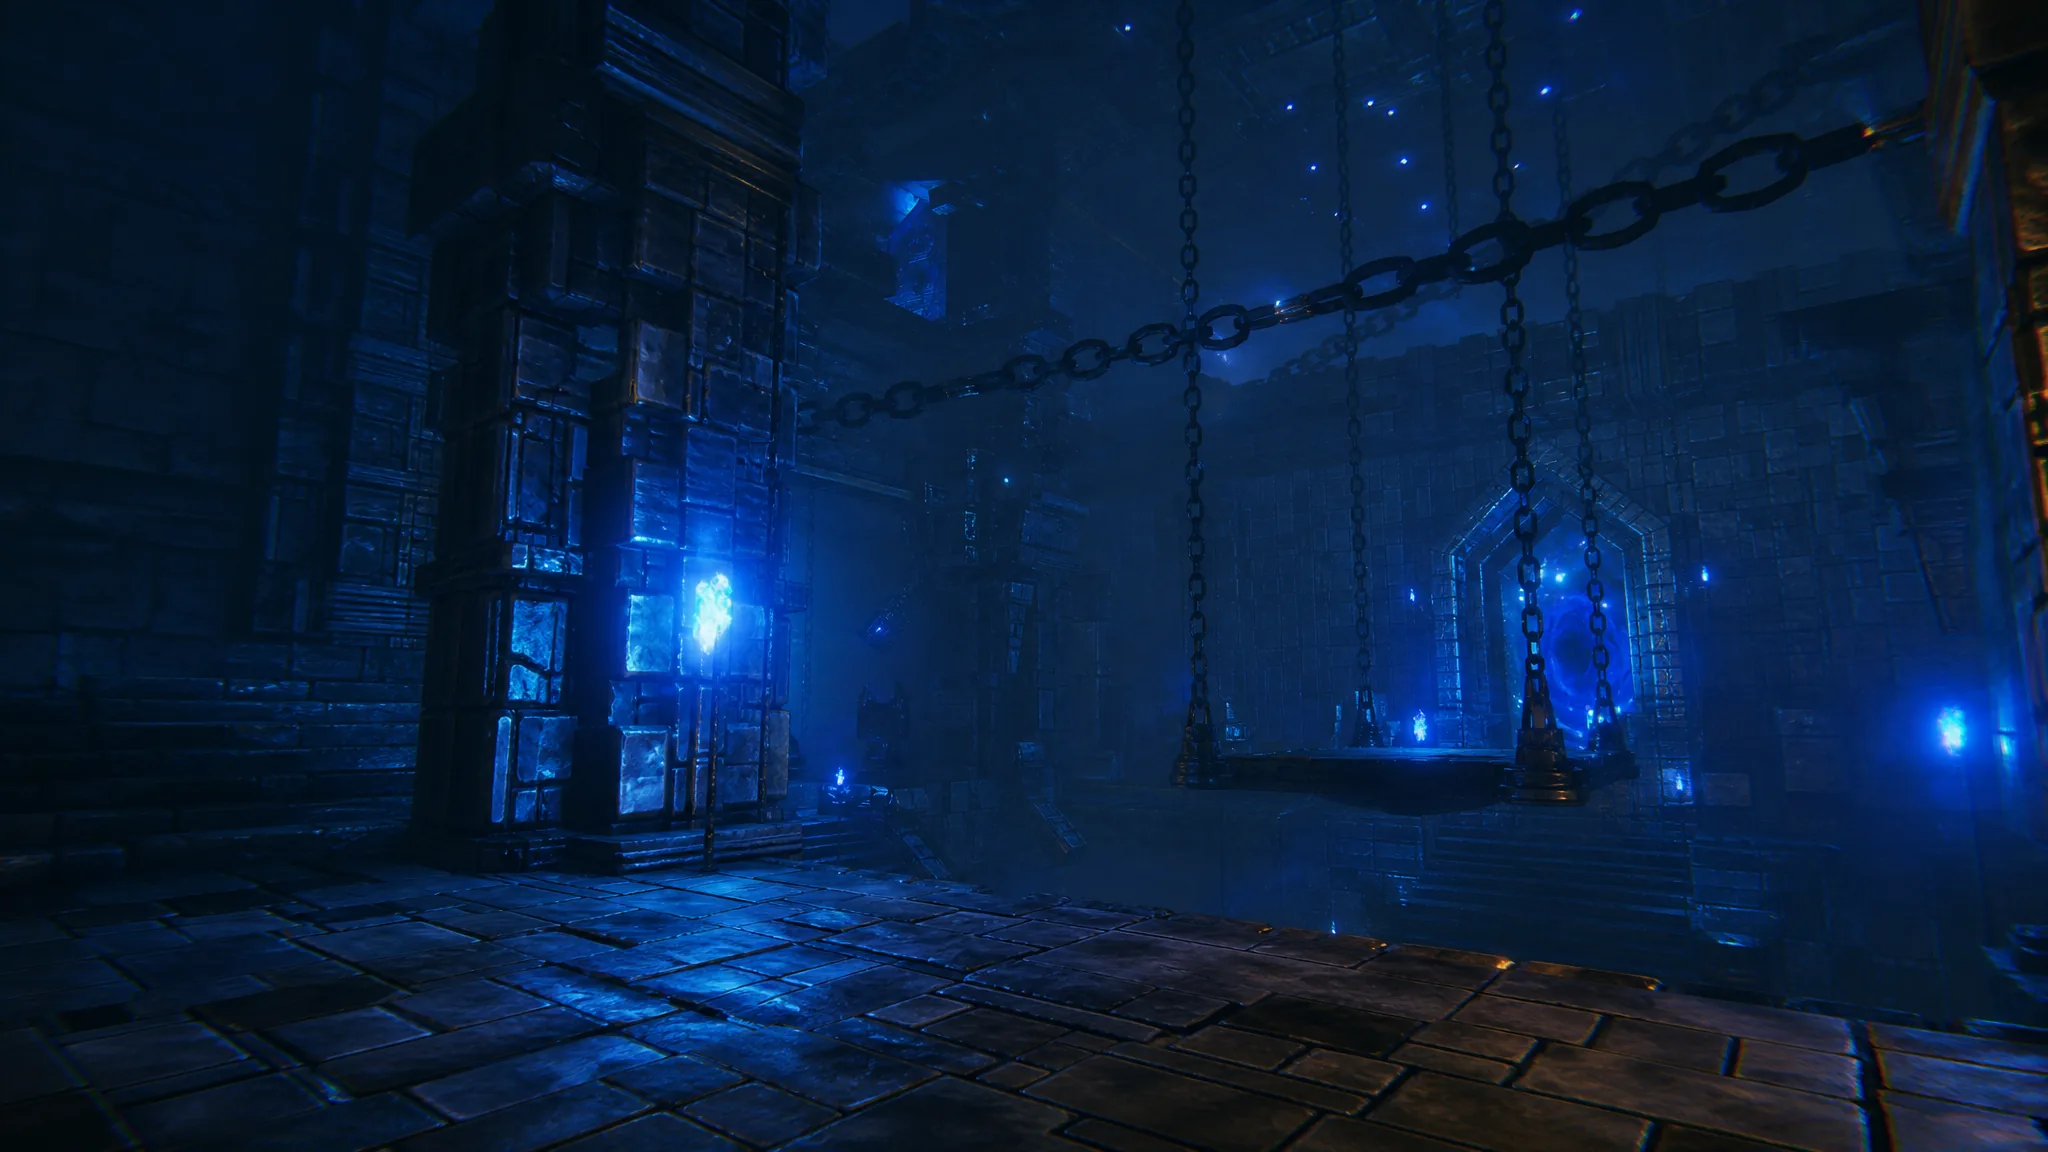
Morkhalla is a pair of tall stone towers sunk deep into the frozen ground of Valheim’s Deep North. You spot it easily because it rises above the pines and its dark shell stands out against the snow. Reaching the bottom is the real work, and it ends with a Malicious Ice shard that triggers a Jotun invasion tied to the final boss.
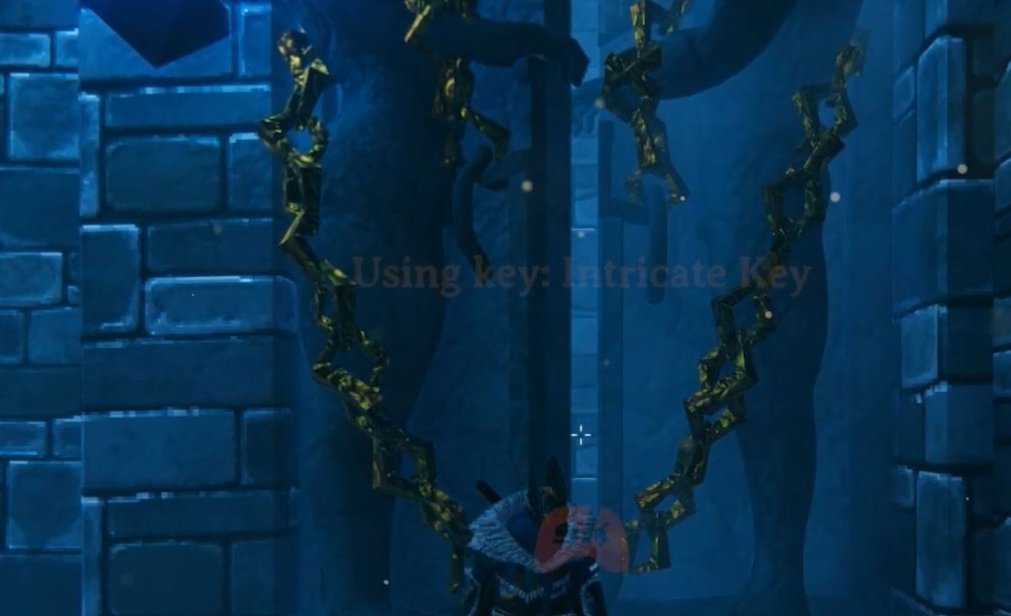
Quick answer: Bring an Intricate Key and a Grappling Hook, grapple up into a Morkhalla tower, unlock the Gates with the key, work down floor by floor through the corner staircases, and destroy the Malicious Ice at the very bottom until the message “the Jotun advance” appears.
What you need before entering Morkhalla
Two items are mandatory. Without them, you cannot get in or move around inside. Everything else on the list keeps you alive through a long descent.
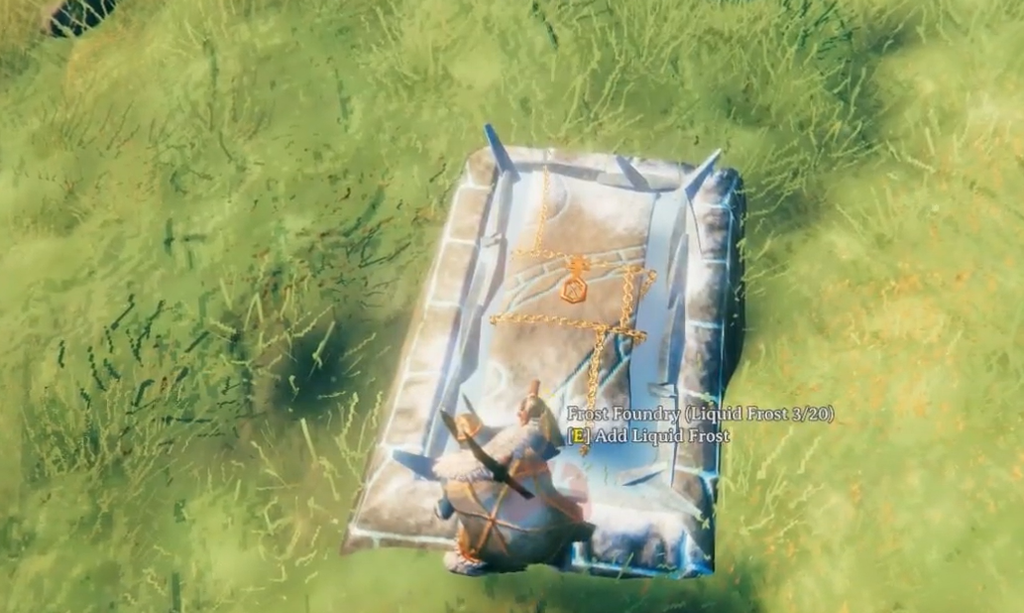
The Intricate Key unlocks the Gates. It is a consumable, so you need a fresh one for each tower you plan to clear. You make it from an Intricate Key mould, which drops from Scrap piles and Eyeless Ones inside the Winding Tunnels dungeons found under abandoned villages. Turn the mould into a cast with five Bloodgold Ingots at a level 4 Black Forge, then finish the key on a Frost Foundry using Liquid Frost.
The Grappling Hook is how you reach the tower entrance, which sits out of normal reach on purpose. You also use it to swing across gaps and take shortcuts between the two towers while inside.
Beyond those two, pack the following before a full run:
- Gear that deals Slash or Blunt damage, plus a ranged weapon with fire ammunition (an upgraded Staff of Embers works for caster builds).
- Poison Resistance Mead and Stamina potions.
- Ember Charges for cheesing certain fights.
- Timberwood and Luminous Larvae so you can build Hooded Lanterns to mark cleared rooms.
- A heavy armor set, since kiting has little value here. Flametal Armor with a few upgrade levels is enough for an average run.
Note: the Deep North update lets you expand your inventory by two full rows. Grab those upgrades early, because Morkhalla runs are long and you will be hauling a lot of materials.
Finding the towers and unlocking the Gates
Morkhalla towers appear across the Deep North’s mountains, and they are common relative to the small landmasses in this biome. You will run into one soon after landing your longship on the shore.
How to navigate the dungeon
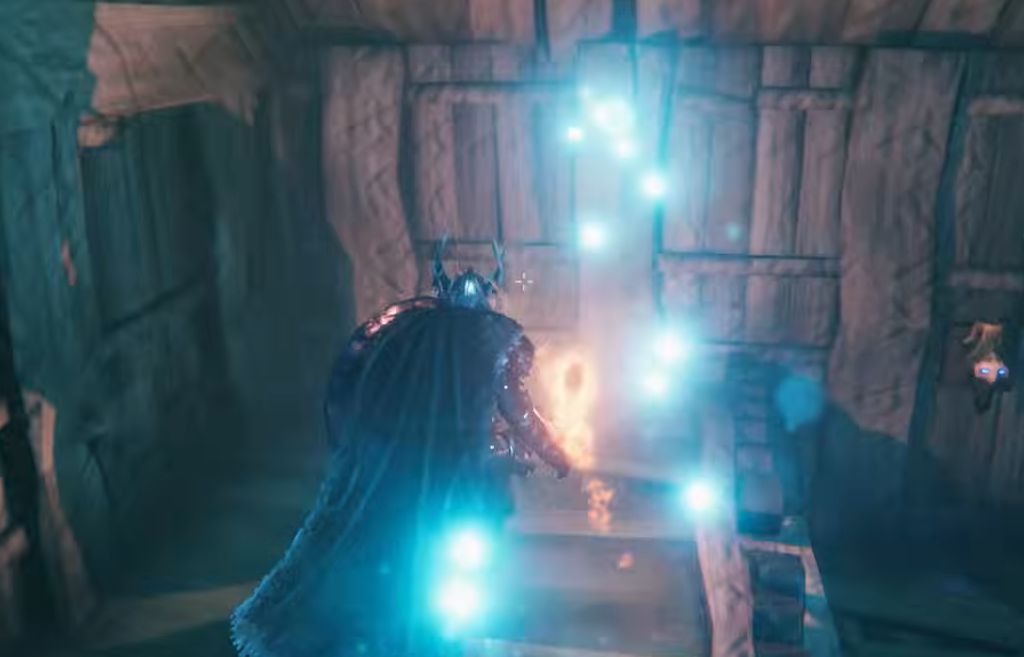
Inside, Morkhalla is two towers connected by broken stairways and rickety drawbridges, with a deep chasm running between them. The whole layout is a maze, so a steady, methodical descent is what gets you to the bottom.
- Do not fall into the chasm between the towers. The drop is long enough to kill you even above 250 HP.
- Clear the area around you before moving. If you hear a Hexen nearby, deal with it first.
- Look for corner staircases in the inner corners of each tower to move down a floor.
- If you cannot find a way down, break the wooden and metal barricades, or grapple across to the other tower on the same floor to check for a path below.
- Staircases lined with red carpet mean you are near the final floor.
Build Hooded Lanterns from your Timberwood and Luminous Larvae to mark rooms you have already cleared. Fire pits also appear along the way, and you can rest at them for about nine minutes of the Rested buff when it runs low. Bring spare gear too, because the descent chews through equipment durability, and a broken weapon deep in the dungeon can force a long trip back up to repair.
Morkhalla enemies and what they drop
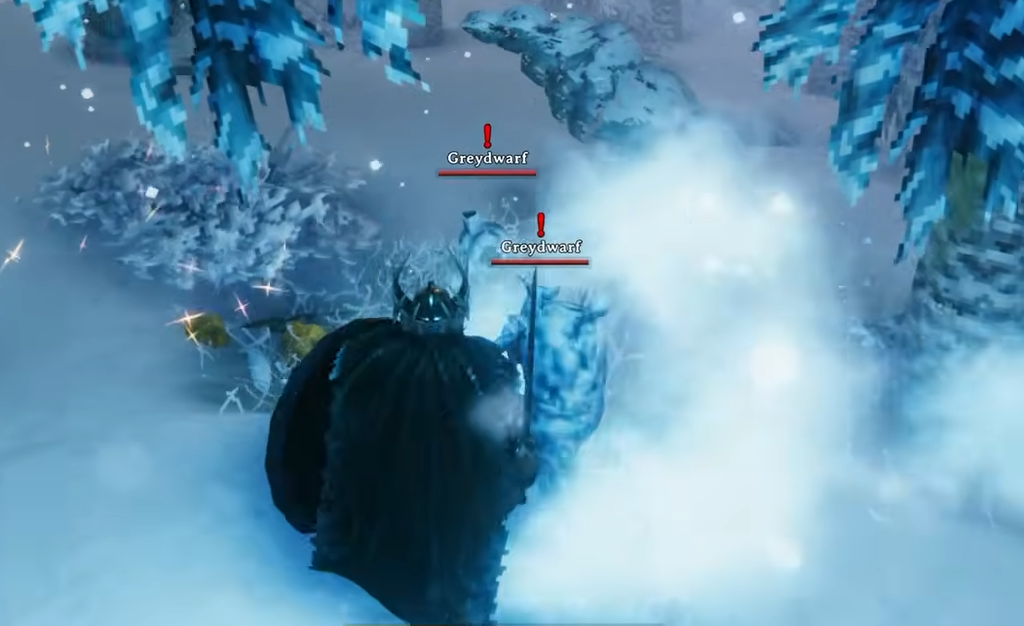
Three enemy types are native to Morkhalla. Every one of them is immune to Poison and Spirit debuffs, so those damage sources are wasted here.
- Shapeless Pulps are fast blobs that deal heavy Poison damage, which is where Poison Resistance Mead earns its slot. They split into mini-blobs on death that you also have to kill. Some rooms hold giant Hexagonal blobs you must destroy first.
- Krigen are large melee brawlers with swords and battleaxes, so their damage type varies. One-on-one they are manageable since their attacks are well telegraphed apart from a quick lunge. Watch for ambush rooms with a multi-star Elite; pull those enemies away one at a time.
- Hexen are flying casters that fire Lightning nukes and teleport away when you close in. Lure them into smaller rooms and wear them down with ranged fire damage. Melee-only builds will struggle here.
| Enemy | Weak to | Resistant to | Notable drops |
|---|---|---|---|
| Shapeless Pulps | Blunt, Lightning | Slash, Pierce, Fire | Dead Pulp (for Pulp Bombs), Pulp Trophy |
| Krigen | None | Pierce, Frost | Vanguard armor moulds (very low chance), Memorial Coal, Leather Straps, Krigen Trophy |
| Hexen | Fire | Frost | Nornathread, Intricate Key (low chance), Hexen Trophy |
Krigen and Hexen are Jotun creatures, and both also show up during the overworld invasions you trigger later. You may also come across Captive Fulings, which are optional and safe to ignore.
Resources and loot worth farming
Ancient Chests and small brick piles give generic dungeon loot such as Coins, metal ingots, Black Cores, and arrows. The items you specifically dive Morkhalla for are more targeted.
- Memorial Coal comes mainly from Krigen, making them the priority enemy to farm. It feeds the new Deep North enchantments, and Krigen also carry a small chance at heavy Vanguard armor moulds.
- Nornathread drops from Hexen and is needed to craft the Deep North caster armor pieces.
- Ancient Coin is a Morkhalla-exclusive currency found in bulk from Ancient Chests and by smashing rubble piles on each floor.
- Battle Idols sometimes appear in chests and are used to upgrade weapons at the Forge of Potential added in 1.0.
- Gems sit on golden crests on the walls, usually near stairs. These include four new types (Solryth, Grimvarn, Draumyx, and Veydris) alongside the older Bloodstone, Jade, and Iolite. The new gems are valuables only and are not required for crafting.
Reaching the bottom and triggering the Jotun invasion
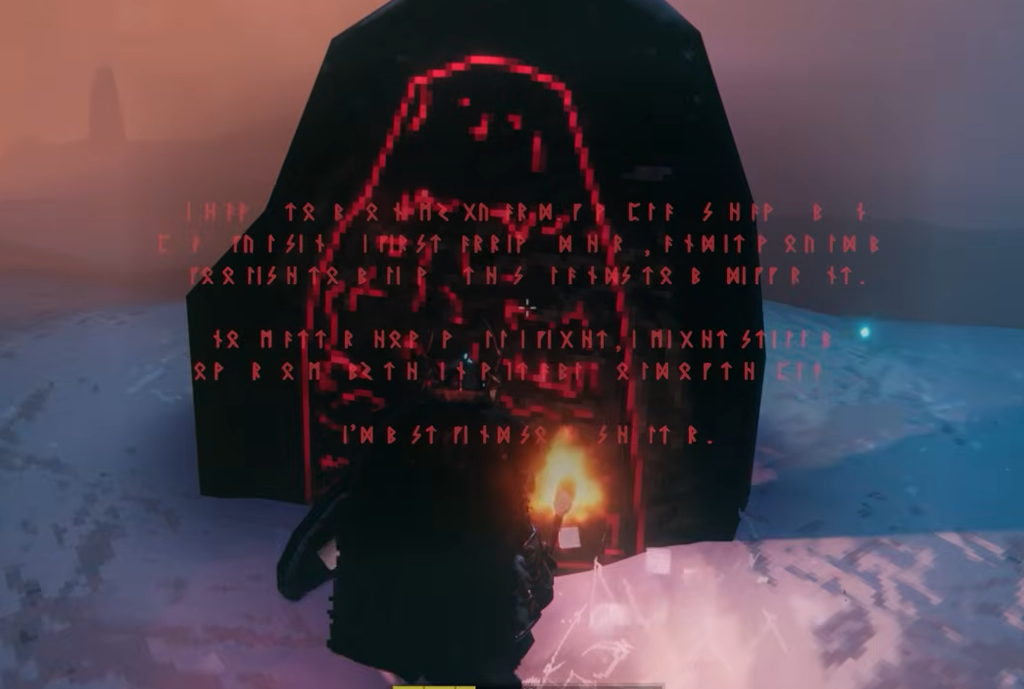
The goal of every Morkhalla run sits at the very bottom floor. Once you reach it, you will find a Malicious Ice entity that you need to destroy. Any damage type works, though it takes a few swings.
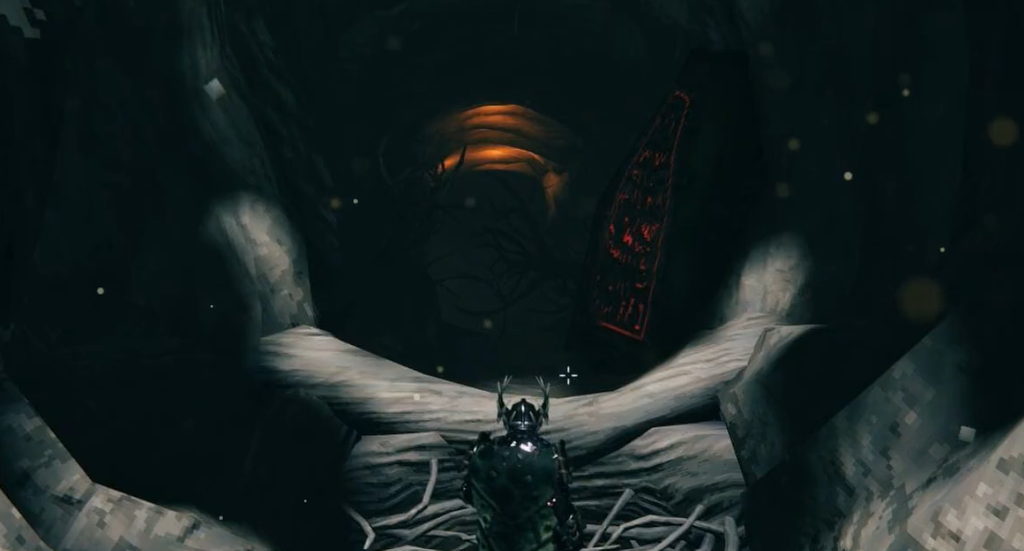
You know it worked when the on-screen message reads “the Jotun advance.” That spawns a Jotun invasion at a random spot in the world, usually closer to the center of the map. Before you leave, look for a red glowing stone at the base, which reveals the location of the Deep North’s final boss.
Exit the dungeon, open your map, and travel to the flashing invasion marker. Clearing the Krigen and Hexen there and smashing the large Malicious Ice at its center rewards you with Malicious Blood, the progression item needed to summon the final boss at the Aesir Passage. You will repeat this whole loop three times, so plan on crafting a fresh Intricate Key and diving a new Morkhalla for each Malicious Blood you need.





