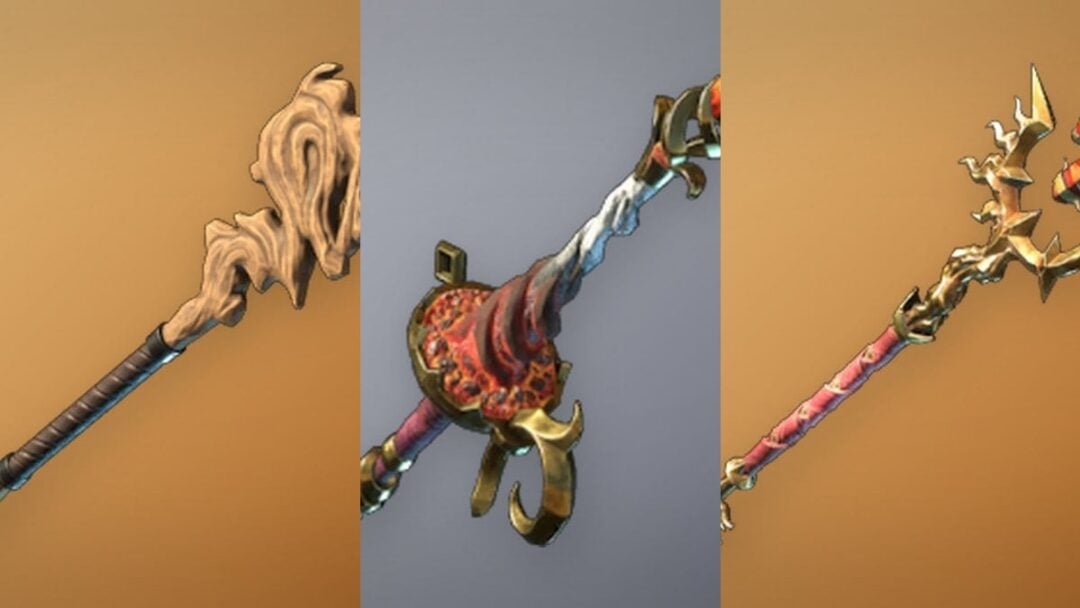
Temple Service in Fire Emblem: Fortune’s Weave lets you develop blessings for six gods over time; the story grants a seventh. Each blessing gives a combat boost for one turn and uses Divine Sand, and you may equip four at once. Since the benefits from each level vary, choose your investments carefully. Kalla offers the biggest immediate payoff, with Aurora next; choose the other slots to suit your army and upcoming maps.
Quick answer: Raise Kalla to Level 1 to gain Avoid +50, then bring Aurora to Level 2 to cut physical and magical damage in half. If your opening route has heavy fog, prioritize Credna at Level 1 instead.
Blessing priority and roles
The table ranks the gods according to how much an early investment helps and recommends a level to stop at initially. Kalla leads because its Avoid boost is so substantial, though serving Credna first can make more sense on a first run if a fog-of-war chapter comes early, thanks to its visibility benefit.
| God | Serve to | Level 1 effect | Role |
|---|---|---|---|
| Kalla | Level 1, then 2–3 | Avoid +50 | Evasion and movement |
| Aurora | Level 2 (Level 3 before Part 3) | Halves physical damage | Defensive |
| Credna | Level 1, then 3 | Vision +5 | Visibility and offense |
| Jurah | Level 2 | Neutralizes effective damage | Defensive |
| Mars | Level 2 | Physical Hit +50 | Offensive |
| Smyrnos | Level 2 | Magic Hit +50 | Offensive |
| Fortuna | Story unlock | Rewind your actions | Safety net |
Every blessing effect by level
There are three levels for each service god, with every upgrade granting a more powerful effect for one turn. Fortuna differs: the story provides its single rewind effect in full, without requiring service.
| God | Level 1 | Level 2 | Level 3 |
|---|---|---|---|
| Kalla | Avoid +50 | Speed +5 | Mov +2 |
| Aurora | Halves physical damage | Halves magical damage | Neutralizes Underworld Boon |
| Smyrnos | Magic Hit +50 | Magic Range +1 | Mag +5 |
| Credna | Vision +5 | Weapon durability cost 0 | Attack first on enemy phase |
| Jurah | Neutralizes effective damage | Blocks follow-ups | Blocks criticals |
| Mars | Physical Hit +50 | Restore HP on defeats | Str +5 |
| Fortuna | Rewind your actions on the map (story unlock, no service needed) | ||
Divine Sand costs on Normal and Hard
Firing a blessing spends Divine Sand, which stops you from repeating the same effect every turn. Costs rise on Hard, where Kalla becomes the most expensive combat blessing at 40 Divine Sand. Completing a Part 1 playthrough unlocks Boons of Salvation, which cut sand costs further.
| Blessing | Normal | Hard |
|---|---|---|
| Fortuna | 0 | 5 |
| Jurah | 10 | 15 |
| Credna | 10 | 20 |
| Aurora | 15 | 20 |
| Mars | 20 | 30 |
| Smyrnos | 20 | 30 |
| Kalla | 20 | 40 |
Your Divine Sand supply is restored when each main story battle starts, up to a maximum of 100. Free Time does not restore it, and sand used in skirmishes remains spent until the next story chapter. Keep blessings for chapter battles unless a unit is in real danger.
Which god to serve first
Kalla: the strongest single effect
Kalla is powerful even before you invest further in it. Avoid +50 reduces the threat to every deployed unit for one turn, making bold pushes, a defended enemy phase, or a wounded unit’s escape more feasible. The result is less dependable than a flat reduction to damage, but such a large swing can turn a battle. Since this opening level is most expensive on Hard, use it when multiple units can benefit.
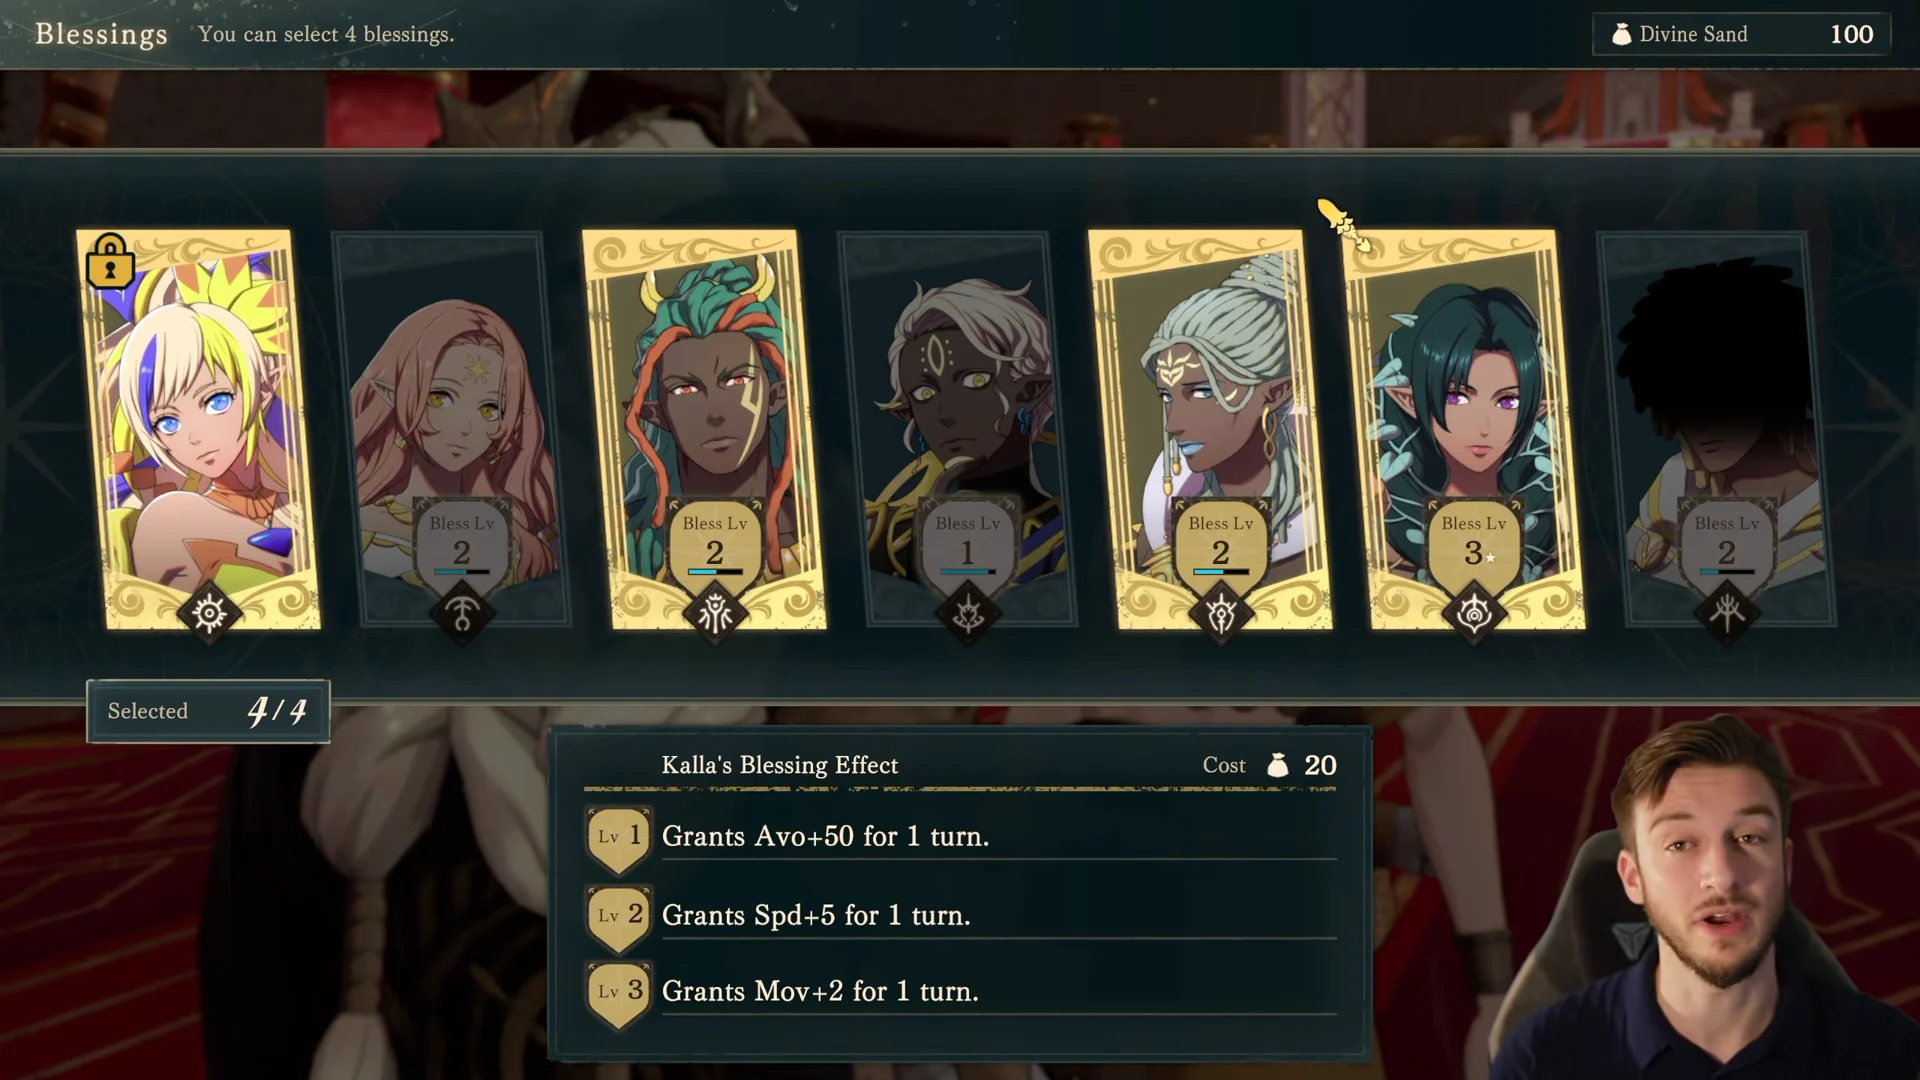
Treat the later levels as upgrades rather than needs. Level 2’s Speed +5 can secure extra attacks while denying enemy follow-ups, and Level 3’s Mov +2 makes seize objectives and escort maps far easier by closing gaps that would otherwise cost a full turn. Grab Level 1, build Aurora next, then return to Kalla when you have spare Temple visits.
Aurora: the universal defensive answer
Aurora’s first level cuts incoming physical damage in half, making it a reliable choice when Kalla’s evasion is too unpredictable. At Level 2, magical damage is halved as well, letting one use protect against almost any conventional enemy formation; its low cost also makes it easy to use often on Hard. Reach Level 3 before the endgame: it cancels Underworld Boon, removing the defense undead enemies depend on. This is especially useful in Part 3, where those fights occur frequently.
Pick a third blessing for your roster
Once Kalla and Aurora are covered, choose your third blessing based on your roster and the coming maps.
- Credna — Vision +5 is the only reliable way to see through fog of war, so many players raise it to Level 1 before their first fog chapter. Level 2 drops weapon durability cost to 0 for Combat Art users, and Level 3 gives the whole army a Vantage-like first strike on the enemy phase.
- Jurah — the cheapest service god, covering the threats Aurora does not. Level 1 negates effective damage against fliers, armored, and mounted units, Level 2 blocks follow-ups, and Level 3 blocks criticals. A strong, low-cost third pickup on a first route.
- Mars — a strong choice for physical forces that struggle to land hits. Hit +50 immediately corrects accuracy problems, while Level 2 restores health to any unit that gets a kill, helping the army survive when a healer cannot reach it.
- Smyrnos — Mars’s magical counterpart, best once your roster leans mage-heavy. Level 2’s +1 magic range lets a mage attack, heal, or support from outside counter range.
Fortuna: keep it equipped on Normal
Fortuna lets you reverse actions on the map, correcting a mistaken attack or restoring a fallen unit. It becomes available automatically in a Part 1 battle, with no way to miss it. Normal charges nothing for its use, making it a useful equipped safeguard. On Hard, each rewind uses 5 Divine Sand; Ironman players cannot benefit from it and are better off equipping another god.
How to raise a blessing level
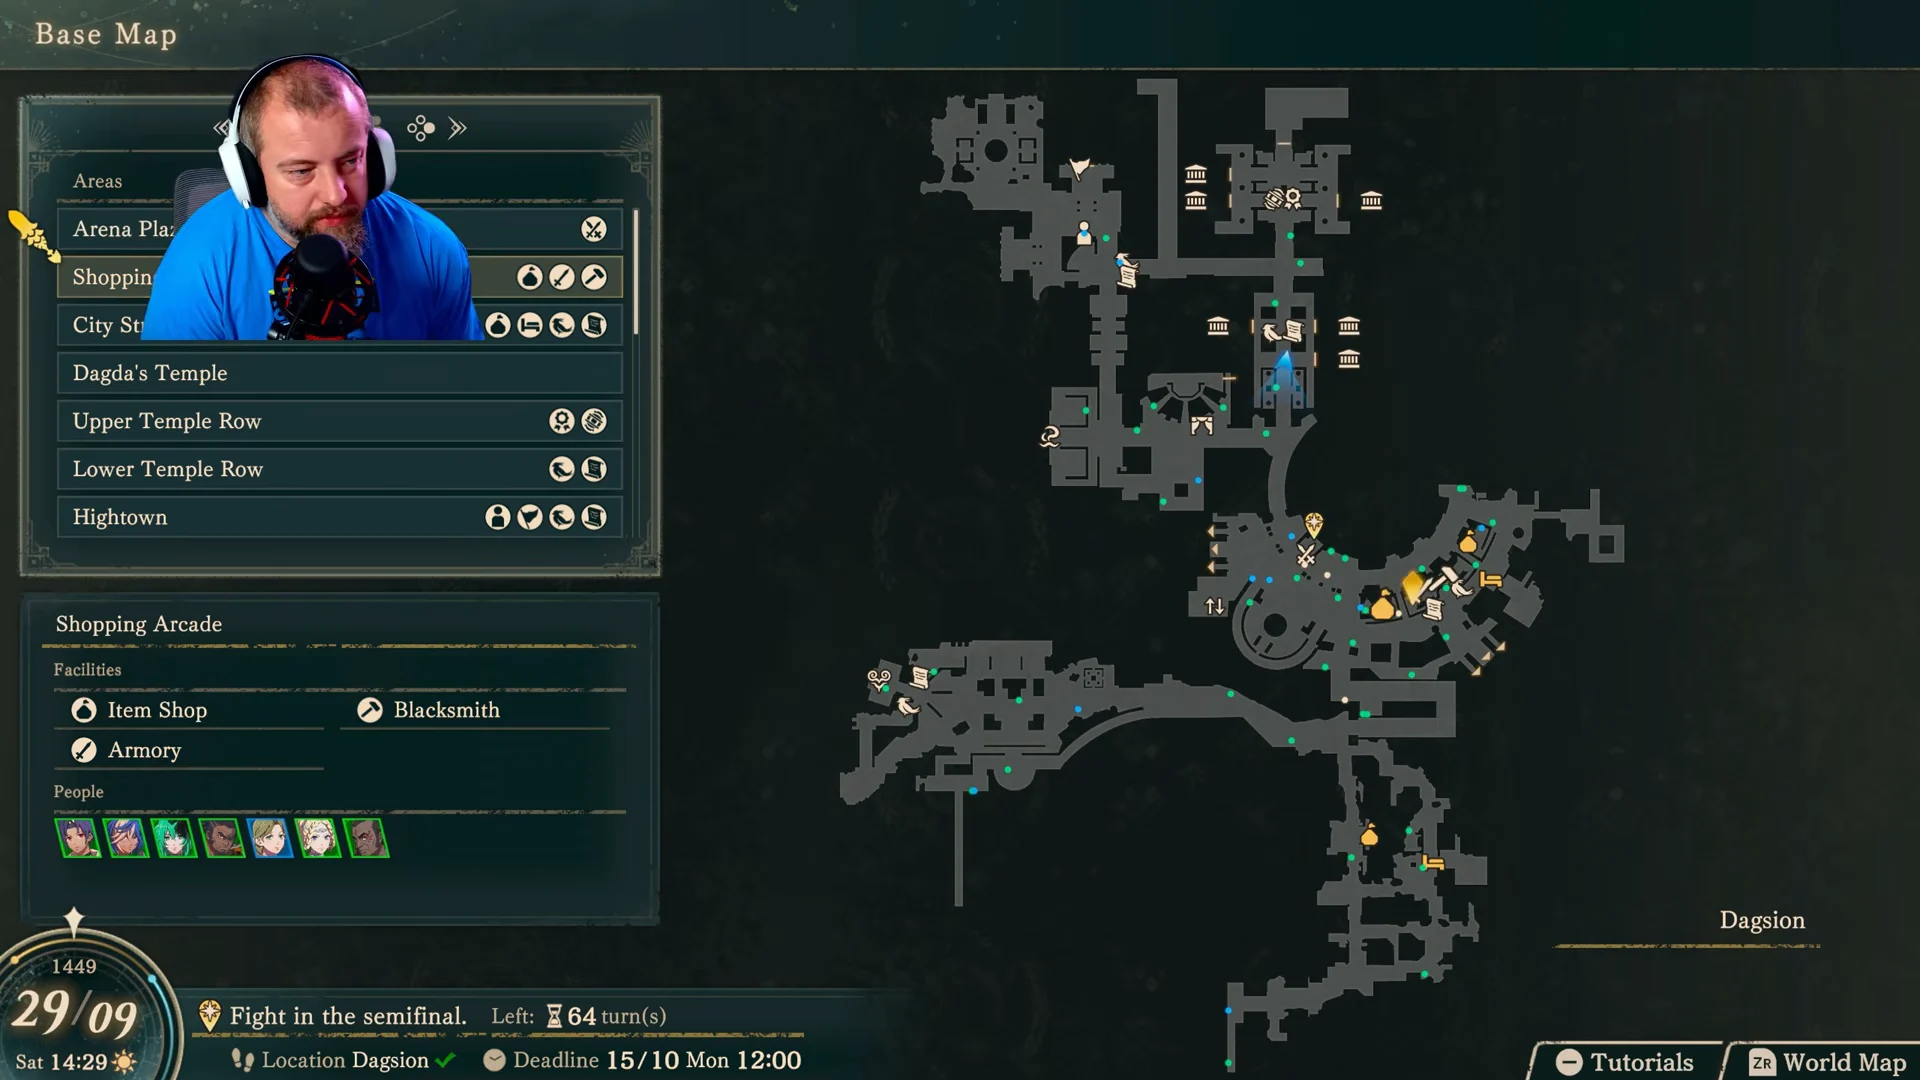
The temples of all six service gods are located in Dagsion’s Temple Row, arranged between the Upper and Lower rows. Service fills a god’s blessing gauge to unlock or improve its blessing. It uses Motivation, not a turn, so you can do it during Free Time without affecting chapter deadlines.
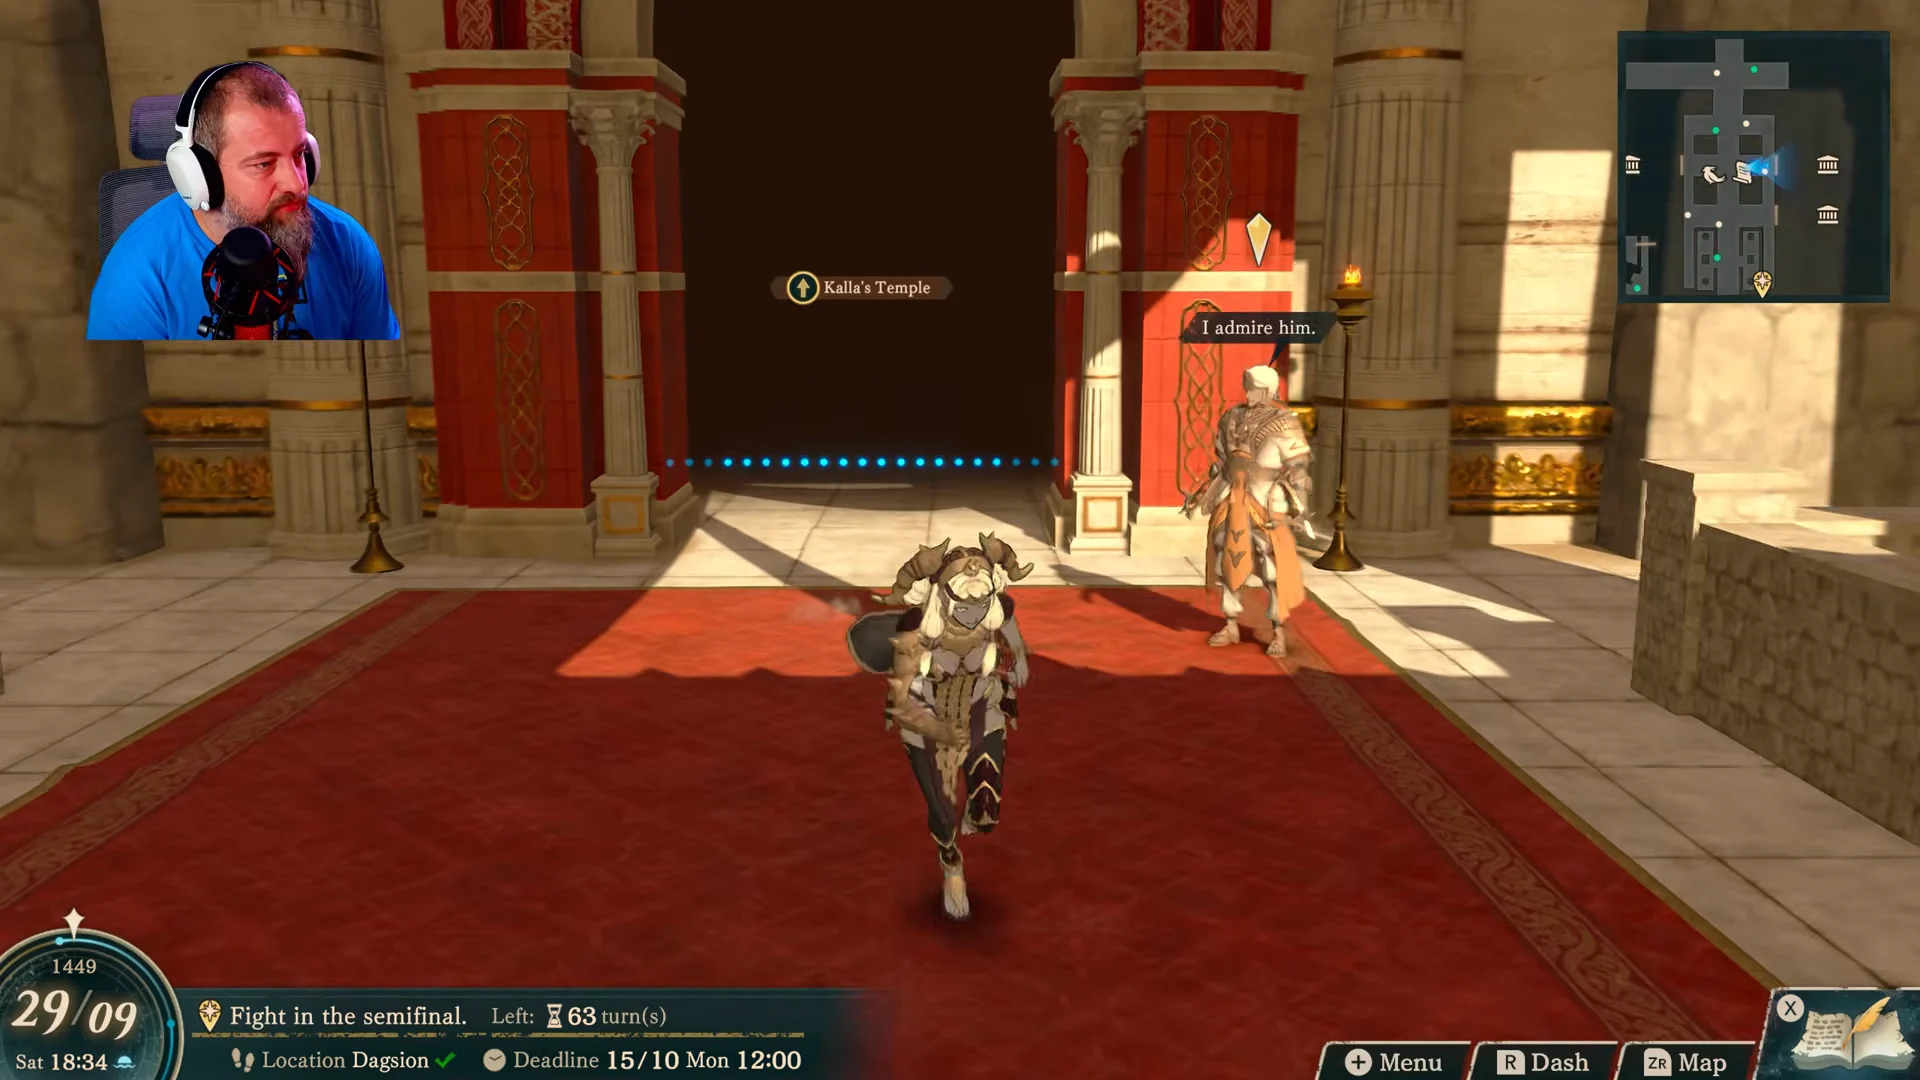
A confirmation banner reports the increased tribute and displays the gauge’s progress—for instance, Bless Lv 0 becoming Bless Lv 1—then a LEVEL UP notice identifies the effect gained. At Renown Level 10, a perk boosts service tribute and makes every gauge fill faster. Speak with the temple Reception and choose Blessing to adjust your four equipped blessings.
Holy days for faster service
The Calendar in your Adventure Journal features one god per weekday. Serving that god on their holy day fills the gauge faster and guarantees a Perfect result, which refunds the Motivation both units spent. Weekly activities reset on Sunday, so no god is assigned to it.
| God | Holy day | Role |
|---|---|---|
| Aurora | Monday | Defensive |
| Mars | Tuesday | Offensive |
| Smyrnos | Wednesday | Offensive |
| Jurah | Thursday | Defensive |
| Kalla | Friday | Evasion and movement |
| Credna | Saturday | Visibility and offense |
You can use different temples from week to week, with no penalty for changing gods after developing a main blessing. Raise Kalla and Aurora to their important levels early, choose the remaining equipped blessings for the maps ahead, and note that blessings you’ve unlocked and their levels transfer to your other routes after you complete a path.