
The Chasm-Stalker is the rod parked at the bottom of the Obsidian Trench, the deepest layer added in the Mariana’s Awakening update for Fisch. It is not a drop and it is not luck. You earn the right to buy it by finishing a long questline, opening a sealed gate, and completing every entry in the trench bestiary before an altar will even sell it to you.
Quick answer: Complete all five descendant quests Vaelor gives in Roslit Bay, unlock the Abyss Gate, fill the Obsidian Trench bestiary to 100%—including Skolopendra—then purchase the Chasm-Stalker from the trench altar for 5,000,000 C$.
What you need before the altar sells it
Four requirements gate the purchase. The altar sits in plain sight inside the trench, but interacting with it only shows the buy prompt once all four are done.
- Vaelor’s entire Mariana’s Awakening storyline, with all five descendant tasks included.
- Reach the Obsidian Trench by way of the Abyss Gate after opening it.
- Discover every entry in the Obsidian Trench bestiary (100%), including the Skolopendra boss catch.
- Have 5,000,000 C$ available when you use the altar.
Start the questline with Vaelor in Roslit Bay
-1415, 134, 482. Speaking with him launches a probe into the glowing mineral veins spanning Mariana’s Veil’s five layers and opens the entire progression.
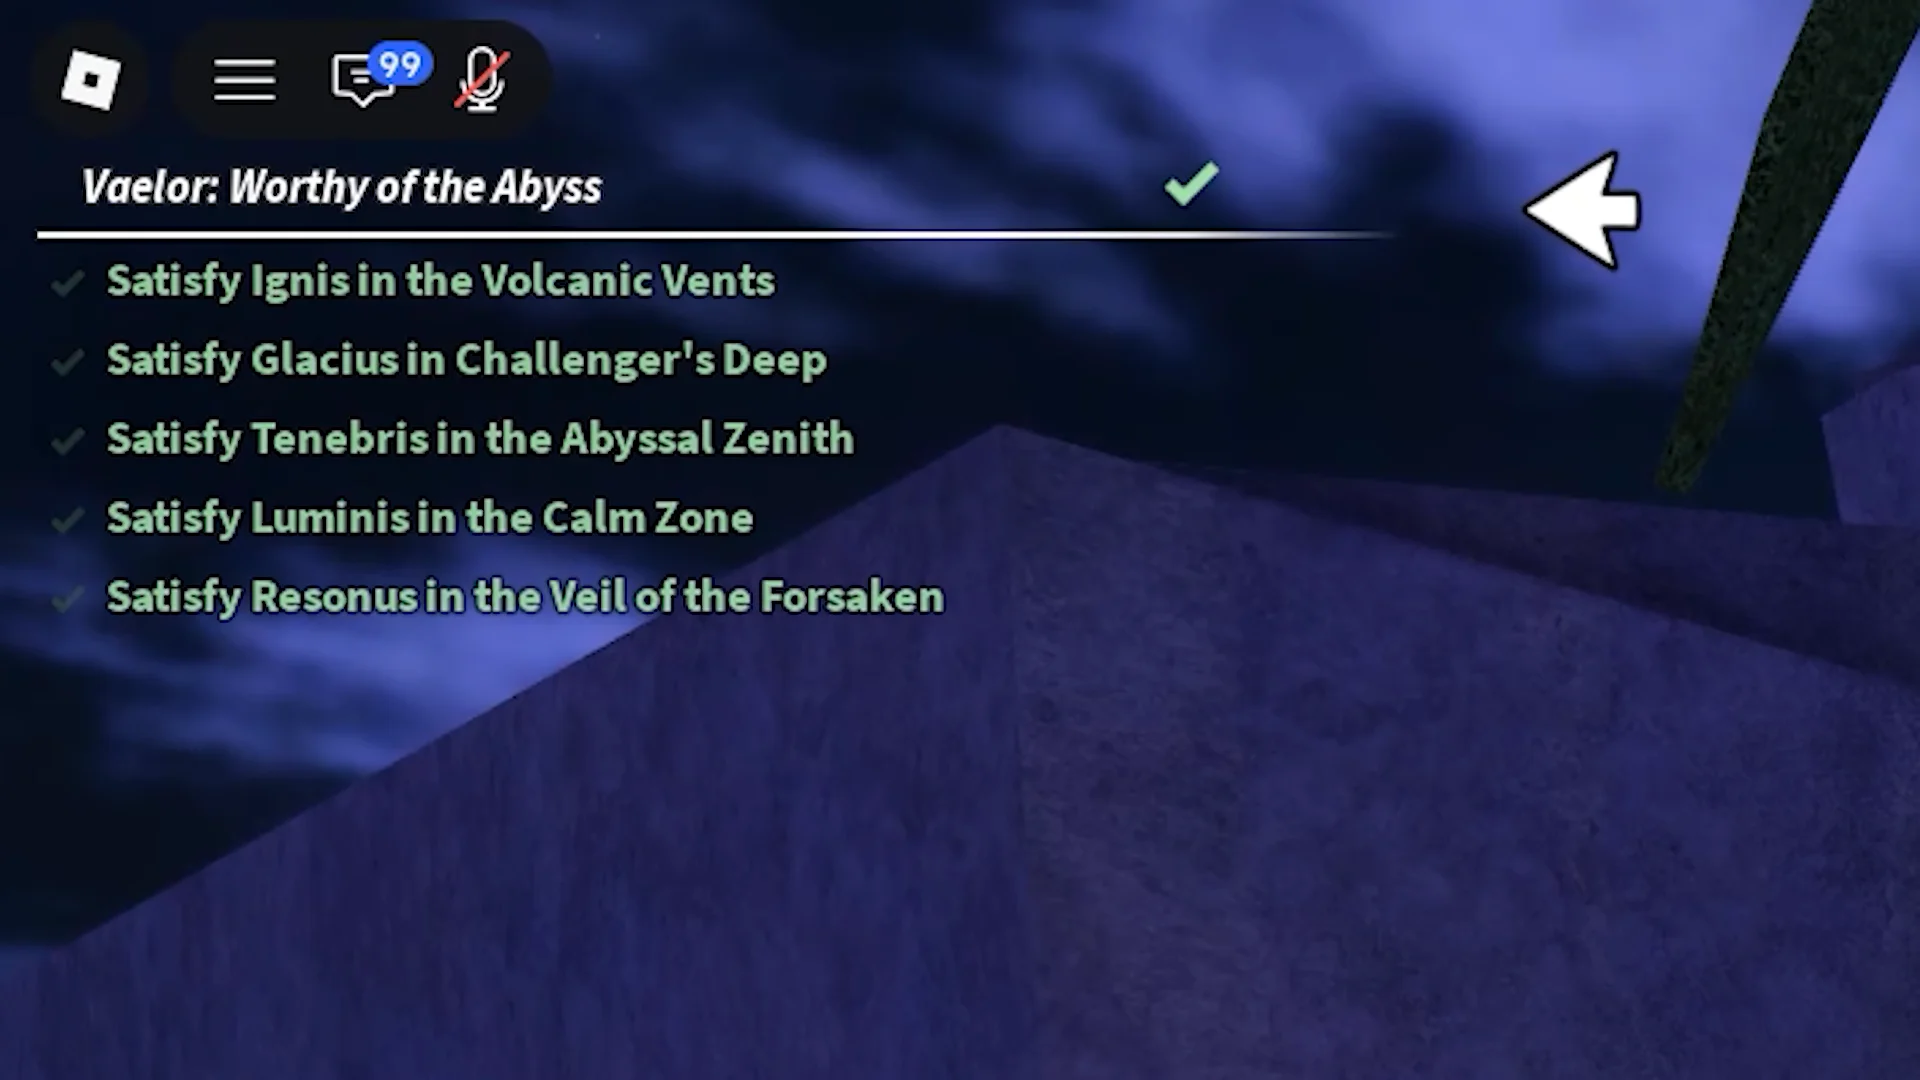
Each descendant gives you a specific rod for its quest and rewards Gauntlets on completion, so there is no reason to skip any objective. The rods and layers line up like this:
| Descendant | Layer | Rod used |
|---|---|---|
| Ignis | Volcanic Vents | Volcanic Rod |
| Glacius | Challenger’s Deep | Challenger’s Rod |
| Tenebris | Abyssal Zenith | Rod of the Zenith |
| Luminis | Calm Zone | Ethereal Prism Rod |
| Resonus | Veil of the Forsaken | Leviathan’s Fang Rod |
Many of the required catches must be Perfect Catches or carry a set mutation, so a normal catch will not count. Mutation consumables can help force the right result on stubborn fish.
Open the Abyss Gate with the Scylla riddle


Survive Trench Suppression and fill the bestiary
Crossing into the trench inflicts Trench Suppression, a debuff that sharply lowers your raw stats and grows stronger the longer you remain. A suddenly tiny fishing bar points to this effect, not a faulty rod. Interacting with the scattered glowing white crystals clears the suppression; locate one nearby before settling in for an extended fishing session.
The bestiary holds 12 entries. Ten are standard catches, and the last two are special encounters that run their own minigames.

- Pumice Puffer
- Scoria Scorpionfish
- Ash-Cloud Angelfish
- Obsidian Gaveltooth
- Cinder-Crust Gar
- Tectonic Toadfish
- Basalt Behemoth
- Magma-Glass Marlin
- Shatter-Tooth Shark
- Shatterjaw Shark
- Veiled Charybdis (special encounter)
- Skolopendra (boss)
Veiled Charybdis bites in the trench’s rivers, where it replaces the standard bar with a bespoke reeling minigame. Keep a progress lock under control while evading its attacks and whirlpools, which can wrest control away. If it takes control at a critical instant, the fish escapes.
Trigger and beat Skolopendra
After around four to six Veiled Charybdis catches, all the trench crystals glow deep red, announcing that Skolopendra, the layer boss, has woken. The encounter uses a separate minigame focused on avoiding red zones instead of standard reeling. Catching it adds the last bestiary entry and brings discovery to 100%.
Buy the Chasm-Stalker and confirm it worked
With the bestiary complete, return to the central altar in the Obsidian Trench. The requirement listing changes to an offer for 5,000,000 C$. Accept, and the rod goes directly into your inventory.
The Chasm-Stalker is ready when you can equip it and view its individual stat card; casting then replaces the usual reeling display with the rod’s red centipede-style interface.
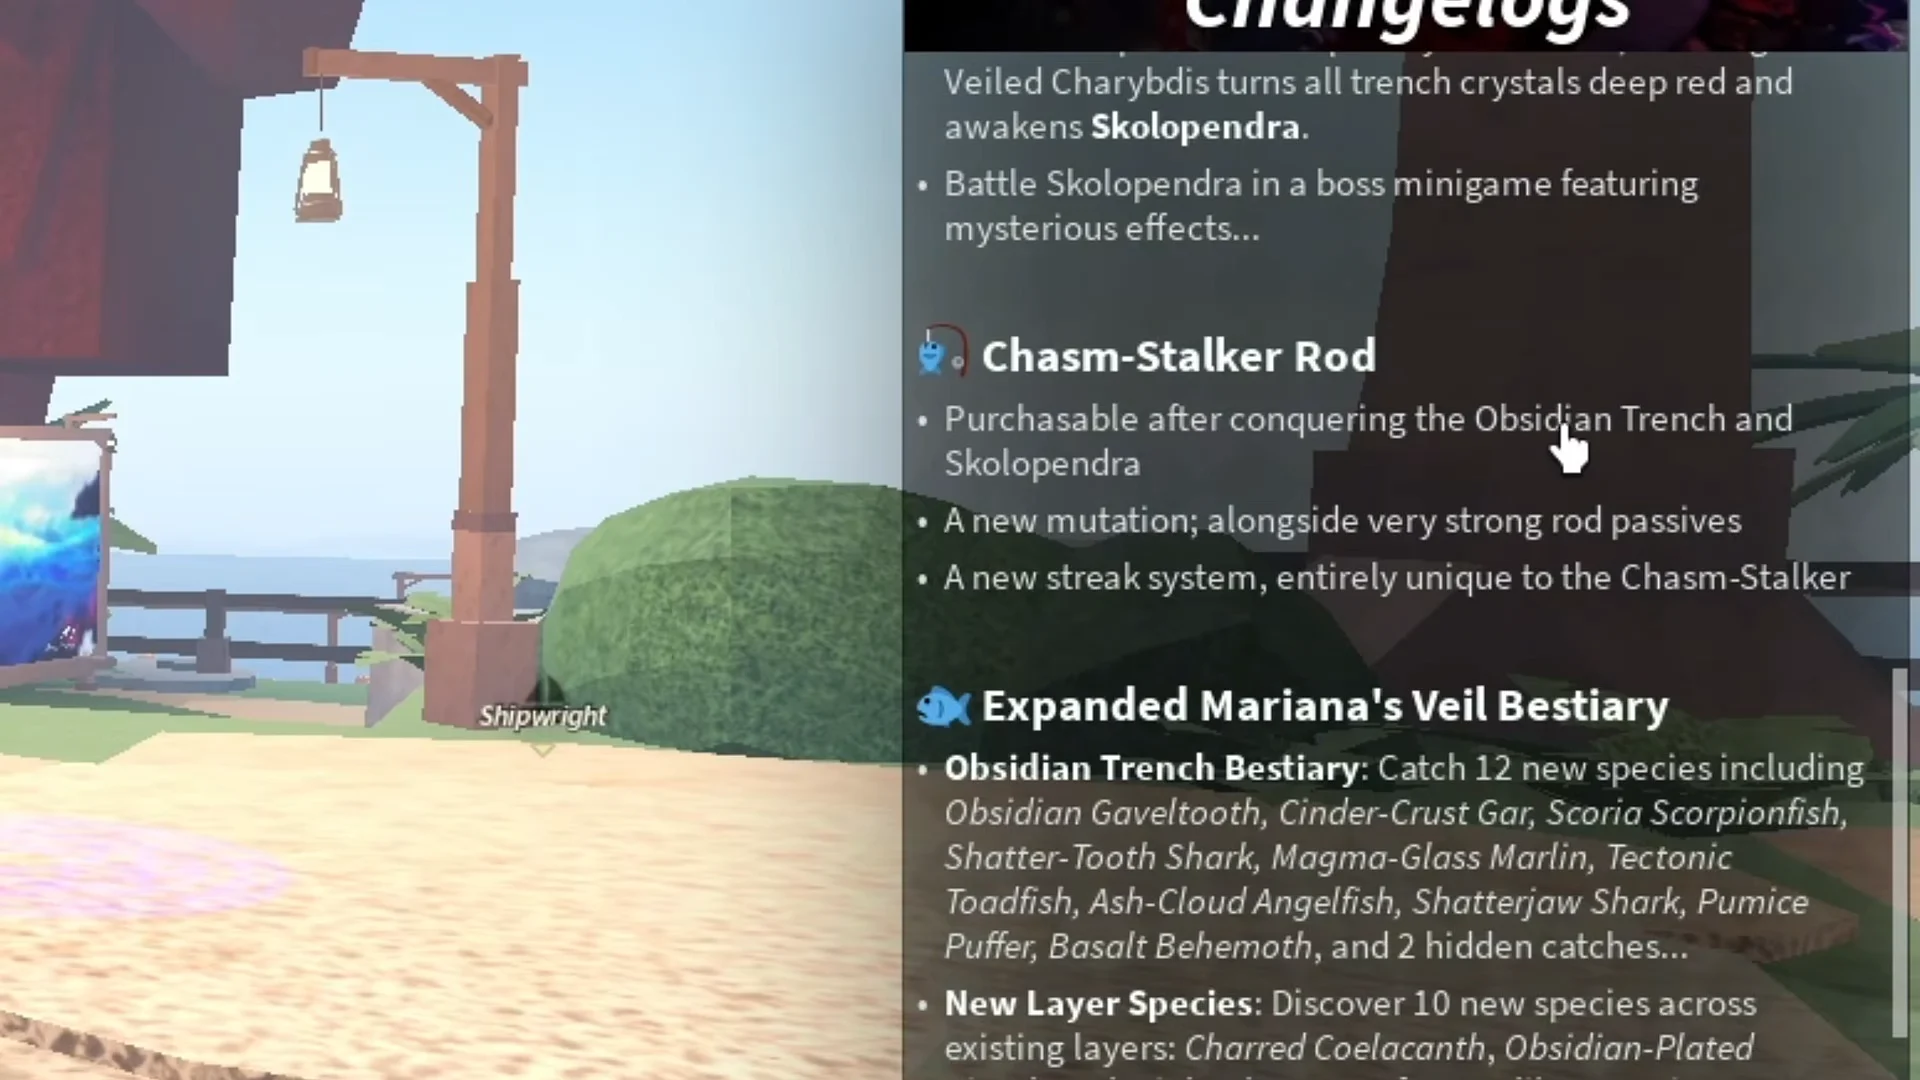
Chasm-Stalker stats and abilities
| Stat | Value |
|---|---|
| Lure Speed | 135% |
| Luck | 278% |
| Control | 0.3 |
| Resilience | 80% |
| Max Kg | Infinite |
| Durability | 200 |
| Line Distance | 300m |
The 278% Luck and infinite weight capacity are the headline numbers, letting the rod hook any fish and lean heavily toward value. Its Durability of 200 also means it can fish in Lava, Noxious Fluid, and Brine pools. On top of the raw stats, the rod carries mechanics no other rod has.
- Native mutations: 35% chance for Myriapodic (10x value) and 25% chance for Obsidian (8.3x value).
- It has a dedicated Perfect Streak counter: a failed Perfect Catch removes 15% from the streak, while a snapped line wipes the count back to 0.
- Each streak adds +8% Myriapodic chance (up to +40%, so 75% total) and up to 1.30x final fish weight.
- A whirlpool that has a 50% chance to appear every 4 seconds, pulling the fish and briefly reducing control before returning a permanent portion of the loss.
To earn C$, fish the Forsaken Shores pond during the day using Truffle Worm bait and the Starforged Spirit enchant, relying on Luck instead of hunting rare spawns. A brief session can bring in far more than the rod costs with one Sell All, making back the 5,000,000 C$ altar price quickly. The challenge lay elsewhere: finishing the descendant quests, solving the Scylla riddle, and getting Skolopendra onto the board.