Igdumdim64.dll, a part of Intel HD Graphics Driver, is a DLL (Dynamic Link Library) file that was first released with Windows Vista. Ever since it has been a part of the various iterations, Windows 10 being the current one. DLL files store instructions and information that can be used by more than one program. Since one DLL file is shared amongst multiple programs, it helps save memory, thus a fast and efficient computer.
Before we move to the fix, you must understand what the Igdumdim64.dll error is, the reason behind it, and the various errors you might receive. Igdumdim64.dll error is received when the file cannot be accessed, has been deleted, upgraded, or downgraded, or corrupted by malware. Ideally, this file is located in C:\WINDOWS\system32\, but certain programs require the file to be placed within their installation folder.
DLL files are used by multiple programs on your computer, which can sometimes be a little problematic. For instance, a program dependent on a DLL file makes changes to it or deletes it altogether, this would drastically impact the other programs using the same DLL file. When something of this sort happens, you receive a ‘Missing .dll File Error’.
There are multiple ways to fix the Igdumdim64.dll error on Windows 10. Try them out one at a time until the error is fixed.
Restart Your Computer
One of the simplest fixes is to restart your computer since it resolves with cache error. If you are not aware of what is causing the Igdumdim64.dll, this should be your first approach.
However, simply restarting won’t work if the ‘Igdumdim64.dll’ file is missing from your computer. In this case, you should go for a force restart.
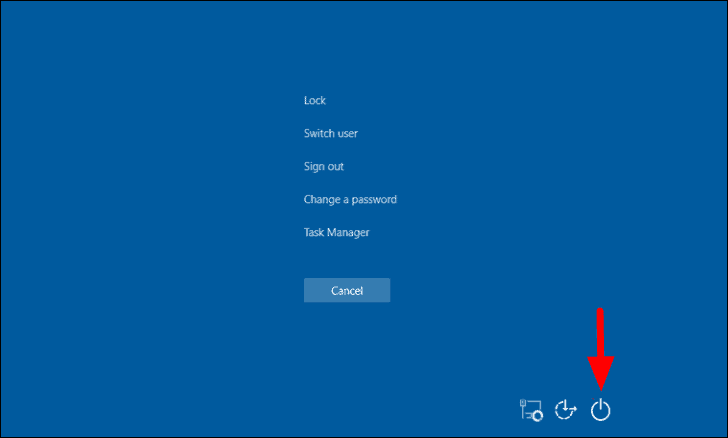
To do a force restart, press CTRL + ALT + DEL on your desktop. You will now see the option to switch user, change password, open the task manager amongst others. Hold the CTRL key and then click on the ‘Power’ icon at the bottom-right corner.
The next window will ask for a confirmation before going for a force restart. To confirm, click on ‘OK’, the option on the left.

Run A Virus Scan
If the app was working fine until recently, the Igdumdim64.dll might have been affected due to a malware attack. Before proceeding with any of the fixes, you should first run a scan to check for viruses. There are many antivirus applications available in the market, however, the built-in ‘Windows Security’ does an equally amazing job at detecting and removing viruses and other threats.
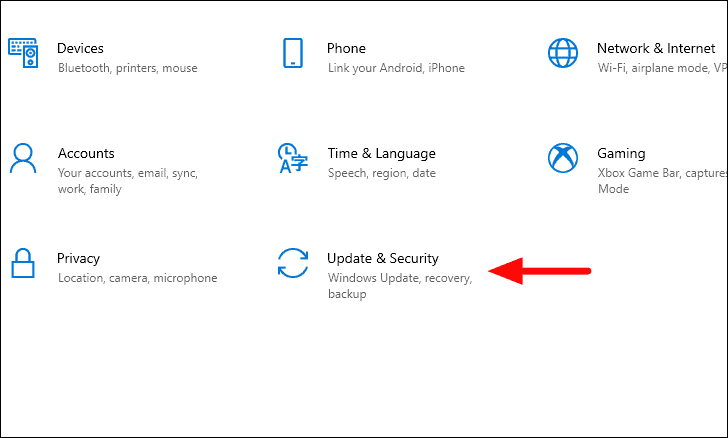
To run a scan, press WINDOWS + I to open the system settings. In the settings window, select ‘Update & Security’, the last option.

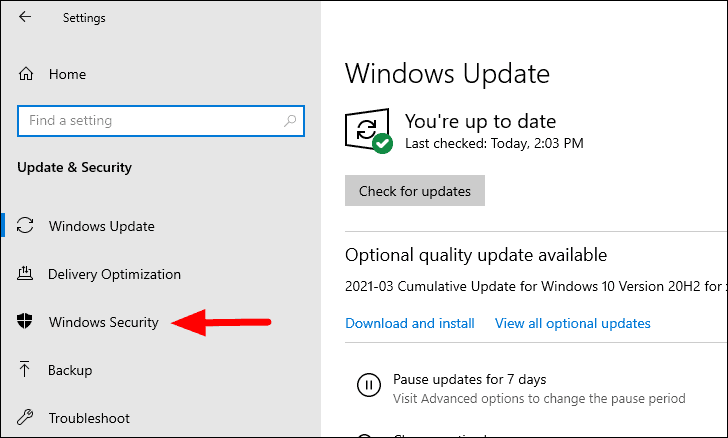
The ‘Windows Update’ tab will open by default, since it is the first option. You can go to other tabs by selecting the relevant option from the list on the left. To run a quick scan, select ‘Windows Security’ from the list.
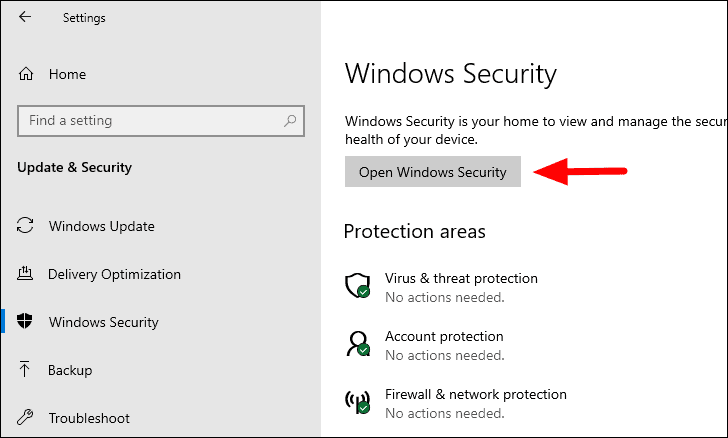
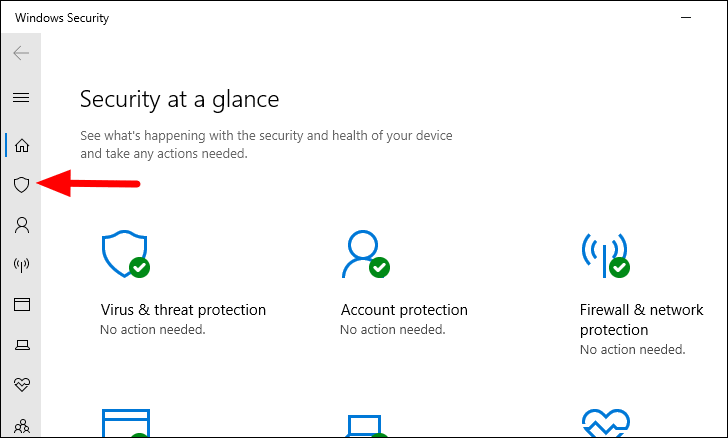
You will now see the various proceptions areas and if any action is required from your end. Click on ‘Open Windows Security’ icon at the top to open it.
The ‘Windows Security’ window will now open. You will now see the same options as earlier on the first page. Since we are here to run a quick scan, select ‘Virus & threat protection’, the second tab on the left.
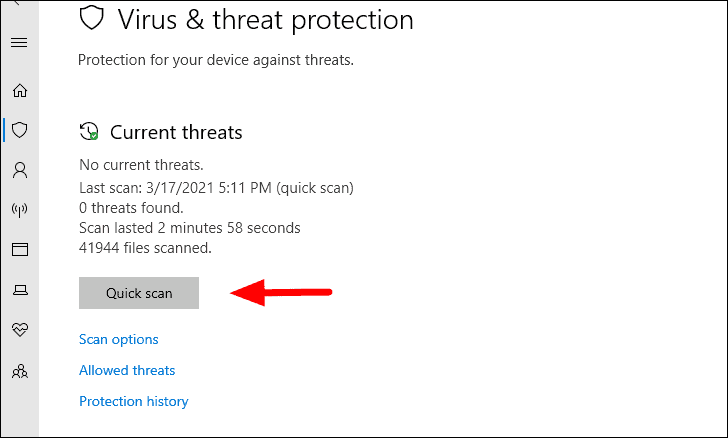
In this window, you can see if there are any current threats, the last time a quick scan was run and how long did it last back then. To run a scan, click on the ‘Quick scan’ icon right under the information.
Windows will now run a scan and apprise you of any current threats. If any is found, take the necessary action to eliminate it and check if the issue is resolved. In case no threat is found, proceed with the next fix to fix the error.
Retrieve Igdumdim64.dll File if it was manually deleted
Many a time, while clearing up space on the computer, users often mistakenly delete the Igdumdim64.dll file without realizing the implications. If that’s the case you can probably retrieve the file from your recycle bin (if it’s still there).
This works only if the file was healthy before deletion. In case, the file got corrupted, this method wouldn’t work for you.
To retrieve the file from the Recycle Bin, right click on it and then select ‘Restore’, the first option in the context menu.

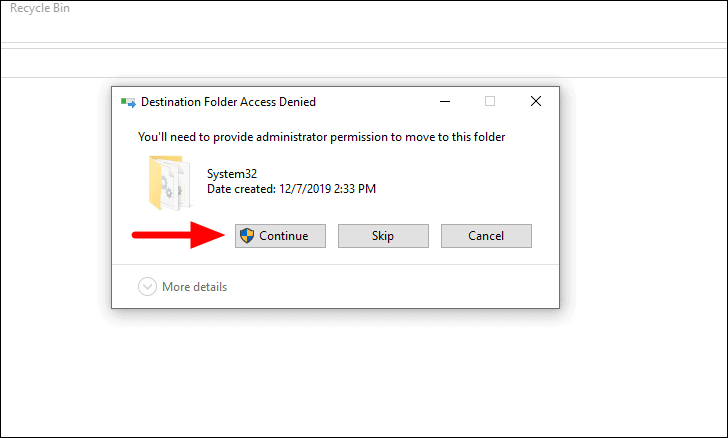
A dialog box will now appear asking for administrator permission to restore the file. To proceed with the restore, click on ‘Continue’.
File recovery software also works fine and will help you recover the deleted Igdumdim64.dll.
Reinstall the Malfunctioning Application
Generally, one or two apps throw this error and not all of them at the same time. Therefore, reinstalling the app tends to fix the problem in most cases. If you have the original pen drive or CD the app came in, use it to reinstall. In case, you downloaded it from the web, use the same website for the download and see if the issue is resolved.
Update or Reinstall Intel HD Graphics Driver
Many a time, the Intel HD Graphics driver on your PC may be outdated or gotten corrupt due to some reason. To fix the error, all you have to do is to update or reinstall the driver, depending on the case.
To reinstall the driver, go this link and download the driver to your PC and then install it.
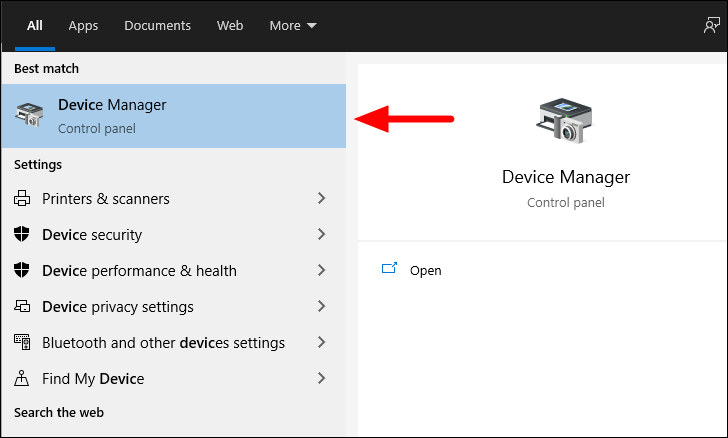
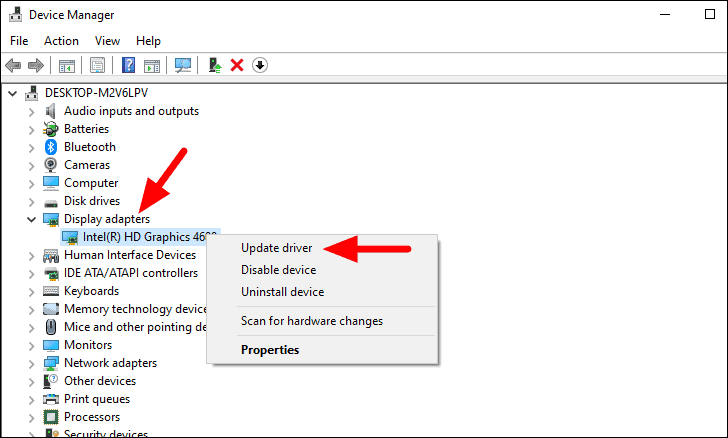
To update the driver, search for ‘Device Manager’ in the start menu and then open it.
Double-click on ‘Display adapters’ from the list, right click on the graphics driver and then select ‘Update driver’ from the context menu.
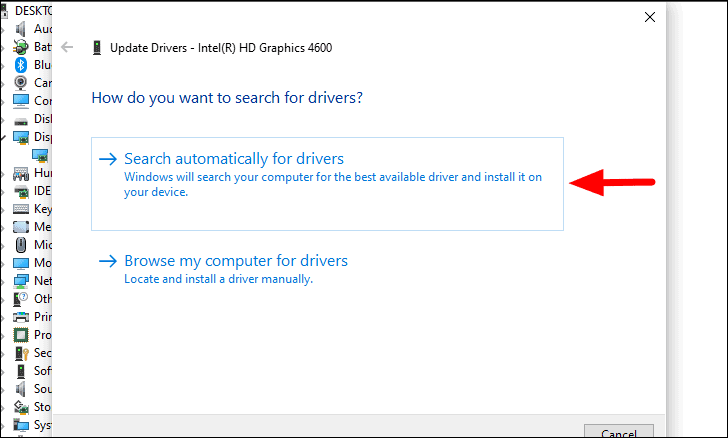
You now have the option to either let Windows search for the driver or install one that you have already downloaded to your computer. If you are amateur with such stuff, it is recommended that you let Windows search for the best available driver by clicking on the first option. However, if you have downloaded one, click on the ‘Browse my computer for drivers’, and then locate and select the driver to install it.
Update Windows
If you are running a previous version of Windows, it might affect certain ‘.dll’ files. For instance, the current version has made some changes in the Igdumdim64.dll file or replaced it altogether, therefore, other programs might not be able to access it. This will in-turn lead to the Igdumdim64.dll error.
To update the Windows, go to ‘Update & Security’ in ‘System Settings’ as discussed in earlier sections. Next, click on the ‘Check for updates’ icon at the top to scan for any available updates.
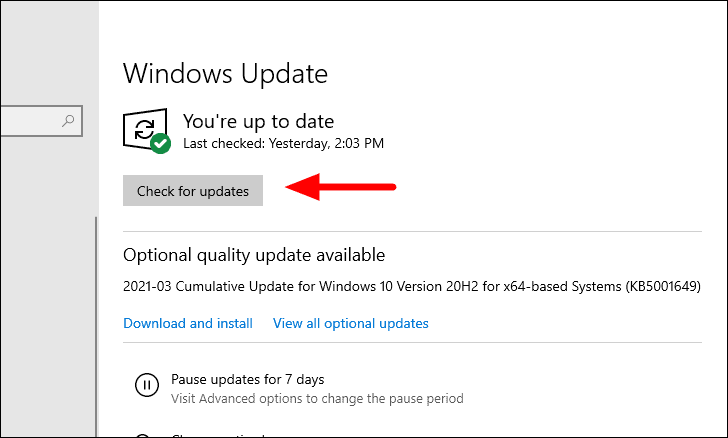
In case there is an available update, download and install it to resolve the error.
Run a SFC Scan
SFC or System File Checker is another way to fix the missing Igdumdim64.dll error. We are mentioning this at the last since it consumes a lot of time for the scan to complete and make the necessary fixes. However, none of the methods mentioned above work, you should definitely give this one a try.
Search for Command Prompt in the start menu, right-click on it and then select ‘Run as administrator from the context menu.
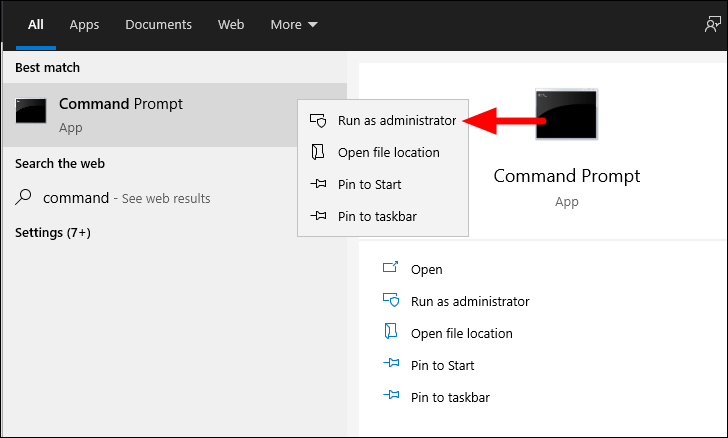
To run a SFC scan, type the following in the Command Prompt and then press ENTER.
sfc /scannow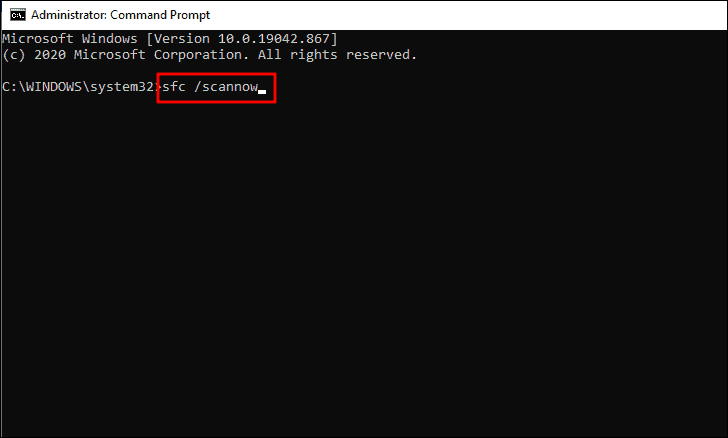
The scan will start within a few seconds and will be completed in some time, depending on the computer speed and data stored on the system.
Reset your Computer
If none of the above methods have fixed the error, you can try resetting your computer. You have a number of customizations available while resetting, which helps you remove just the right files, reinstall windows or revert to the default settings.
To reset, press WINDOWS + I to open the system settings and then select ‘Update & Security’ from the options.
On the next ‘Screen’, select the ‘Recovery’ tab from the list of options on the list.
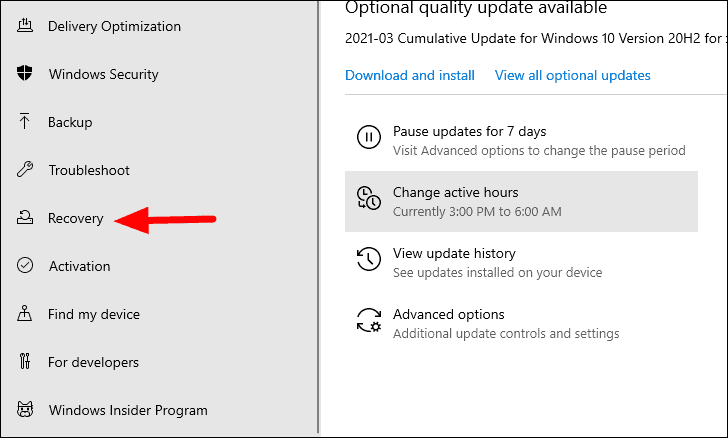
You now have various recovery options, resetting the PC, revert to the previous version of Windows and advanced startup. Since we are planning to reset, click on ‘Get started’ under ‘Reset this PC’.

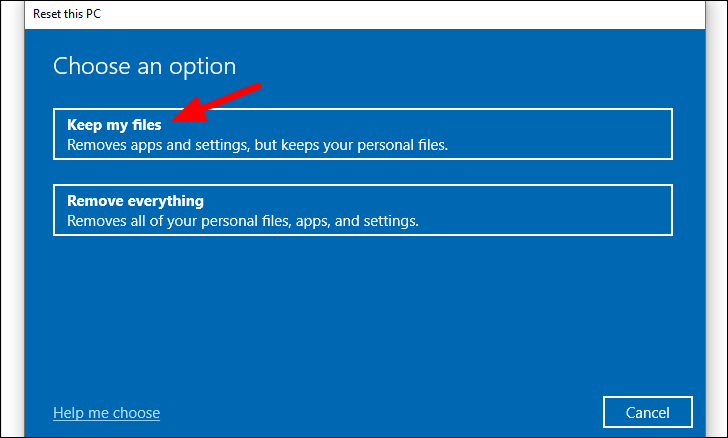
After you click on ‘Get Started’, the ‘Reset this PC’ window will open. You now have the option to either remove apps and settings but keep the files (Keep my files) or remove everything (Remove everything). In the case of the Igdumdim64.dll error, you can select the ‘Keep my files’ option as it works fine in fixing the error.
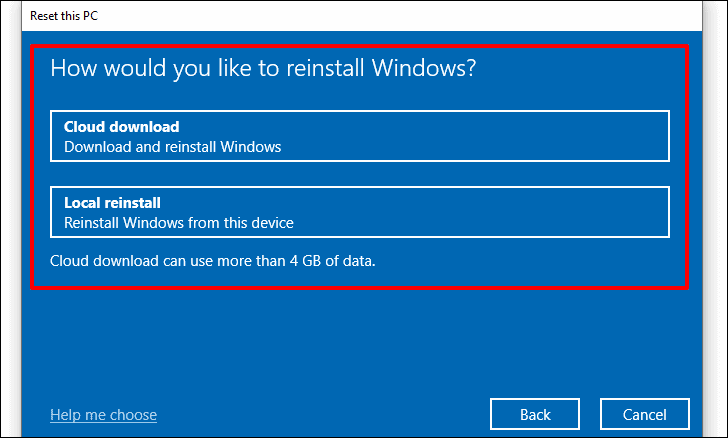
On the next screen, you have to select an appropriate option to reinstall the windows before proceeding with the reset.
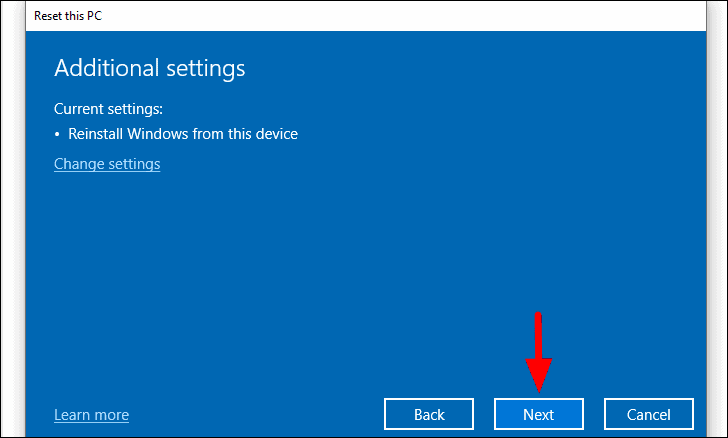
You will now see the current settings with which you are resetting your PC. To change the current settings, click on ‘Change settings’ and make the necessary adjustments. After you are done, click on ‘Next’ at the bottom.
Finally, click on ‘Reset’ to go ahead with the current settings. Resetting your PC may take up to several minutes depending on the settings and your computer will boot several times during the process. After resetting, your PC will restart with all the selected apps and settings removed.
Igdumdim64.dll error can affect the workflow and hamper productivity apart from not allowing the app to function. The error needs to fix immediately after it’s brought to notice and the system is checked for viruses, as it can affect other programs and settings. With the methods mentioned above, you will easily be able to resolve most of the Igdumdim64.dll errors that you might come across.


