
When a video lags on Windows 10, it’s probably the most irritating feeling ever. There are various problems that lead to the issue and you can fix them easily at home without the need to take your system out for a repair.
Also, the lag or stutter is not always for the same set of videos for every user. For some, the videos stored on their system may lag while for others it could be with the videos they play online. Some users have also reported issues with videos on a specific media player.
What Causes Videos to Lag or Stutter on Windows 10?
Before we delve into the various fixes, it’s necessary to understand the causes behind videos lagging or stuttering on Windows 10. Once you identify the underlying issue that’s leading to the lagging of videos, fixing it would be much simpler and convenient.
- Running an older version of Windows
- Outdated drivers
- Outdated media player
- Corrupt video file
- System infected with malware
- Incorrect system configuration
Now that you know the various issues, it’s time we walk you through the fixes. The fixes have been categorized into three sections, one for videos stored on the system, another for issues playing a video on the VLC media player, and the last for playing videos online.
Fixing Lagging and Stuttering for Videos Stored on Computer
Since there are multiple factors that lead to a lag in videos, the solutions are diverse but anyone with basic technical acumen can easily execute all the fixes mentioned in the article.
Fix 1: Scan for Hardware Changes
Hardware changes can lead to lagging and stuttering of videos and scanning for it might help fix the issue. Before you start with the other fixes, you should first scan for hardware changes.
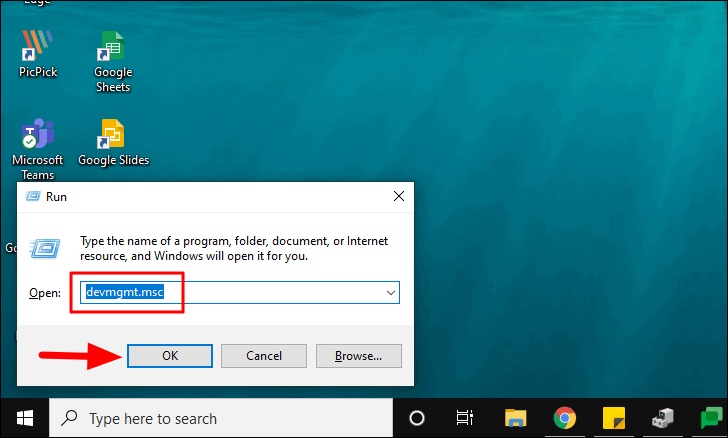
To scan for hardware changes, you first need to open the ‘Device Manager’. Press WINDOWS + R to launch the ‘Run’ command. Next, enter ‘devmgmt.msc’ in the text box and then click on ‘OK’.
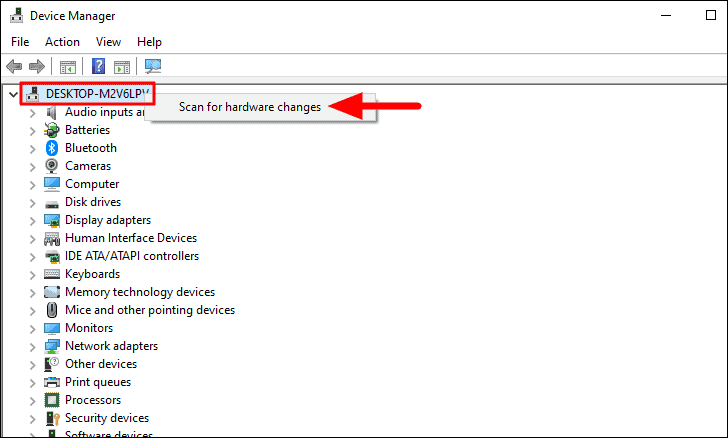
Now, right-click on the device name at the top and then select ‘Scan for hardware changes’ from the menu.
After the scan is complete, play the video again and check if the playback issue is resolved. If you still experience lag and stutter, try the next fix.
Fix 2: Update Windows
Whenever a video lags for a prolonged period on multiple media players, your primary approach should be to look for Windows updates. With each update, the bugs and issues in the previous version are fixed. If the videos on your system are lagging due to a bug, updating the Windows should solve the problem.
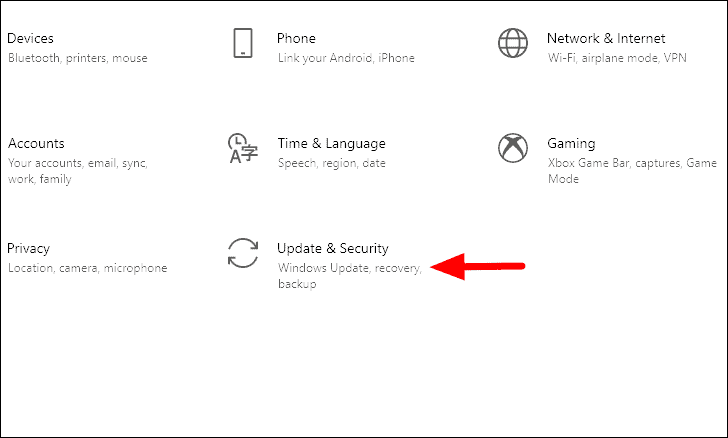
To search for updates, press WINDOWS + I to launch system ‘Settings’ and then select ‘Update & Security’ from the options.
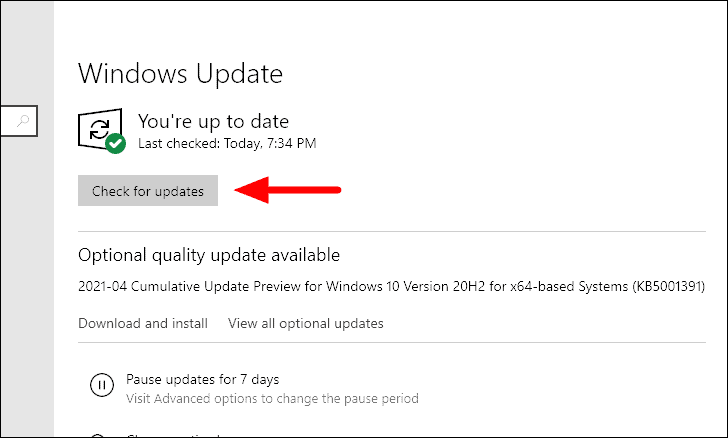
The ‘Windows Update’ tab will open by default since it’s listed first on the left. Click on the ‘Check for updates’ icon on the right to check if there are any available Windows updates. In case there is, Windows will start to download and install it on your system.
You will be asked to restart the computer once the updates are installed. Now, check if the issue with playback is resolved. If not, move to the next fix.
Fix 3: Update Graphics Driver
Outdated drivers also result in lagging and stuttering of videos. Windows generally look up for driver updates and install them on their own. However, in some cases, it does not happen and if you are facing issues with video playback, always check for graphic driver updates.
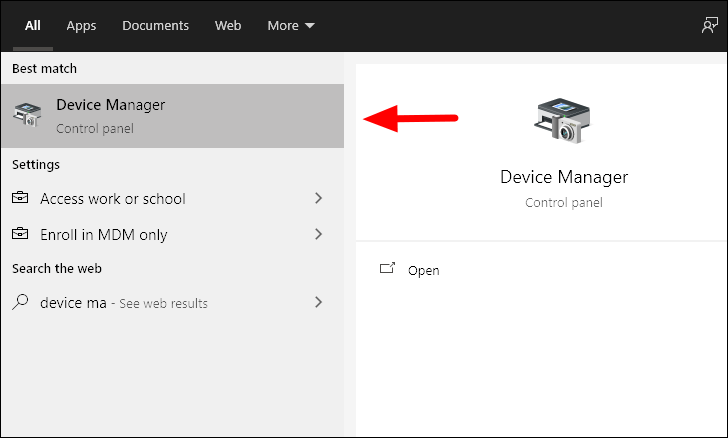
To search for graphic driver updates, you first need to launch the ‘Device Manager’. Search for it in the ‘Start Menu’ and then launch it by clicking on the search result.
On the ‘Device Manager’ window, double-click on ‘Display Adapter’ to view the drivers under it.

Next, right-click on the graphics drivers and select ‘Update driver’ from the context menu.

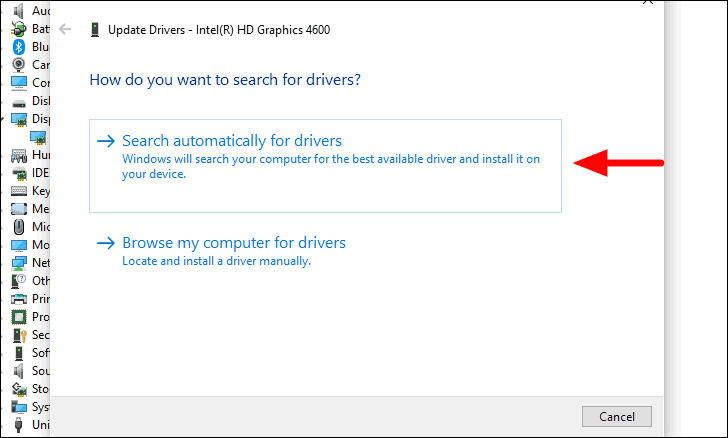
The ‘Update Driver’ window will open where you will find the options to either let the Windows search for the driver or you can browse and manually install it, in case you have already downloaded the driver. If you are not too tech-savvy, it’s recommended that you select the first option. Windows will now look for the driver and install it, in case an updated version is available.
After you have updated the driver, reboot the Windows and check if the error is fixed.
Fix 4: Restore Default Settings for the Power Plan
If you have made modifications to the power plan, it could be leading to lagging and stuttering of videos when you play them. To fix the issue, restore default settings for the current power plan.
To restore default settings for the power plan, right-click on the battery icon in the system tray and then select ‘Power Options’ from the menu.

The ‘Power Options’ window will now launch. Now, click on ‘Change plan settings’ under the ‘Selected plan’ section.

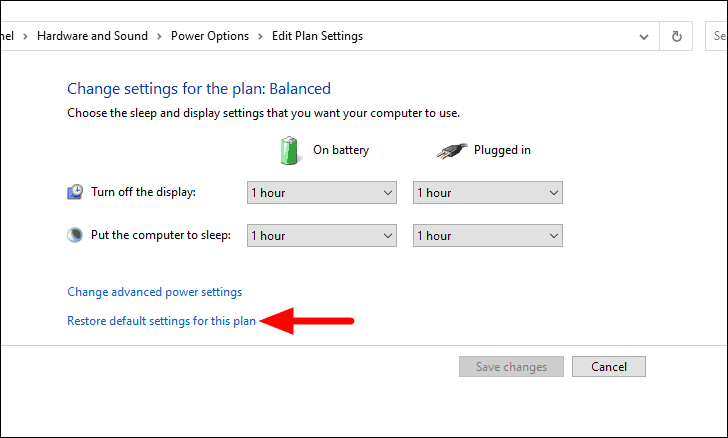
You will now see the current power plan and its settings. Next, click on ‘Restore default settings for this plan’ at the bottom.
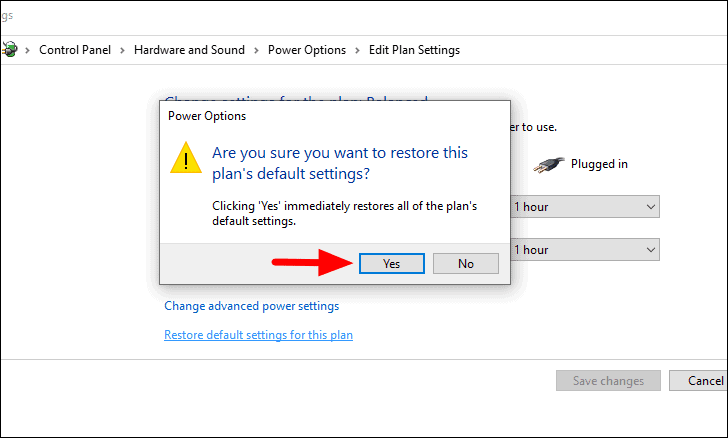
Now, click on ‘Yes’ on the confirmation box that pops up.
Fix 5: Changing the Number of Processors
Changing the number of processors has worked for many users. Although it’s not a sure-shot method but if none of the ones above have worked for you, it’s time you give it a try.
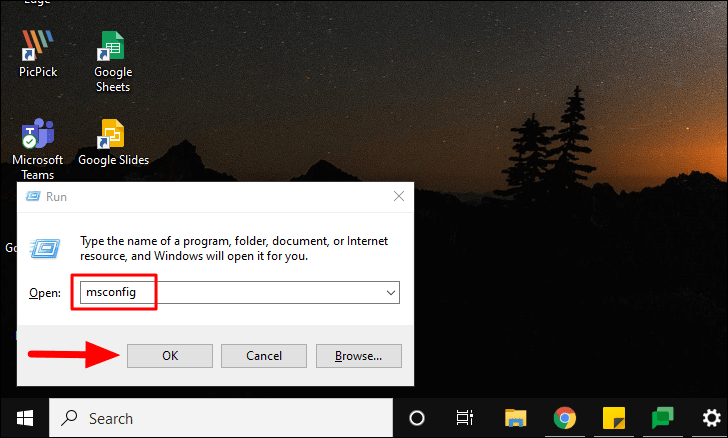
To change the number of processors, you first need to launch ‘System Configuration’. Press WINDOWS + R to launch the run command, enter ‘msconfig’ in the provided section, and then click on ‘OK’.
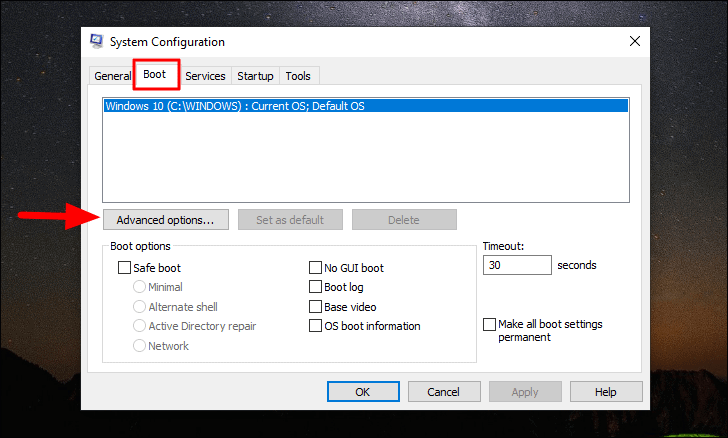
In the System Configuration window, select the ‘Boot’ tab at the top and then click on ‘Advanced options’.
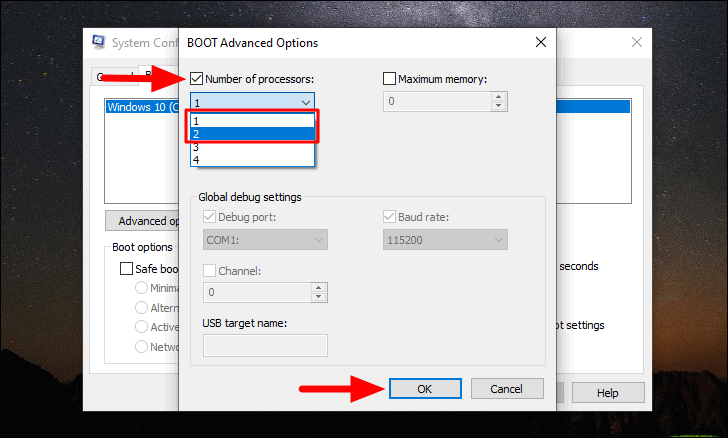
Next, tick the checkbox for ‘Number of processors’, click on the box under it, and then select either ‘1’ or ‘2’ from the drop-down menu. After you have changed the number of processors, click on ‘OK’ at the bottom to save the changes in the ‘BOOT Advanced Options’ window.
Again click on ‘OK’ on the ‘System Configuration’ window to save the modifications and close the window. Now, reboot your system and see if the lag and stutter error for the video playback has been fixed. If not, move to the next fix.
Fix 6: Modify the Wallpaper Settings
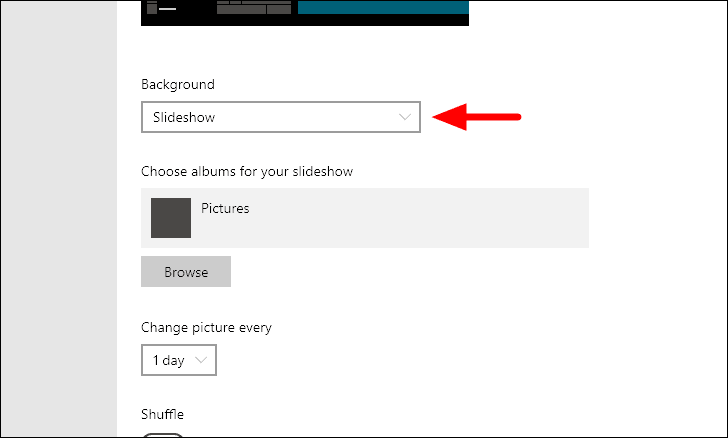
When you set a slideshow as the wallpaper, every time the background picture changes, the video you are playing may skip a frame. This can be categorized as a bug in Windows, and if this is the issue that you are encountering, changing the wallpaper to something static might do the job.
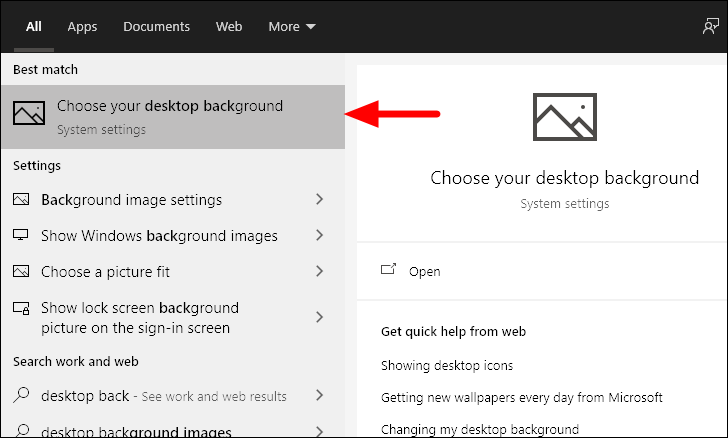
To change the background, enter ‘Desktop Background’ in the ‘Start Menu’ and then launch the setting from the search results.
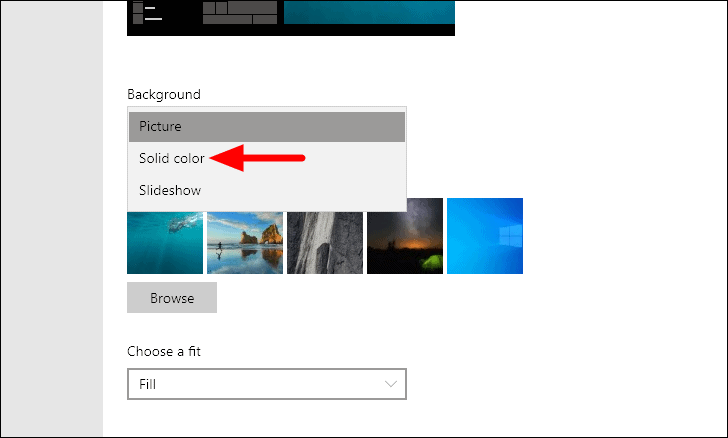
Next, click on the box under background to select a different type.
Next, select either ‘Picture’ or ‘Solid color’ from the menu.
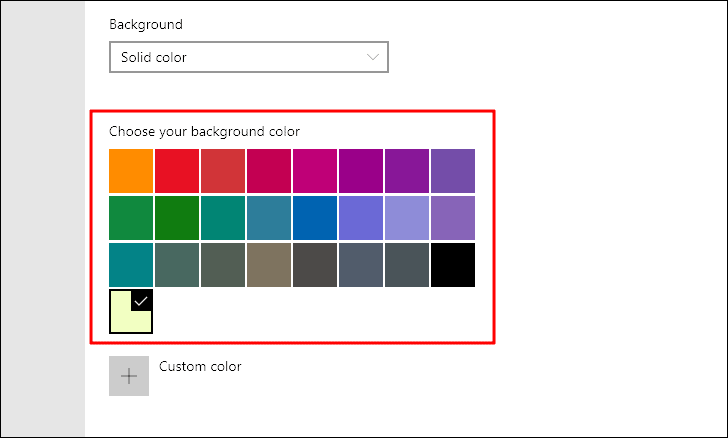
In this case, we have selected ‘Solid Color’ in the last step and various options are displayed to chose from. If you select picture, there will be a few options for you chose from or you can browse the system for more.
Fix 7: Lowering the Video Resolution
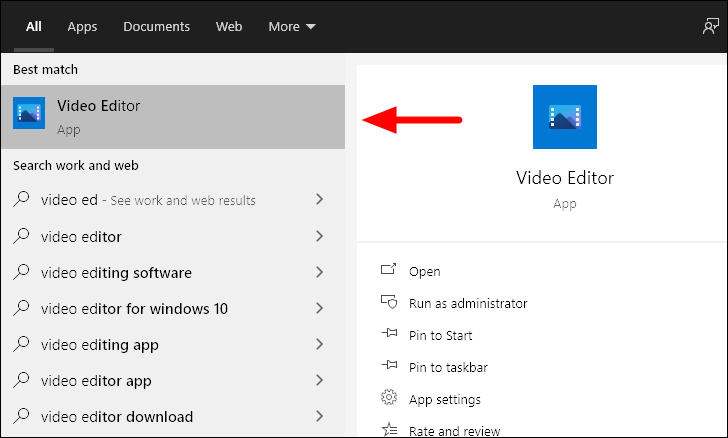
Many a time, high-resolution videos may lag or stutter on Windows 10. If none of the above fixes resolved the issue for you, try lowering the video resolution. There are multiple third-party apps that allow you to lower the resolution, however, the Video Editor built-in in the ‘Photos’ app negates the need for any.
Search for ‘Video Editor’ in the ‘Start Menu’ and then click on the result to launch it.
Next, click on ‘New video project’ option near the top-left corner to create a new project.

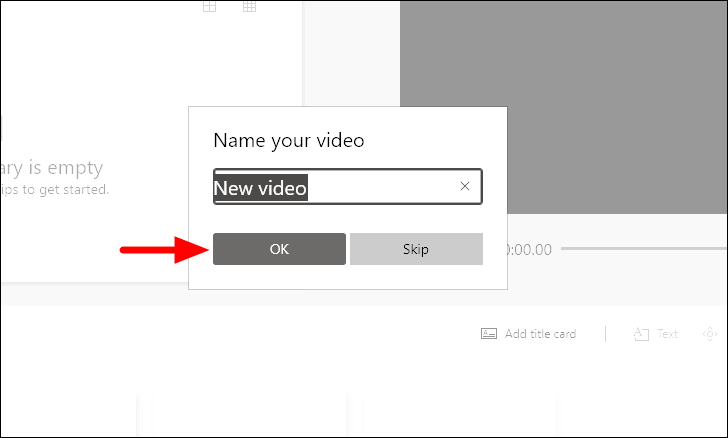
Enter a name for the video project in the provided section and then click on ‘OK’.
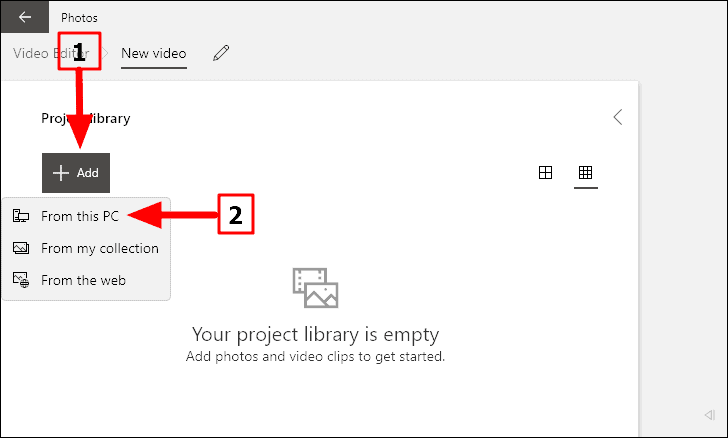
You now need to add videos to the project to lower their resolution. Click on ‘Add’ near the top-left corner and then select ‘From this PC’ in the drop-down menu.
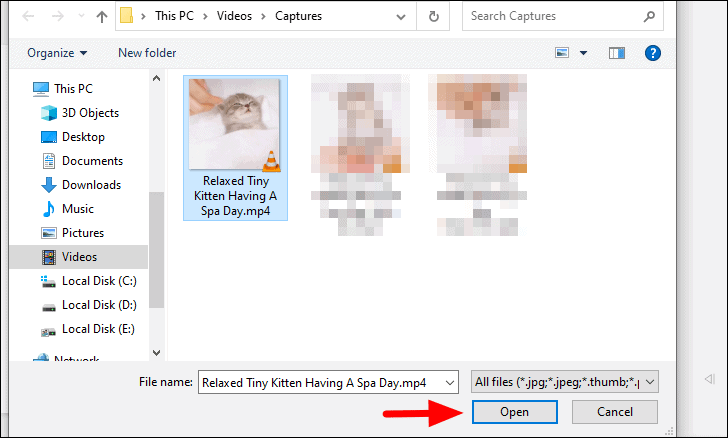
Now, locate and select the video for which you wanted lower resolution and click on ‘Open’ at the bottom.
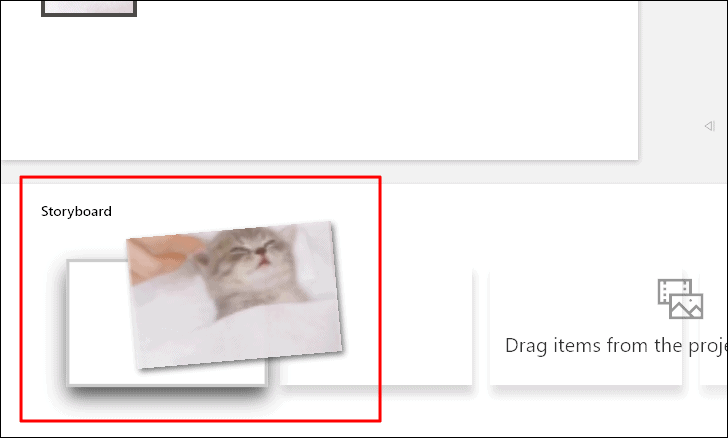
Next, drag and drop the video from ‘Project Library’ section to the ‘Storyboard’ section at the bottom.
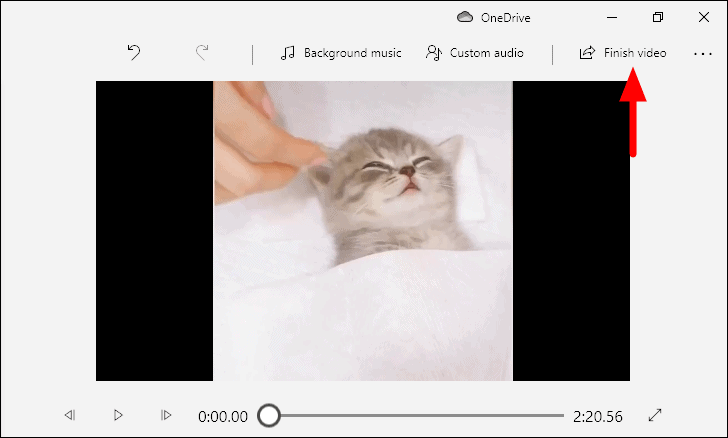
Since we are not here to make any edits, rather just lower the resolution, click on ‘Finish Video’ at the top-right corner.
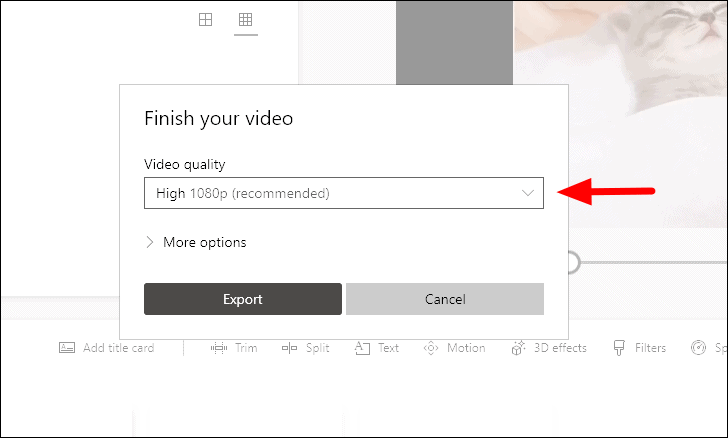
The ‘Finish your video’ window will pop up, click on the box under ‘Video quality’ to explore the other options.
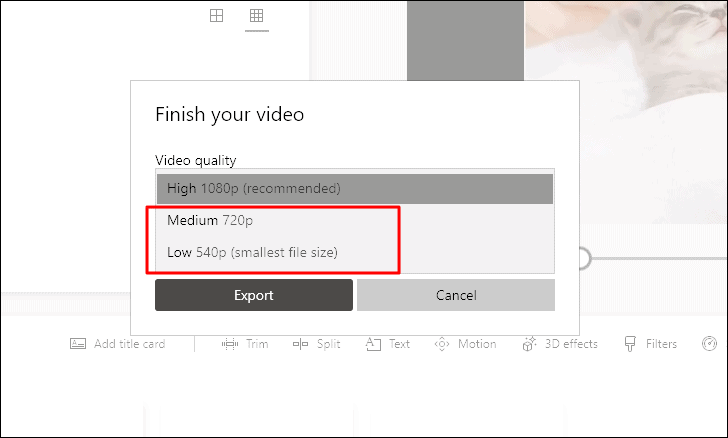
Now, select a lower resolution from the drop-down menu based on your preference and the desired final video quality.
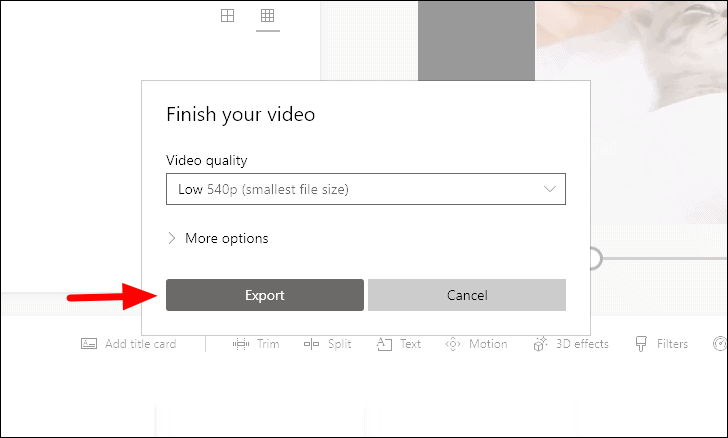
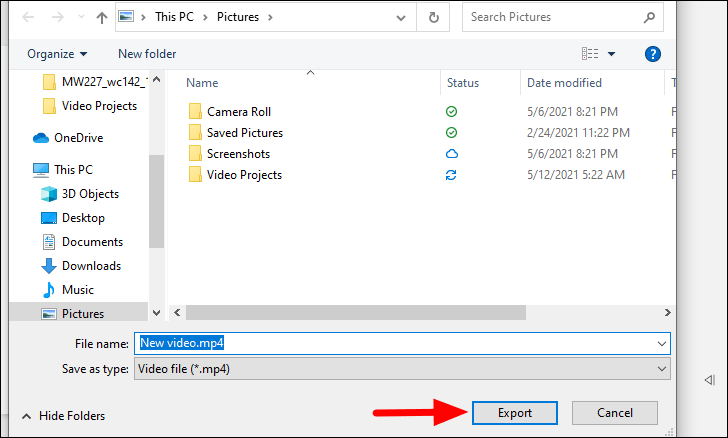
After you have selected a lower resolution, click on ‘Export’.
Now, browse and chose the location where you want to save the new video with lower resolution and click on ‘Export’ at the bottom.
You can now play the new video and the lag and stutter issue will be resolved. This should however be the last resort since it affects the video quality.
Fixing Lagging and Stuttering for Videos with VLC Media Player
VLC Media Player is one of the most extensively used multimedia players across the globe as it supports almost all formats and has a straightforward interface. However, there are times when a video may lag while playing on VLC which is irksome. But the best part, VLC has various built-in features that allow a user to fix the issue.
Fix 1: Disable Hardware-Accelerated Decoding
Hardware-accelerated decoding could be one of the reasons behind the lagging and stuttering of videos. If you are facing issues with multiple videos, it’s time you disable it.
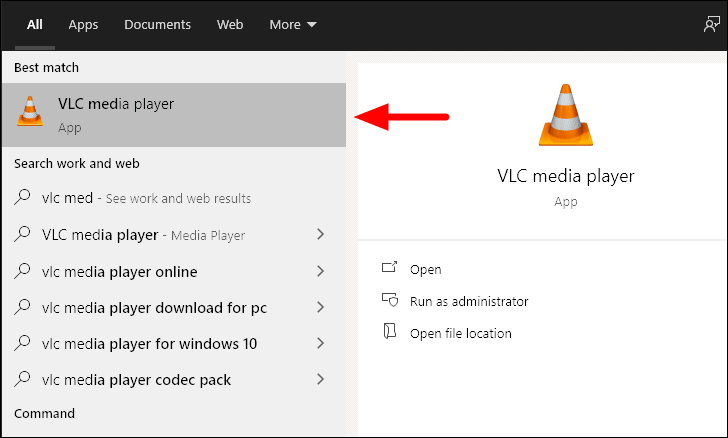
Search for ‘VLC Media Player’ in the ‘Start Menu’ and then launch the app by clicking on the search result.
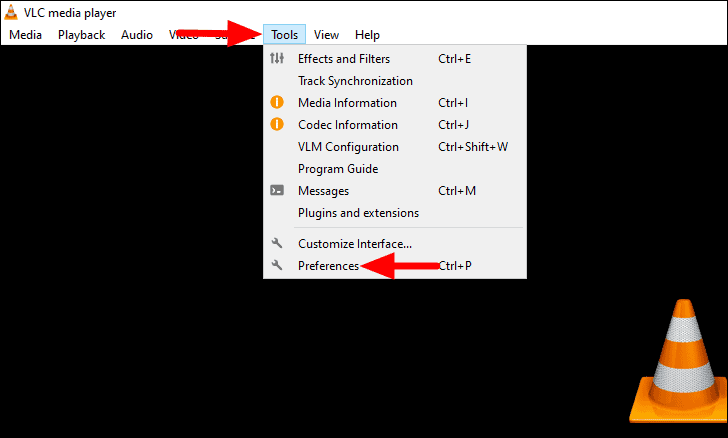
Now, click on the ‘Tools’ option in the top ribbon and select ‘Preferences’ from the drop-down menu. You can also use the WINDOWS + P keyboard shortcut to launch the ‘Preferences window.
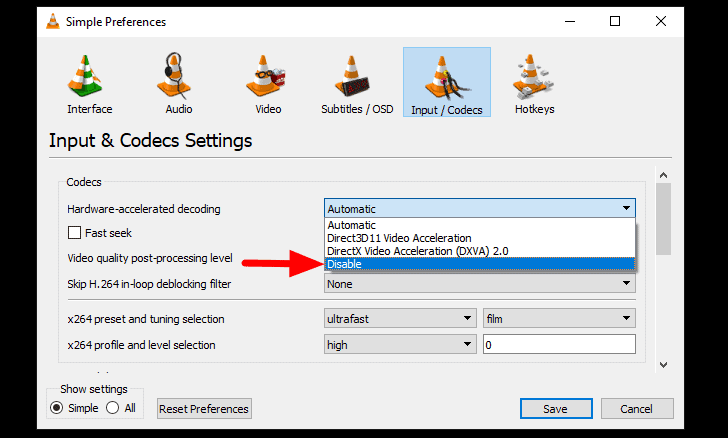
In the preferences window, switch to the ‘Input/Codecs’ tab from the top, and then click on the box next to ‘Hardware-accelerated decoding’.
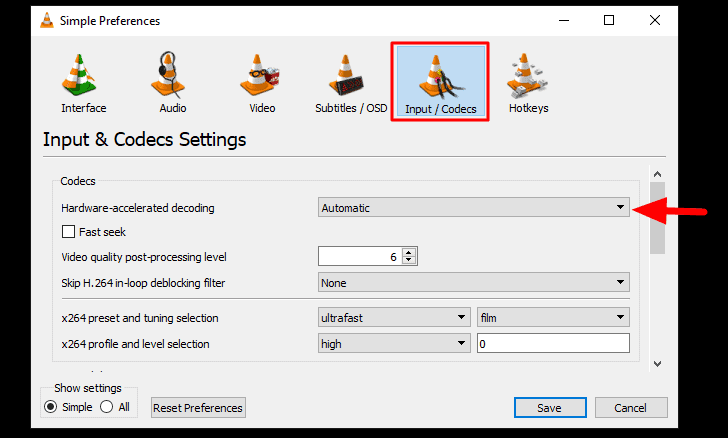
Next, select ‘Disable’ from the list of options in the drop-down menu.
After you have disabled hardware-accelerated decoding, click on ‘Save’ at the bottom to apply the changes.
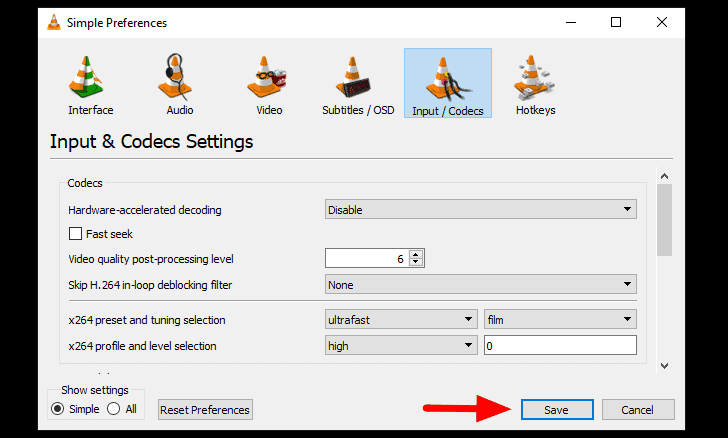
Now, play the video that was earlier lagging and see if the issue has been fixed. If not move to the next fix for VLC.
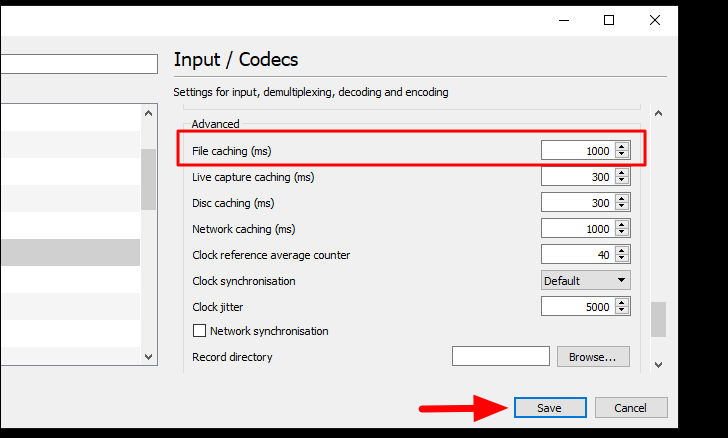
Fix 2: Change File Caching Value
Another common fix is to change the ‘File caching’ value. When the value is high, HD videos tend to lag and stutter, thus changing it to a lower value will do the job.
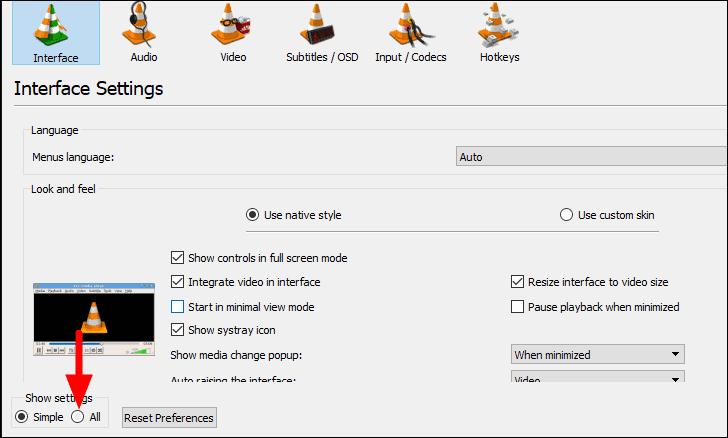
To change the ‘File caching’ value, press WINDOW + P to launch the ‘Preferences’ window and then select the checkbox for ‘All’ under ‘Show Settings’ at the bottom-left corner.
Next, select ‘Input/Codecs’ tab from the list of options on the left.
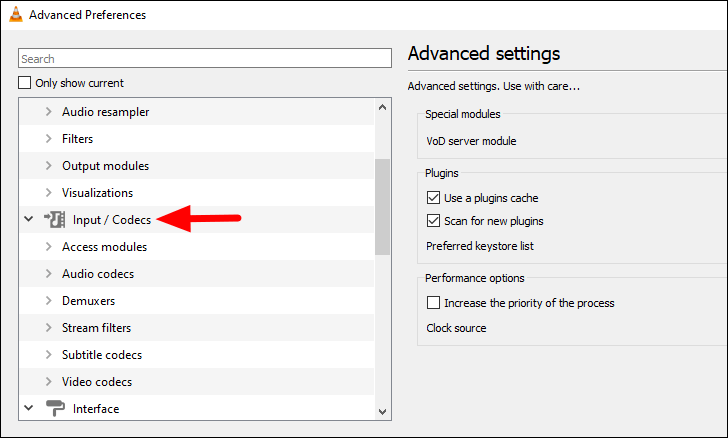
In the ‘Input/Codecs’ setting, scroll down to the ‘Advanced’ section, and then choose a lower value for ‘File caching’. Experiment with different values until the video playback error is fixed. After you have changed the value, click on ‘OK’ at the bottom.
Fix 3: Convert Video into a Compatible Format
If the above two fixes didn’t work for you, the video format might not be compatible, thus leading to the lag and stutter. VLC allows you to convert videos into formats that are compatible with it, thus negating the need for another app.
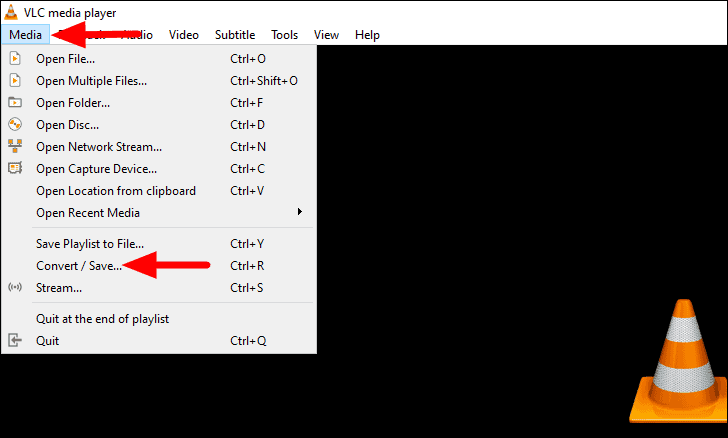
To change the format, click on the ‘Media’ menu in the ribbon, and then select ‘Convert/Save’ from the drop-down menu.
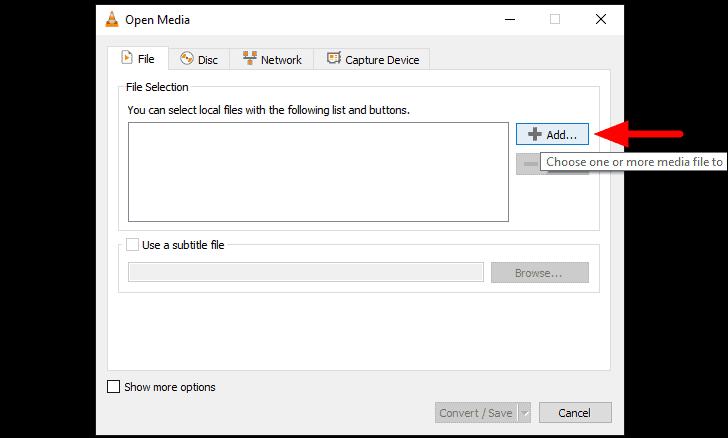
Next, click on ‘Add’ to select a video to change its format.
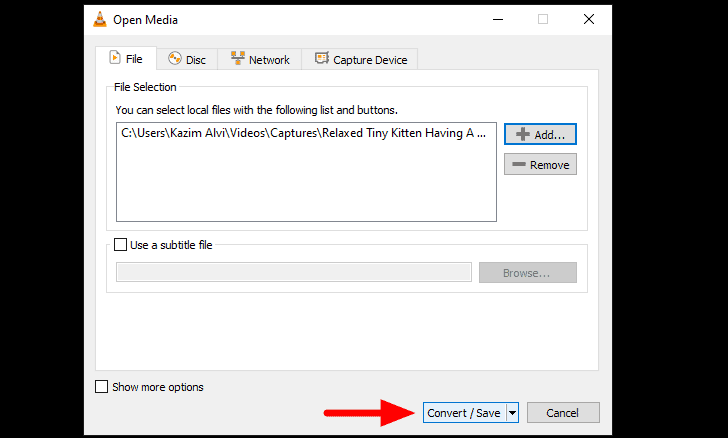
Now, browse and select the required video and click on ‘Open’ at the bottom.

After you have added a video, click on ‘Convert/Save’ at the bottom to convert the format into a compatible one.
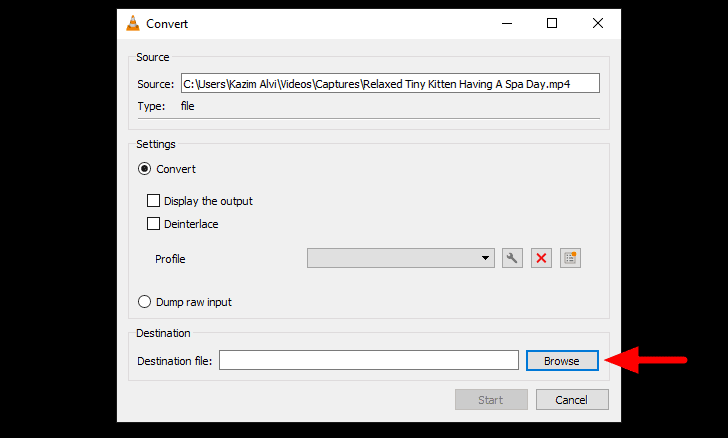
The ‘Convert’ window will launch, click on the ‘Browse’ at the bottom to select a destination folder for the formatted video.
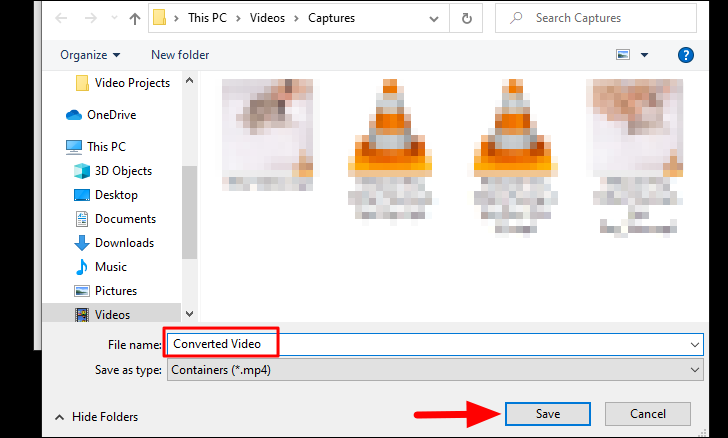
Now, select the desired location for the new video and add a name for it. Once done, click on ‘Save’ at the bottom.
After you are done selecting a destination folder, click on ‘Start’ at the bottom to start the conversion process.
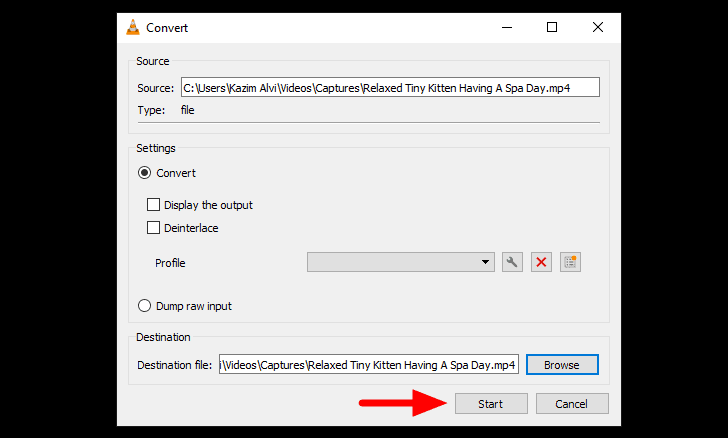
Once the video has been converted to a compatible format, it will start playing without any lag or stutter on VLC Media Player.
Fixing Lagging and Stuttering for Videos Played on Browser with Hardware Acceleration
One of the common issues that lead to lag and stutter when playing video on web browsers is ‘Hardware Acceleration’. It is when a program puts specific computer hardware to use to increase the efficiency of a task when compared to the software running it by itself. When it comes to playing videos, the component that’s put to use is GPU (Graphics Processing Unit).
In case you are facing video playback issues, it’s time you change the hardware acceleration setting for the browser. In case it’s enabled, turn it off and vice versa. We will talk you through the process for four of the most common browsers, Chrome, Firefox, Edge, and Opera.
Enable/Disable Hardware Acceleration for Chrome
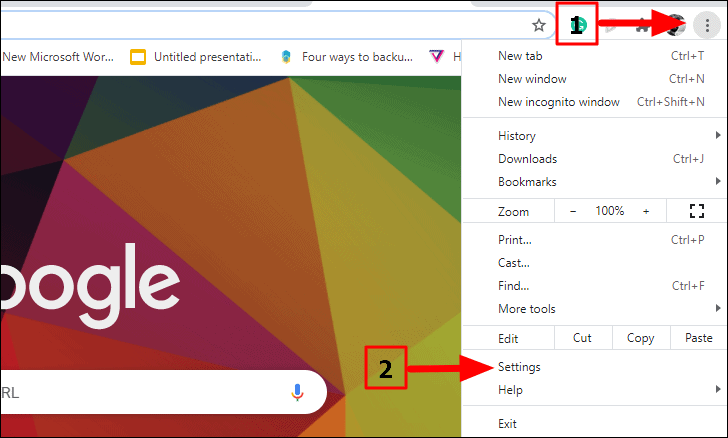
To modify the hardware acceleration for Google Chrome, click on the ellipsis on the top-right corner of the screen. Next, select ‘Settings’
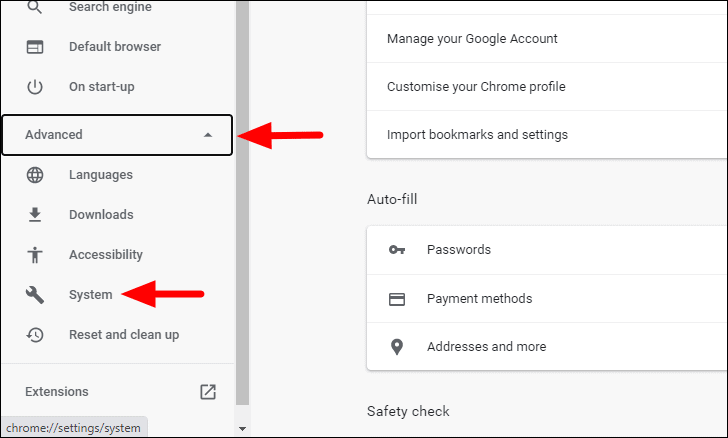
In the Chrome settings, click on the ‘Advanced’ option on the left and select ‘System’ from the drop-down menu.
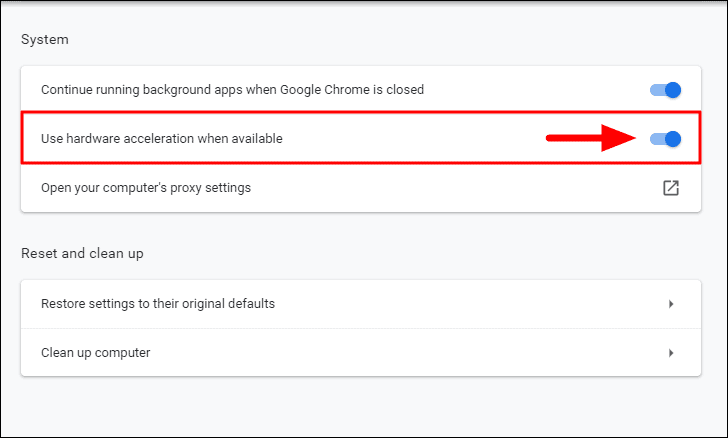
Next, click on the toggle next to ‘Use hardware acceleration when available’ to turn it off when enabled and turn it on when disabled.
Now, restart the browser and try playing the video and the playback error must be resolved by now. If you still encounter the lag and stutter, move to section about updating WideVineCDM.
Enable/Disable Hardware Acceleration for Firefox
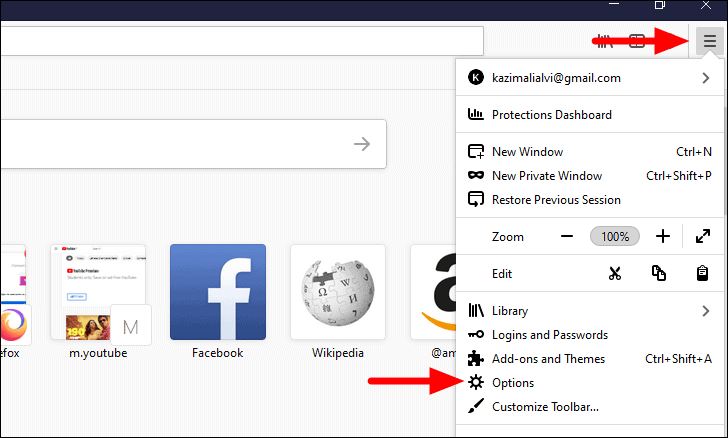
To modify the hardware acceleration settings in Firefox, launch the browser and click on the ‘Open Application Menu’ icon at the top-right. Next, select ‘Options’ from the drop-down.
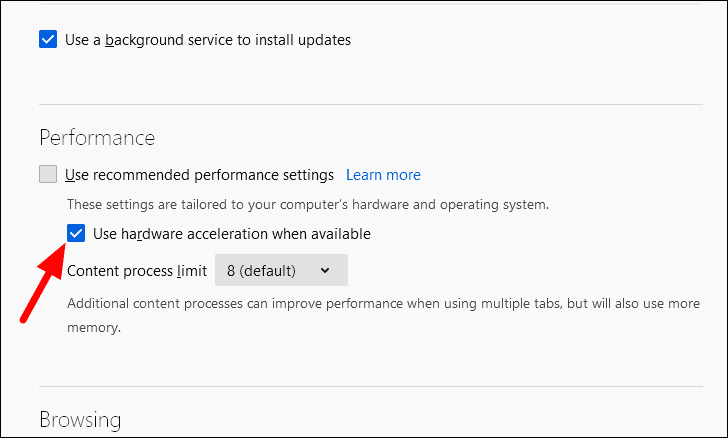
Now, the ‘General’ tab will launch by default, and click on the checkbox for ‘Use recommended performance settings’ under ‘Performance’ to view the options under it.
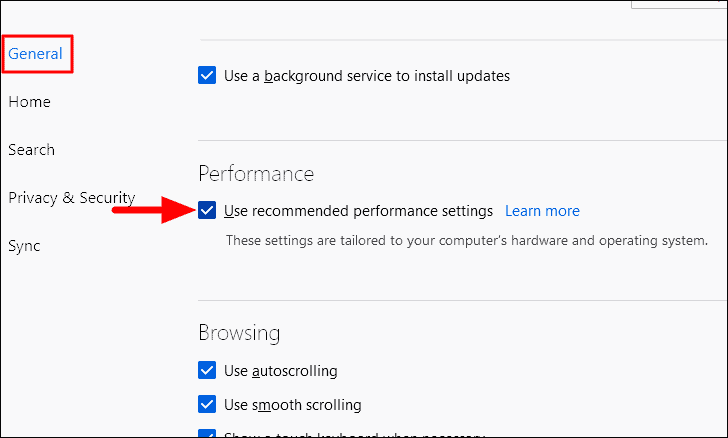
Next, click on the checkbox for ‘Use hardware acceleration when available’ to change its current status.
Enable/Disable Hardware Acceleration for Edge
To enable/disable hardware acceleration for Firefox, click on the ellipsis at the top-right corner.
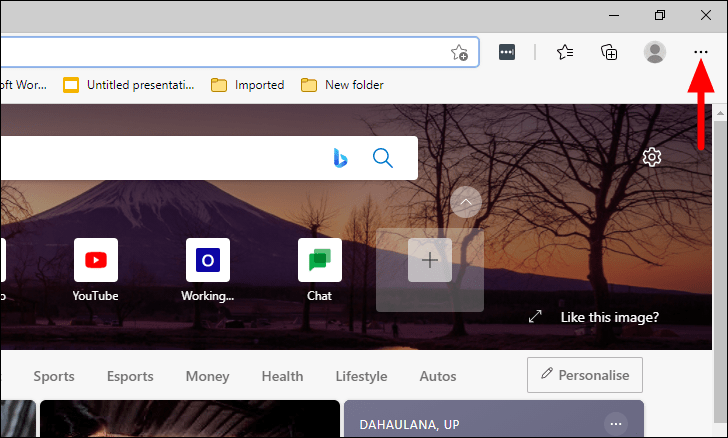
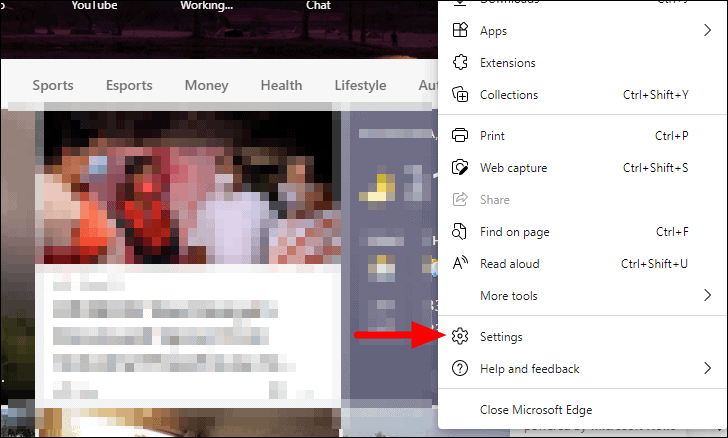
Next, select ‘Settings’ from the drop-down menu.
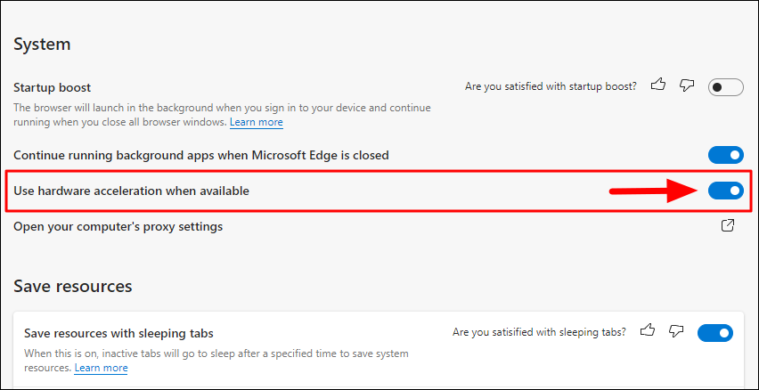
Now, click on the ‘System’ tabs from the list of options on the left.

Next, click on the toggle next to ‘Use hardware acceleration when available’ to change the hardware acceleration setting.
After reversing the ‘Hardware Acceleration’ settings, restart the browser and check whether the video playback error is resolved in Edge.
Enable/Disable Hardware Acceleration for Opera
To enable/disable hardware acceleration for Opera, launch the ‘Opera Browser’ and click on the ‘Easy Setup’ option at the top-right corner.

A drop-down menu will now appear on the screen, select ‘Go to full browser settings’ from the list of options.

Next, click on the ‘Advanced’ option at the left to jump to the advanced settings.
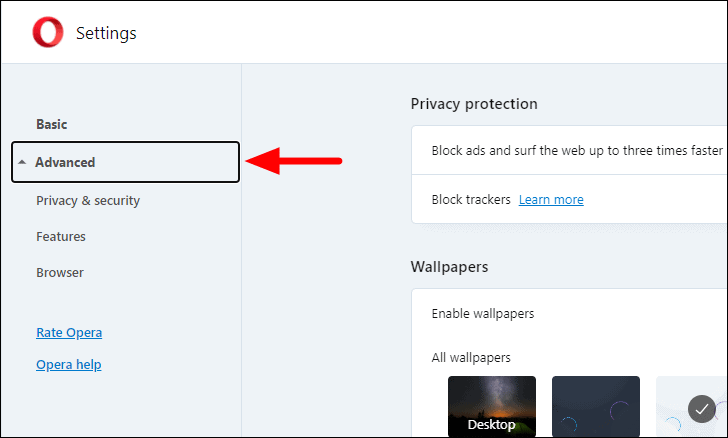
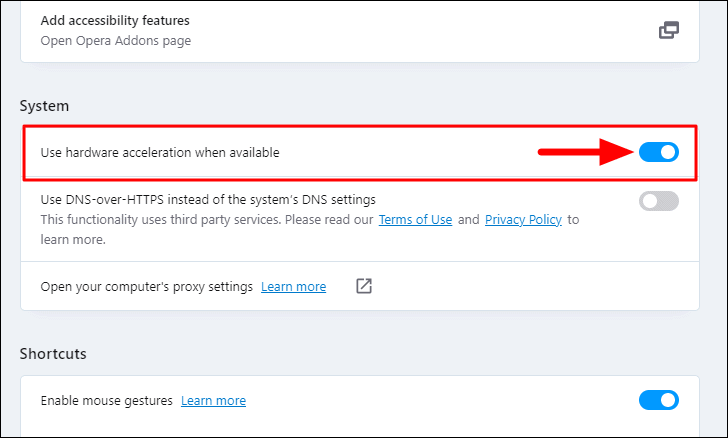
Scroll down and look for the ‘System’ section. Next, click on the toggle next to ‘Use hardware acceleration when available’ to change the setting.
After you have made the changes, restart the browser and check if the video playback error is resolved.
If the lag and stutter issue with video playback still exists, move to the next fix.
Updating the WideVine Component on Browsers
If enabling/disabling the hardware acceleration didn’t fix the video playback error, your last option is to update the browser’s Widevine component. Widevine CDM not just restricts piracy, it also helps a user stream high-quality videos on browsers and devices without any issues.
Follow instructions to update WideVineCDM in your browser and see if that fixes the video playback issue. If you had an outdated WideVineCDM component, then updating it can likely fix the lag or stuttering issues with DRM-protected content.


