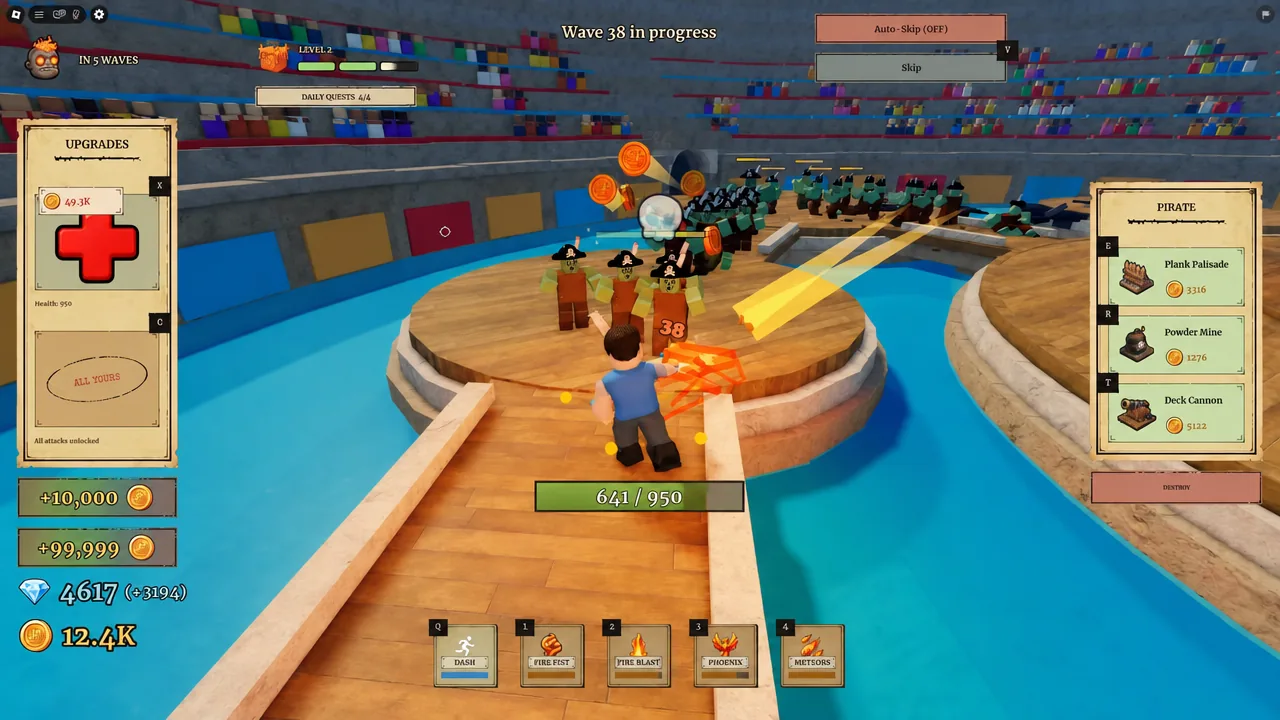
Fruit Zombie Survival drops you on a pirate-themed arena, hands you a Devil Fruit, and asks one question: how long can you hold. A solo run that reaches Wave 71 is not a fluke of a good fruit roll. It comes from spending Berries in the right order, placing defenses before the horde outgrows your damage, and treating boss waves as a separate problem from trash waves.
Quick answer: Dump early Berries into health upgrades through the first five waves, place your character’s builds (Deck Cannon, palisades, Powder Mine) from around Wave 7 so the arena kills for you, then save your strongest fruit ability for boss spikes. You know it worked when the Achieve Wave 50 badge fires in the Roblox notification feed.
Wave milestones and what each badge takes
Progress is measured in three badges, and their unlock rates are a decent difficulty curve. Wave 10 is a warm-up nearly everyone clears. Wave 25 splits the playerbase roughly in half. Wave 50 is where most runs stop, and anything past it — Wave 60, Wave 71 — is uncharted territory for the majority of players.
| Badge | Share of players who own it | Total earned |
|---|---|---|
| Achieve Wave 10 | 79.3% (Cake Walk) | 635,270 |
| Achieve Wave 25 | 52.0% (Easy) | 360,914 |
| Achieve Wave 50 | 27.5% (Challenging) | 155,671 |
The badge pops on its own the moment the wave completes, so there is nothing to claim manually. If it does not appear, the wave did not finish — dying mid-wave does not count it.
Devil Fruits, Berries, and Diamonds: what to spend and when
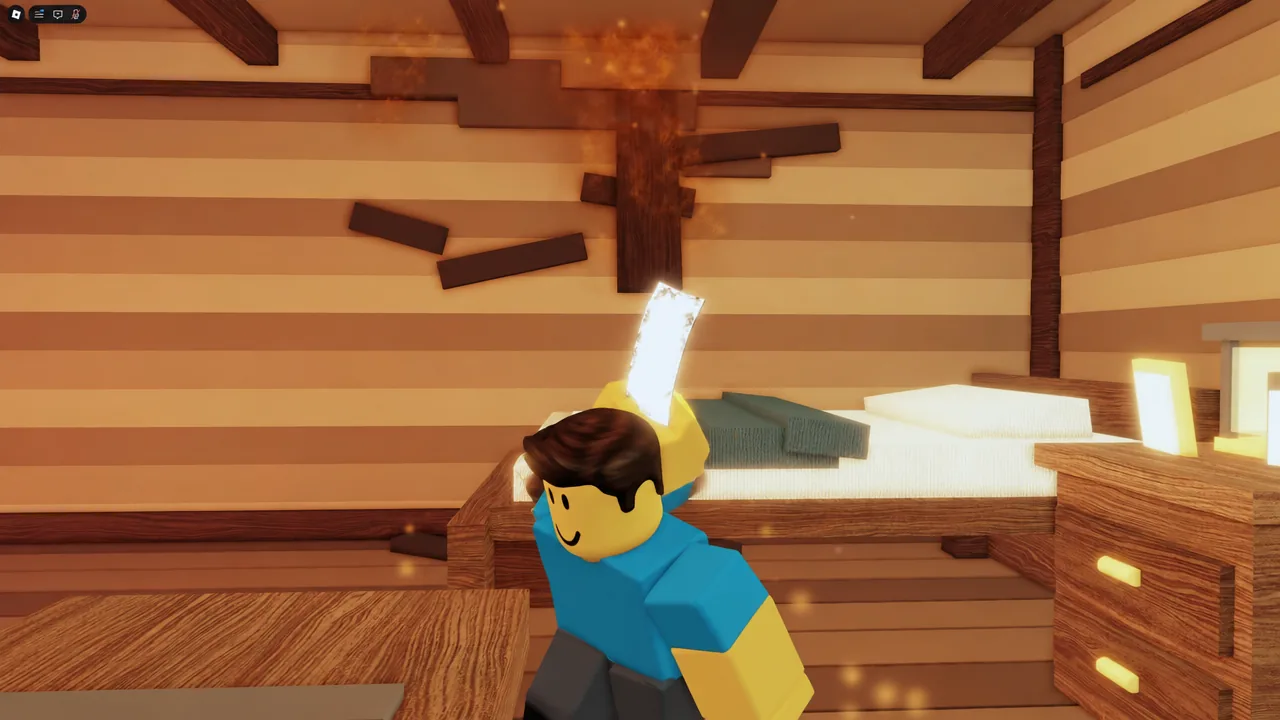
There are 20 Devil Fruits to collect, and the one you eat decides your whole kit for the run. A fire fruit, for example, gives you Fire Fist and Fire Blast early and a Phoenix ability a few waves in — a mix of single-target pressure and crowd clear that scales well when zombies start arriving in clumps.
Two currencies drive everything, and mixing them up is the fastest way to stall out.
| Currency | Scope | Spend it on |
|---|---|---|
| Berries | Current run only | Health upgrades, stat boosts, placed builds during waves |
| Diamonds | Permanent account progress | Devil Fruits in the shop, classes, crate rolls |
Berries reset when the run ends, so hoarding them is pure waste. The pattern that works is front-loading health through the first handful of waves, because early zombies do almost nothing to you and a bigger health pool is what buys you room to place buildings later. Diamonds are the slow lane — they buy new fruits and classes between runs and can be found hidden around the maps.
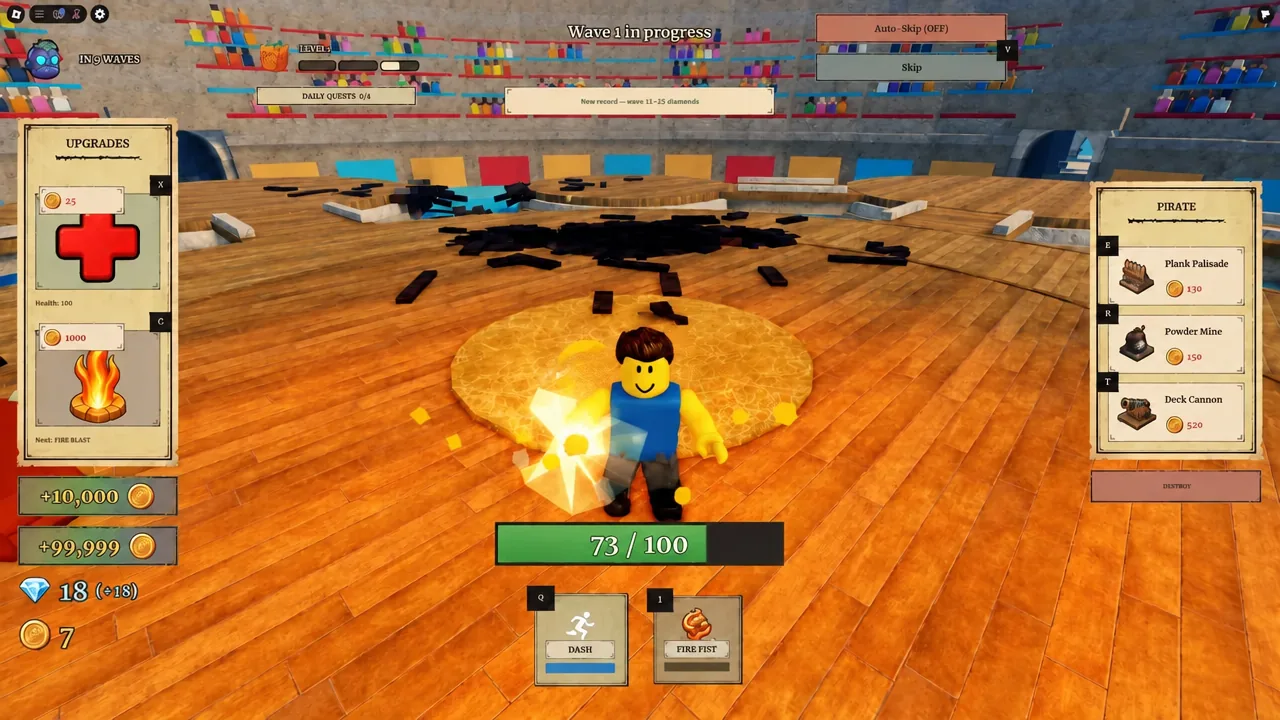
Placed builds: Deck Cannon, palisades, and Powder Mine
Your One Piece character is not just a skin. Each one unlocks a set of placeable builds, and those structures are what keep damage flowing while you reposition or wait on ability cooldowns. Around Wave 7 is the natural switch-over point — your fruit alone can still handle the crowd, which means you have a quiet moment to drop a cannon before you actually need it.
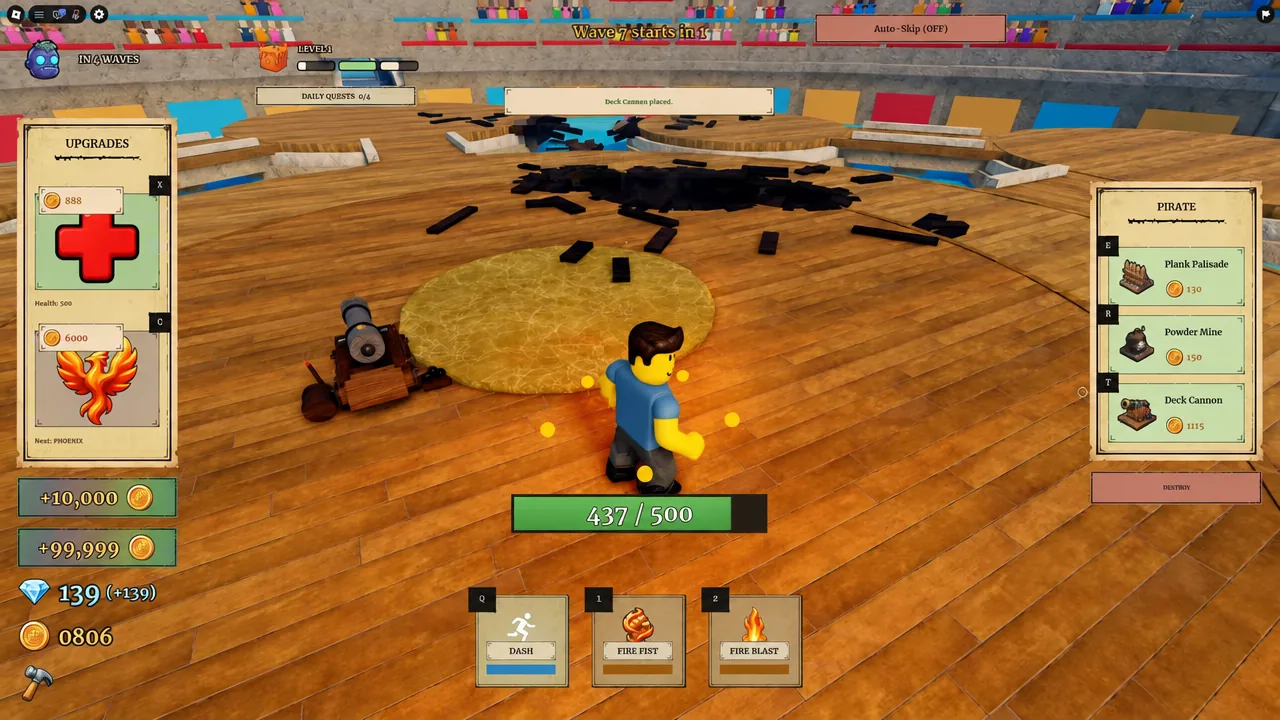
Layering matters more than raw count. Palisades slow the approach and funnel zombies into a lane, the Deck Cannon covers that lane, and a Powder Mine handles the clump that survives the trip. Build in that order rather than scattering structures around the arena, and put everything where you plan to stand — a cannon covering an empty corner is Berries you will miss on Wave 30.
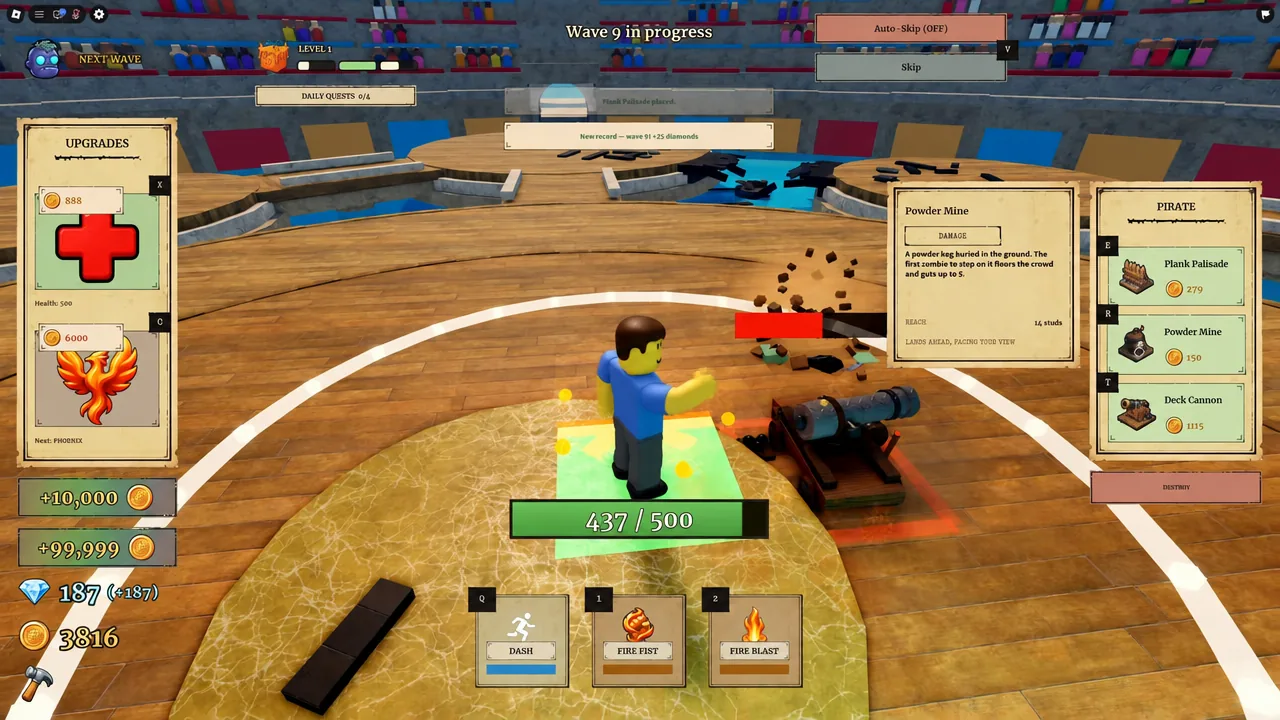
Note: Berries spent on structures are gone for good, so decide early whether the run is a defense run or an ability run. Splitting the budget evenly tends to leave you with weak buildings and a thin health bar at the same time.
Boss waves are the real wall
Regular waves scale predictably. Bosses do not. They arrive on their own marked waves — the Hoarfrost Warden shows up at Wave 60 — and they hit hard enough that a run which felt comfortable at Wave 55 can end in seconds. Treat the wave just before a boss as prep time: repair or re-place anything that died, and do not enter the fight with your biggest ability on cooldown.
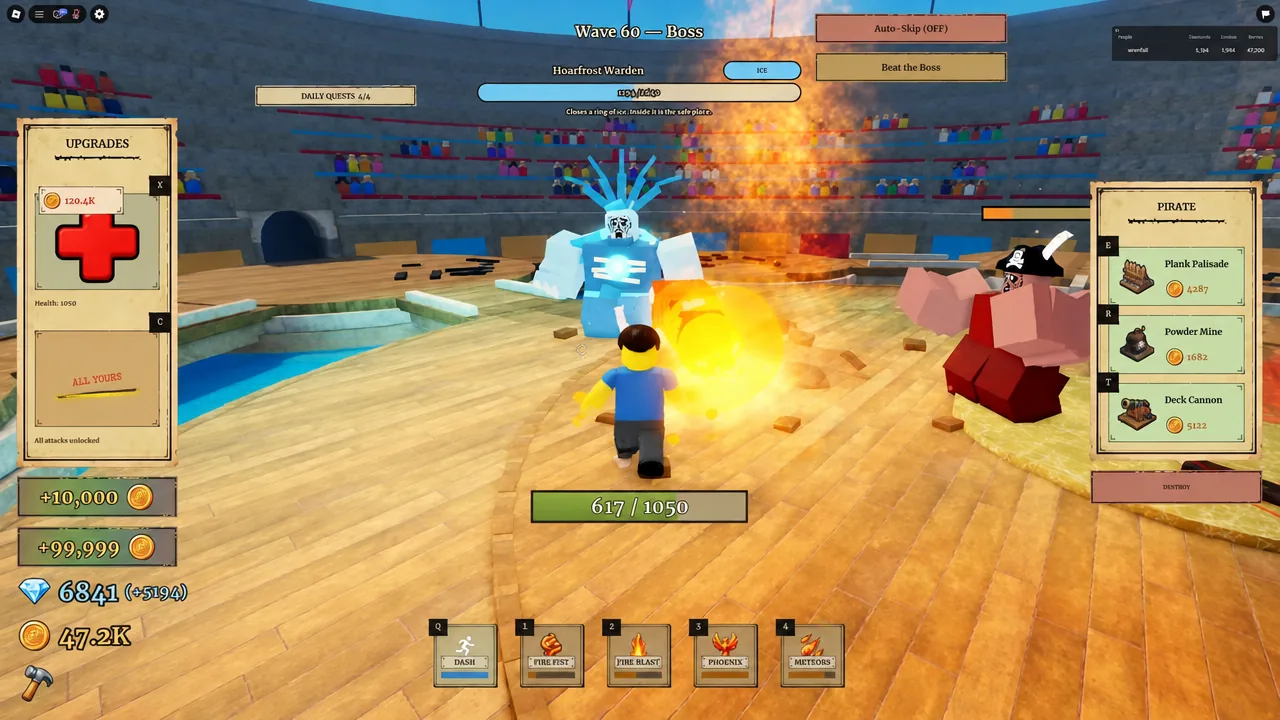
Bosses also arrive with company. The trash spawns do not pause, which is exactly why placed builds earn their cost at this stage — they clear the chaff while you focus everything on the boss. Runs that reach Wave 70 and beyond almost always have a working defense grid by that point, not just a strong fruit.
Co-op: four players, shared revives
Up to four players can run together, and there is a badge for reviving a teammate. Co-op changes the math in an obvious way — one player can commit to structures while the others push damage, and a downed player is a recoverable mistake instead of the end of the run. Servers hold 20 players, so you will share the lobby with people outside your squad.
Map progress carries between runs. Finishing Dressrosa opens Baratie, and hidden Diamonds are scattered across both, which makes map exploration the cheapest source of permanent currency.
Active codes for Diamonds, crate rolls, and a free revive
Codes are the fastest route to Diamonds, which is what you need if you want a better fruit before your next attempt. Two of the current rewards are Artifact Crate Rolls, and one grants a free revive that can extend a deep run.
| Code | Reward | Expires |
|---|---|---|
| 1kDiscordGG | 1 Artifact Crate Roll | September 17 |
| Up5ndc0ming | 1 Artifact Crate Roll | September 23 |
| FiveKccU | 2,500 Diamonds | October 9 |
| Disc0rd | 1,500 Diamonds | Permanent |
| VibeStarter | 1 Free Revive | Permanent |
If a fresh code is rejected, there are only a few real causes: a typo, an expiry that has already passed, or a server still running an older build. Leaving and rejoining puts you on a different server, which resolves the last one. A code that fails on multiple servers with correct spelling is dead.
Vibed Games is still updating the game regularly — artifact sets landed in early September, and a new fruit is scheduled to arrive alongside an event on September 16. With more than 3.2 million visits and around 7,000 players in at any given time, the meta around which fruits and builds carry the deepest runs is still settling. Wave 71 is a strong solo benchmark today, not a ceiling.