Special Cargo is an optional secondary objective in Act 4, Chapter 3: Tough As Nails, set in the open Prospect Bay district. A dock worker asks you to crack open a lost military container buried in the dockyard’s container heap. The code is 1548, but you never type it on a keypad. A single interact press keys it in for you once the area is clear.
Quick answer: The code is 1548. Find the green container marked “ISG 24495” near the helipad, kill every Locust, then press X at the “Enter Code” prompt on its side panel. Marcus enters the digits himself.
Where the Special Cargo container is
The container stands on a raised metal deck in the dockyard of Prospect Bay, next to the helipad. It is a pale green military container with a black COG skull-and-gear emblem and “ISG 24495” stencilled in white on its side. The spot sits on the river side of the district, west of the main “Secure the weapons warehouse” marker.
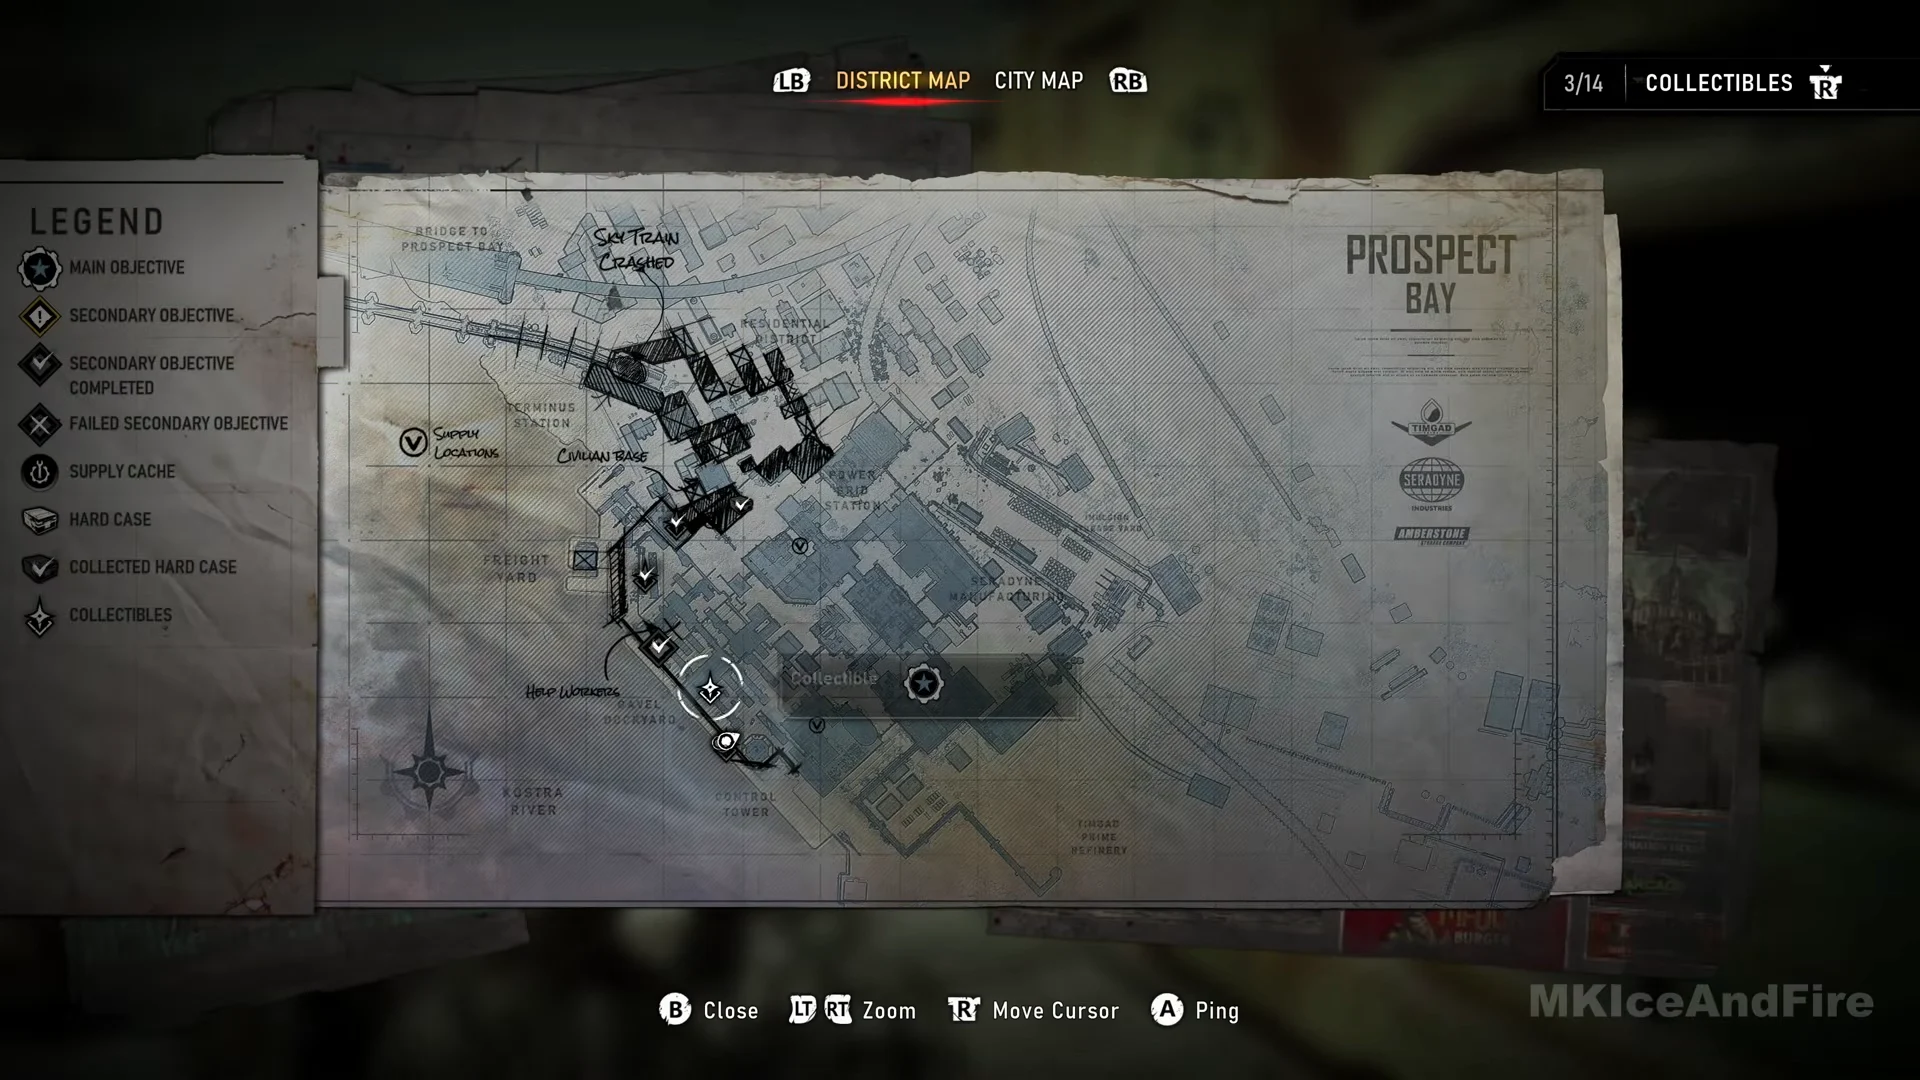
The district opens after the briefing in the pub that serves as the civilian base. Take the map from the pool table, head out through the double doors, and wait for the squad at the big gate. The docks are a short way in, past the Seradyne Administration yard and the rail yard with the open green boxcar. Even before you start the objective, the district map carries a handwritten “Help Workers” note at this location.
How to start Special Cargo
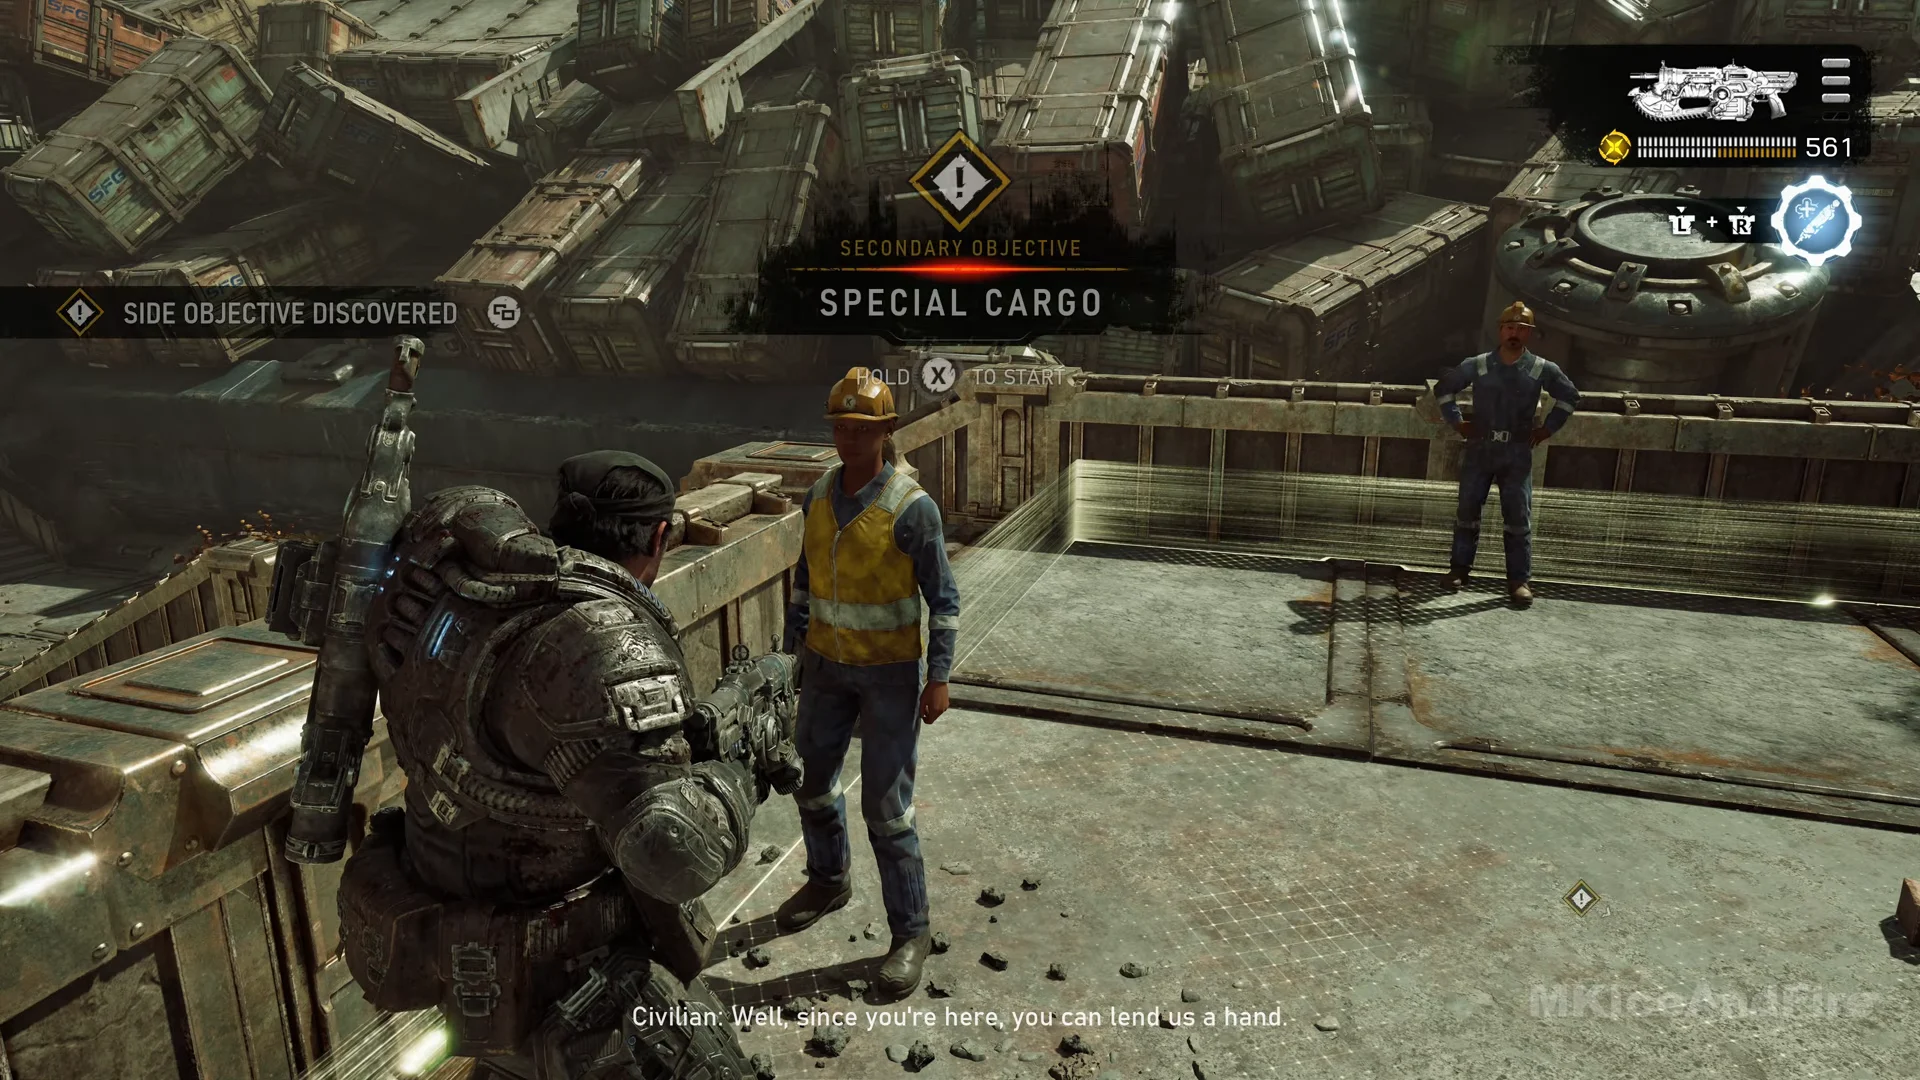
The objective does not begin on its own. You have to talk to a dock worker and hold the button to accept the job. If you walk away, it stays unstarted.
Find the container and clear the Locust
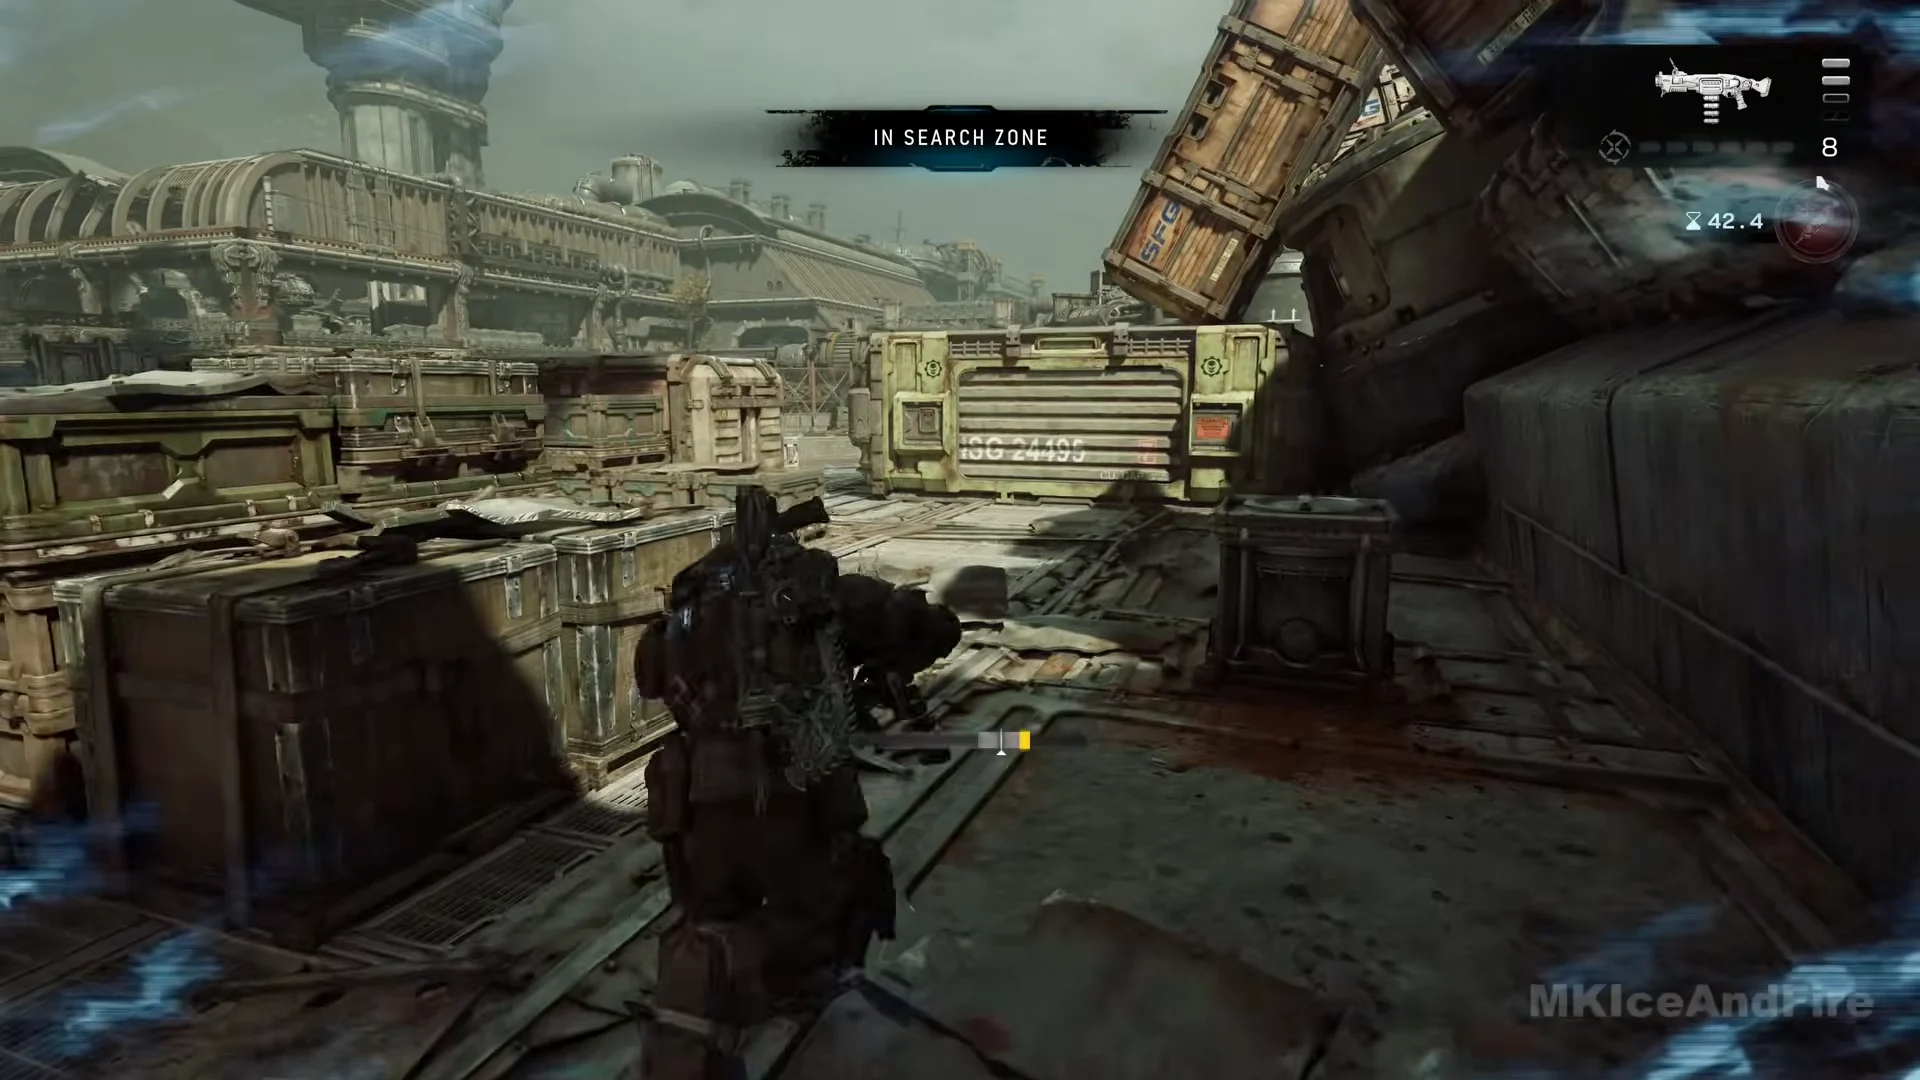
A diamond marker shows the distance in metres, initially about 88 m from the platform. Descend the stone steps in its direction, then head across the yard to the container stacks. Entering the yard brings up “IN SEARCH ZONE” at the top of the screen. This marks the search area, not a warning; there is no countdown.
Locust emerge as soon as you reach the yard: an emergence hole erupts in red smoke, sending out Drones and at least one Sniper. During the fight, you can see the container from the raised deck. It is pale green with a ribbed side, among sand-coloured SFG containers. Getting near it completes the “Find the cargo container” step.
Finding the container flips the step to “Clear the remaining Locust.” The keypad stays locked until this is done. Alongside the leftover Drones and Sniper, a large floating creature drifts over the container heap. It looks like a dark, leathery gas bag with chains and hooked limbs hanging under it and a glowing orange spot low on its body. It fires explosive shots and releases small flying things that home in and explode.
To bring it down, climb the mesh ladder to the upper walkway and get behind the curved steel barrier beside the mesh fence. Pour sustained automatic fire into the creature whenever it faces you. It soaks up a lot of rounds. A full Gut-Puncher load is not enough, but continuous Prototype Lancer fire bursts it in mid-air. One Drone is left behind crates on the raised deck across the gap. When it dies, the step clears and Dom calls the area clear.
There is no timer on this fight. The hourglass number that can appear at the top right is the cooldown for your LT + RT Injector ability, not a countdown. It only shows after you use the ability and vanishes once it is ready again.
Entering the 1548 code
Once all enemies are down, return to the deck with the container. Marcus radios the worker to report that the container has been located by the helipad, and she gives him the code: “One, five, four, eight.” No keypad screen appears and there are no digits to select, so you don’t need to memorize or manually enter 1548.
The keypad is a small brass-framed panel set into a recess on the container’s side, to the left of the “ISG 24495” stencil and just below the COG emblem. Its display reads LOCKED in red with a white padlock icon floating over it. Stand at the panel, and the prompt reads “Enter Code” with X. Press X once. Marcus keys the number in, the display changes to OPEN, and the ribbed side panel slides up.
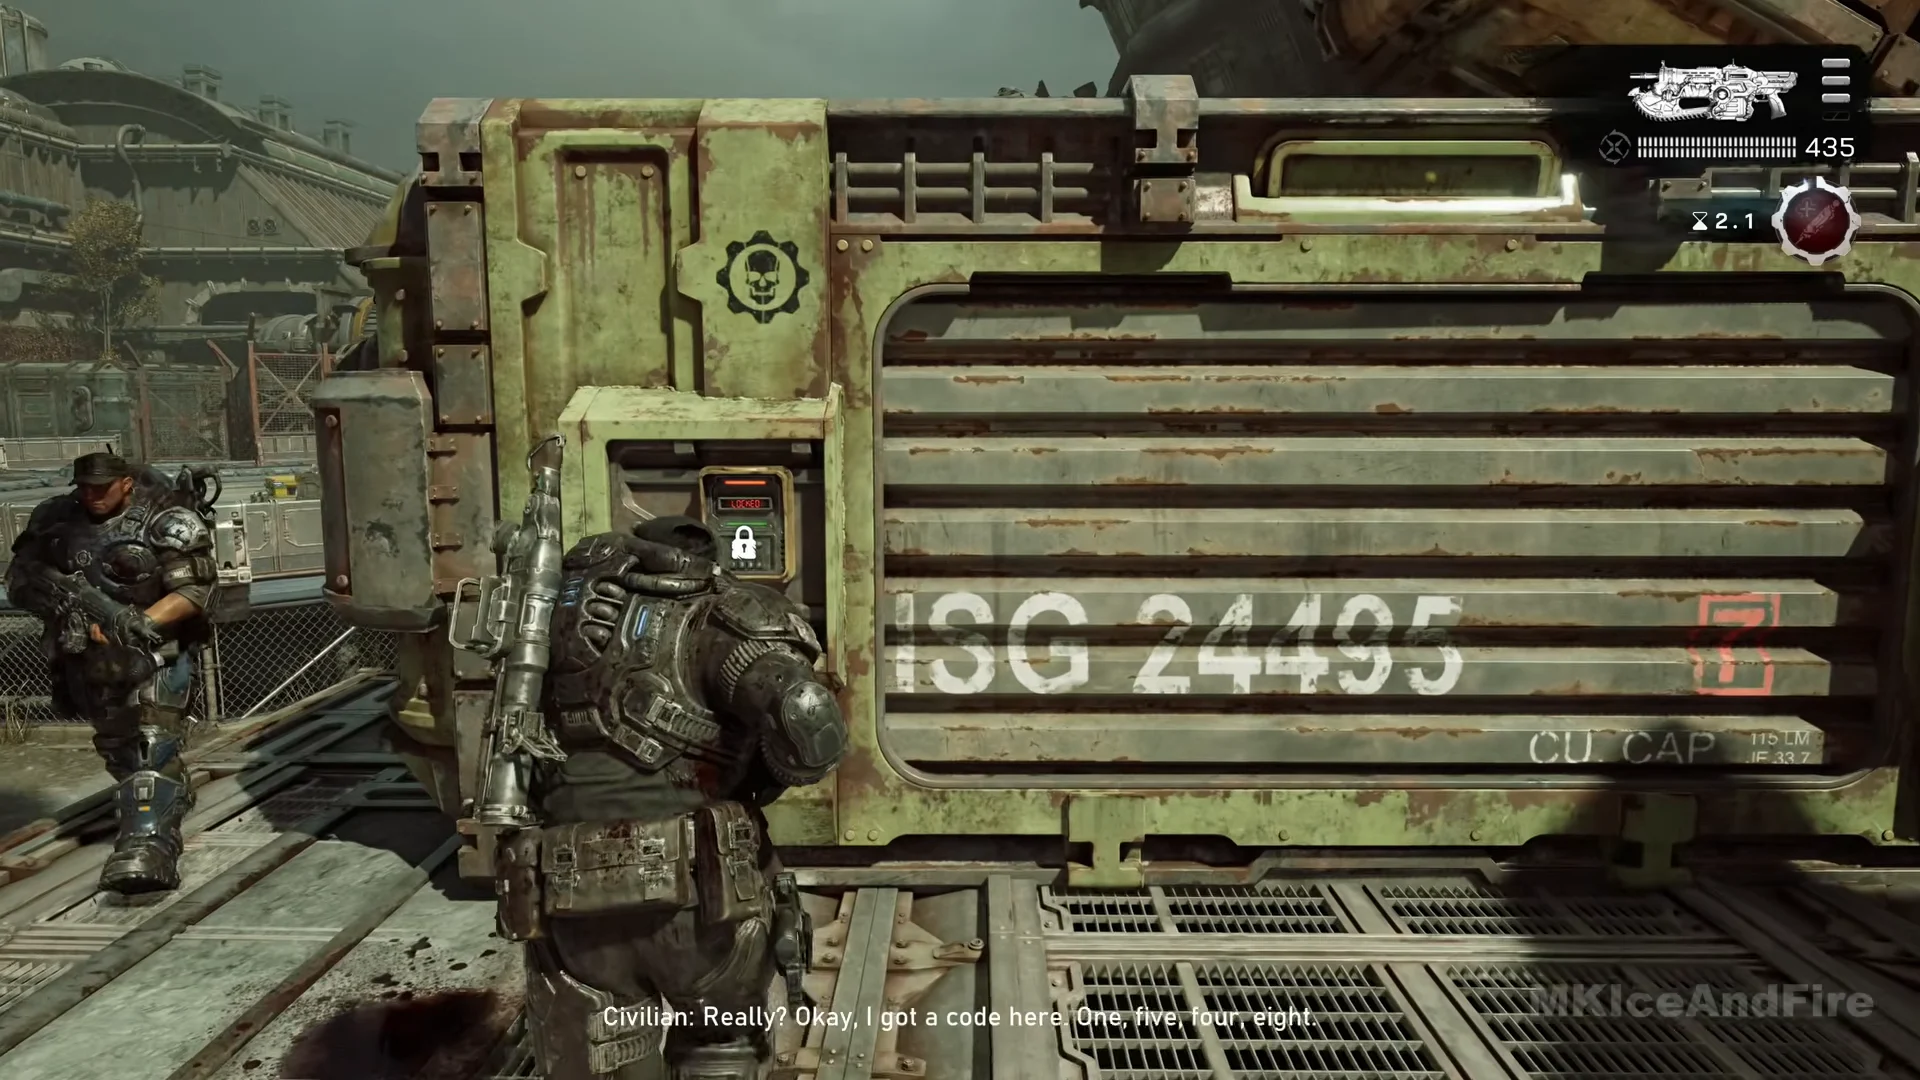
If the keypad does nothing when you reach it, the Locust are not all dead yet, or you never started the objective with the worker on the platform. This works exactly like the reinforced Imulsion container back in Act 2, Chapter 2: the code comes over the radio and one press enters it. This Prospect Bay container shares the same “ISG 24495” stencil, but it is a different container with a different code, and nothing gets destroyed here.
What is inside and the rewards
The open container holds three pickups. Grabbing the Imulsion Blast Charge completes the objective.
- Imulsion Blast Charge — a collectible in an open white hard case on the right, holding two yellow Imulsion cylinders. Press X to pick it up. It files into the War Journal under Act 4, Tough As Nails, with a note from Mags about the faulty charges that killed her squad.
- Supply List — Collect this sheet of paper from the green ammunition crates on the left. It adds military supply locations to the district map.
- VULCAN — Press X to take the heavy rotary gun from those green crates, replacing your normal weapons. It has 147 rounds here.
The chapter has 14 collectibles, and the Imulsion Blast Charge is only a collectible—not a weapon or grenade you can use. Keep the Vulcan, though: another secondary objective, Trapped Locust, begins in the train control room just beyond the docks.
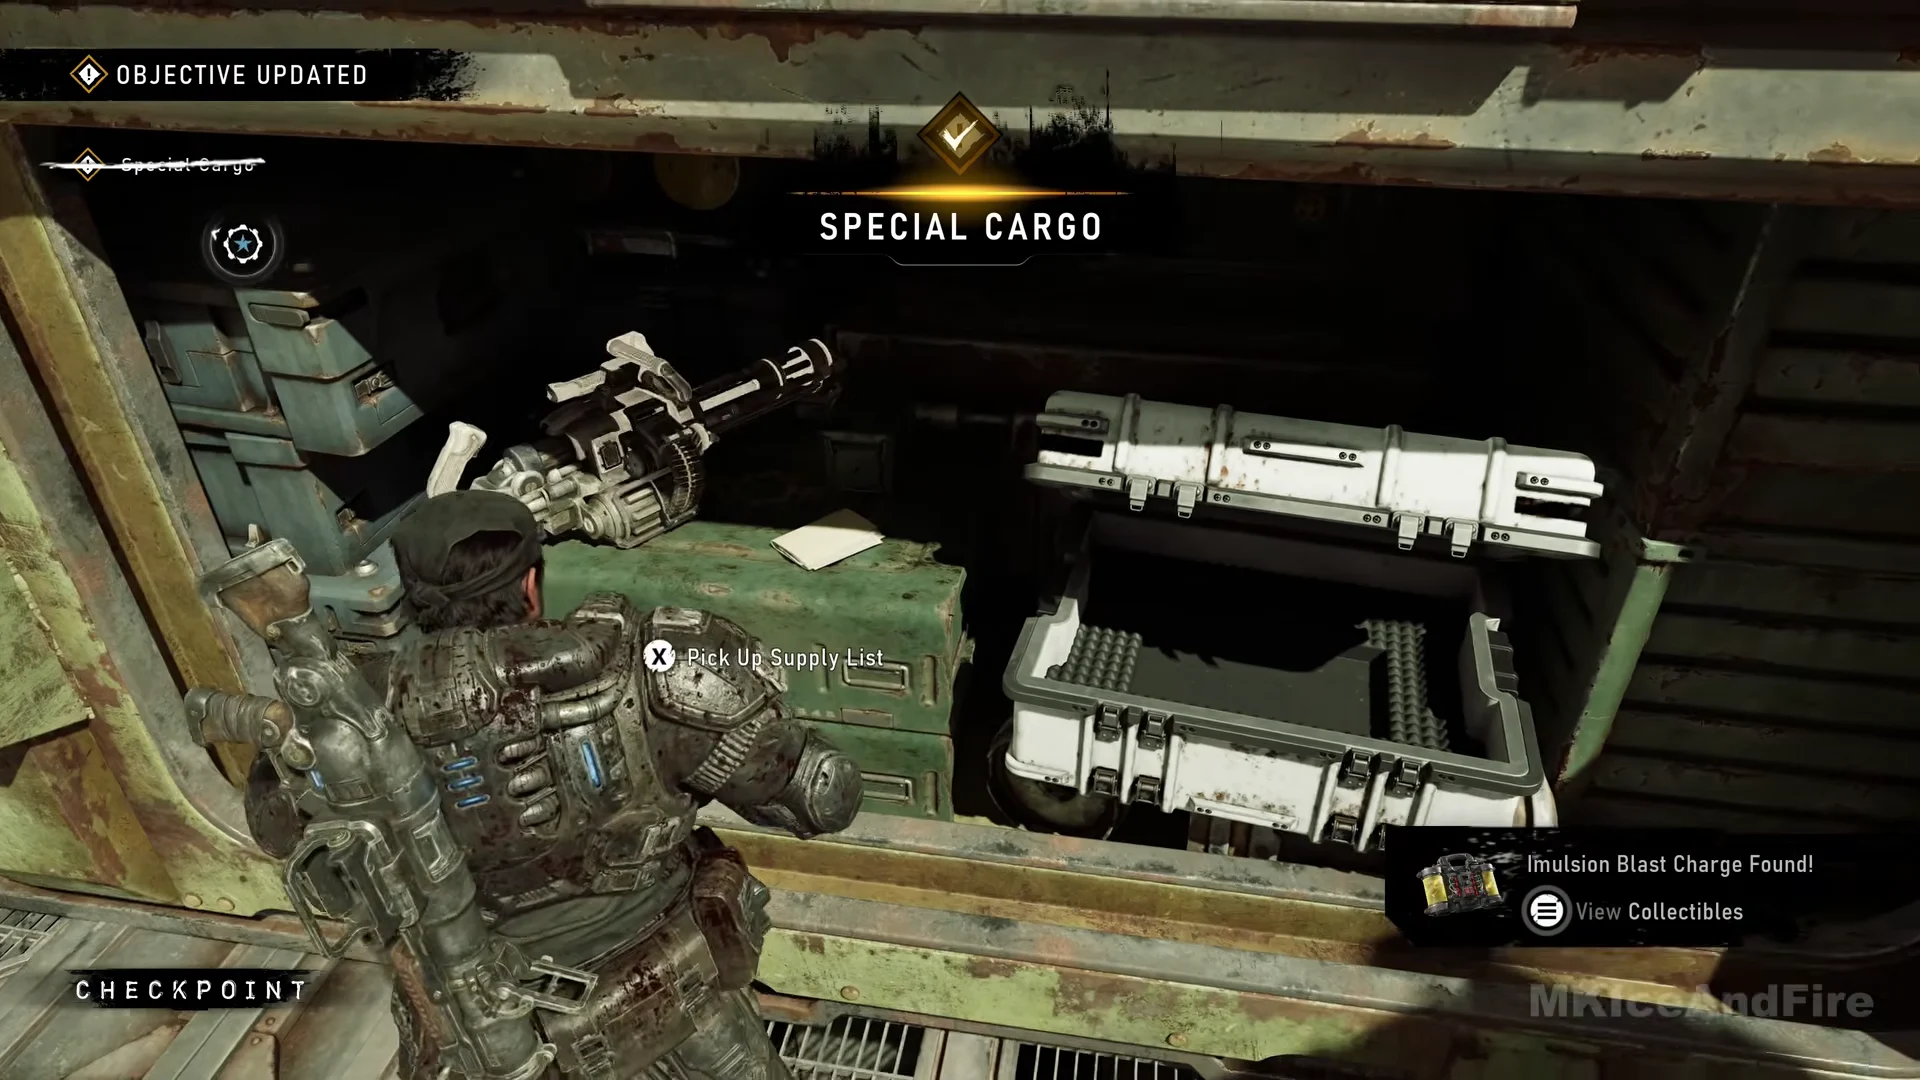
Completing the objective also hands over two Longshot upgrades. Both banners flash at the top of the screen as the charge is taken.
| Reward | Type | Weapon |
|---|---|---|
| General Mod Slot | Mod slot | Longshot |
| Expanded Magazine | Mod | Longshot |
Picking up the Supply List adds a new “Supply Locations” key to the district map, drawn with a V-in-a-circle symbol marking military supply points across Prospect Bay.
How to know it worked
Taking the Imulsion Blast Charge triggers an “OBJECTIVE UPDATED” notice, a gold tick banner reading “SPECIAL CARGO,” and a struck-through “Special Cargo” entry in the objective list. A checkpoint saves, the on-screen objective returns to “Secure the weapons warehouse,” and the dockyard spot on the district map now shows the completed-secondary-objective tick.
Secondary objectives in this district are tied to an area. If you walk out while one is running, a red “LEAVING MISSION AREA. YOU WILL FAIL THE MISSION.” warning appears in the middle of the screen. Stay in the container yard until the banner reads complete, and turning back clears it if you do wander.
Special Cargo is optional, so skipping it will not block the main objective. The objective is optional; the container holds the Vulcan and collectible, and completing the objective awards two Longshot upgrades.