


The Immortal Construct is one of two new world bosses added in the Genshin Impact 7.0 Snezhnaya update, released on August 12, 2026. It is a firebird-shaped enemy built through Bio-Alchemy that burns its own health to shield itself and heal, which is exactly why a normal damage race does not work against it. Beating it drops the Unscorched Blossom Branch, an ascension material for Odette, along with Agnidus Agate and several artifact sets.
Quick answer: Break the boss’s HP Shield to make it killable, and use Stellar Glimmer reactions (Stellar Conduct or Stellar Swirl) to cancel its healing while it is in the Lifeflare state. The boss cannot die while a shield is active, even at 0 HP.
Immortal Construct location in Snezhnaya
The Immortal Construct sits inside a cavern southwest of the capital city of Snezhnograd, in the region between the port town of Morepesok and the capital itself. Interacting with the Statue of Seven in Snezhnograd marks the boss on your overworld map.
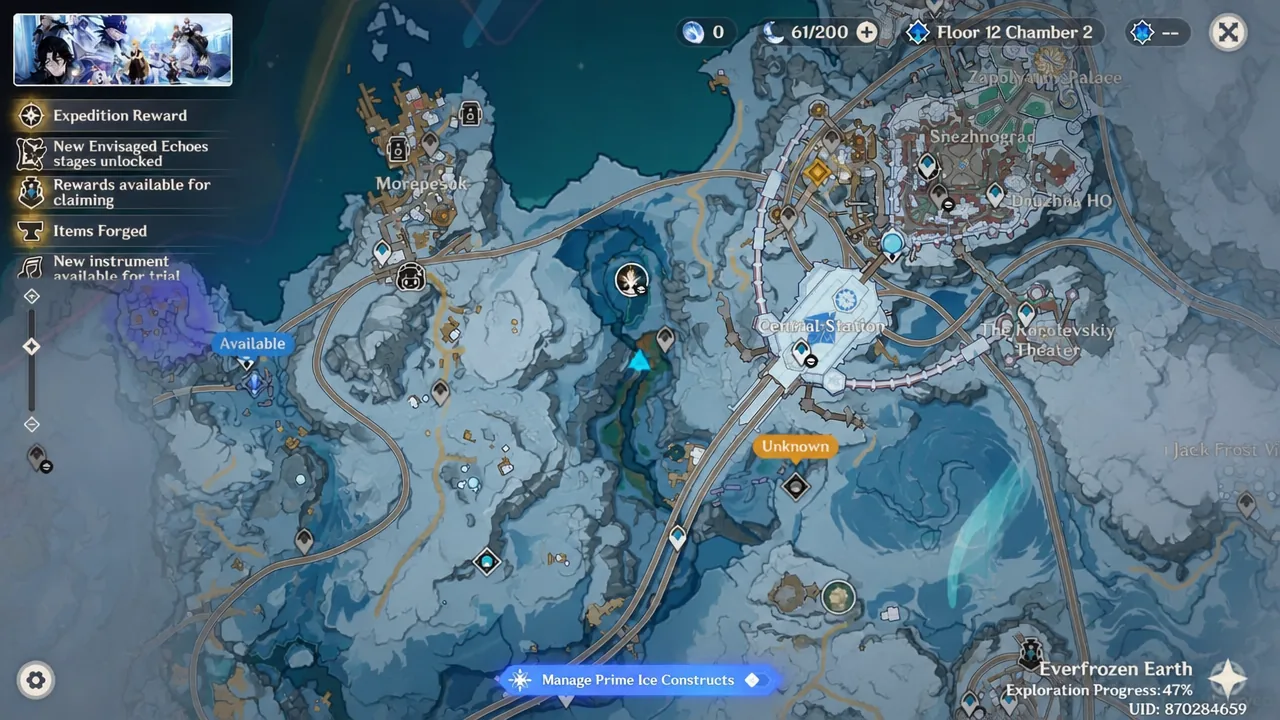
Unlock that waypoint once, and every future run becomes a quick teleport straight to the arena.
How the shield and healing mechanic works
The boss has two states. In its Normal state it deals mostly Physical damage and has a limited set of attacks. Once its HP drops low enough, it burns part of its own health to enter the Lifeflare state (also called the Radiant Life state) and generates nine small Revival Shields. While those shields are up, every attack it lands on your characters heals it, and it switches to Pyro damage.
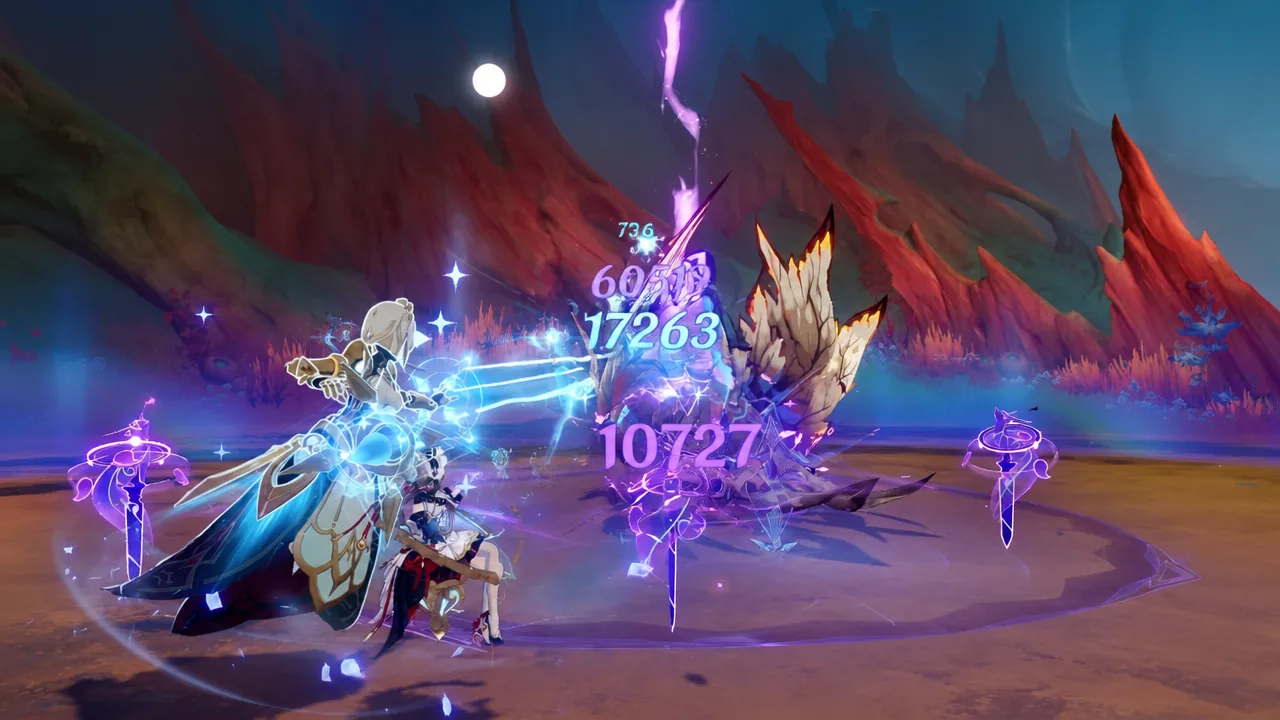
Two rules decide the fight. First, the boss cannot be killed while a shield is active, so reducing its HP to zero does nothing until the shield is gone. Second, Stellar Glimmer reactions apply a Polestar Field that stops the boss from restoring HP, and its revival attempts backfire. Any damage can chip the shields, but Stellar Glimmer is strongly preferred because it breaks them fast and shuts down the healing at the same time.
There is a useful trick. You can start hitting the shields the moment the boss begins generating them, which lets you strip them almost immediately. With a strong Stellar team, you can take the shields down so quickly that you effectively skip the Lifeflare state altogether.
You know the shield break landed because the boss is stunned for a few seconds, opening a clean window to burst it down.
Attacks to watch for
The Immortal Construct hits hard, and one of its moves can delete a character outright. The most dangerous one is its charged Pyro burst, Blazing Brilliance, which it tries to unleash when its Revival Shields drop to two layers or after the Lifeflare state has run for a set time. Destroying all the shields stops it before it fires.
| Attack | What it does |
|---|---|
| Single Slash | One quick slash with low damage that is easy to strafe around. |
| Triple Slash | Three consecutive slashes; the final one covers a wider circular area. Deals Pyro in the Lifeflare state. |
| Shield Generation | Burns its own HP to create nine small shields. No element requirement to break them. |
| Forward Dash | Backsteps, then dashes forward for heavy Physical damage. Slow enough to react to, and stays Physical even in Lifeflare. |
| Blazing Brilliance | A massive Pyro burst that can one-shot a character. Triggered at two shields left or after enough time. Run out of range to survive it. |
Note: the boss carries 50% Pyro resistance, so a Pyro main carry is a poor pick here. Freeze, Dendro, and other non-Pyro reactions still work fine if you are not running a dedicated Stellar team.
Best teams for the Immortal Construct
The strongest setups revolve around Stellar Conduct or Stellar Swirl, since both apply the Polestar Field that cancels healing while shredding the shields. Sandrone paired with Yae Miko usually provides more than enough damage on the Stellar Conduct side, while Yumemizuki Mizuki with Odette or the Cryo Traveler covers the Stellar Swirl variant.
| Reaction focus | Team |
|---|---|
| Stellar Conduct | Sandrone, Yae Miko, Odette, Alyosha |
| Stellar Conduct | Sandrone, Qiqi, Nicole, Yae Miko |
| Stellar Conduct | Wriothesley, Odette, Nicole, Yae Miko |
| Stellar Conduct | Cyno, Qiqi, Alyosha, Yae Miko |
| Stellar Swirl | Yumemizuki Mizuki, Odette, Faruzan, Qiqi |
| F2P | Cryo Traveler, Sucrose, Alyosha, Qiqi |
If you do not own the Stellar enablers like Sandrone or Odette, the Cryo Traveler can trigger Stellar reactions on their own, which makes them a reliable free replacement. Keep a healer or shielder such as Qiqi, Alyosha, or Nicole on the team so the Blazing Brilliance burst does not wipe your party.
Rewards and drops
Spending Resin after the kill yields ascension gems, character materials, and artifacts. The Unscorched Blossom Branch is the standout, since it is Odette’s required field boss ascension material and unlocks at Level 30 and above.
| Drop | Unlocks at |
|---|---|
| Agnidus Agate Sliver | Any level |
| Agnidus Agate Fragment | Level 40+ |
| Agnidus Agate Chunk | Level 60+ |
| Agnidus Agate Gemstone | Level 75+ |
| Unscorched Blossom Branch | Level 30+ |
The boss also drops artifacts from the Adventurer, Berserker, Instructor, Gladiator’s Finale, Wanderer’s Troupe, and Prayers for Illumination sets.
Achievements tied to the fight
Two achievements come from this encounter, and both hand out Primogems.
| Achievement | Condition |
|---|---|
| Immortality Severed | Defeat the Immortal Construct in Co-Op mode. |
| Hold… Hold… Now! | Interrupt one of its attacks by breaking its HP Shield while it is in the Lifeflare state. |
Once you are comfortable stripping the shields on cue and staying out of the Blazing Brilliance blast radius, the Immortal Construct becomes a fast, repeatable farm for Odette’s ascension materials.





