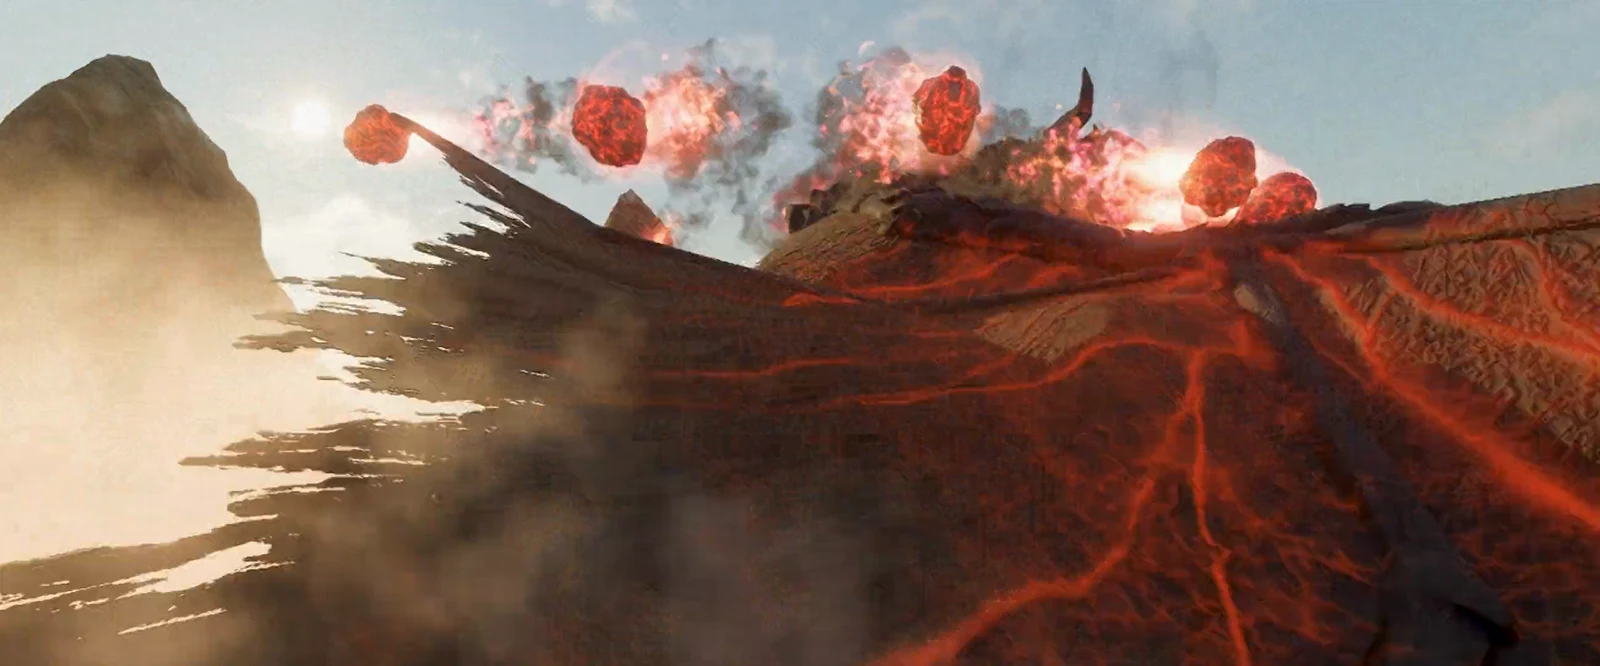
Dire is the sixth and hardest difficulty in Stygian Onslaught, and the Version 7.0 lineup — Battle of the Starburst — pairs three bosses that each lock their health behind a different ward. Raw damage alone will not get you through any of them. Every fight has one mechanic that strips the protection, and the clear comes down to running a team that can trigger it fast.
Quick answer: Beat the Chimeric Winged Lion with Stellar Glimmer reactions to break its Electro Ward, break the Veteran Wind Operative’s shield with a Bond of Life carrier while blocking or dodging Hunt Down, and disrupt Knuckle Duckle’s stamping devices with repeated Electro-Charged or Lunar-Charged damage. All three must be cleared solo.
Dire (Lv. 6) rules and HP pools
Dire sits above Fearless as a hidden sixth tier, and its rewards are solo only — the same restriction that applies to Fearless. Co-op matchmaking helps at the lower difficulties, and Menacing still hands out Dust of Enlightenment, but nobody is joining you for the Dire attempt. Every fight also starts you at zero energy, so bursts are not available in the opening seconds unless you build particles first.
The health pools roughly double between Fearless and Dire, which is why mechanic uptime matters more than a big damage window.
| Boss | Dire HP | Fearless HP | Ward removal |
|---|---|---|---|
| Chimeric Winged Lion | 23.3M | 10.75M | Elemental reactions, Stellar Glimmer |
| Veteran Wind Operative | 17.5M | 8M | Raw damage on the white shield |
| Knuckle Duckle | 25.9M | 13.1M | Destroying stamping devices |
Two hours after each phase reset, the Exalted Ones list goes live. These are 16 characters picked from server-wide Dire completions, and they grant bonus ATK, DEF, and HP — but only to characters you already own. The list rotates daily, so a unit missing today may appear tomorrow. The current cycle runs until September 22 at 03:59 server time; the Disturbance Outbreak window that boosted artifact drops ended on August 29.
Chimeric Winged Lion: break the Electro Ward, then punish it
Seconds into the fight, the two-headed Nemesis pulls Electro power into a resilient ward worth 40 gauge units. Each elemental reaction eats into that total depending on how much element you apply, and a Stellar reaction strips 16 units in one hit. That is the entire reason Stellar teams dominate this stage — three good Stellar procs effectively end the ward phase.
The lion’s Thundercall attack has both heads channel Anemo power into an Electro greatsword for a wide shockwave. Hit it with Radiance: Stellar Glimmer during that channel and the attack backfires, damaging the ward instead. Once the ward breaks, it collapses from exhaustion, takes a single instance of backlash damage scaled to what the ward absorbed, and drops its Cryo and Anemo resistance sharply. Stellar Glimmer damage increases that backlash figure.
The Galeforce phase is the other half. The lion flies up, circles while firing Gale Bolts, then opens a vortex to absorb Anemo Orbs and recover. Kill the orbs with Hydro, Pyro, Electro, or Cryo damage, or keep Stellar Glimmer on the boss to block absorption entirely. If the vortex closes without enough orbs, the lion is paralyzed immediately and the resistance shred applies again.
Stellar-Conduct setups built around Sandrone with Odette and Yae Miko handle this cleanly, since the innate Electro aura keeps the reaction available. Non-Stellar routes exist — Pyro damage teams, Cryo teams like Skirk or Lohen, or a Dendro carry such as Nefer — but they need more investment to chew through 23.3 million HP.
Veteran Wind Operative: survive Hunt Down, break the shield
Mechanically the Anemo Operative works like the Cryo version from 6.1, with a larger health pool and increased Anemo resistance. She spends a slice of her own HP to enter Bloody Pursuit, gaining a large white damage shield and launching Hunt Down. White shields ignore Vaporize and Melt multipliers and otherwise behave like a second health bar.
If Hunt Down connects with an unshielded character, she heals a percentage of her HP and applies a heavy damage-over-time debuff. While her shield is up she also attaches a large, effectively unhealable Bond of Life to your whole team. Either dodge the attack or hold a shield through it — those are the only two outcomes that do not cost you the fight. Her interruption power and interruption resistance are both raised by the Ley Line disturbance, and a midair stance break lets her teleport out and recover instantly.
Breaking the shield deals damage equal to everything it absorbed, so the phase is a pure burst check. She can re-shield roughly three times per fight depending on how fast you break it. The forced Bond of Life is why Arlecchino and Clorinde are the standout picks — Arlecchino’s biggest hit lands while carrying the full stack.
Knuckle Duckle: dismantle the stamping devices
Knuckle Duckle returns unchanged and remains the most restrictive of the three. On Dire it enters Heavy Duckstruction Mode as the fight opens, granting itself a ward that raises all resistances high enough that brute force is not realistic, and summoning floating stamping devices.
Those devices are the answer. They resist most damage types but not Electro, and they count instances of Electro-Charged and Lunar-Charged damage. Land enough of those procs — or simply kill a device outright — and it loses control, crashes into the boss, and chips the ward. The Ley Line disturbance makes the devices tougher, but it also makes Electro-Charged and Lunar-Charged hits more effective on them, and the crash damage scales with how much the device absorbed first.
Destroying the ward this way knocks the boss out of Duckstruction Mode via Overloaded, removes the bonus resistance, and cuts its Electro resistance for a period. That window is where the bulk of the 25.9 million damage has to land, because the ward eventually goes back up.
Team compositions with confirmed Dire clear times
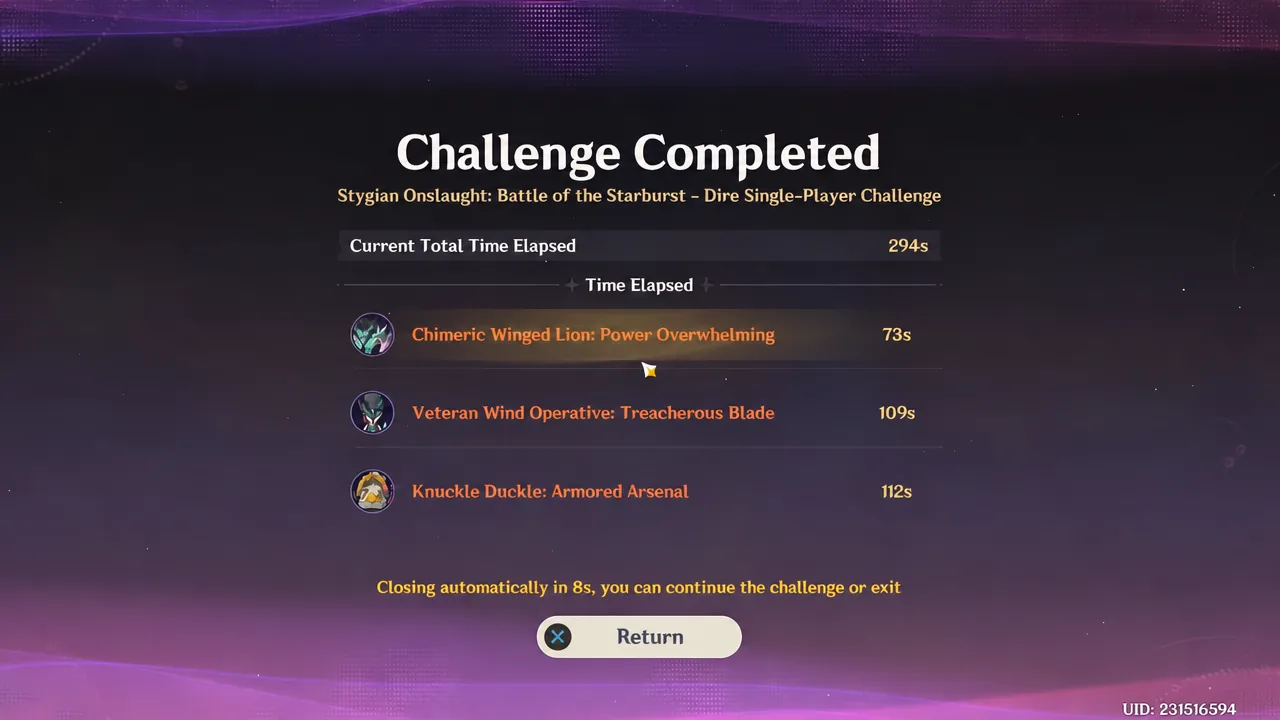
Two full Dire runs land at 294 and 318 seconds total, which is a useful benchmark for pacing. Neither uses an identical roster, so there is more flexibility here than the boss shills suggest.
| Boss | Team | Clear time |
|---|---|---|
| Chimeric Winged Lion | Emilie, Durin, Nicole, Baizhu | 73s |
| Chimeric Winged Lion | Sandrone, Yae Miko, Odette, Escoffier | 101s |
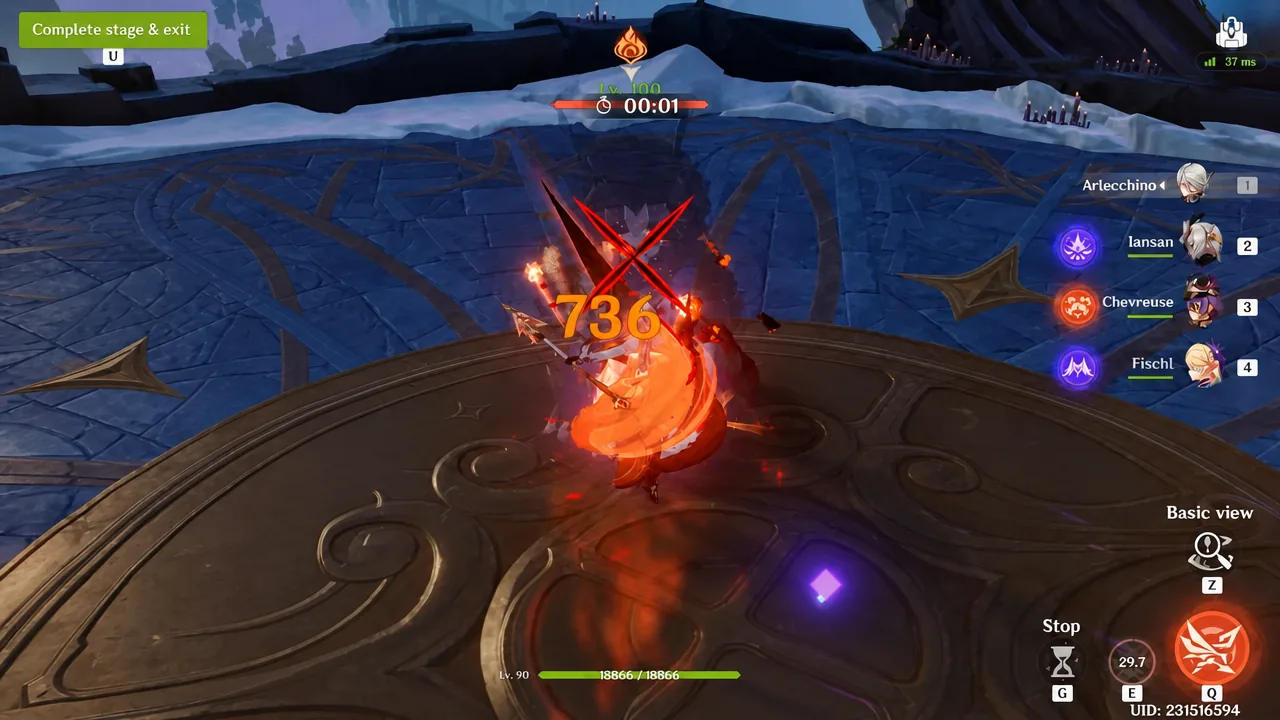
| Veteran Wind Operative | Arlecchino, Fischl, Chevreuse, Bennett | 103s |
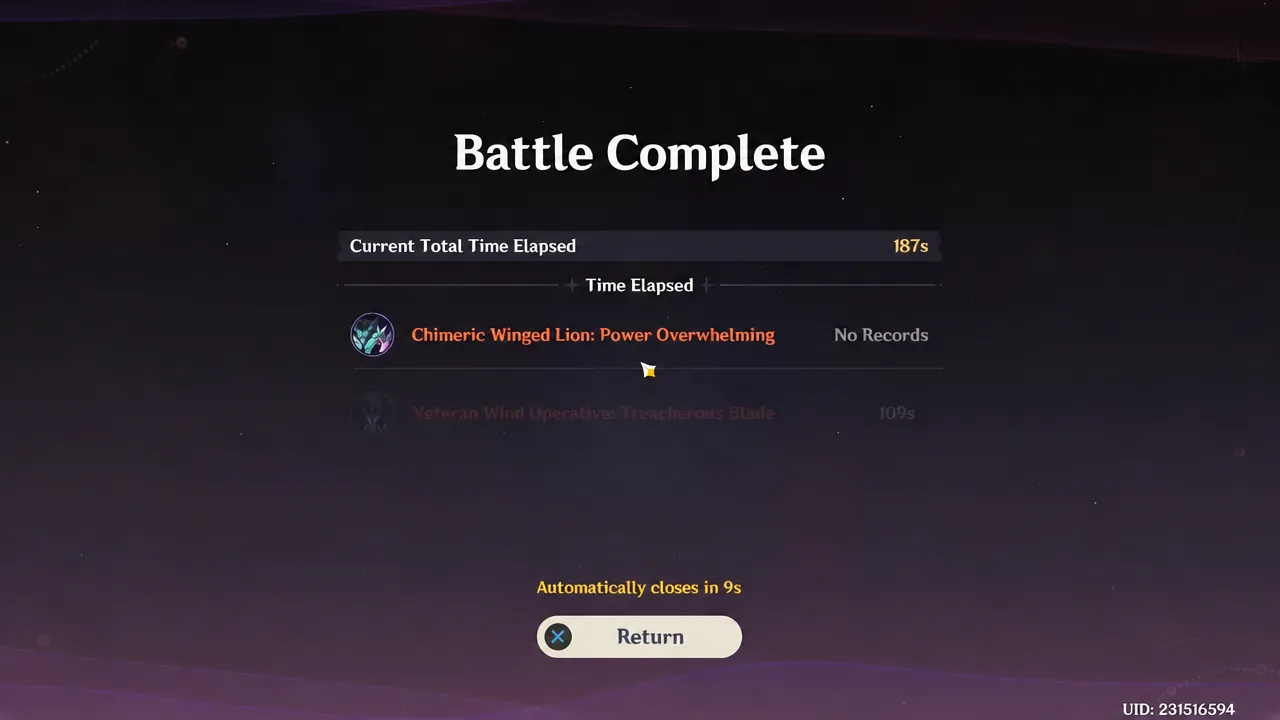
| Veteran Wind Operative | Arlecchino, Iansan, Chevreuse, Fischl | 109s |
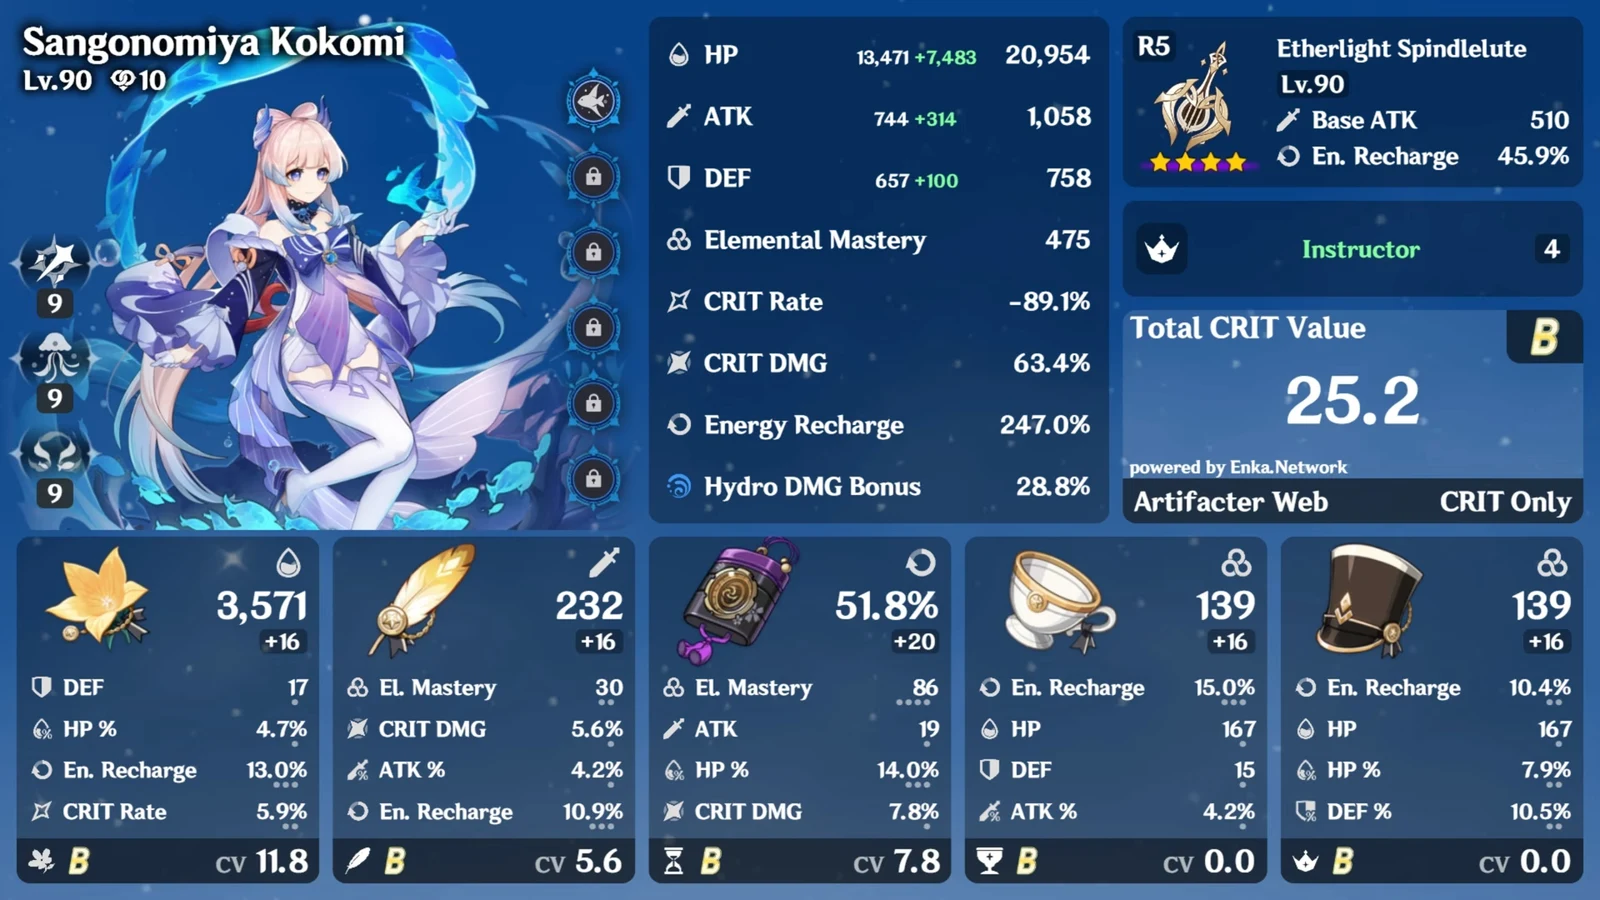
| Knuckle Duckle | Kokomi, Nahida, Nilou, Lauma | 112s |
| Knuckle Duckle | Mavuika, Xilonen, Columbina, Ineffa | 114s |
Support sets do a lot of the work in these lineups. Deepwood Memories, Scroll of the Hero of Cinder City, Noblesse Oblige, Instructor, Tenacity of the Millelith, and Silken Moon’s Serenade all show up across the twelve builds, alongside Song of Days Past and Vourukasha’s Glow on sustain units.
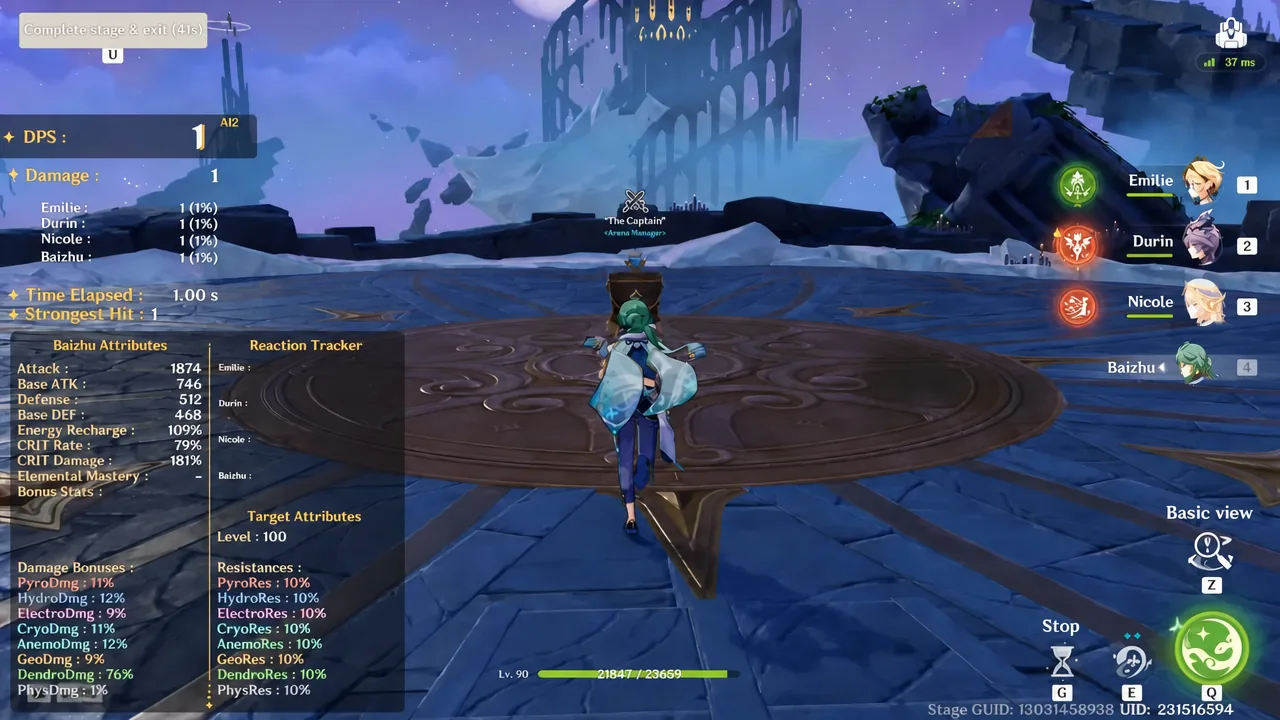
Before committing a team to a Dire attempt, it is worth checking rotation damage against The Captain training dummy. It tracks damage output and reaction procs, which tells you whether a rotation actually generates enough Stellar or Lunar-Charged instances to break a ward in one cycle.
Why Dire attempts fail
Most failed runs trace back to one of a handful of specific mistakes rather than a general damage shortfall.
- Letting the Chimeric Winged Lion absorb enough Anemo Orbs, which restores its power and starts another circling attack instead of a paralysis window.
- Taking Hunt Down unshielded, which heals the Operative and leaves the active character bleeding health for the rest of the phase.
- Trying to hit Knuckle Duckle’s ward directly while its resistance bonus is active, instead of clearing the stamping devices.
- Opening with a burst-dependent rotation despite the zero energy start, which wastes the first ward cycle.
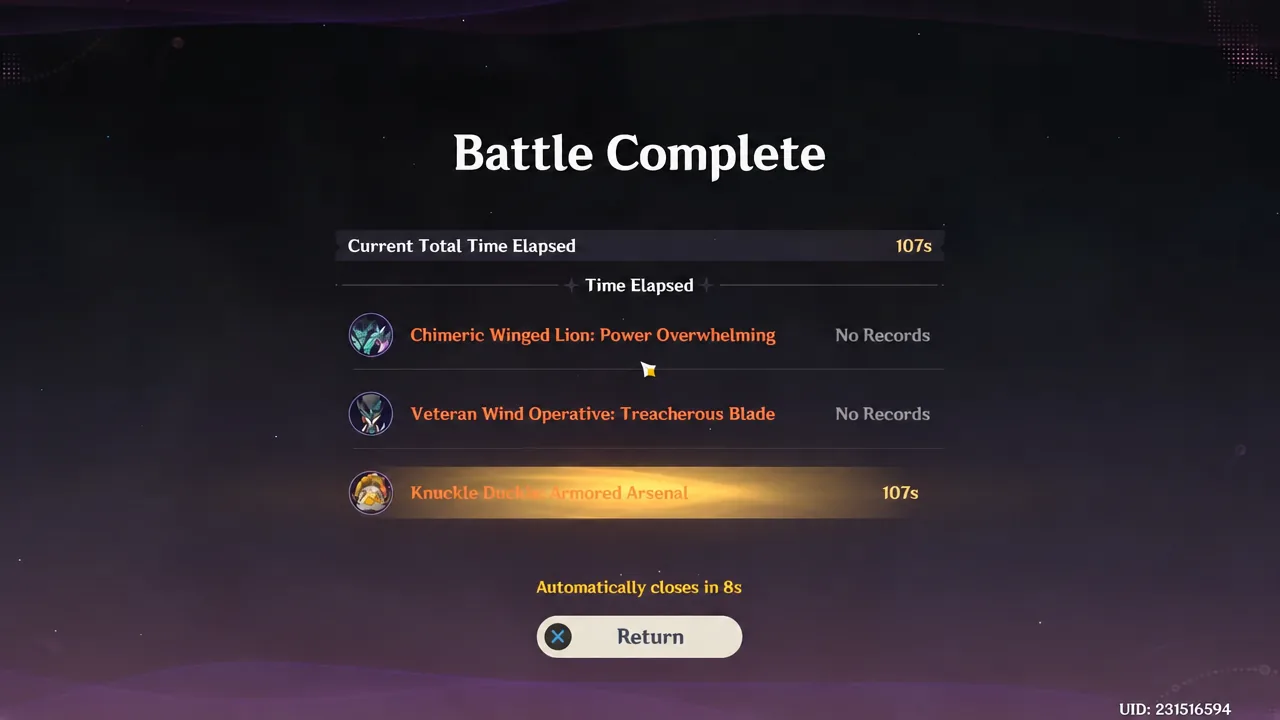
Confirmation is straightforward. Each fight ends on a Battle Complete screen showing the boss name and your elapsed time, and finishing the third one produces the Challenge Completed screen, after which the results dialog closes on its own and the Best Record summary updates.
If one boss is walling you, the practical move is to rebuild that single team around its ward mechanic rather than raising damage across the board. A team that reliably strips a ward in one cycle will beat a stronger team that misses the window.