


Skirk’s Freeze team has been settled for months. Escoffier and Furina take two slots, Skirk takes the field, and the fourth spot goes to whichever Hydro or Cryo support you happen to own. Vodyanitsa, the 5-star Hydro catalyst arriving in Version 7.1 Phase 1 on September 23, 2026, is built specifically to win that argument, and she does — just not by as much as her kit list suggests.
Quick answer: At C0, Vodyanitsa is the best fourth slot for Skirk Freeze, worth roughly 12% more team DPS than C1 Shenhe. Build her HP%/HP%/HP% on 4-piece Tenacity of the Millelith, targeting 65,000 Max HP.
Vodyanitsa C0 vs Mona C0 vs Shenhe C1: the damage gap
Run the same Skirk, Escoffier and Furina core and only change the last character, and the spread between supports is smaller than the hype around a new release implies. Swapping C1 Shenhe out for a C0 Vodyanitsa moves the team from roughly 135.5k DPS to 152.2k, and damage per rotation from 2.91M to 3.12M.
| Fourth slot | Team DPS | Damage per rotation |
|---|---|---|
| Vodyanitsa C0 | 152.2k | 3.12M |
| Shenhe C1 | 135.5k | 2.91M |
Against Mona the margin is tighter still, landing in the high single digits — around 7% — which is the same size of gain you get replacing Citlali. Mona keeps one advantage that does not show up in a damage column: she is a natural Thrilling Tales of Dragon Slayers holder, and so is Vodyanitsa, so only one of them can carry it.
The more useful comparison is against everything else you could spend pulls on. Skirk’s signature sword, her constellations, and Escoffier’s C1 each add more damage to this team than a C0 Vodyanitsa does. If the fourth slot is already filled by a built Shenhe, Mona or Yelan, she is a comfort upgrade rather than a necessary one.
How the three supports were tested
The side-by-side runs all use Polapo’s Solidarity as the target, with Skirk on Azurelight and Finale of the Deep Galleries, Escoffier on Scroll of the Hero of Cinder City, and Furina on Golden Troupe. Five variants were run through the same rotation shape.
| Run | Fourth slot | Key gear or constellation |
|---|---|---|
| 1 | Vodyanitsa C0 | Hymn of the Maelstrom |
| 2 | Mona C0 | Thrilling Tales of Dragon Slayers |
| 3 | Shenhe C1 | Calamity Queller, Clarity of Heart |
| 4 | Mona C1 | Prophecy of Submersion |
| 5 | Mona | Escoffier on Symphonist of Scents |

Skirk herself is the constant in every run. At C1 with Azurelight and the full Finale of the Deep Galleries set she sits at 78.4% CRIT Rate and 230.6% CRIT DMG, which is reachable without pushing vertical investment into her.

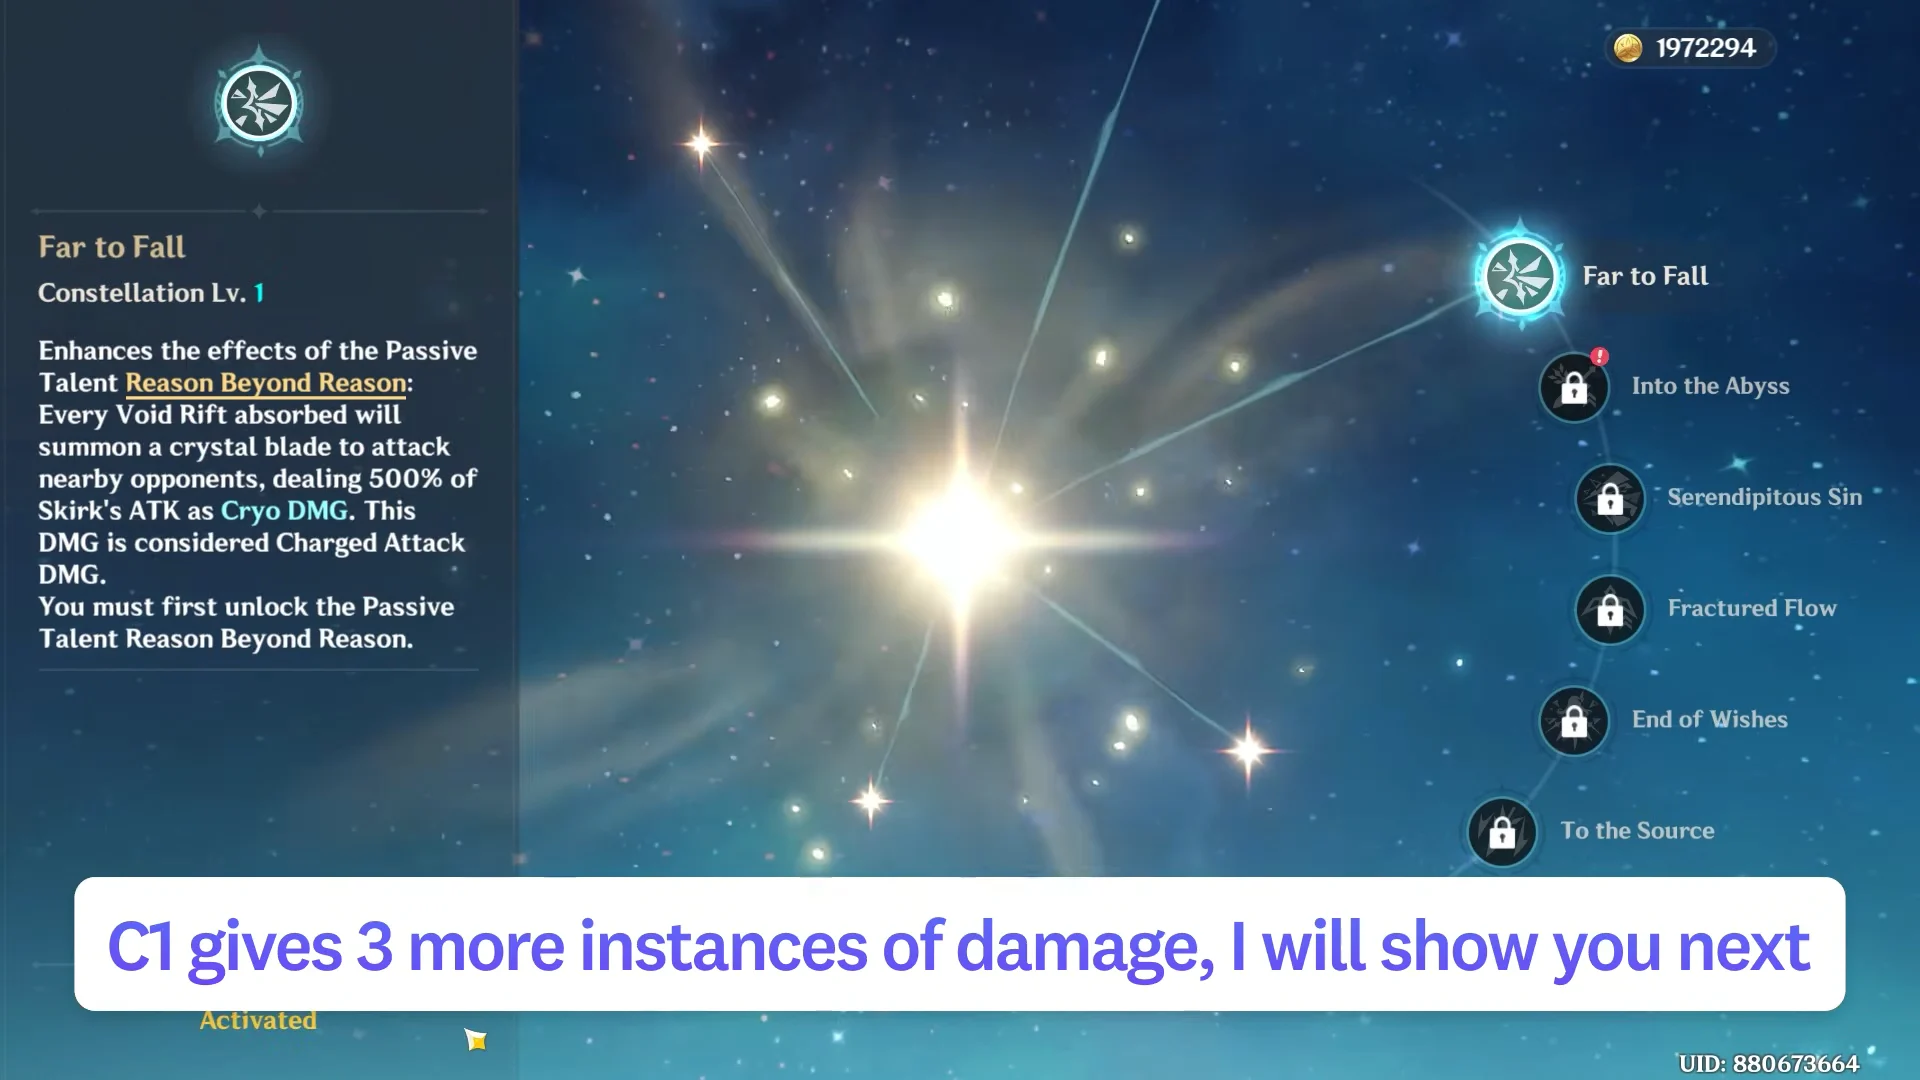
Her C1, Far to Fall, is the reason the baseline is as high as it is. Absorbing Void Rifts adds extra instances of Cryo damage on top of her normal attack string, which is where most of the team’s damage share comes from.
What Vodyanitsa contributes to the team
Everything sits in her Elemental Skill. Casting it turns her into a mermaid, deals Hydro damage scaling off Max HP, and opens a 16-second window where microphones spawn every three seconds and attack alongside whoever is on the field. Each microphone hit does four things at once.
- Hydro damage based on her Max HP.
- Struck enemies lose 26% Hydro and Cryo RES for 6 seconds.
- The character currently on the field is healed about once every 1.5 seconds.
- Interruption resistance for the character on the field.
Her ascension passive is the buff half. Entering the Skill state hands the active character 17 stacks of Solo and gives off-field teammates 10 stacks of Ensemble, spent whenever that character deals Hydro or Cryo damage. In a Freeze team that means Skirk’s normal attacks and Escoffier’s off-field Cryo both collect. Each stack adds flat damage scaled off how far her Max HP sits above 40,000, counted per 1,000 HP, capping at 3,500.
At talent level 10, the Burst hits every enemy in its area with Hydro damage equal to 82.2% of Max HP, increasing to 86.4% when activated during the Skill state. It uses 60 Energy and comes back after 15 seconds. Consider it supplemental damage rather than her main function, since leaving it unused costs very little.
Building Vodyanitsa to 65,000 HP
Max HP is her sole meaningful stat. The stack effect gives nothing below 40,000 HP, a completed build begins around 60,000, and its limit is reached at 65,000. HP beyond that point improves only her healing and modest personal Hydro damage. CRIT is not worth pursuing on her.
Weapon options
| Weapon | Secondary stat | Adds |
|---|---|---|
| Hymn of the Maelstrom | 66.2% HP | Healing Bonus, Max HP stacks, team ATK |
| Thrilling Tales of Dragon Slayers (R5) | 35.2% HP | 48% ATK on swap |
| Jadefall’s Splendor | 49.6% HP | Energy, Elemental DMG from Max HP |
| Everlasting Moonglow | 49.6% HP | Healing Bonus, Energy on Normal Attacks |
| Prototype Amber | 41.3% HP | Party healing and Energy after Burst |
| Ash-Graven Drinking Horn | 41.3% HP | AoE damage from Max HP every 15s |
Her signature catalyst is the cleanest fit, since its passive keys off healing and scales up the moment a nearby teammate triggers Frozen. Thrilling Tales at R5 is the free pick and stays genuinely competitive here, because Skirk is the character taking the field the instant Vodyanitsa leaves it.
Artifact sets
Use 4-piece Tenacity of the Millelith by default. Its 2-piece effect supplies 20% HP toward the threshold, while the 4-piece effect renews a 20% ATK increase for the entire team whenever her off-field Hydro hits. Since the microphones arrive every three seconds, the buff is effectively always active.
Choose Song of Days Past if another teammate is already carrying Tenacity. Her healing is turned into flat damage for the next several hits, with each instance recording up to 15,000 healing. Instructor can fill the gap temporarily, though its 4-star status makes reaching the HP target considerably more difficult.
Main stats, substats and talents
- Sands, Goblet, Circlet: HP%.
- Prioritize HP% on substats, followed by flat HP and then Energy Recharge.
- Energy Recharge is only worth adding when you intend to cast her Burst every rotation.
- Level talents in this order: Elemental Skill, Elemental Burst, then Normal Attack.
A fully kitted version running R5 Hymn of the Maelstrom with four-piece Tenacity lands at 69,659 Max HP, comfortably over the cap, with the surplus spilling into healing.
Skirk Freeze rotation with Vodyanitsa in the fourth slot
The lineup is Skirk, Escoffier, Furina and Vodyanitsa. Furina at C6 on Favonius Sword and Golden Troupe covers both the damage bonus and Energy generation, running talents at 9/10/9.
When Energy permits, insert Vodyanitsa’s Burst after her Skill; its low cost and brief cooldown allow that. In a cramped rotation, however, this is the first action to remove.
Constellations that change the comparison
| Const. | Effect | Value |
|---|---|---|
| C1 | Healing grants team ATK from 0.7% of her Max HP (3s) | Solid for hypercarries |
| C2 | 50% Hydro/Cryo CRIT DMG to the active character; Skill lasts 9s longer | The big breakpoint |
| C4 | Stacking 20% Max HP, up to three times | Pushes HP to the cap |
| C6 | C2 effects go party-wide, plus 50% Hydro and Cryo DMG for the Skill’s duration | Team-defining |
Take C2 before C6, and leave C1 for last. C2 is the major playstyle breakpoint: nine additional seconds on the Skill make its uptime essentially permanent, while the CRIT DMG goes to the character occupying the field. C6 shares that benefit with the full party and adds a flat Hydro and Cryo damage bonus.
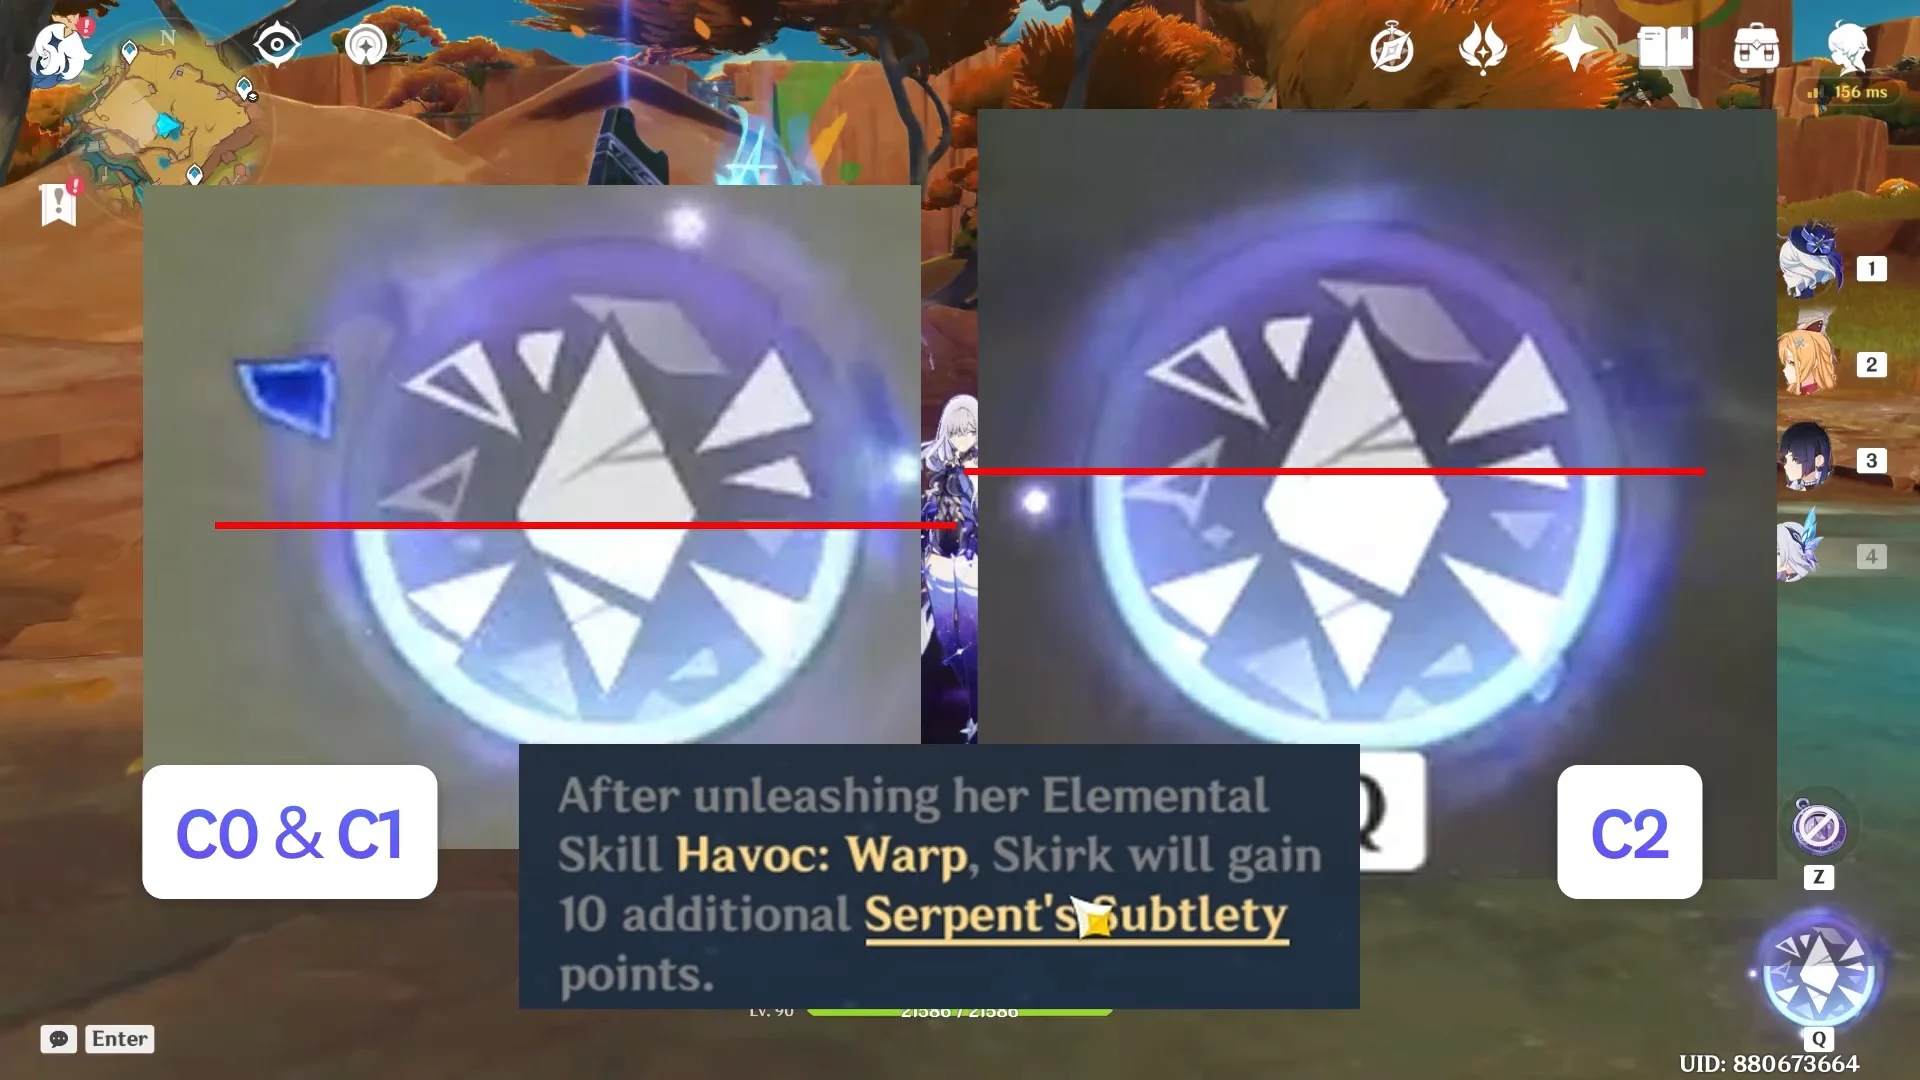
Weigh that against Skirk’s own constellations before committing. Her C2 expands the Serpent’s Subtlety gauge and is a larger damage gain for this team than picking up a C0 Vodyanitsa.
Clear times to check your build against
At level 105 in Stygian Onslaught, the team defeats the Secret Source Automaton: Overseer Device in 36 seconds. With similar constellations and weapons, a much slower clear usually means Vodyanitsa’s Skill uptime is dropping between cycles.
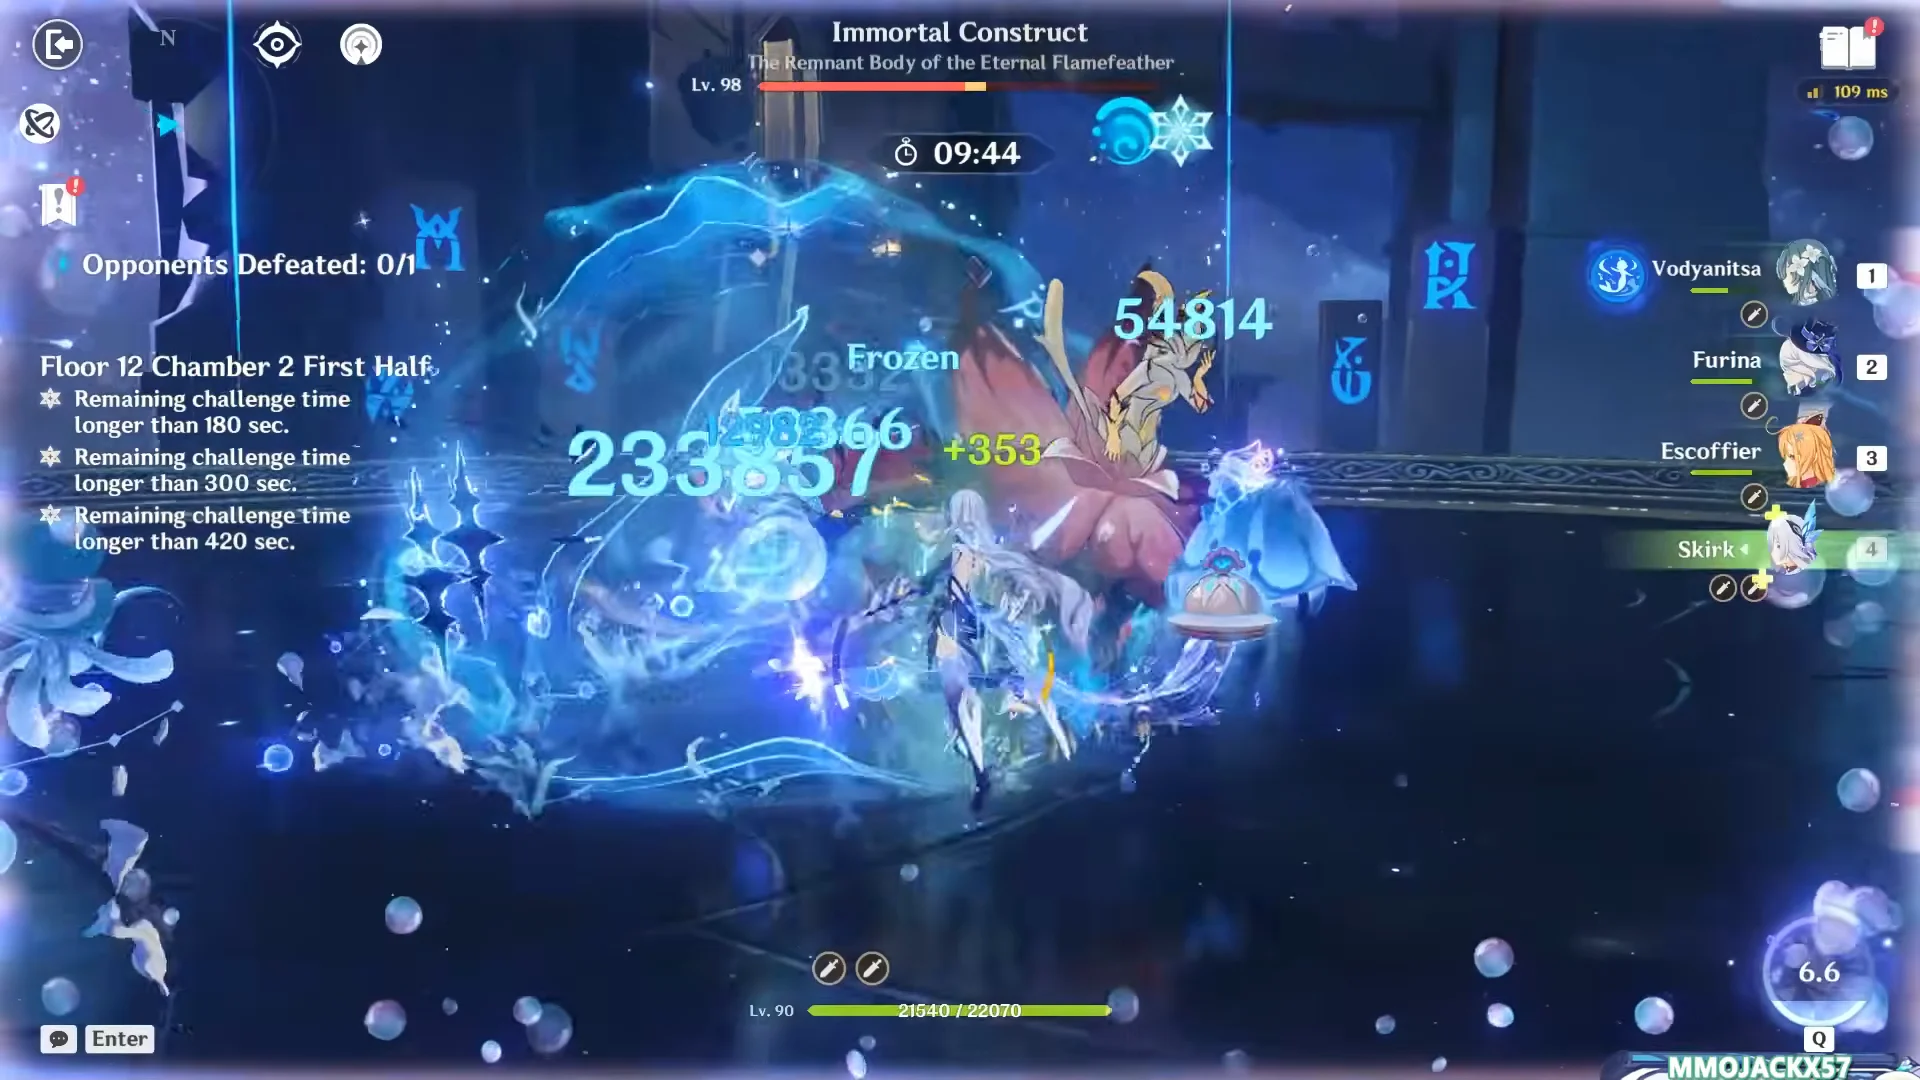
The first halves of Spiral Abyss Floor 12 are cleared at about the same speed. The Battle-Hardened Chimeric Burrowbeast in Chamber 1, the Immortal Construct in Chamber 2, and the Battle-Hardened Domovoy Sculptor in Chamber 3 each fall during one run through the rotation above.
So the ranking is clear but the margins are not dramatic. Vodyanitsa is the best fourth slot for Skirk Freeze, ahead of Mona and C1 Shenhe, and she brings healing and interruption resistance that neither of them matches. She is not an upgrade over Escoffier, and she is not a bigger damage gain than Skirk’s signature weapon or Escoffier’s C1. If your fourth slot already works, she is a quality-of-life pull; if it is the weak link, she is the one that fixes it.





