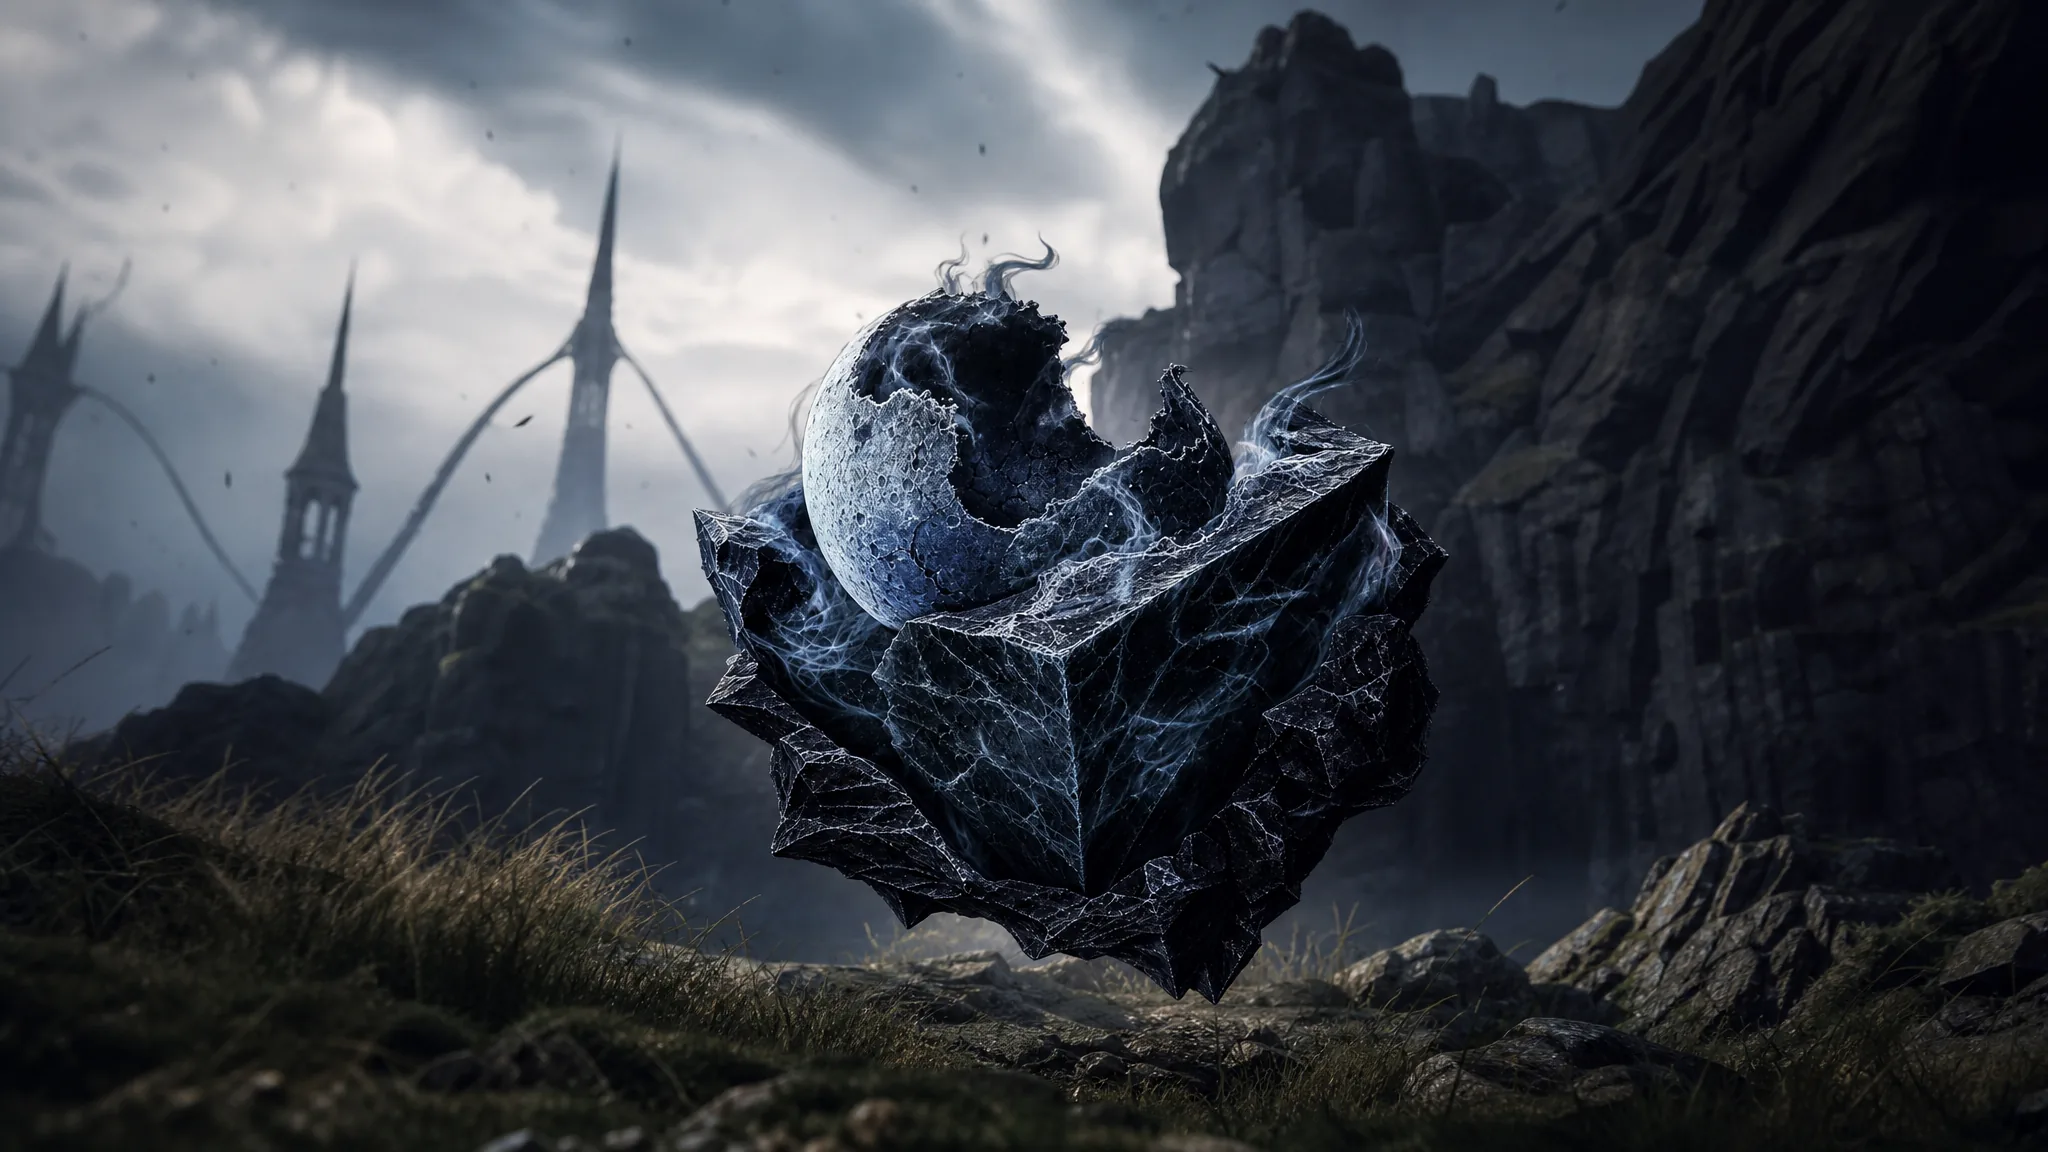
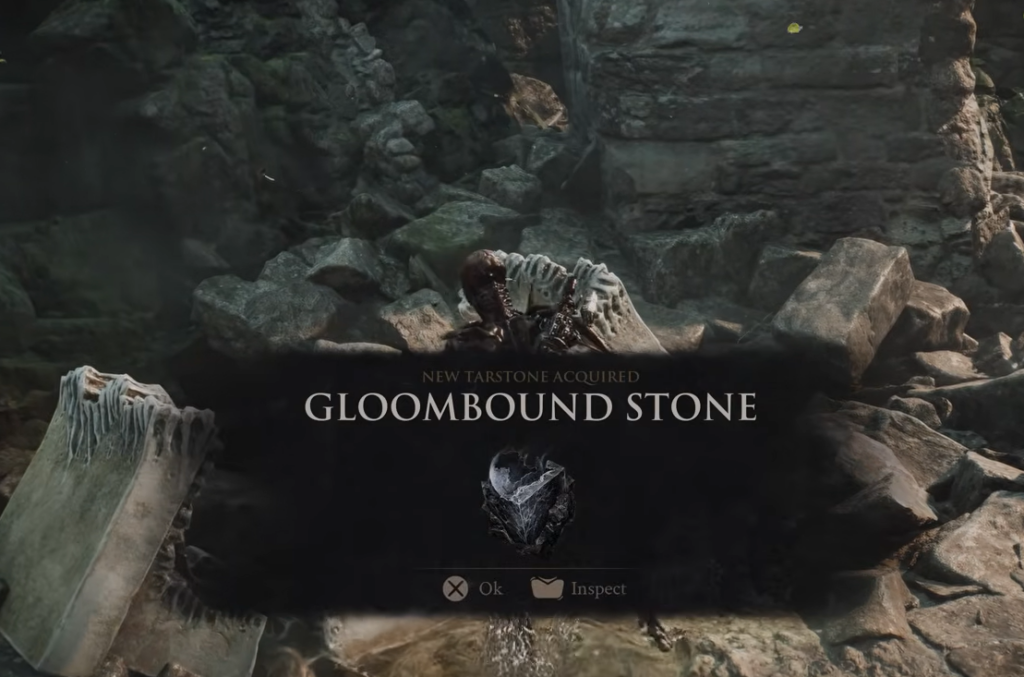
The Gloombound Stone is a Tarstone in Mortal Shell 2 that increases the amount of Gloom you collect each time you defeat an enemy. Gloom is the white upgrade currency you spend at Beacons to level the Harbinger, so a Tarstone that pumps up that income pays off across the whole campaign. It waits inside a stone chest set among ruins, and grabbing it takes only a short detour.
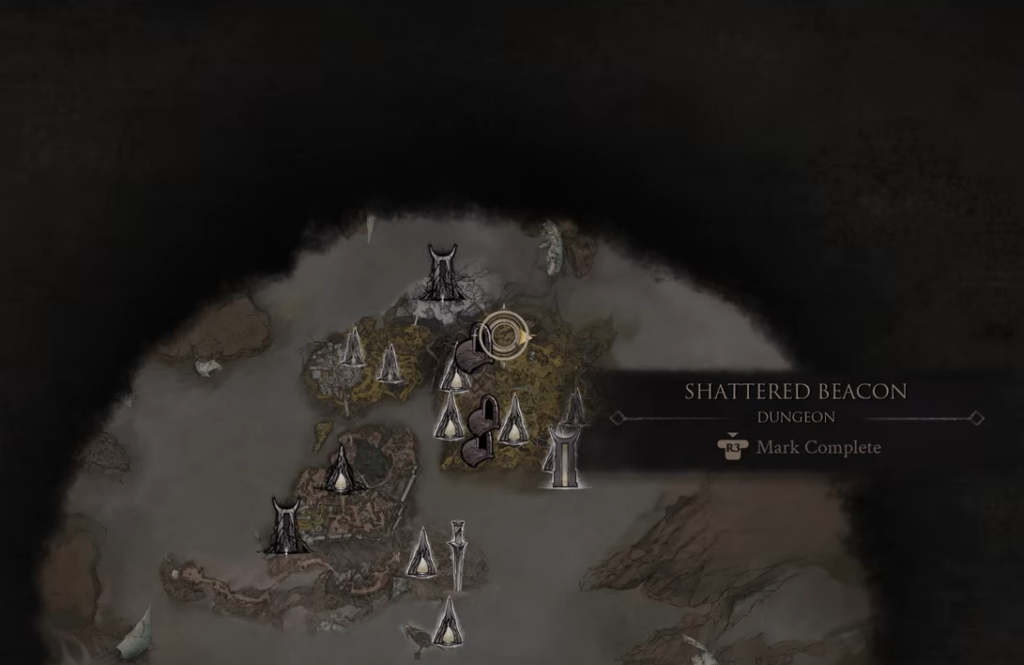
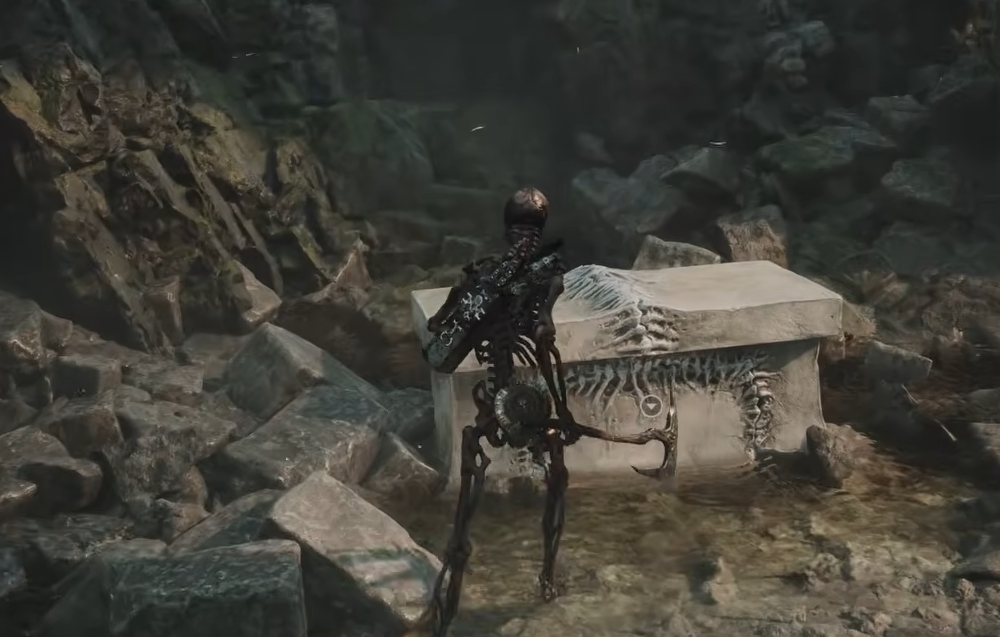
Quick answer: Head to the stone ruins east of the Shattered Beacon dungeon, walk through the stone archway, and open the stone chest to claim the Gloombound Stone. The map marker sits at roughly 1334, 7480.
What the Gloombound Stone Tarstone does
Slot the Gloombound Stone into a weapon and every kill returns more Gloom than usual. Because Gloom is the resource you burn at Beacons to raise the Harbinger’s level, more Gloom per fight means faster leveling with less grinding.
It pairs naturally with the Justiciar’s Stone, which does the same thing for Coins. Running both at once turns ordinary enemy clearing into a steady stream of currency for upgrades.
Gloom drops from your body when you die and can be picked back up at the spot where you fell, so spend it before risky boss attempts to avoid losing a big stack.
Where to find the Gloombound Stone
The Tarstone is tucked inside stone ruins in eastern Fainweald, in the graveyard area known as the Stones of Remembrance. It sits a short distance from the Justiciar’s Stone, which is found in a cavern just past the Broodshell Swarm encounter.

How to confirm you have it and start using it
After looting the chest, the “New Tarstone Acquired” message appears on screen and the Gloombound Stone lands in your Tarstones inventory. From there, equip it to a weapon so the Gloom bonus applies during combat.
Keep the Tarstone slotted while you fight to earn XP for it. Tarstones gain experience simply by being equipped when you slay enemies, and you do not need to trigger any special effect for that XP to count.
Get even more Gloom from each kill
Two extra levers stack on top of the Gloombound Stone’s bonus to push your Gloom income higher.
| Method | Effect |
|---|---|
| Upgrade the Tarstone at the Tarforge | Raises the Gloombound Stone’s potency; costs Coins after the stone has earned enough XP |
| Toggle Night Mode | Increases the Gloom and Coins enemies drop, while making them deadlier |
| Farm enemy-dense zones | More kills means more triggers of the Gloom bonus in a shorter time |
To upgrade Tarstones, you first need to hand Etching Needles to Franz at the Tarforge in Marrow Keep. The needles sit in a chest in the Glutted Mire swamp, close to the Magdalena fight. Once Franz has them, the Tarforge shows an upgrade option, and Tarstone upgrades only cost Coins rather than your rarer crafting materials.
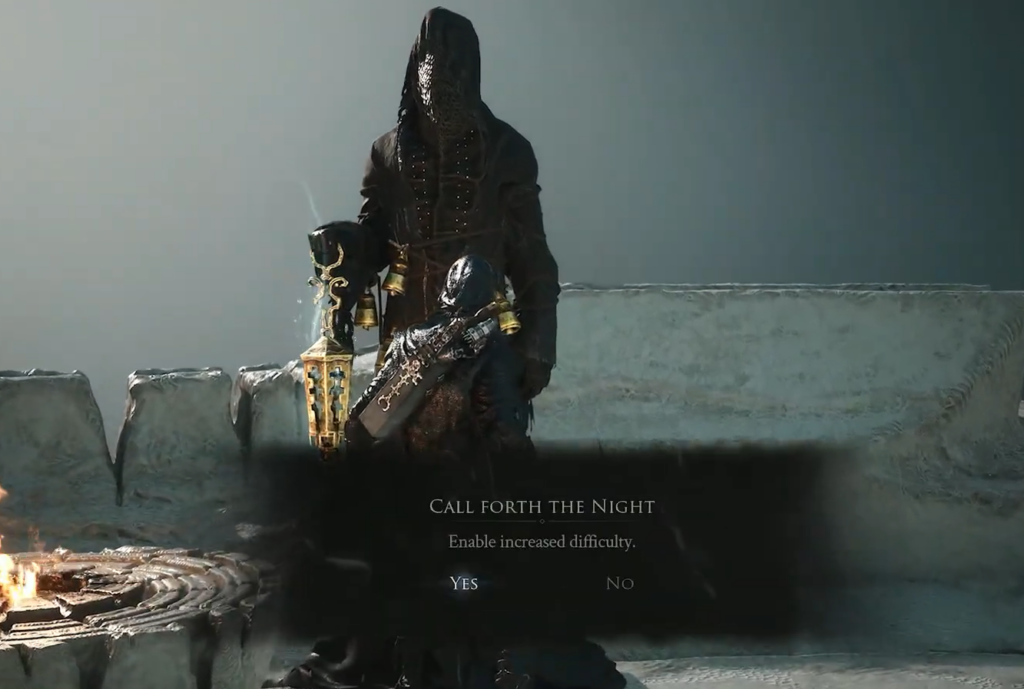
Night Mode is switched on by talking to Thestus, the NPC who appears after you light the extinguished lantern atop Marrow Keep with the Gloombound Flame. Turning it on makes fights harder but boosts your Gloom and Coin returns, which speeds up Tarstone XP as well.
Grabbing the Gloombound Stone early gives you a compounding advantage, since every enemy you kill from that point contributes more toward leveling the Harbinger. Slot it, keep it equipped, and pair it with the Justiciar’s Stone if you want both currencies climbing at the same time.