A fresh zombie in Graveyard Keeper 2 does nothing on its own. Drop one at a bench with a full crafting queue and it will stand perfectly still until you give it what it needs. The number that decides which recipes a worker can touch is Work Mastery, and every zombie starts at 0. Raising that number is the whole job.
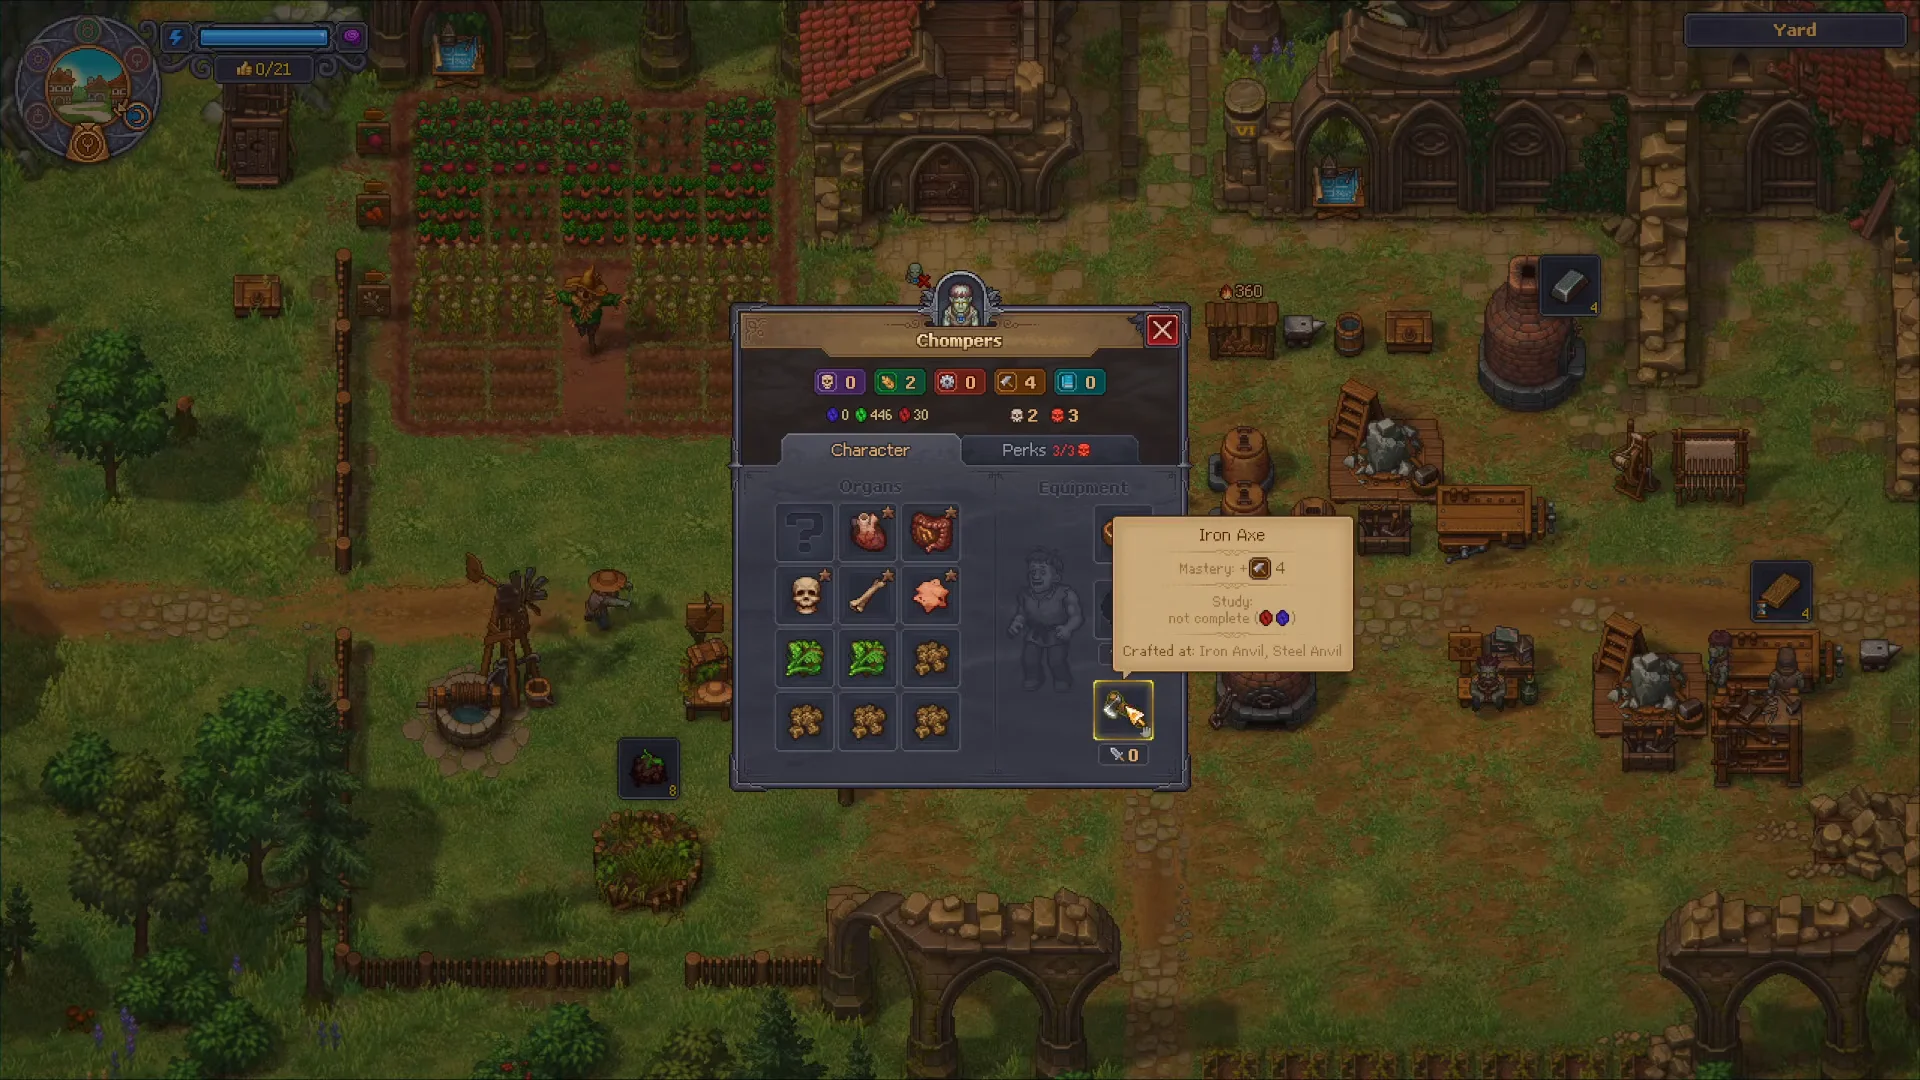
Quick answer: Inspect the zombie, open its Character tab, and place the tool that matches the work into its hand slot. Better tools grant more Mastery, and spending gems on perks adds permanent bonuses.
Equip the right tool for each job
Zombie Mastery is determined mainly by the equipment a zombie carries rather than by experience grinding. A rusty starter tool gives +1 Mastery, while bronze-tier equipment and anything better provides +2 or more. Giving the zombie a different tool changes the work category it can handle: one body may saw planks in the morning, then forge nails once equipped with a hammer.
The station and tool must belong to the same discipline. Mastery in one field cannot be applied to another, meaning even a highly rated hammer cannot make a zombie cut logs.
| Work type | Tool to equip |
|---|---|
| Crafting and woodcutting | Axe |
| Metallurgy | Hammer |
| Farming | Shovel |
| Mining | Pickaxe |
| Fishing | Fishing Rod |
| Transport and courier duty | None required |
Transporter zombies are the exception: they need neither stats nor tools. Assign your weakest bodies to a Porter Station or Zombie Supplier Station, and reserve equipped zombies for crafting benches.
Equip a zombie and put it to work
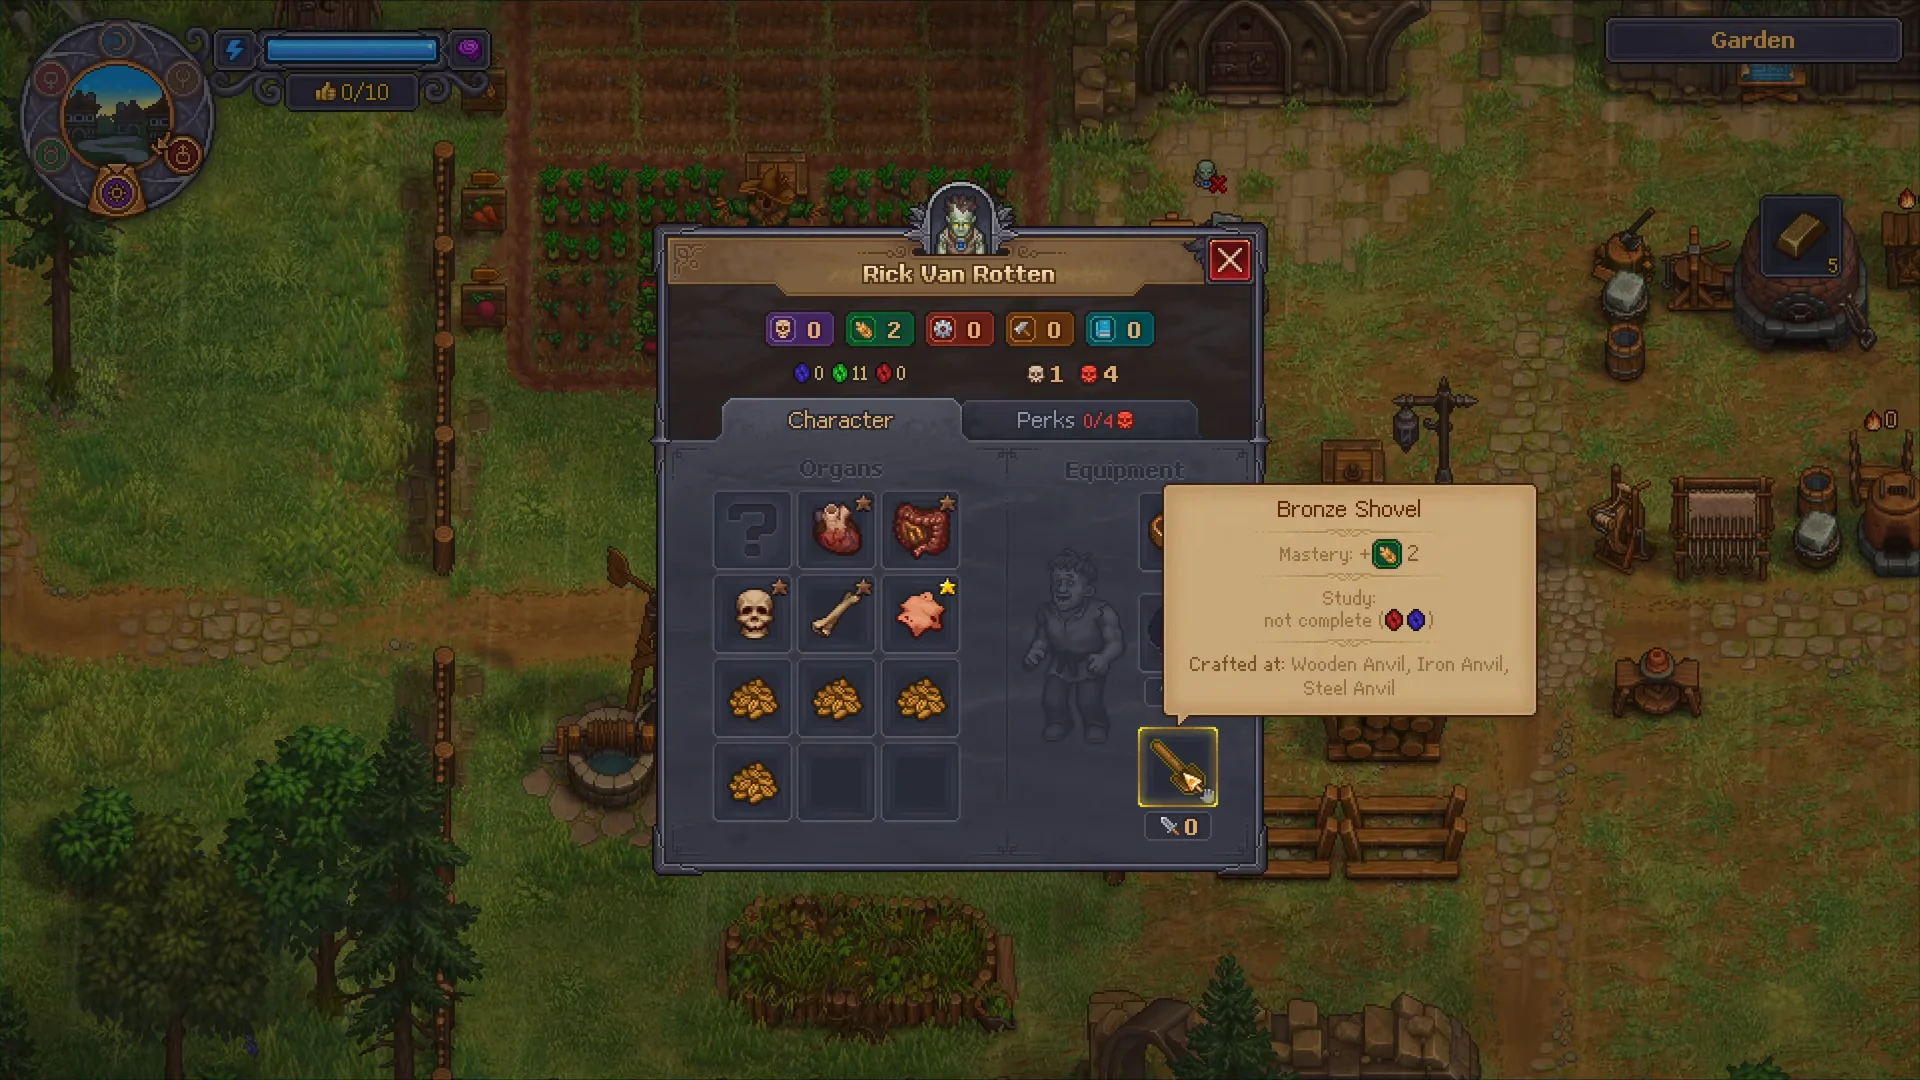
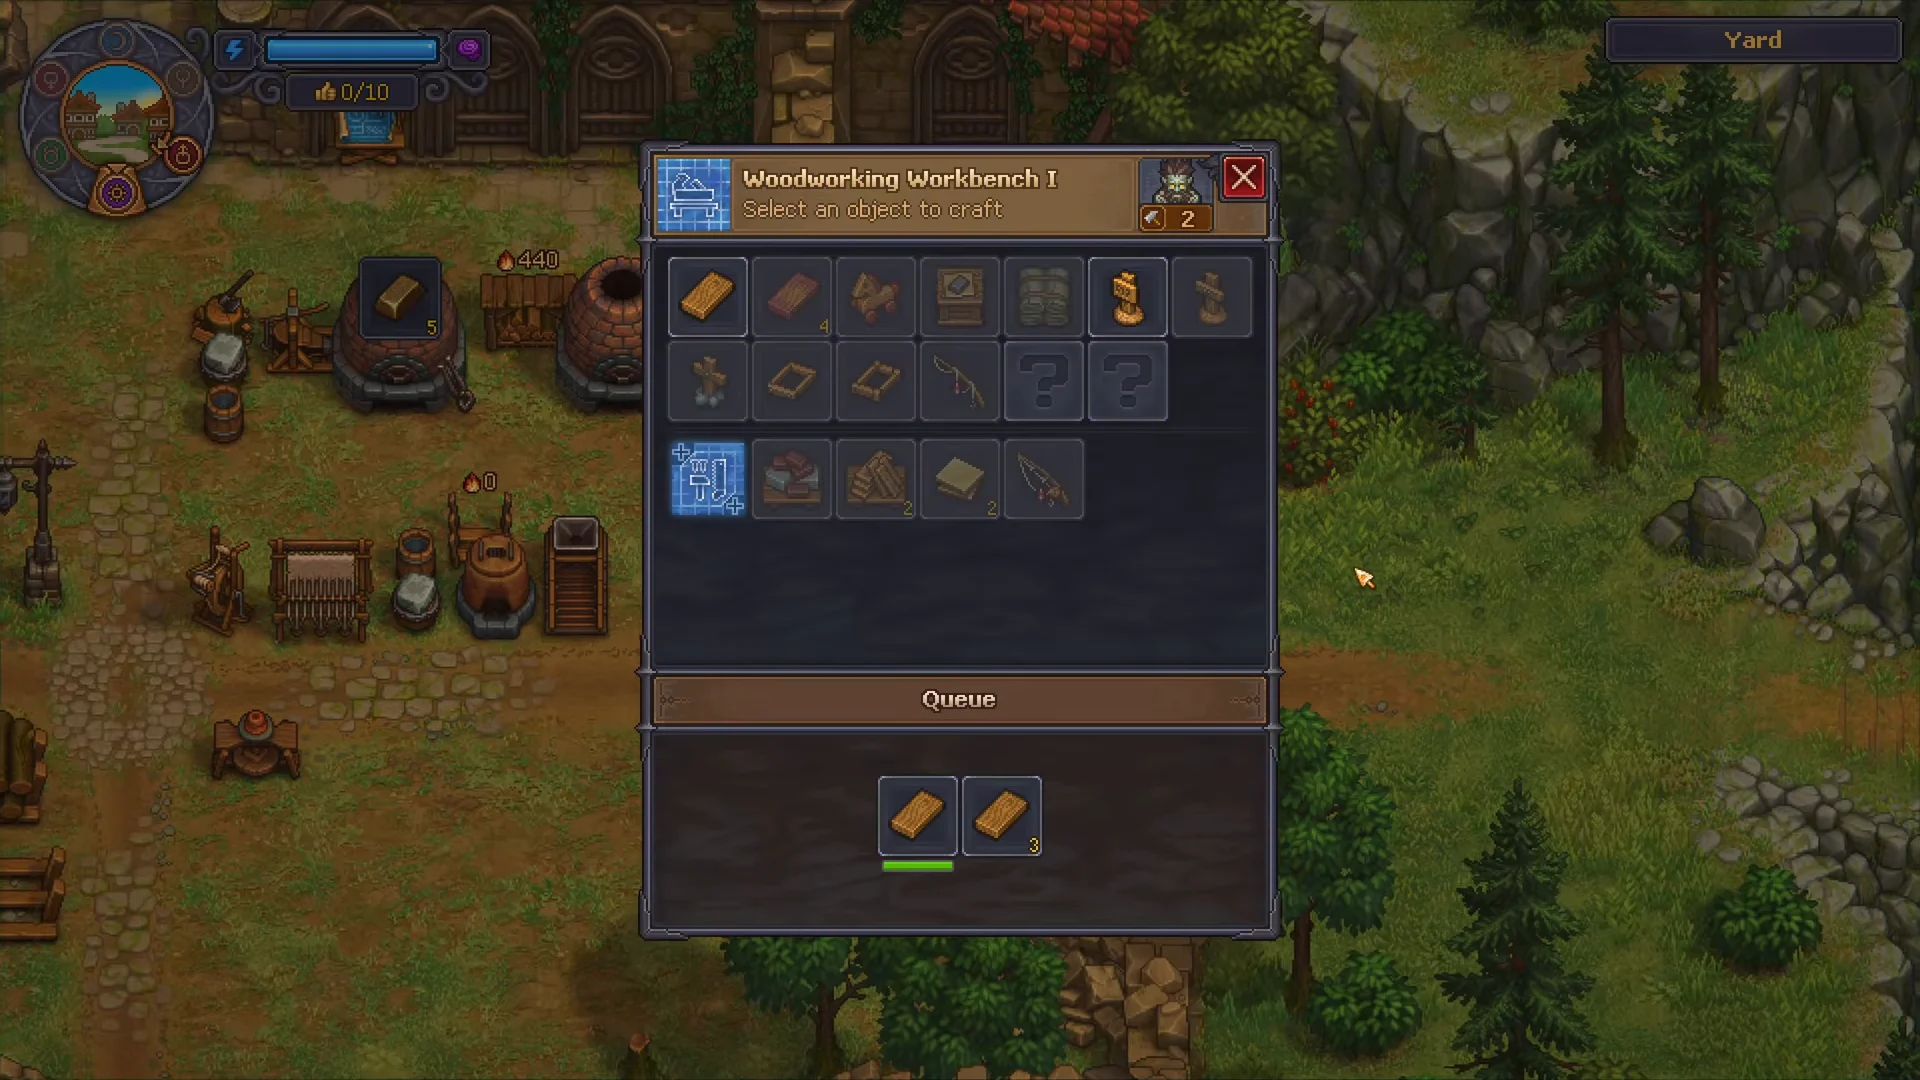
Courier zombies cannot leave their work zone. The yard, garden, vineyard, brewery, science lab, and kitchen each need their own porter, and chests are zoned the same way. Moving bulk goods between areas is still your job.
Craft better tools to push Mastery higher
Rusty starter equipment reaches its limit quickly. Bronze provides the first meaningful improvement, with every bronze tool crafted at the Wooden Anvil. At a later stage, the Iron Anvil upgrades those tools to iron, increasing Mastery once more. One crafting run is enough to equip the whole workforce.
| Tool | Unlock requirement | Recipe |
|---|---|---|
| Bronze Axe | Metallurgy Mastery 2 | 2 Stick, 2 Bronze Detail, 1 Bronze Ingot |
| Bronze Pickaxe | Metallurgy Mastery 2 | 2 Stick, 2 Bronze Detail, 1 Bronze Ingot |
| Bronze Hammer | Metallurgy Mastery 2 | 2 Stick, 2 Bronze Detail, 1 Bronze Ingot |
| Bronze Shovel | Metallurgy Mastery 2 | 2 Stick, 2 Bronze Detail, 1 Bronze Ingot |
| Bronze Tools | Metallurgy Mastery 3 | 2 Stick, 1 Polished Bronze, 4 Bronze Detail |
Those unlock requirements apply to your own Metallurgy Mastery on the Keeper, not the zombie’s. You need the Tech Tree progress before any of this gear can exist, so develop your own crafting stats first, then hand the results down to your workers.
Spend perks for permanent Mastery
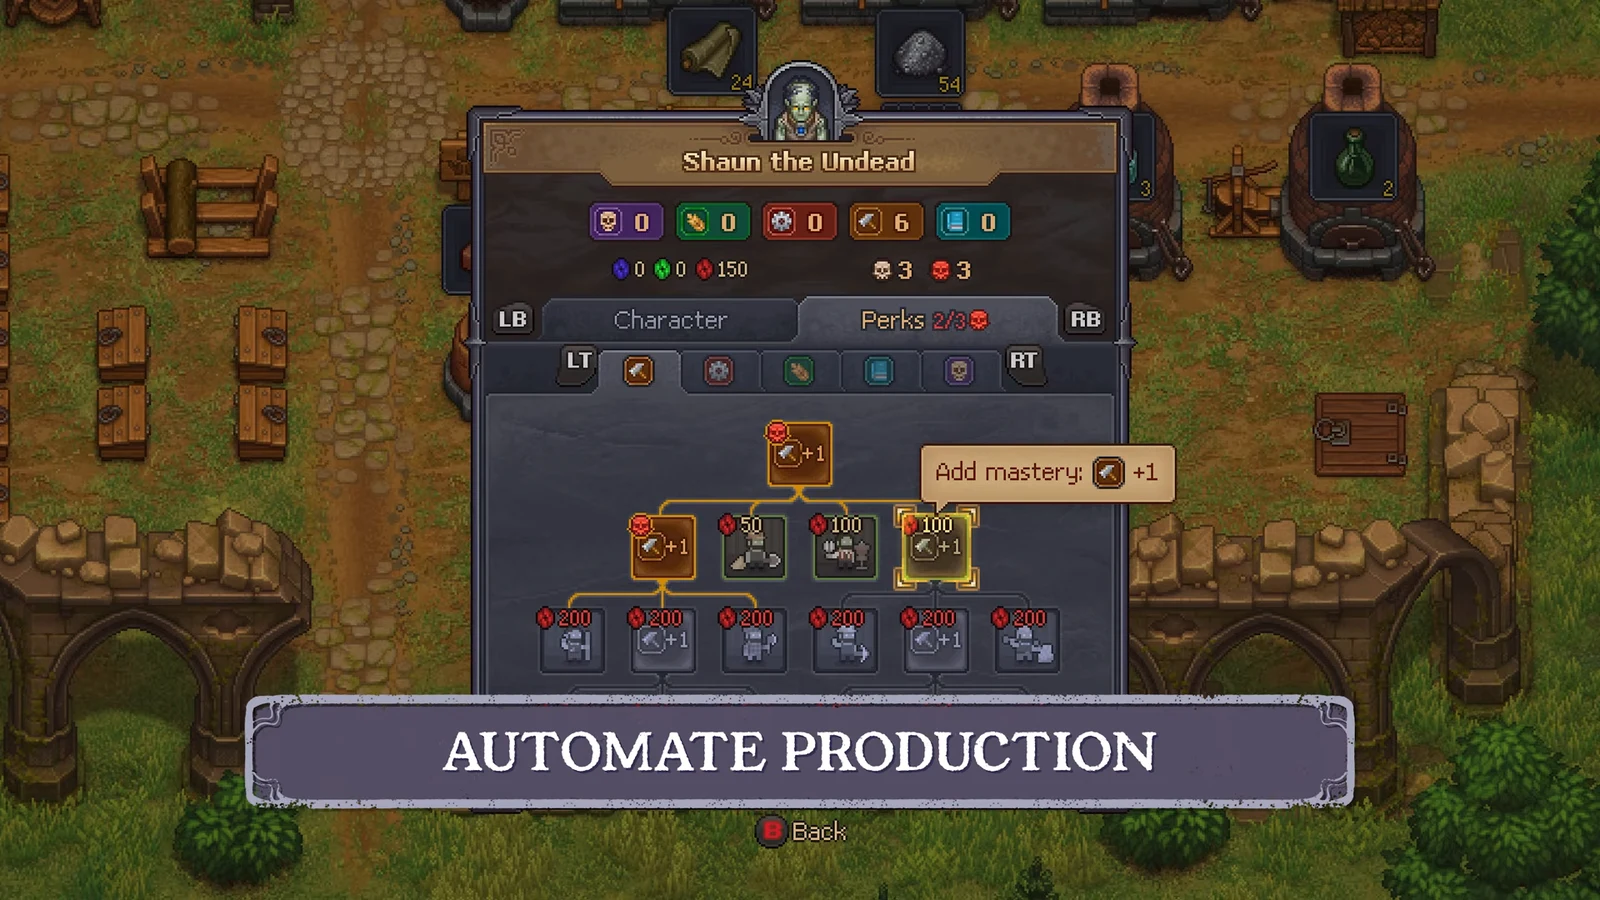
Equipment gets a zombie working, but perks make it useful beyond bronze-tier tasks. Completing crafting batches awards the worker colored technology points: the job determines whether it receives Red, Green, or Blue gems. At 50 gems, the first perk unlocks, and every mastery node permanently grants +1 in the discipline you select.
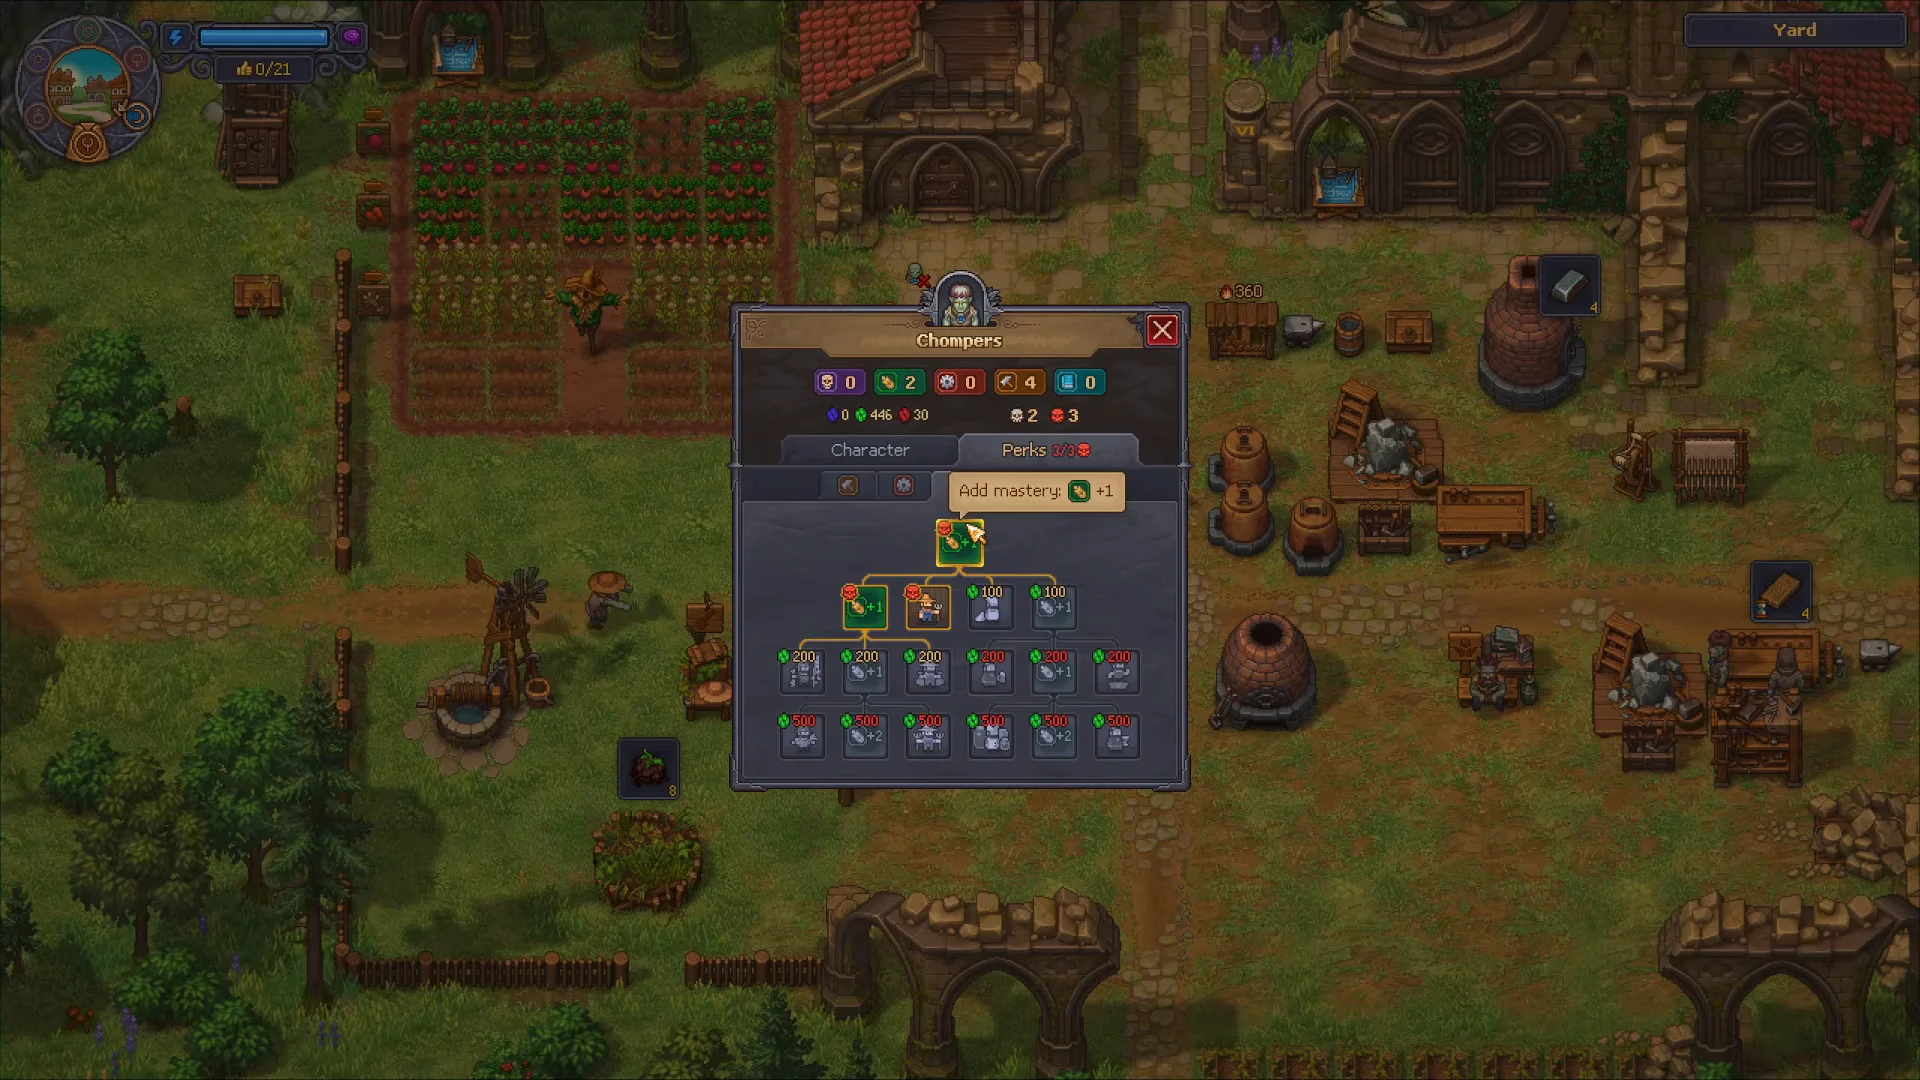
Each worker keeps its earned points individually, while mastery nodes and named perks require separate purchases. In every branch, the first mastery node costs less than the second, and specialized branches contain more levels. For instance, the woodworking route can ultimately provide a +4 wood-working bonus.
| Branch | First node | Second node |
|---|---|---|
| Building | 50 red | 100 red |
| Smithing | 50 red | 100 red |
| Gardening | 50 green | 100 green |
| Writing | 25 blue | 50 blue |
| Anatomy | 25 blue | 50 blue |
Perks are not awarded automatically. You have to open the worker’s menu and spend the gems yourself, or they will sit on an unspent pile while the zombie stays stuck on low-tier recipes. Inspect your workers now and then and buy the node you want, checking its prerequisite and colored-point cost each time.
Because points are stored per zombie, avoid rotating a strong worker through unrelated jobs. Keep dedicated laborers, such as pure loggers or pure gardeners, so their deepest perks match the tool they carry for maximum output.
Red skulls set the perk ceiling
Perks require an unused red-skull slot as well. A zombie’s body parts determine its red-skull total, which sets the maximum perks it can unlock. An Early Bronze Zombie Collar limits that total to 5 red skulls, making collar upgrades important for workers you plan to keep.
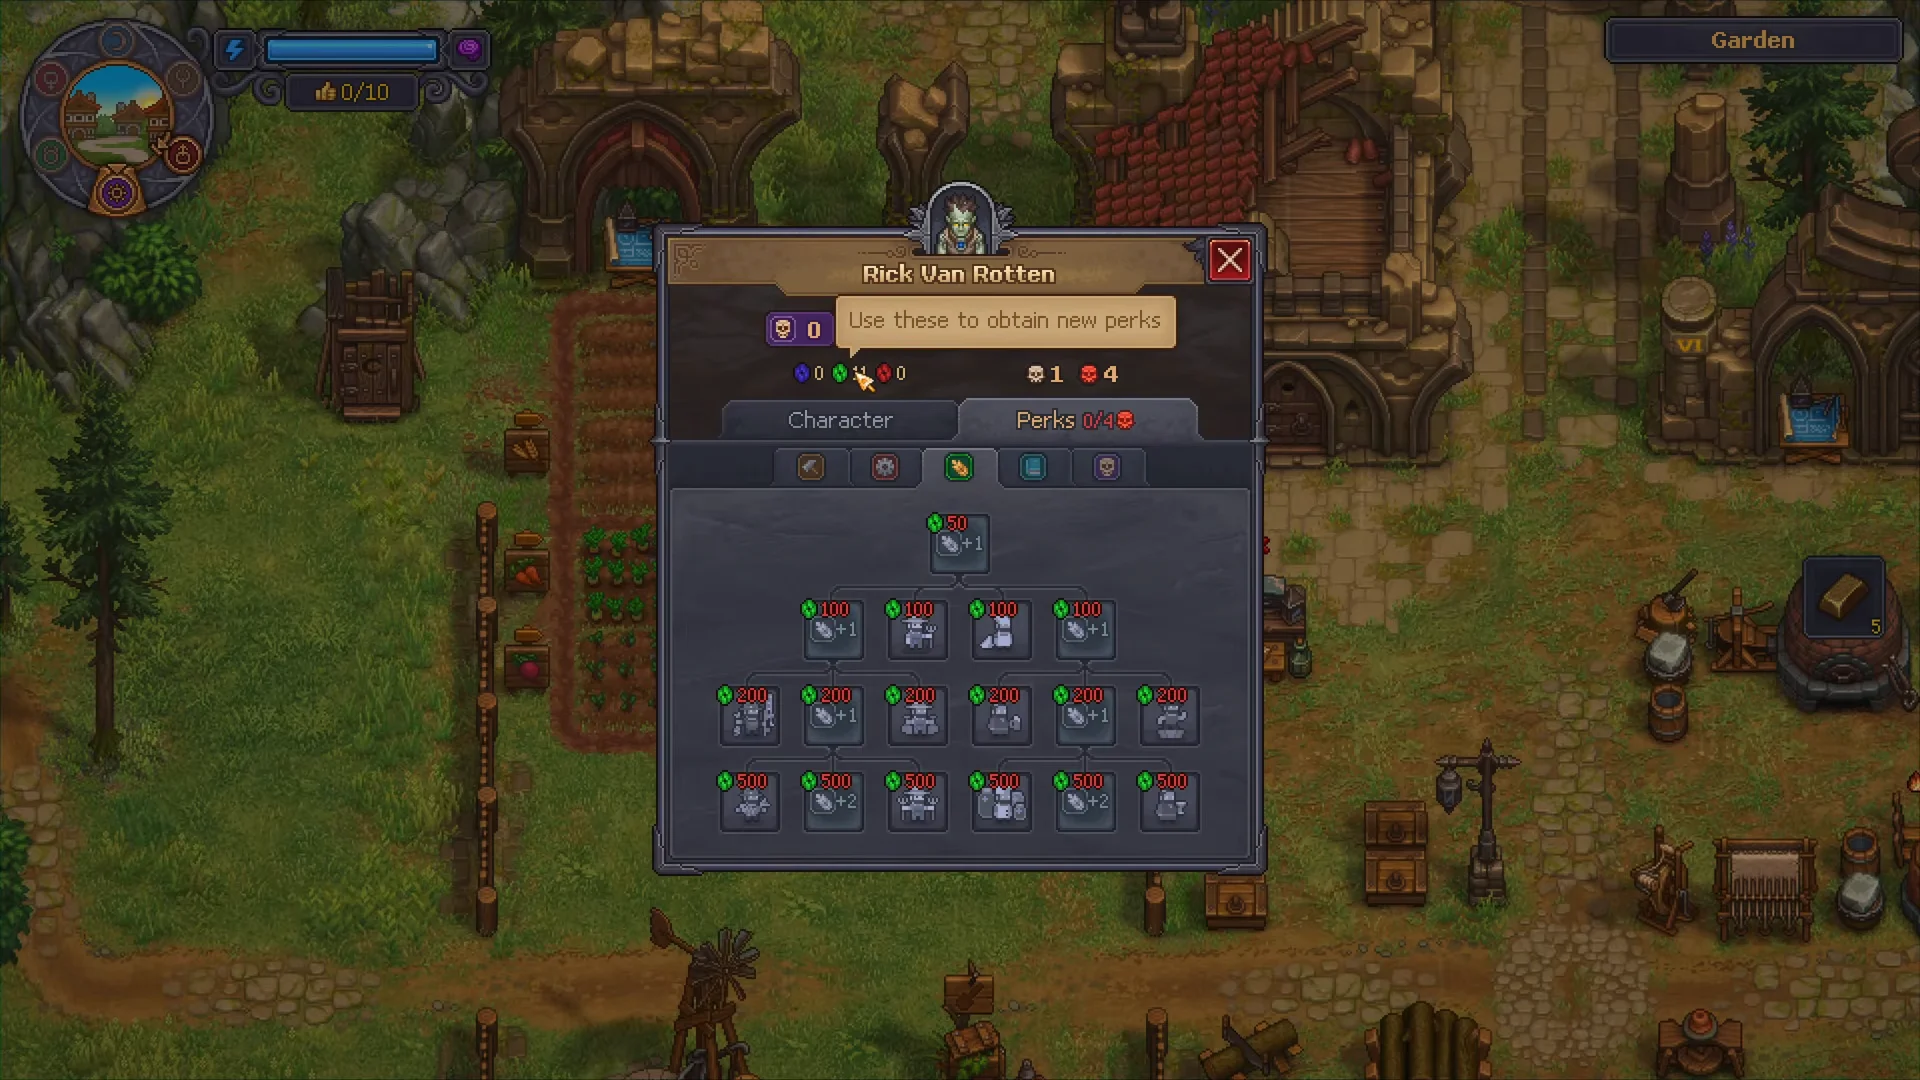
Skull colors work in reverse for these roles: burial candidates should have white skulls, whereas workers should have red ones. Remove body parts bearing red skulls from corpses destined for the graveyard and keep them. At the Autopsy Table, fit those parts to a potential worker to increase its ceiling.
A zombie’s starting body is not permanent. Bring it back to the Autopsy Table when you need to replace organs, and use the same Character tab as the tool screen to install a superior Zombie Collar. Early workers can therefore be improved later instead of needing to be perfect from the start.
Set up a farming zombie
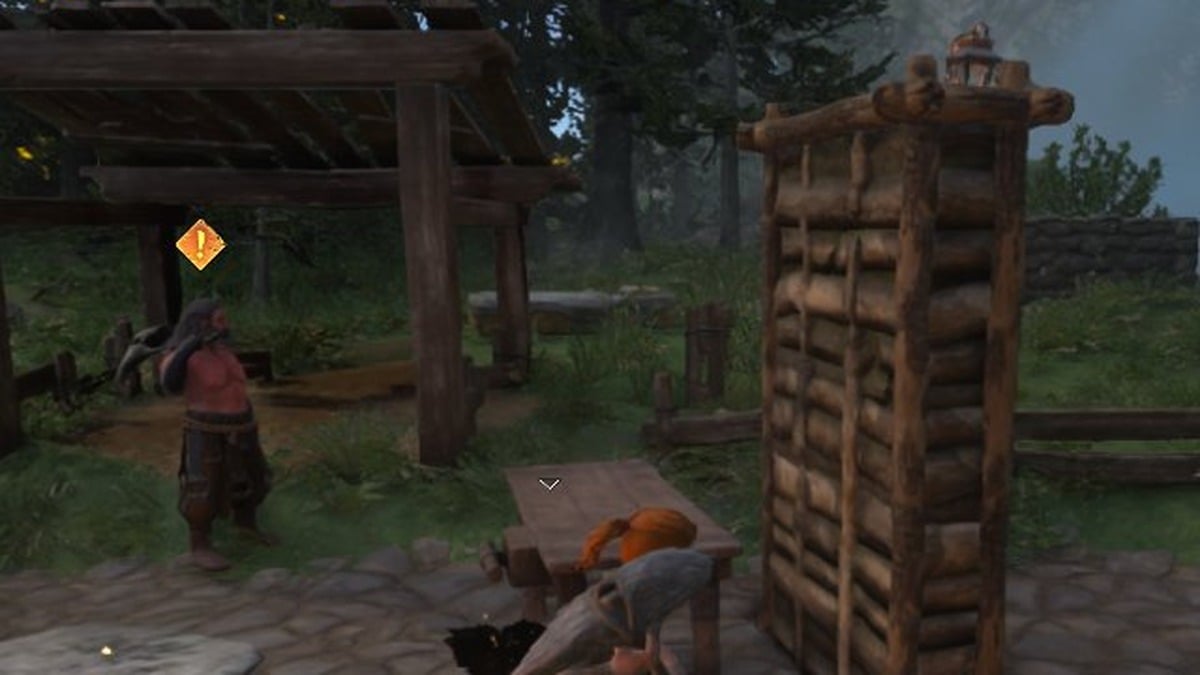
Farmers follow the same Mastery rule but use a different posting. Equip a shovel to boost the farming stat, then build a Gardener Stand at the garden blueprint table using 4 Wooden Planks, 2 Bronze Details, and 6 Bronze Nails, and place the zombie there.
Assigning a zombie to the Gardener Stand does not make it plant until you select a crop. In the garden blueprint table’s second tab, create Tablets for the desired crops, with one tablet for each row. The zombie takes the corresponding seeds from garden chests, gathers the crop once it is ready, and returns the harvest to a chest.
Tablets have no cost and may be broken down and remade for another crop, though you should harvest the current row yourself beforehand. The farmer zombie works only on the crop named by its active Tablet.
Confirm the Mastery raise worked
Go to the station where the zombie has been assigned. Once the requirement is satisfied, the recipe no longer shows the missing-tool warning, and the zombie automatically processes its queue; completed items either remain at the bench or are taken away by a courier.
When the zombie remains idle, investigate two possible causes: the recipe may demand more Mastery in that particular discipline, or the station may lack usable materials. Keep courier routes open, clear completed goods from chests often, and replenish them with raw supplies; a filled chest can halt production as completely as an absent axe.