Corpses that arrive at your morgue in Graveyard Keeper 2 do not have to be buried or cremated. You can also strap them to a Resurrection Table and bring them back as zombies, which you then send off to craft, farm, mine, brew, or fight in battles. Resurrection is gated behind story progress, a hidden lab, and a specific weather day, so the process has more moving parts than it first appears.
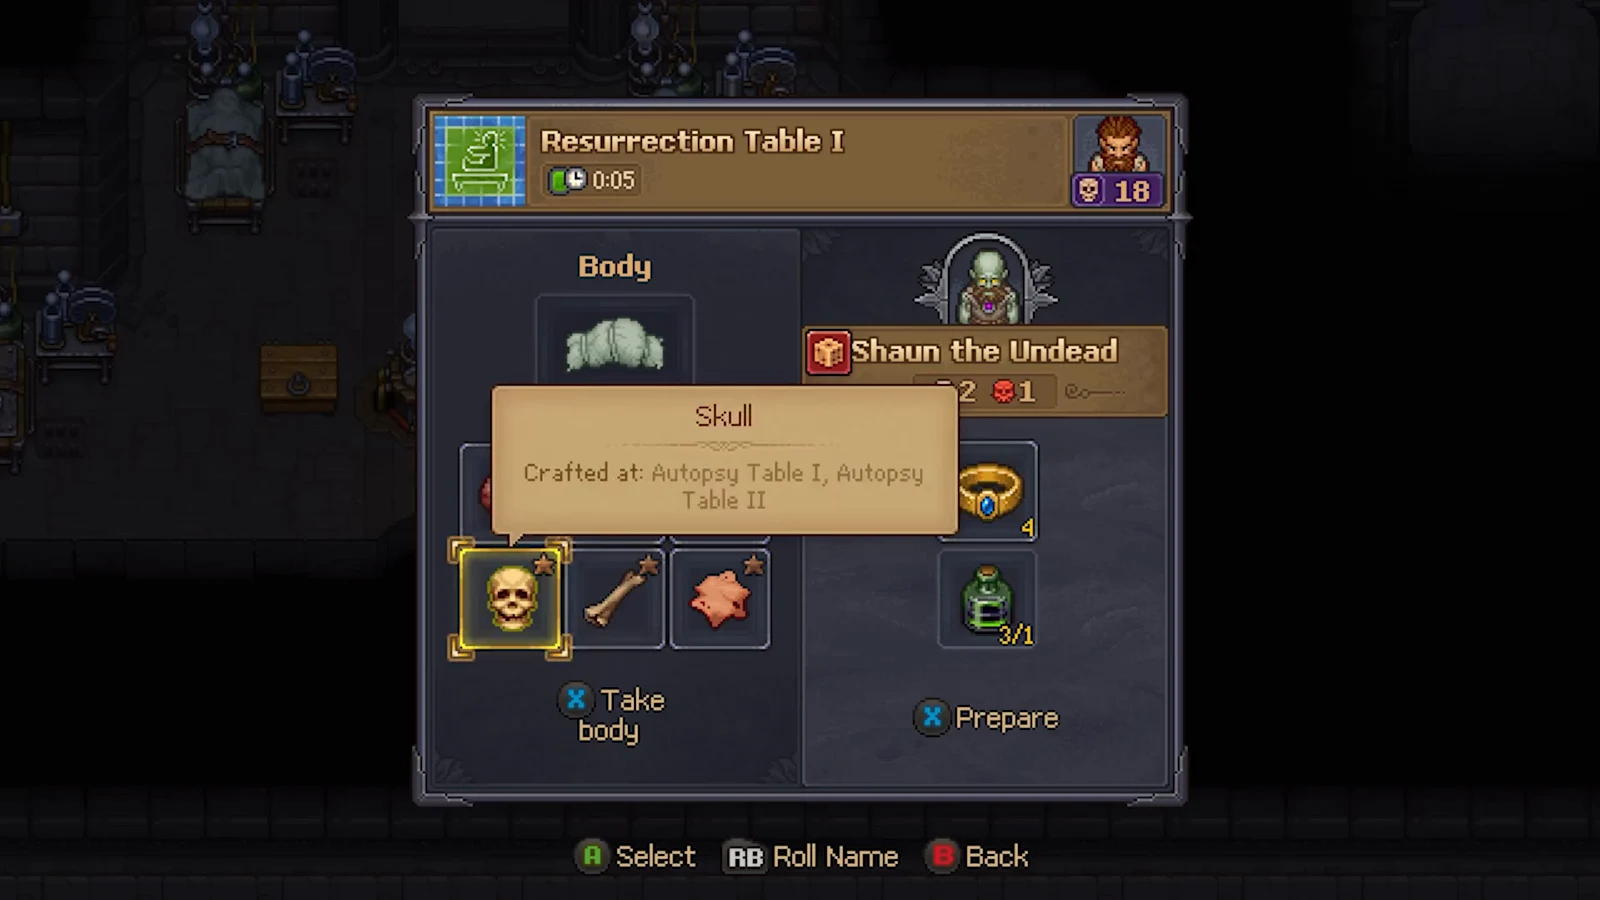
Quick answer: Open the Resurrection Lab beside the Morgue, place a corpse with every vital organ plus Reanimation Liquid and a Zombie Collar on the Resurrection Table, press Prepare, then power the machine on Envy Day (green symbol) and select Resurrect.
Your first free zombies before resurrection
You do not have to build anything to get your first workers. Following the main story hands you two zombies for free, and a few more arrive a bit later.
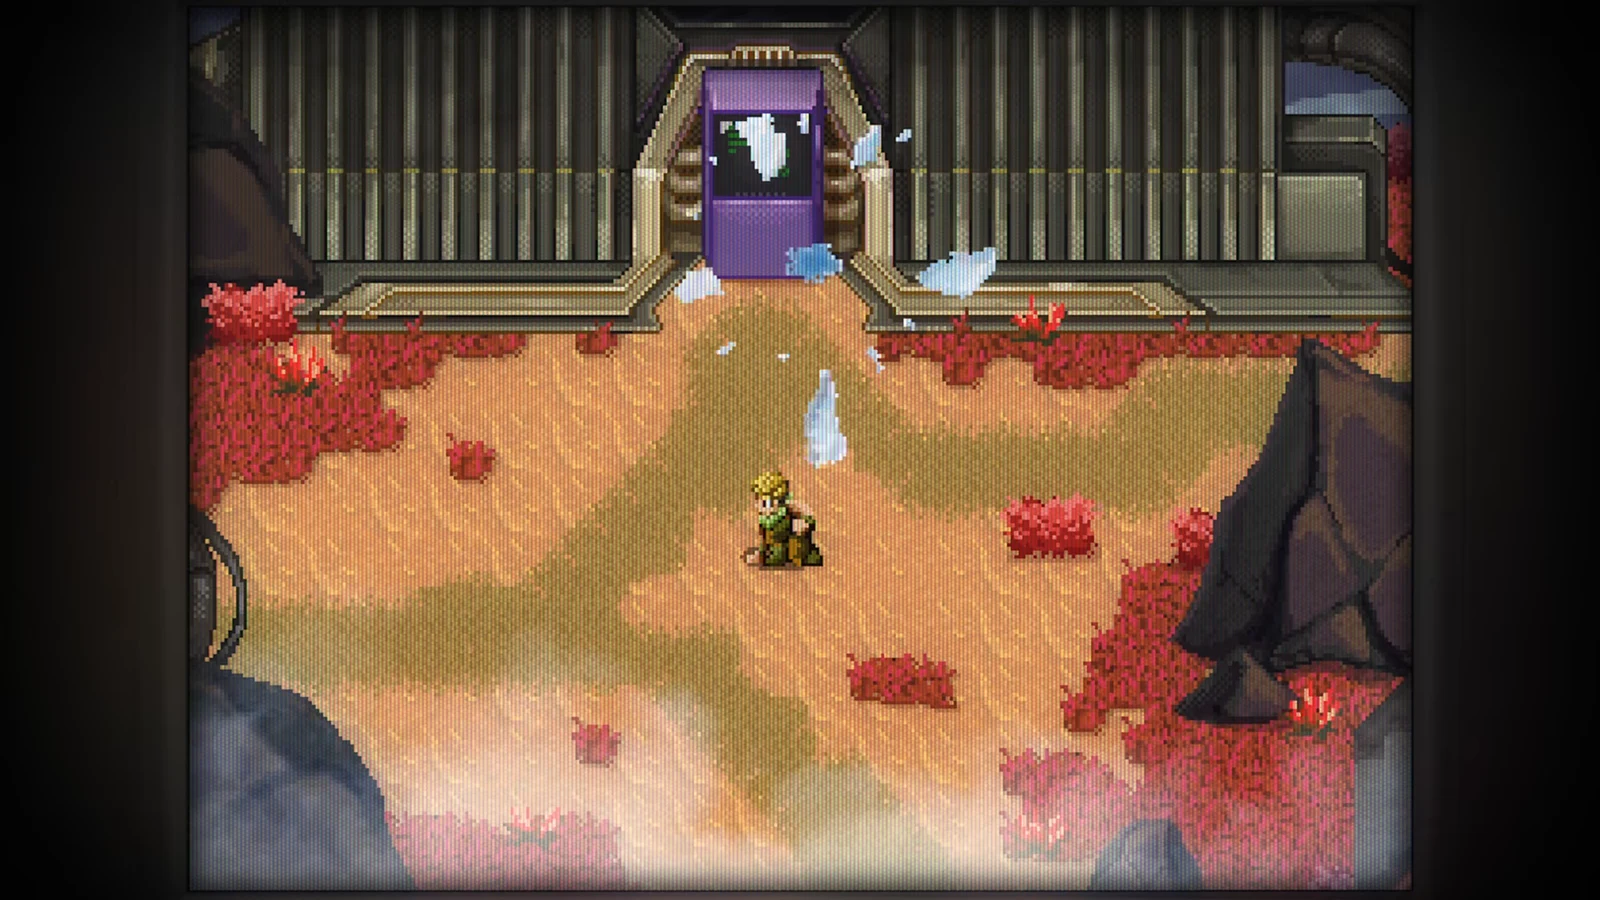
During the Dream Dust questline, the Plague Doctor provides your first pair of zombies. In the rear room of your house, unlock the hatch and go down to the basement; remove the rubble that has him trapped. This opens the Abandoned Tower above your base. In the tower, research Water and Blood at the Study Table, then combine them at the Flask table to make Dream Dust and give it to the Plague Doctor. He takes you to his lab and hands over two zombies.
Three more zombies come from Gunter the Astrologer once you win the first battle, unlock the port, and run a few errands for him. Every zombie beyond these five has to be one you resurrect yourself.
Unlock the Resurrection Lab and Reanimation tech
Resurrection happens in a sealed room next to the Morgue. To reach it you break through the blockage on the western side of the Morgue and open the old door, which costs 1 Bronze Detail and 1 Melted Fat. The Bronze Detail is crafted at an anvil. Melted Fat is made at the Distillation Cube in the Alchemy Lab from 1 Fat, 2 Clay Plates, and 20 Fuel.
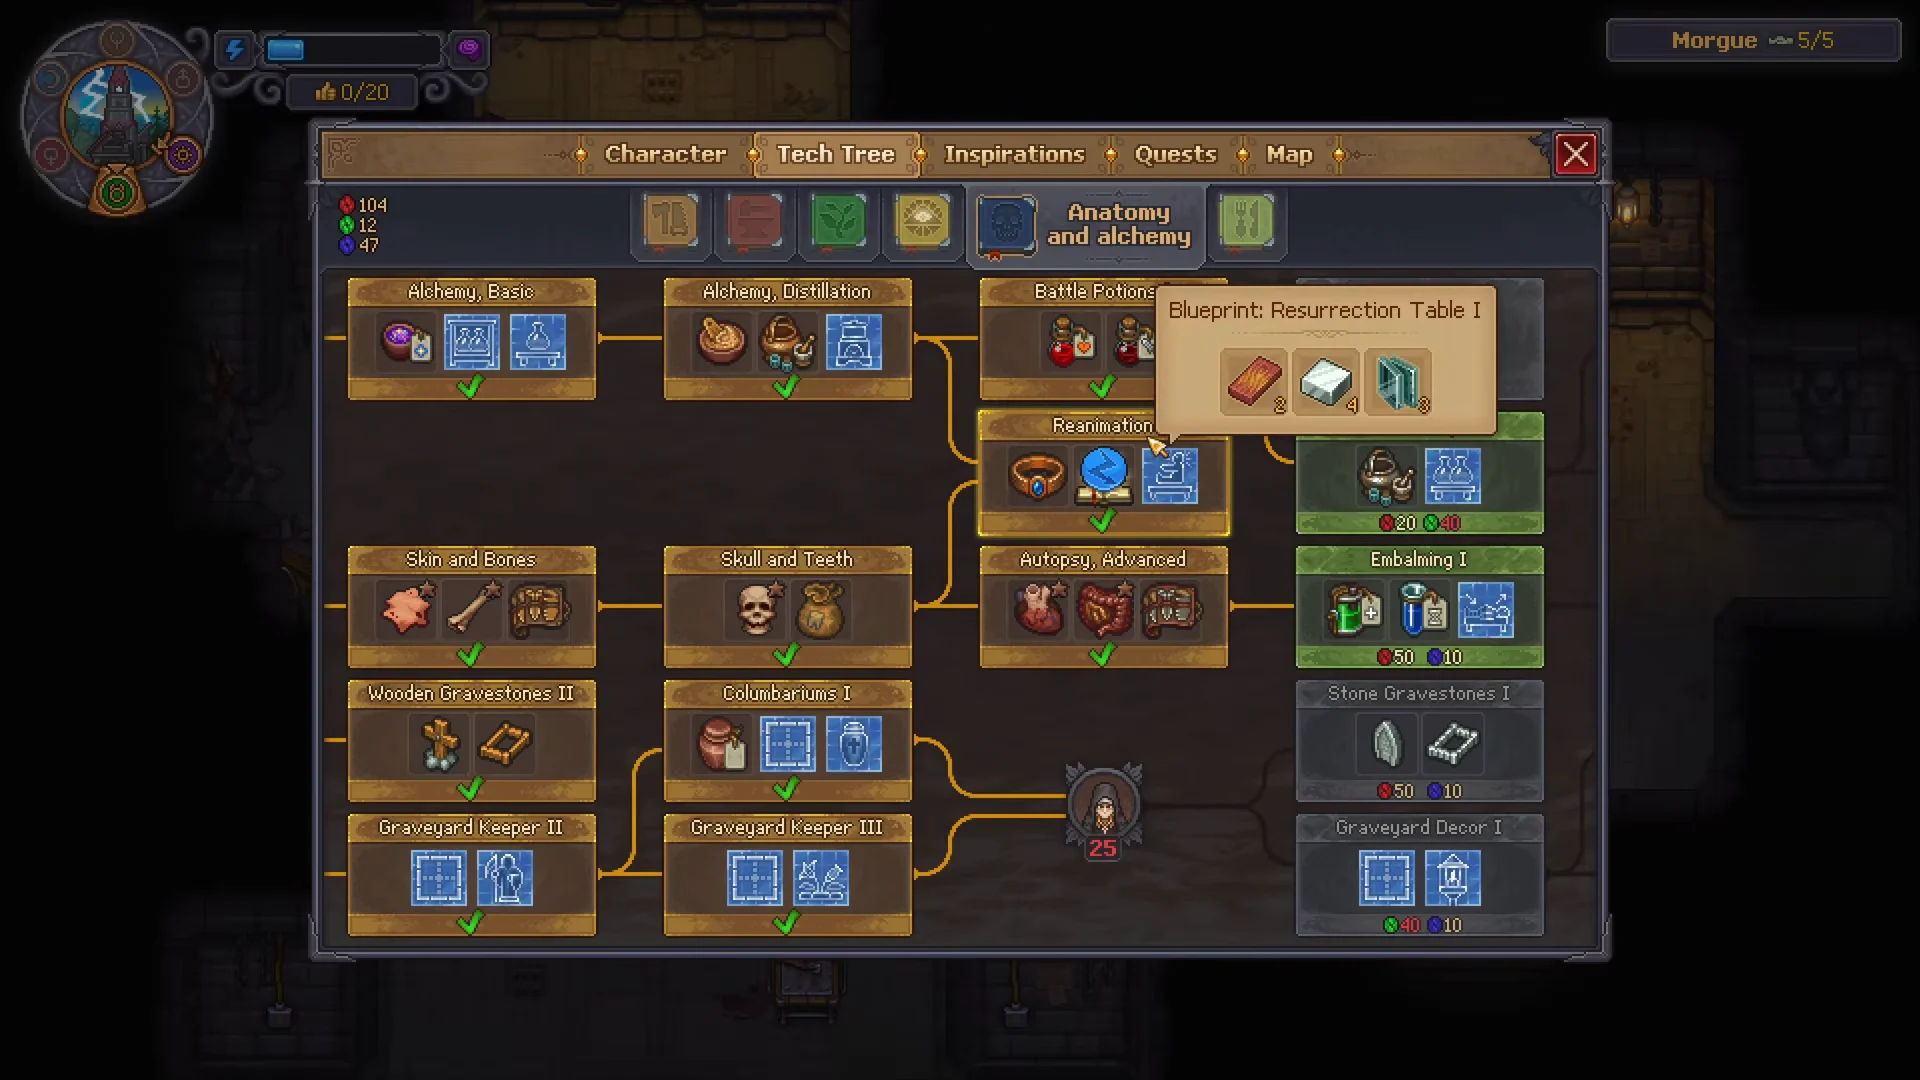
Once inside, open the chest to find a note, some Reanimation Liquid, and three Bronze Zombie Collars to get you started. Before the machine will work, research the Reanimation node under the Anatomy and Alchemy branch of the Tech Tree, along with Alchemy and Distillation. Autopsy Advanced and Autopsy Master are worth grabbing too, since they let you swap hearts, guts, and brains between bodies later.
Build a Resurrection Table
Inside the lab you need at least one Resurrection Table. Each one is built in the Morgue’s construction menu and requires:
- 2 Oiled Planks
- 4 Polished Stone
- 3 Glass
One table is enough at first. A second table lets you resurrect two zombies a week once you have the collars and liquid to spare.
Prepare a corpse for the best worker
Your choice of corpse determines the zombie’s potential. Burial bodies benefit from White Skulls, whereas zombies need the reverse. Red Skulls determine the maximum number of Perks a worker can unlock, making a corpse with three or four Red Skulls a good pick. Ideally, replace some parts to reach five Red Skulls, the limit with Bronze Zombie Collars. Early on, a total below five is acceptable, and transporters need no Red Skulls.
The one hard rule is completeness. A body cannot be resurrected unless it still has every vital organ: brain, heart, guts, skull, bones, and skin. Blood, Flesh, and Fat sit in a separate category and can be extracted for Ink or Melted Fat, but check a part’s skull content before removing anything, because you cannot put White or Red Skull parts back once they are gone. You can, however, add better organs harvested from other bodies at the Autopsy Table to raise the Red Skull count.
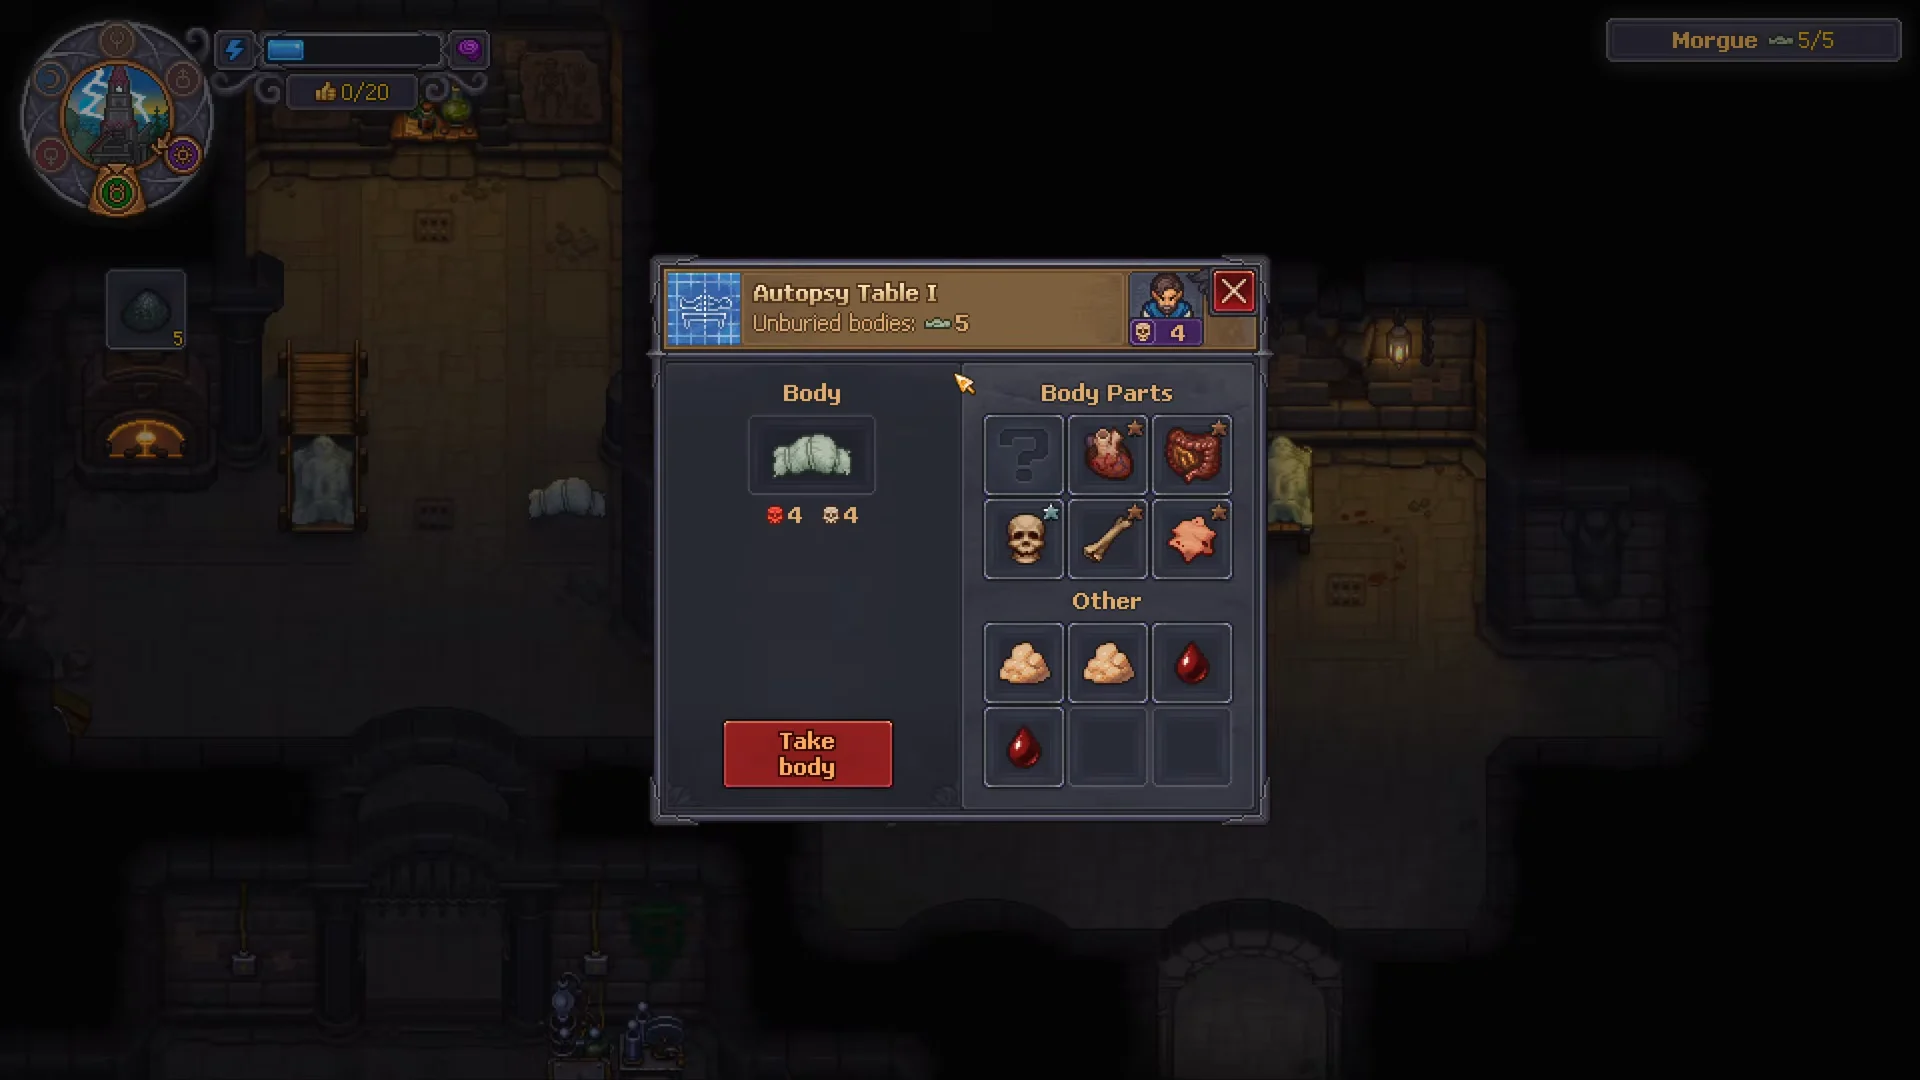
For an old body, buy an Exhumation Certificate from Januarius at the Village tavern before you exhume it. Rotting organs from bodies left outside can also raise a corpse’s Red Skull count.
Choose the right Zombie Collar
The collar you fit must support the corpse’s Red Skull count, and it sets the ceiling on future Perks. All three tiers are crafted at the Jewelry Table in your house basement, and each demands a Blue Crystal.
| Collar | Red Skulls | Materials per collar |
|---|---|---|
| Bronze Zombie Collar | 0–5 | 1 Bronze Ingot, 1 Blue Crystal, 3 Faith |
| Golden Zombie Collar | 0–10 | 1 Golden Ingot, 1 Blue Crystal, 5 Faith |
| Steel Zombie Collar | 0–99 | 1 Steel Ingot, 1 Blue Crystal, 10 Faith |
You start with three Bronze Zombie Collars. Golden and Steel collars unlock later through Reanimation II and III. Collars are not permanent, so you can swap a worker up to a higher tier later through its Character tab. Blue Crystals are the tough ingredient: buy them from Gunter at the port after his errands, or claim one from the statue in the swamp each week.
Get Reanimation Liquid
Each resurrection consumes one Reanimation Liquid, so you need a steady supply to grow your workforce. There are two ways to get it.
For the quickest option, buy them from Gunter at his house in the port for 7 Silver apiece. His prices are high and his supply is limited, so use him to cover a shortfall rather than as a steady source.
The long-term route is crafting your own at a Laboratory II table in the Alchemy Lab tower. The second-tier lab matters because it allows three ingredients at once. The formula needs runes that add up to 2 Red, 1 Green, and 4 Blue. Two working ingredient combinations are:
- Clay + Alcohol + Salt
- Meat + Alcohol + Salt
As with all alchemy, keep Alchemy Flasks on a nearby Flask Shelf and supply the equipment with fuel.
Resurrect the zombie on Envy Day
With the parts, liquid, and a collar ready, the final steps come together at the table.
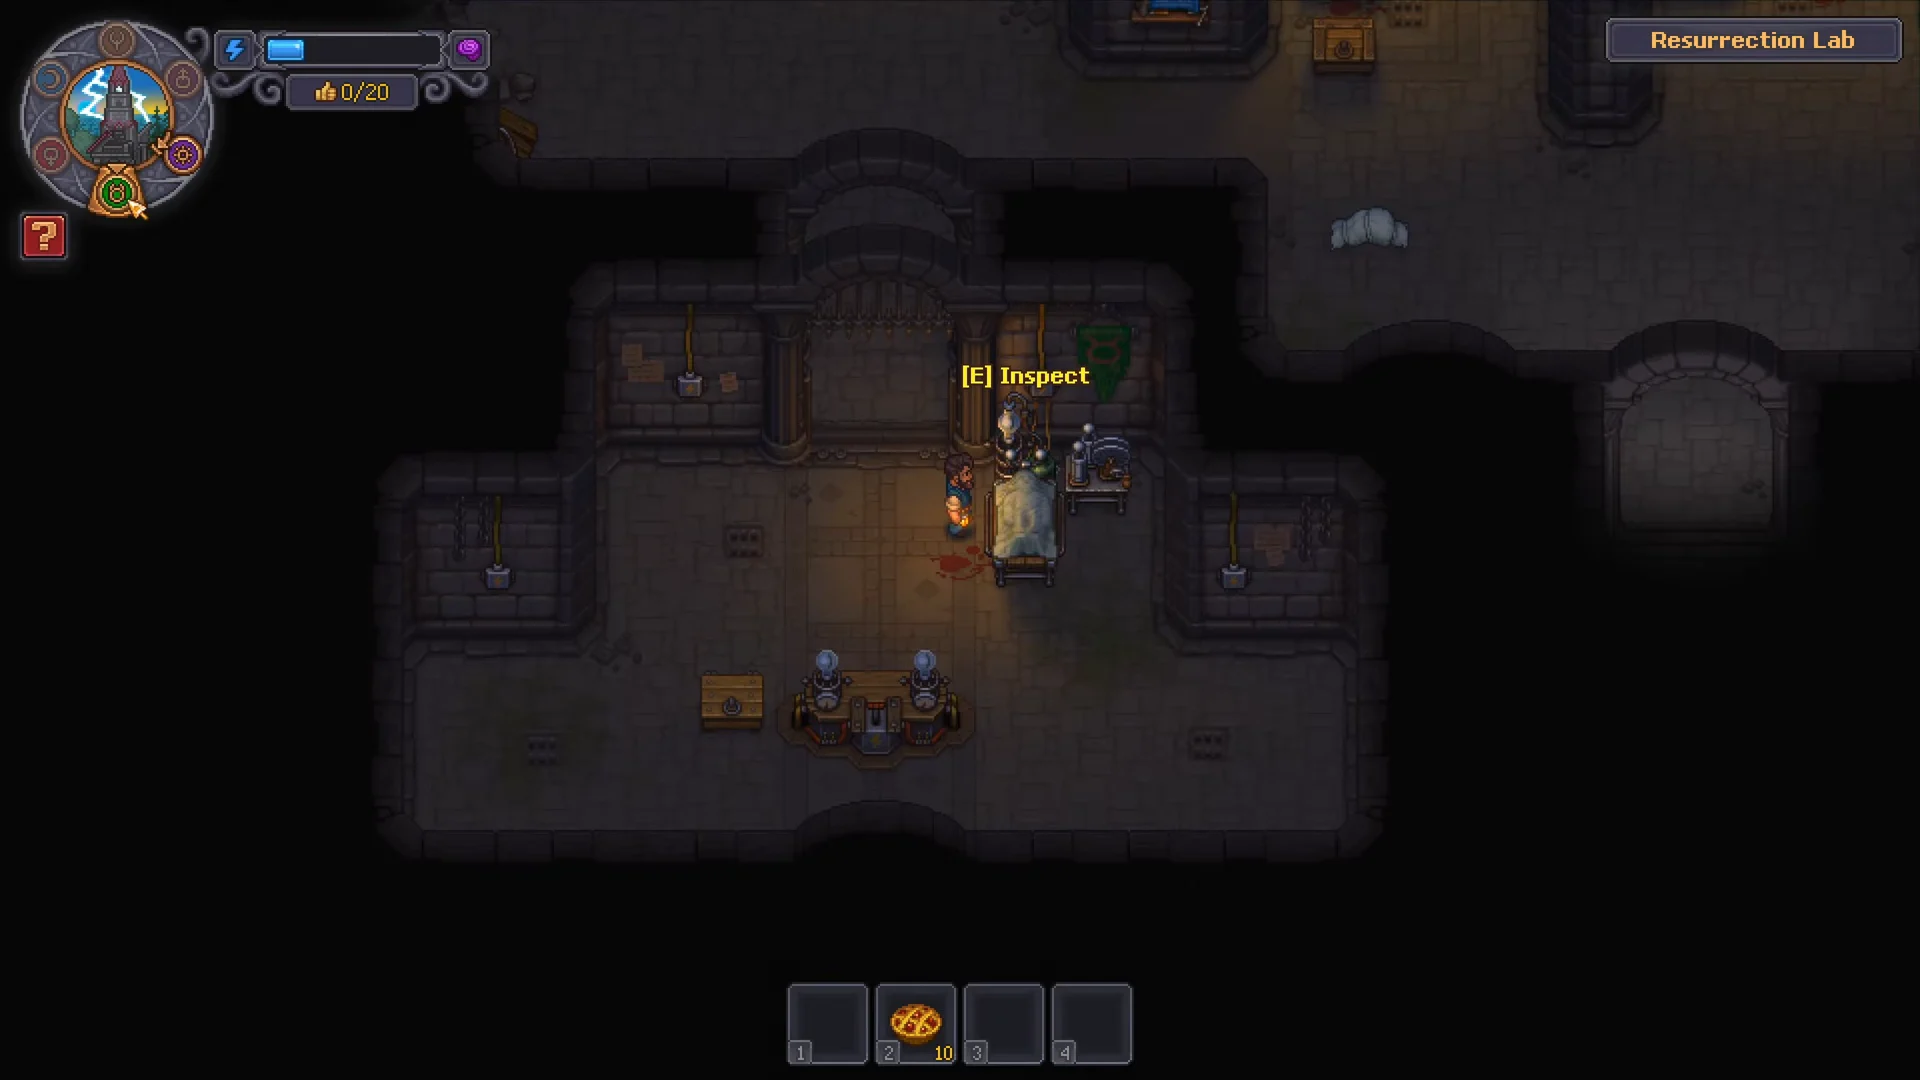
You know it worked when the corpse stands up as a fully animated zombie you can lift off the table. If the machine refuses, read the on-screen message first. Missing organs mean the body is incomplete, a missing collar or liquid means an empty slot, an insufficient collar means the Red Skull count exceeds its range, and “not enough power” means you must wait for the next Envy Day. A reached zombie limit is a separate block handled at the PR Machine.
Raise your zombie limit at the PR Machine
After creating several zombies, you may hit a point where body preparation is no longer possible. Steam Deck and controller players get no tooltip to explain the issue. In most cases, using undead as workers lowers your PR, and negative PR limits the number you can own.
Around this stage, Gunter visits one of your church sermons and explains PR management. On each Gluttony day afterward, visit the PR stand outside his house in the port and provide newspapers and Hypno Devices to increase your allowed zombie total for a few weeks. The increase wears off, so renew it; if it expires, the Faith earned from sermons also falls. While in the Resurrection Lab, look at the top-right corner to see your current count and limit.
Put the zombie to work
A resurrected zombie does nothing on its own. Every worker starts at 0 Work Mastery, which blocks it from beginning any recipe. Mastery comes only from the tool you place in its equipment slot, and each industry is tracked separately, so a hammer will never enable woodcutting no matter what number it shows.
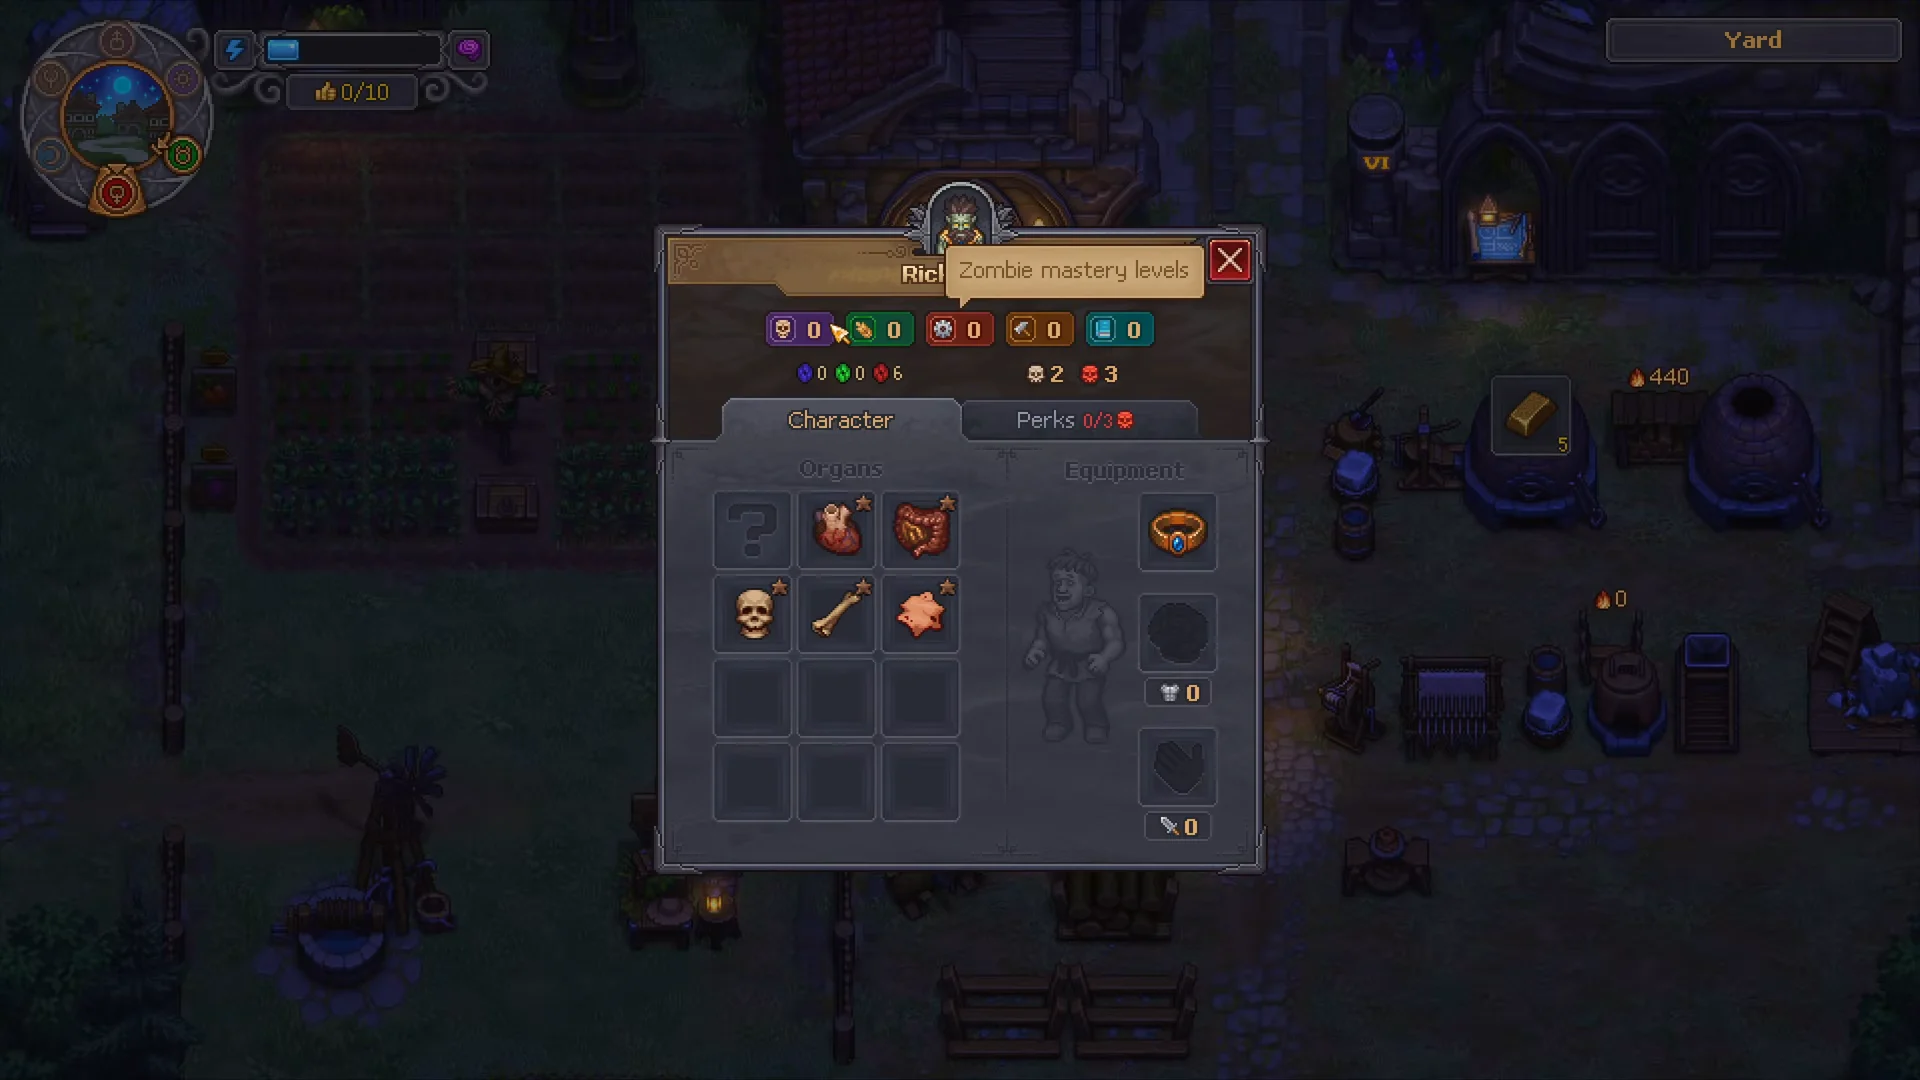
Match the tool to the job you want covered. Higher-tier tools give more Mastery, so craft iron versions as you unlock them to reach more advanced recipes.
| Tool | Work it enables |
|---|---|
| Axe | Crafting and woodcutting |
| Hammer | Metallurgy |
| Pickaxe | Building and mining |
| Shovel | Farming, garden, vineyard |
| Fishing Rod | Fishing |
To assign a worker, inspect the zombie, place a tool in its equipment slot, then carry it to the workstation and set it down. Wooden Planks at Woodworking Workbench 1 require Mastery 2, which any bronze-tier tool such as a Bronze Pickaxe or Bronze Axe supplies. Open the station and build a long crafting queue so it keeps producing while you sleep or travel. Transporter zombies are the exception to all of this: they ignore stats and tools, so hand courier duty to your weakest bodies.
Workbenches that accept a zombie include the Kitchen Table and Millstone, Stonemason’s Workbench, Woodworking Workbench, Sawhorse, Chopping Spot, Circular Saw, Anvil, Potter’s Wheel, Sluice Box, Spinning Wheel, Weaving Loom, Sewing Table, Writing Desk, Printing Press, Jewelry Table, Formulation Bench, Gardener Stand, Vine Press, and Brewing Stand.
Keep the bench supplied with a porter
A queued station still stalls without inputs. You can load it by hand with the Put option, but that defeats the point of automation. Build a Zombie Supplier Station from the yard construction menu, which costs 4 Wooden Planks and 4 Bronze Nails, and place a zombie on it. That worker dons a hi-vis jacket and becomes a courier, carrying raw goods from nearby chests to the workstation and returning finished products to storage.
Porters stay inside their assigned work zone, and so do the chests they can reach. The yard, garden, vineyard, brewery, science lab, and kitchen each need their own porter. A kitchen courier will not walk to the garden for crops, so you still move bulk goods between zones yourself and top up fuel.
Keep courier routes clear and empty chests regularly. A full output chest or a blocked path halts the entire production chain.
Automate farming with a Gardener Stand
Farm zombies run on the farming stat, so equip a Shovel. Unlock the Gardener Stand on the Tech Tree and build it at the garden blueprint table for 4 Wooden Planks, 2 Bronze Details, and 6 Bronze Nails. Place a zombie on it and it puts on a straw hat, but it still will not plant anything yet.
Use the blueprint table’s second tab to make Tablets, which cost nothing. Each Tablet ties one row to a chosen crop, such as carrots in one row and wheat in another, and the farmer only works the crop specified there. Keep seeds in the garden chests and clear harvested crops, and the plot runs itself. Harvest a row before changing its Tablet, or the zombie will ignore it. After the bridge is repaired, the Vineyard to the west works almost the same way, though the Vineyard Basement needs extra workers for pressing wine and brewing beer plus a Porter Station to bring grapes and hops inside.
Perks, gems, and upgrades
A working zombie earns Red, Green, or Blue Gems depending on its job, and its first Perk unlocks at 50 gems. Some Perks add +1 to a stat, which can be the only way to lift a blacksmith zombie past bronze items. Others specialize deeply, like the woodworking line that builds up to a +4 wood bonus. The number of Perks a zombie can hold ties to its Red Skull count, and the collar sets the maximum, so save Red Skull parts from burial corpses and implant them at the Autopsy Table. That same table upgrades organs and swaps collars through the Character tab.
White and Red Skull totals don’t change a zombie’s crafting speed. Equipment mastery controls which jobs it can do, whereas Red Skulls determine the maximum Perks it can gain over time.
A properly set worker stays at its station, pulls in the inputs it needs, and produces that station’s result while adding gems toward its next Perk. If it only stares at the bench, confirm it has the right tool for that industry, enough Mastery for the recipe, materials in a reachable chest, somewhere to store the output, and an actual queued order. Fix whichever link is missing and the undead workforce runs on its own while you handle everything else around the base.