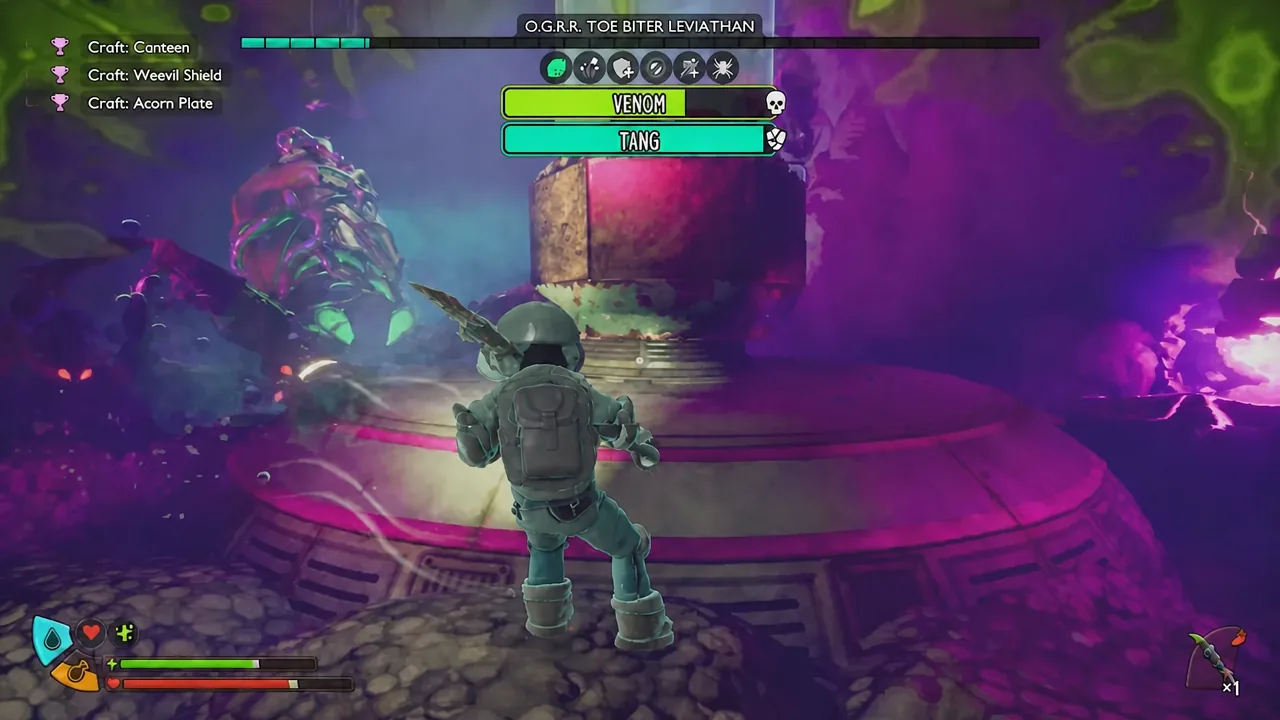
The O.G.R.R. Toe Biter Leviathan is the wall the Into the Abyss update puts in front of Grounded 2 players who want Infused Ooze. It hits hard enough to delete most of a health bar in a single swing, it stacks four status effects at once, and it keeps summoning tiny reinforcements every time it lands a hit. There are two ways through it, and one of them takes about a second.
Quick answer: Pile 10 to 16 Croakwurst behind a pillar in the flooded arena at the Abyss Monitoring Station, pull the Leviathan across the pile, and the chain detonation kills it outright. If you would rather fight it, bring a Bulky-upgraded Diving Suit, a Spicy Crystal Trident, and parry instead of trading blows.
Where to find the O.G.R.R. Toe Biter Leviathan
The boss sits in a flooded arena inside the Abyss Monitoring Station, the story lab buried deep in The Abyss. You cannot reach it early. You need the complete Diving Suit to explore the area at all, and you have to push the Into the Abyss questline far enough for the station to open up. Once you are inside, the map flags the chamber for you, so the route is a matter of following the flooded corridors down.
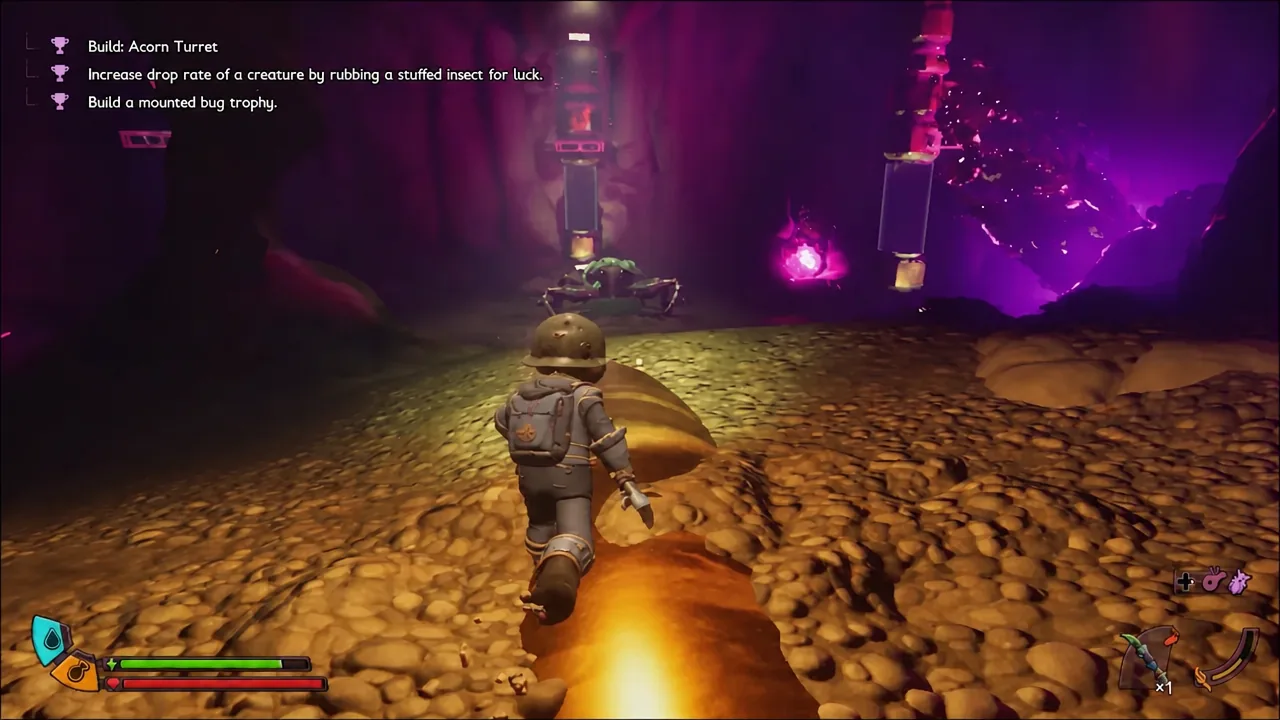
The arena itself is vertical. There are pillars on the floor, upper ledges you can jump to, and dials tied to the drainage system. Those ledges matter for both approaches, because they are the only reliable way to break line of sight when the boss commits to a charge.
Boss scan: resistances, weak point, and drops
Scan the Leviathan with your PEEP.R before you engage. The readout tells you something useful: there is no clever elemental trick here. It resists three different damage types, so raw damage into the weak point is what actually moves the health bar.
| Detail | Value |
|---|---|
| Location | Flooded arena, Abyss Monitoring Station, The Abyss |
| Resistances | Slashing, Venom, Water |
| Weak point | Rump |
| Status bars it builds | Venom, Tang, Chilling, Woozy |
| Summons | Toe Biter Nymph, up to six at a time |
| Quest | Stubbed Big Toe |
| Kill reward | 1,000 Raw Science |
| Harvested drops | Infused Ooze, Toe Biter Shell, Toe Biter Claw, Toe Biter Head, Toe Biter Venom, Buffin’ Gland |
Croakwurst bomb method: the instant kill
Croakwurst are underwater proximity mines, and a large enough stack of them ends this fight before it starts. You need the recipe first, which comes from an optical disc found at the Diving Station. Crafting each one costs Raw Tadpole Meat, an O.R.C. Receiver, Unstable Goo, and Sunken Bone, so farm the materials before you head down.
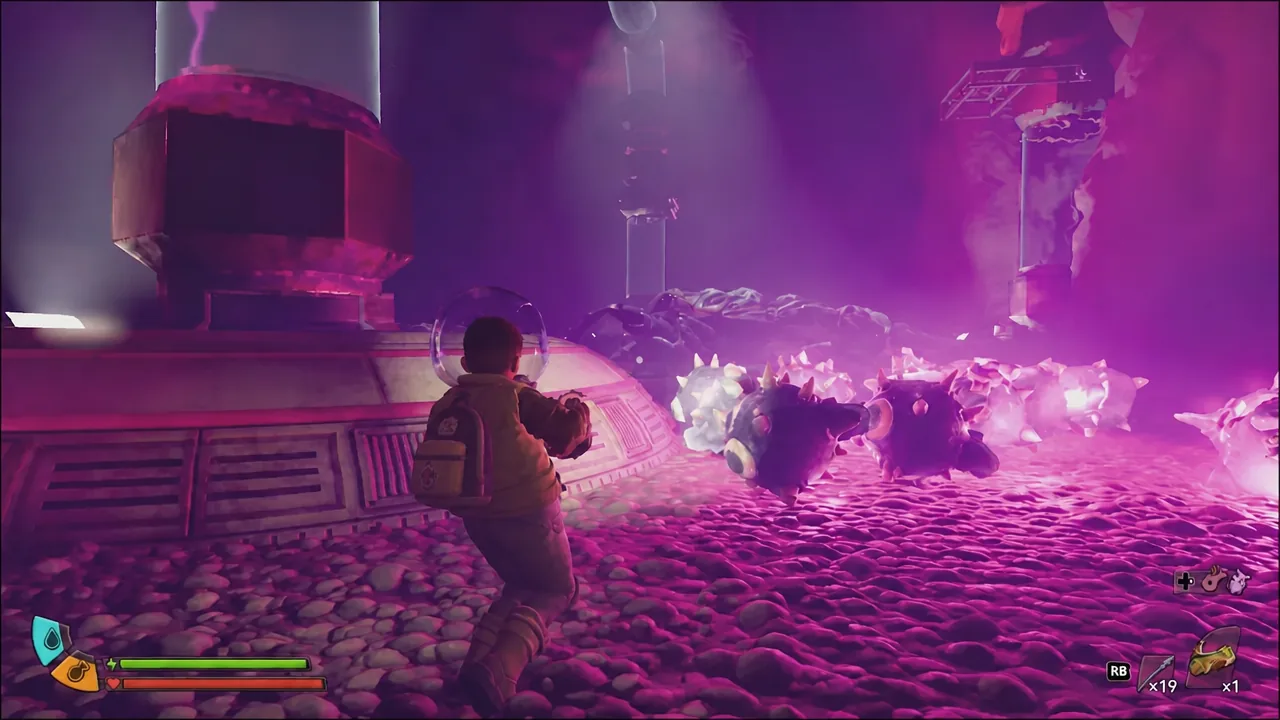
Note: you do not need to build anything for this. No walls, no platforms, no smithing station in the arena. The pillars already give you everything the setup requires. And if all you want is access to the drainage dials rather than the drop, you can jump up to the upper ledges and turn them without ever starting the encounter.
Gear, mutations, and food for a straight fight
If you would rather earn it, the loadout matters more than the build. There is no single mandatory setup, but defense and status resistance carry the encounter.
| Slot | Recommended |
|---|---|
| Armor | Diving Suit upgraded along the Bulky path, ideally to level 5 |
| Weapon | Crystal Trident at Spicy level 5 for reach and safe pokes; Spicy AXL’s Talon or a spicy spear as alternatives |
| Off-hand | A shield, since blocking and parrying are the core of the fight |
| Trinket | Blistering Boiler for damage, or Reflex Guard while you are learning the patterns |
| Meal | Omelant, for Tang reduction and thorns damage |
| Mutations | Sour Sensation, Mithridatism, Spicy Safety, Fresh Defense; Trapper Peep.R, Coup de Grass, and Blazin’ Belcher are viable swaps |
| Smoothies | Sticky Rilkshake for the revive, plus defensive and healing sticky variants |
Sour Sensation is the pick that changes the most. The Leviathan’s ranged attacks pile on Tang quickly, and higher ranks slow that buildup enough to keep you in the room. Mithridatism covers venom, and Spicy Safety handles the chill side. Eat the Omelant and drink your buffs outside the arena, then save the game before you walk in.
How the fight works: parry, punish, disengage
Do not try to race the health bar down. The Leviathan telegraphs its two main melee patterns clearly enough that you can learn them in a couple of attempts, and perfect blocks are worth more than damage here. Skip heavy charged attacks entirely — the recovery is too long — and stick to quick trident thrusts during the openings after a parry.
The attacks to recognize are a heavy slam, a five-hit combo, a super spin, sour globs that splash onto the floor, and an almost invisible gas cloud that makes your character gag. Keep an eye on the ground around you rather than only on the boss. When your Tang meter climbs toward the top, break off instead of squeezing in one more hit.
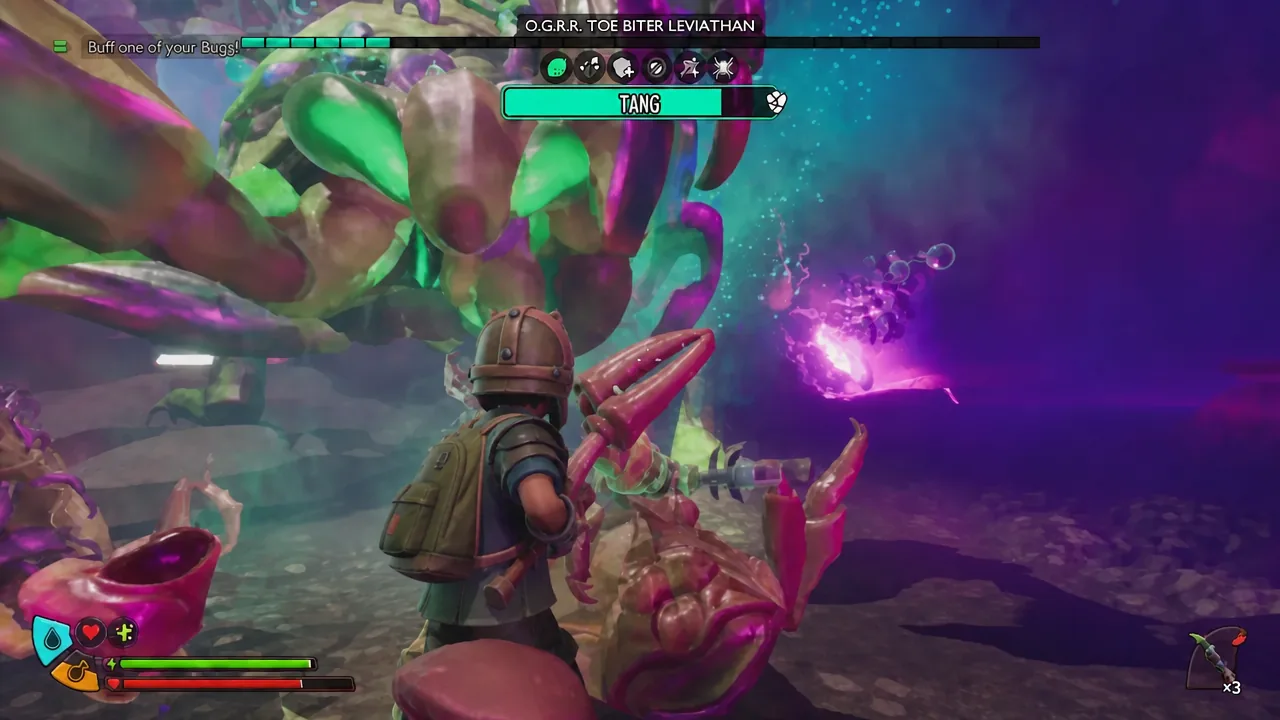
Dealing with Toe Biter Nymphs
Every time the Leviathan damages you, and every time a sour glob lands, it spawns Toe Biter Nymphs, up to six at a time. That is the real reason parrying matters. Clean blocks mean far fewer adds to deal with over the course of the fight.
When they do appear, you have two options. Kill them fast before they surround you, or simply retreat around a pillar and wait them out, since Nymphs have a limited lifespan and will despawn on their own. What you should not do is stand in the open trading hits with a swarm while the boss lines up a slam.
There is also a slower, safer variant of the fight. Bring a Harpoon Gun and a deep stock of harpoons, use the upper ledges and pillars to keep distance, and chip the boss down from range. It takes a long time, but the risk of dying drops close to zero.
Confirming the kill and collecting Infused Ooze
You will know it worked when the Stubbed Big Toe objective updates and 1,000 Raw Science lands in your total. The body stays in the arena with a Harvest Remains prompt on it, and that is where the Infused Ooze comes from along with the Toe Biter parts and the Buffin’ Gland.
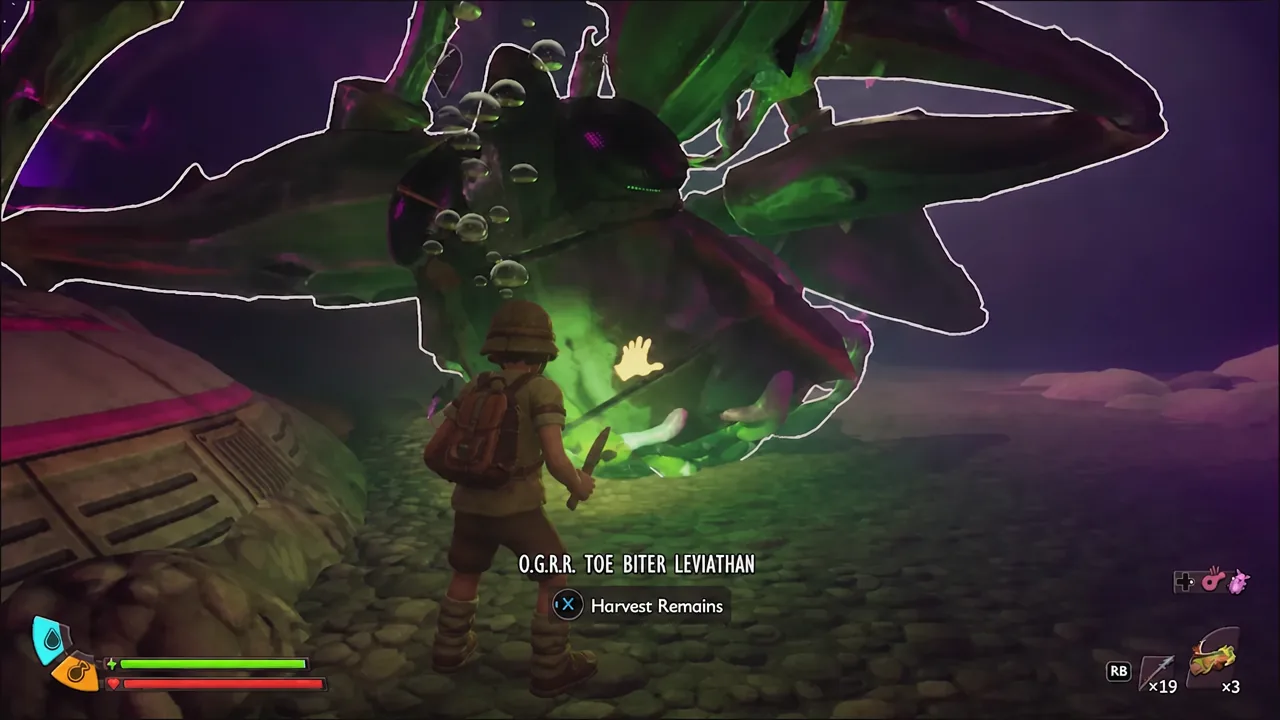
The one mistake that costs people the drop is a full backpack. Loot lands on the floor where the boss died rather than disappearing, so if you are out of space, drop something you do not need and walk back over it. The real risk is leaving the arena without picking it up.
What Infused Ooze unlocks: Tier 4 Omni-Axe and Pupa Hide
Infused Ooze feeds directly into tool progression. Take it to the Omni-Tool menu and combine it with 2 Striped Scorpion Pincers and 4,000 Raw Science to push the Omni-Axe to Tier 4.
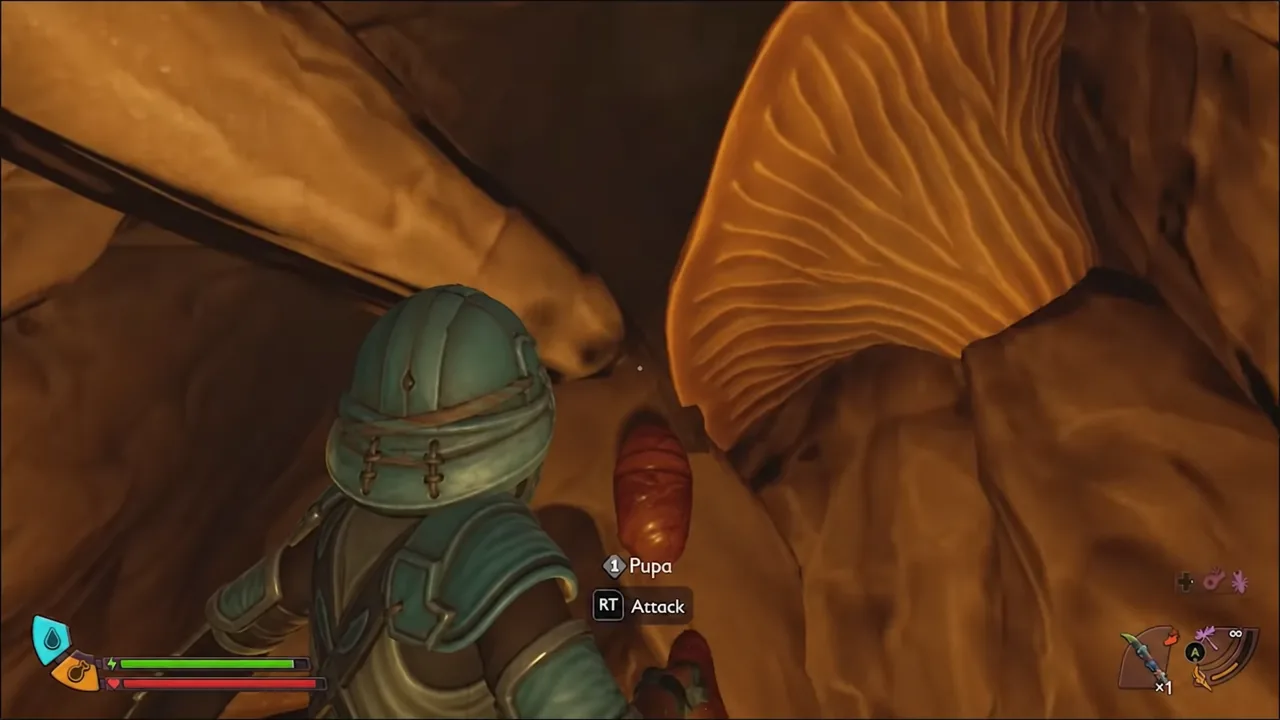
That upgrade is what lets you harvest Pupa Hide from Pupa, which you can then convert into Pupa Leather at a jerky rack. Nothing below Tier 4 will cut them, so the Leviathan is effectively the gate on that entire material chain.
Infused Ooze is a New Game Plus boss material more broadly, so the Leviathan is one confirmed source rather than the only one. But it is the most direct route once you have the Monitoring Station open, and with a stack of Croakwurst in your pack, the hardest part of the whole trip is the swim down there.