

Story mode in Halloween: The Game hides 14 audio recordings across six stages, and grabbing all of them is the only requirement for the Collector achievement. They are small tape props, they never move, and they are almost always sitting under or beside a light source — a lamp, a lit mirror, a glowing porch pumpkin. Once you know that, the hunt gets a lot less painful.
Quick answer: Pick up all 11 Loomis Logs plus Sheriff Brackett’s Recording, Laurie’s Recording, and Nurse Chambers’s Recording across the Prologue and Chapters 1 through 5. Each grab shows a “Picked Up” confirmation on screen, and the fourteenth one pops Collector.
How the 14 recordings are split across story mode
The Loomis Logs are numbered #1 through #11, but they are not placed in numerical order — Log #2 is the first one you can reach and Log #1 does not turn up until Chapter 3. The three remaining tapes belong to named characters and all appear in the back half of the campaign. Nothing here is missable in a permanent sense, since every stage can be replayed from the chapter select.
| Chapter | Recordings |
|---|---|
| Prologue — Escape From Smith’s Grove | Loomis Log #2, Loomis Log #4 |
| Chapter 1 — The Road To Haddonfield | Loomis Log #6, Loomis Log #8 |
| Chapter 2 — Main Street | Loomis Log #9, Loomis Log #3 |
| Chapter 3 — Returning Home | Loomis Log #5, Loomis Log #1 |
| Chapter 4 — The Babysitters | Loomis Log #10, Loomis Log #7, Sheriff Brackett’s Recording |
| Chapter 5 — Into The Shadows | Laurie’s Recording, Loomis Log #11, Nurse Chambers’s Recording |
Note: the Chapter 4 and Chapter 5 maps are the same neighborhood. Chapter 5 simply opens up buildings that were locked earlier, which is why one Chapter 5 tape sits inside a house you already visited from the outside.
Prologue and Chapter 1 recording locations
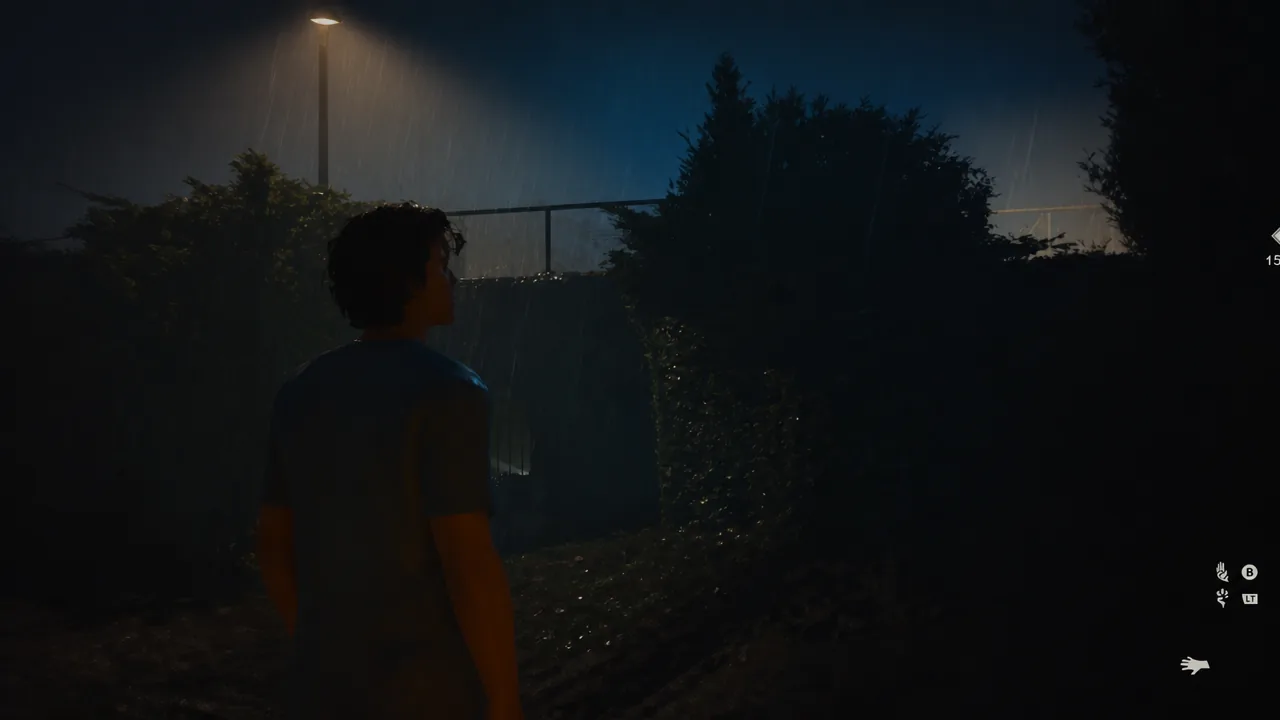
Loomis Log #2 is in the fenced starting area of Smith’s Grove. Instead of pushing forward when the escape objective appears, turn around and sweep the corner of the yard near the bench and trash bin, under the street lamp. The tape sits on top of the container there, and the prompt reads “Pick up Tape.”
Loomis Log #4 waits at the far end of the Prologue, right where you are meant to deal with the gate. Before triggering the exit, head to the small covered shelter off to the side, lit by an overhead light. The tape is resting on the bin inside, next to the seating.
Loomis Log #6 is inside the Rabbit in Red. Walk past the bar toward the restrooms at the rear of the building and take the door on the left into the dressing room. The tape is on the vanity table beside the light-framed mirror.
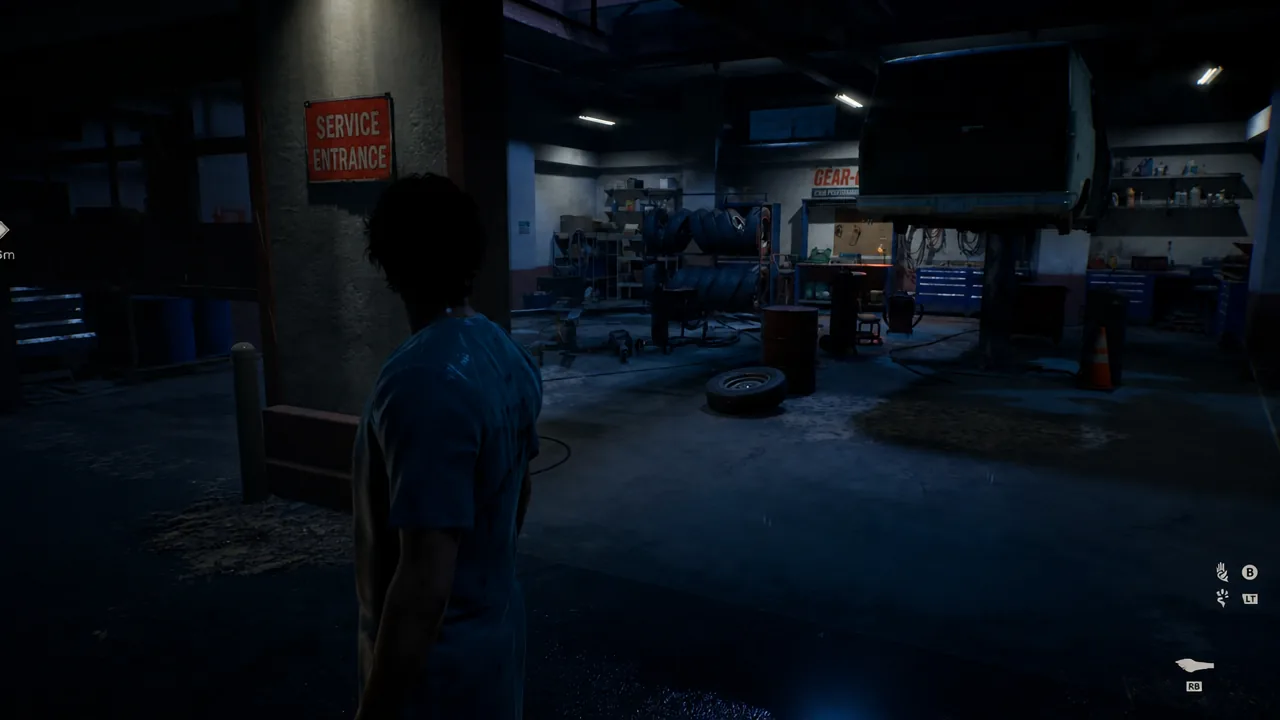
Loomis Log #8 is in the attached garage. Wait until you are free to explore the area, then go through the service door and continue to the office at the back — the same room tied to the mechanic. The tape is on the desk.
Chapter 2 and Chapter 3 recording locations
Loomis Log #9 is in the A-Side Music Store on the western side of Main Street. Head inside and go to the back of the shop, where the tape sits on a stack of cardboard boxes near the pillar. Tanya is in the same room, so expect the sequence with her to fire while you are in there.
Loomis Log #3 is in the decorated house north of the cemetery, over on the east side of the map. The living room fireplace is the marker — the tape is on the mantel.
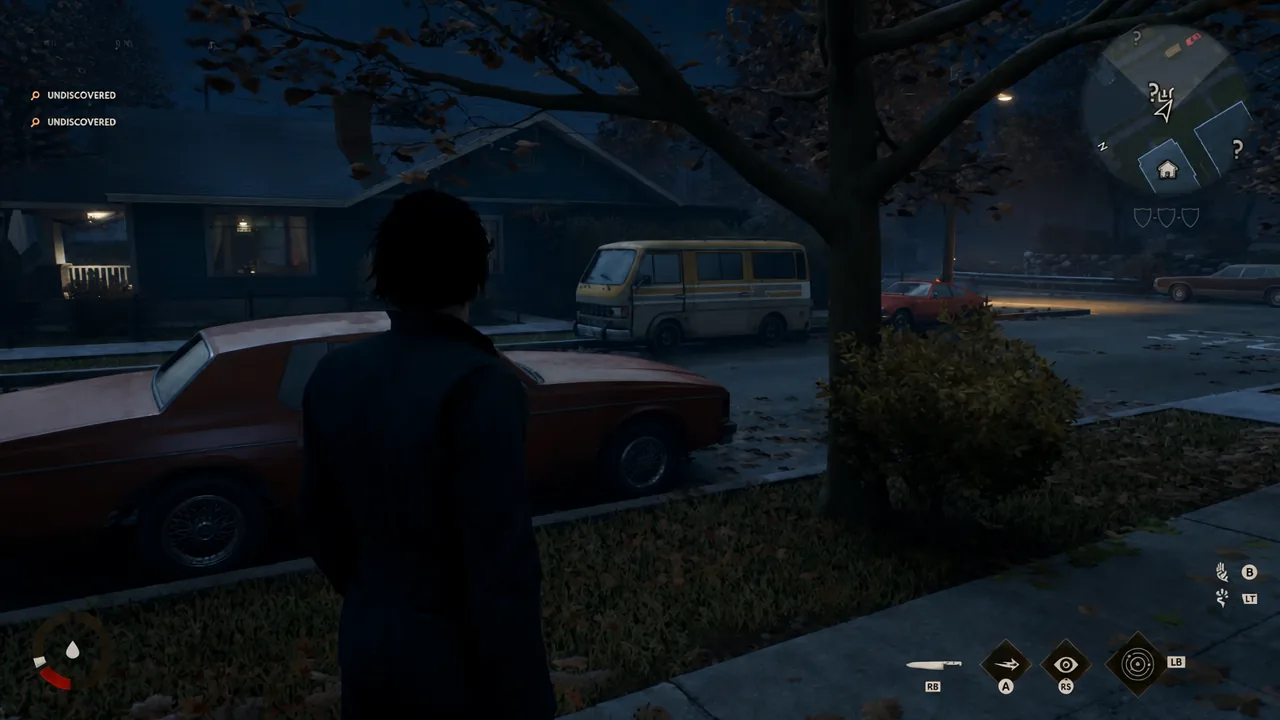
Loomis Log #5 is in the house with the yellow van parked outside. Move through to the bedroom off the dining area and check the study desk near the typewriter.
Loomis Log #1 is in the neighboring house, the one immediately beside Marcus’s. Enter, walk through the kitchen into the hallway, and the tape is on the cabinet at the end. It sits in a clearly lit patch, so it is hard to miss once you are in the corridor.
Chapter 4 recording locations (The Babysitters)
Chapter 4 is the first stage with three tapes, and it is also the one most likely to break your run — the Wallace House event chain needs its characters to reach their own states before you interfere. Grab the collectibles while the objective is pointing you elsewhere, not while a required target is mid-routine.
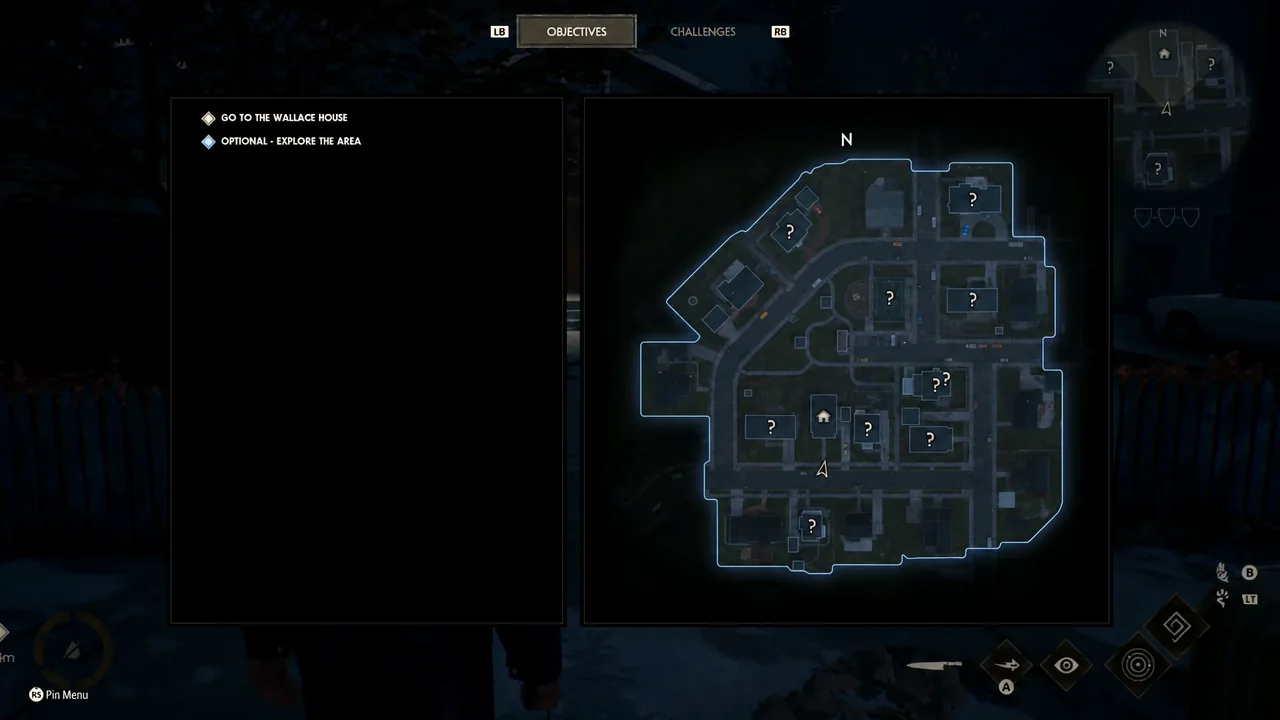
Loomis Log #10 is in the house directly opposite the Wallace House, the one with two carved pumpkins out front. Step inside and check the living room cabinet sitting between the couches.
Loomis Log #7 is not inside the house it belongs to. Head to the property in the southern part of the map with the lit pumpkin on the railing, then go around to the shed at the back. The tape is on top of the washing machine in the laundry area.
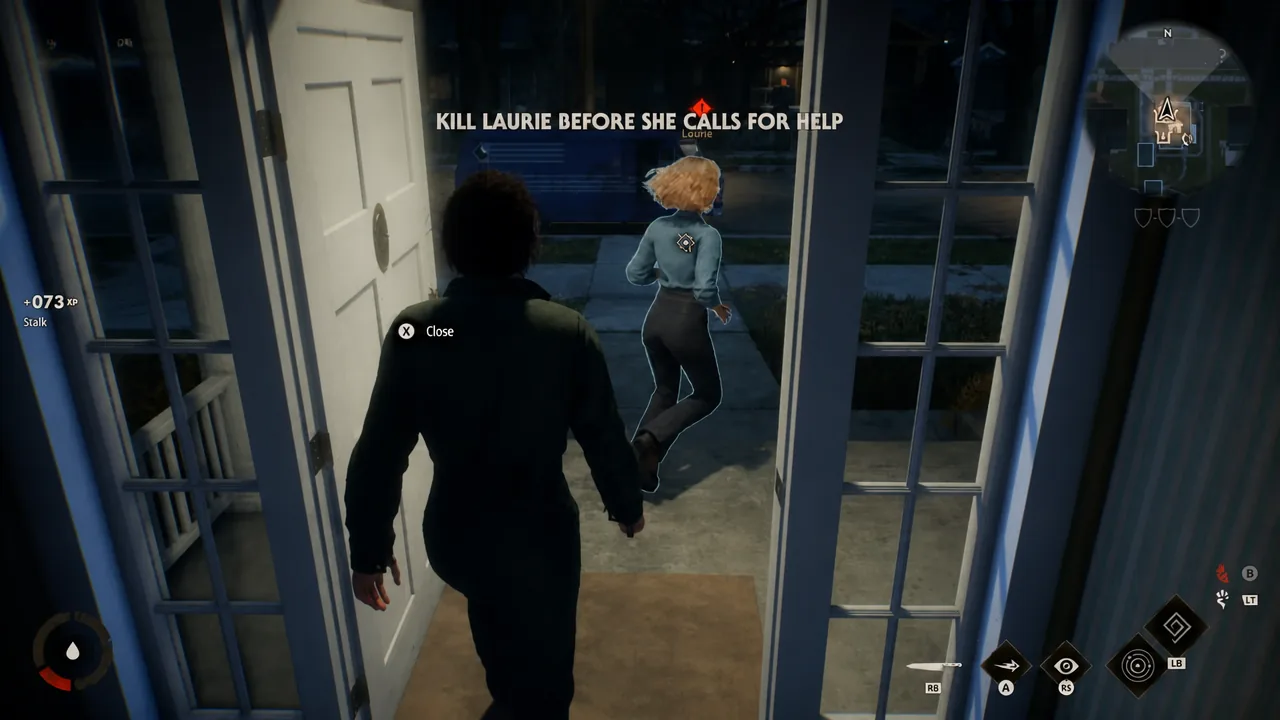
Sheriff Brackett’s Recording becomes reachable during the stalk-Laurie stretch of the chapter. Return to the house where you picked up Loomis Log #10 and enter the large house to its right, then turn toward the dining room. The tape is on the dining table.
Chapter 5 recording locations (Into The Shadows)
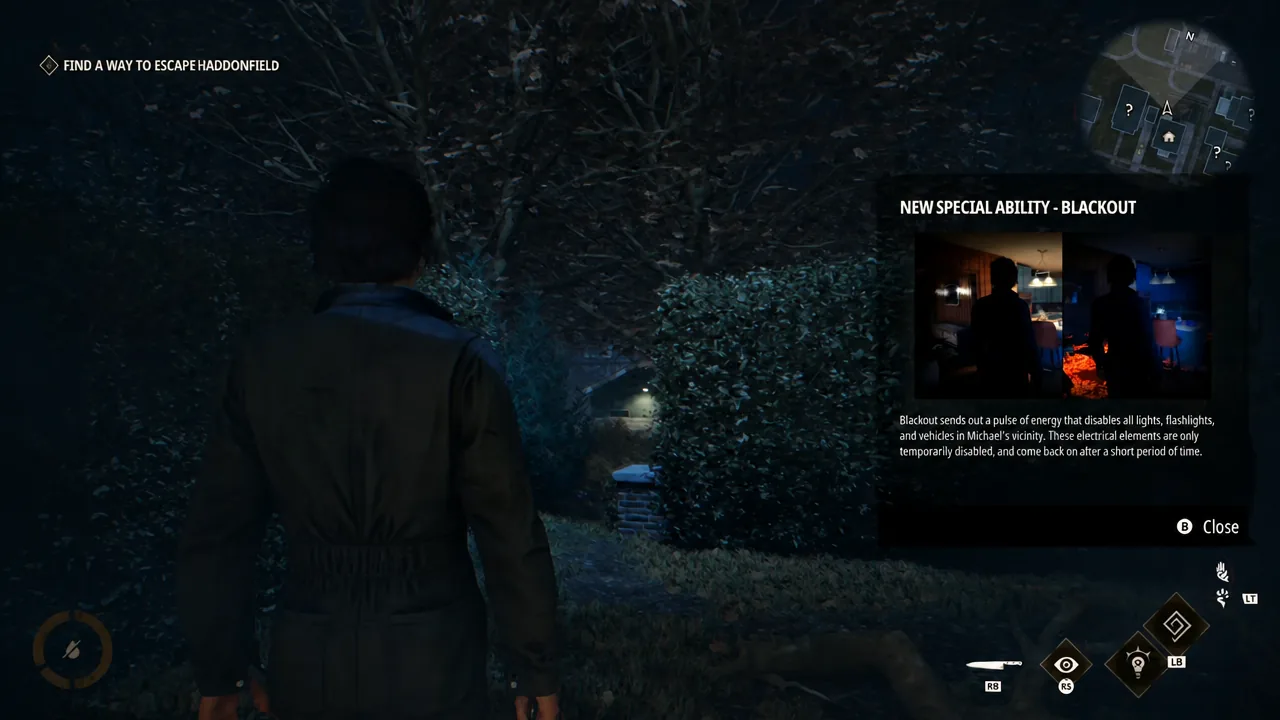
Michael starts this chapter damaged and without Shape Jump, and police patrols with flashlights make open streets risky. Rebuilding to Tier 3 restores Shape Jump and makes the collectible route far quicker, while Blackout is useful for cutting the lights when officers are clustered around a house you need to enter.
Laurie’s Recording is the easiest of the three, since it is in the house where the chapter begins. Find the dining room and look for the small side table with the lamp on it — the tape is right there.
Loomis Log #11 is upstairs in the house whose backyard shed held Loomis Log #7, which is now open to you. Take the stairs, follow the hallway to the bedroom at the end, and check by the window ledge. This one is known to render floating in mid-air rather than resting on the surface, so do not assume it is missing if the prop looks wrong — the interaction prompt still works.
Nurse Chambers’s Recording is in the large house near the sports field in the northeast corner of the map. Inside, head for the living room and check the cabinet beside the couch.
Confirming a pickup and unlocking Collector
Every tape gives you the same feedback loop. You get a “Pick up Tape” prompt when you are close enough, and after the interaction the screen confirms the specific item — “Picked Up Loomis Log #6”, “Picked Up Sheriff Brackett’s Recording”, and so on. If you did not see that line, the tape is still sitting there.
Collector unlocks the moment the fourteenth recording registers, which for most players is Nurse Chambers’s Recording in Chapter 5. Some players have reported the achievement behaving inconsistently, so if the count is complete and nothing pops, replaying the chapter containing your final pickup is the practical check. Chapter replay also covers anything you walked past on the first run — nothing here is permanently locked out by finishing the story.
The tapes are worth more than the trophy line, too. Each one fills in a piece of the surrounding story and feeds into cosmetic unlocks you cannot get any other way, which makes a dedicated collectible pass through the six stages a reasonable second run rather than a chore bolted onto your first.





