There are 13 Terminals in Halo: Campaign Evolved, one tucked into every mission across the main campaign and the three bonus prequel levels. They never appear on your HUD, and nothing in the environment nudges you toward them, which is why most players finish the game without spotting a single one. Each Terminal looks like a wall or console screen with a red light, and reaching one means stepping off the critical path to search corners, side rooms, and blocked passages.
Quick answer: Collect all 13 Terminals by walking up to each screen and interacting with it so its light turns from red to green. You can grab them on any difficulty, load in at advanced Rally Points, and back out to the main menu after each one without losing the unlock. Registering the final Terminal pops the Lore Have Mercy achievement/trophy.
How Terminals work and what they unlock
Terminals are text-only lore logs, closer to the original Halo 3 style than the animated cinematics from later Anniversary releases. When you interact with one, the light shifts to green and a log entry is added to the Collectibles section of the main menu, where you can read the full transcript afterward. The logs trace 343 Guilty Spark’s long solitude on Installation 04 and his attempts to reach the other monitors, including 2401 Penitent Tangent.
There is no set order for collecting them, and missing one is not a problem. You can replay any level and jump straight to the relevant Rally Point, grab the Terminal, then quit to the menu, and the collection still counts. Each level also ties into a per-mission achievement that requires finding both the Terminal and every Skull in that level.
| Mission | Terminal |
|---|---|
| The Pillar of Autumn | Approach |
| Halo | Forgotten |
| The Truth and Reconciliation | Inquisitor |
| The Silent Cartographer | Status Update |
| Assault on the Control Room | Tangent I |
| 343 Guilty Spark | Tangent II |
| The Library | Tangent III |
| Two Betrayals | Alone |
| Keyes | Consumed |
| The Maw | Arrival |
| Boarding Action (bonus) | The Path |
| The Most Dangerous Game (bonus) | Penitent Report |
| Heavy Burden (bonus) | Harmonious Clarity |
Main campaign Terminal locations
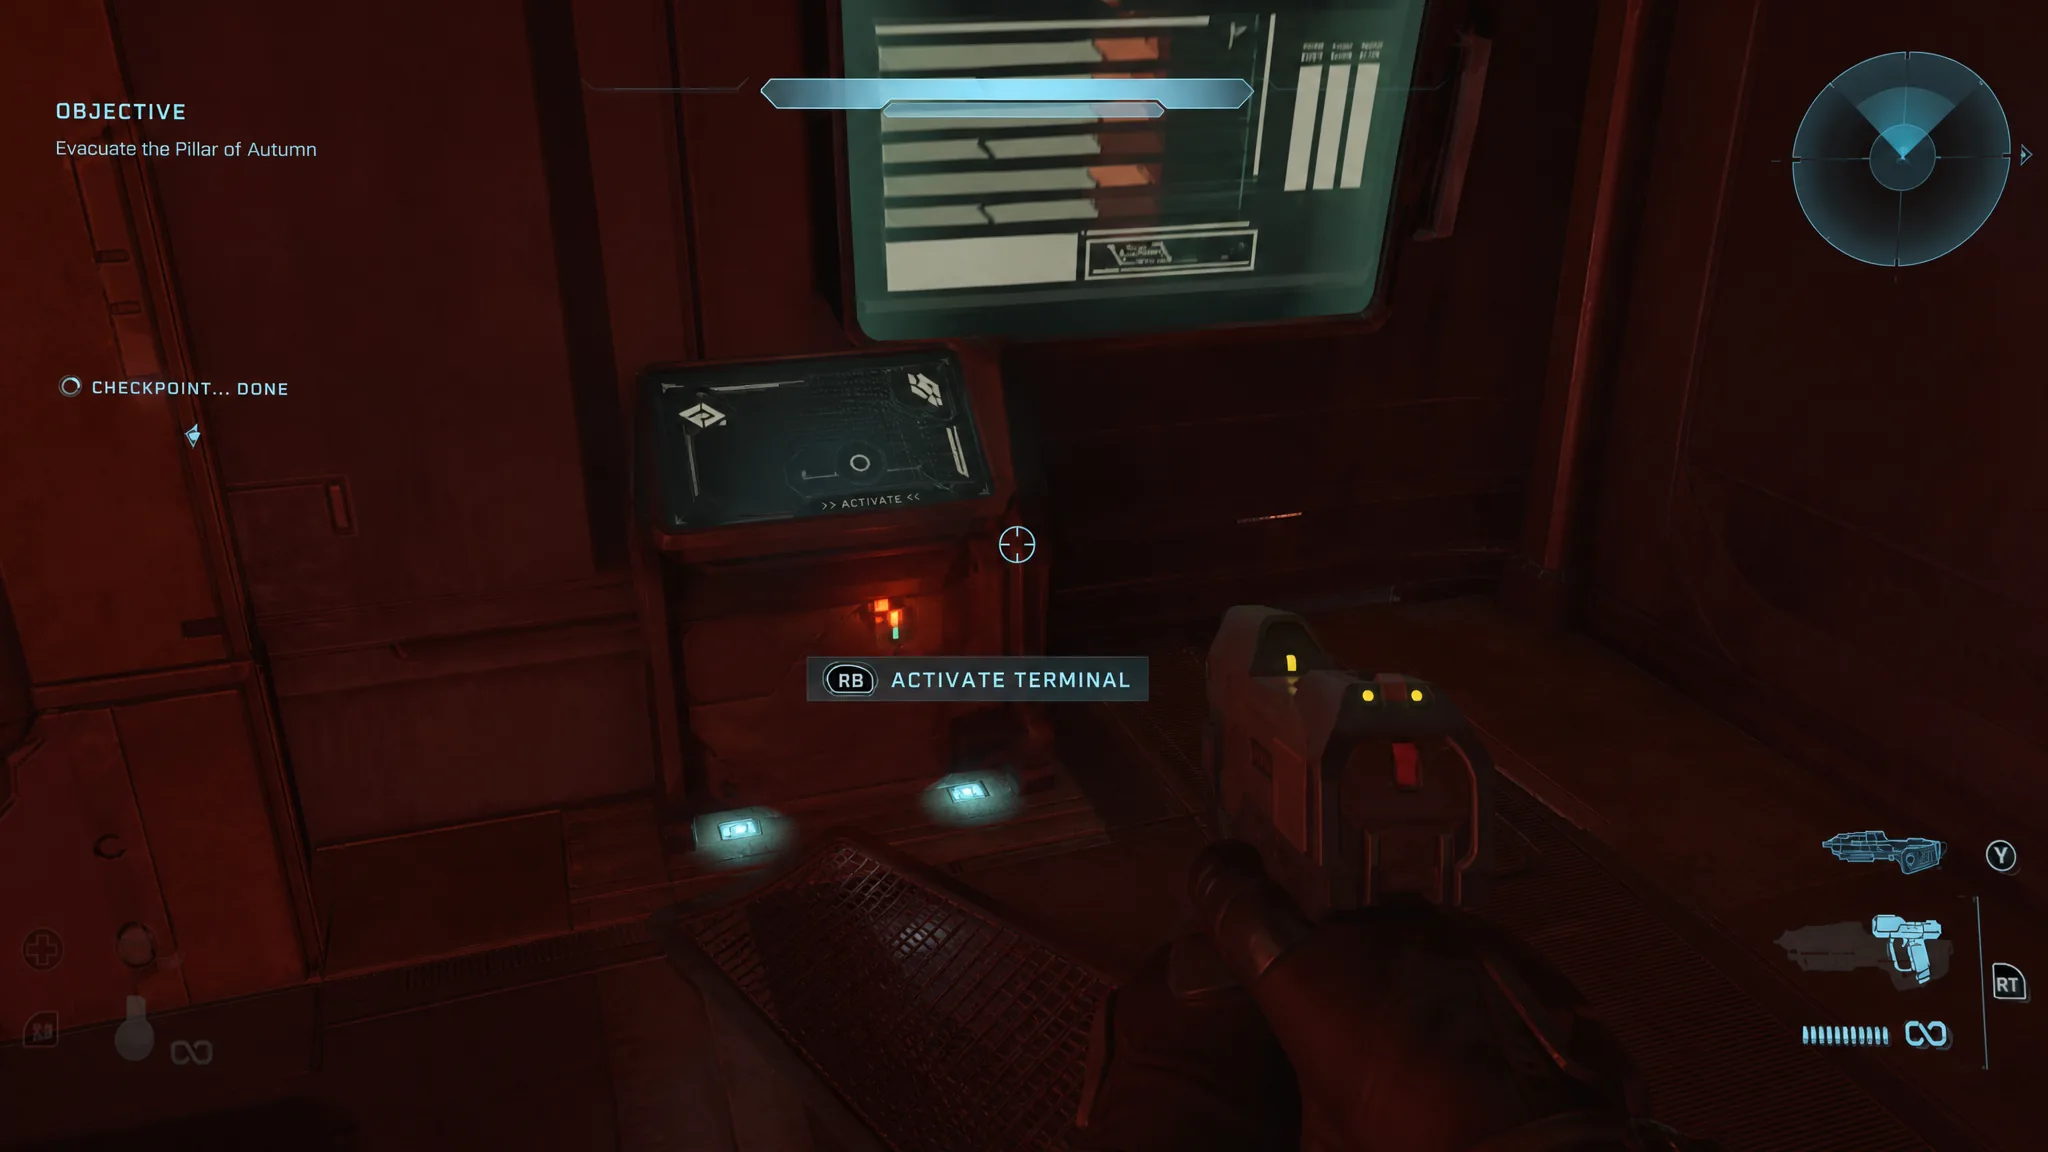
The Pillar of Autumn – Approach
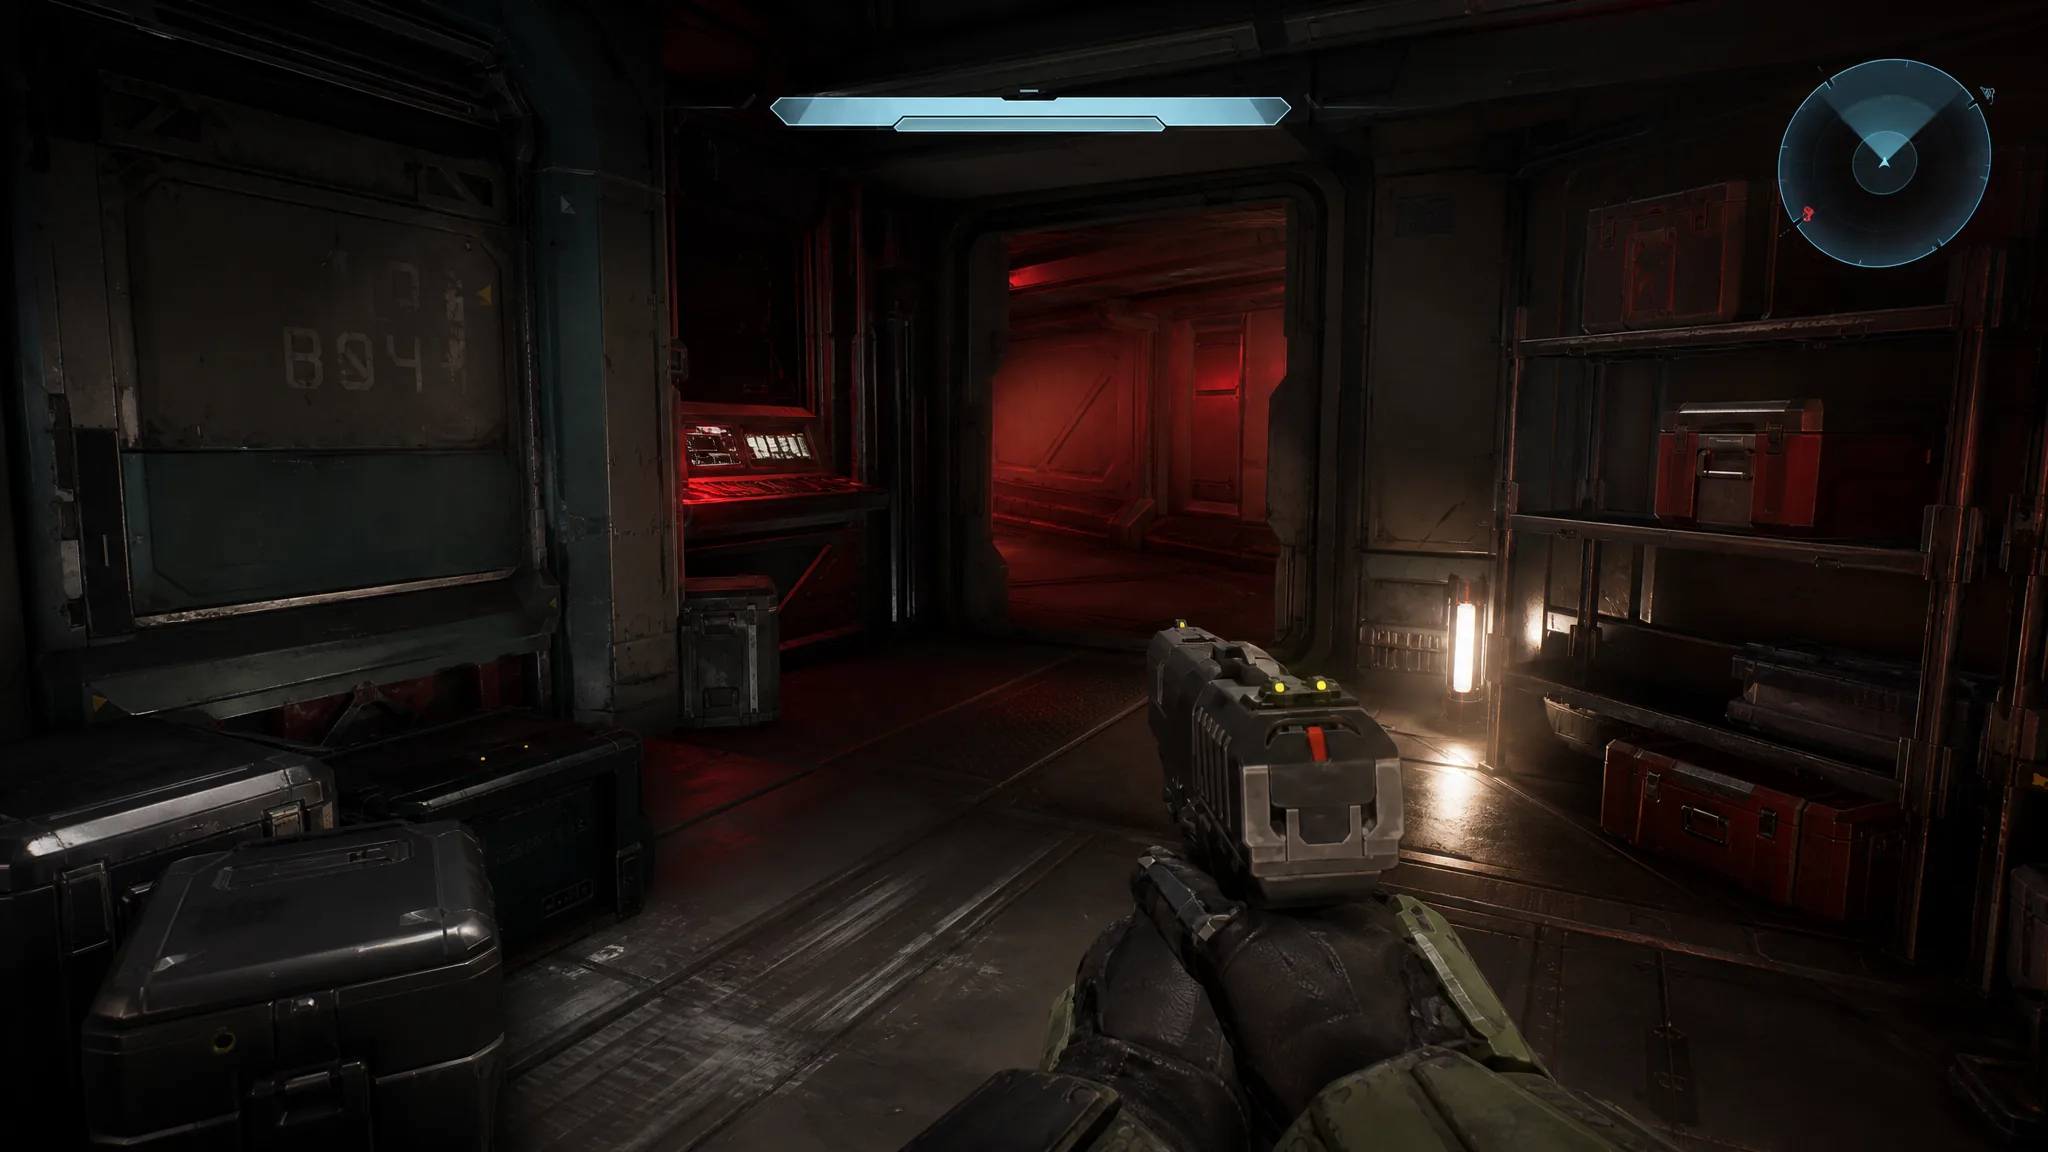
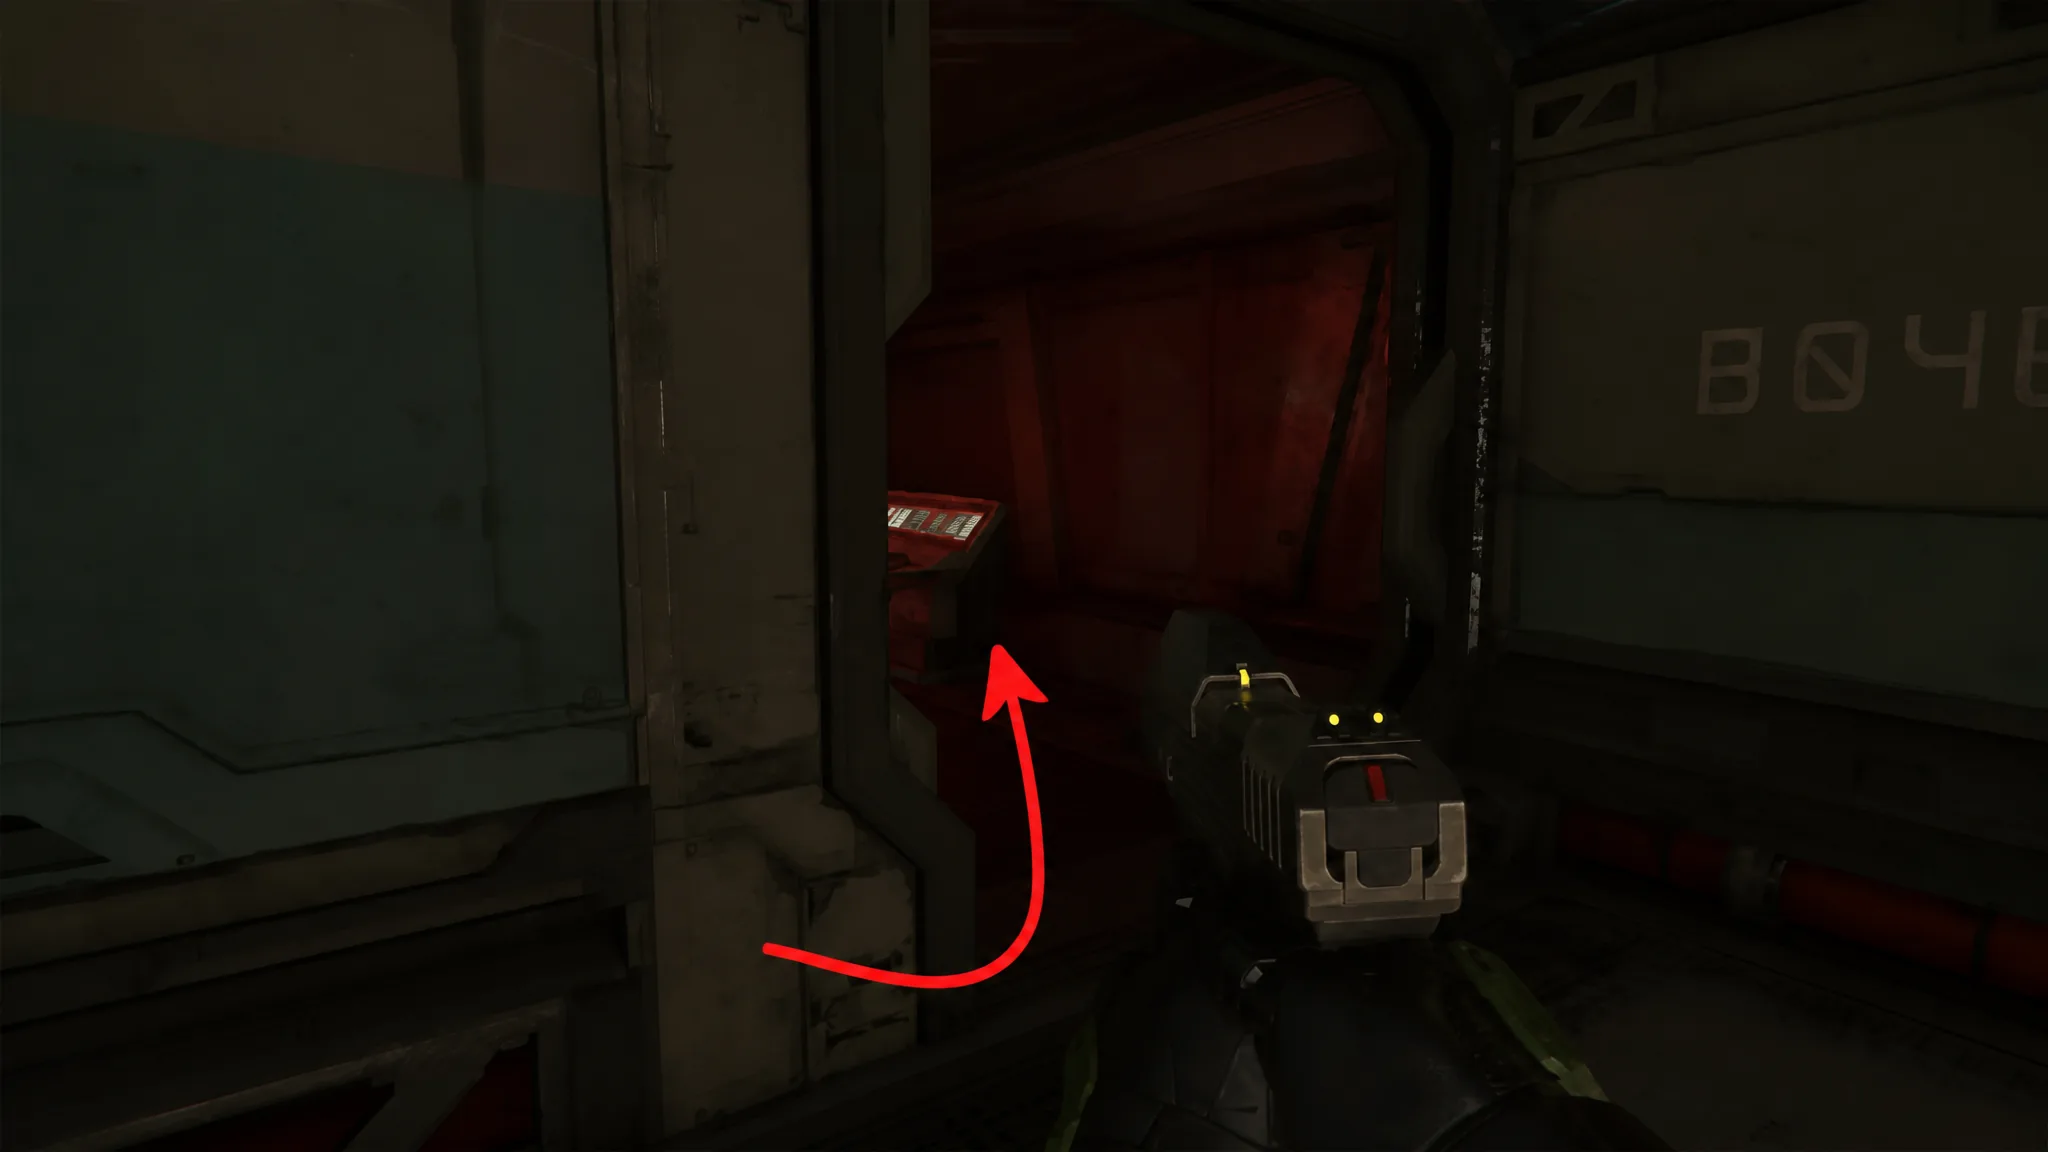
Later in the level you reach the observation room above the cryo bay where you started the game, and Cortana comments on the Covenant trying to catch Master Chief napping. That line is your cue. Head out the far door, hook an immediate left into the room behind the wall, and the Terminal sits in the back of the red-lit room on the right side.
Halo – Forgotten
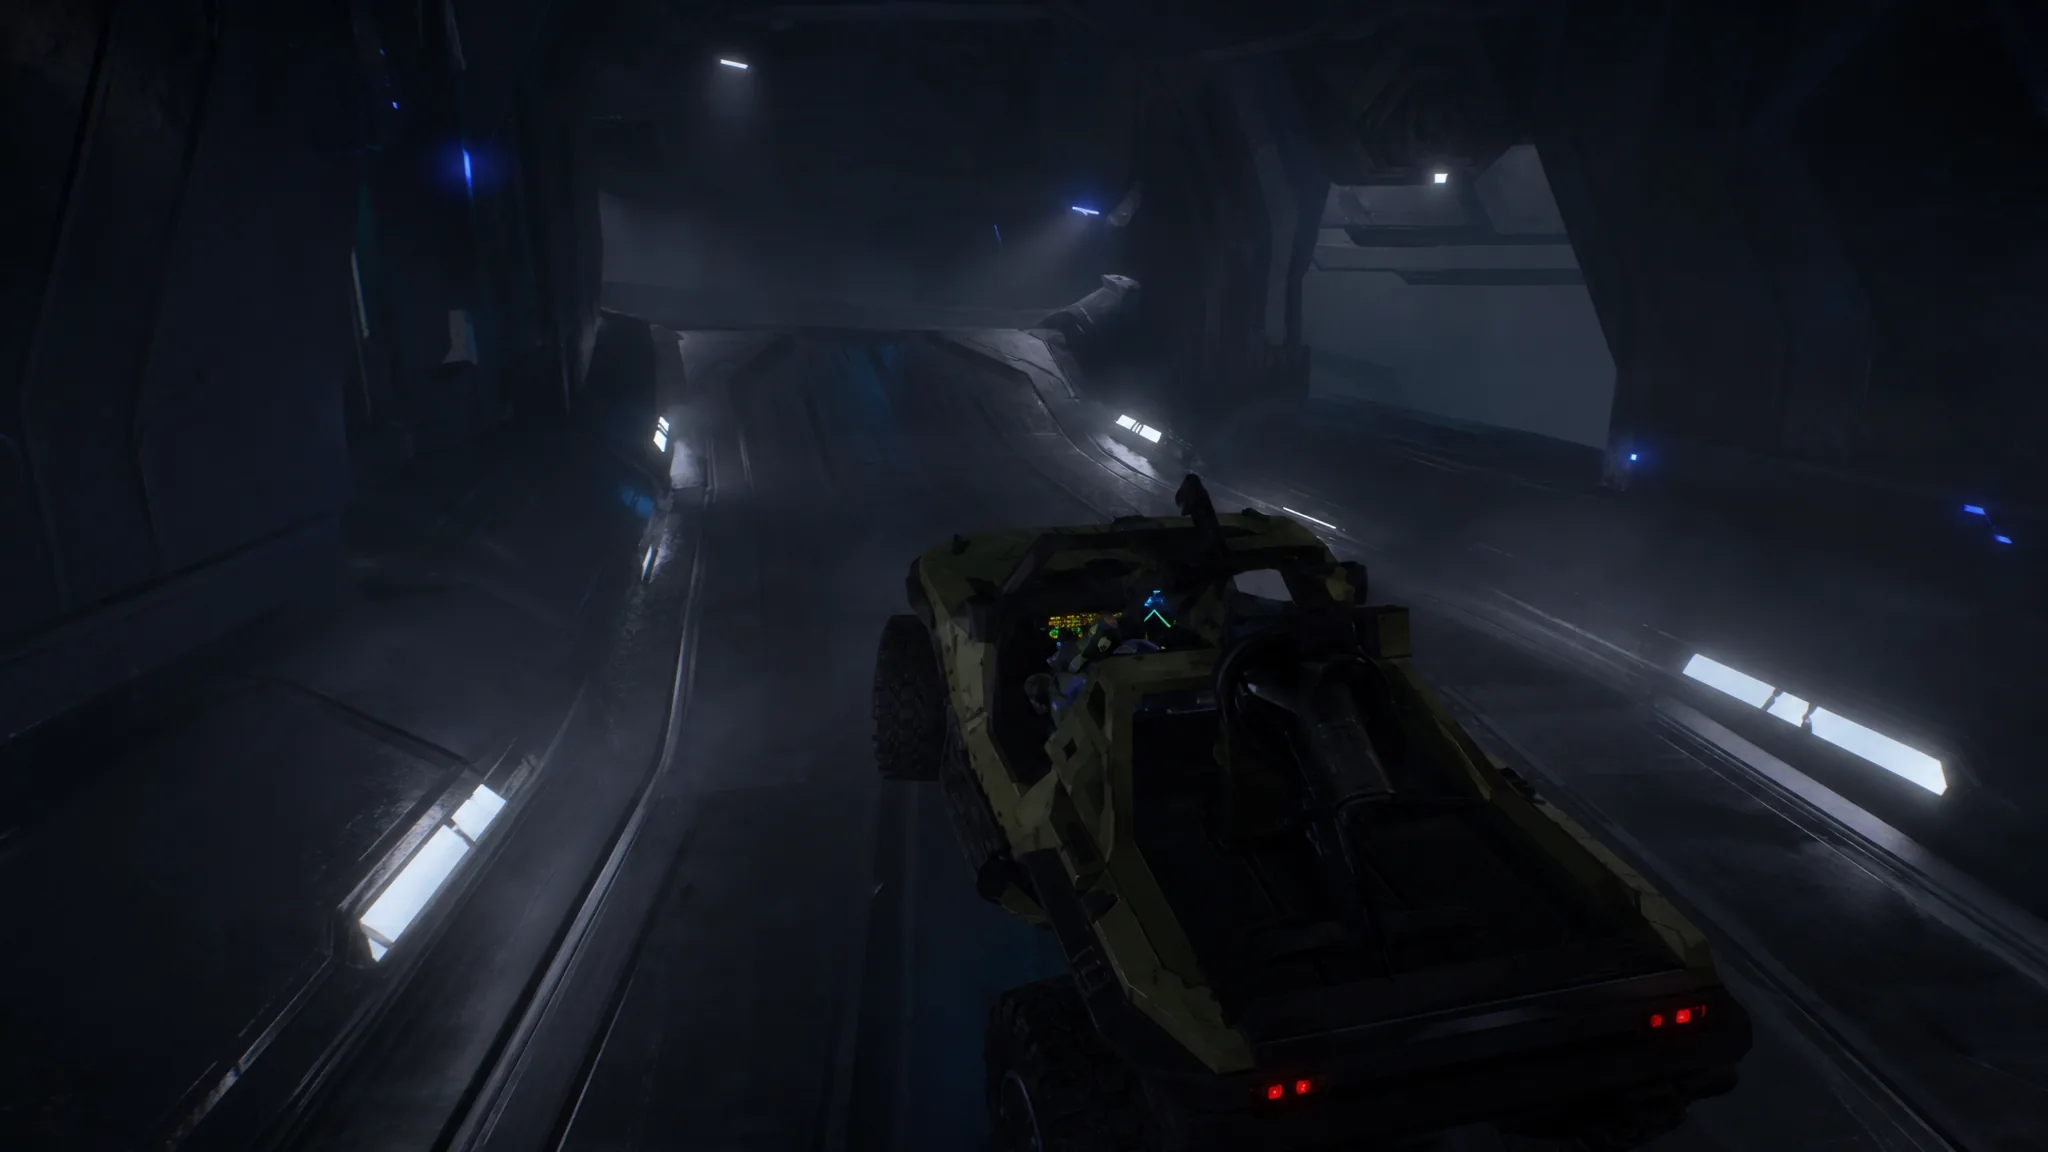
After Foehammer drops off the Warthog, drive down the hill and into the Forerunner tunnels. Once you are inside and taking the ramps, stop instead of wrapping right. Look for a window or gap in the wall on the right, climb up to it, then drop over the side onto the ledge below. The Forgotten Terminal is waiting on that ledge, in the dark area opposite where you land.
The Truth and Reconciliation – Inquisitor
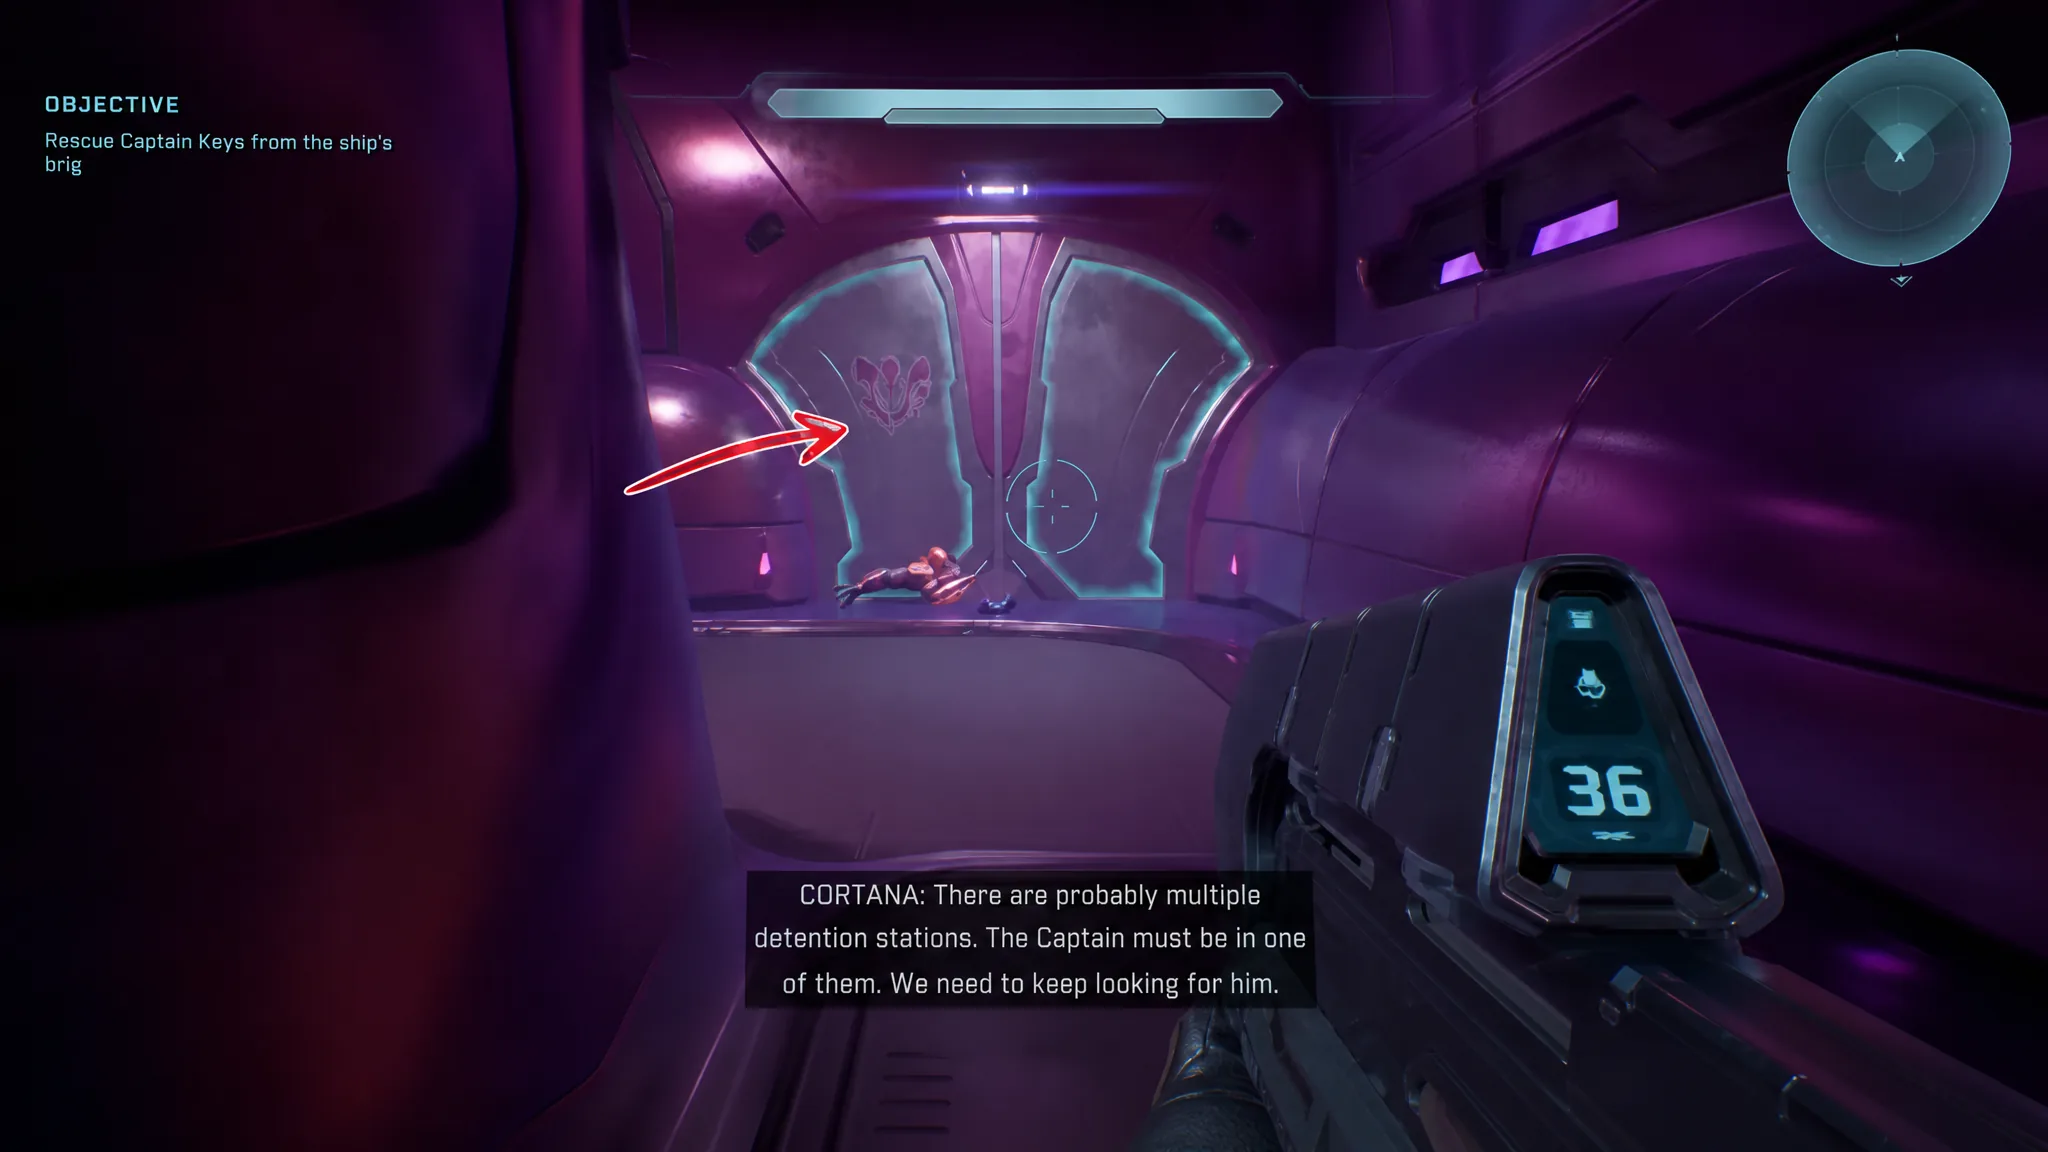
Aboard the Covenant ship, you eventually reach the point where you are sent to find Keyes in a holding cell. Do not grab him yet. From the room where that objective begins, take the door on the right, which leads into a section new to Campaign Evolved. Follow the corridor into the cell block, use the panel to open the cells, and the Inquisitor Terminal is on the back wall of one of the cells. You are in the right block when a Grunt you release turns out to be friendly.
The Silent Cartographer – Status Update
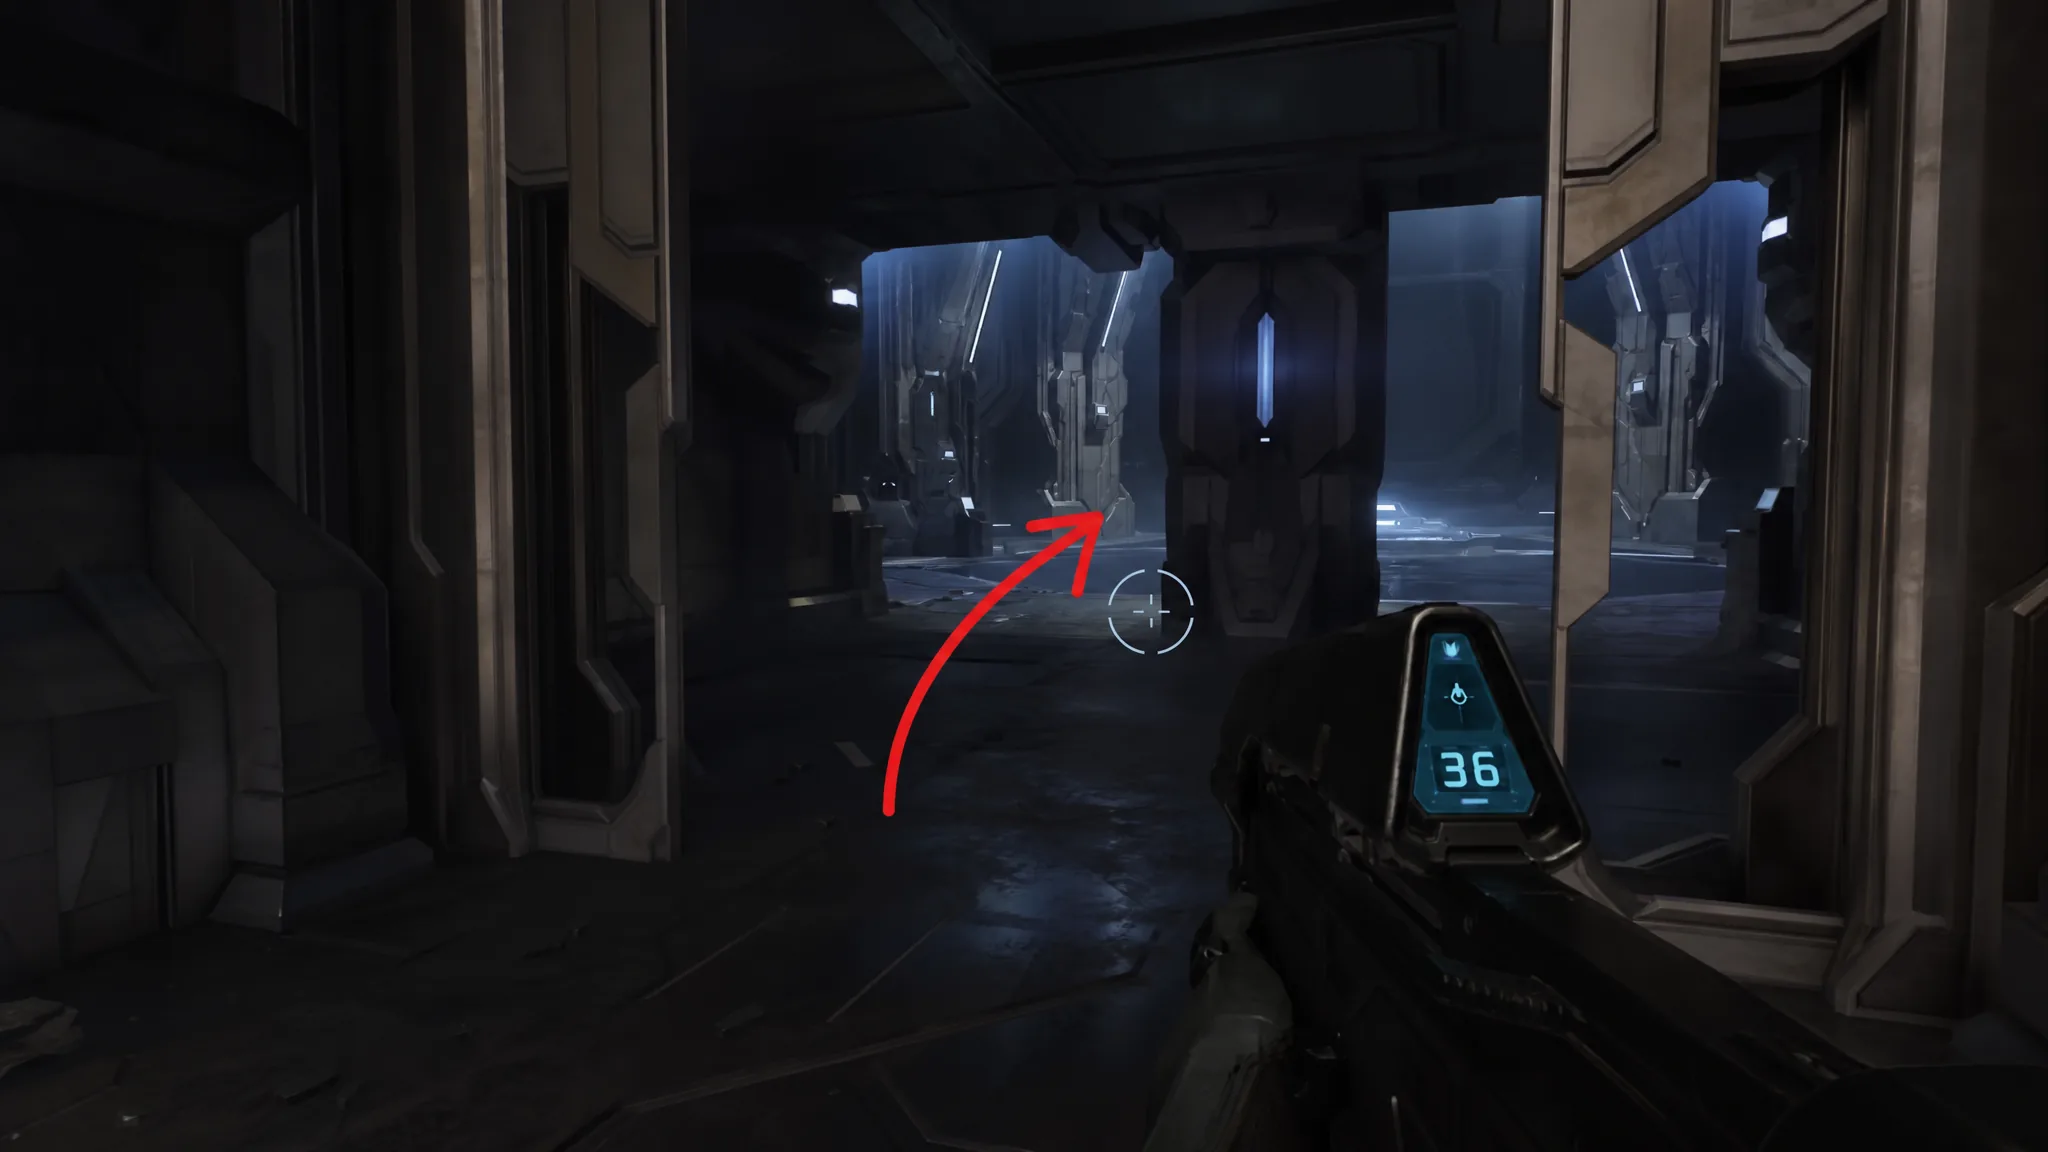
You can start this from Rally Point Bravo if you prefer. After being sent back down the beach to open the locked door another way, you push into the indoor room with two Hunters. Deal with them or run past, then walk past the control panel without pressing it and continue to the very back. The Status Update Terminal is tucked behind a small wall at the rear of the room.
Assault on the Control Room – Tangent I
Deep into the mission, after riding the tank through the icy cave tunnel, you emerge into a wide outdoor clearing with a fork in the road and a tall rock structure in the center. Enemies pour out of that structure, so clear them, then head inside through a door in the rocks and up the ramp. At the top, hook right and the Tangent I Terminal sits on the ledge in the corner. Watch for Wraith fire while you are exposed here.
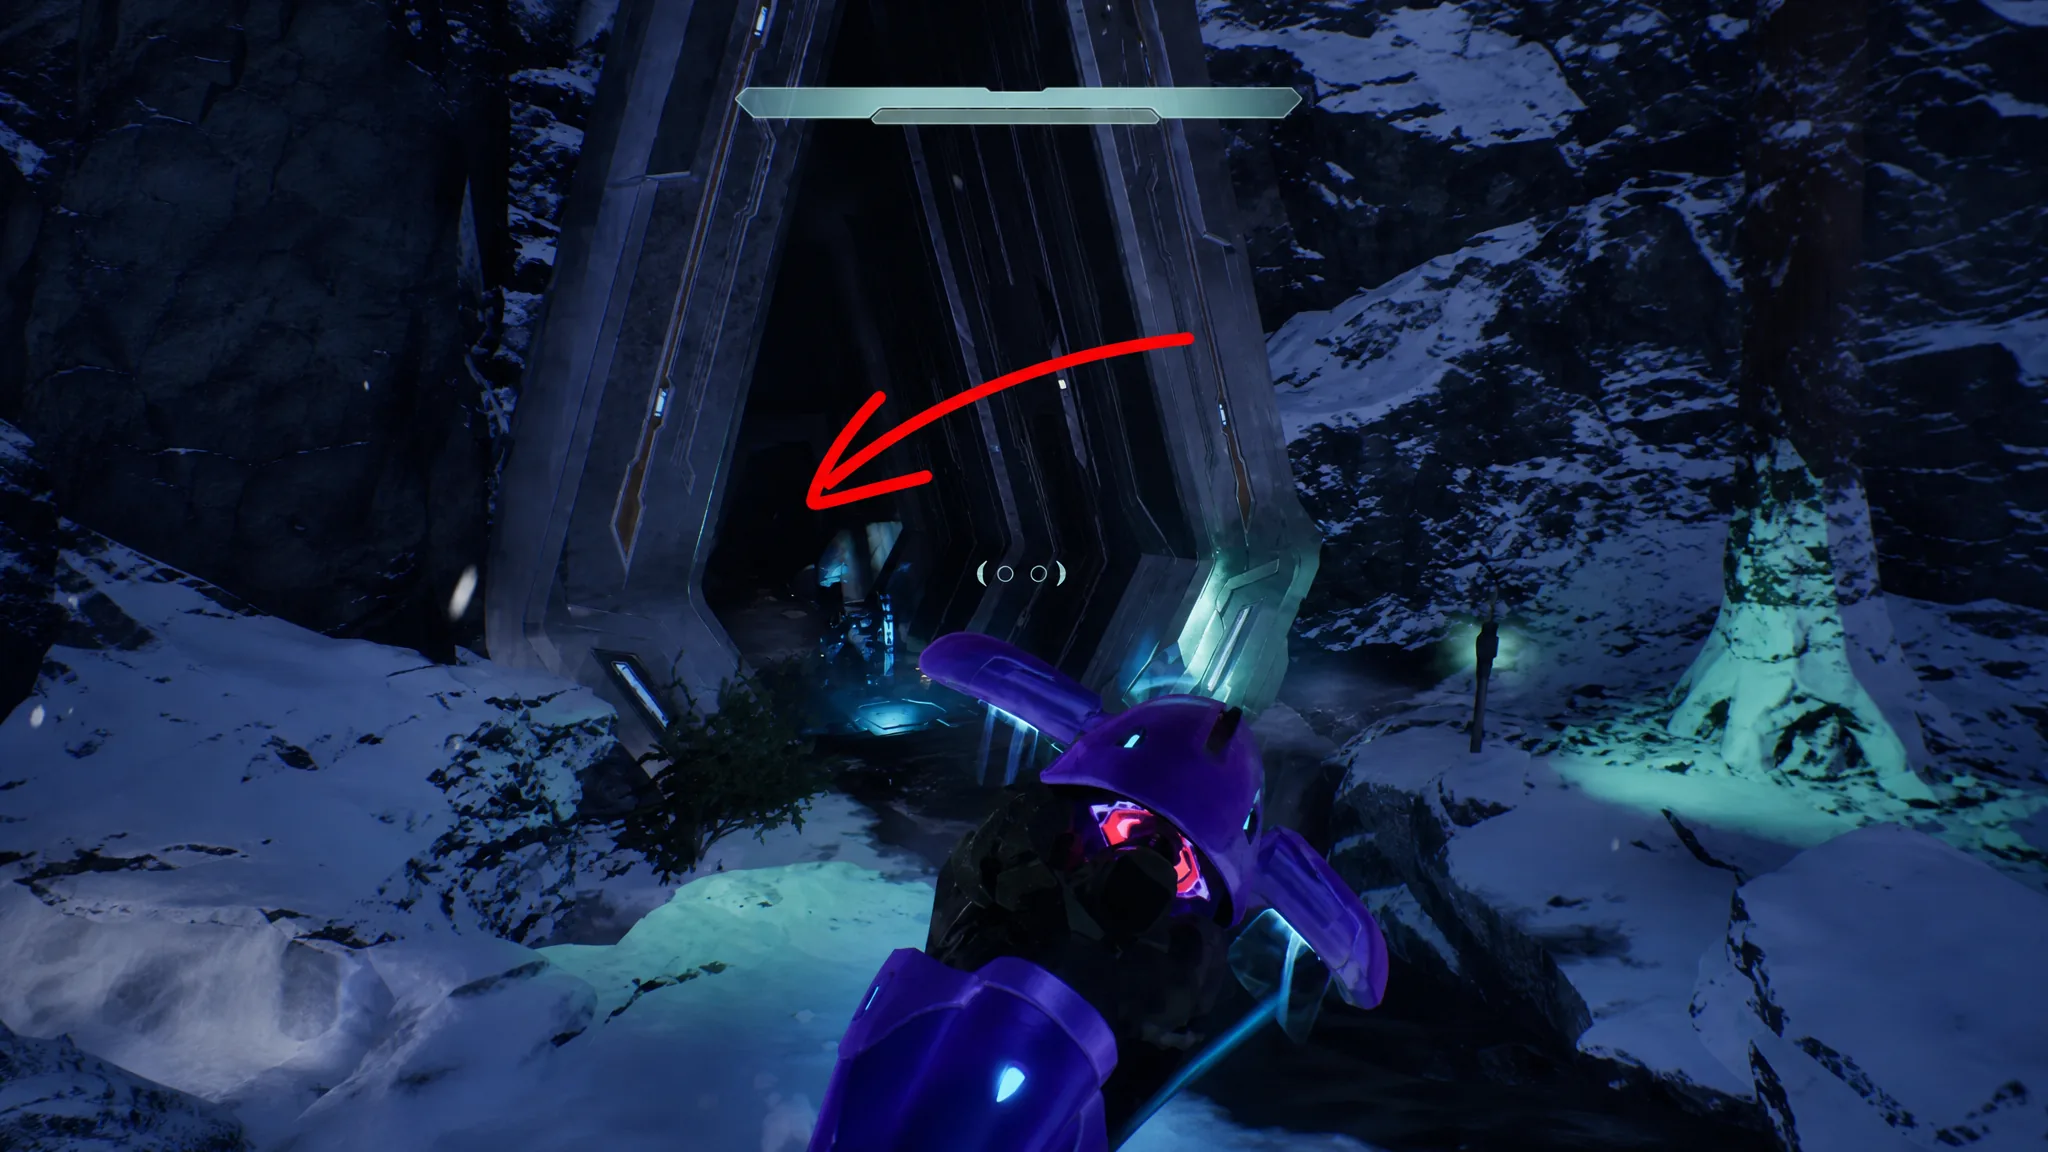
343 Guilty Spark – Tangent II
About halfway through the level, some time after your first fight with the Flood, you reach the room where you pick up the shotgun near a bloodstained doorway. Enter the room on the right, loop around the central dividing pillar, and the Tangent II Terminal is on the far side of that wall, sitting in the dark.
The Library – Tangent III
Start at Rally Point Bravo to save time. After 343 Guilty Spark opens the large door and you survive the wave of Flood, continue into the central room with two Forerunner consoles. Instead of using the right console for the lift, press the left one to open the side door. There is a Flood cyst blocking the passage, so shoot it clear, head through, and the Tangent III Terminal rests beside a fallen reclaimer.
Two Betrayals – Alone
This is the easiest one in the game. Right at the start of the level, after the cutscene where Cortana reveals Guilty Spark’s real intentions, take out the Sentinels in front of you, then turn around and walk behind the holographic sphere. The Alone Terminal is directly behind it.
Keyes – Consumed
Late in the level, once you board the Covenant ship and reach the large docking bay, drop to the lowest level and take the door on the right. Follow the corridor, clearing the Grunts and Hunters, until you hit a crossroads. Take a left, then an immediate left again, and the Consumed Terminal rests against a sealed door.
The Maw – Arrival
Very early in the mission you return to the Pillar of Autumn’s cafeteria, the same diner from the first level. Clear the enemies, then look to the middle-right side of the room. The Arrival Terminal is on the right-hand wall, roughly halfway along, tucked between two broken wall-mounted vending machines. This completes the ten Terminals from the original campaign.
Bonus mission Terminal locations
The three bonus missions are new prequel content following Master Chief and Sgt. Johnson behind enemy lines. Each one holds a single Terminal, and these are the final three you need for the full set.
Boarding Action – The Path
Fight through the waves of enemies, including Brutes dropping from a lift and Elites emerging from side doors. Once the last wave clears, Johnson gets the lift working and jumps in, so ride it up with him. At the top, turn roughly 180 degrees toward your 8 o’clock and head to the back-right door. The Path Terminal is on the wall just inside.
The Most Dangerous Game – Penitent Report
Using the UNSC armoury as a reference point, follow the path until Johnson and your AI teammate mention Marines being packed for shipping on the left. You will pass a hallway of windows overlooking a room full of pods. Take the first door on the right, and the Penitent Report Terminal is waiting just inside.
Heavy Burden – Harmonious Clarity
Play through to the big fight in the room with the large planet hologram, or load in at Rally Point Bravo. After the cutscene where Johnson shoots the screen showing the Prophet, skip going upstairs with him and head through the ground-floor doors instead. Keep pushing through the following doors, which include a full arsenal of weapons worth grabbing, until you reach the last room. The Harmonious Clarity Terminal sits in the back-left corner.
Confirming the collection and the Lore Have Mercy unlock
You know a Terminal registered when its light switches from red to green the moment you interact. To confirm your total, return to the main menu and open the Collectibles tab, where every unlocked log is stored and readable. Once all 13 lights are green across every mission, the Lore Have Mercy achievement/trophy pops for the full set.
If the achievement has not unlocked, you are missing at least one Terminal. Check the Collectibles list against the 13 mission entries above to find the gap, then reload that level, ideally from the nearest Rally Point, and interact with the missing screen. Reading the transcripts afterward fills in the sidelines of the campaign, from Guilty Spark’s isolation to his long-distance messages to Penitent Tangent, that the missions themselves never spell out.