

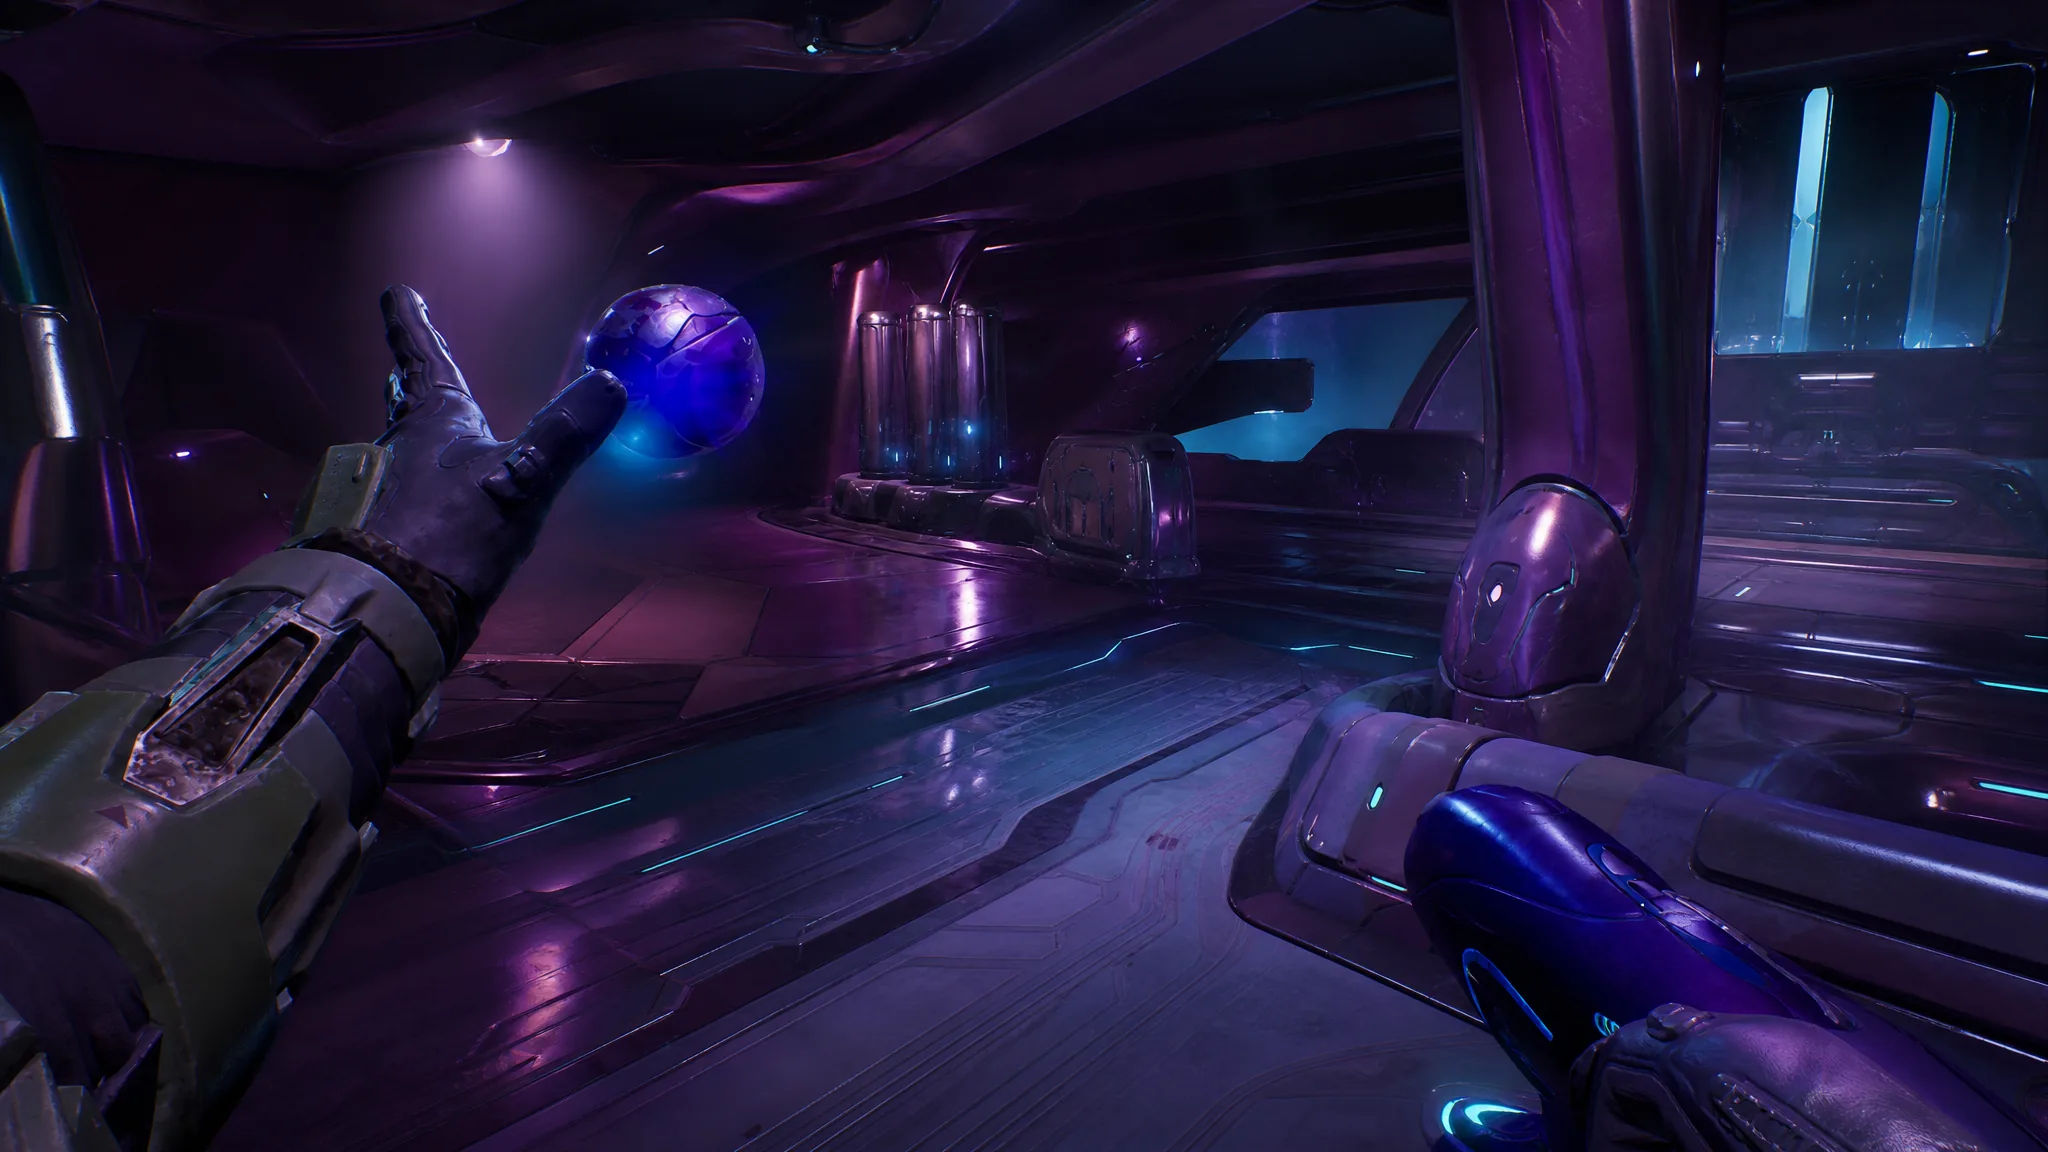
Truth and Reconciliation is the third campaign level in Halo: Campaign Evolved, and it drops you into a night canyon on Installation 04 with one job. Master Chief has to board the Covenant battlecruiser holding position above the plateau and pull Captain Keyes out of its brig. The mission splits cleanly into two halves. First a long exterior sniping run up to the ship’s gravity lift, then a tight indoor push through the cruiser’s corridors to the prison.
Quick answer: Use the Sniper Rifle to clear the canyon’s Shade turrets and Elites, ride the gravity lift up, then fight through the ship’s rooms using a Plasma Pistol and Plasma Rifle against shielded and cloaked Elites until you reach the brig and free Keyes. The mission ends automatically once you open his cell.
Starting loadout and what to pick up
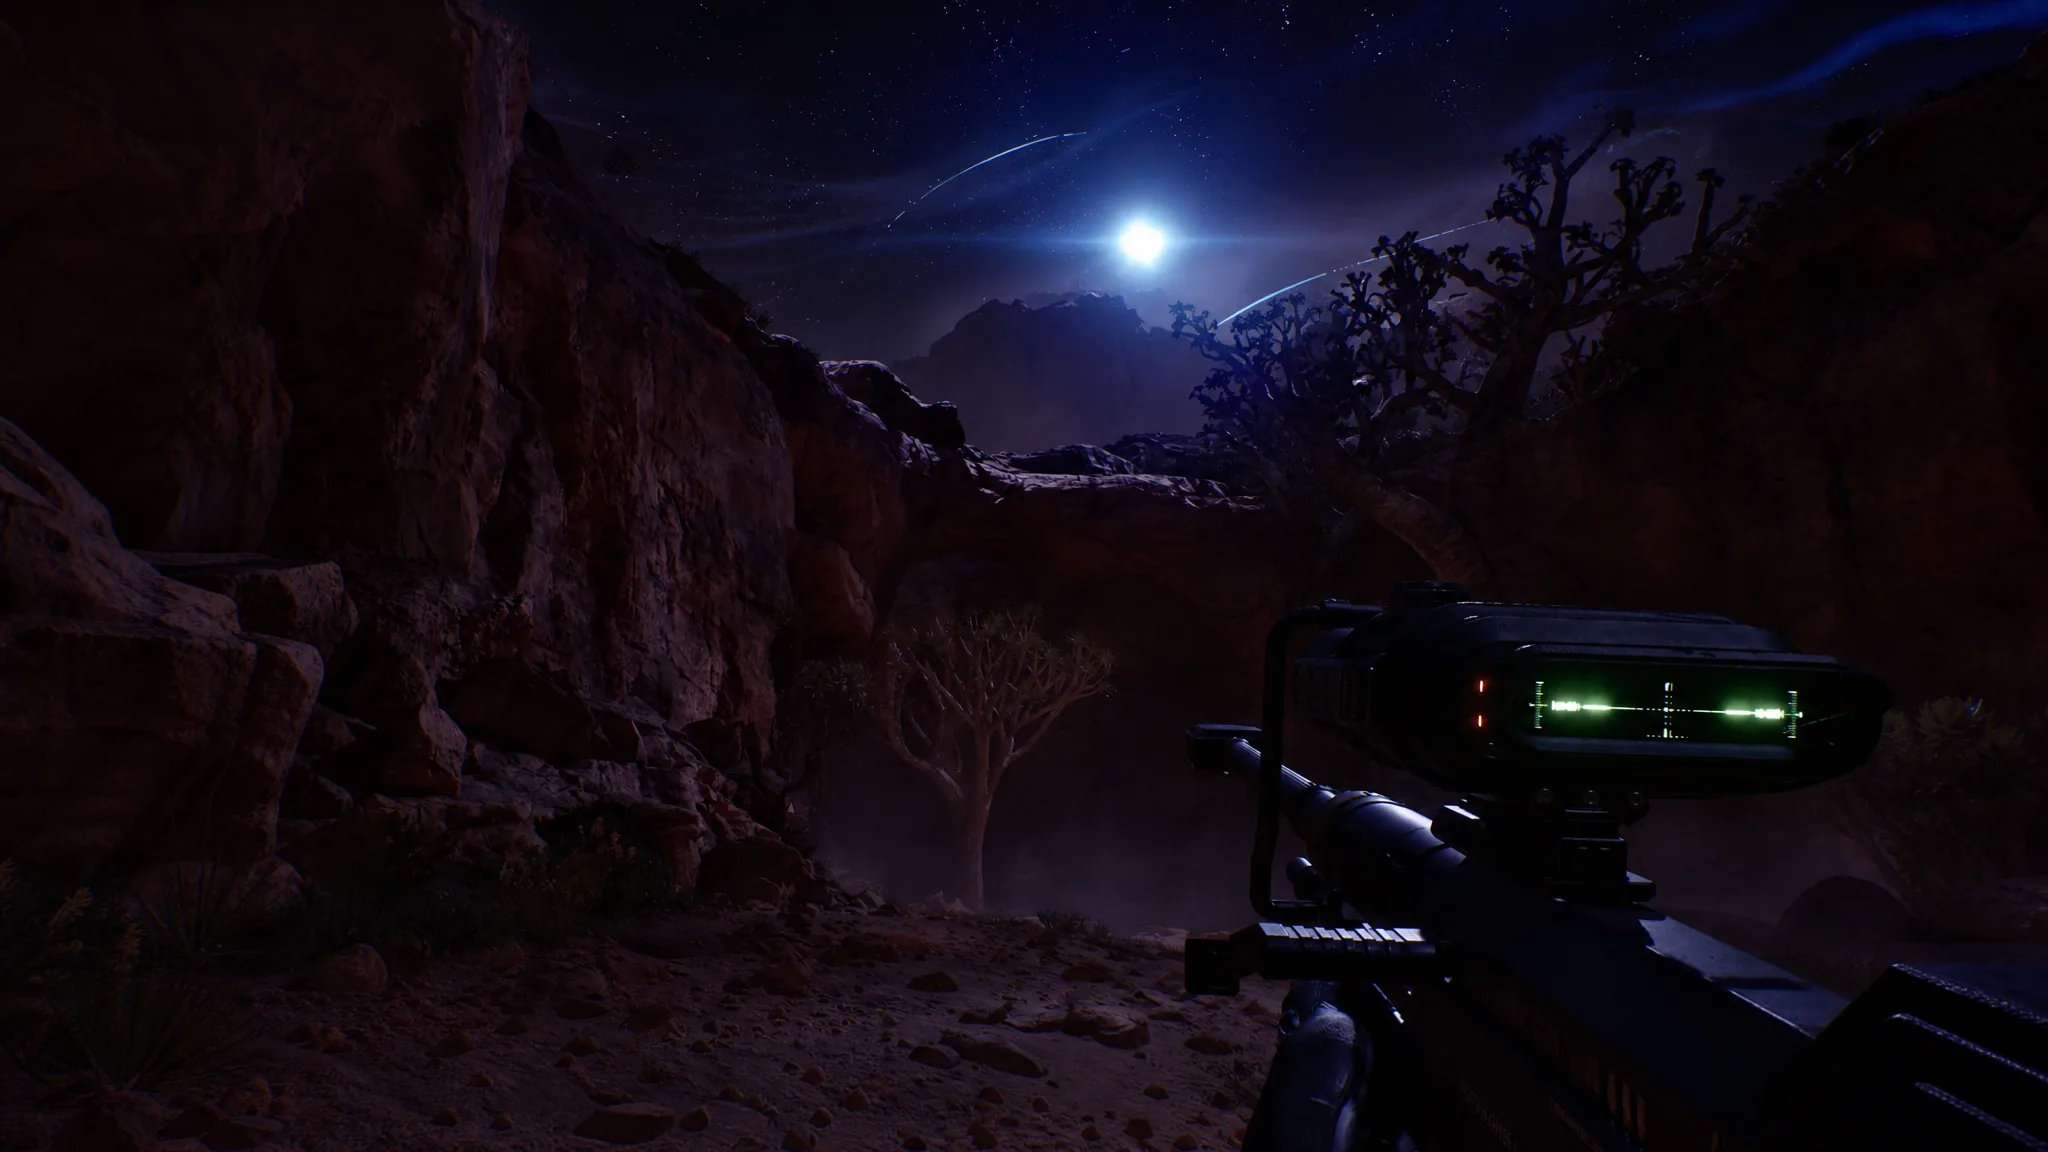
You begin with a Sniper Rifle and an Assault Rifle. The Sniper Rifle is the star weapon for the entire outdoor half, but ammo for it is scarce, so fire only when a shot will land and grab every spare clip you pass. The Assault Rifle is expendable and worth swapping for Covenant guns once you are inside the ship.
| Item | Where it matters |
|---|---|
| Sniper Rifle | Kills the canyon’s turret gunners and drops Elites in two body shots |
| Plasma Pistol + Plasma Rifle | Strip Elite shields, then finish with melee or a headshot; your main indoor tools |
| Plasma Grenade / Frag Grenade | Clears tight packs of Grunts and Elites at the grav lift and in corridors |
| Overshield | Found on crates near ammo inside the ship; grab it before big fights |
| Active Camouflage | Available behind a tree before the grav lift, and near the brig |
| Health Pack | Sits beside sniper ammo caches on both halves of the level |
Canyon approach: clear the plateau with the Sniper Rifle
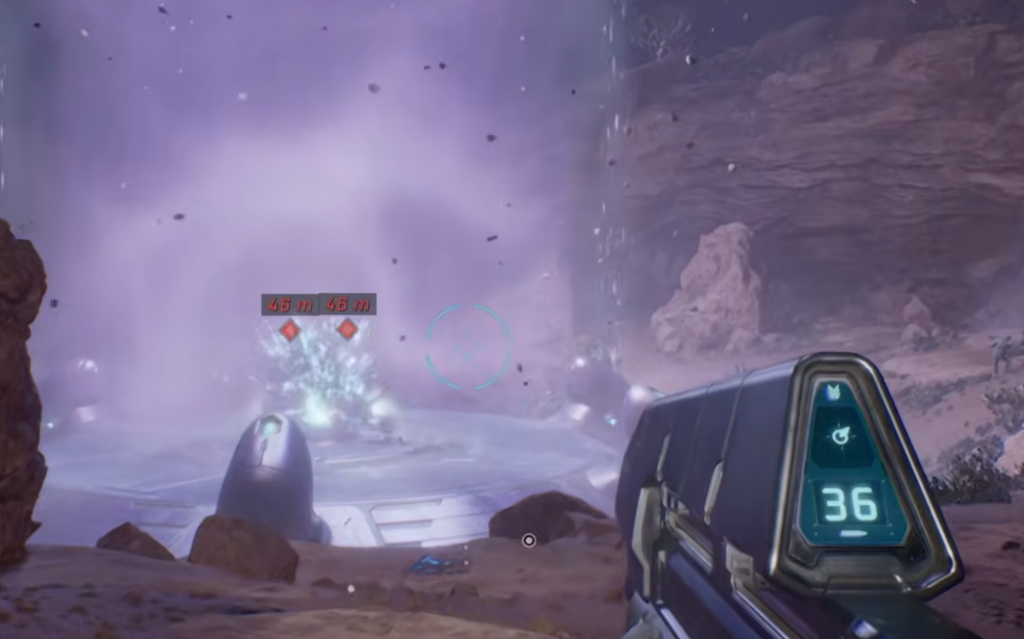
There is an Active Camouflage tucked behind a tree before you head down to the lift. Grab it here for the gravity lift fight.
Gravity lift ambush and the first Hunter pair
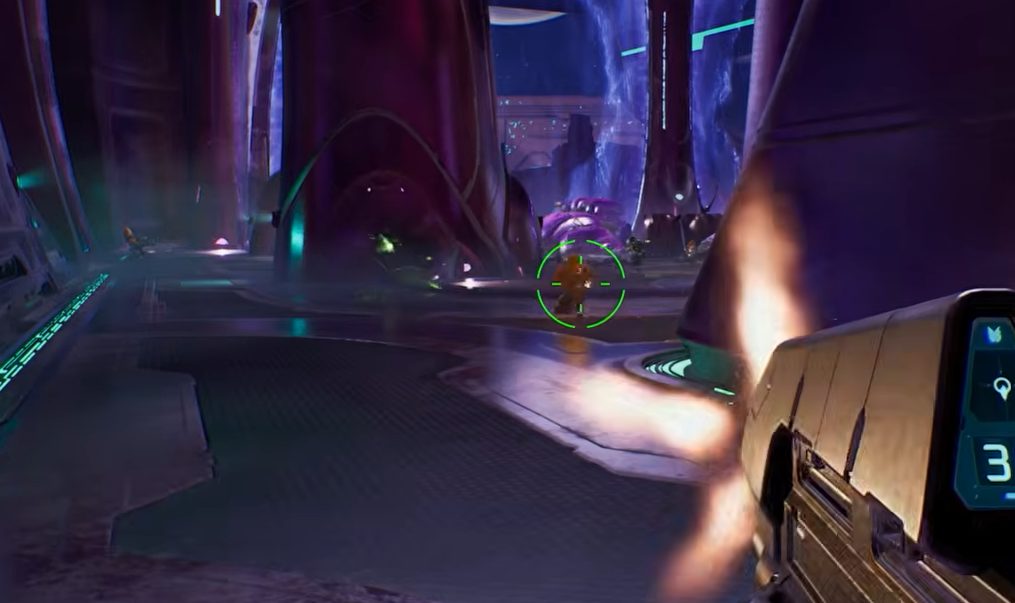
Beneath the two Shade turrets sits the path to the ship’s gravity lift, and this is where the exterior half peaks. Several Grunts and two or three Elites rush you in a closed space right away, so throw a Plasma Grenade into the middle of the pack and back off, then clean up survivors with a plasma weapon.
Snipe from the rock near the end of the path, knock out the right-side Shade turret, and clear the rest. A dropship then arrives carrying only Grunts and Jackals. After that, roughly three waves of Grunts, Elites, and Jackals pour out of the gravity lift itself. Man a Shade for these rounds if you like, but watch for Grunts trying to stick you, and let your Marines soak fire while you pick off the Covenant.
When the music changes, a pair of Hunters appears. Dodge their charges and swings, then shoot the exposed orange areas on their back or stomach with the Sniper Rifle. Once both Hunters are dead, step onto the gravity lift to ride up into the cruiser. If your squad took losses, Echo 419 drops fresh Marines before you go.
Inside the ship: cloaked Elites, locked doors, and Hunters
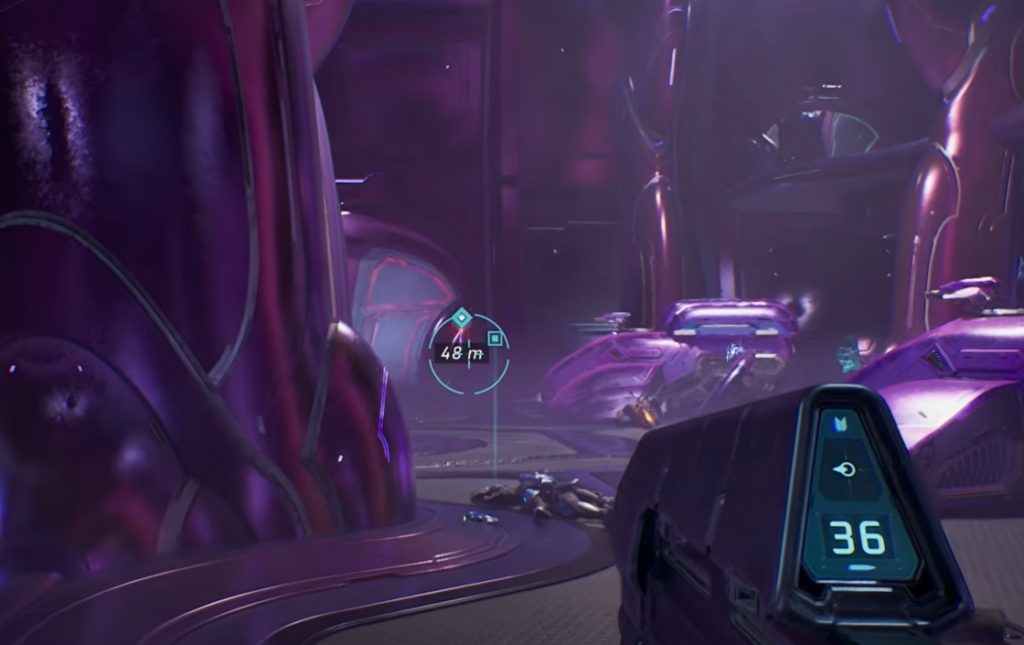
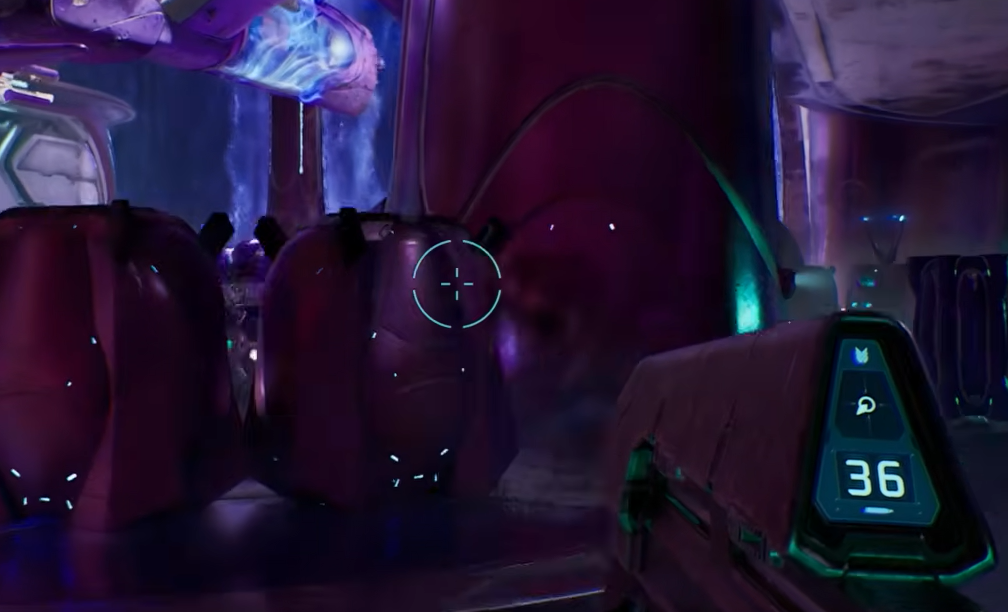
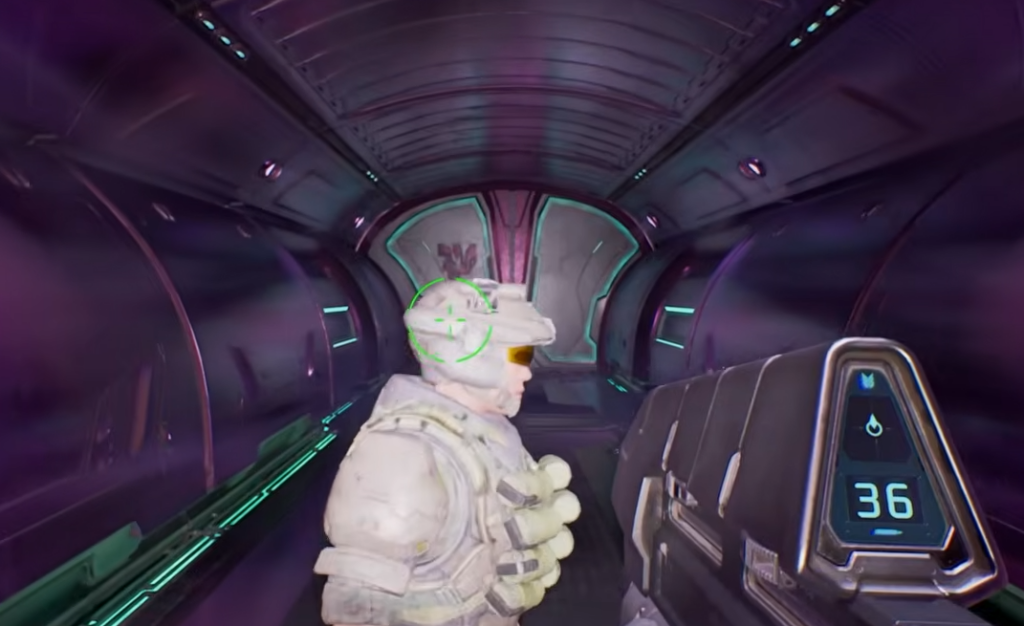
The interior is where cloaked Stealth Elites carrying Energy Swords become the main threat. A single sword swing can kill you, so keep your Plasma Rifle ready and watch the motion tracker constantly. Save your Sniper Rifle ammo for later stretches where you can pick off Elites across open rooms.
Rescue Captain Keyes and confirm completion
The brig is a room with four exits, and every one of those doors leads to a holding cell, so the prison layout confirms you are in the right place. Lower the cell shields and open the jail cells to free Keyes and the other prisoners. This is also where you can pick up an Active Camouflage and extra ammo.
Freeing Keyes triggers the extraction phase. You escort the captain and your surviving squad back through the ship against heavy reinforcements, so keep moving and let your Marines draw fire while you create openings. Standing still in one spot turns you into an easy target for concentrated Covenant forces. The mission ends, and the level completes once the escape sequence finishes.
You will know it worked when the Infiltration Anticipation achievement unlocks, which fires simply for completing Truth and Reconciliation. If it does not trigger, you have not yet reached the end of the extraction.
All skulls and the terminal in Truth and Reconciliation
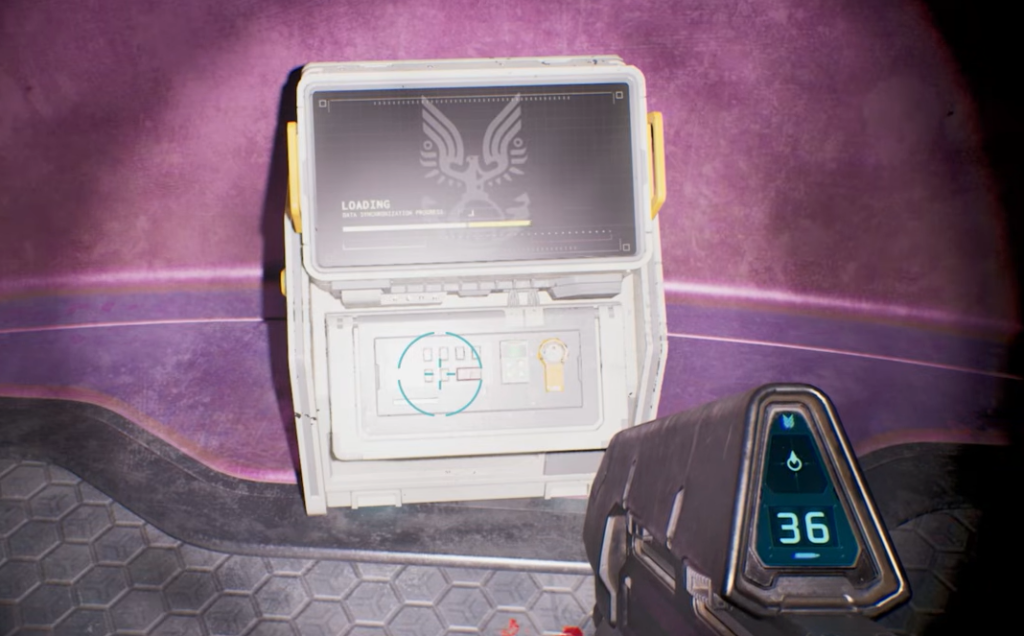
There are three skulls and one terminal in this level. Collecting all four unlocks the Plundered achievement, and grabbing them on your first run saves a full replay.
| Collectible | Checkpoint | Location |
|---|---|---|
| Skull #1: Iron | Rally Point Alpha | At the outdoor grav lift, clear all enemies, then go to the cliff edge at the back. Near the center are three trees, two shaped like cactus and one with leaves only at the top. Peer over the edge just left of the left cactus tree to spot the skull on a small ledge below. Jump left to the branches to climb back up. |
| Skull #2: Endurance Spec | Rally Point Bravo | Inside the ship, in the large room you enter from the top level while hunting the door controls. Cross the platform to the opposite corner, then jump across the purple floor-to-ceiling structures. Hold sprint the whole way and land on the slanted parts, since stopping makes you slide off. Grab the skull at the end. |
| Skull #3: Foreign | Rally Point Bravo | After reuniting with your team, you enter a hangar a dropship leaves. Clear enemies while heading to the locked door opposite your entry. Wait by it until it opens as enemies emerge, then rush through and grab the skull on the left. |
| Terminal #1: Inquisitor | Rally Point Charlie | In the brig room with four exits, enter and go right into the room full of holding cells. Interact with the central device to lower the shields, then check the back-wall cell with a dead soldier to find the terminal. |
Clear the canyon patiently with the Sniper Rifle, treat the interior as a plasma-weapon fight against cloaked swordsmen, and keep your Marines alive as bullet magnets, and Truth and Reconciliation becomes a manageable step between Halo and The Silent Cartographer. Sweep the three skulls and the Inquisitor terminal on the way through so you never have to run it twice.





