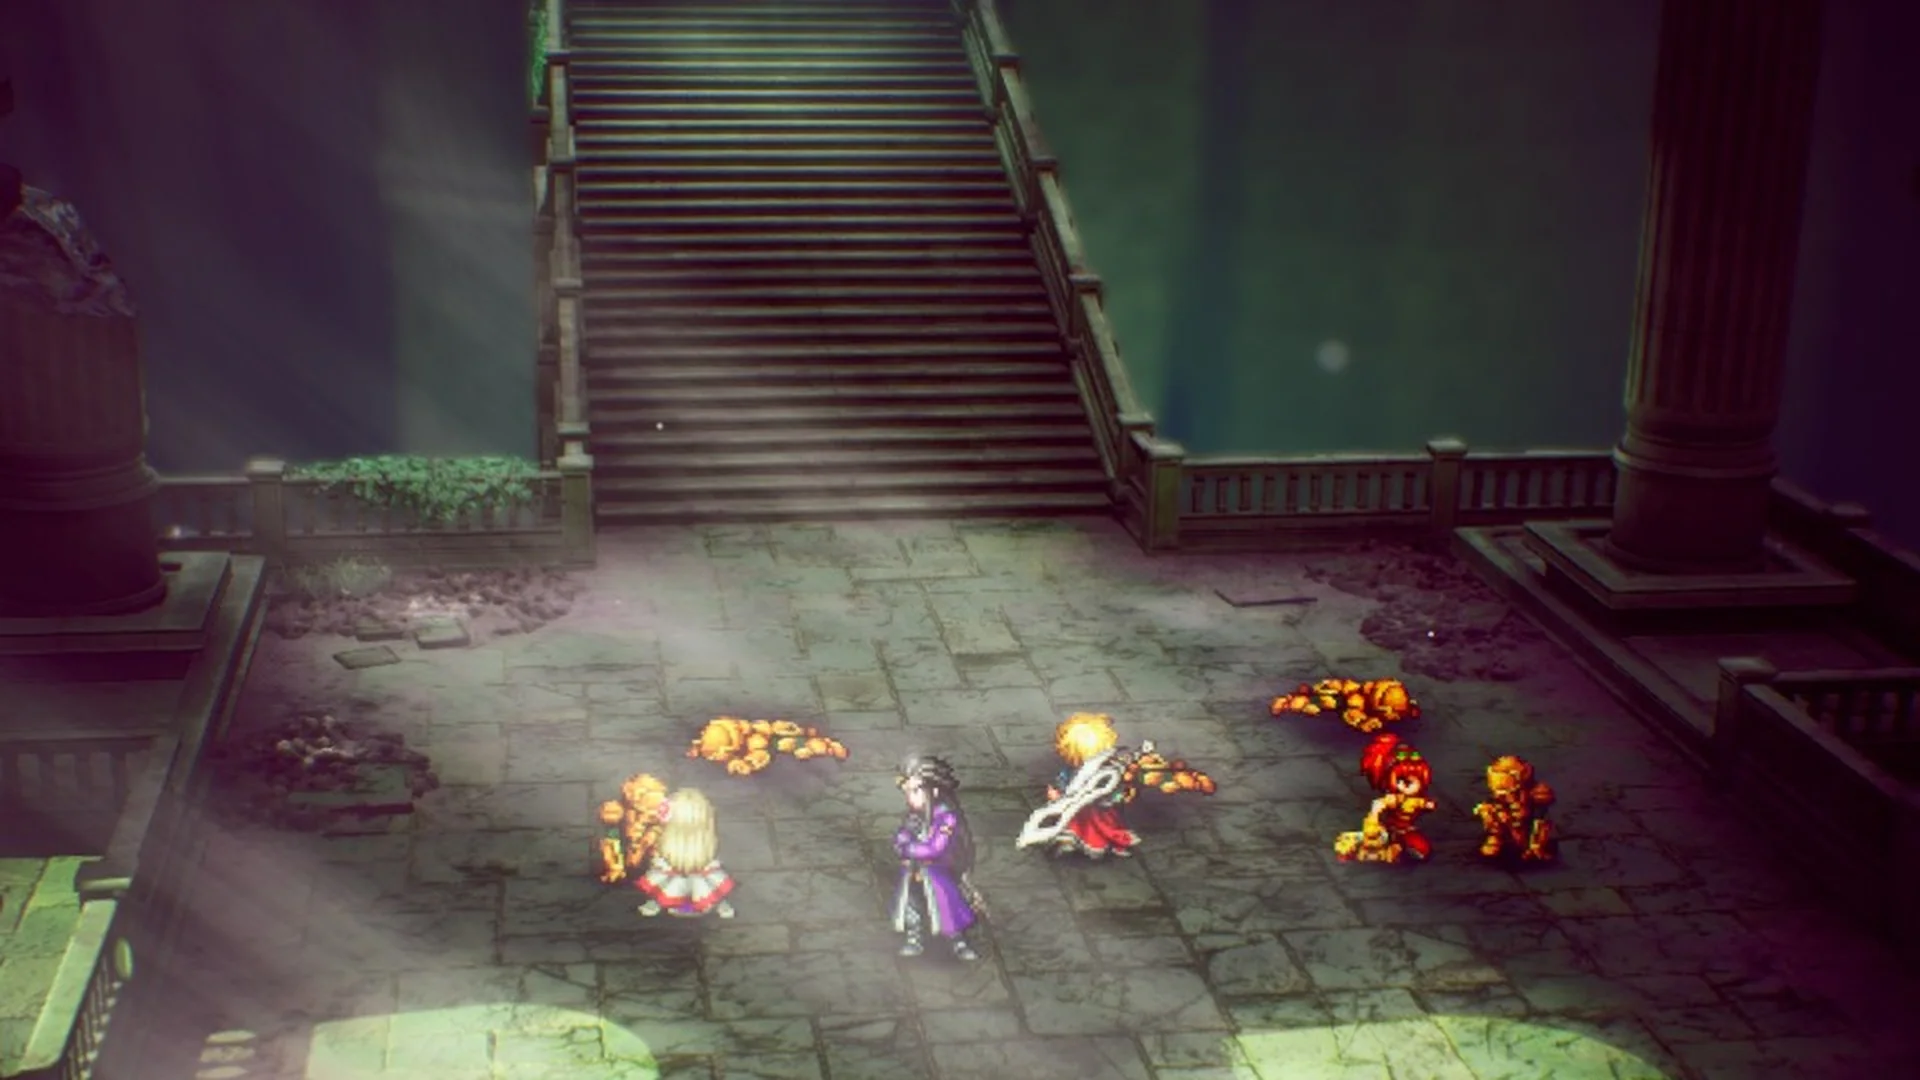
The Wind Shrine is the Chapter 2 (“Eternal Blue”) dungeon on Dirnado in Final Fantasy Resonance. You reach it from the Dwarven Forge under the objective “Go to the Wind Shrine”, after the Mobliz Shipyard and the train crash. The shrine is a tall ruined tower built around one big shaft. Its floors sit at different heights, and lifts and moving platforms connect them.
Quick answer: Use the lifts and moving platforms to climb to the top floor, save at the boss save point, then ride the last lift up to Aether. Battles here can’t be escaped, so pack Ethers, Phoenix Downs and Tents.
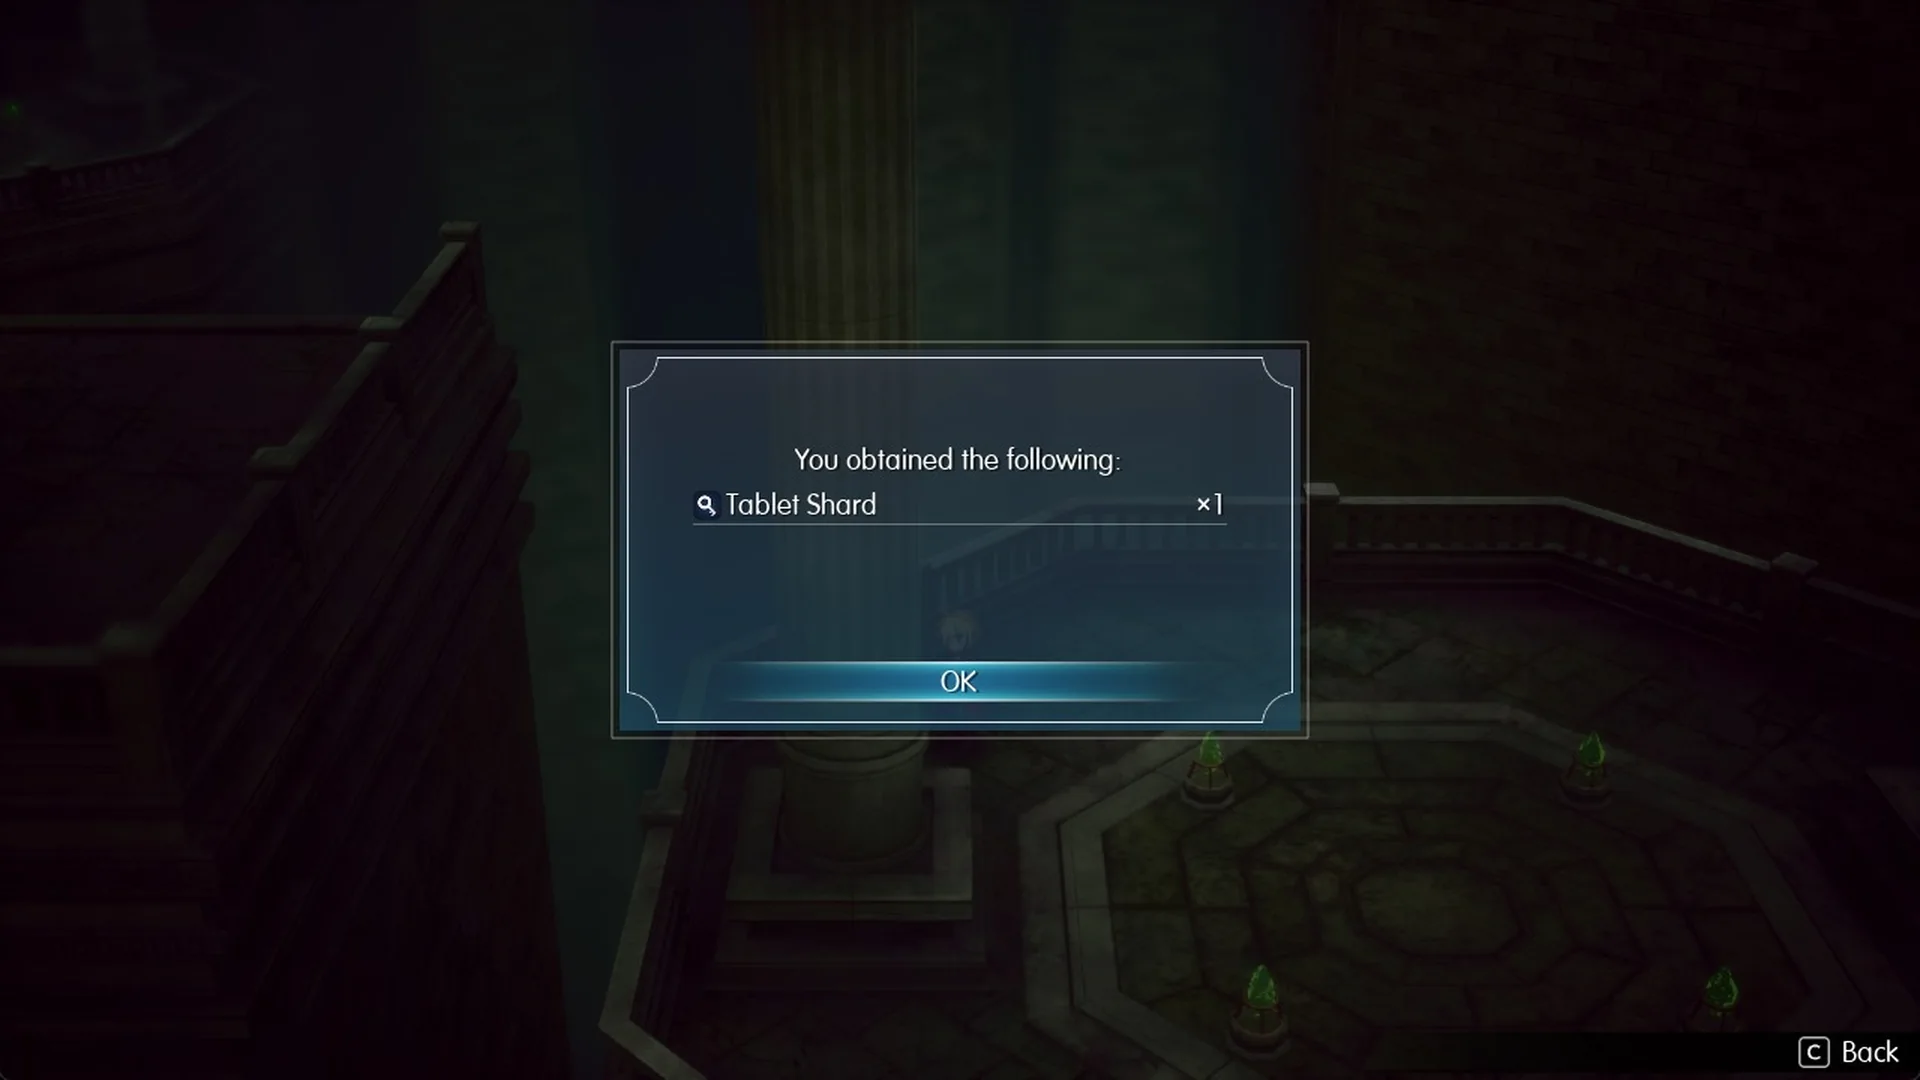
The shrine’s door shows Recommended Level 18. Inside you’ll find four chests holding a Magicite Shard, a Mist Hi-Potion, the Armor of Gales and the Tsukiyo no Tachi, plus three Tablet Shards and an optional Viridian Pot. There is no choice to make inside, and nothing here is time-limited. The chests, shards and pot are all still there after Aether. For every other chest in the game, see the chest locations page.
| What | Where |
|---|---|
| Save point | Entrance hall, a little right of where you arrive |
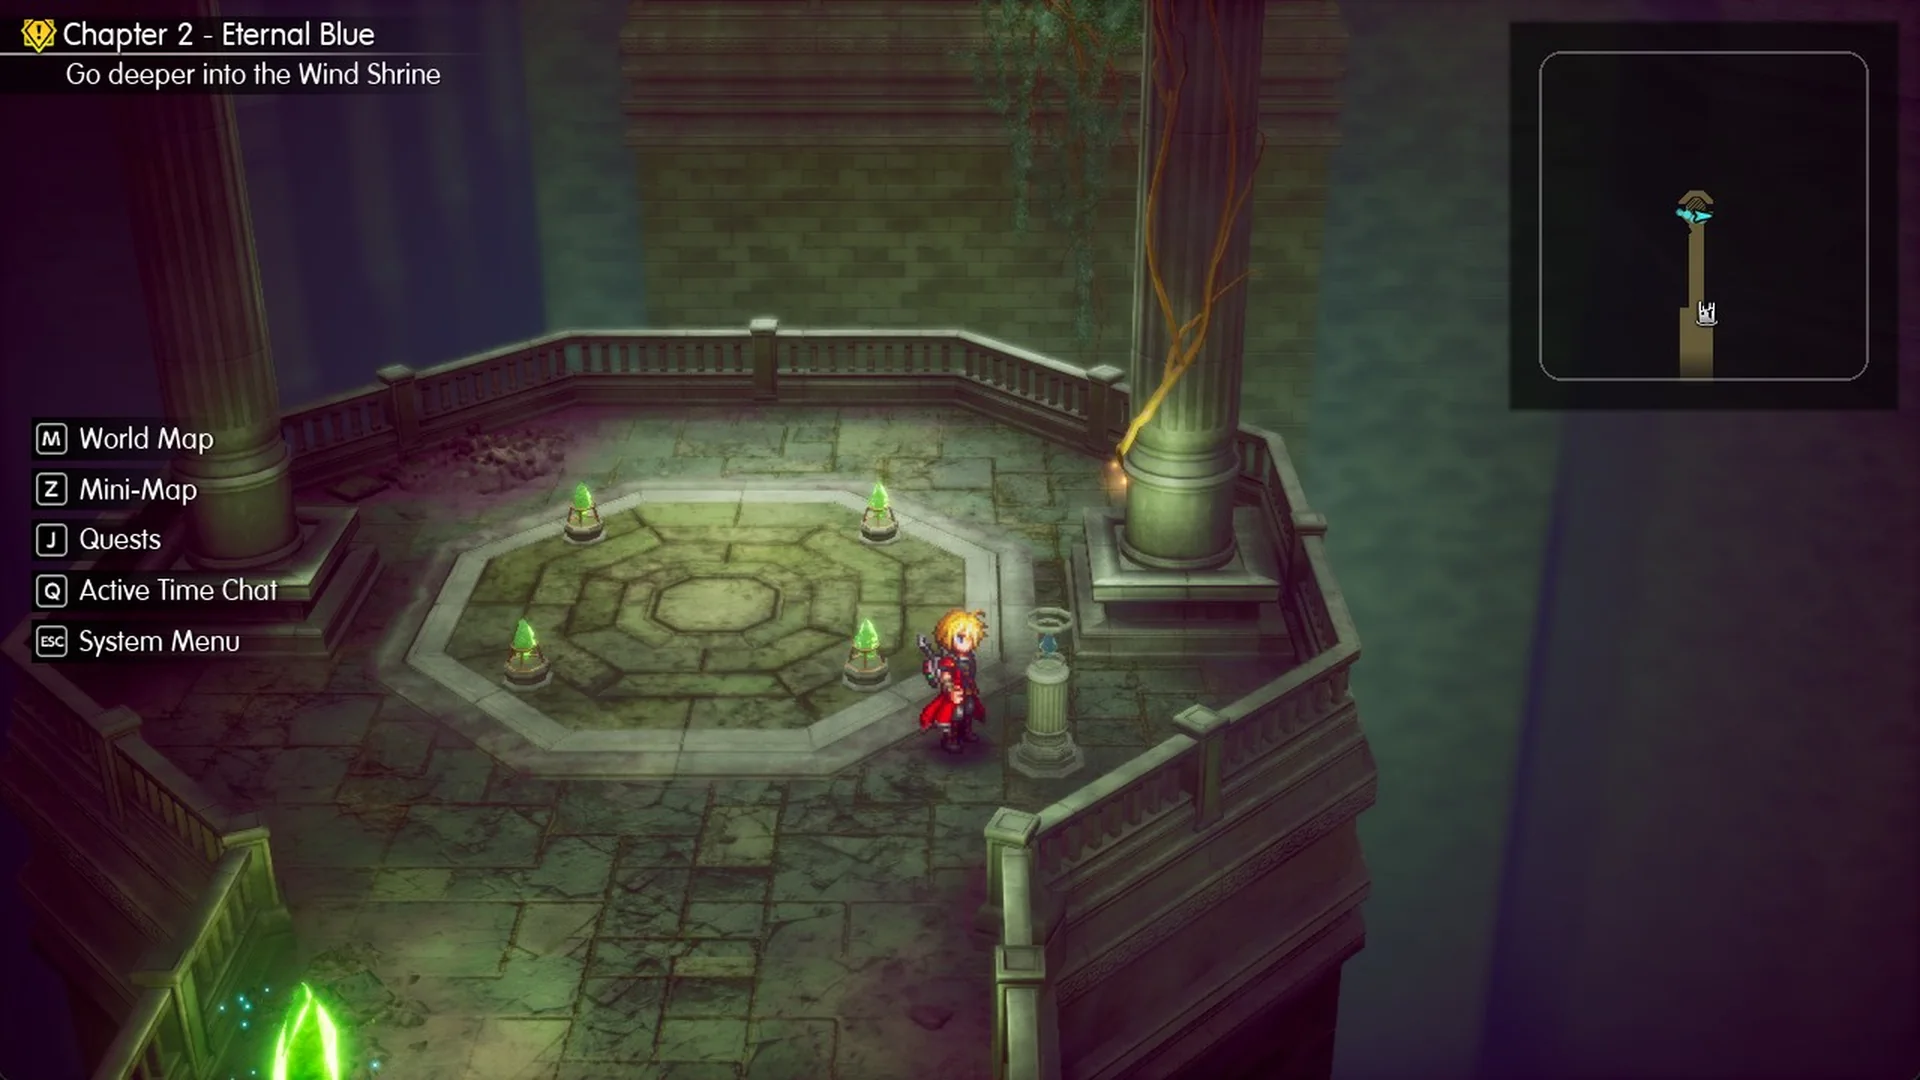
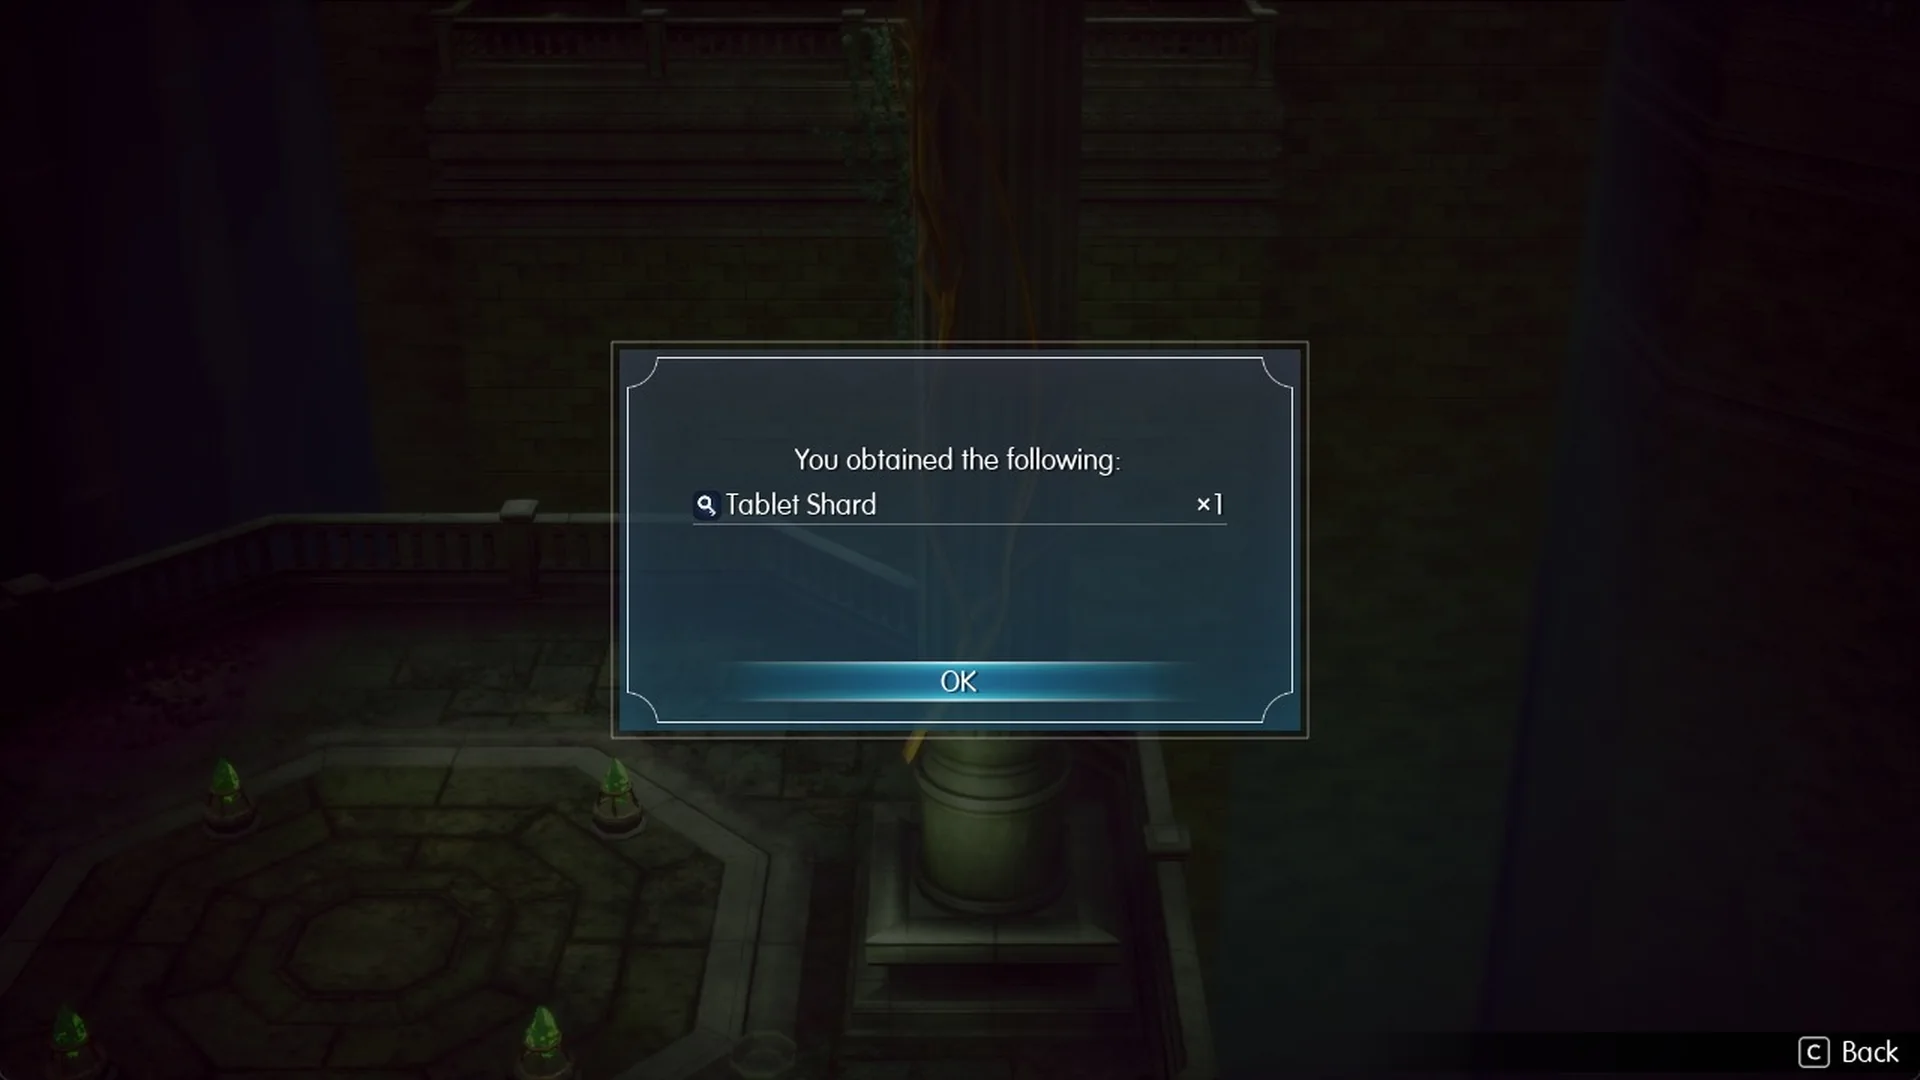
| Tablet Shard 1 | North end of the entrance hall, behind the north-east pillar (call Lift A down first) |
| Lift A | North end of the entrance hall; call switch on the pedestal by the pit |
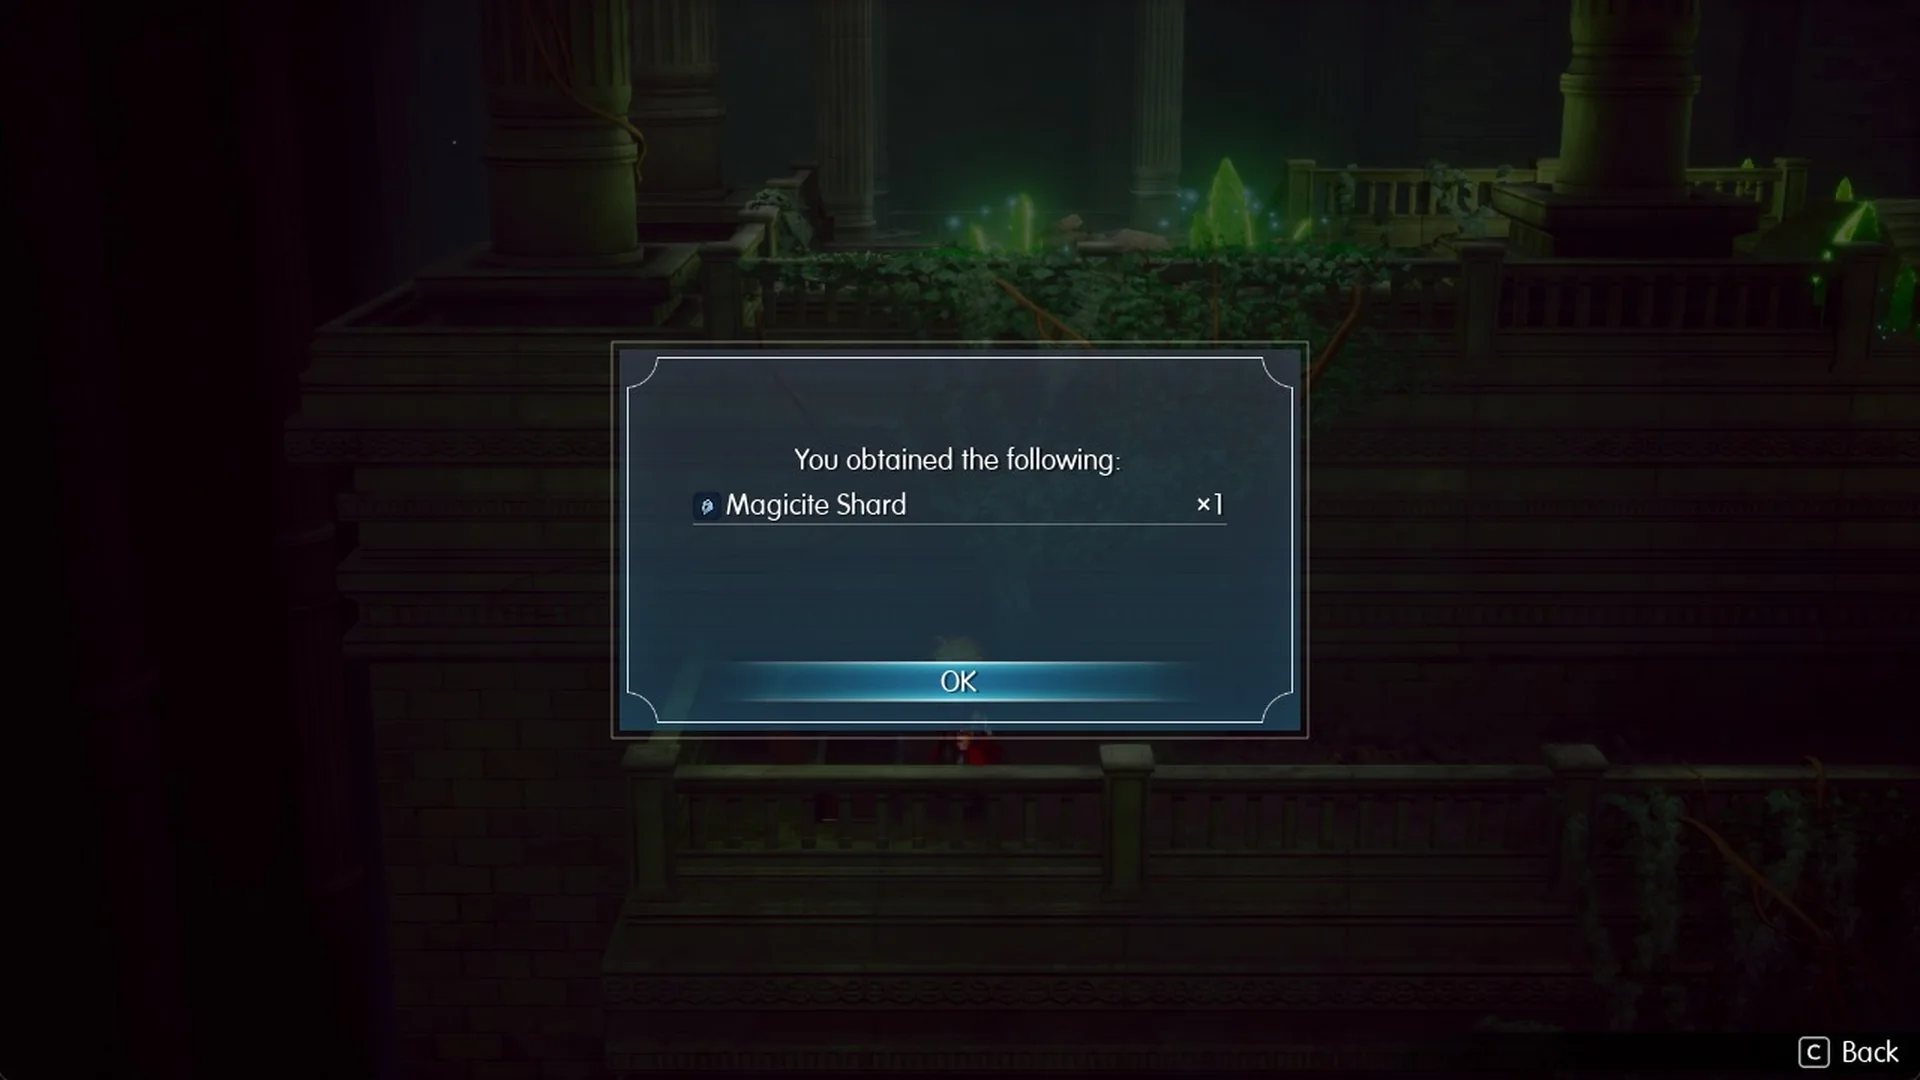
| Magicite Shard | Chest on a dead-end strip at the foot of a ladder, off the walkway at Lift C’s lowest stop |
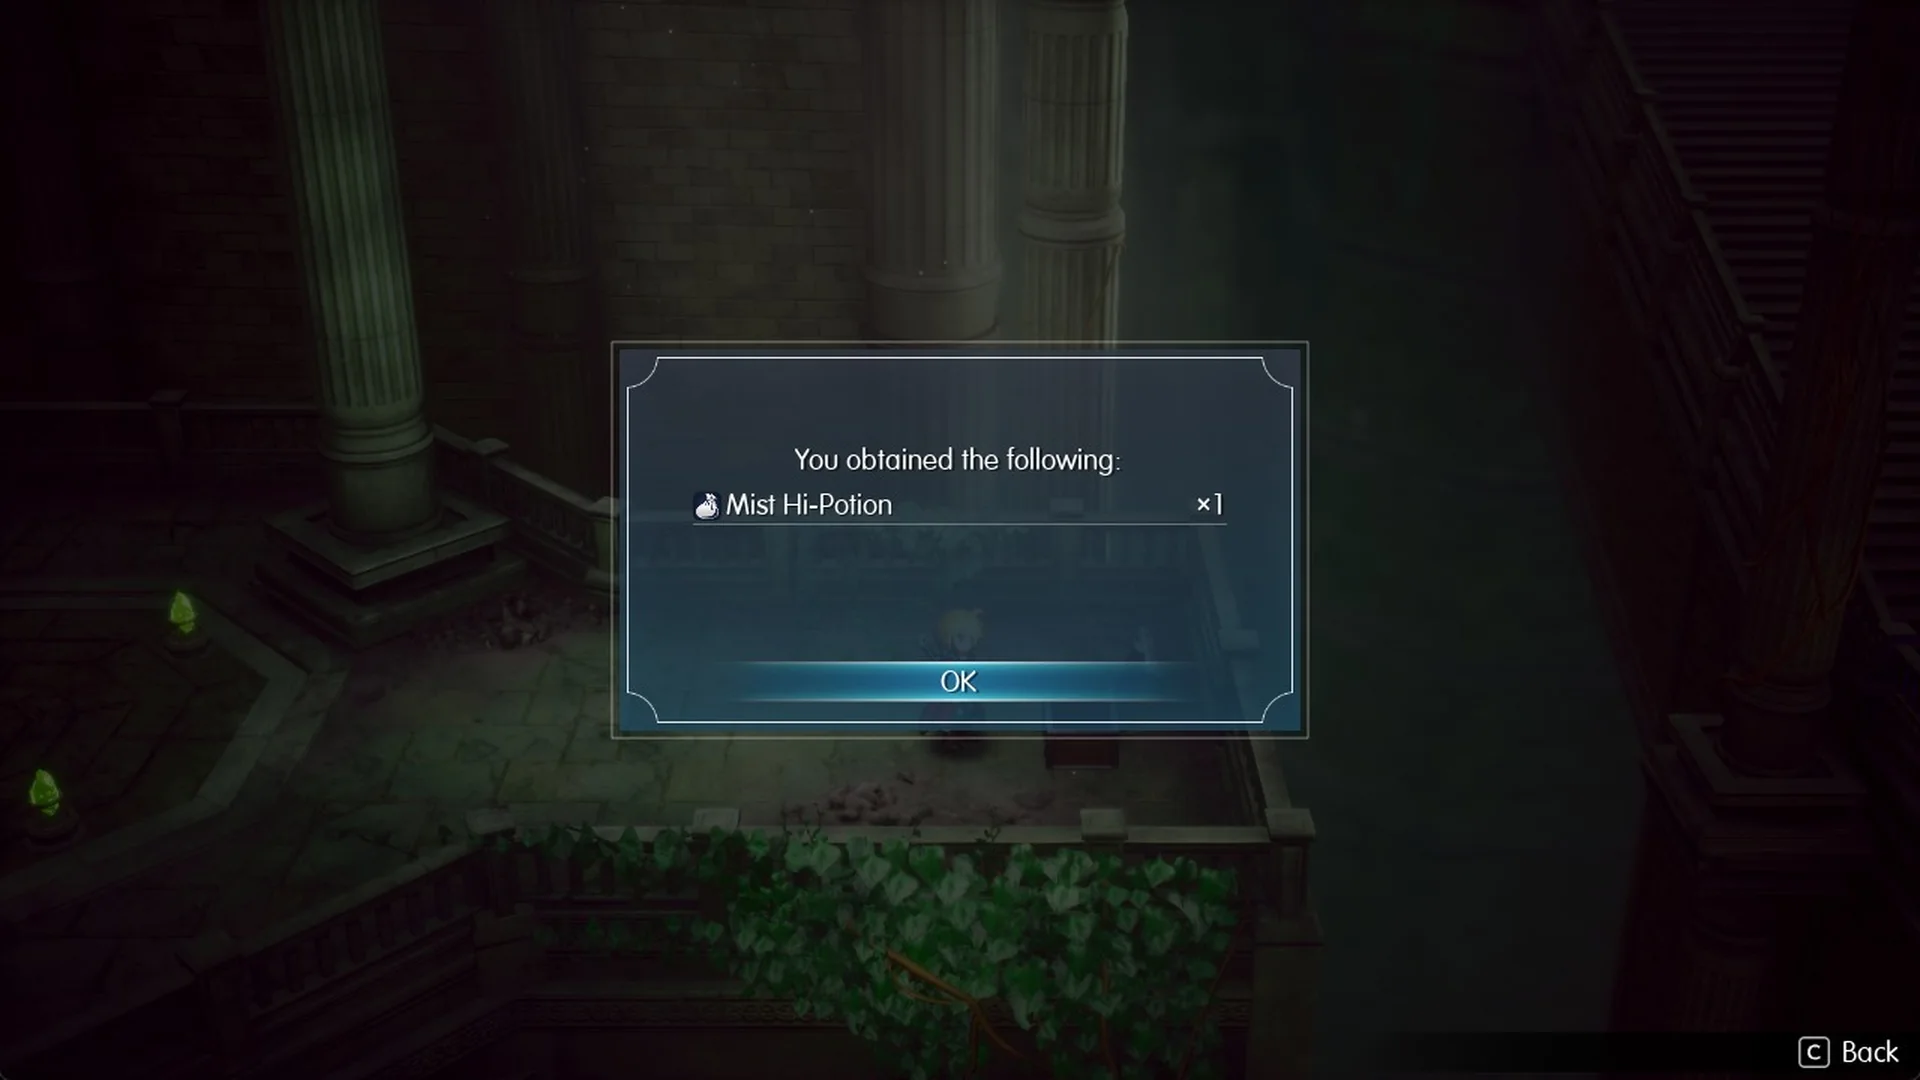
| Mist Hi-Potion | Chest on the small island at the top of Lift C (dead end) |
| Armor of Gales | Chest in a nook off the east walkway, near the moving platform into the lift ring |
| Tablet Shard 2 | East walkway, near Lift G |
| Tsukiyo no Tachi | Chest on the small island at the top of Lift G (dead end) |
| Tablet Shard 3 | Lift ring around Lift D, north-west side |
| Viridian Pot | Pot room off the top floor (optional, very strong) |
| Boss save point | Top floor, along the long corridor north |
| Aether | Top of the last lift at the north end of the top floor |
How to get to the Wind Shrine
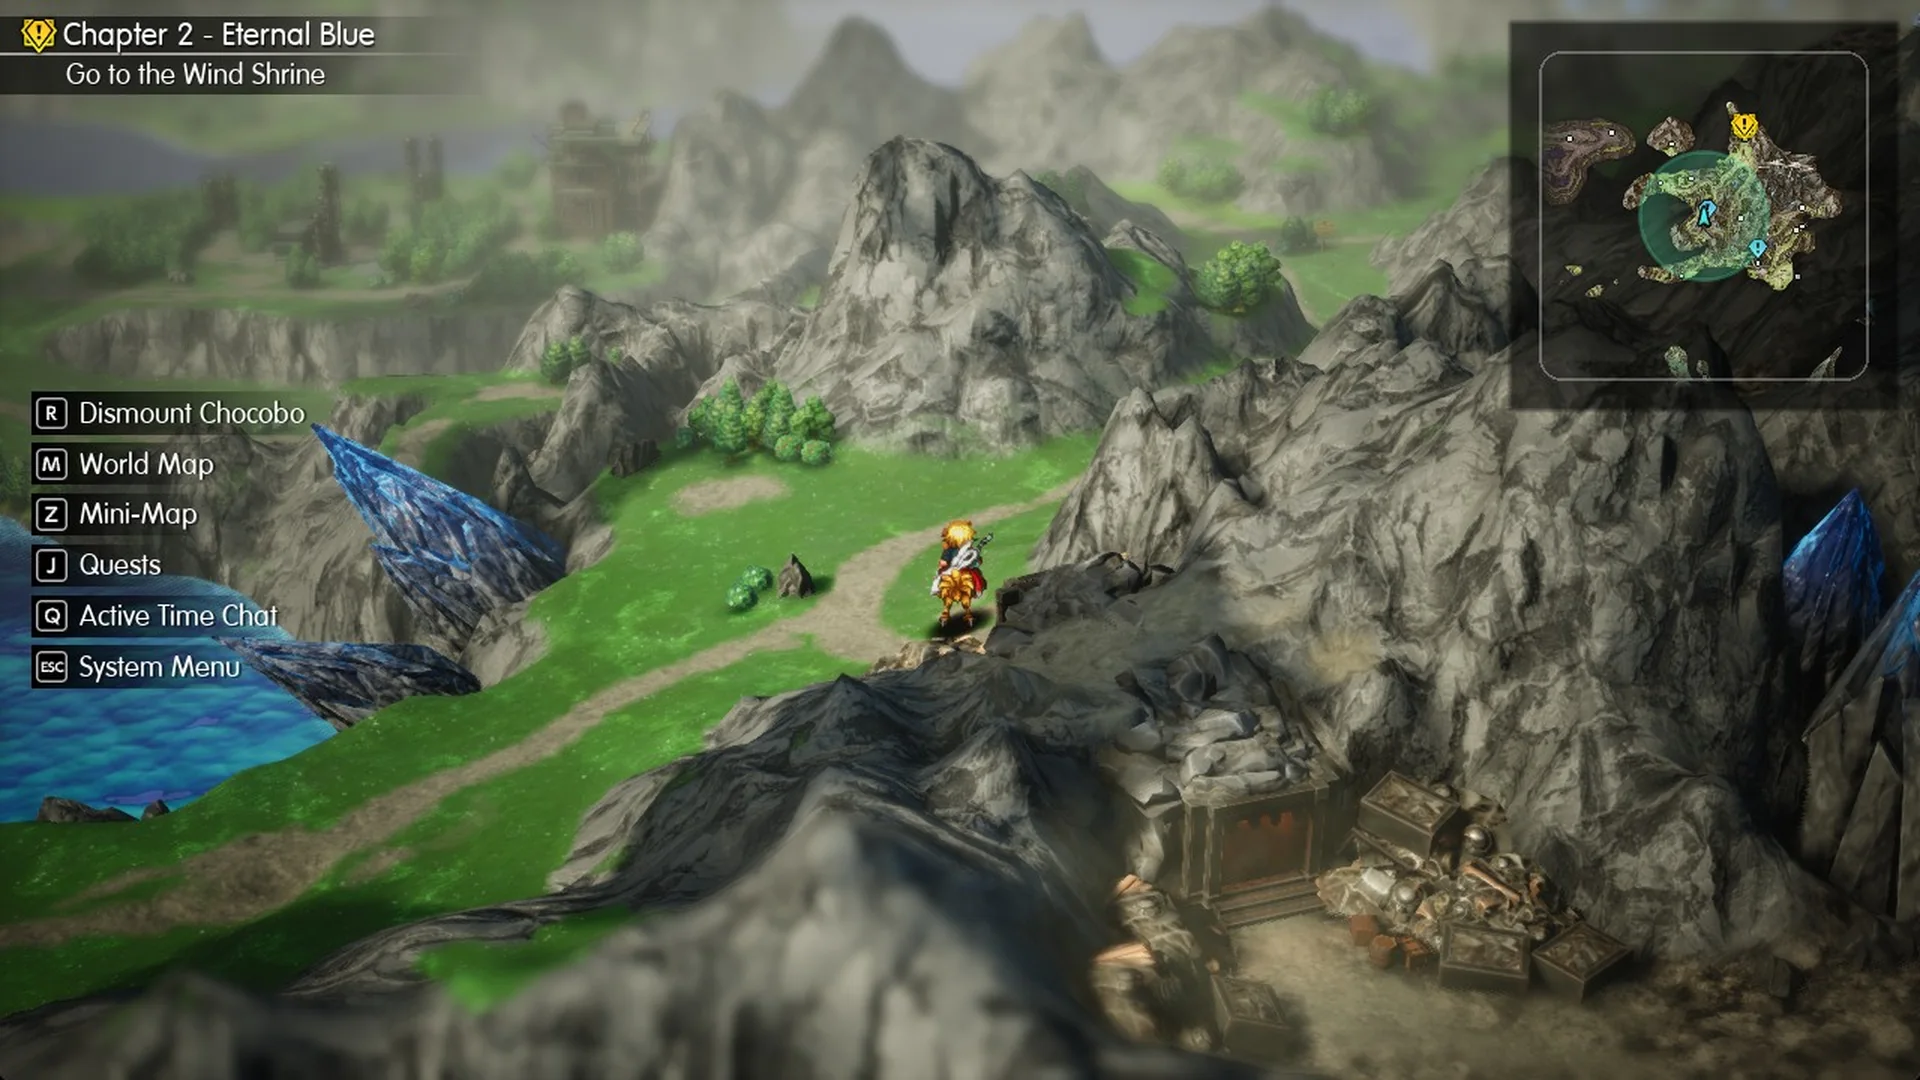
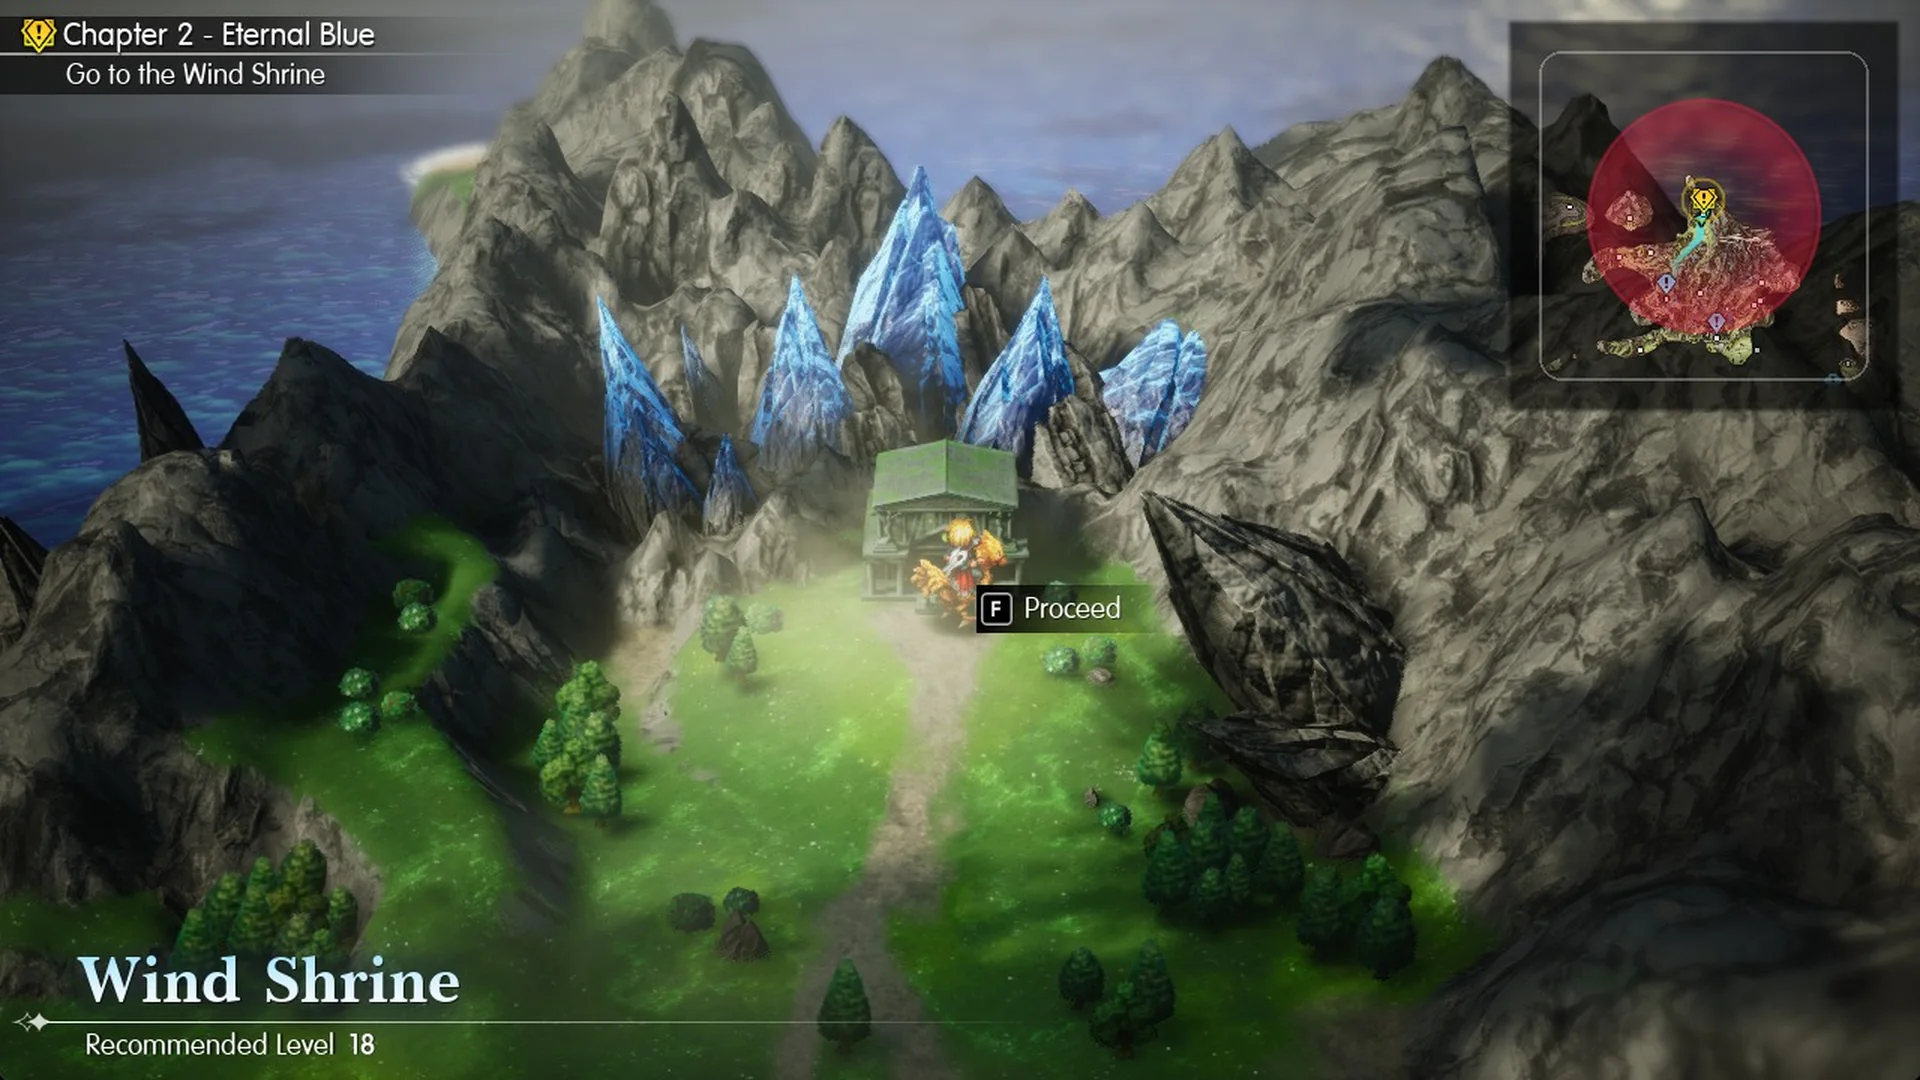
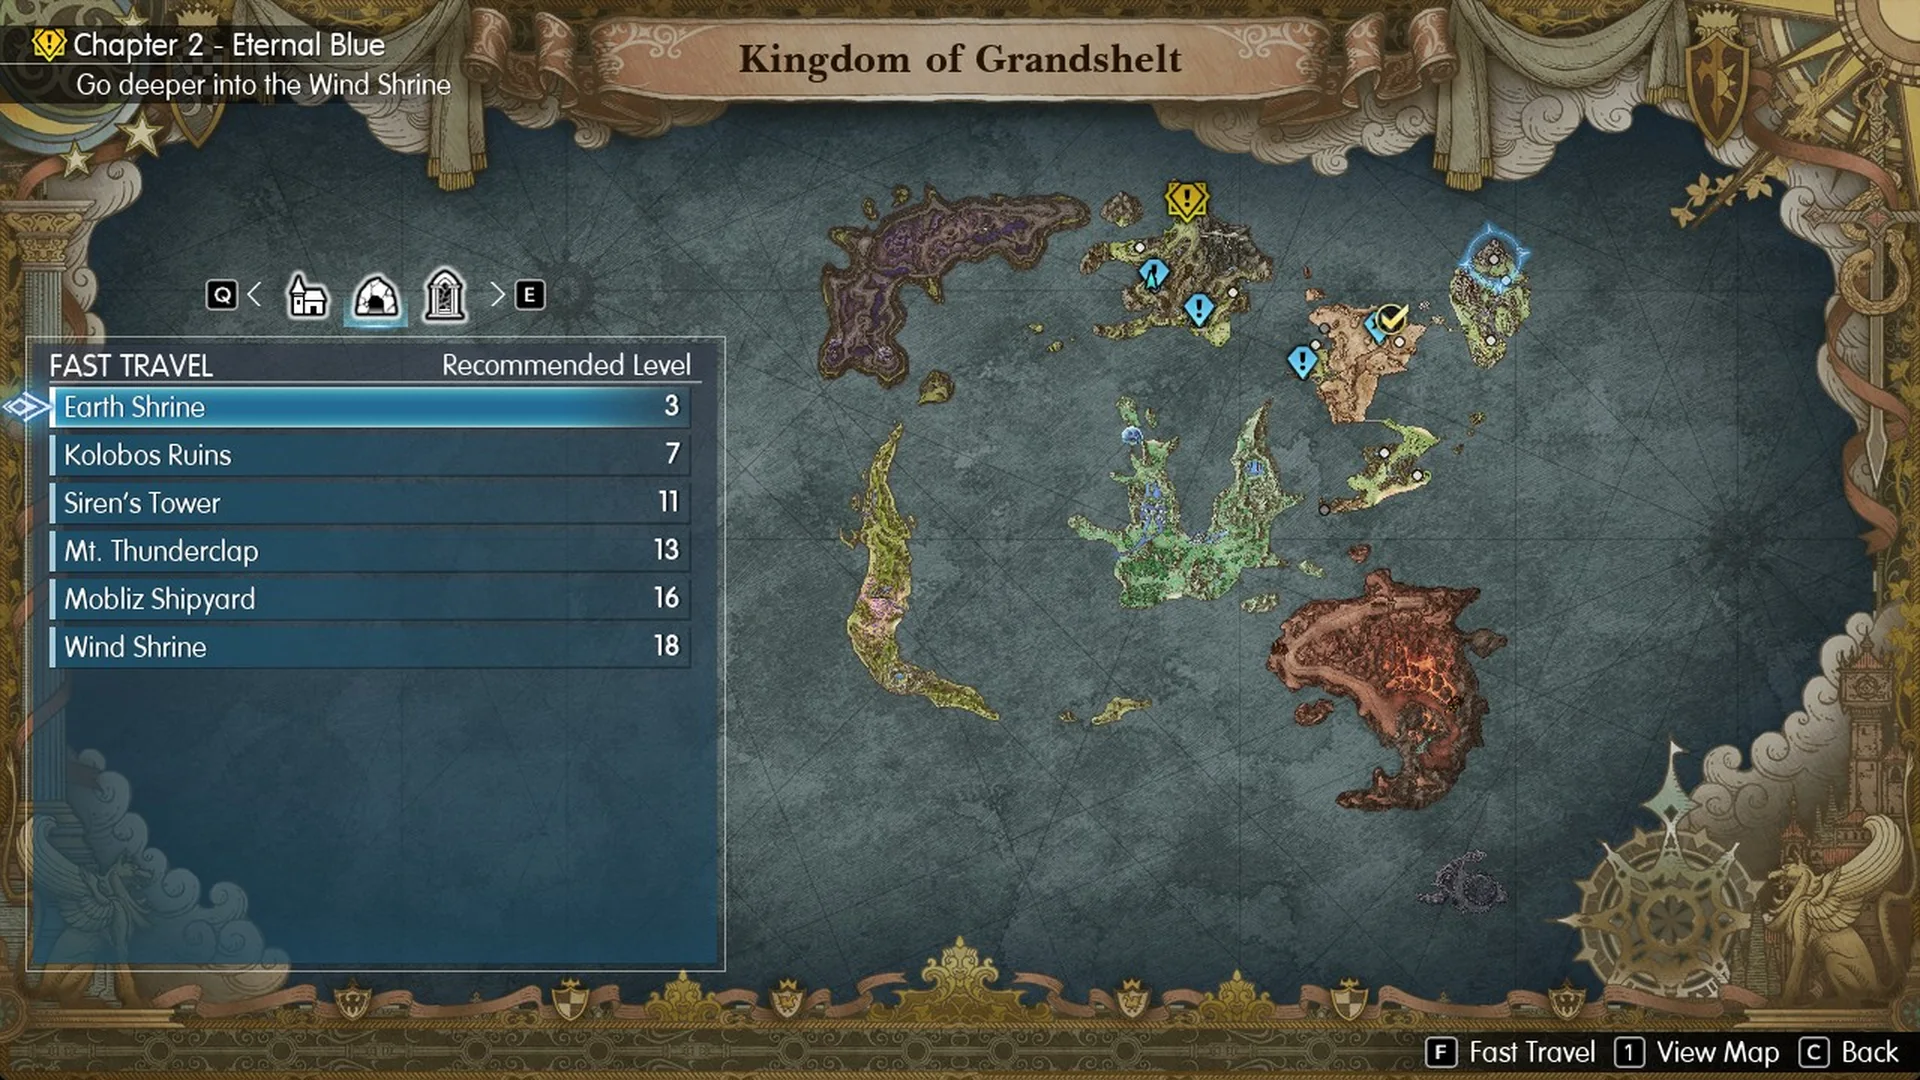
After your first visit, fast travel takes you straight back. Press M (it works in towns too), choose 1 Destination List, then press E for the dungeons tab. It lists Earth Shrine 3, Kolobos Ruins 7, Siren’s Tower 11, Mt. Thunderclap 13, Mobliz Shipyard 16 and Wind Shrine 18 as Recommended Levels. Pick the Wind Shrine and press F. The “Proceed to Wind Shrine?” prompt starts on No, so move to Yes first. You arrive inside the entrance hall, a few steps from the save point.
Before you go in: you can’t escape Wind Shrine battles
Inside the Wind Shrine, the Escape command (“Attempt to escape from battle.”) is greyed out in random battles. Smoke Bombs only work in battles you can escape, so they won’t help either. Every fight has to be won.
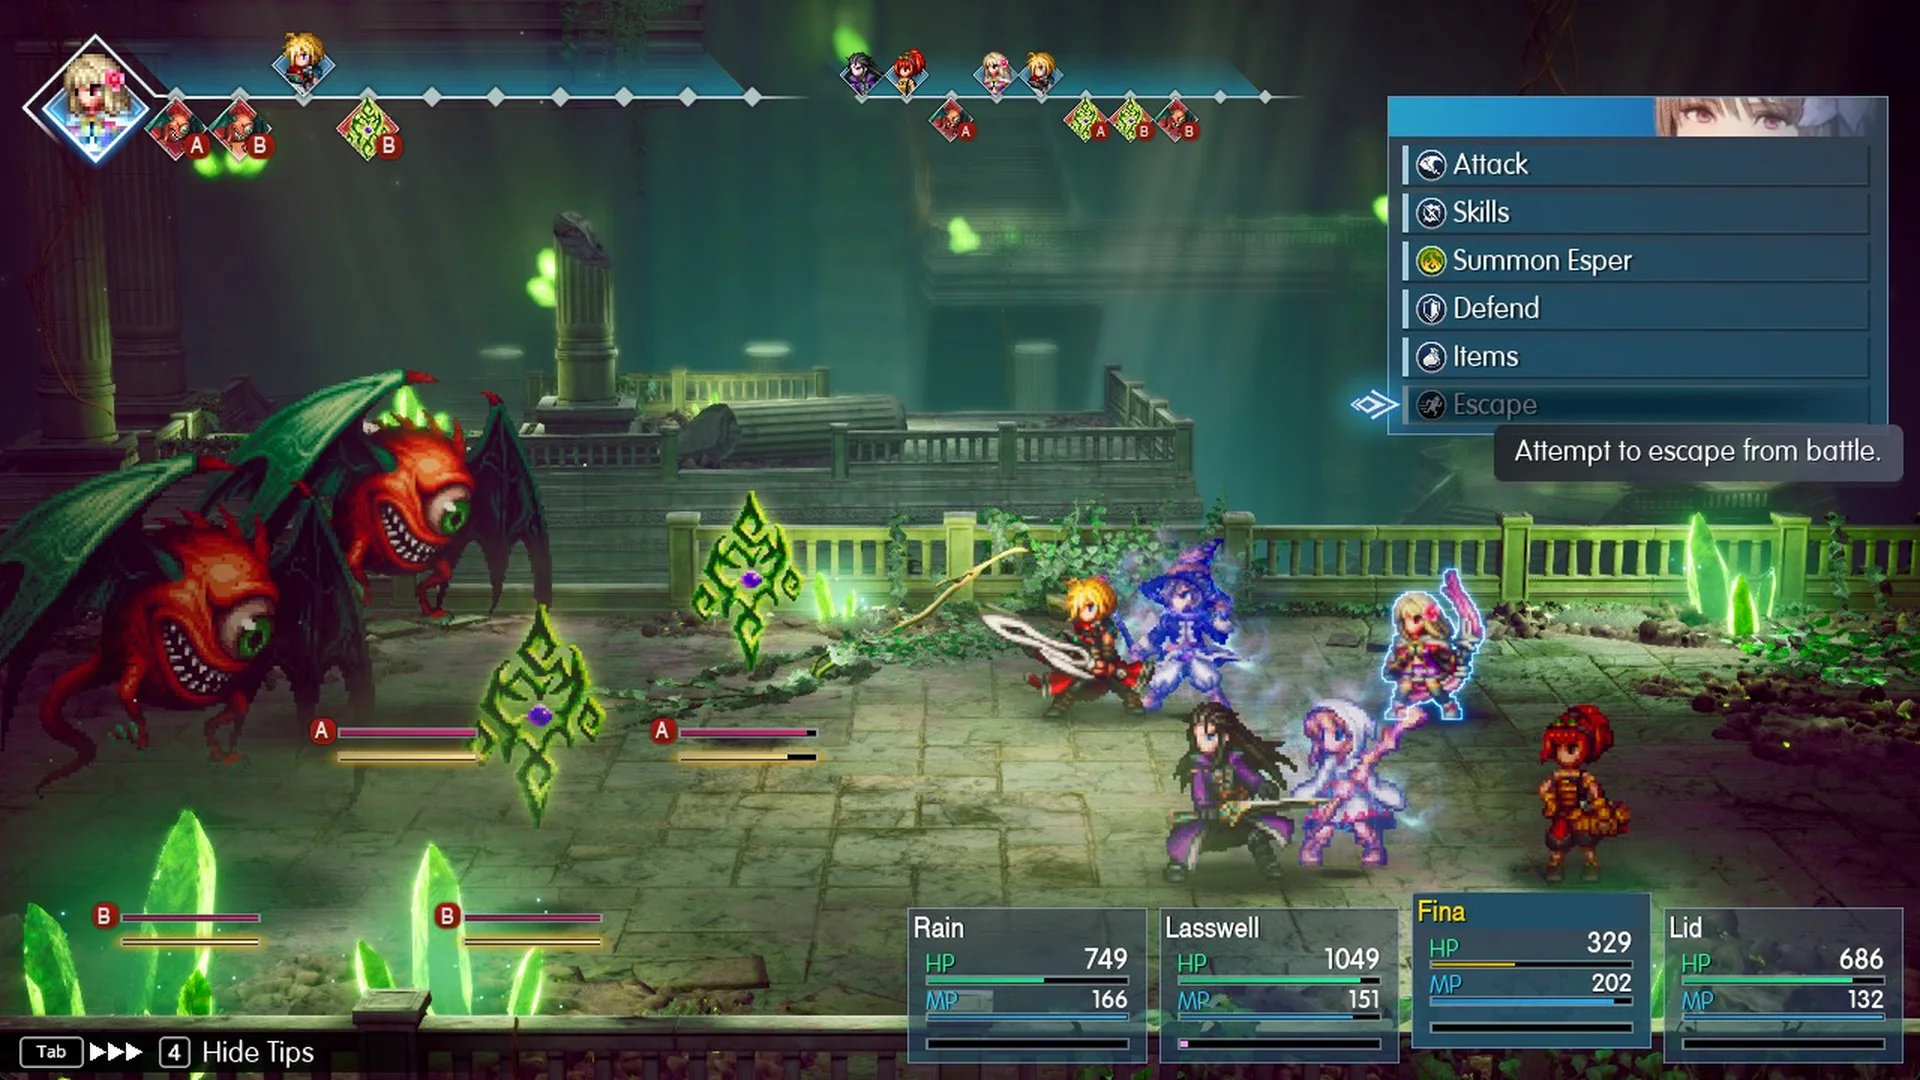
Random battles come every few steps and wear down your MP. Bloody Eyes hit hard and inflict confusion. Stock up at the Dwarven Forge item shop before you leave. The inn at the Forge costs 100 Gil.
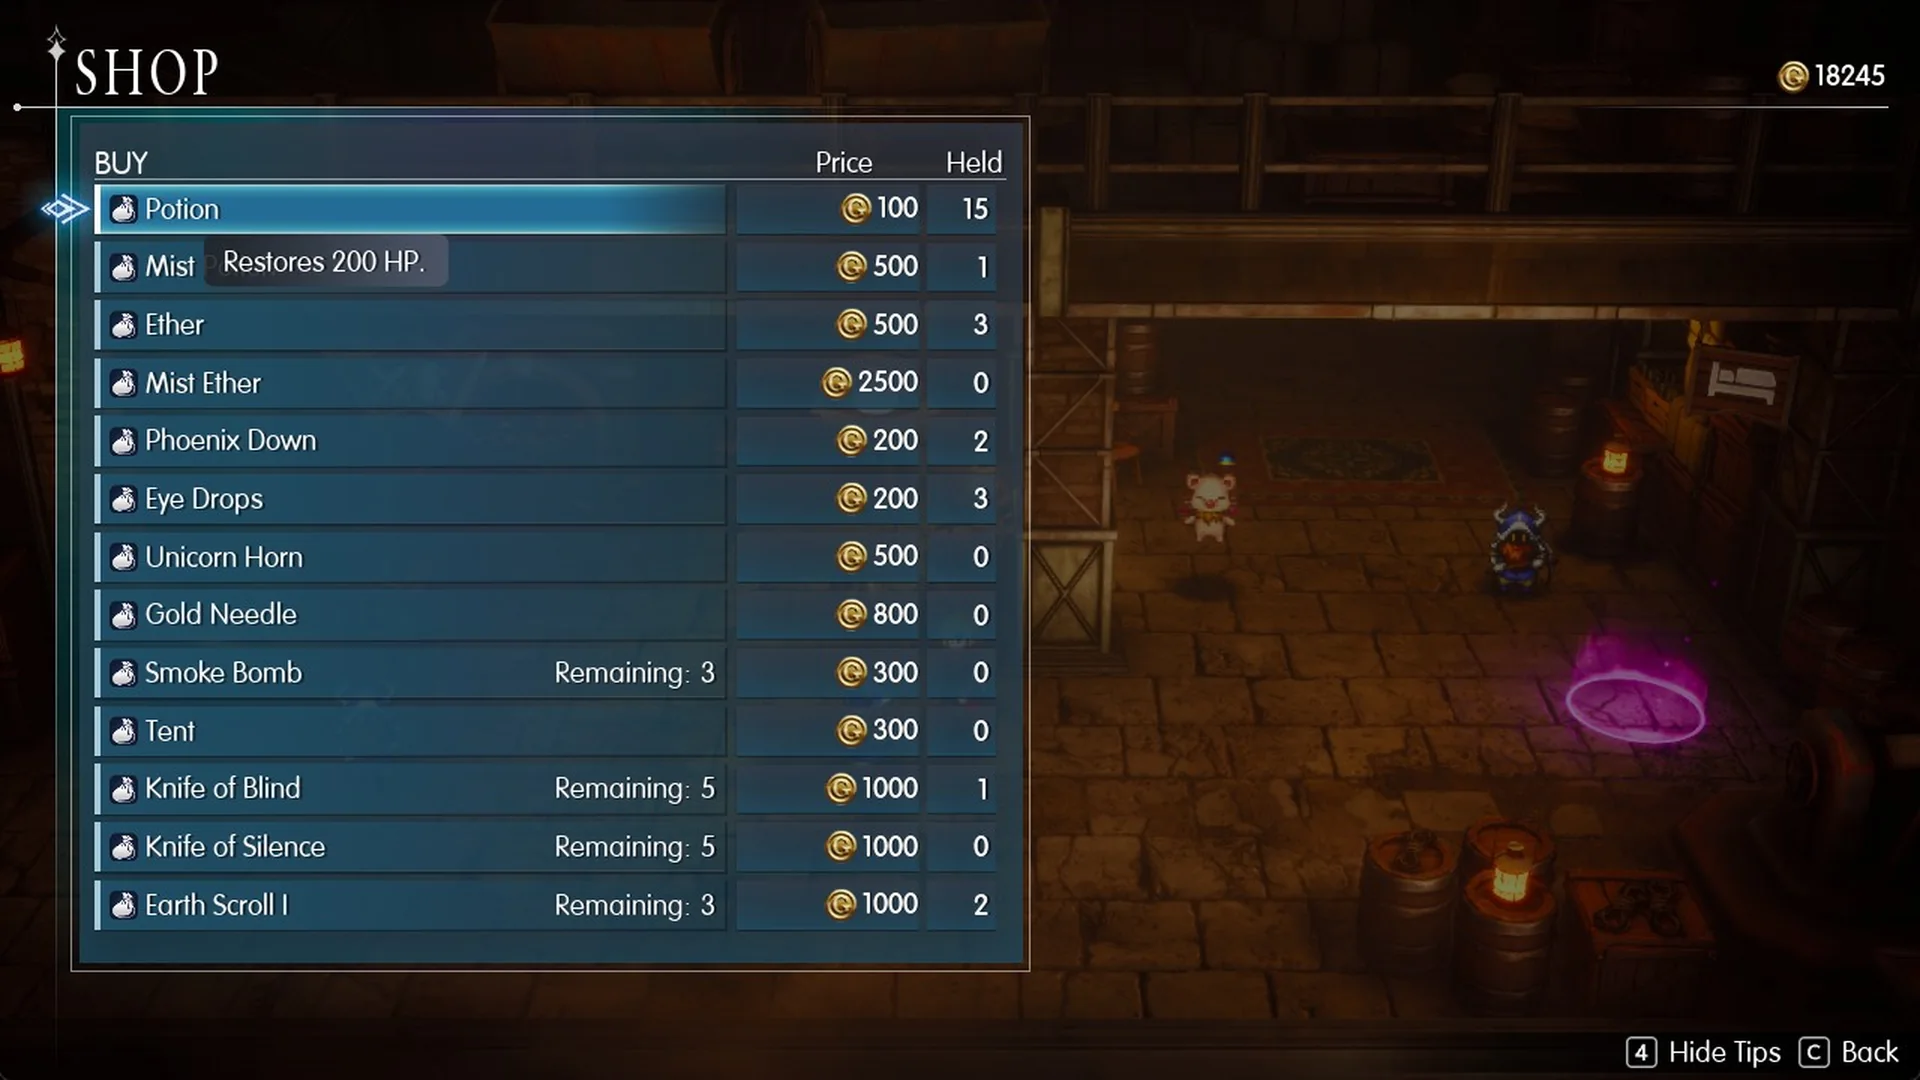
| Item | Price |
|---|---|
 Tent | 300 Gil |
| Ether | 500 Gil |
| Phoenix Down | 200 Gil |
| Mist Potion | 500 Gil |
| Mist Ether | 2,500 Gil |
- Fast travel back to the Dwarven Forge works from the World Map; the how to save page explains save points, tents and fast travel.
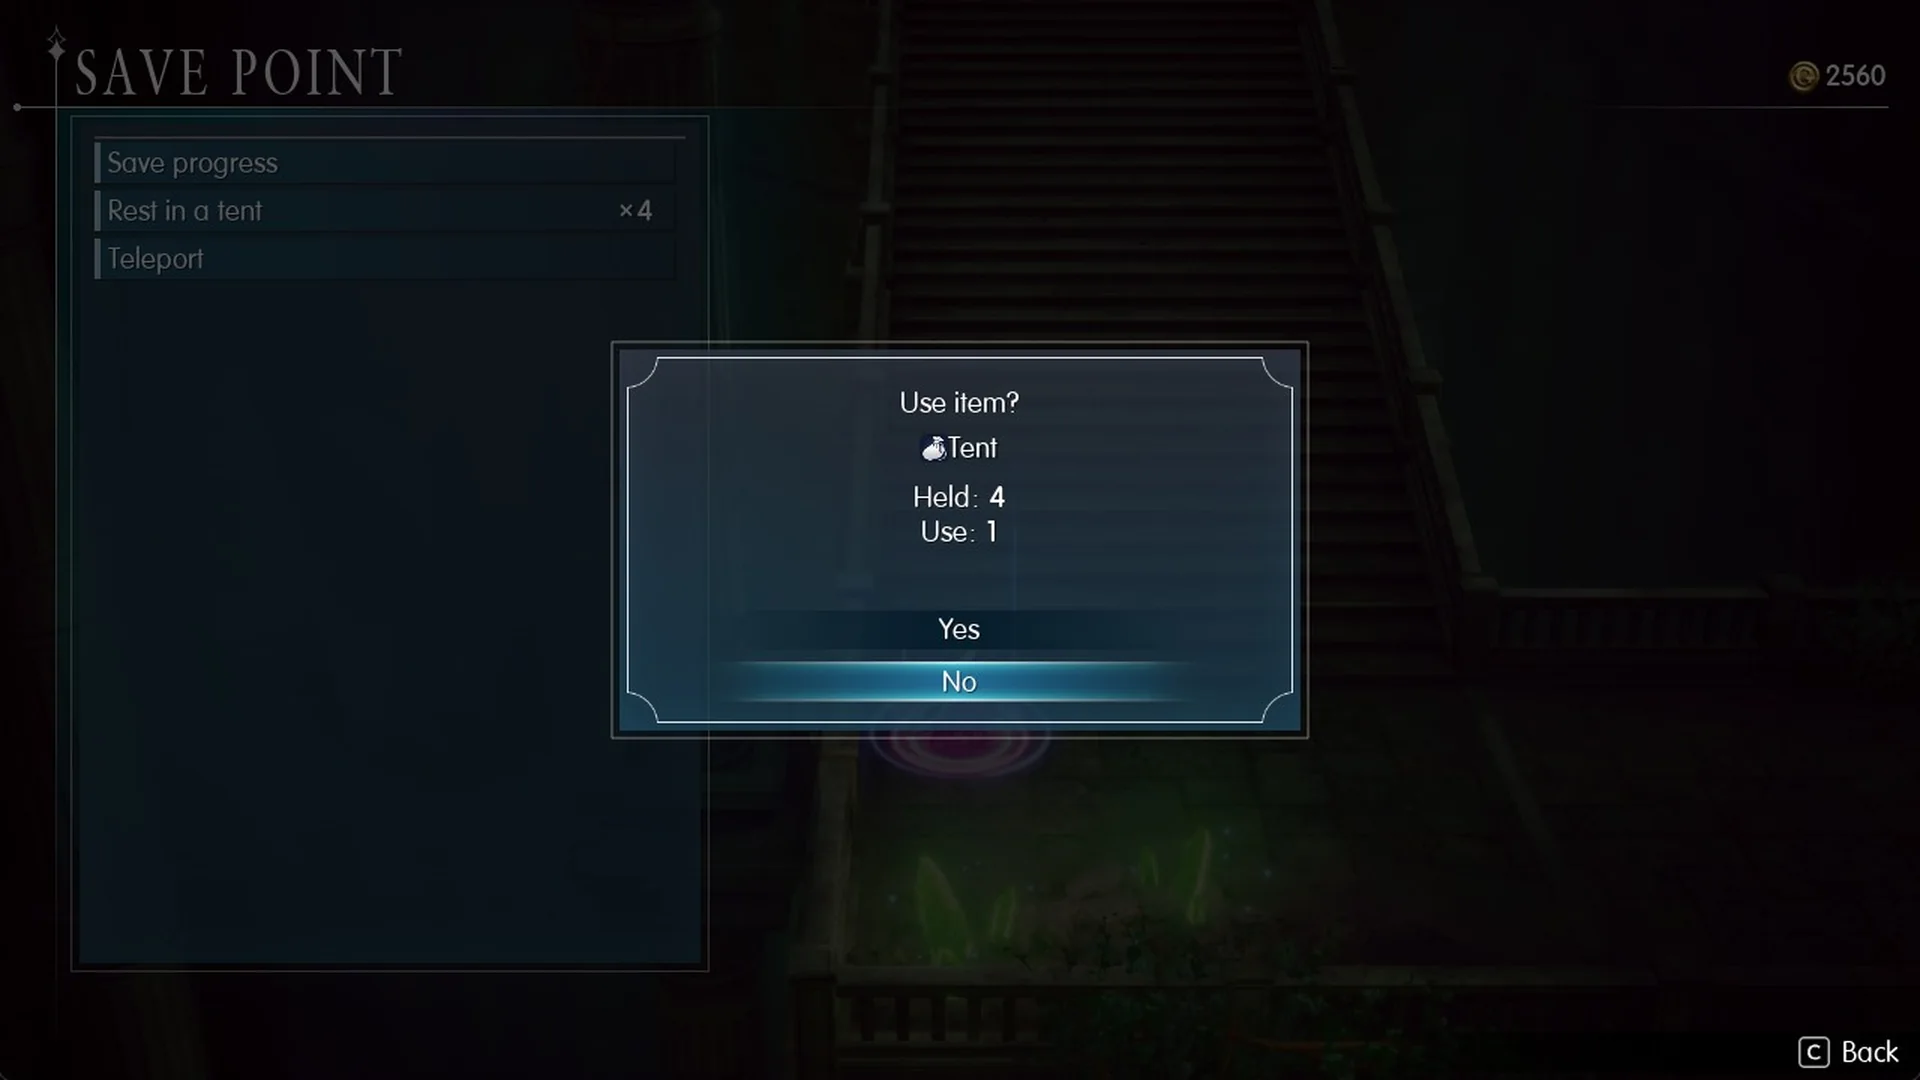
- A save point menu offers “Rest in a tent”, which fully restores HP and MP.
- Quick Heal (Main Menu, G) only works while a healer is standing. If Fina is KO’d it refuses, so revive her with a Phoenix Down first.
- Fina and Lid have no Vision unless you equip one. Give every character a Vision before going in; see how to equip Visions.
Entrance hall: arrival scene and save point
A scene starts as soon as you enter. Wounded Grandshelt soldiers lie across the floor. Fina asks, “No… What happened to these people?” and Lid answers, “They’re soldiers that guard the shrine.”
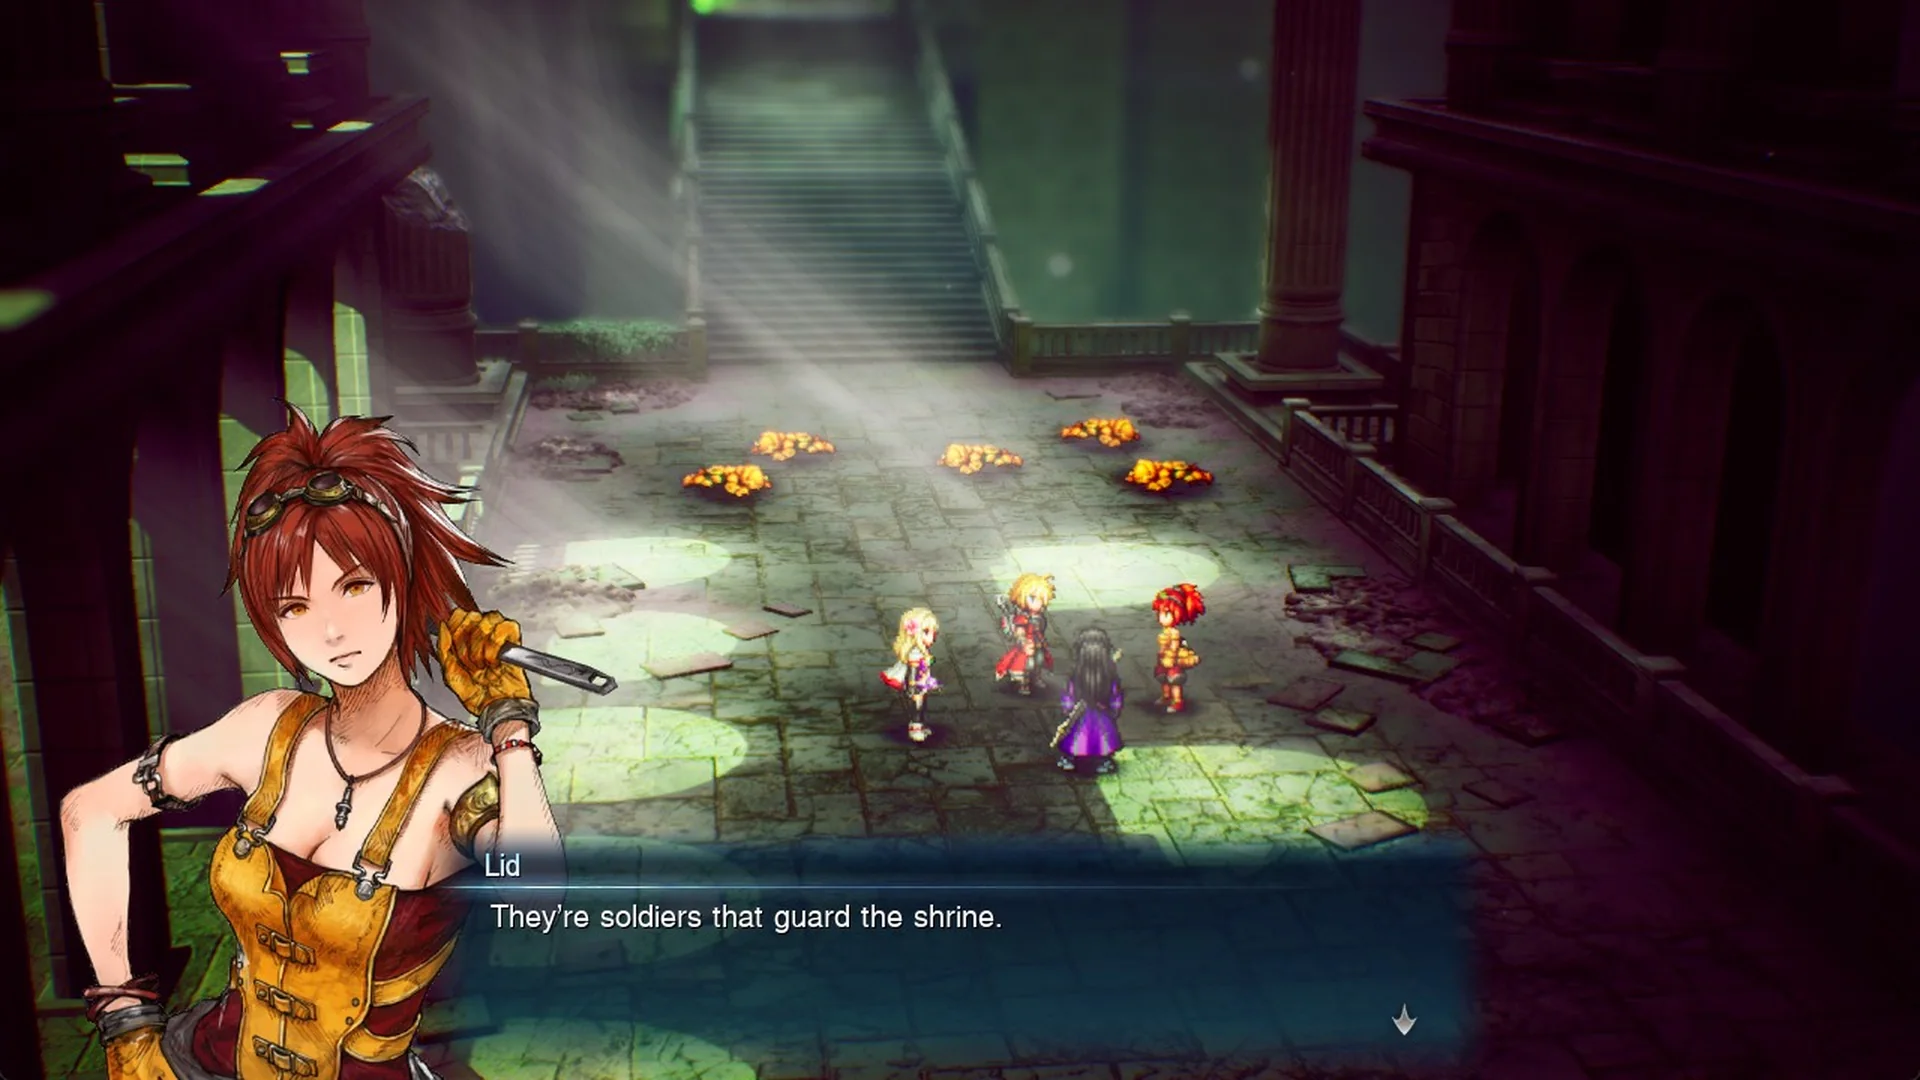
One soldier manages, “Ugh… A violent gale came out of nowhere…tore us to pieces…” Then a voice announces, “I am Veritas of the Heavens, one of the Sworn Six of Paladia. Some call me Aether.”
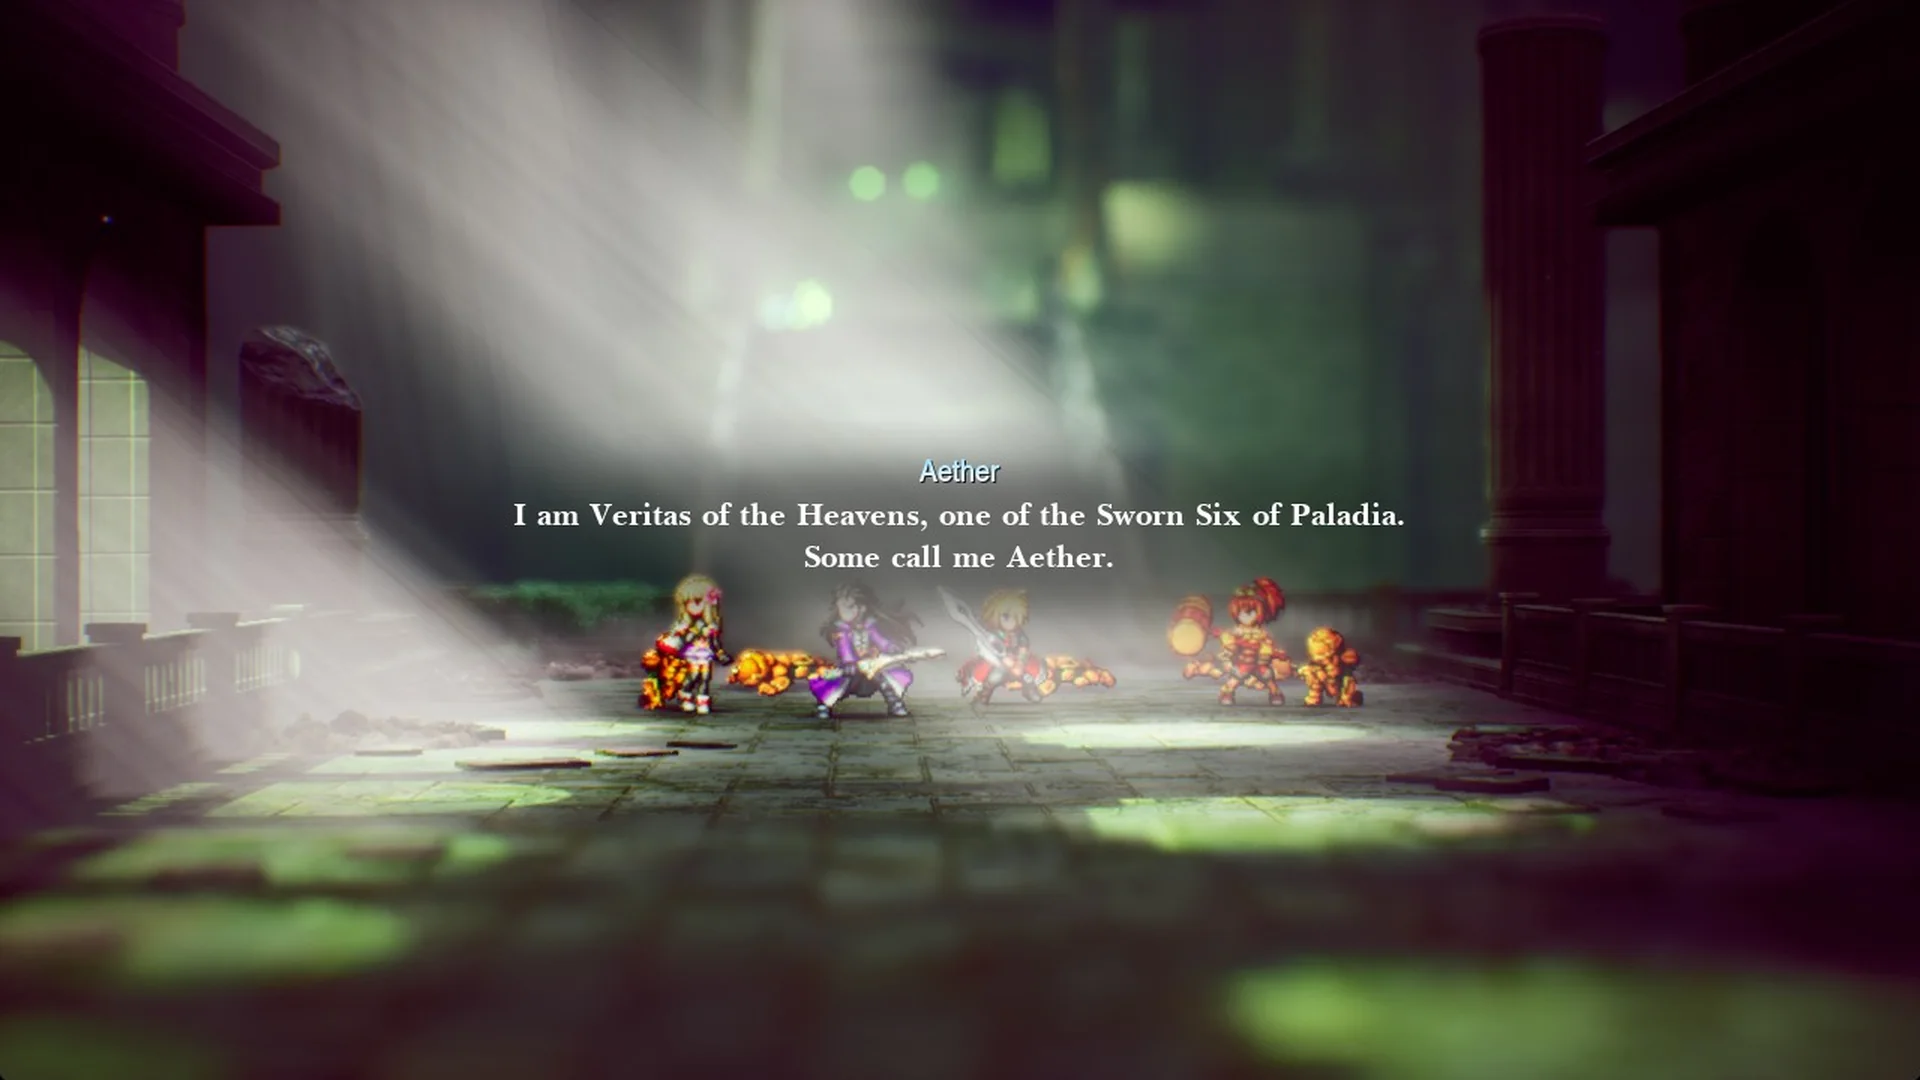
Rain fires back, “Then don’t expect any from us!” When the scene ends, the objective changes to “Go deeper into the Wind Shrine” and the game autosaves.
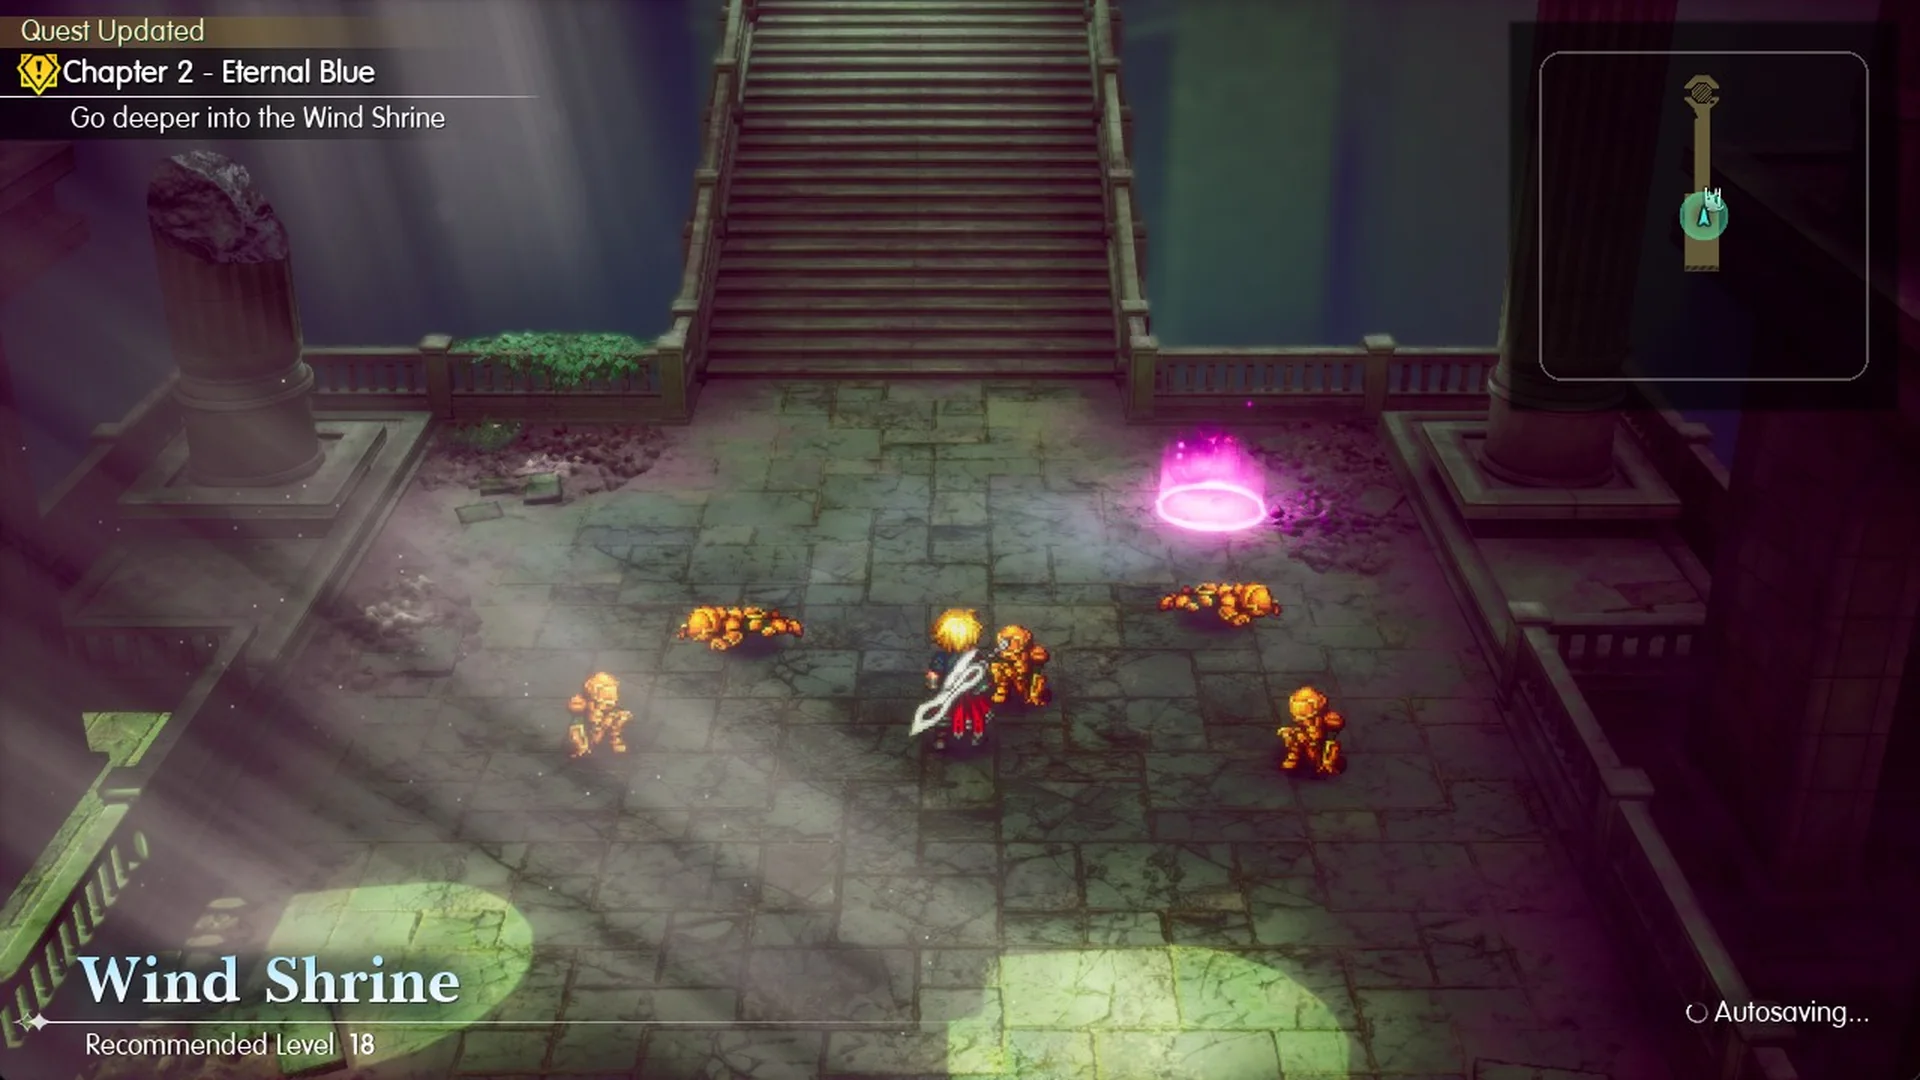
There are no random battles until the scene is over. The save point sits in the entrance hall just to the right of where you arrive.
Lift A and the first Tablet Shard
Random battles in the Wind Shrine
These are the enemy groups you’ll meet on the way up:
- Green Elemental x4
- Headstone x2 + Green Elemental x2
- Ninlil x2 + Bloody Eye
- Headstone x2 + Mini Dragon
- Green Elemental x2 + Bloody Eye x2
- Bloody Eye x2
- Mini Dragon x2 + Bloody Eye
Ice hits almost everything in here. Lasswell’s Blizzara (15 MP) and the Ice Resonance Hibernal Fury (“Deal Ice magic damage to random enemies 5 times.”) both land on the Green Elementals’ weakness and show the “Weak” tag.

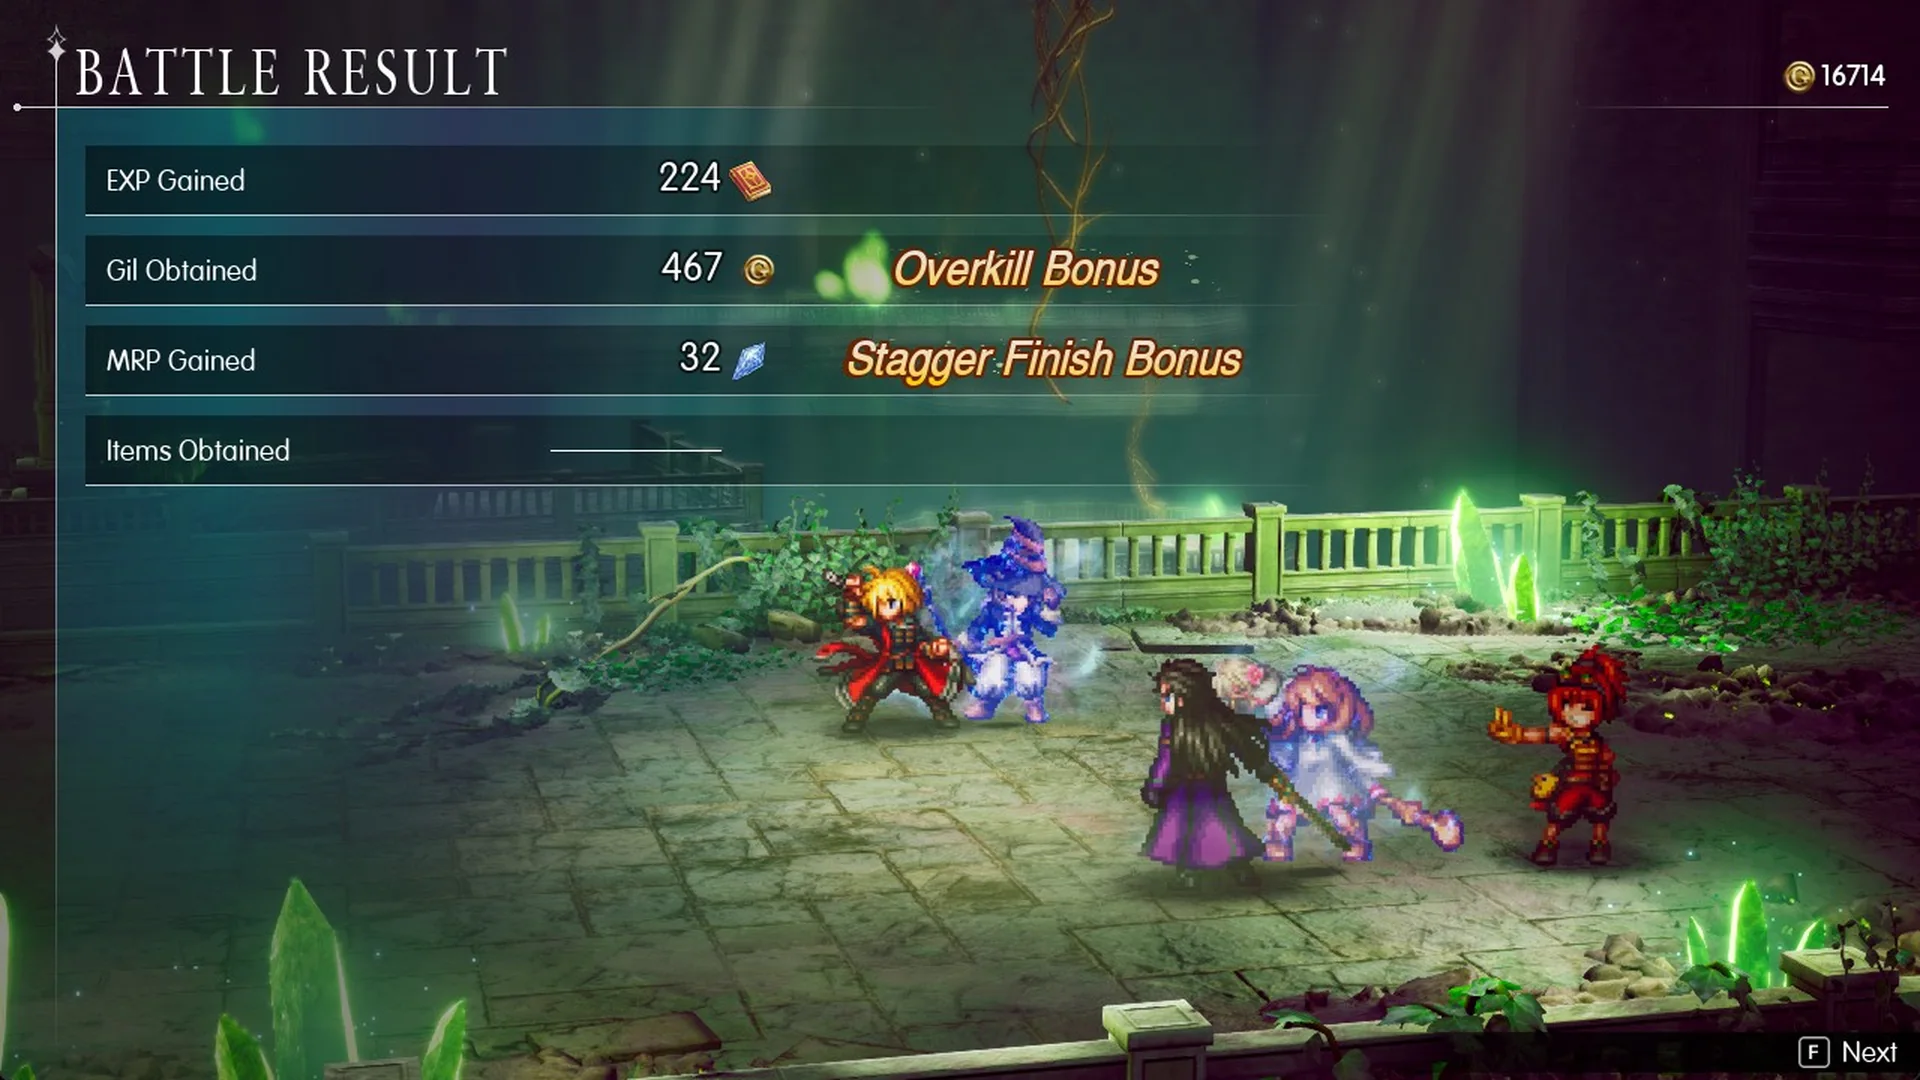
Bonuses add up quickly. One fight pays 224 EXP, 467 Gil with the Overkill Bonus, and 32 MRP with the Stagger Finish Bonus.
| Enemy | Lv | HP | Drops |
|---|---|---|---|
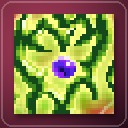 Green Elemental | 17 | 1,400 | Wind Scroll I (rare: Hi-Potion) |
 Bloody Eye | 17 | 1,400 | Mist Potion (rare: Knife of Confuse) |
 Headstone | 16 | 1,350 | Mist Potion |
 Ninlil | 16 | 340 | Phoenix Down (rare: Echo Herb) |
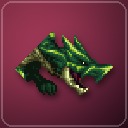 Mini Dragon | 17 | 360 | Ether |
| Enemy | Weak to | Resists or nullifies | Watch for |
|---|---|---|---|
| Green Elemental | Ice | Nullifies Wind | – |
| Bloody Eye | Ice, Light | None | Confuse attacks, heavy hits |
| Headstone | Thunder | None | Blind attacks; immune to most status effects |
| Ninlil | Ice | Halves Wind | Easily staggered |
| Mini Dragon | Ice | Halves Fire | Easily staggered |
Every other monster in the game is in the enemies list.
Lift C: the Magicite Shard and Mist Hi-Potion
Lift C has three stops: the top island, the middle landing and the lowest stop. Each press of F sends it to another stop, but it doesn’t always go the same way from the middle landing. On one visit the first press took it down to the lowest stop; on another it went up to the top island, then back to the middle landing, then down to the lowest stop. Keep pressing F until it stops where you need it.
From Lift C to the boss: the east walkway, the lift ring and the top floor
The east walkway also has three optional pickups. The second Tablet Shard sits on it near Lift G. Lift G’s top is a small dead-end island whose chest holds the Tsukiyo no Tachi, and a nook near the south end holds the Armor of Gales chest.
On the top floor, a door off the corridor opens into the pot room with the Viridian Pot. It is Lv 22 with 99,999 HP, is immune to every status effect, and pays 270 EXP and 240 Gil, with a rare Elixir drop. The fight is optional, so skip it unless you’re over-levelled. Other pots are on the Pot locations page.
Its menu has Save progress, Rest in a tent and Teleport. Rest in a tent uses one Tent and fully restores HP and MP; the “Use item?” prompt starts on No. Rest, then save here.
Aether: stats and how to prepare
Aether is Lv 18 with 34,000 HP. It is weak to Ice and nullifies Wind. As a boss battle, it can’t be escaped. Aether also calls in help during the fight.
| Enemy | Lv / HP | Weak / Resists | Arrives with |
|---|---|---|---|
 Aether | 18 / 34,000 | Ice / Nullifies Wind | – |
| Aether’s Minion | 18 / 2,750 | Ice / Halves Wind | “Aether summons a minion!” |
 Aether’s Guardian | 18 / 3,000 | Ice / Halves Wind | “Aether summons a guardian!” |
The Guardian’s description reads “Buffs and heals Aether.” Aether’s attacks include Stab, Sonic Boom, Shamshir, Cyclone and Aerora, plus Heavenly Wind. It can’t be poisoned, put to sleep, confused, petrified, charmed, berserked, instantly killed or hit by Gravity. A win pays 2,700 EXP and 4,500 Gil.
- Bring Ice: Lasswell’s Blizzara and Hibernal Fury.
- Keep Wind off every target, since all three enemies nullify or halve it.
- Take down the Guardian early, before it buffs and heals Aether.
- Go in with full HP and MP.
In our Normal attempts at Lv 18, the fight came down to one move. A red marker on Aether’s icon in the turn-order bar means Heavenly Wind hits the whole party at the start of the next round. Shellga cut it by roughly a quarter to a third, Protectga did nothing, and Fina’s Light Veil kept its Sleep off. Lid, at 810 max HP, went down to almost every cast. The full plan, with the damage we took, is in how to beat Aether.
Once Aether falls, the story moves on and the next objective sends you back to Dilmagia, the Machinopolis. Aether’s entry sits with the rest of the bosses list, the full route continues in the walkthrough, and every pickup above is marked on the interactive Wind Shrine map.